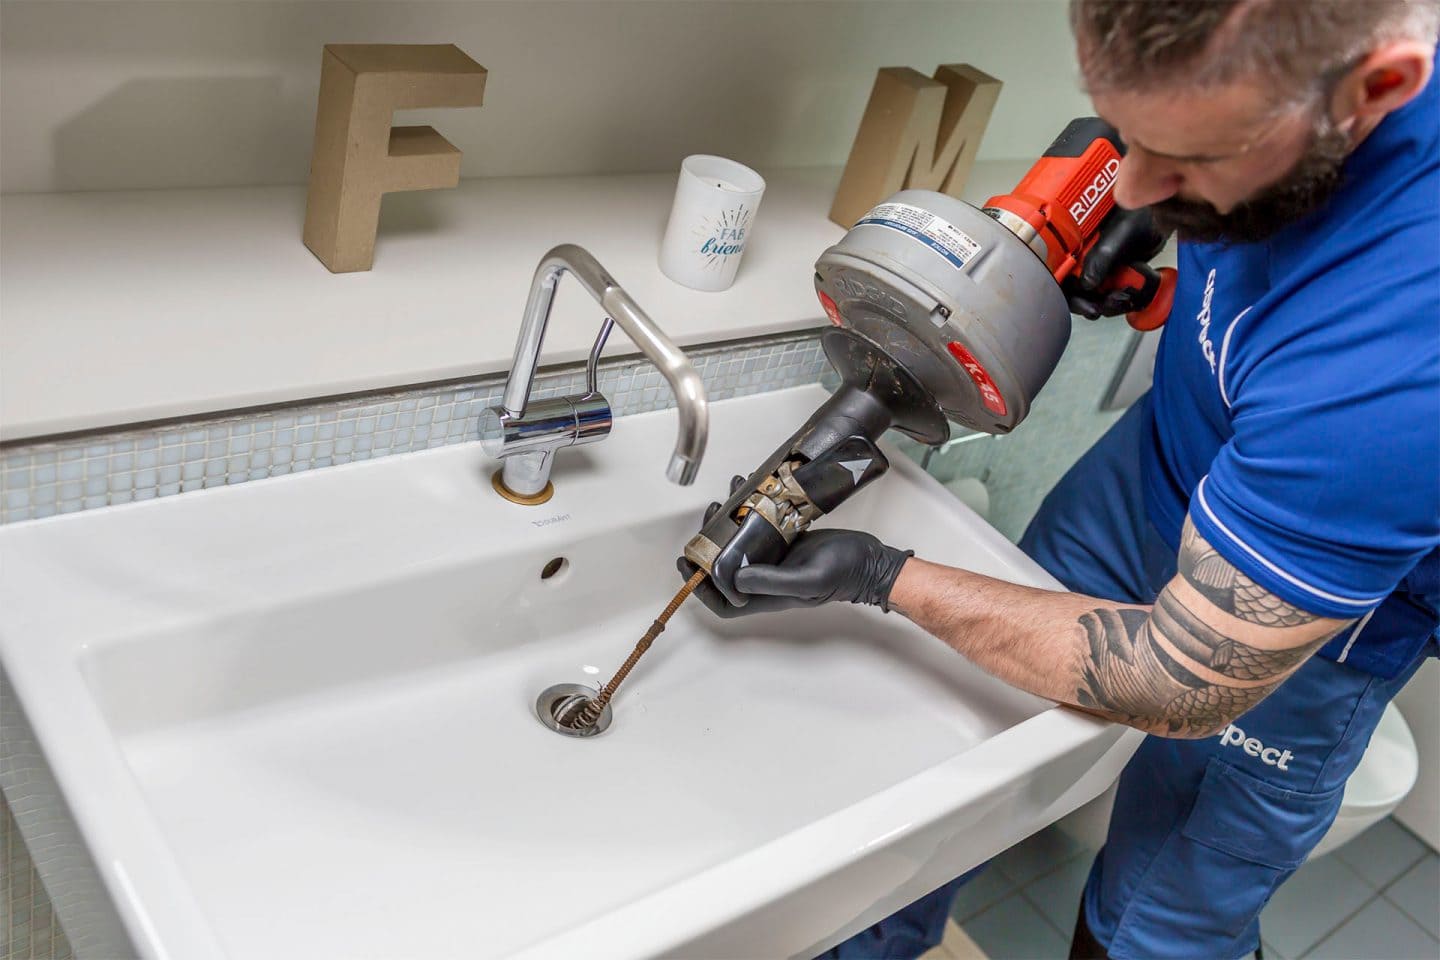
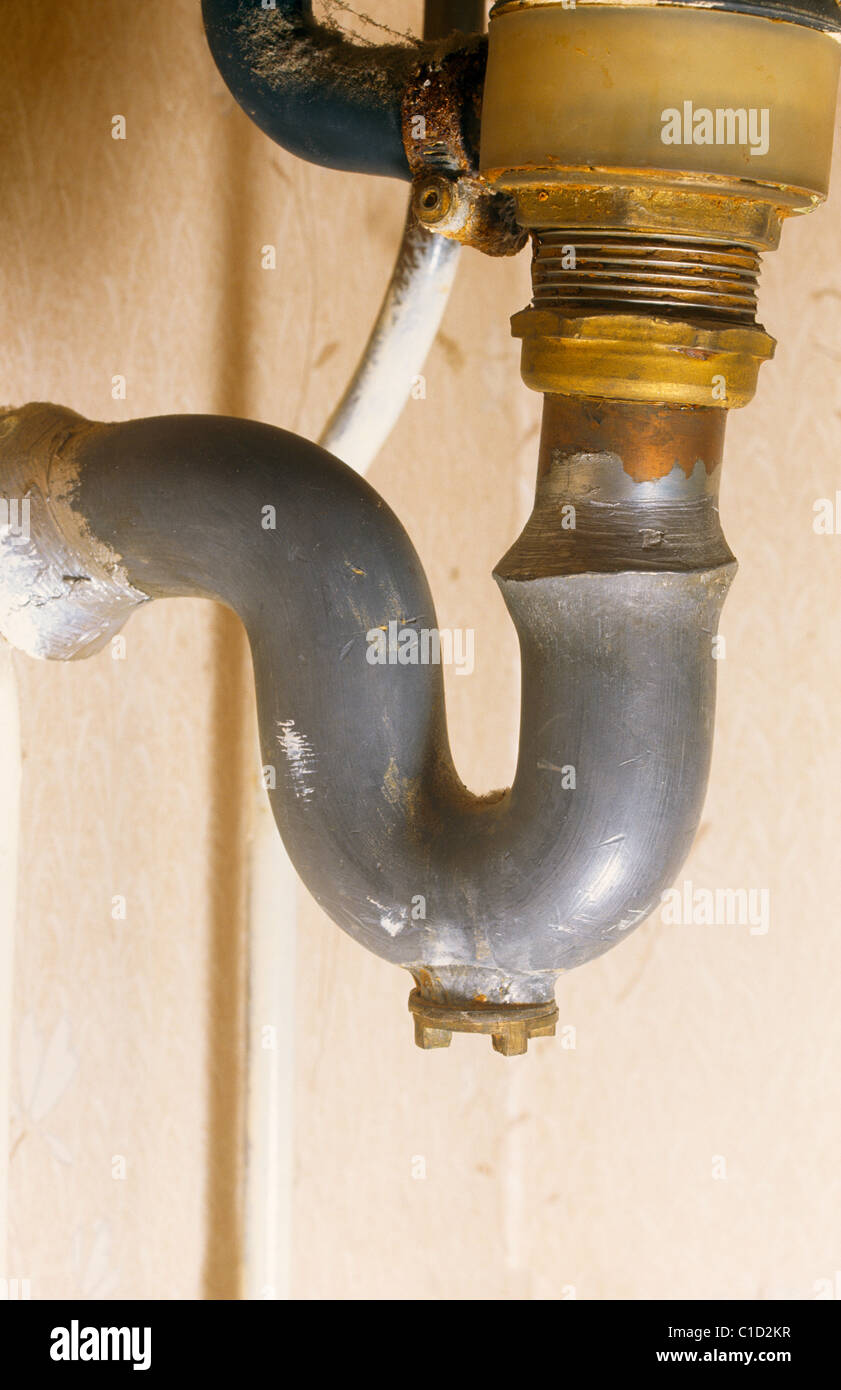
If you've noticed a strange odor coming from your bathroom sink, or your sink isn't draining properly, it may be time to remove the U bend. The U bend, also known as a P-trap, is a curved piece of piping underneath your sink that helps prevent sewer gases from entering your home. Removing it may seem like a daunting task, but with the right tools and techniques, it can be done easily. In this step-by-step guide, we'll show you how to remove a U bend from a bathroom sink in no time.How to Remove a U Bend from a Bathroom Sink
The first step to removing a U bend from your bathroom sink is to gather all the necessary tools. You'll need a pair of pliers, a bucket, a wrench, and a rag or cloth. Once you have all your tools, follow these simple steps:Removing a U Bend from a Bathroom Sink: A Step-by-Step Guide
Before you begin, it's important to prepare the area around your sink. Lay down a towel or cloth to catch any water or debris that may fall. This will make the cleanup process much easier.Step 1: Prepare the Area
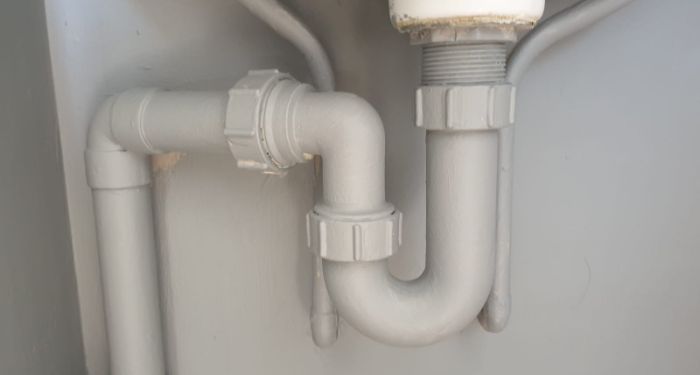
The U bend is located underneath your sink, directly below the drain. Use a flashlight if needed to locate it and get a better view of the piping.Step 2: Locate the U Bend
Using your pliers, loosen the slip nuts on either side of the U bend. These are the round nuts that connect the U bend to the rest of the piping. You may need to use a wrench for extra leverage.Step 3: Loosen the Slip Nuts
Once the slip nuts are loosened, you should be able to remove the U bend by pulling it downwards. If it's stuck, use your pliers to gently twist and loosen it before pulling it off completely.Step 4: Remove the U Bend
Now that the U bend is removed, take some time to clean it. You can use a brush or cloth to remove any debris or buildup that may be causing the blockage or odor.Step 5: Clean the U Bend
While you have the U bend removed, take a moment to inspect it for any damage. Cracks or holes in the piping may be the cause of your issues and will need to be replaced.Step 6: Check for Damage
After cleaning and inspecting the U bend, it's time to reinstall it. Make sure the slip nuts are tightened securely, but be careful not to over-tighten them as this can cause damage.Step 7: Reinstall the U Bend
Once the U bend is back in place, turn on the water and check for any leaks. If everything looks good, run some water down the drain to ensure it's draining properly.Step 8: Test the Sink
The Importance of Properly Removing a U Bend from a Bathroom Sink

When it comes to house design, every detail matters. From the color of the walls to the layout of the furniture, homeowners put a lot of thought and effort into creating the perfect space. However, one area that is often overlooked is the plumbing system, specifically the u bend in bathroom sinks.
What is a U Bend?

A u bend, also known as a P-trap, is a curved piece of pipe located under the sink that connects the drain to the main plumbing system. Its purpose is to trap a small amount of water in order to prevent unpleasant odors from coming up through the drain. While it may seem like a simple and insignificant component, a u bend is actually an essential part of any bathroom sink.
The Need to Remove a U Bend

Over time, u bends can become clogged with debris, hair, and other grime. This can lead to slow draining water, foul smells, and even leaks. In order to properly clean or replace a u bend, it must be removed from the sink. However, this process should not be taken lightly, as it requires proper technique and tools to avoid causing damage.
How to Remove a U Bend
Step 1: Turn off the water supply to the sink. This can usually be done by turning the shut-off valves located under the sink in a clockwise direction.
Step 2: Place a bucket or pan underneath the u bend to catch any water that may spill out.
Step 3: Use a pair of pliers or a wrench to loosen the nuts on either end of the u bend. These nuts are typically located where the u bend connects to the drain and the main plumbing system.
Step 4: Once the nuts are loosened, carefully remove the u bend from the sink. Be sure to empty any remaining water or debris into the bucket or pan.
The Importance of Properly Removing a U Bend
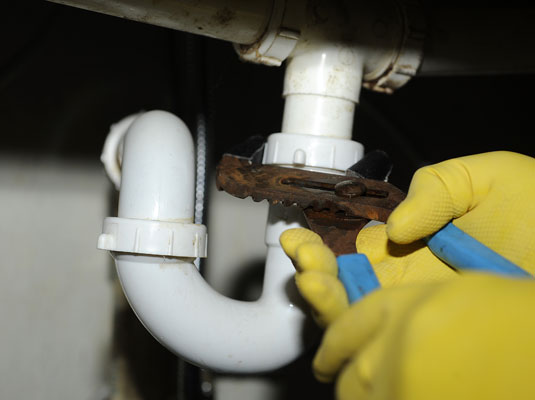
Removing a u bend from a bathroom sink may seem like a simple task, but it is important to do it correctly to avoid any potential problems. Improper removal can result in leaks, damage to the pipes, and even costly repairs. It is always recommended to hire a professional plumber to handle any plumbing issues, including removing and replacing u bends.
In conclusion, while a u bend may not be the most glamorous aspect of house design, it is a crucial component of a functional and hygienic bathroom. By understanding the importance of properly removing a u bend and following the correct steps, homeowners can ensure the longevity and efficiency of their plumbing system, ultimately contributing to a well-designed and comfortable home.
