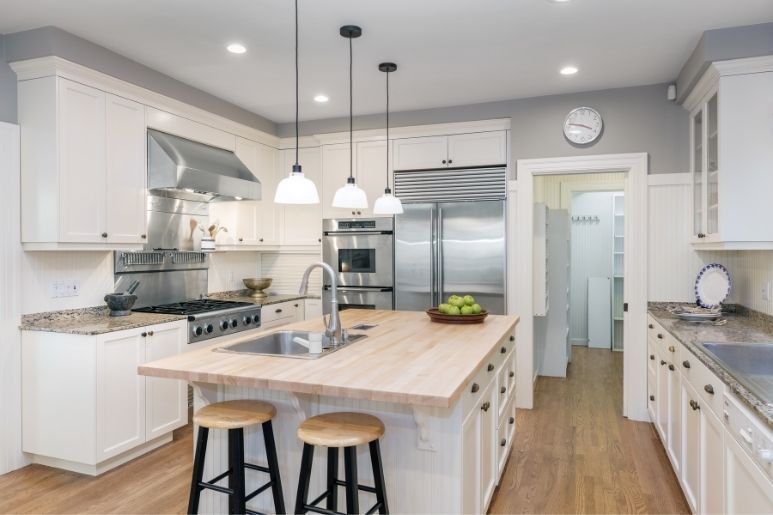
Lighting plays a crucial role in the functionality and aesthetics of any kitchen. So when it comes to removing progress lighting in your kitchen, it's essential to do it right to avoid any damage or accidents. Whether you're looking to replace your progress lighting with a new fixture or just need to remove it temporarily for renovations, here is a step-by-step guide on how to remove progress lighting in your kitchen.Removing Progress Lighting Kitchen


Removing Progress Lighting Kitchen


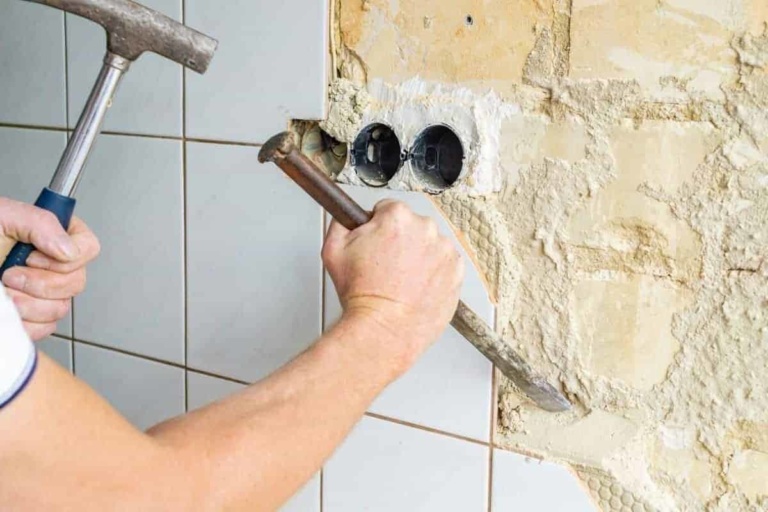
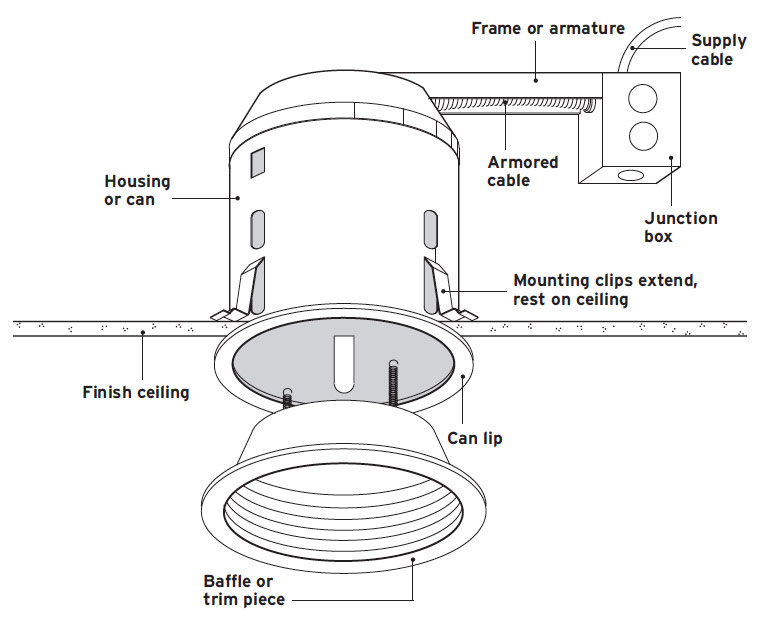
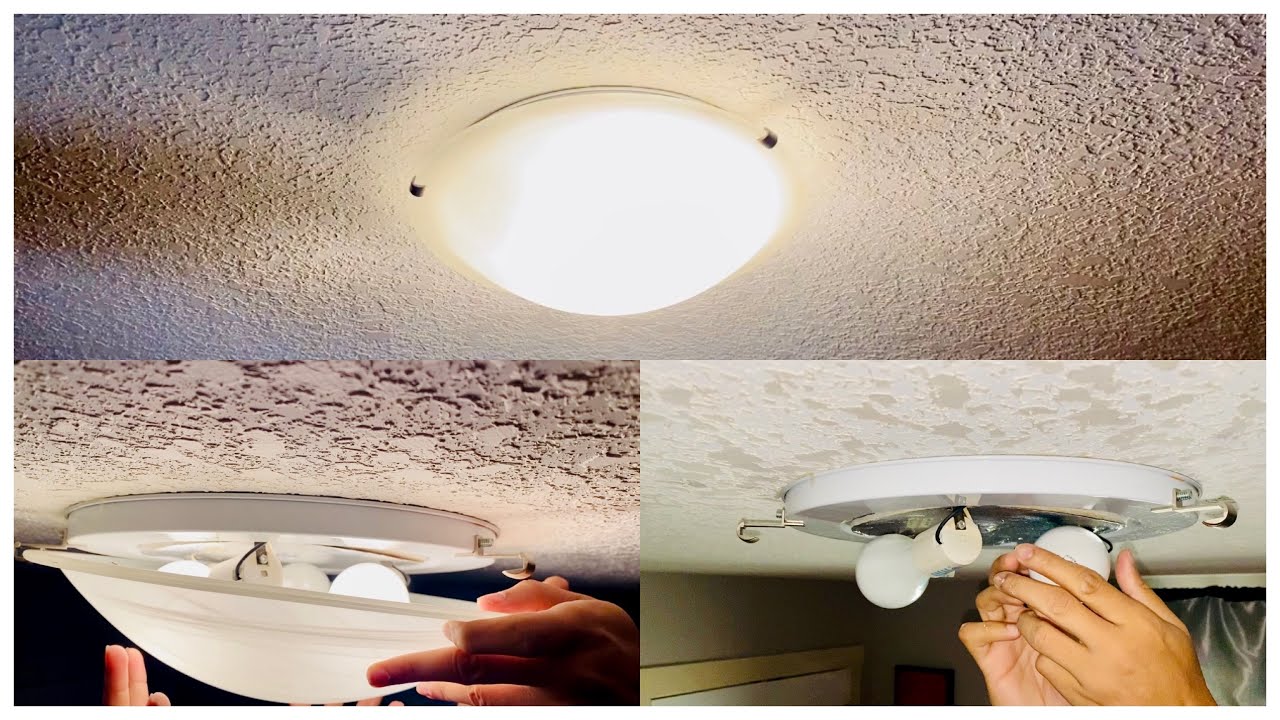
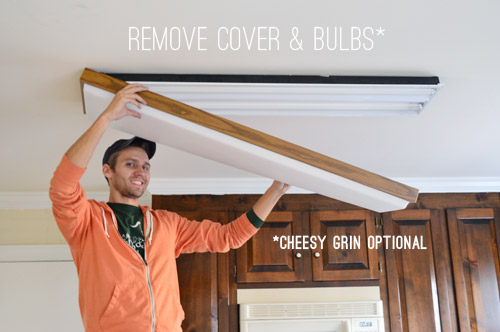
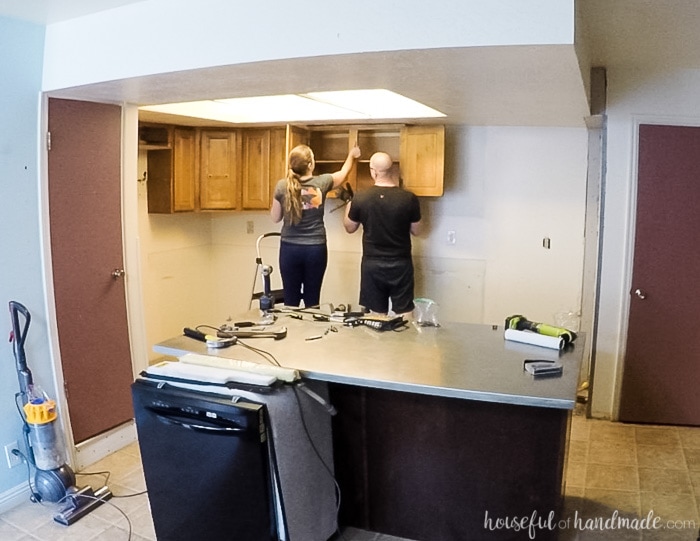
Step 1: Gather your materials Before you begin the process of removing progress lighting, make sure you have all the necessary tools and materials. This includes a ladder, screwdriver, wire strippers, wire connectors, and a voltage tester. It's always better to have these items on hand before starting to avoid any interruptions in the process. Step 2: Turn off the power Before you start handling any electrical wiring, it's crucial to turn off the power. You can do this by locating the circuit breaker that controls the power to your kitchen and flipping the switch to the 'off' position. You can also use a voltage tester to ensure that there is no power running to the progress lighting fixture. Step 3: Remove the light bulbs and cover Once the power is off, carefully remove the light bulbs from the progress lighting fixture. Then, using a screwdriver, unscrew the cover or any other decorative elements that may be attached to the fixture. Step 4: Remove the fixture Next, you'll need to unscrew the screws that are holding the fixture to the ceiling or wall. Once the screws are removed, carefully detach the fixture from the mounting bracket, taking note of how the wires are connected. Step 5: Disconnect the wires Using wire strippers, remove the insulation from the wires attached to the fixture. Then, using wire connectors, disconnect the wires from the electrical box. Make sure to cap each wire individually to avoid any accidents. Step 6: Remove the mounting bracket If you're planning on replacing the progress lighting fixture, you can leave the mounting bracket in place. But if you're looking to remove it completely, you'll need to unscrew it from the ceiling or wall using a screwdriver.How to Remove Progress Lighting in Your Kitchen


How to Remove Progress Lighting in Your Kitchen

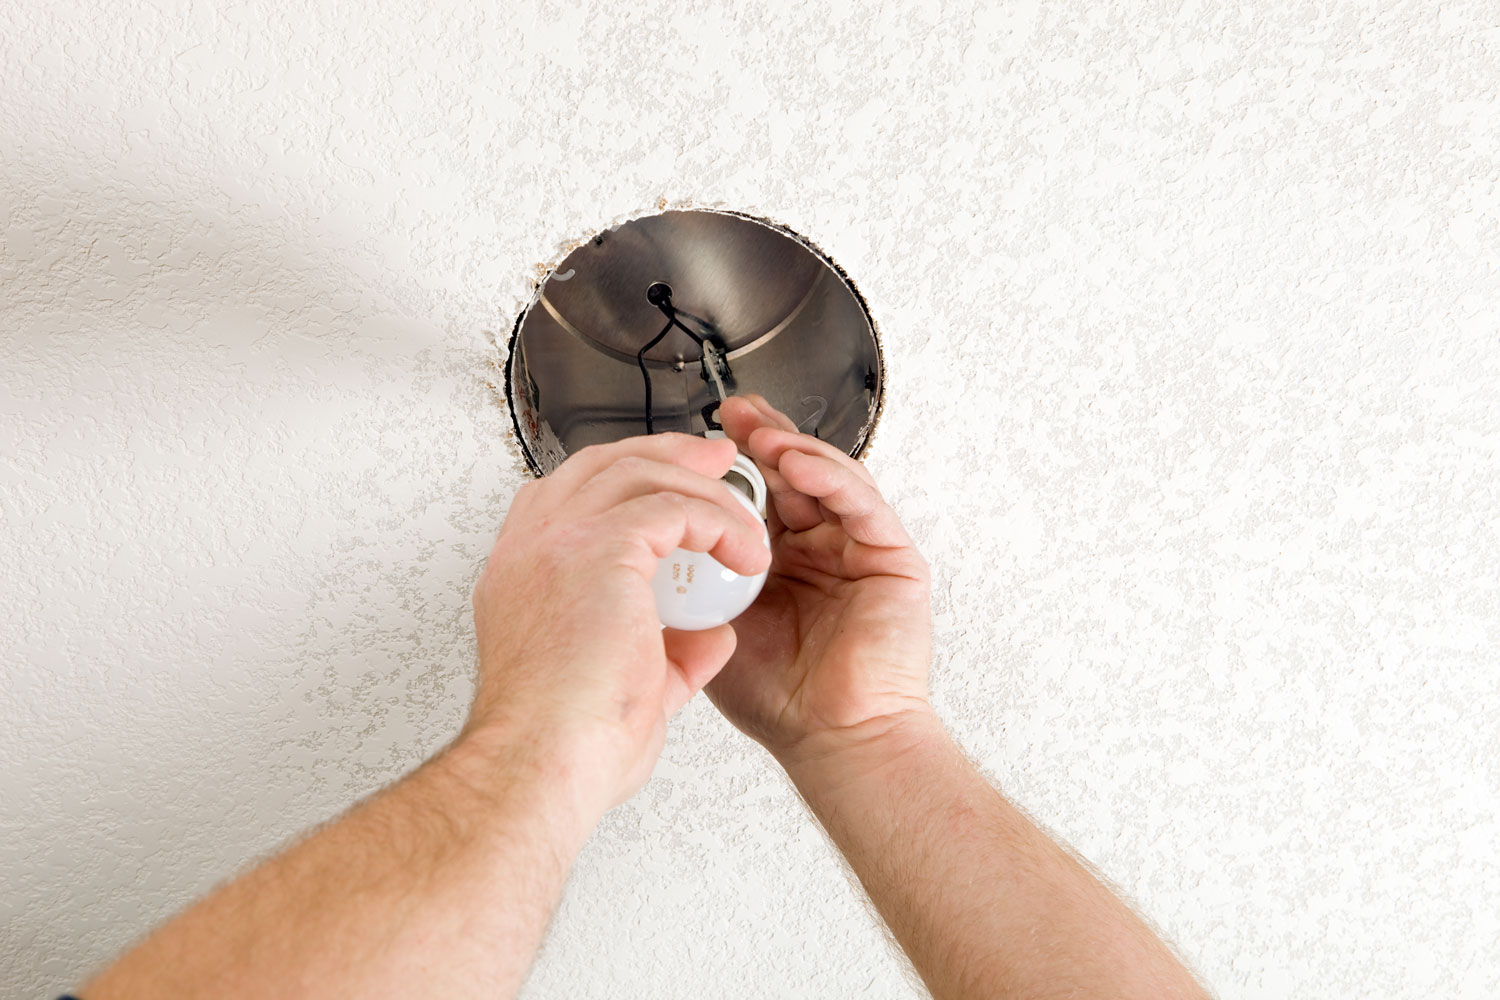


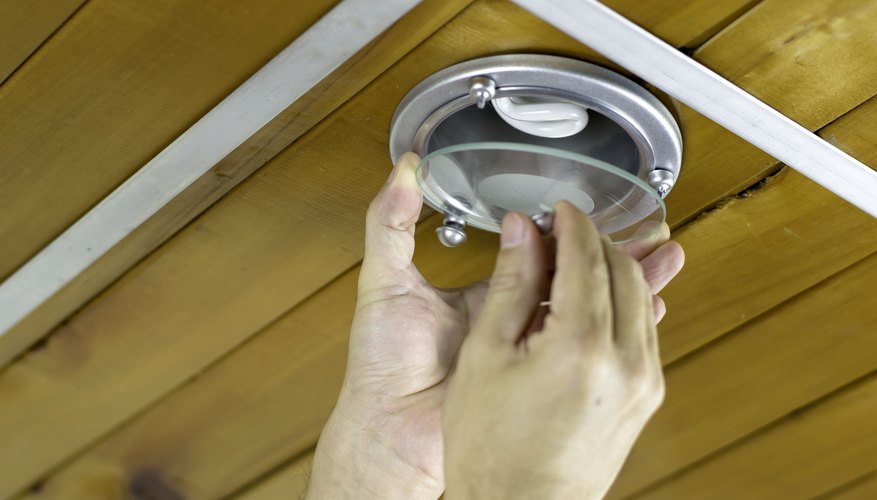
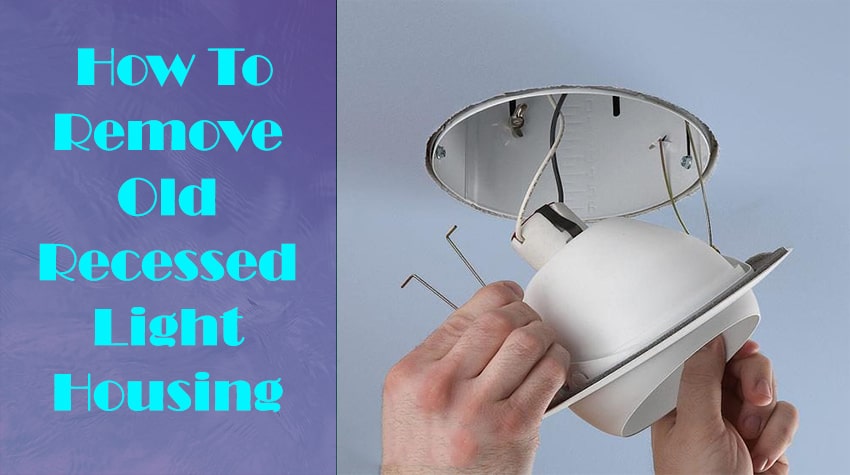
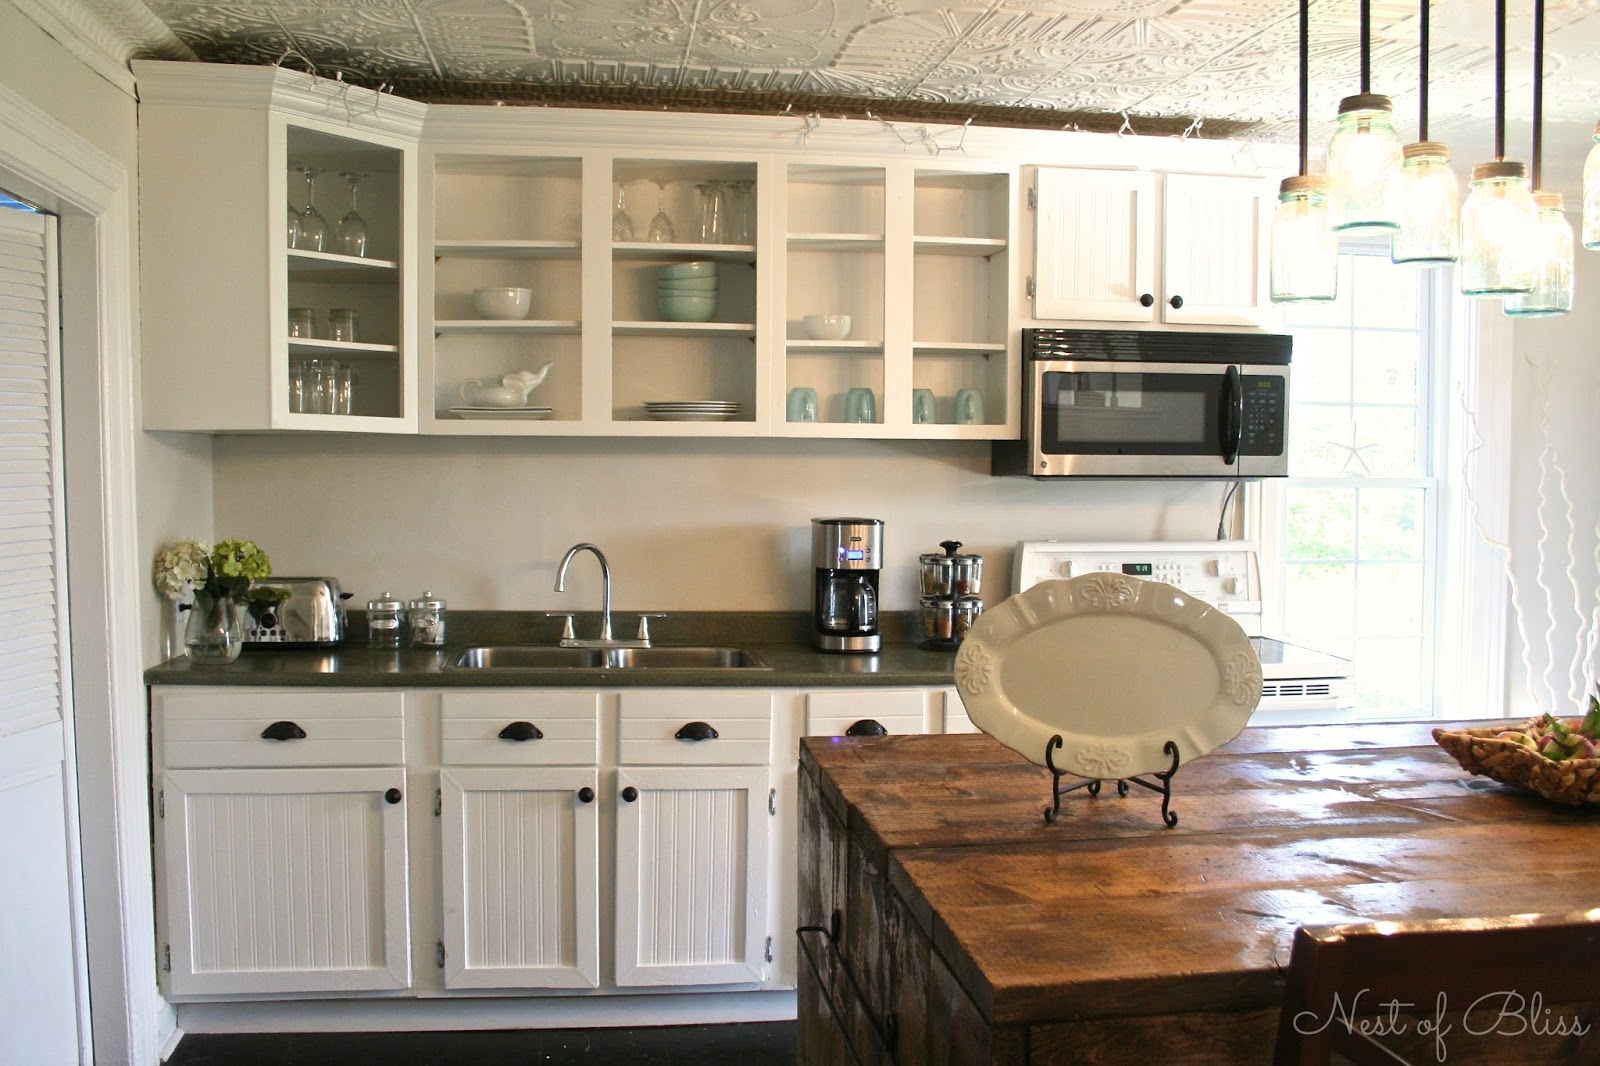
Step 1: Follow safety precautions Before starting the process of removing progress lighting, it's essential to take necessary safety precautions. This includes wearing protective gear, using a sturdy ladder, and ensuring the power is turned off. Step 2: Remove the light bulbs Start by unscrewing the light bulbs from the progress lighting fixture. If you're planning on replacing them, make sure to handle them with care to avoid any damage. Step 3: Detach the cover Using a screwdriver, unscrew any decorative elements or the cover attached to the progress lighting fixture. This will give you access to the screws holding the fixture in place. Step 4: Unscrew the fixture Using a screwdriver, unscrew the fixture from the mounting bracket attached to the ceiling or wall. Once the screws are removed, carefully detach the fixture from the bracket. Step 5: Disconnect the wires Using wire strippers, remove the insulation from the wires connected to the fixture. Then, using wire connectors, disconnect the wires from the electrical box and cap each wire individually. Step 6: Remove the mounting bracket If you're looking to remove the progress lighting fixture completely, you'll need to unscrew the mounting bracket from the ceiling or wall using a screwdriver.Step-by-Step Guide for Removing Progress Lighting in Your Kitchen


Step-by-Step Guide for Removing Progress Lighting in Your Kitchen


.jpg)


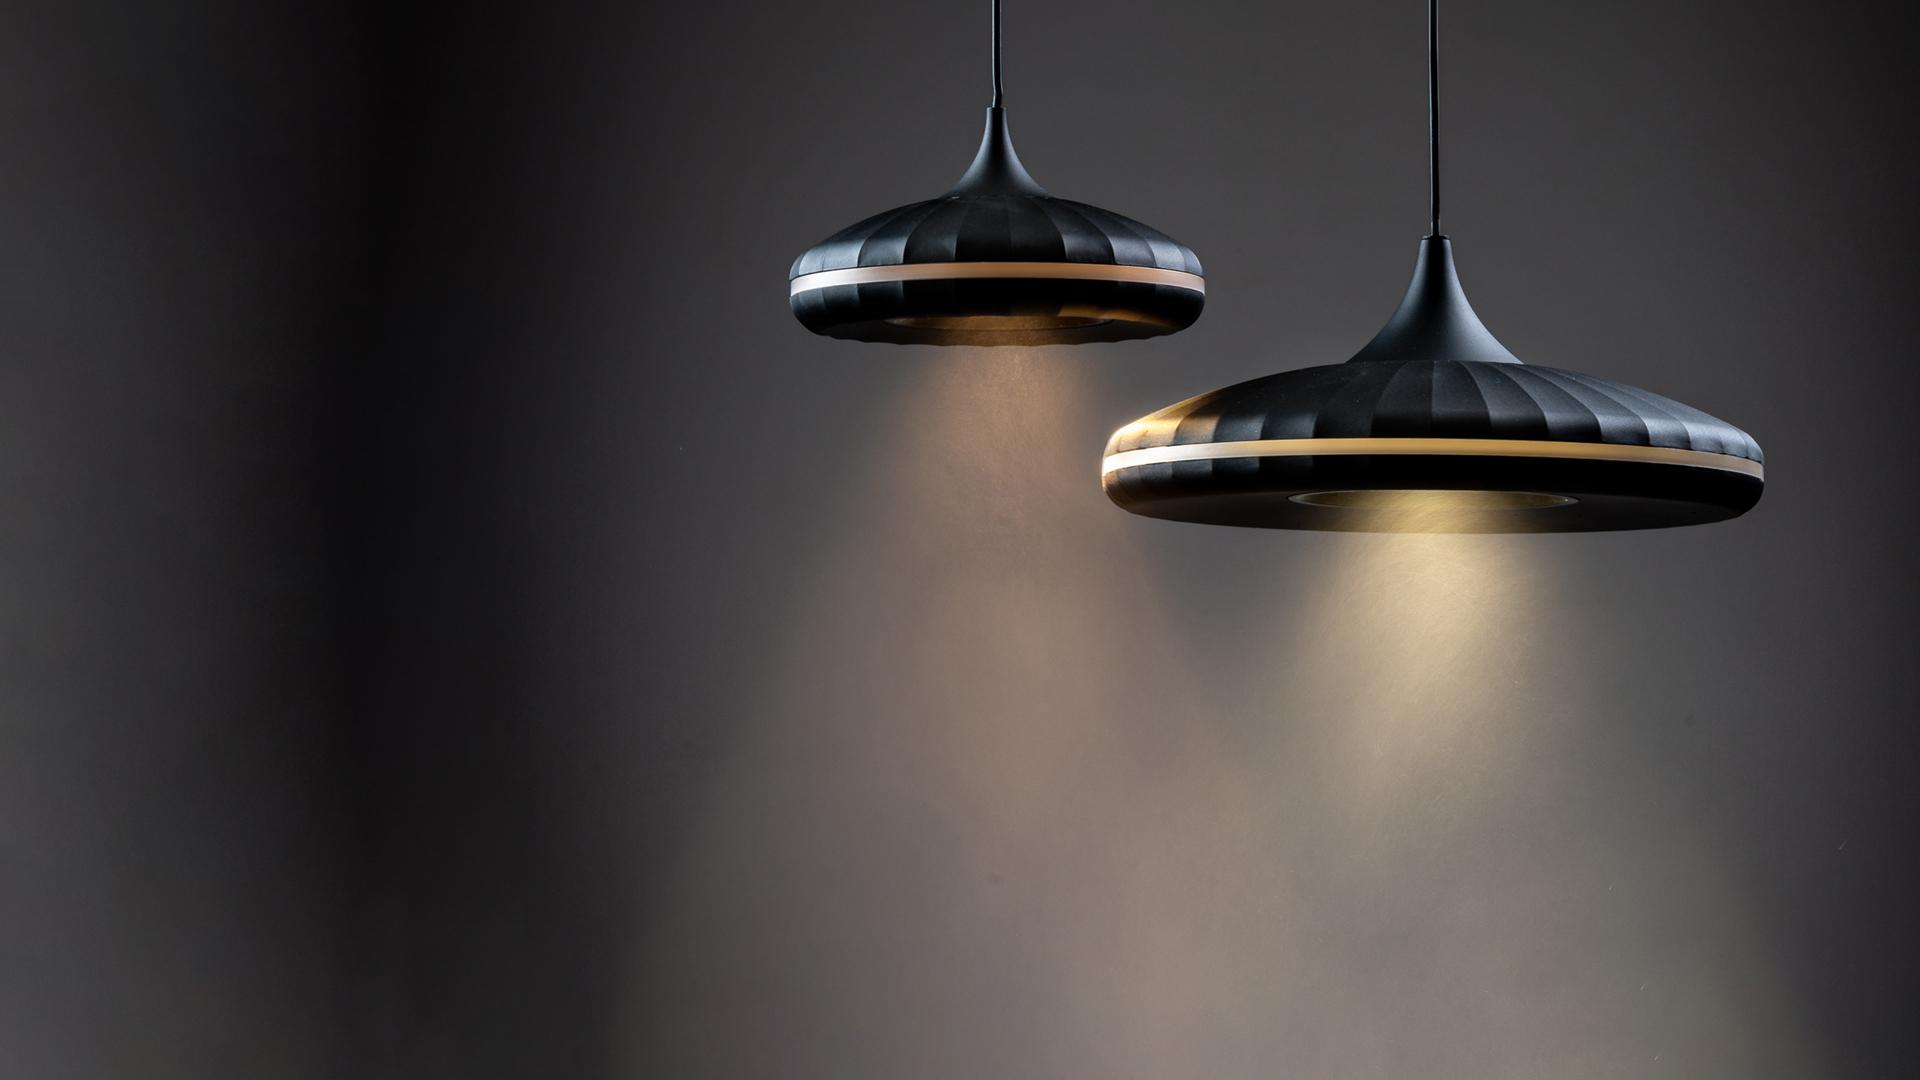
If you're planning on replacing your progress lighting fixture with a new one, the process of removing it will be similar to the steps mentioned above. However, if you're just looking to temporarily remove the fixture for renovations, here are some additional tips to keep in mind: TIP: Take photos Before disconnecting the wires, it's always helpful to take photos of how they are connected for future reference. This will make it easier to reconnect the wires correctly when you're ready to reinstall the progress lighting fixture. TIP: Label the wires In addition to taking photos, it's also a good idea to label each wire to indicate which one is the hot wire, neutral wire, and ground wire. This will ensure that you connect them correctly when reinstalling the fixture.Removing Progress Lighting Fixtures in Your Kitchen


Removing Progress Lighting Fixtures in Your Kitchen


While removing progress lighting in your kitchen may seem like a simple task, it's always better to err on the side of caution. If you're not confident in your DIY skills or don't feel comfortable working with electrical wiring, it's best to hire a professional to handle the task.DIY: Removing Progress Lighting in Your Kitchen


DIY: Removing Progress Lighting in Your Kitchen


TIP: Use a voltage tester Before starting the process of removing progress lighting, always use a voltage tester to ensure that there is no power running to the fixture. This will prevent any accidents or injuries. TIP: Have a helper Having a second pair of hands can be beneficial while removing progress lighting, especially if the fixture is large and heavy. They can help hold the fixture in place while you disconnect the wires and remove the screws.Removing Progress Lighting: Tips and Tricks for Your Kitchen


Removing Progress Lighting: Tips and Tricks for Your Kitchen


Mistake: Forgetting to turn off the power One of the most common and dangerous mistakes when removing progress lighting is not turning off the power. Always make sure to turn off the power and use a voltage tester before starting the process. Mistake: Mishandling the wires When disconnecting the wires, it's essential to handle them with care to avoid any damage or accidents. Make sure to use wire strippers and wire connectors to ensure a secure and safe connection.Removing Progress Lighting: Common Mistakes to Avoid in Your Kitchen


Removing Progress Lighting: Common Mistakes to Avoid in Your Kitchen


Tools: Ladder, screwdriver, wire strippers, wire connectors, voltage tester. Materials: Replacement progress lighting fixture (if needed).Removing Progress Lighting: Tools and Materials You'll Need for Your Kitchen


Removing Progress Lighting: Tools and Materials You'll Need for Your Kitchen


Wear protective gear: When working with electrical wiring, it's important to wear protective gear, including gloves and safety glasses, to avoid any accidents or injuries. Use a sturdy ladder: Make sure to use a sturdy ladder when working with progress lighting to avoid any falls or injuries.Removing Progress Lighting: Safety Precautions to Take in Your Kitchen


Removing Progress Lighting: Safety Precautions to Take in Your Kitchen


While removing progress lighting can be a DIY project, it's important to assess your skills and comfort level before attempting it. If you're not confident in your abilities or don't have the necessary tools and experience, it's best to hire a professional to ensure the task is done safely and correctly. In conclusion, removing progress lighting in your kitchen may seem like a daunting task, but with the right tools, materials, and safety precautions, it can be a simple and straightforward process. Just remember to take your time, follow the steps carefully, and don't hesitate to seek professional help if needed.Removing Progress Lighting: Professional vs. DIY Options for Your Kitchen


Removing Progress Lighting: Professional vs. DIY Options for Your Kitchen


Why You Should Consider Removing Progress Lighting in Your Kitchen

The Importance of Lighting in House Design
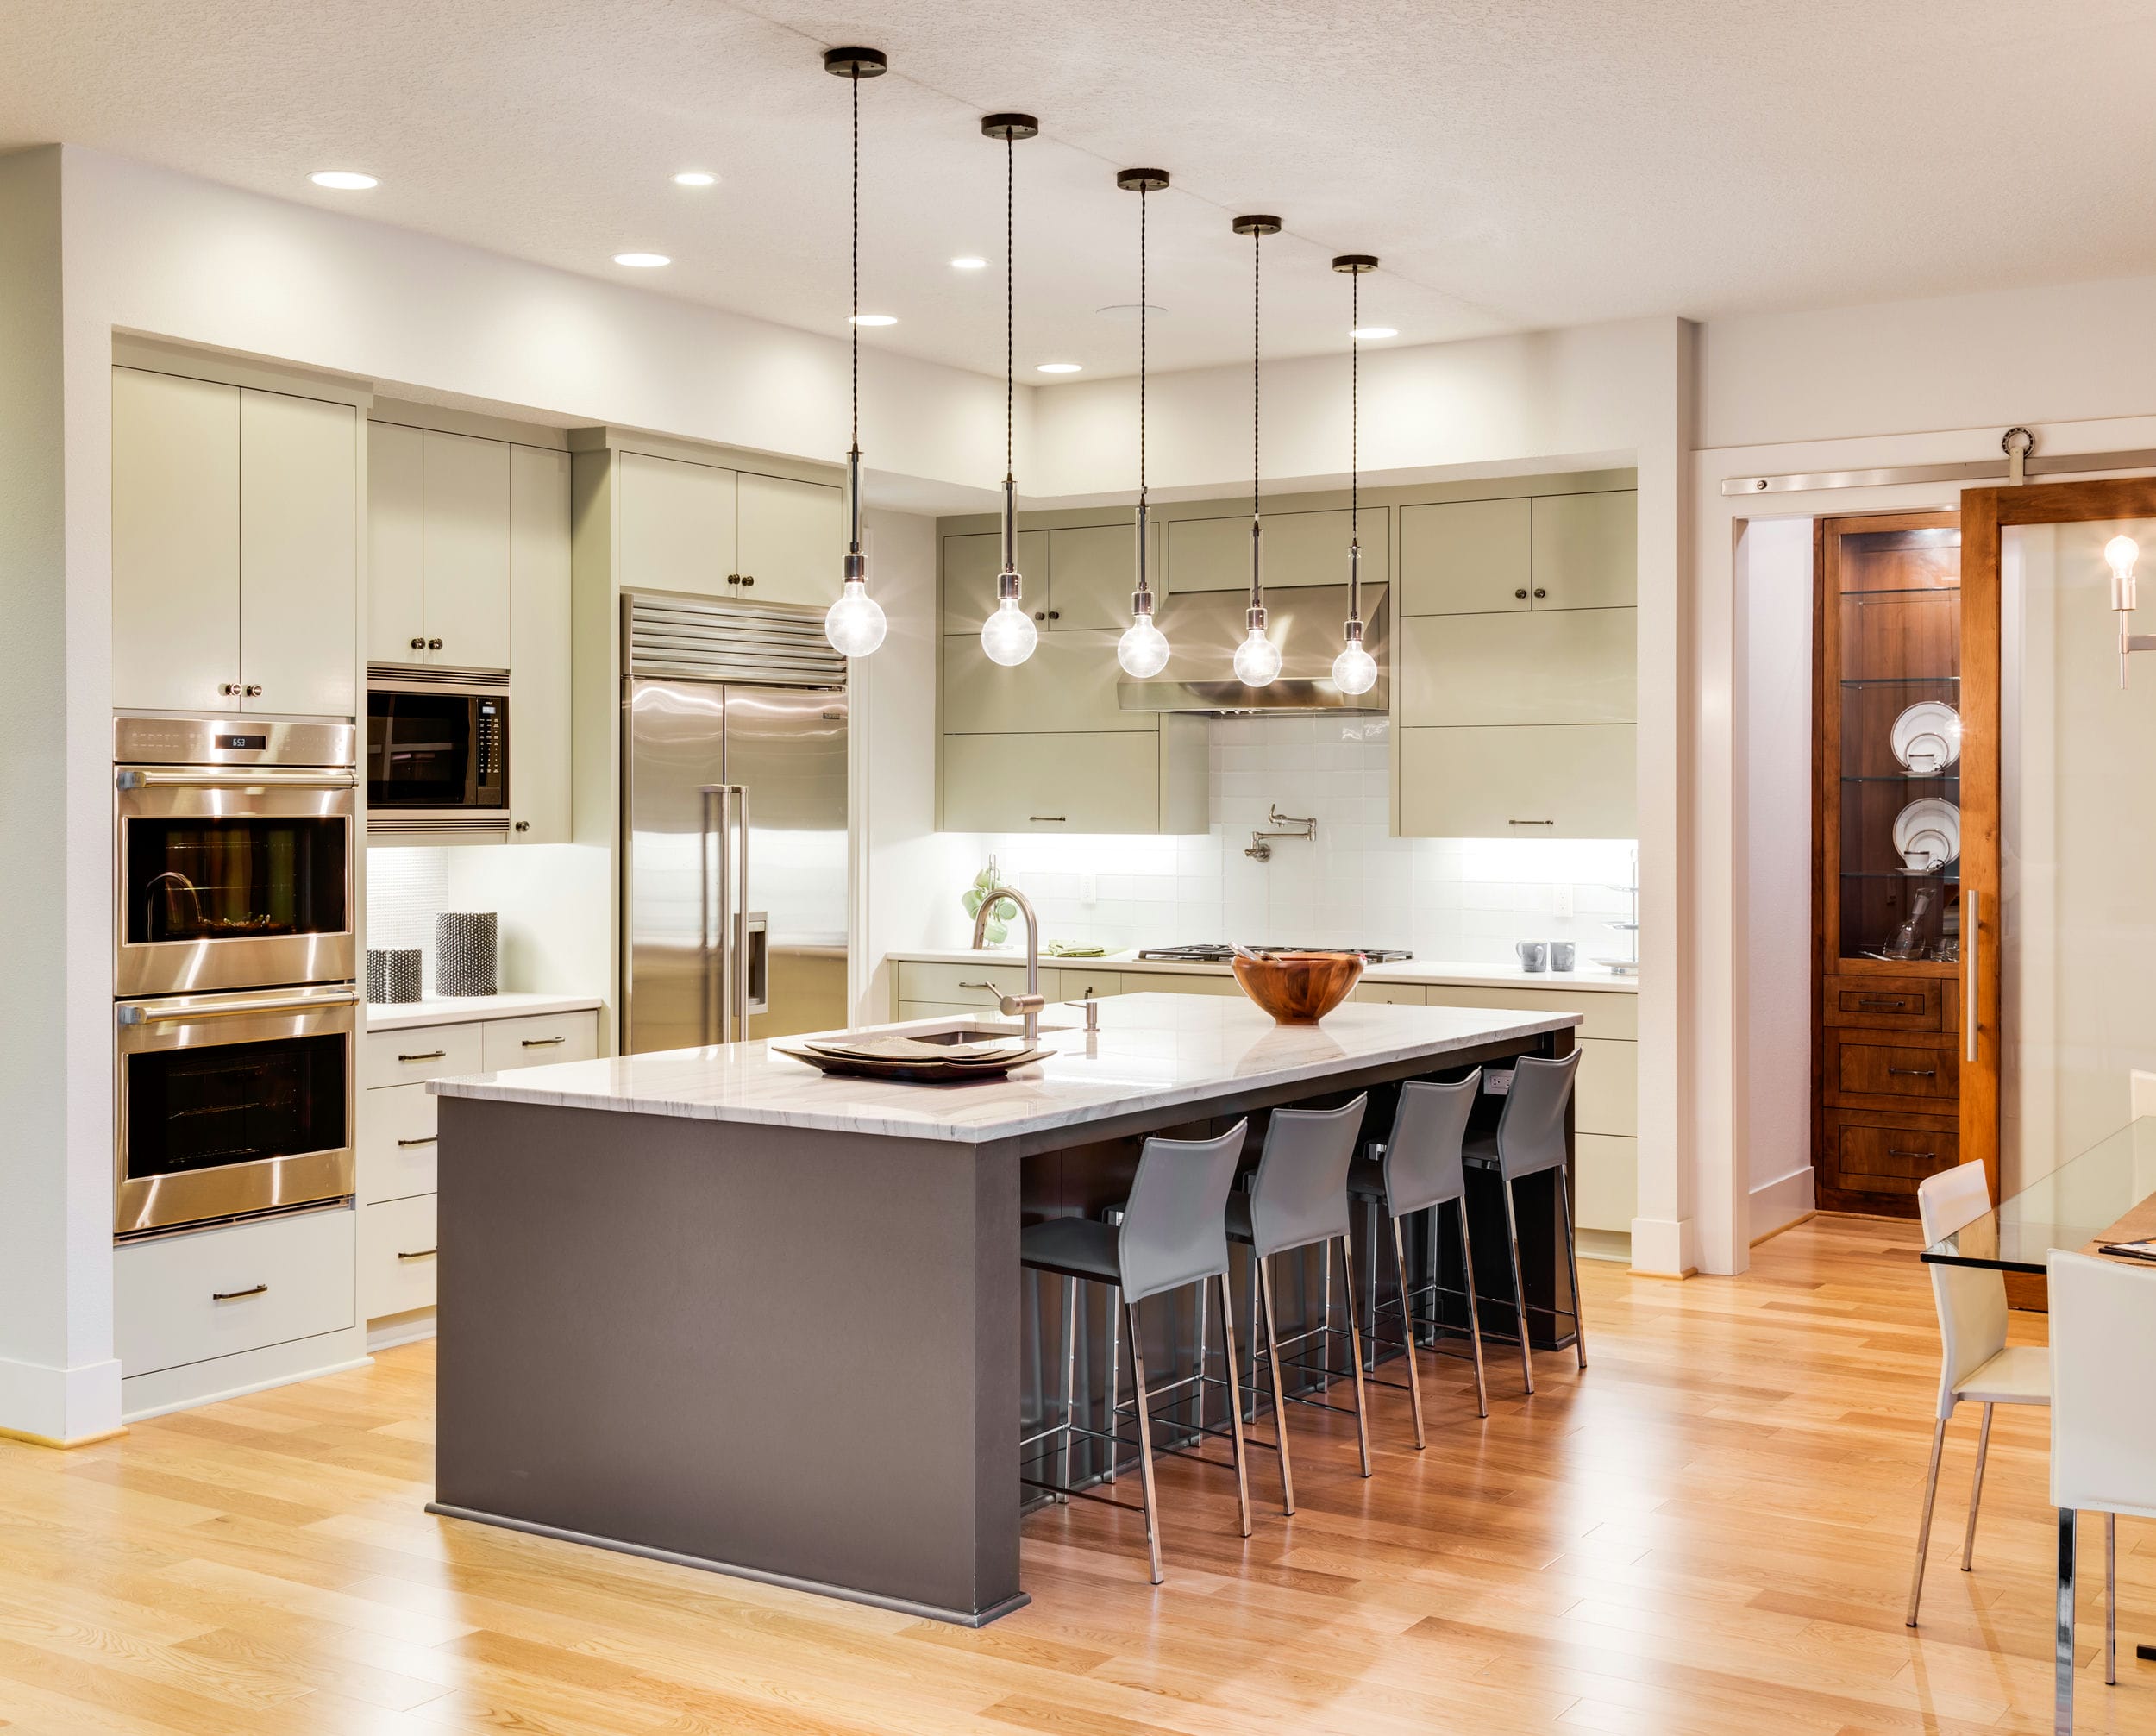
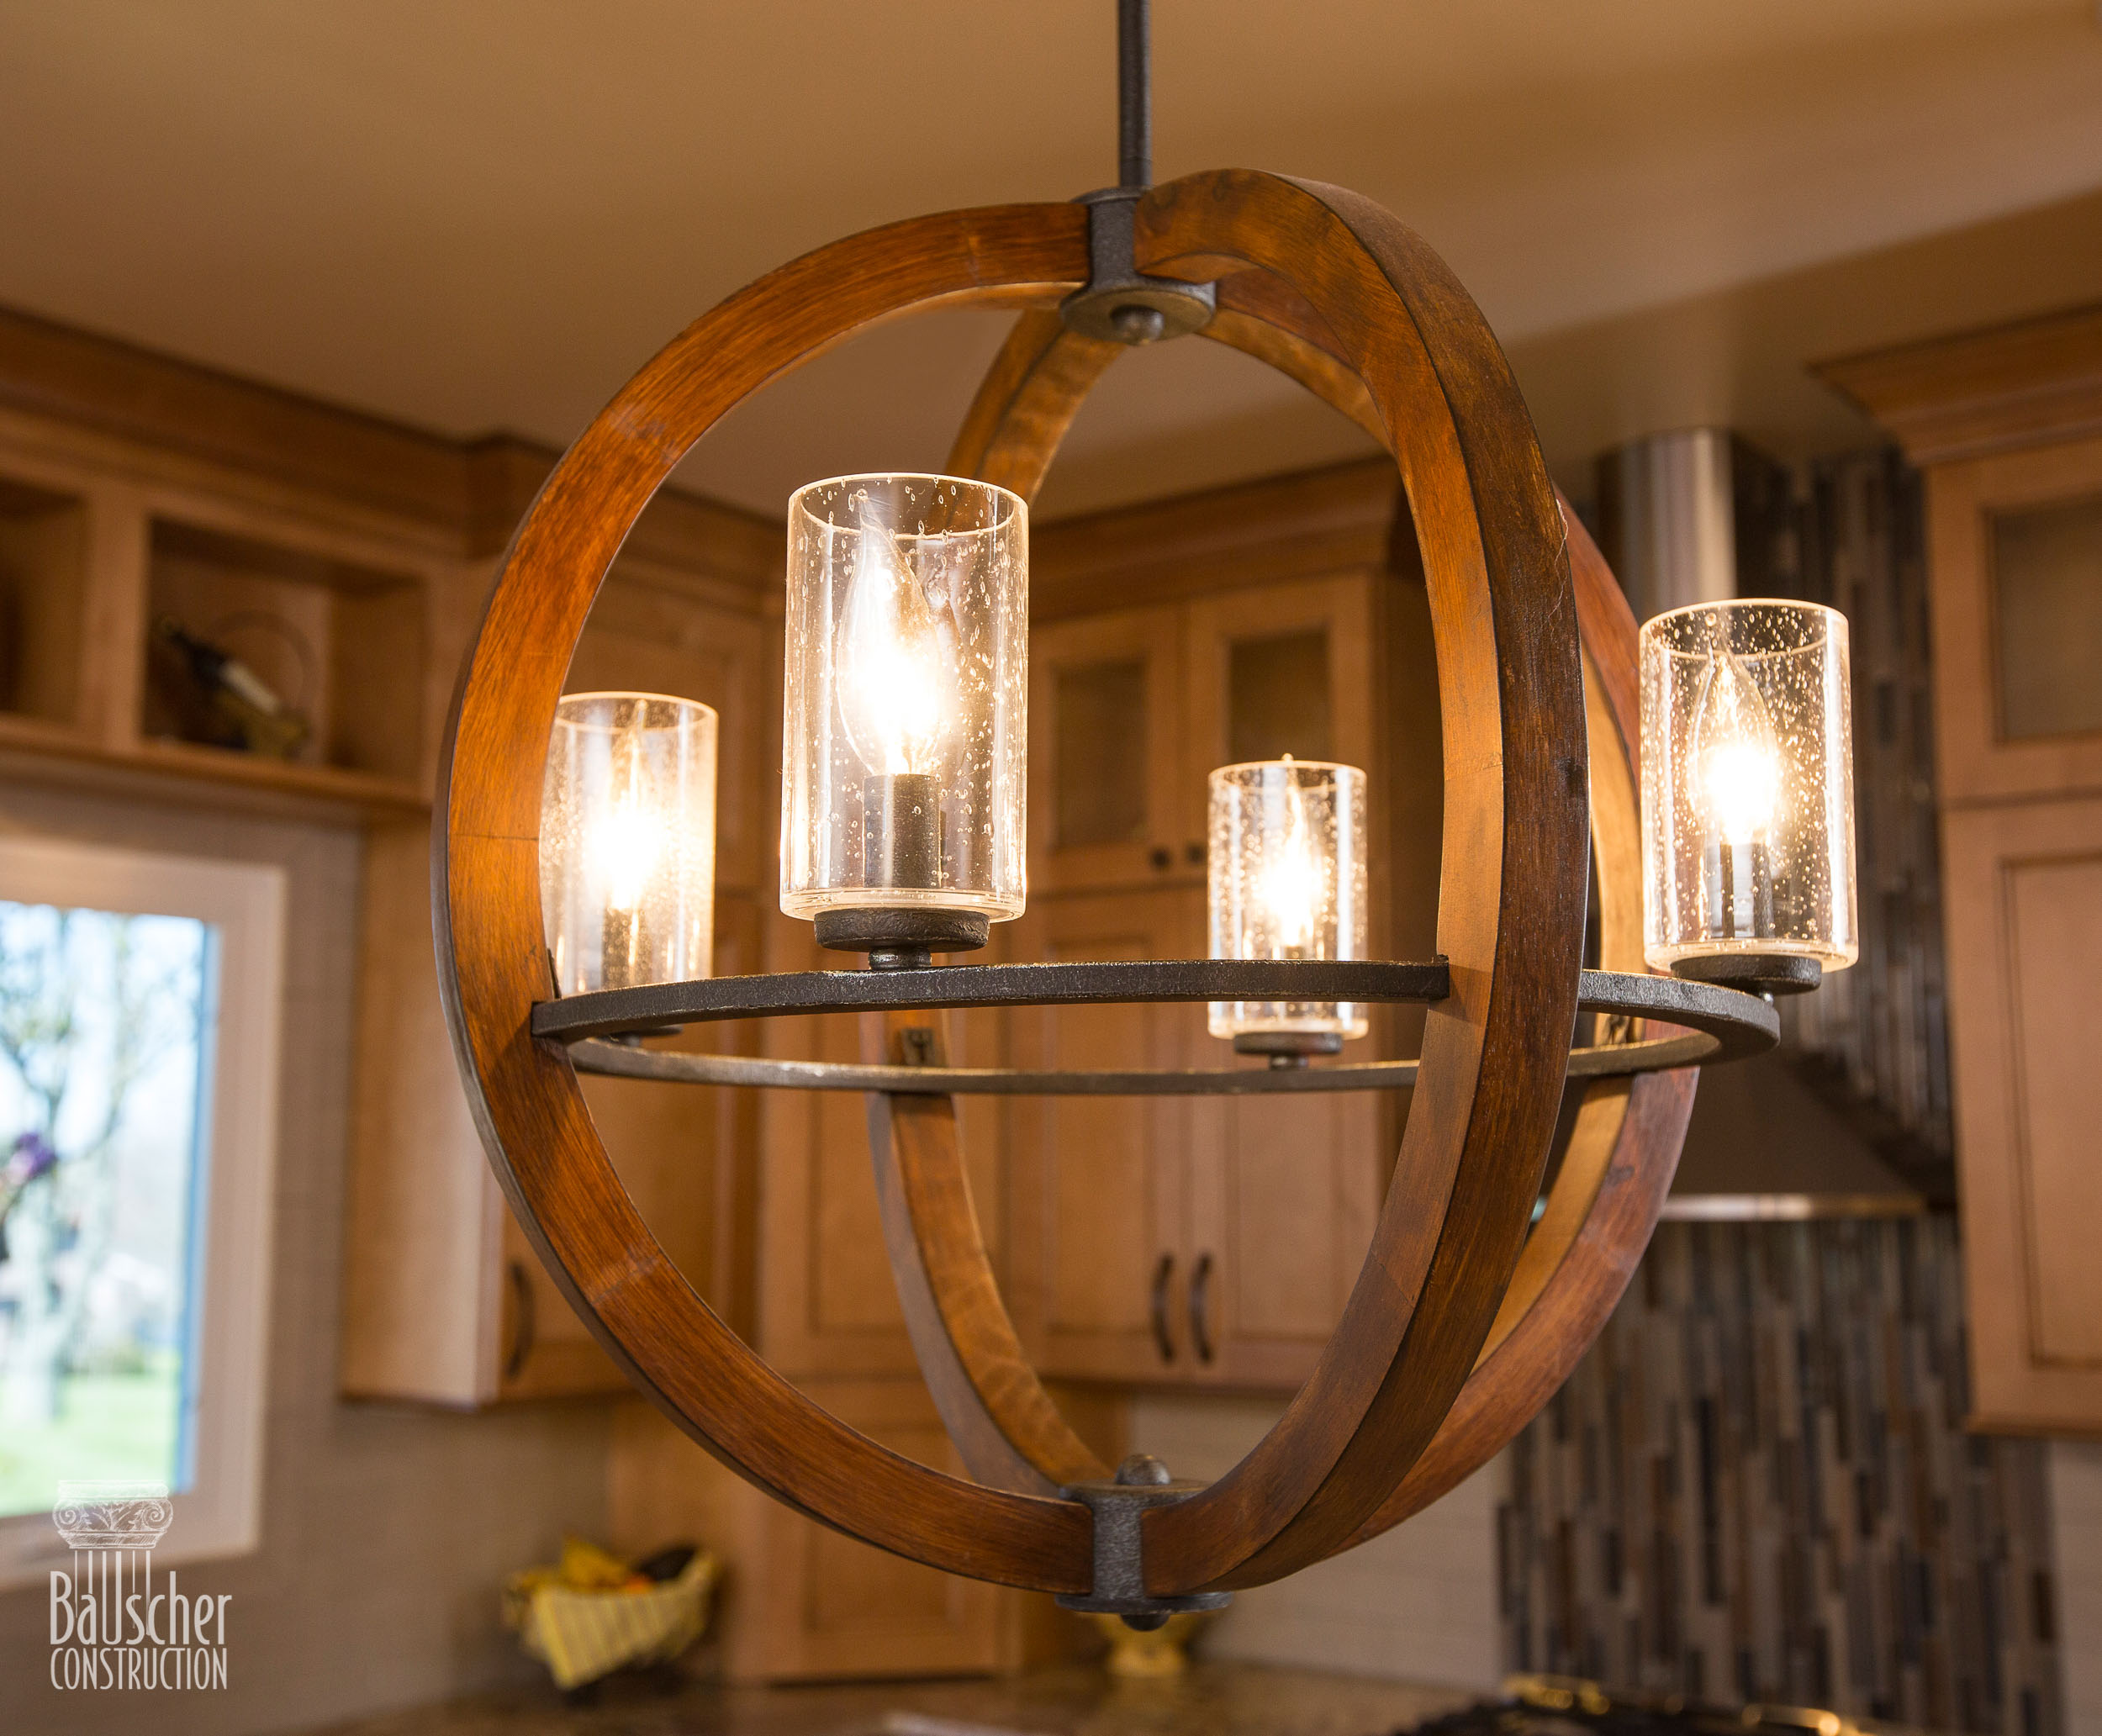
 Lighting plays a crucial role in house design as it not only serves as a functional necessity but also adds to the overall aesthetic of a space. The right lighting can enhance the ambiance and atmosphere of a room, making it feel warm, inviting, and cozy. On the other hand, poor lighting can make a space feel dull, dark, and uninviting. This is why it is essential to carefully consider the lighting choices in your home, especially in the kitchen, which is often referred to as the heart of the home.
What is Progress Lighting?
 Progress lighting
is a popular brand that offers a wide range of lighting fixtures for residential and commercial spaces. They are known for their stylish and innovative designs that cater to different styles and needs. However, as with any design element, trends and preferences change over time, and what may have been popular a few years ago may no longer be in style today.
Progress lighting
is a popular brand that offers a wide range of lighting fixtures for residential and commercial spaces. They are known for their stylish and innovative designs that cater to different styles and needs. However, as with any design element, trends and preferences change over time, and what may have been popular a few years ago may no longer be in style today.
The Downsides of Progress Lighting in the Kitchen
 While
progress lighting
may have been a go-to choice for kitchens in the past, there are several reasons why you should consider removing it from your kitchen now. One of the main reasons is that it can make your kitchen feel outdated and lackluster. As mentioned earlier, lighting trends change, and what may have been popular a few years ago may not be as appealing today. This is especially true in the fast-paced world of interior design where new styles and trends emerge constantly.
Another downside of
progress lighting
is that it can be quite expensive. While the brand offers high-quality and stylish fixtures, they come at a premium price. This can be a significant drawback for homeowners who are on a budget or those who want to update their kitchen without breaking the bank.
While
progress lighting
may have been a go-to choice for kitchens in the past, there are several reasons why you should consider removing it from your kitchen now. One of the main reasons is that it can make your kitchen feel outdated and lackluster. As mentioned earlier, lighting trends change, and what may have been popular a few years ago may not be as appealing today. This is especially true in the fast-paced world of interior design where new styles and trends emerge constantly.
Another downside of
progress lighting
is that it can be quite expensive. While the brand offers high-quality and stylish fixtures, they come at a premium price. This can be a significant drawback for homeowners who are on a budget or those who want to update their kitchen without breaking the bank.
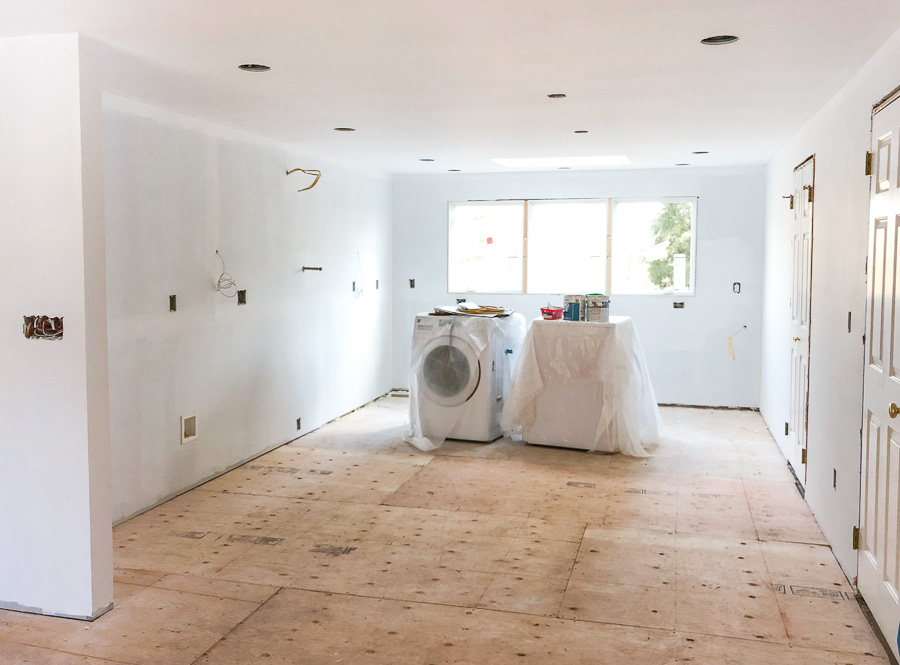
The Benefits of Removing Progress Lighting in Your Kitchen
 By removing
progress lighting
in your kitchen, you open up a world of possibilities for better lighting options. You can now explore different styles, designs, and brands that may better suit your current taste and budget. Additionally, updating your kitchen lighting can give your space a fresh, modern look and make it more functional for your daily tasks.
In conclusion, while
progress lighting
may have been a popular choice for kitchens in the past, it may no longer be the best option for your space. By removing it and exploring other lighting options, you can give your kitchen a much-needed upgrade and create a space that is both functional and visually appealing. So don't be afraid to let go of the old and embrace the new when it comes to your kitchen lighting.
By removing
progress lighting
in your kitchen, you open up a world of possibilities for better lighting options. You can now explore different styles, designs, and brands that may better suit your current taste and budget. Additionally, updating your kitchen lighting can give your space a fresh, modern look and make it more functional for your daily tasks.
In conclusion, while
progress lighting
may have been a popular choice for kitchens in the past, it may no longer be the best option for your space. By removing it and exploring other lighting options, you can give your kitchen a much-needed upgrade and create a space that is both functional and visually appealing. So don't be afraid to let go of the old and embrace the new when it comes to your kitchen lighting.