If you're looking to give your kitchen a fresh new look, one of the first things you may want to consider is removing your kitchen bar counter. While it may seem like a daunting task, with the right tools and knowledge, you can easily remove your kitchen bar counter in just a few simple steps. In this article, we'll guide you through the process and provide some helpful tips and tricks along the way.Removing a Kitchen Bar Counter: A Step-by-Step Guide
Before you begin, make sure you have all the necessary tools on hand. You will need a pry bar, hammer, screwdriver, utility knife, and protective gear such as gloves and safety glasses. Once you have everything ready, follow these five easy steps: Step 1: Remove the Countertop Step 2: Remove the Base Cabinets Step 3: Remove the Backsplash Step 4: Remove the Bar Counter Step 5: Patch and Repair the WallHow to Remove a Kitchen Bar Counter in 5 Easy Steps
Start by removing the countertop from the bar counter. Use a utility knife to cut through any caulk or adhesive holding the countertop in place. Then, use a pry bar to gently lift and remove the countertop.
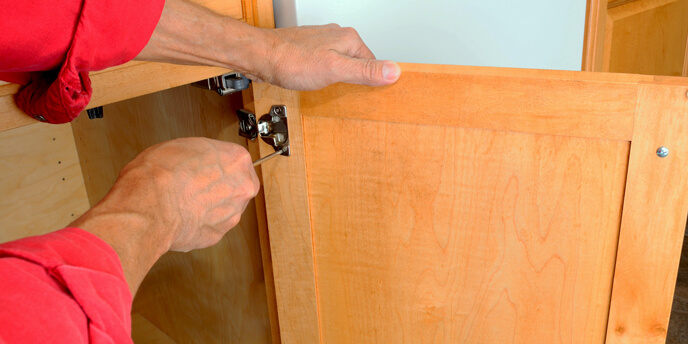
Next, remove the base cabinets that are attached to the bar counter. Use a screwdriver to unscrew any screws holding the cabinets in place. Once the screws are removed, carefully lift and remove the cabinets.
If your kitchen bar counter has a backsplash, use a pry bar to gently remove it from the wall. Be careful not to damage the wall in the process.
Now it's time to remove the actual bar counter. Start by using a hammer to loosen any nails or screws holding it in place. Then, use a pry bar to gently lift and remove the bar counter from the wall. If necessary, have someone assist you in lifting and removing the counter to avoid any accidents.
After removing the bar counter, you may notice some holes or damage to the wall. Use spackling paste to fill in any holes and sand it down until it is smooth. If there are any major damages, you may need to patch and repaint the wall. Once the wall is repaired, your kitchen will be ready for a fresh new look!
Removing a kitchen bar counter can be a DIY project, but it's important to be cautious and follow proper safety measures. Make sure to wear protective gear and be careful when handling heavy objects. If you're not confident in your abilities, it's always best to hire a professional to avoid any accidents or damages.DIY: Removing a Kitchen Bar Counter
Here are some helpful tips and tricks to keep in mind when removing your kitchen bar counter: Use the Right Tools Protect Your Floors Have a Plan for Disposal Don't RushRemoving a Kitchen Bar Counter: Tips and Tricks
Having the right tools is essential for a successful kitchen bar counter removal. Make sure to have a pry bar, hammer, screwdriver, and utility knife on hand. This will make the process much smoother and easier.
When removing the bar counter, it's important to protect your floors from any scratches or damages. Lay down a drop cloth or old towels to catch any debris that may fall during the removal process.
Before starting the removal process, have a plan for disposing of the bar counter and any other materials that may need to be thrown away. This will save you time and hassle in the long run.
Removing a kitchen bar counter takes time and patience. Don't rush through the process as this can lead to mistakes or accidents. Take your time and follow the steps carefully.
As mentioned before, having the right tools is essential for a successful kitchen bar counter removal. Here are some of the best tools to use: Pry Bar Hammer Screwdriver Utility KnifeThe Best Tools for Removing a Kitchen Bar Counter
A pry bar is the most important tool you will need for removing a bar counter. It's used to pry and lift heavy objects, making it the perfect tool for removing a kitchen bar counter.
A hammer is useful for loosening any nails or screws holding the bar counter in place. It can also be used to break apart any stubborn pieces.
A screwdriver is essential for removing any screws or hardware from the bar counter. Make sure to have a variety of sizes on hand to accommodate different types of screws.
A utility knife is useful for cutting through any caulk or adhesive holding the countertop in place. It can also be used to score and cut through drywall if necessary.
Here are some common mistakes to avoid when removing a kitchen bar counter: Not Wearing Protective Gear Not Having a Plan Rushing Through the ProcessRemoving a Kitchen Bar Counter: Common Mistakes to Avoid
It's important to protect yourself when removing a bar counter. Wear gloves, safety glasses, and closed-toe shoes to avoid any injuries.
Before starting the removal process, make sure to have a plan in place for disposing of the bar counter and any other materials. This will save you time and hassle in the long run.
Removing a bar counter takes time and patience. Don't rush through the process as this can lead to mistakes or accidents. Take your time and follow the steps carefully.
After removing your kitchen bar counter, you may notice some damages or holes in the wall. Here's how you can easily patch and repair your kitchen wall: Step 1: Clean the Wall Step 2: Fill in Any Holes Step 3: Sand the Wall Step 4: Prime the Wall Step 5: Paint the WallHow to Patch and Repair Your Kitchen Wall After Removing a Bar Counter
Start by cleaning the wall to remove any debris or dust. This will ensure a smooth surface for patching and repair.
Use spackling paste to fill in any holes or damages on the wall. Smooth it out with a putty knife and allow it to dry completely.
Once the spackling paste is dry, use sandpaper to smooth out the surface. Wipe away any dust or debris before moving on to the next step.
Apply a coat of primer to the patched areas to ensure a smooth and even finish. Allow the primer to dry completely before moving on to the next step.
Finally, paint the wall with your desired color to complete the repair process. Allow the paint to dry completely before hanging any decorations or cabinets on the wall.
Removing a kitchen bar counter may seem like a lot of work, but the end result is definitely worth the effort. Not only will it give your kitchen a fresh new look, but it can also create more space and increase the functionality of your kitchen.Removing a Kitchen Bar Counter: Is it Worth the Effort?
Here are some pros and cons to consider before removing your kitchen bar counter: Pros: Cons:Removing a Kitchen Bar Counter: Pros and Cons
- Creates more space in your kitchen
- Gives your kitchen a fresh new look
- Increases the functionality of your kitchen
- Can be a DIY project to save money
- Can be time-consuming
- May require the help of a professional
- May cause damage to the wall or flooring
- Can be a messy and dusty process
If you're not ready to completely remove your kitchen bar counter, there are some alternative ideas you can consider for a fresh new look: Paint or Refinish the Countertop Add a Butcher Block or Marble Countertop Install a Breakfast Bar Removing a kitchen bar counter may seem like a daunting task, but with the right tools and knowledge, it can easily be done in just a few simple steps. Just remember to take your time, follow safety measures, and have a plan in place for disposing of the old counter. With a little effort, you can give your kitchen a fresh new look and create a more functional space for cooking and entertaining.Alternative Ideas for Replacing a Kitchen Bar Counter
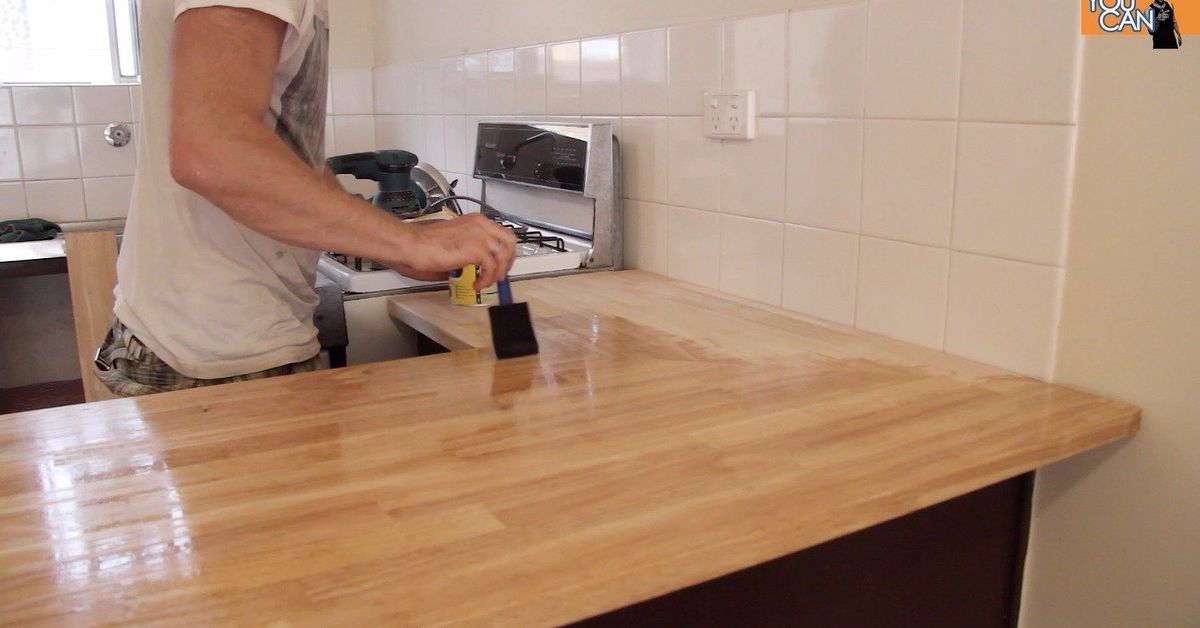
If your kitchen bar counter is still in good condition, you can simply paint or refinish the countertop for a new look. This is a budget-friendly and easy option that can completely transform the look of your kitchen.
For a more upscale look, consider adding a butcher block or marble countertop to your kitchen bar counter. This will give your kitchen a unique and stylish touch.
If you still want a bar counter in your kitchen, consider installing a breakfast bar instead. This will create a designated space for eating and entertaining while still giving your kitchen an open and spacious feel.
Why Removing a Kitchen Bar Counter Can Improve Your House Design

The Benefits of Removing a Kitchen Bar Counter
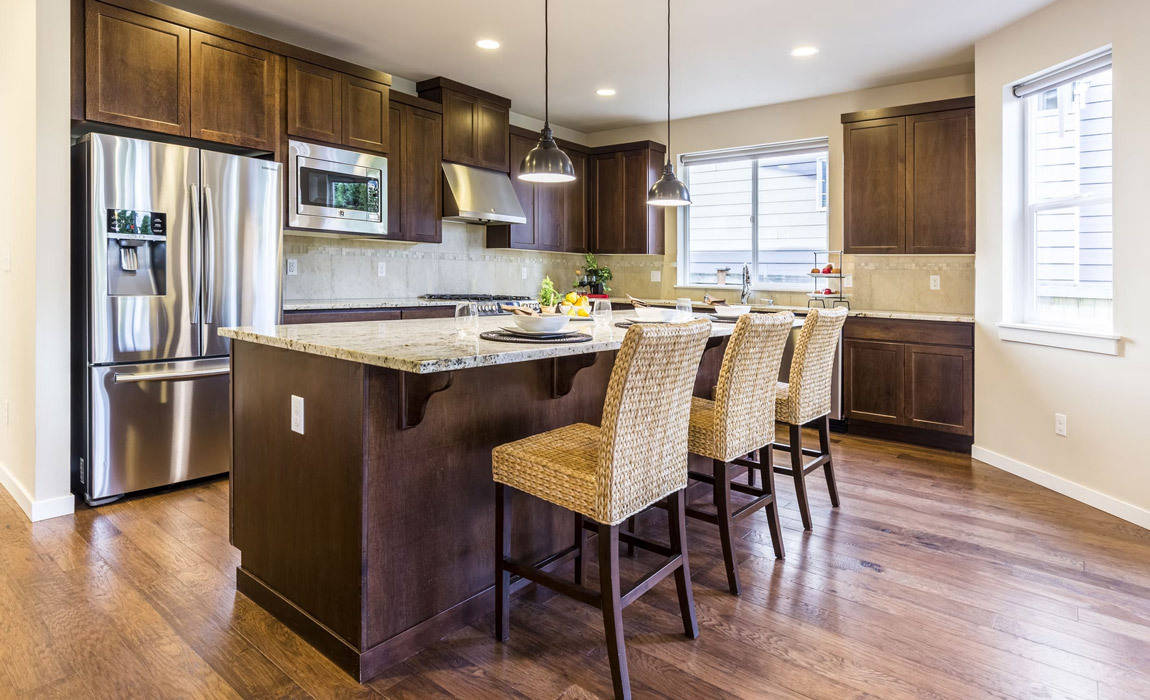
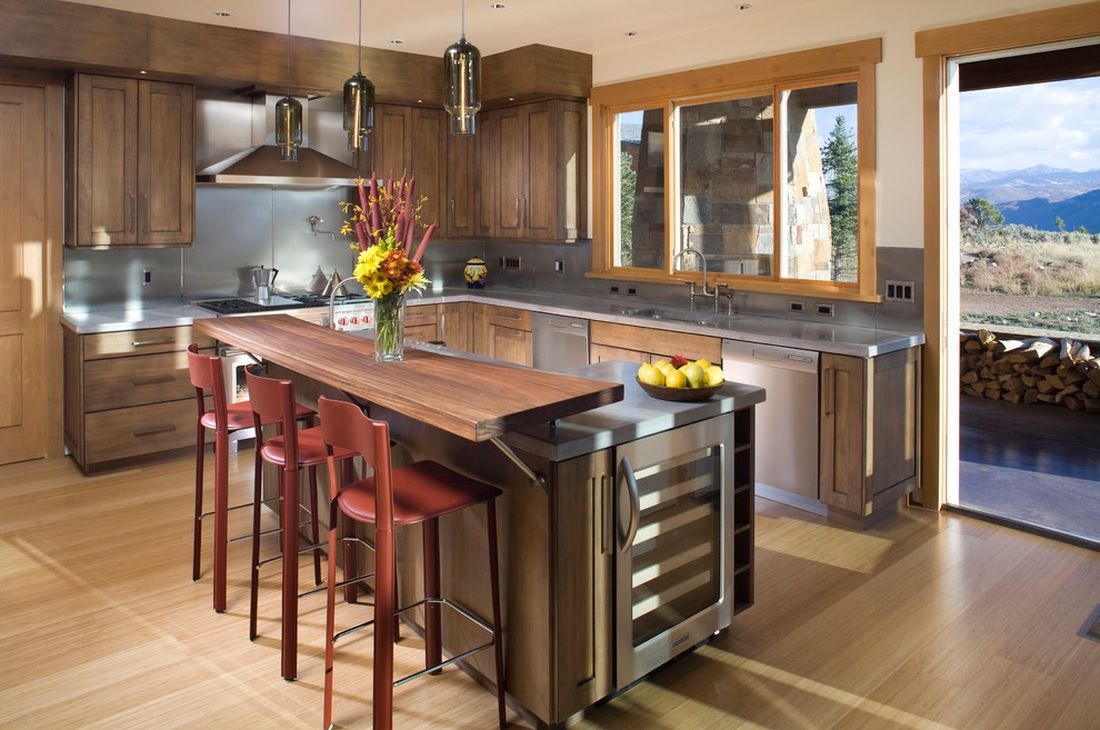
 If you're considering a kitchen renovation, one thing you may want to consider is removing your kitchen bar counter. While it may seem like a staple in modern kitchen design, there are actually several benefits to removing this feature.
1. Creates an Open and Spacious Layout
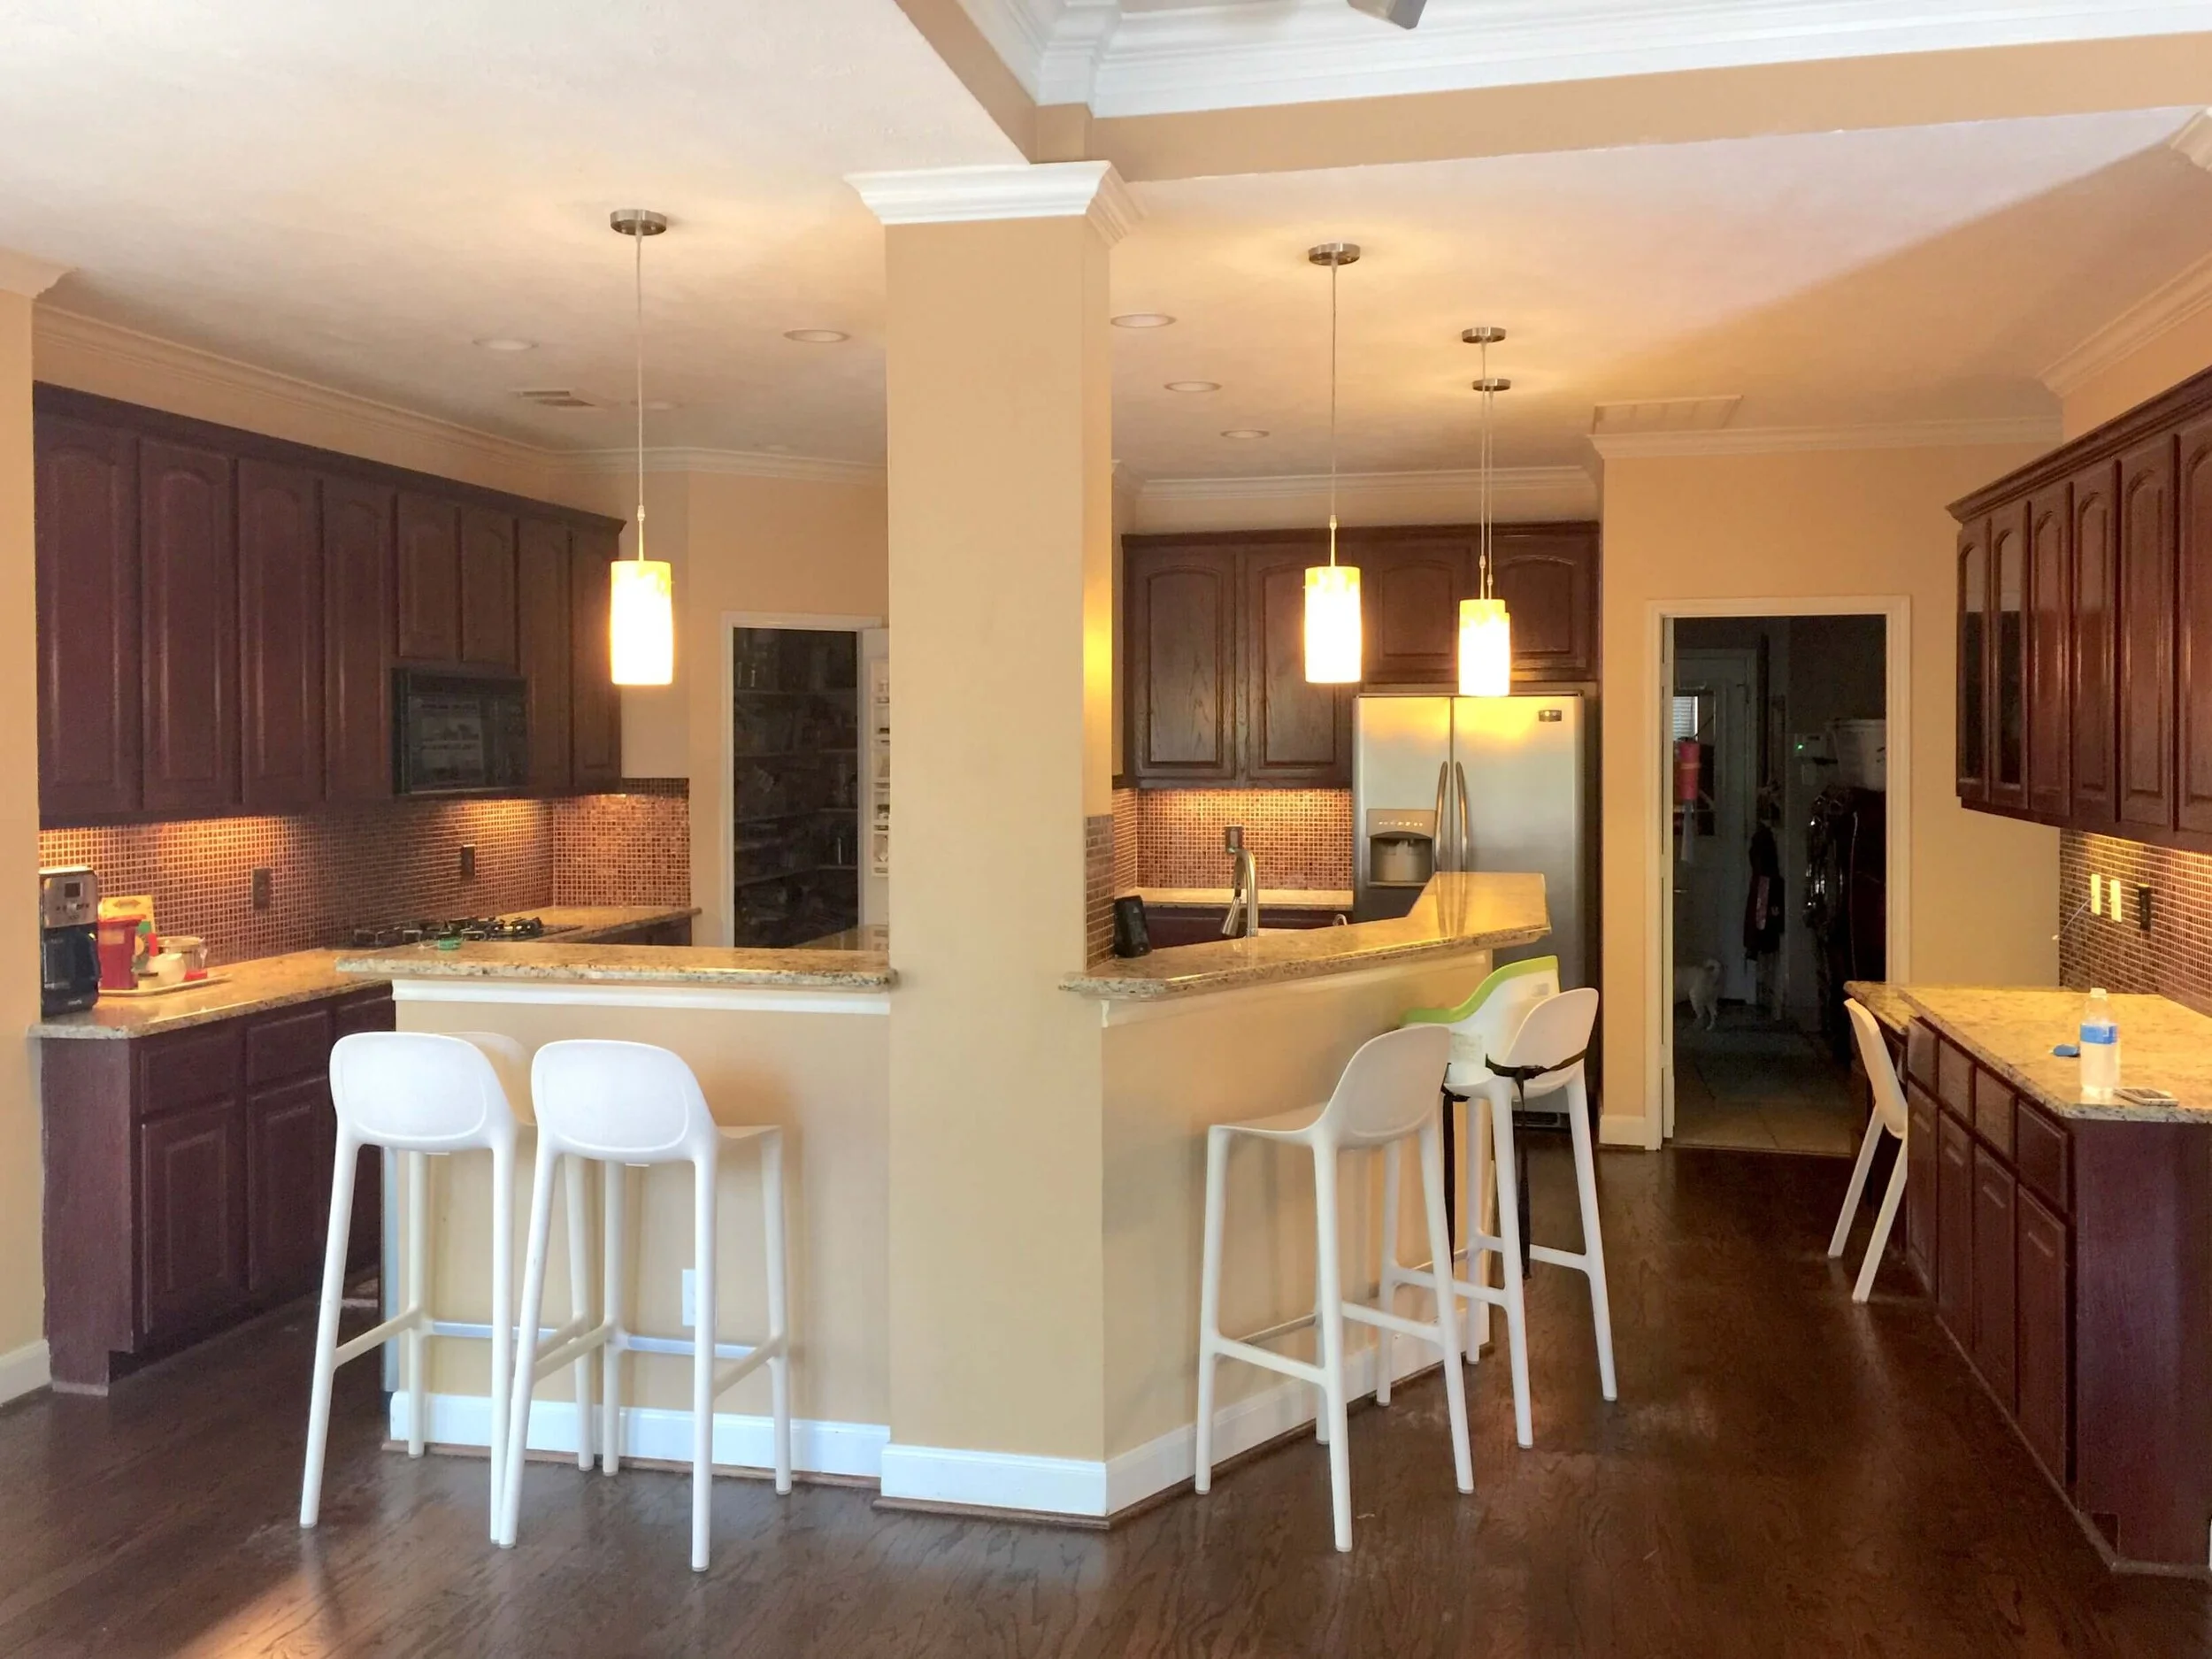
One of the main advantages of removing a kitchen bar counter is that it can open up your space and make it feel larger. Without the counter blocking the view, your kitchen will feel more open and spacious. This is especially beneficial for smaller kitchens, as it can make them feel less cramped and more inviting.
2. Promotes Better Traffic Flow
In addition to creating a more open space, removing a kitchen bar counter also improves the traffic flow in your kitchen. Without the barrier of the counter, it's easier to move around and access different areas of the kitchen, making cooking and entertaining more efficient and enjoyable.
3. Provides More Storage Options
With a kitchen bar counter, the space underneath is often wasted or limited to a few small cabinets. By removing the counter, you can utilize that space for additional storage options such as larger cabinets, shelves, or even a kitchen island. This not only adds functionality but also improves the overall design of your kitchen.
4. Allows for More Versatile Seating
While a kitchen bar counter may seem like the perfect spot for casual dining or entertaining, it may not always be the most practical. Removing the counter allows for more versatile seating options, such as a dining table or a cozy breakfast nook. This allows for a more personalized and functional dining experience.
Conclusion
 Removing a kitchen bar counter may seem like a daunting task, but the benefits far outweigh any initial hesitation. By creating a more open and spacious layout, promoting better traffic flow, providing additional storage options, and allowing for more versatile seating, removing a kitchen bar counter can greatly improve the overall design of your house. Consider this option in your next kitchen renovation for a more functional and aesthetically pleasing space.


/kitchen-bars-15-pure-salt-magnolia-31fc95f86eca4e91977a7881a6d1f131.jpg)


:strip_icc()/kitchen-bars-22-michelle-boudreau-photo-lance-gerber-e67465cde2174b6eb758124a49fb43ef.png)









:strip_icc()/kitchen-bars-15-pure-salt-magnolia-31fc95f86eca4e91977a7881a6d1f131.jpg)










/cloudfront-us-east-1.images.arcpublishing.com/gray/QWOLRCEPZ5B6LN2ZUMIA3XE5AE.jpg)
