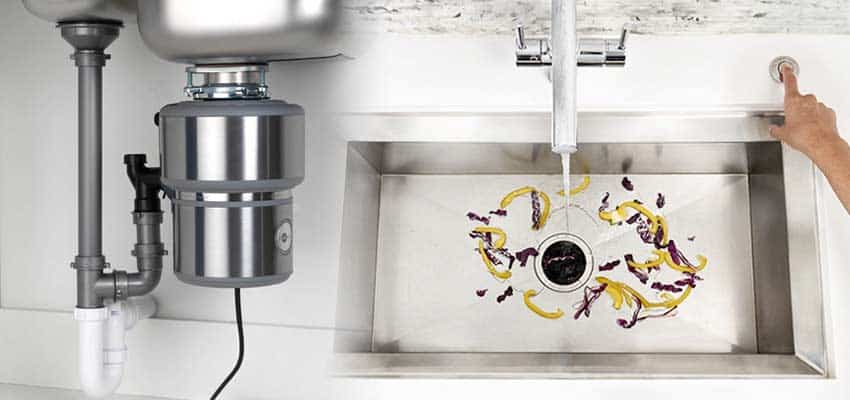
If you're looking to upgrade your kitchen sink or simply need to replace a faulty garbage disposal unit, you may be wondering how to go about removing it. While it may seem like a daunting task, with the right tools and knowledge, removing a garbage disposal unit from your kitchen sink is actually a simple process. Follow our step-by-step guide below to learn how to safely and efficiently remove your garbage disposal unit.How to Remove a Garbage Disposal Unit from a Kitchen Sink
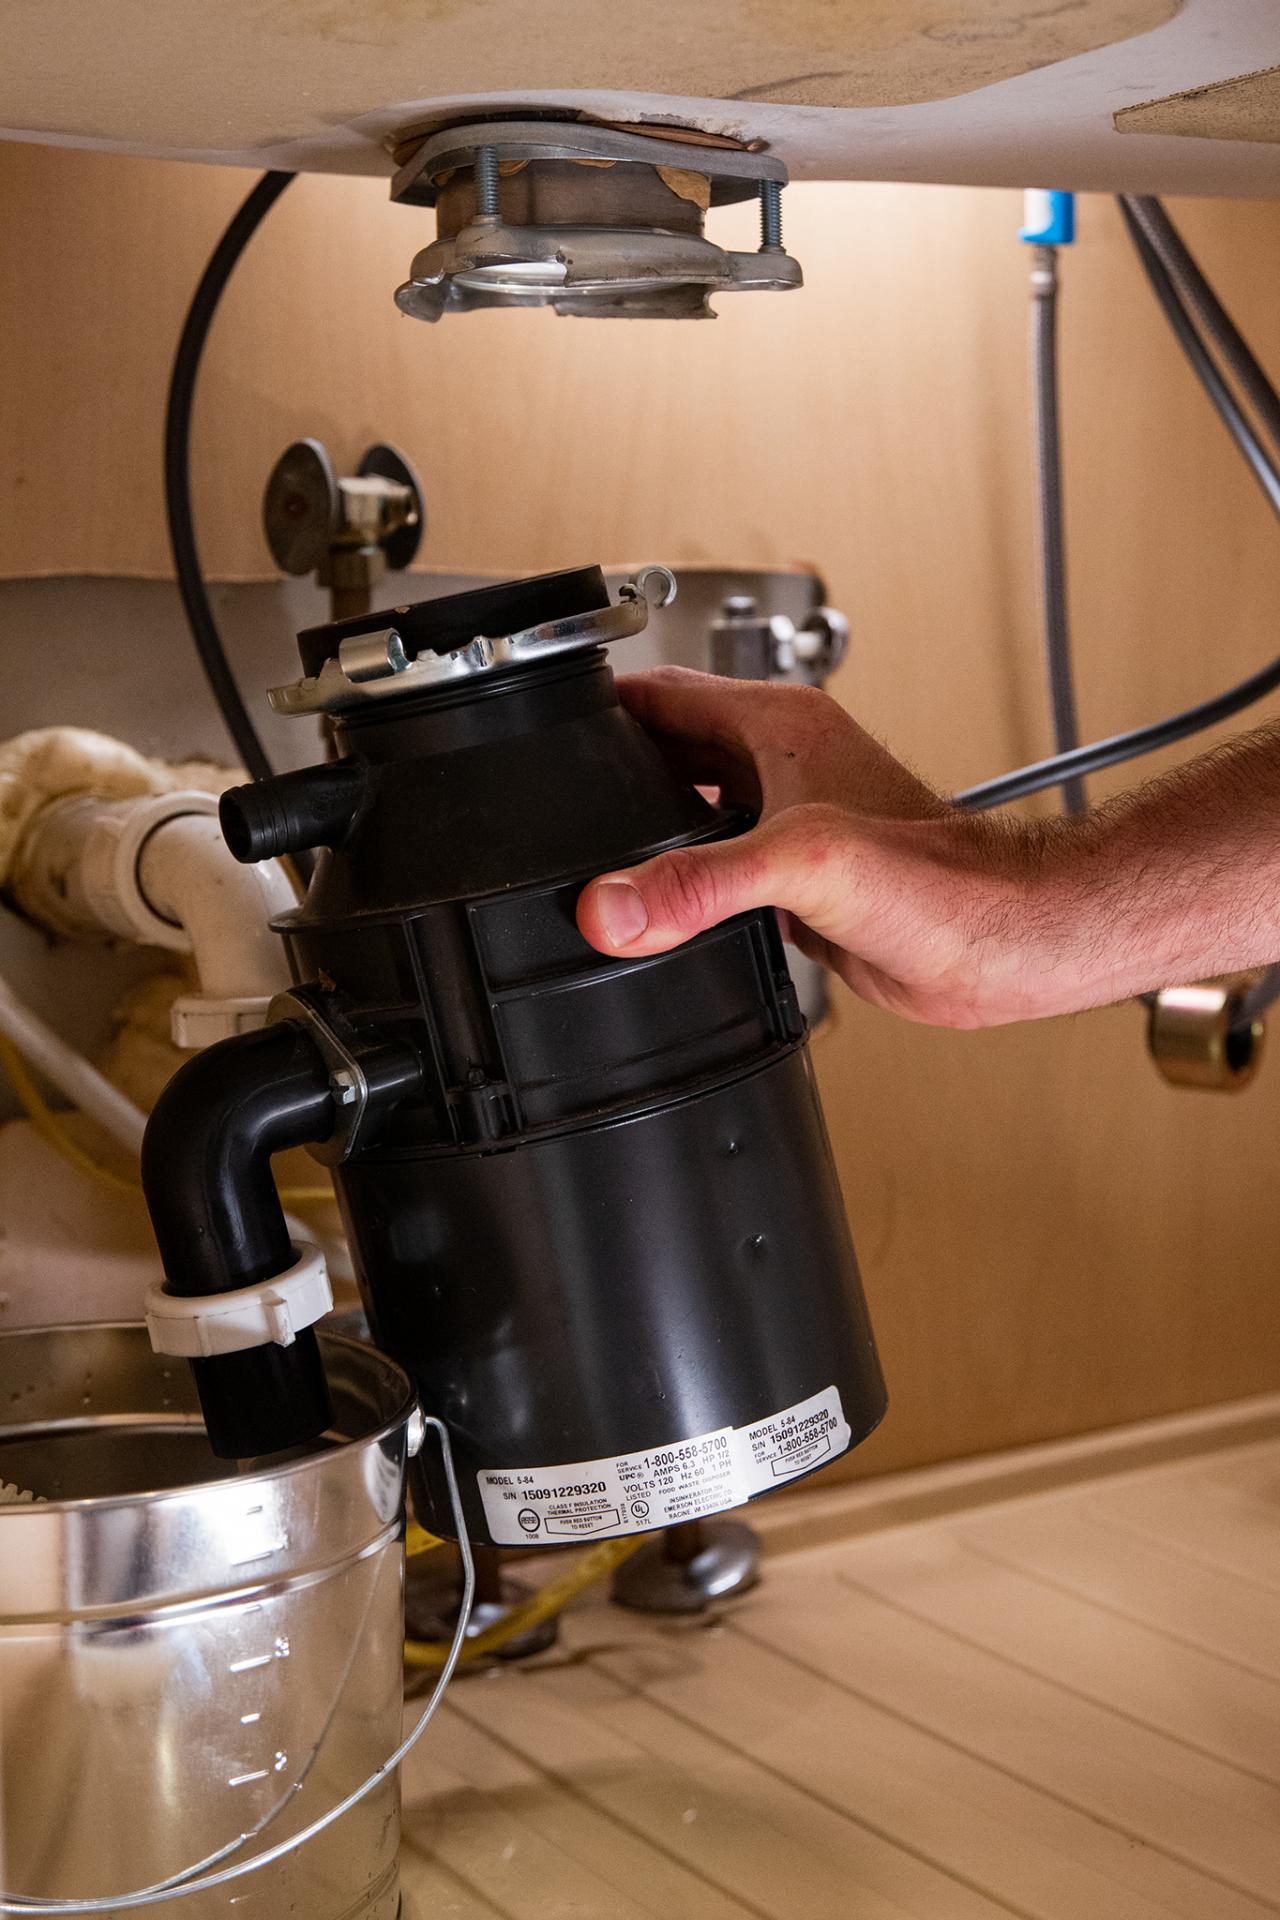
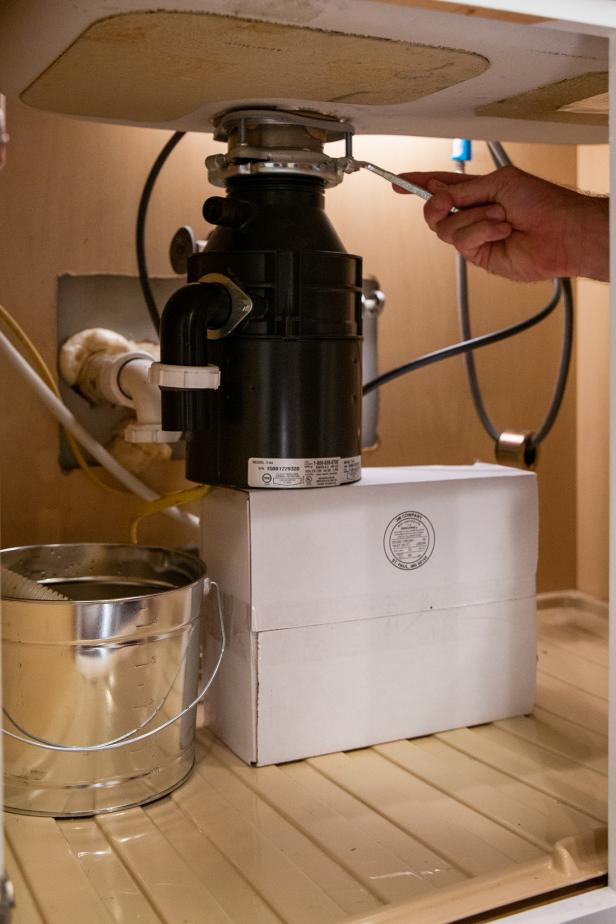
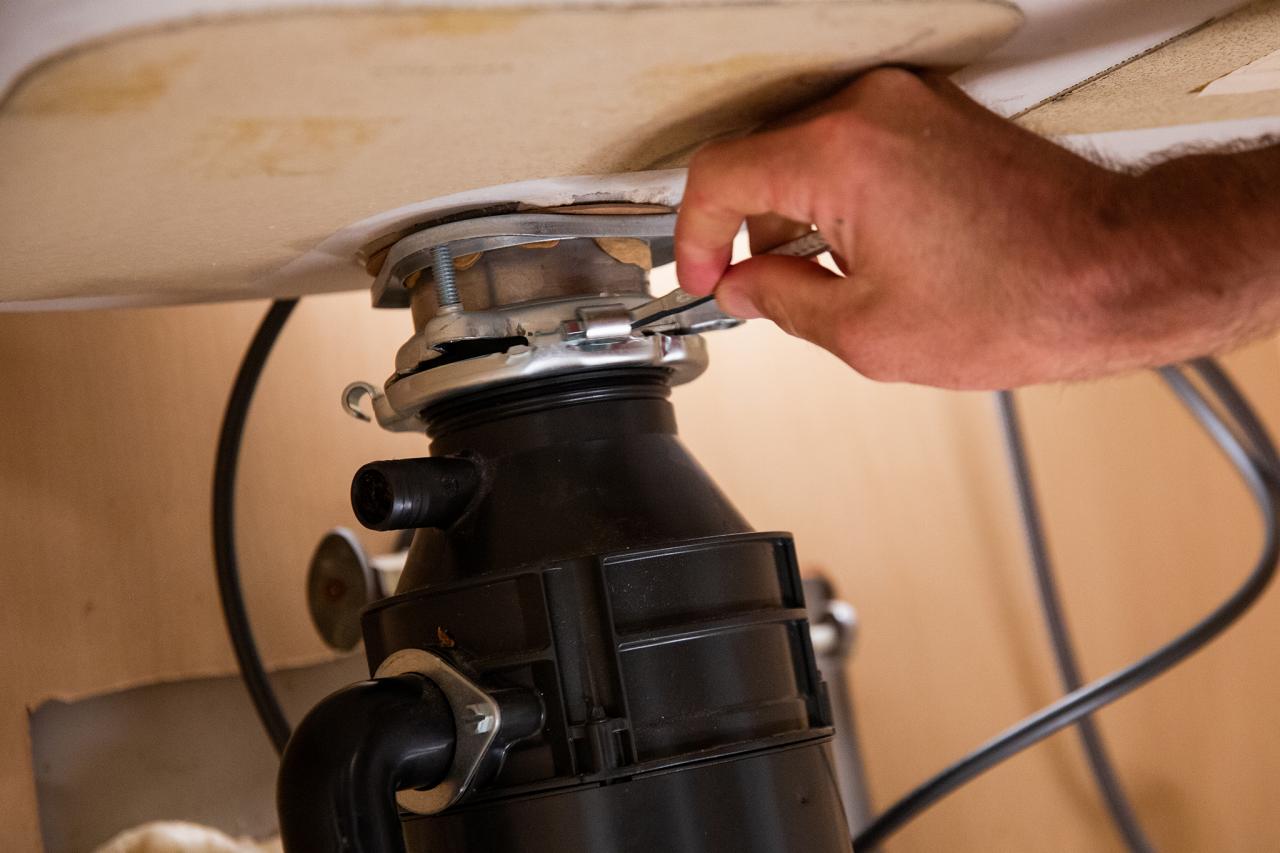
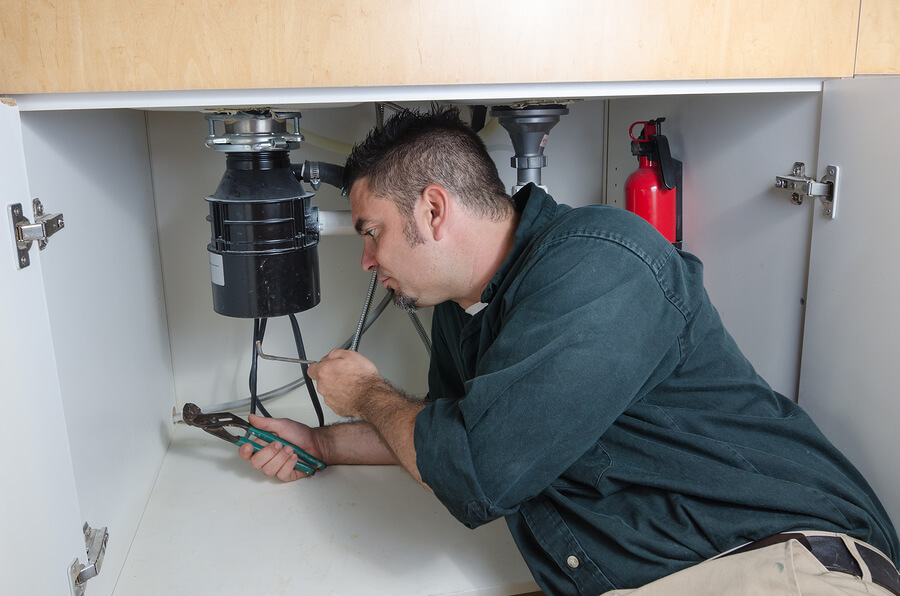
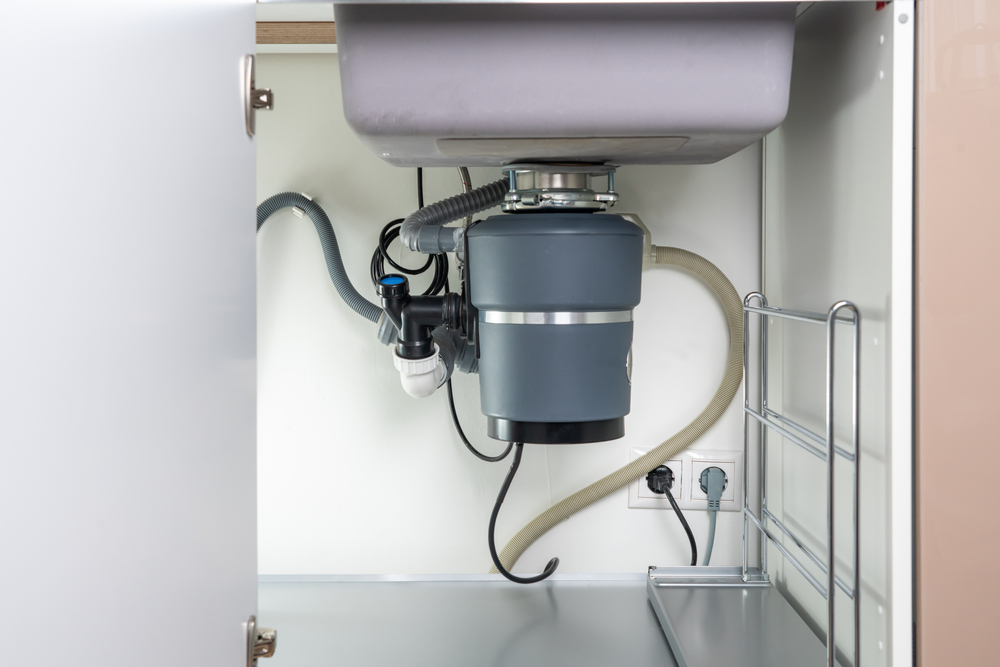
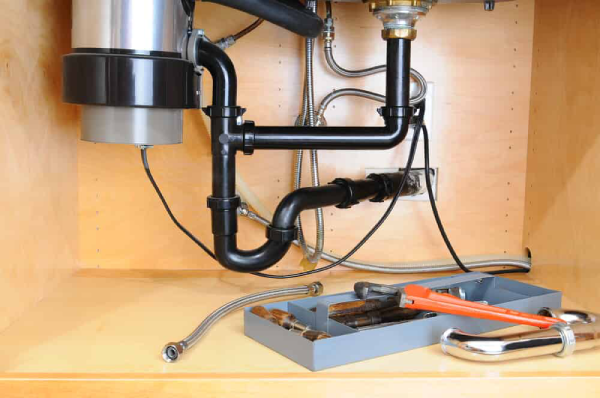
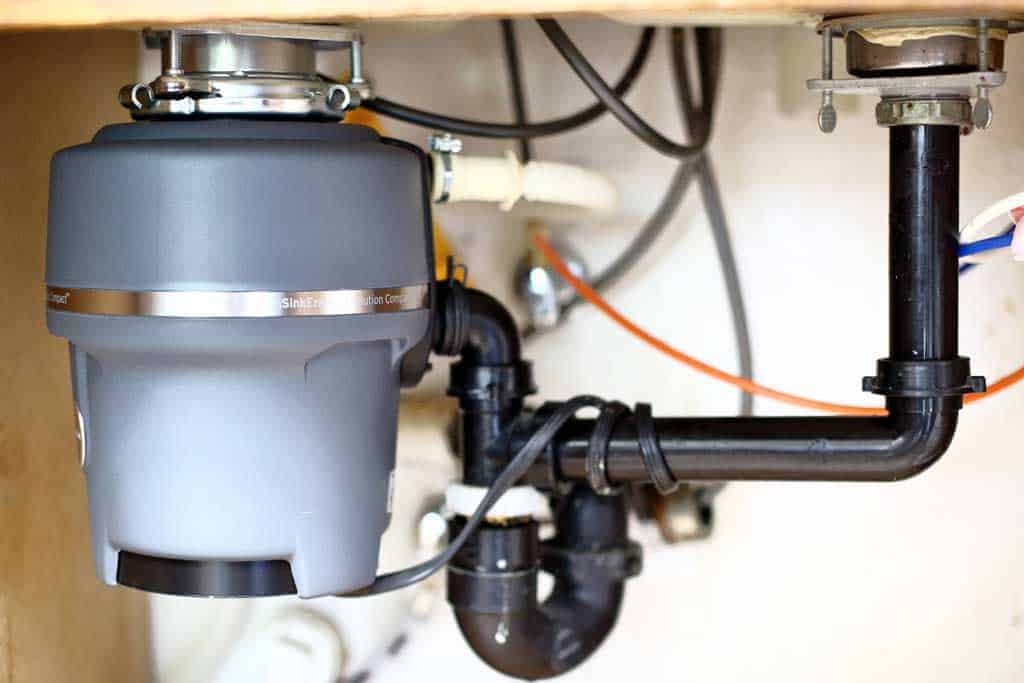
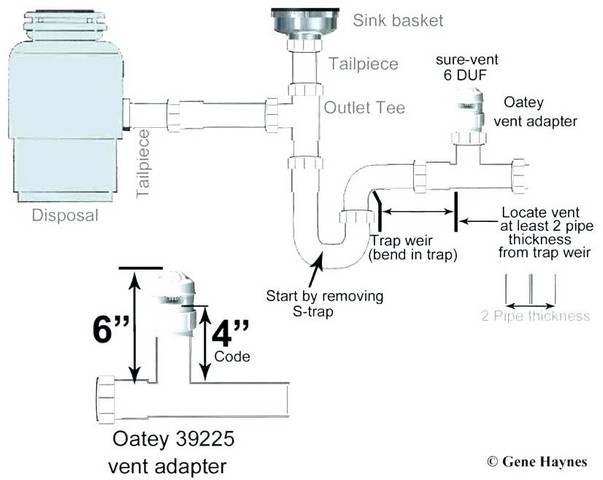
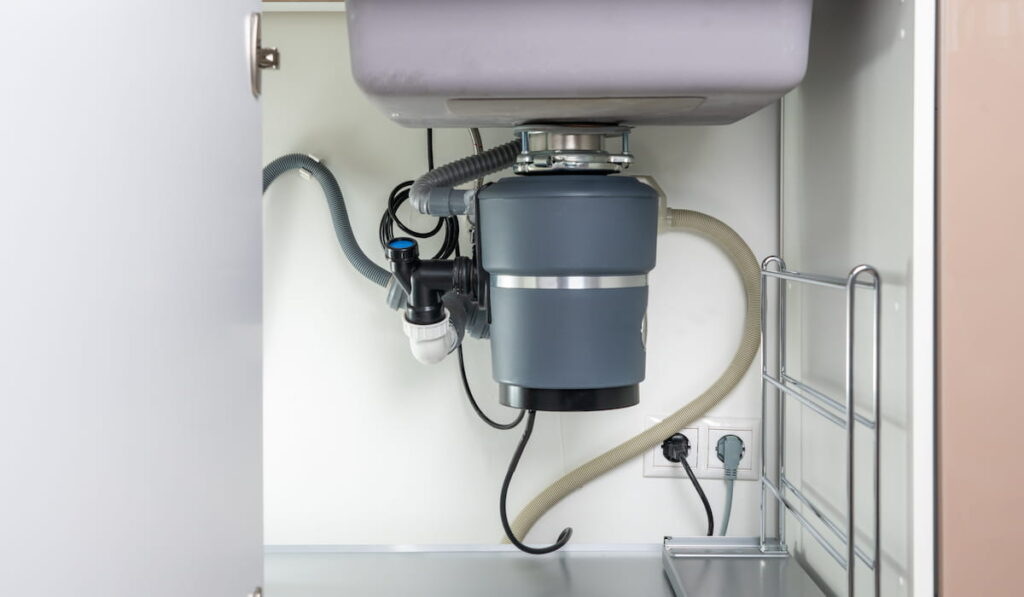
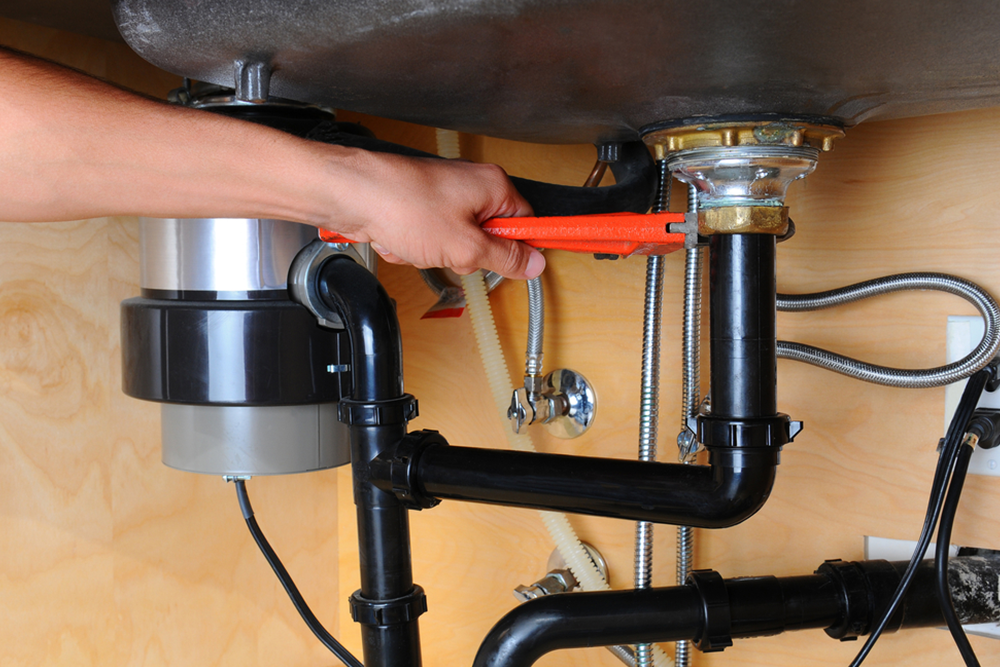
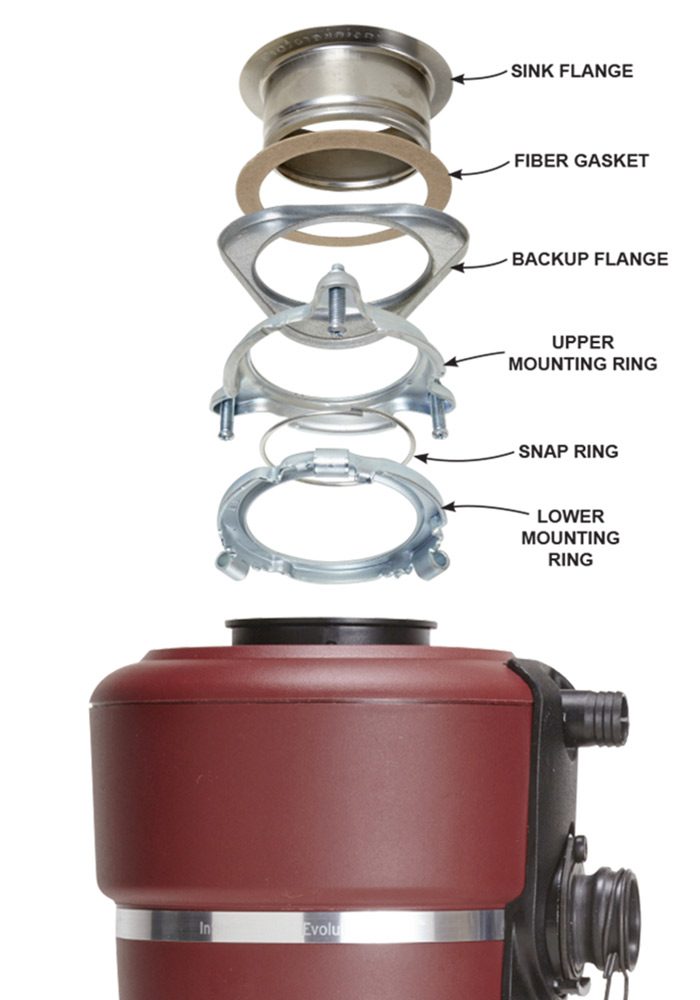
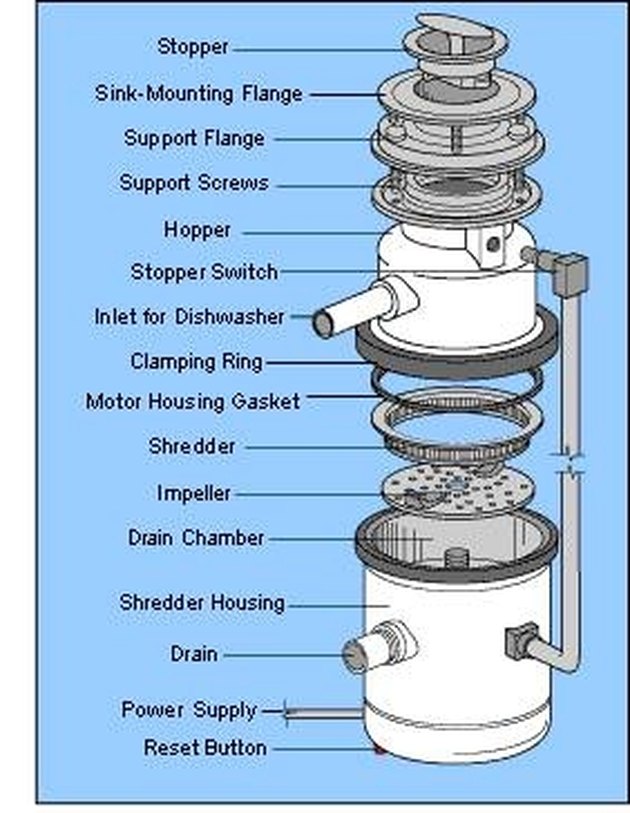
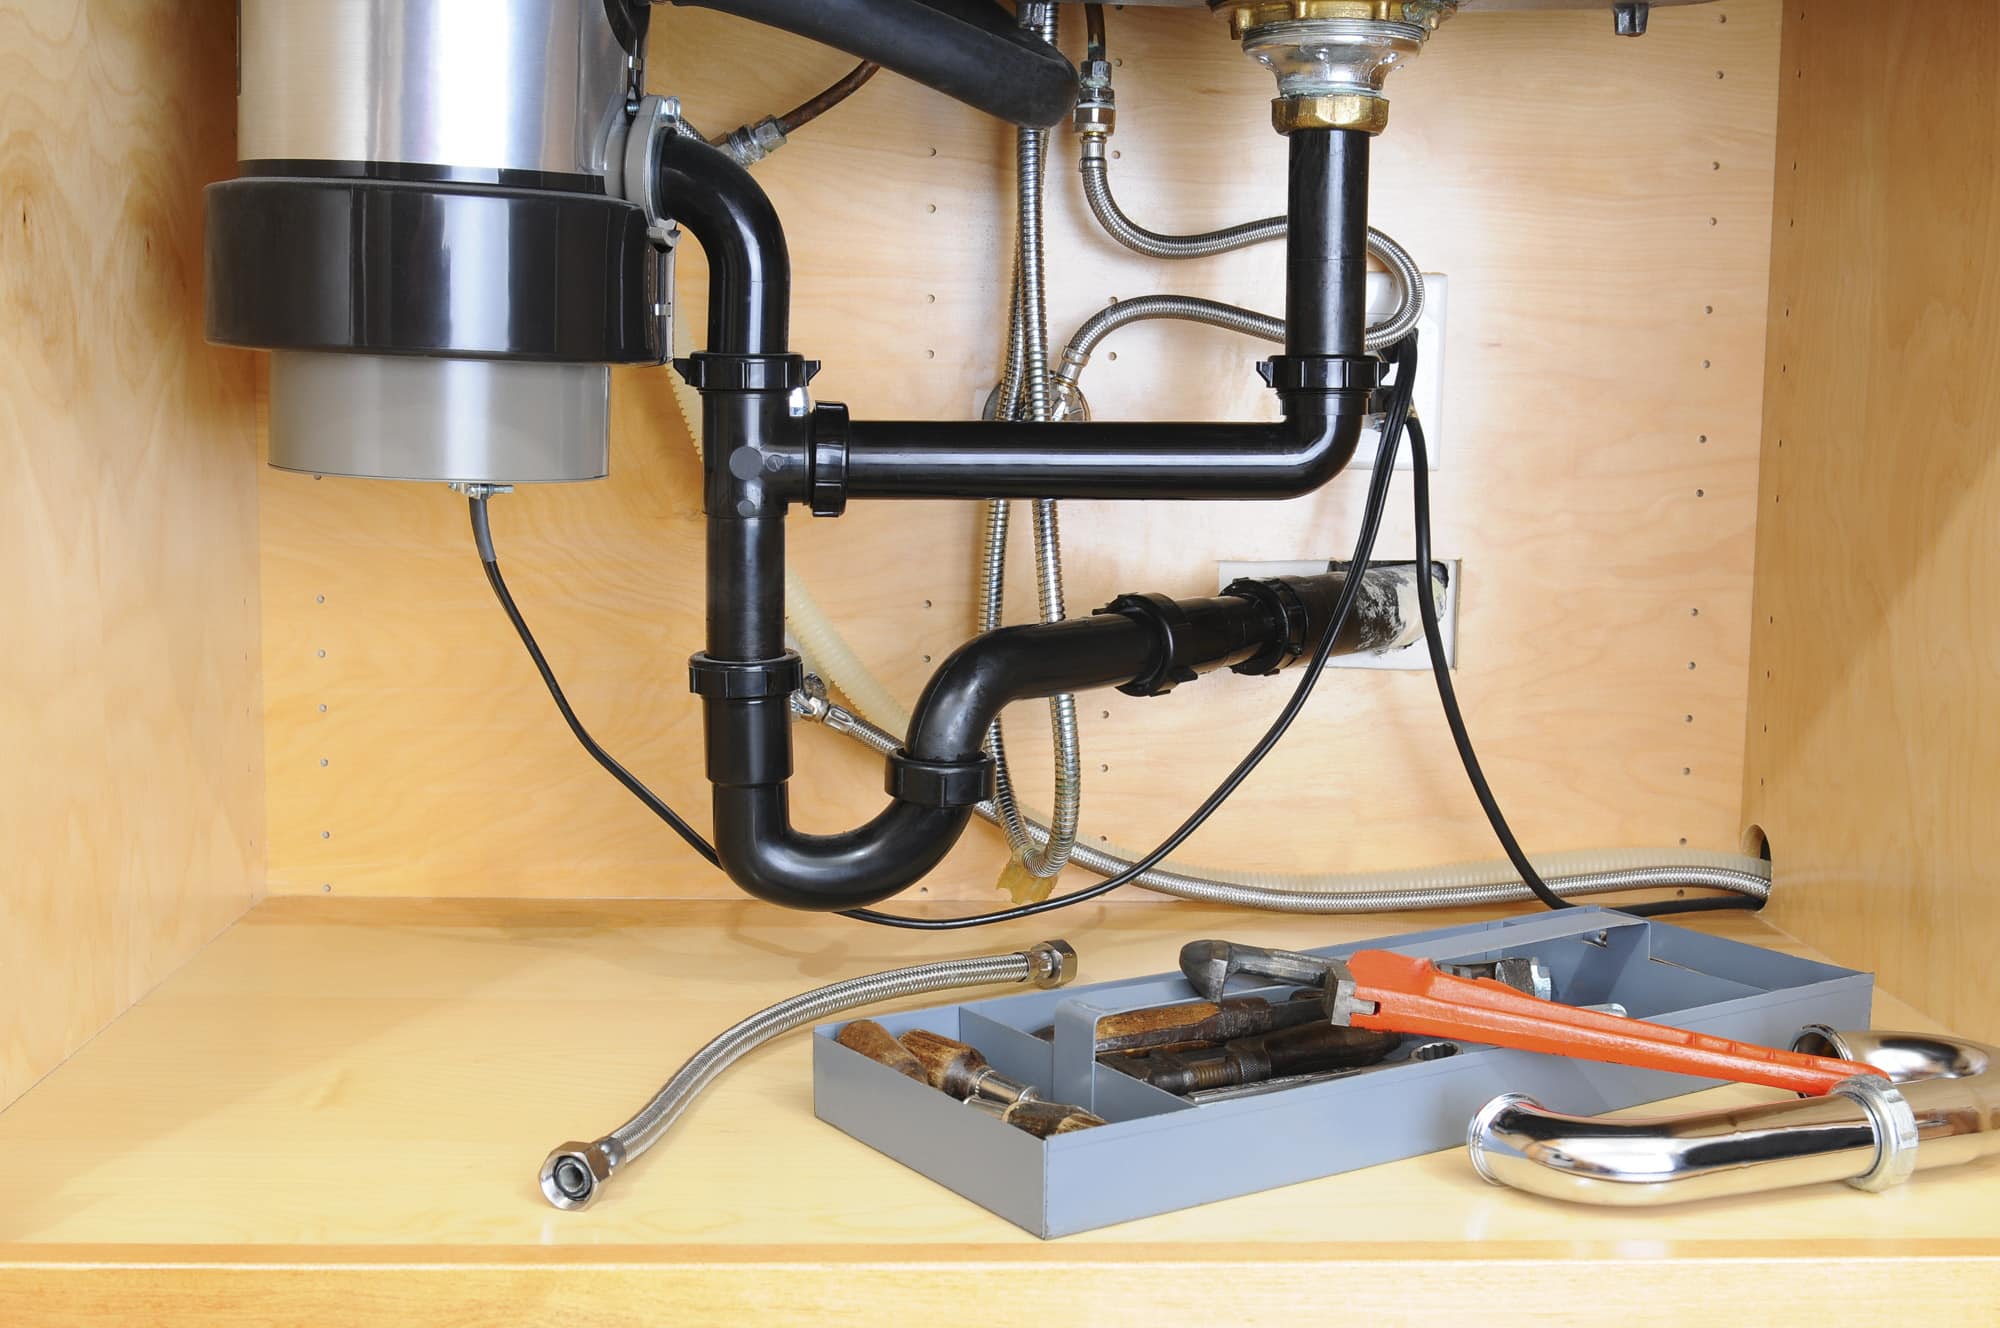
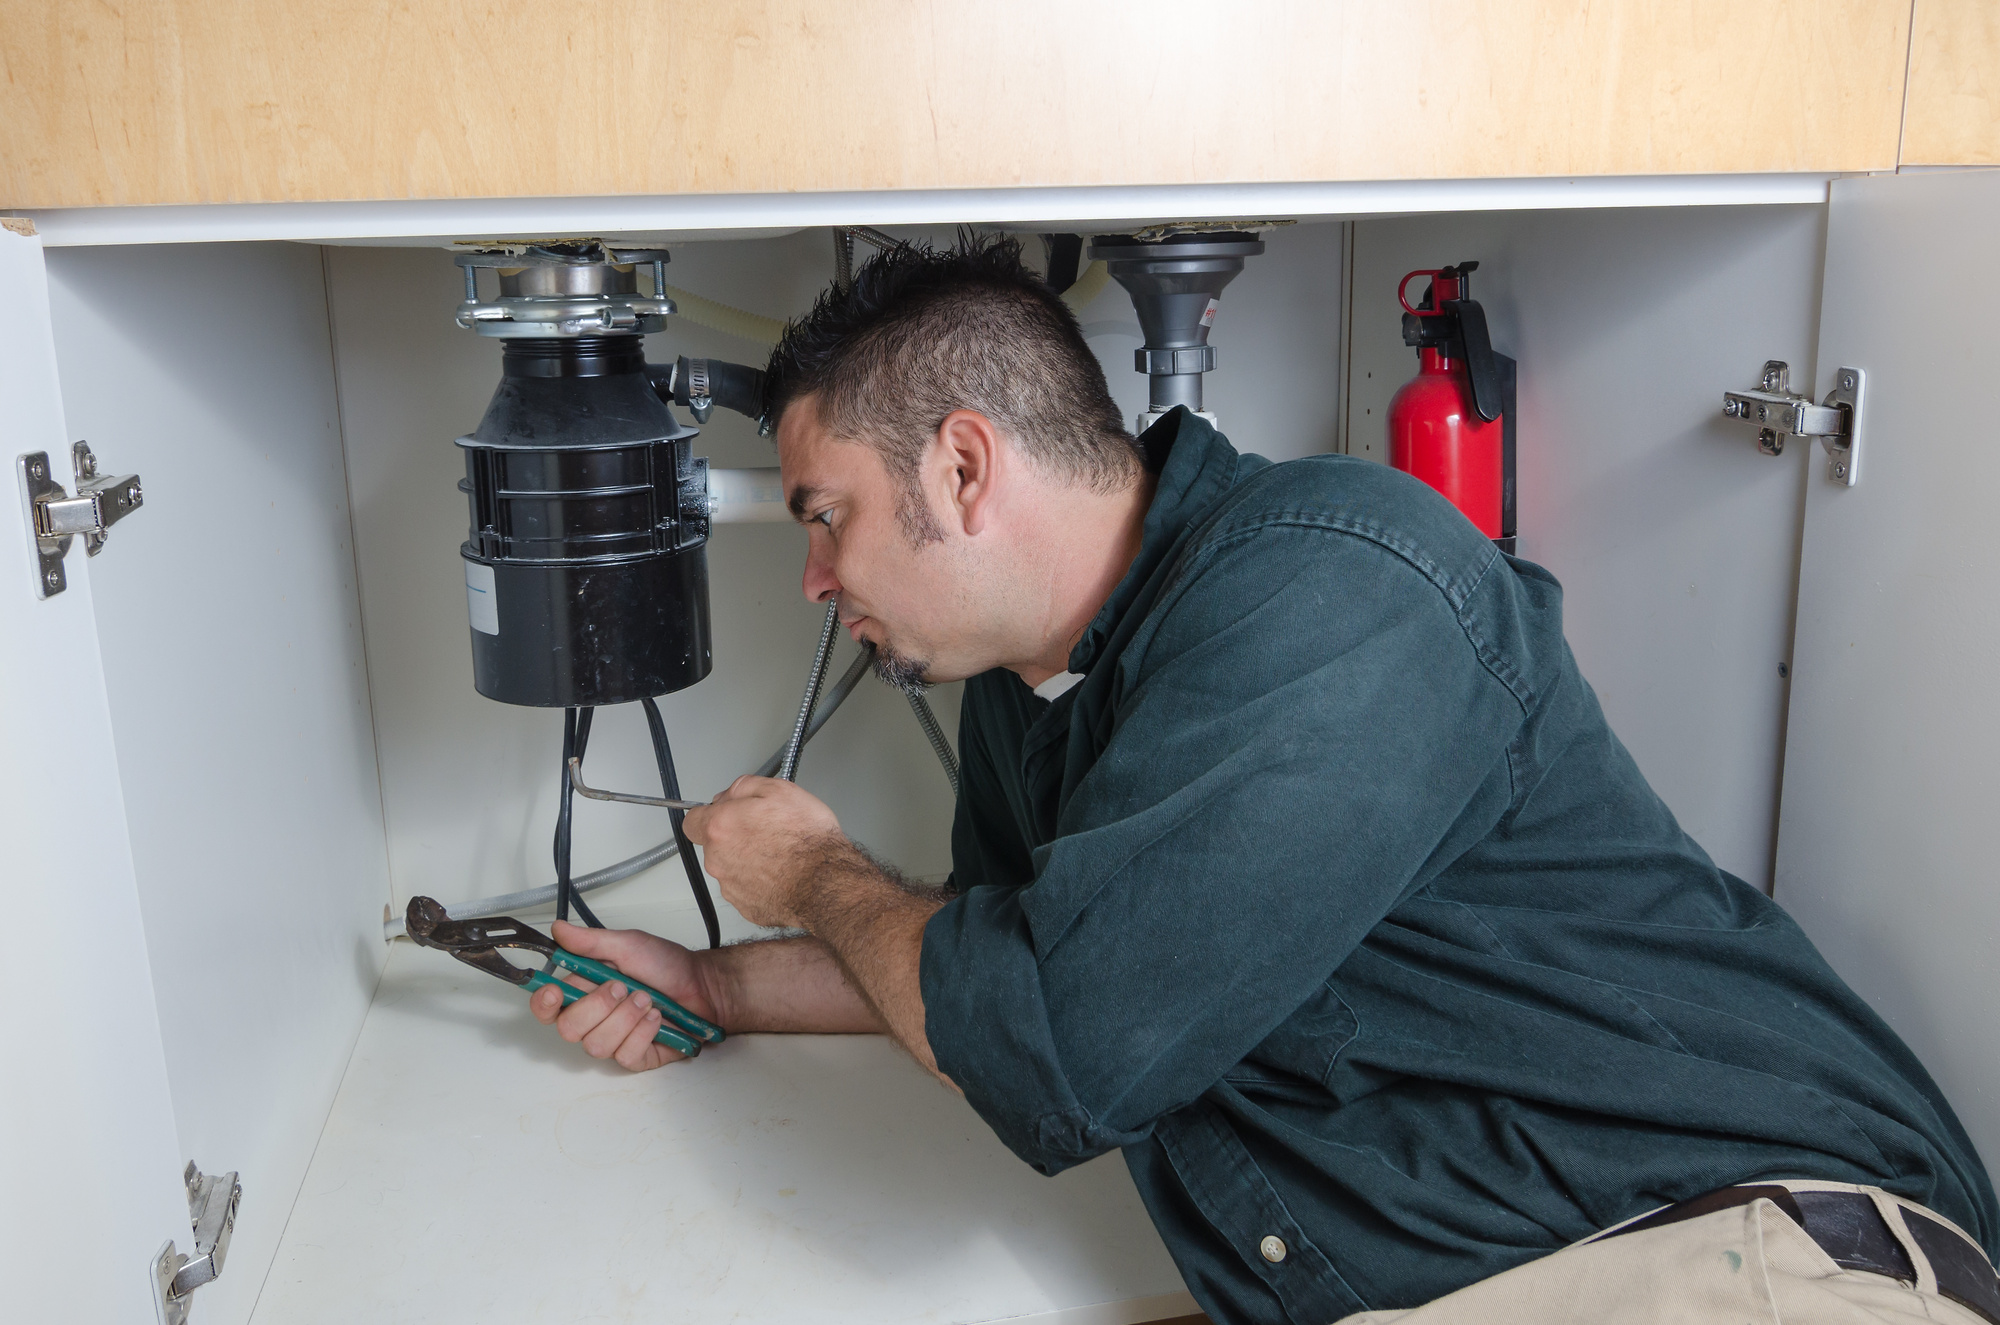
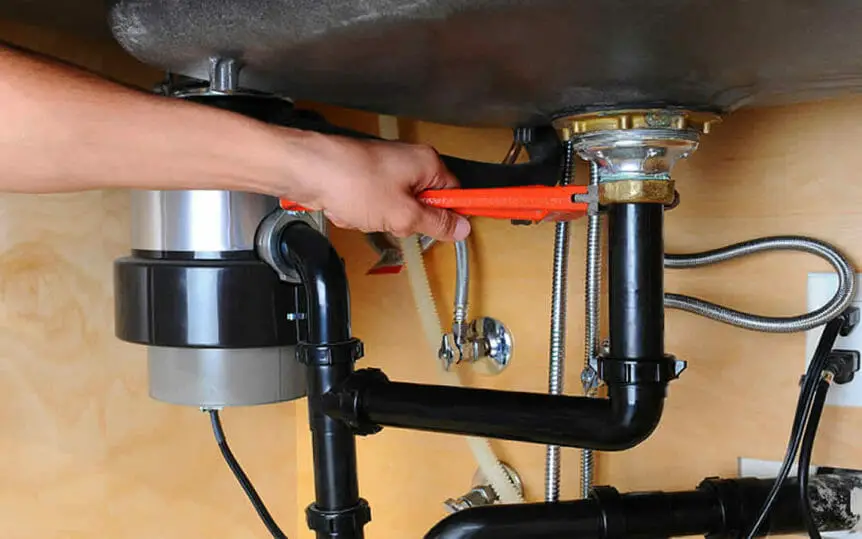
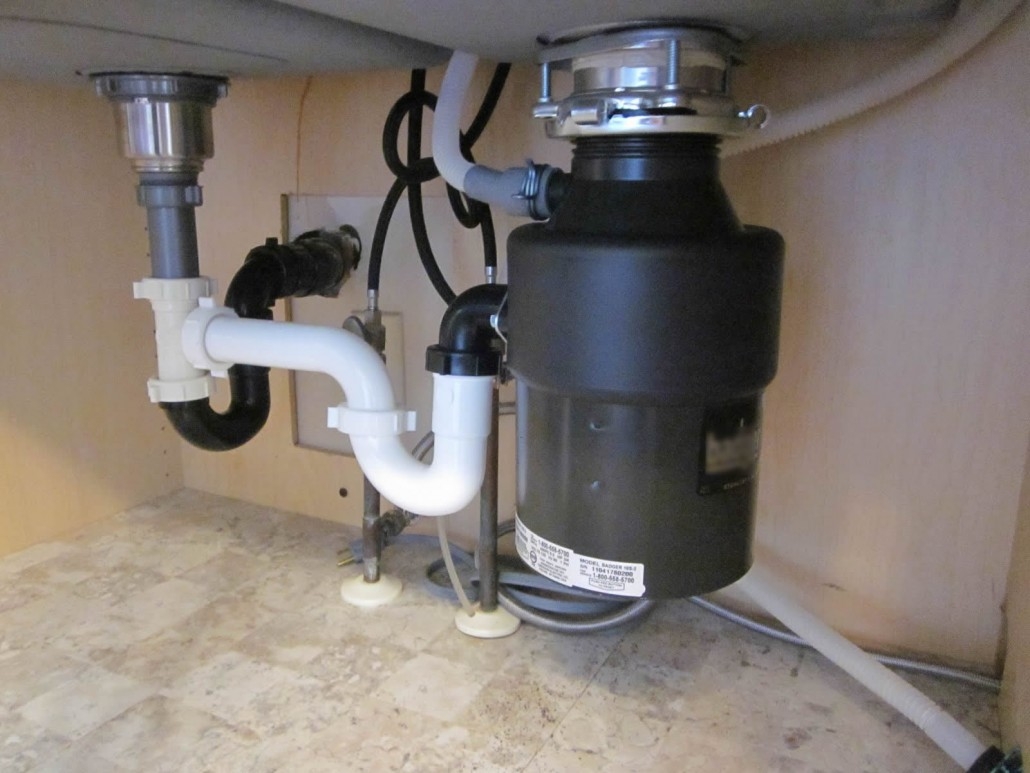
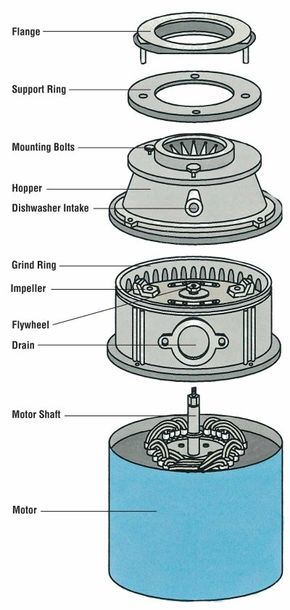
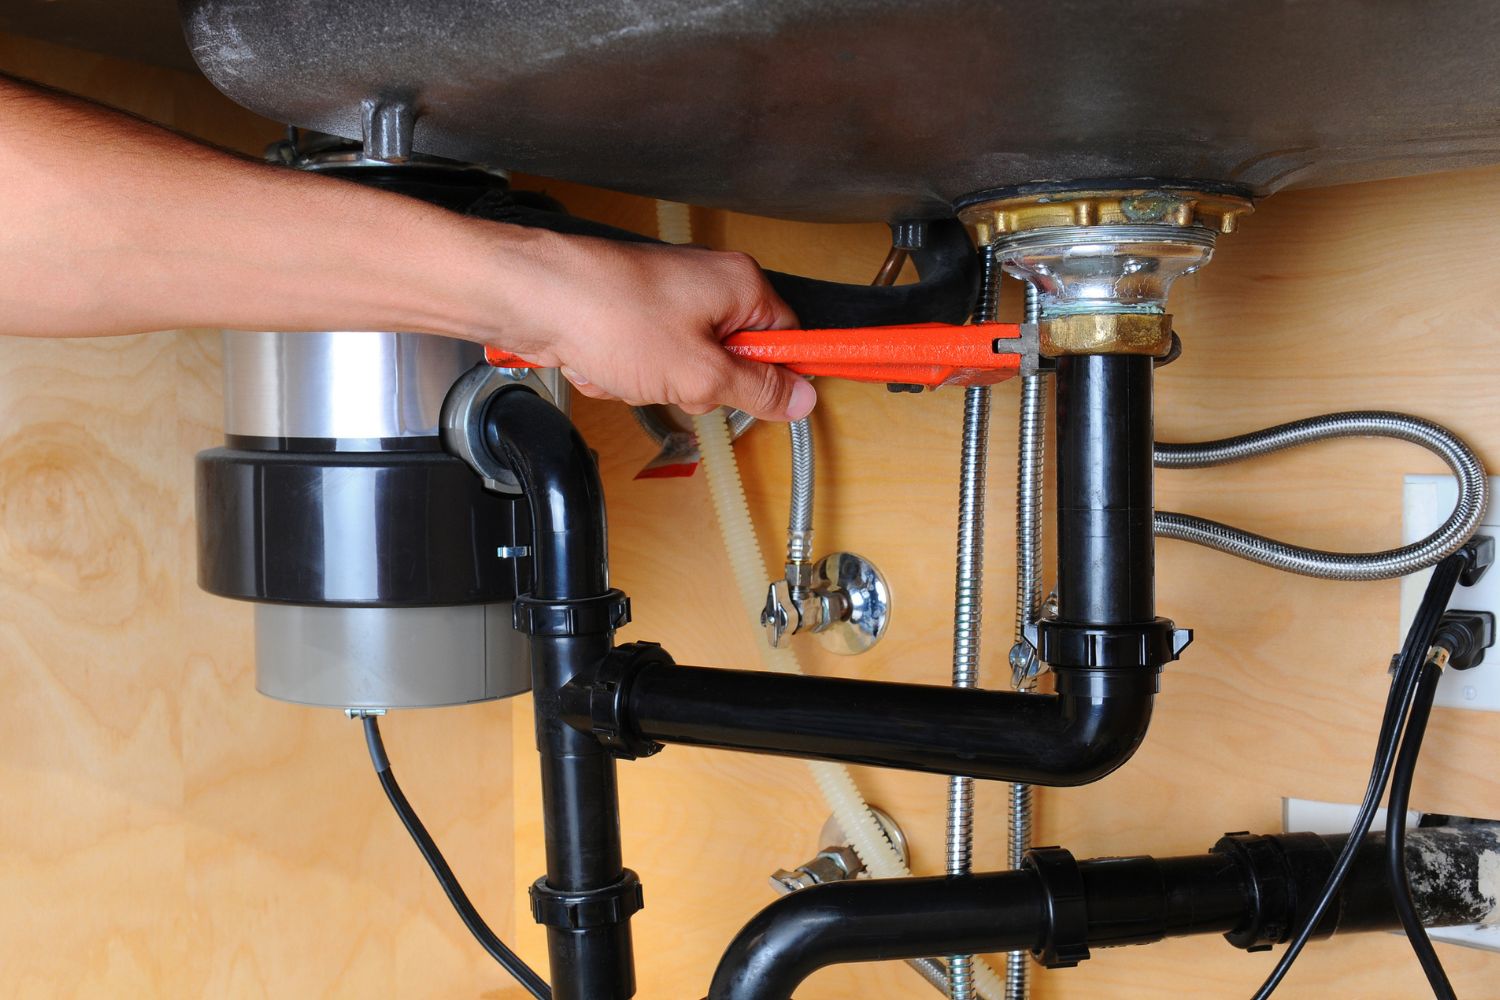
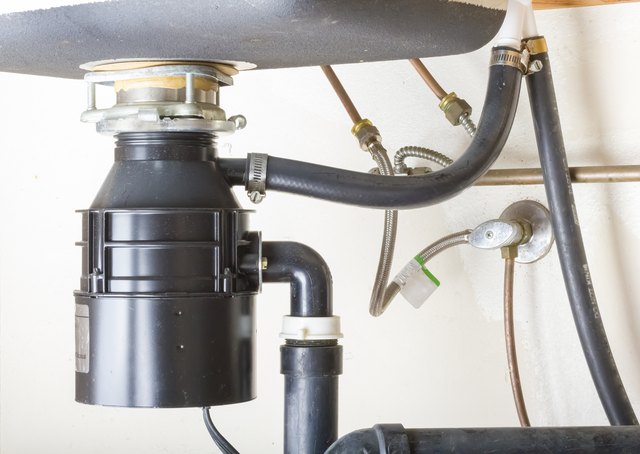
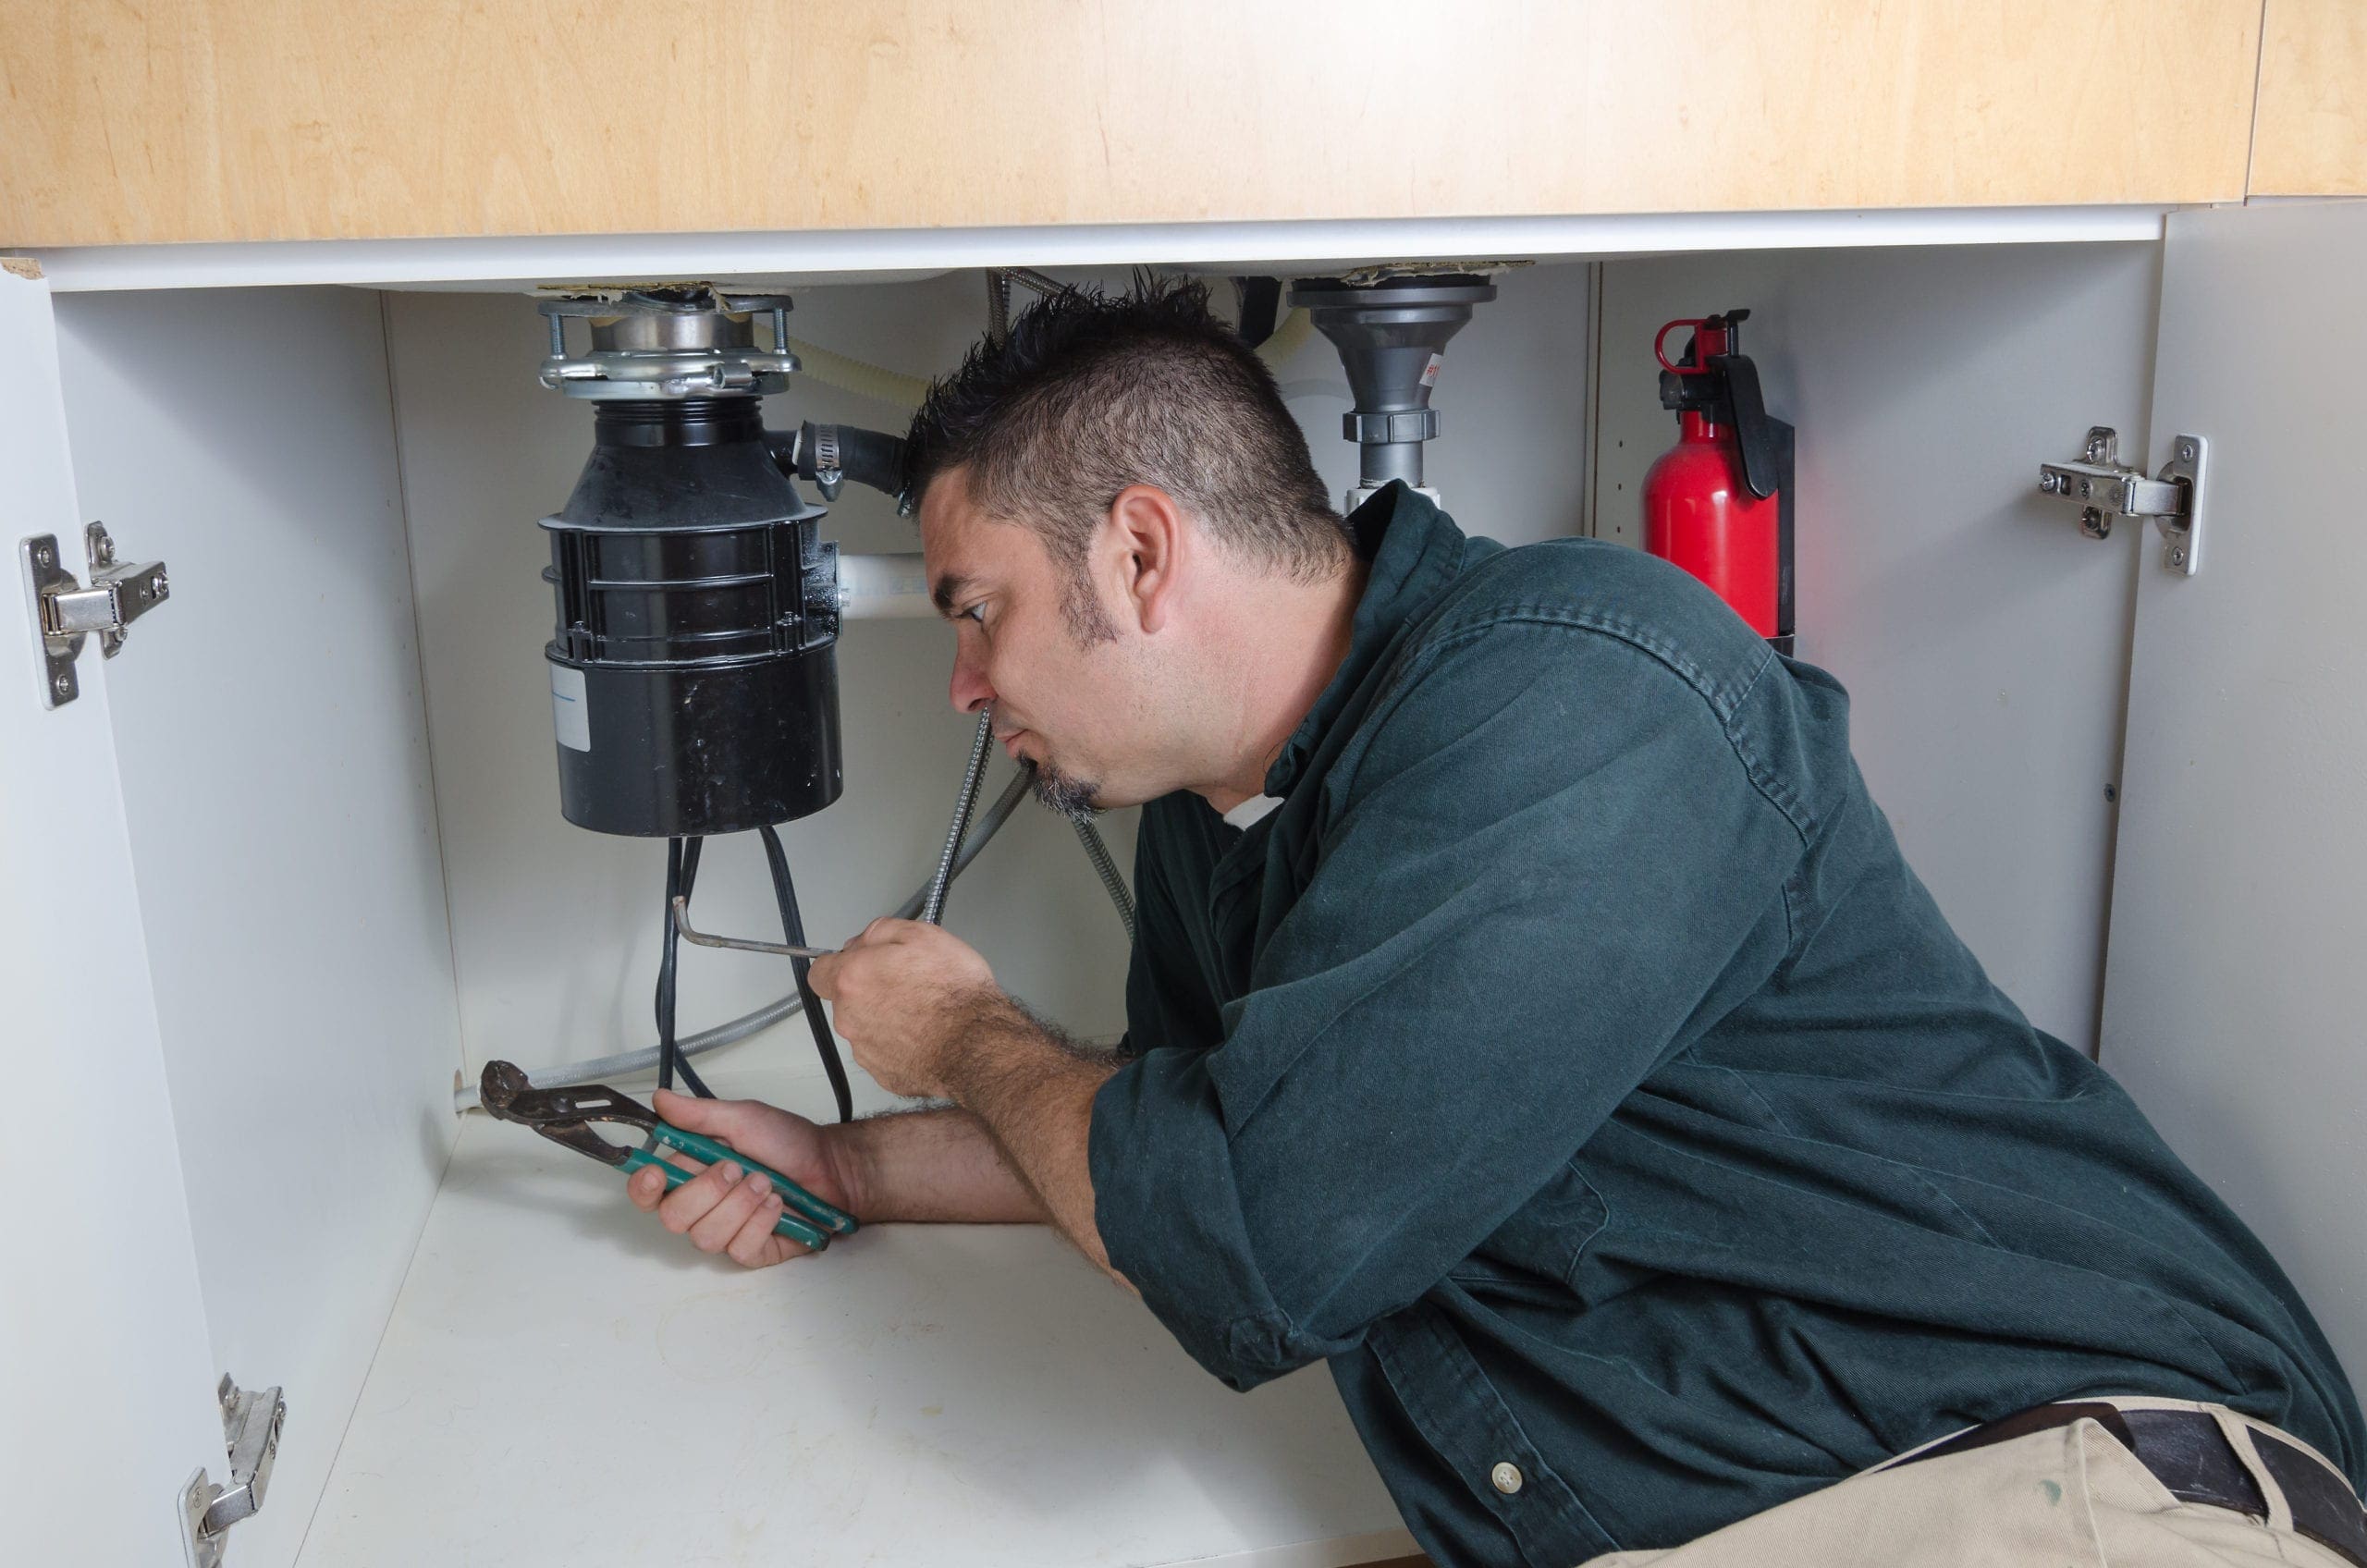
Before getting started, make sure to gather all necessary tools and materials. You'll need a screwdriver, pliers, and a bucket or large bowl to catch any excess water. Once you have everything you need, follow these steps: Step 1: Disconnect the Power The first step in removing a garbage disposal unit is to disconnect the power. This is crucial for your safety, as well as to prevent any damage to the unit. Locate the circuit breaker for your garbage disposal and switch it off. You may also want to unplug the unit from the outlet for extra precaution. Step 2: Disconnect the Drain Next, you'll need to disconnect the drain from the garbage disposal unit. Start by placing a bucket or large bowl underneath the drain to catch any excess water. Then, use pliers to loosen the slip nuts that connect the drain to the disposal unit. Once the nuts are loosened, you should be able to pull the drain out of the unit. Step 3: Remove the Mounting Ring The mounting ring is what holds the garbage disposal unit in place. To remove it, use a screwdriver to loosen the screws that hold it in place. Once the screws are removed, you should be able to pull the mounting ring off of the unit. Step 4: Disconnect the Unit from the Sink Now that the mounting ring is removed, you can disconnect the garbage disposal unit from the sink. Some units may have a snap ring that needs to be removed, while others may have a simple bracket that needs to be unscrewed. Refer to your unit's manual for specific instructions. Step 5: Remove the Unit Once the unit is disconnected from the sink, you can simply lift it out and place it in the bucket or bowl you prepared earlier. Make sure to dump out any excess water before disposing of the unit.Removing a Garbage Disposal from a Kitchen Sink: A Step-by-Step Guide
If you're feeling confident, you can attempt to remove your garbage disposal unit on your own. Just make sure to follow these tips: Tip 1: Use Protective Gear Before getting started, make sure to protect yourself by wearing gloves and safety glasses. This will prevent any potential injuries and keep you safe from any debris or chemicals. Tip 2: Refer to the Manual Each garbage disposal unit may have different instructions for removal, so make sure to refer to your unit's manual for specific guidelines. Tip 3: Take Your Time Rushing through the removal process can lead to mistakes and potentially damage the unit or your sink. Take your time and follow each step carefully.DIY: Removing a Garbage Disposal from Your Kitchen Sink
Here are a few additional tips to make the process of removing a garbage disposal unit even easier: Tip 1: Use Vinegar and Baking Soda If your garbage disposal unit is clogged or has a foul odor, try pouring a mixture of vinegar and baking soda down the drain. This will help to break up any buildup and eliminate any unpleasant smells. Tip 2: Clean the Unit Regularly To prevent any future issues, make sure to clean your garbage disposal unit regularly. Simply pour a mixture of vinegar and hot water down the drain and run the unit for a few minutes. Tip 3: Don't Overload the Unit To avoid any clogs or damage to the unit, make sure to only put small amounts of food waste into the disposal at a time.Removing a Garbage Disposal Unit from Your Kitchen Sink: Tips and Tricks
For a quick recap, here are the steps you'll need to follow to remove a garbage disposal unit from your kitchen sink: Step 1: Disconnect the power Step 2: Disconnect the drain Step 3: Remove the mounting ring Step 4: Disconnect the unit from the sink Step 5: Remove the unitStep-by-Step Guide to Removing a Garbage Disposal Unit from Your Kitchen Sink
While removing a garbage disposal unit is a relatively simple process, there are a few common mistakes that can lead to issues. Here are some things to avoid: Mistake 1: Not Disconnecting the Power Always make sure to disconnect the power before attempting to remove a garbage disposal unit. This will prevent any potential injuries and damage to the unit. Mistake 2: Forgetting to Turn Off the Water Before disconnecting the drain, make sure to turn off the water supply to the sink. This will prevent any potential leaks or water damage. Mistake 3: Not Having the Right Tools Make sure to have all necessary tools on hand before starting the removal process. This will save you time and frustration.Removing a Garbage Disposal Unit from Your Kitchen Sink: Common Mistakes to Avoid
As with any DIY project, safety should always be a top priority. Here are some tips to help you safely remove a garbage disposal unit from your kitchen sink: Safety Tip 1: Turn Off the Power Always disconnect the power before attempting to remove a garbage disposal unit. This will prevent any potential injuries and damage to the unit. Safety Tip 2: Wear Protective Gear Make sure to protect yourself by wearing gloves and safety glasses while removing the unit. Safety Tip 3: Be Cautious Avoid rushing through the removal process and take your time to prevent any accidents or mistakes.How to Safely Remove a Garbage Disposal Unit from Your Kitchen Sink
Here are the tools you'll need to successfully remove a garbage disposal unit from your kitchen sink: Tool 1: Screwdriver Tool 2: Pliers Tool 3: Bucket or Large BowlRemoving a Garbage Disposal Unit from Your Kitchen Sink: Tools You'll Need
If you're feeling confident and want to tackle the removal process on your own, follow these 5 easy steps: Step 1: Disconnect the power Step 2: Disconnect the drain Step 3: Remove the mounting ring Step 4: Disconnect the unit from the sink Step 5: Remove the unitDIY: Removing a Garbage Disposal Unit from Your Kitchen Sink in 5 Easy Steps
Once you have successfully removed the garbage disposal unit from your kitchen sink, you may be wondering what to do with the old unit. Here are a few options: Option 1: Recycle Check with your local recycling center to see if they accept old garbage disposal units for recycling. Option 2: Donate If your old unit is still in good working condition, consider donating it to a local charity or thrift store. Option 3: Dispose If your old unit is damaged or no longer usable, you can dispose of it at your local landfill or transfer station. Removing a garbage disposal unit from your kitchen sink may seem like a daunting task, but with the right tools and knowledge, it can be a simple and straightforward process. Just remember to always prioritize safety and follow the steps outlined in this guide.Removing a Garbage Disposal Unit from Your Kitchen Sink: What to Do with the Old Unit
The Advantages of Removing Garbage Disposal Units from Your Kitchen Sink

Introduction
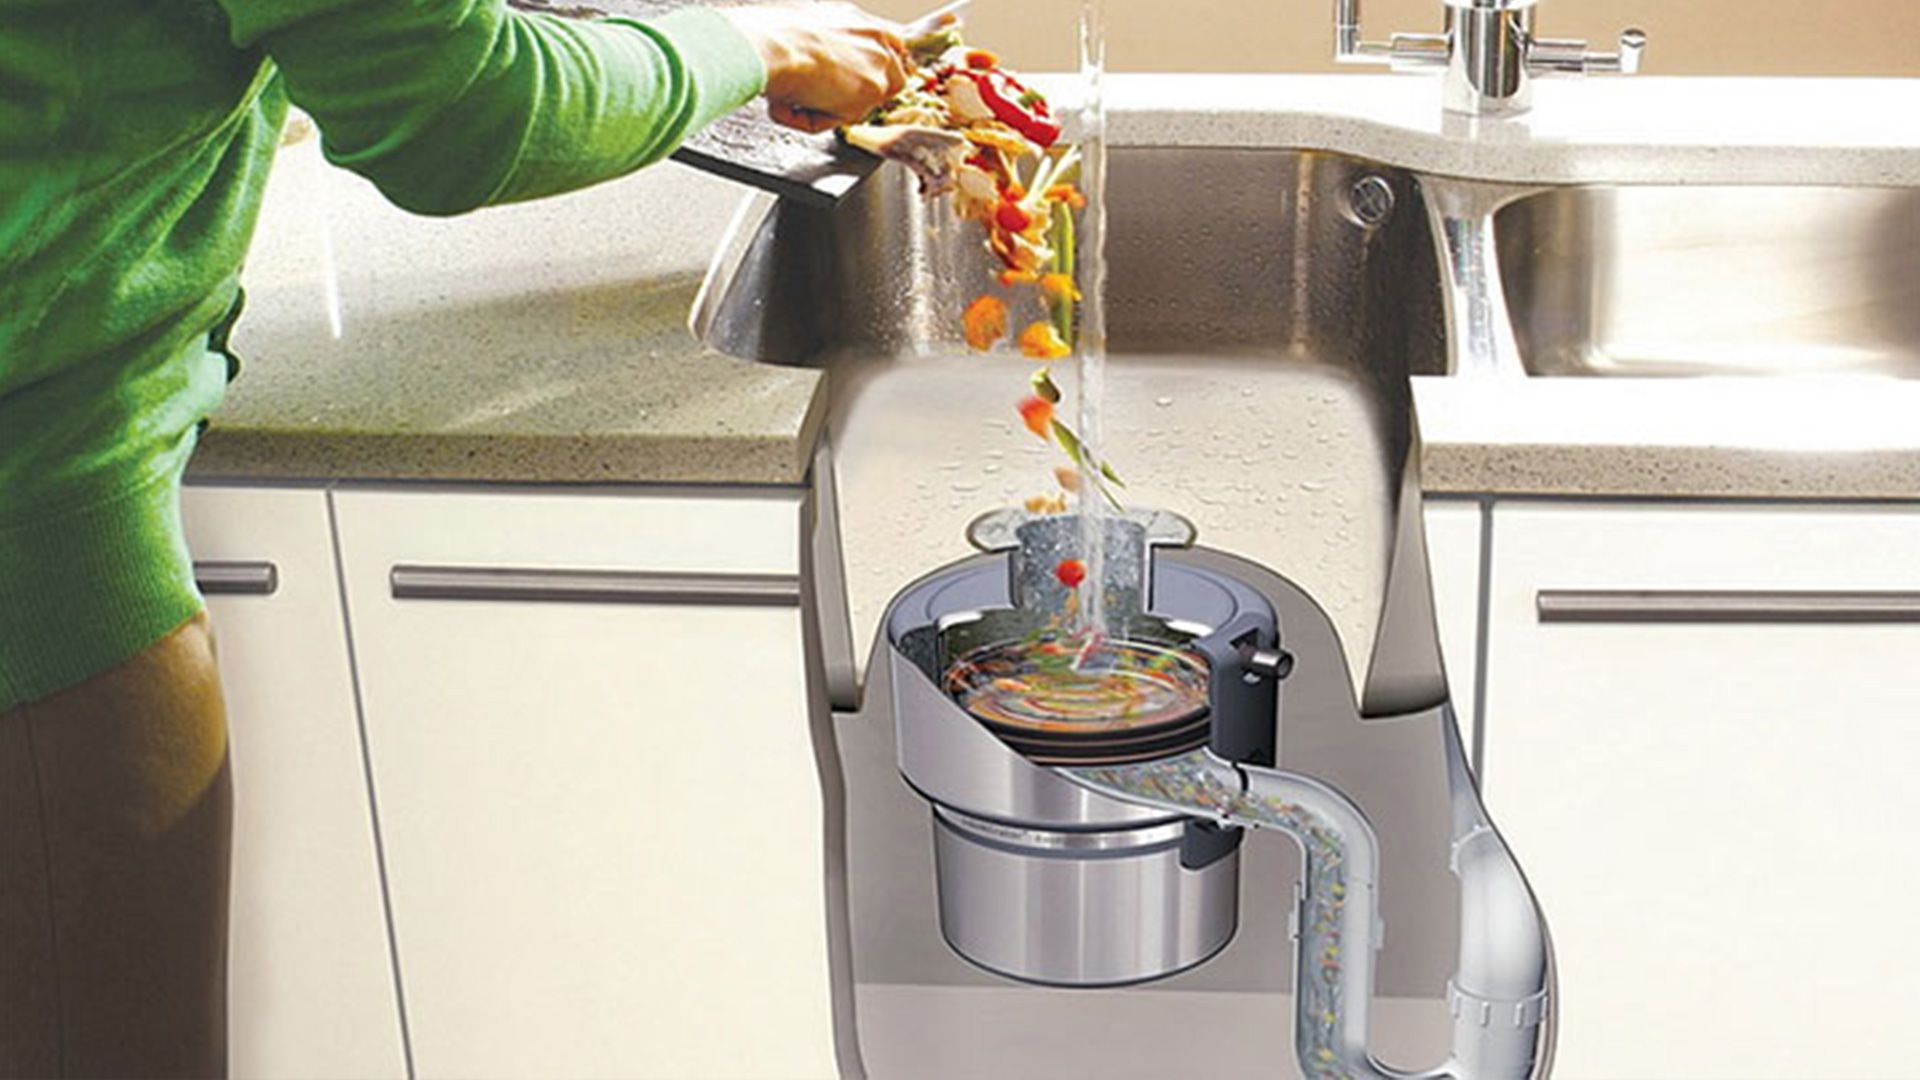
 When it comes to kitchen design, there are many small details that can greatly impact the overall functionality and aesthetic of the space. One such detail is the garbage disposal unit in the kitchen sink. While it may seem like a convenient addition, there are actually many benefits to removing this feature from your kitchen sink. In this article, we will explore the advantages of removing garbage disposal units from your kitchen sink and how it can improve your overall house design.
More Space and Simpler Plumbing
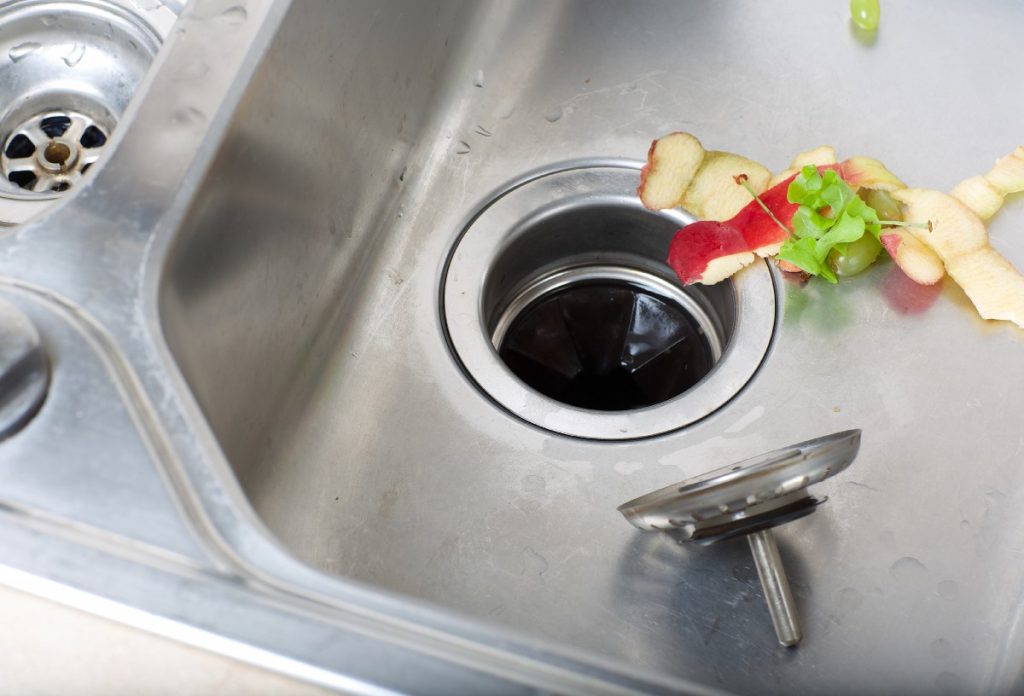
 The first advantage of removing a garbage disposal unit from your kitchen sink is the increased space and simpler plumbing it allows. Garbage disposals take up valuable space in the sink and can make it difficult to fit larger dishes or pots and pans for washing. By removing the unit, you will have more room to work with and a cleaner, more streamlined look to your sink.
Not only does removing the garbage disposal unit provide more space, but it also simplifies the plumbing in your kitchen. Without the added component of the disposal unit, the plumbing under your sink will be less complex and easier to maintain. This can save you time and money on potential repairs in the future.
Reduced Risk of Clogs and Odors
 Another advantage of removing a garbage disposal unit is the reduced risk of clogs and odors in your kitchen sink. Garbage disposals can often become clogged with food particles, leading to unpleasant odors and potential blockages in your sink. By eliminating the disposal, you eliminate this problem altogether.
Additionally, without a garbage disposal, you will be more conscious of what you are putting down the drain and may be less likely to dispose of items that can cause clogs, such as grease or fibrous foods. This can save you from costly plumbing issues and keep your kitchen smelling fresh.
Improved Environmental Impact
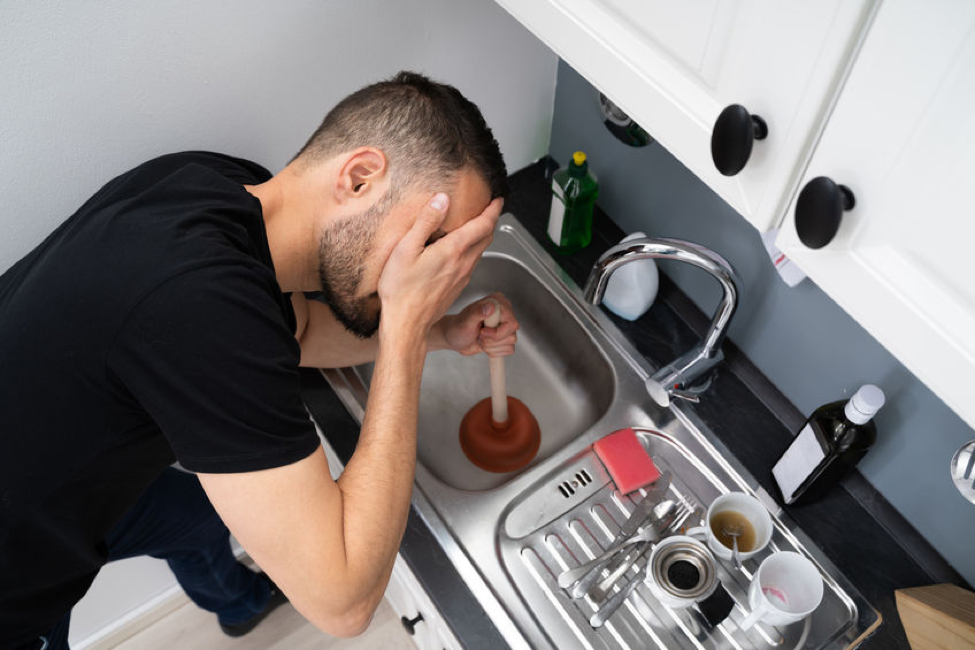 Lastly, removing a garbage disposal unit can have a positive impact on the environment. Garbage disposals use a significant amount of water and electricity to operate, contributing to your household's overall carbon footprint. By removing this appliance, you will be reducing your water and energy consumption, making your home more environmentally friendly.
In conclusion, while garbage disposal units may seem like a convenient addition to your kitchen sink, there are many advantages to removing them from your house design. By doing so, you will have more space and simpler plumbing, reduced risk of clogs and odors, and a positive impact on the environment. Consider removing your garbage disposal unit for a more functional and eco-friendly kitchen.

