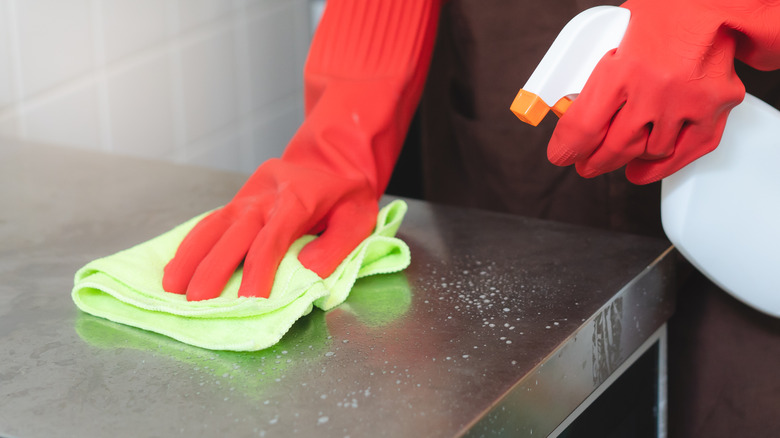
If you notice scratches on your kitchen sink, don't panic. With the right tools and techniques, you can easily remove them and restore your sink to its original shine. Start by selecting a non-abrasive cleaner that is specifically designed for removing scratches from kitchen sinks. These cleaners are gentle enough to use on most sink materials but strong enough to remove surface scratches.1. Use a non-abrasive cleaner specifically designed for removing scratches from kitchen sinks.


1. Use a non-abrasive cleaner specifically designed for removing scratches from kitchen sinks.


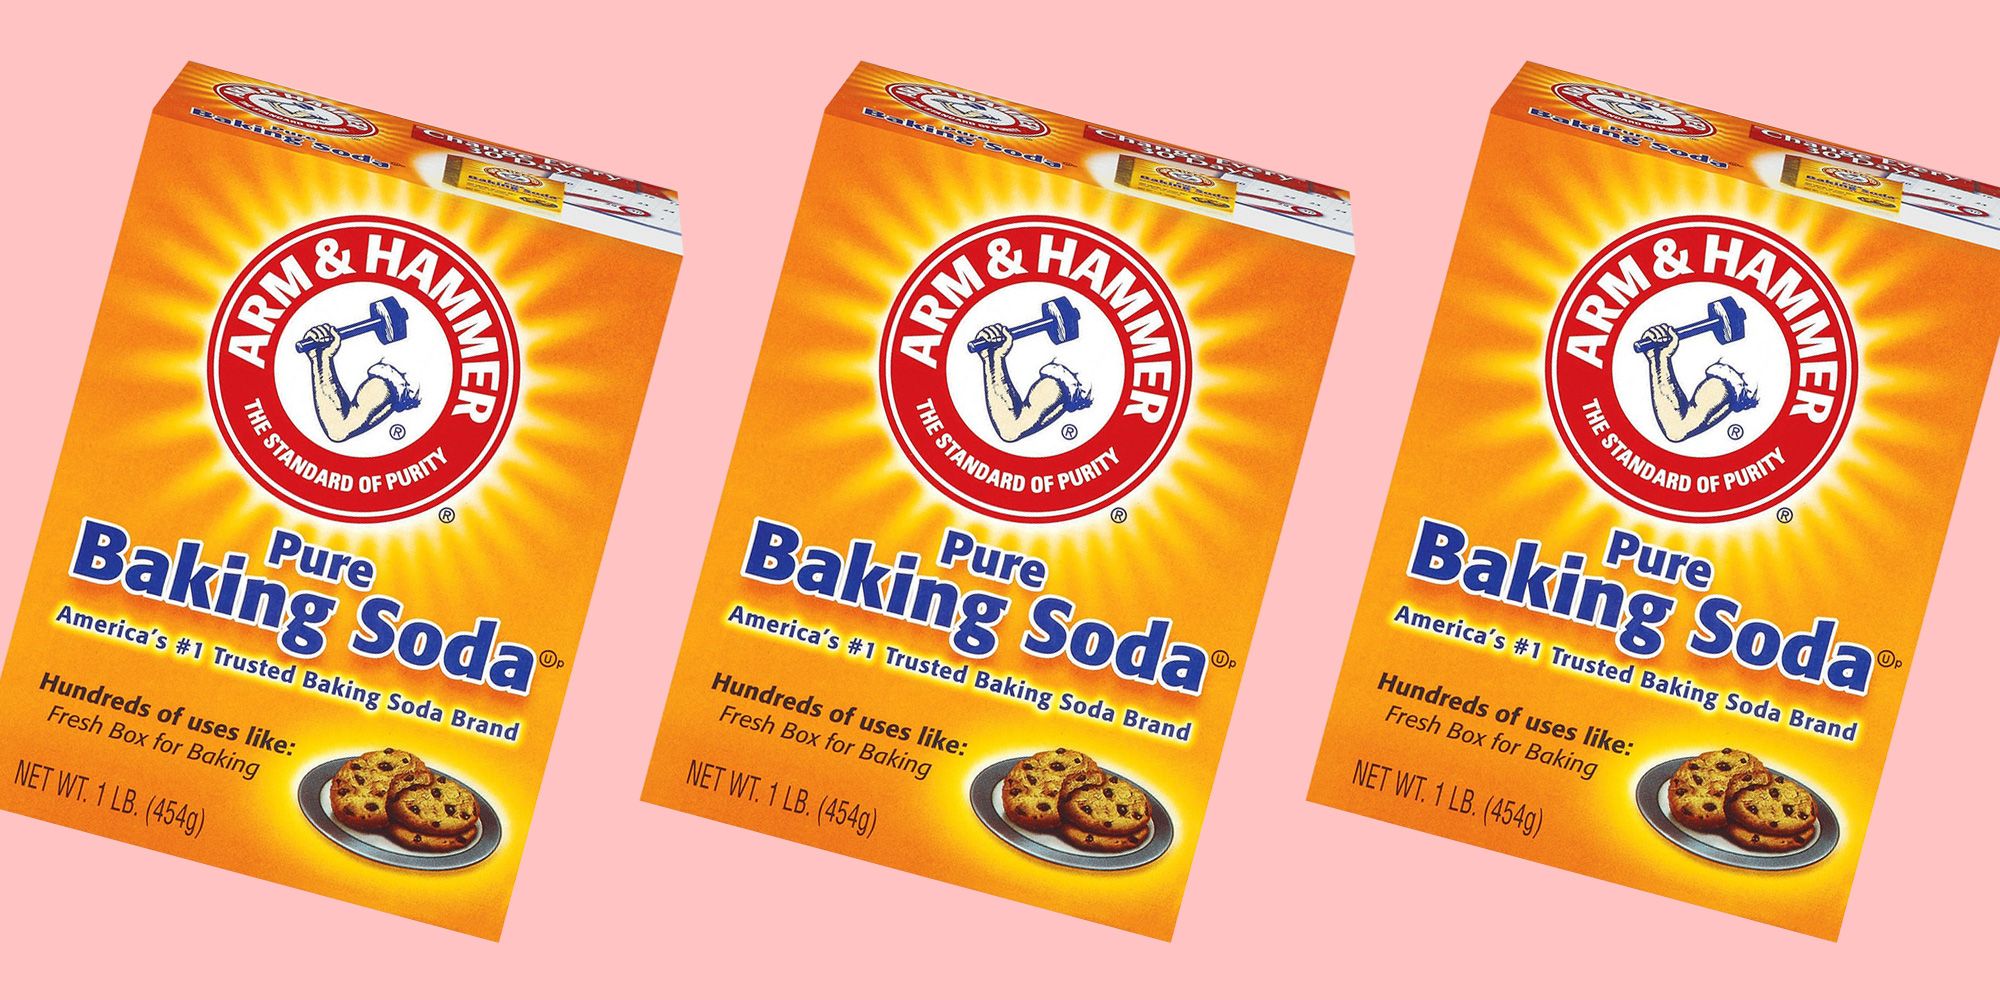
If you prefer a more natural approach, you can use a mixture of baking soda and water to gently buff out the scratches. Baking soda is a mild abrasive that can help to smooth out the surface of the sink and remove light scratches. Mix equal parts of baking soda and water to create a paste and apply it to the scratched area. Use a soft cloth or sponge to gently rub the paste into the scratches in a circular motion.2. Try using a mixture of baking soda and water to gently buff out the scratches.


2. Try using a mixture of baking soda and water to gently buff out the scratches.


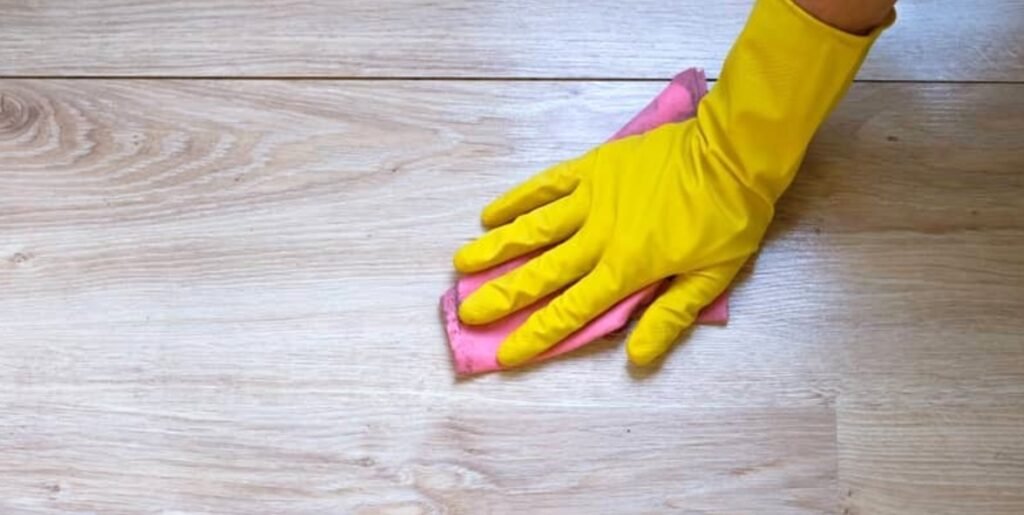
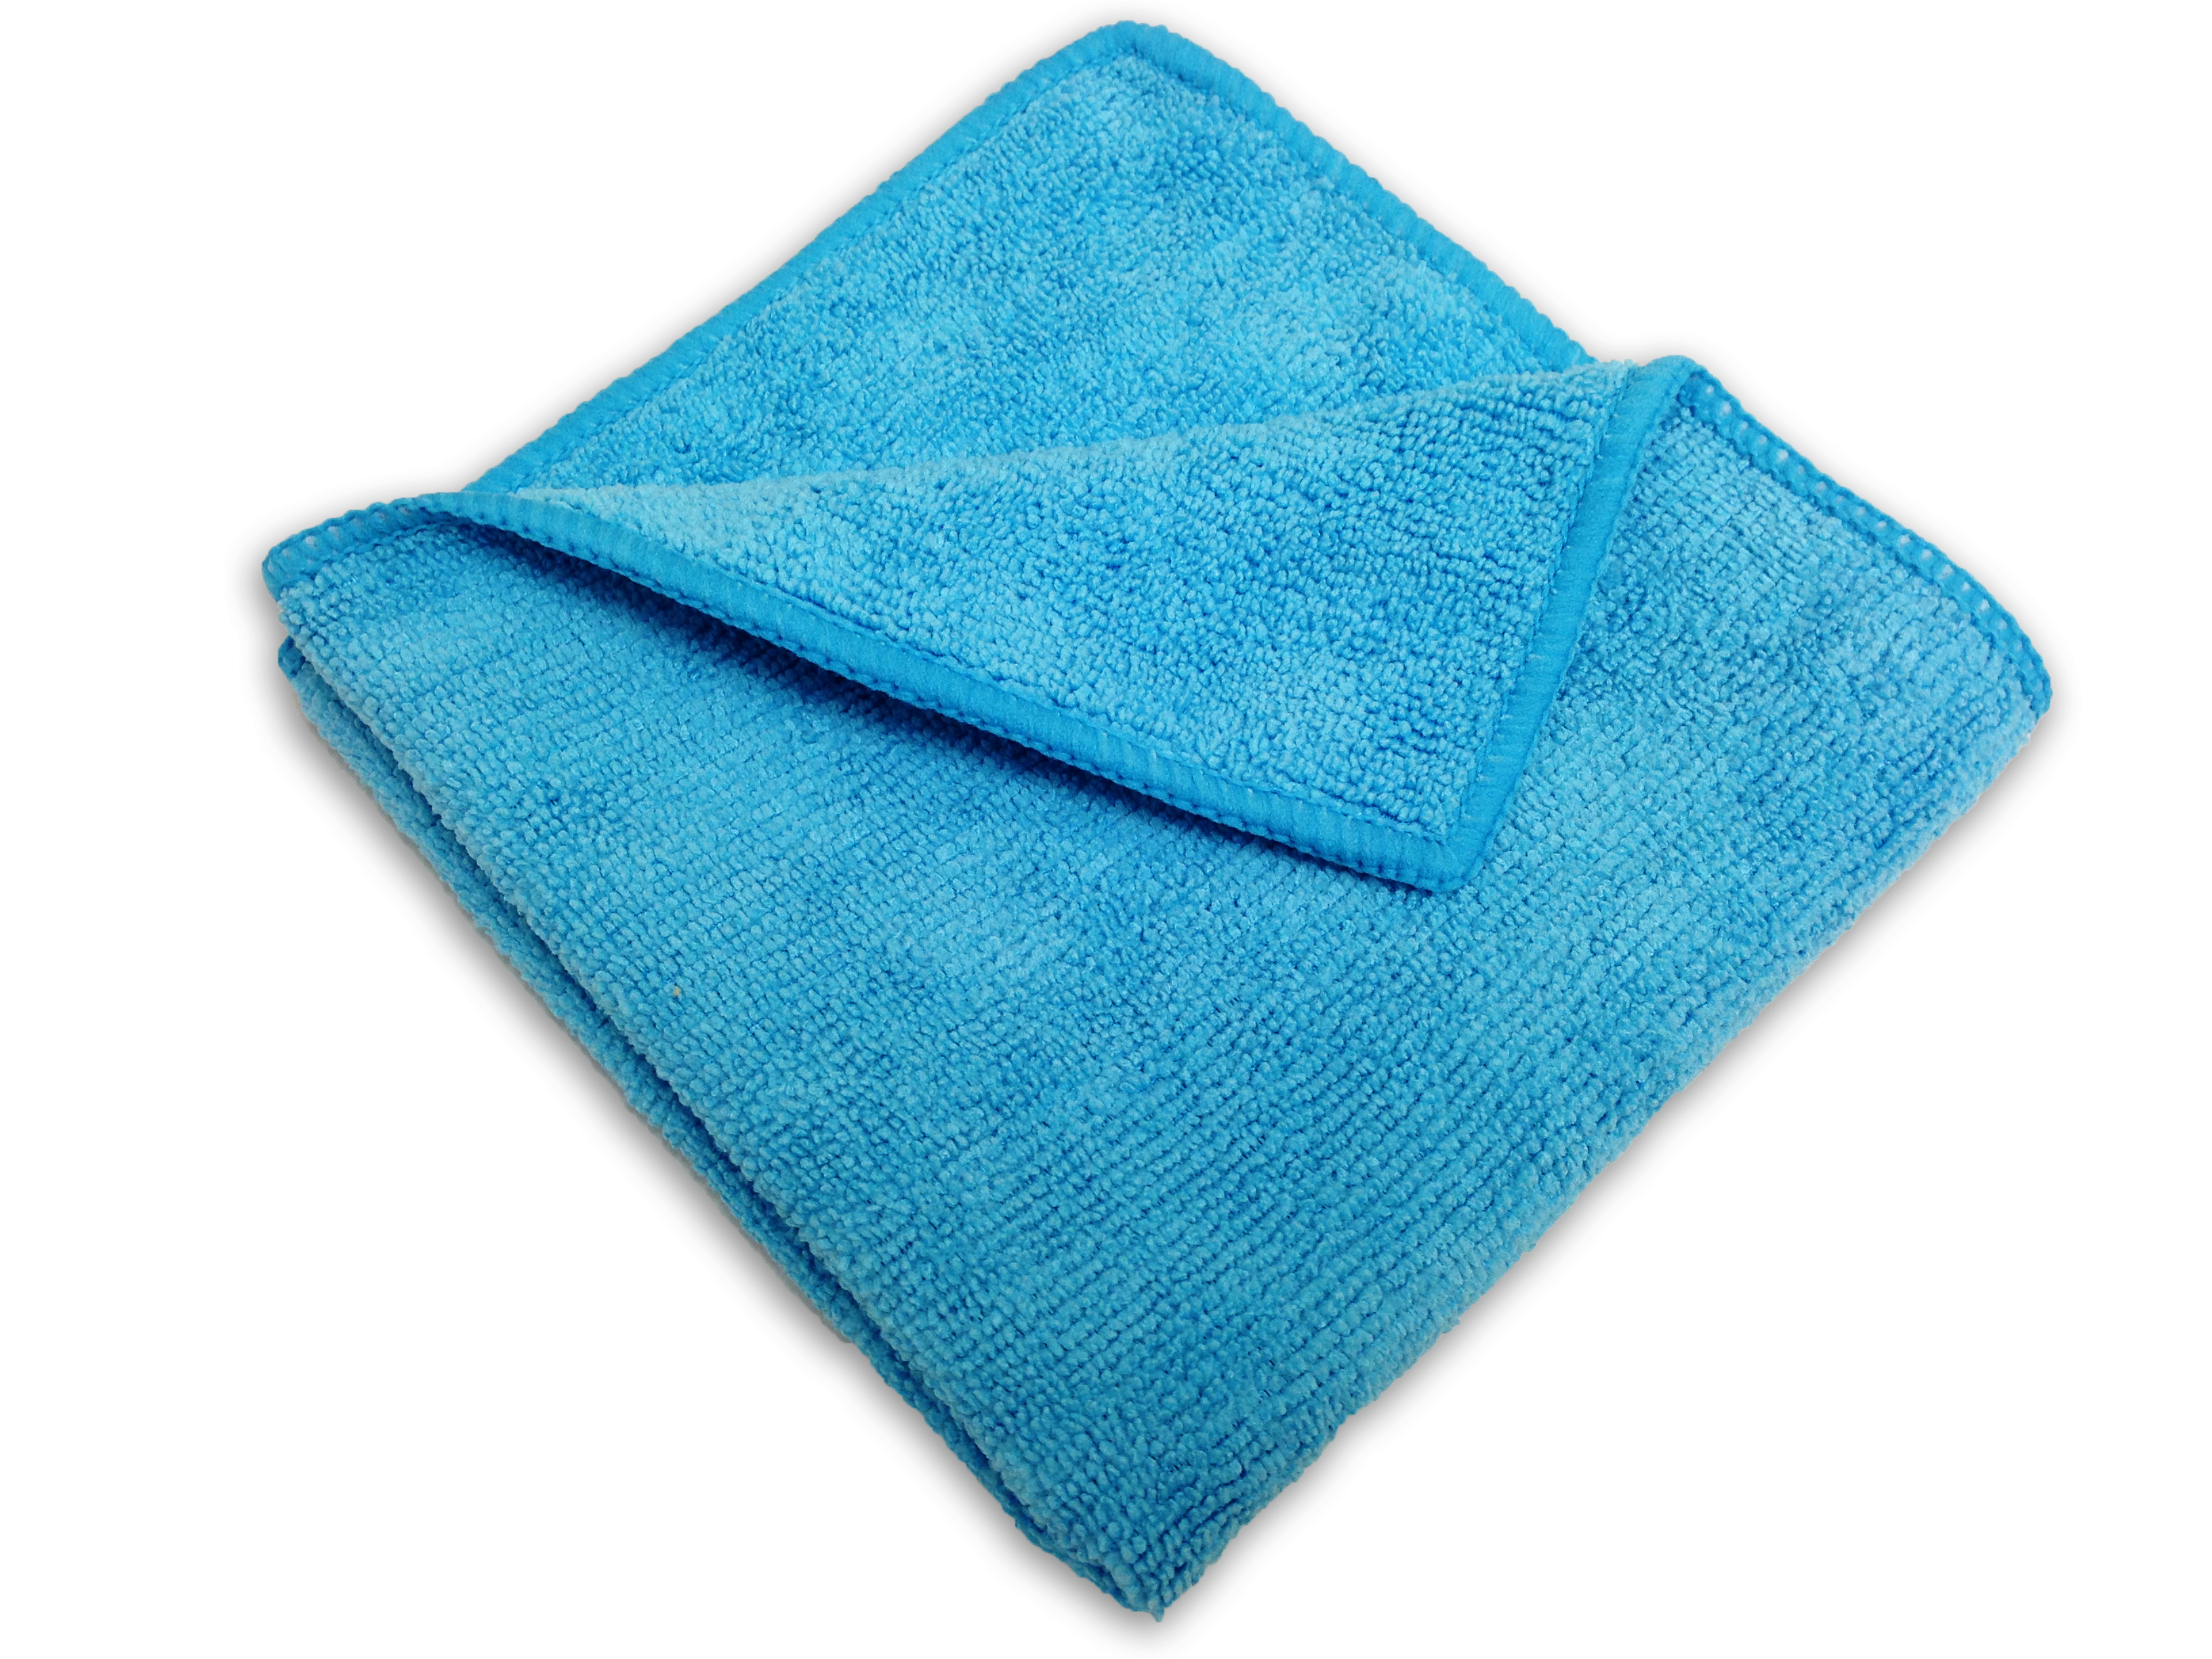
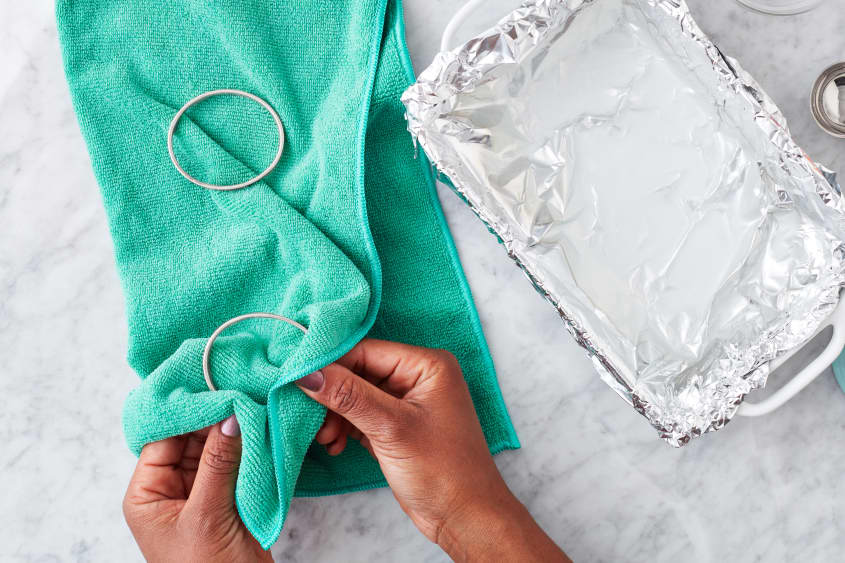
When using a non-abrasive cleaner or baking soda mixture, it's important to use a soft cloth or sponge to apply it. Avoid using any harsh or abrasive sponges or scrubbers, as these can create more scratches on the surface of your sink. Gently rub the cleaner or mixture into the scratches in a circular motion, working from the outside in.3. Use a soft cloth or sponge to apply the cleaner or baking soda mixture in a circular motion.


3. Use a soft cloth or sponge to apply the cleaner or baking soda mixture in a circular motion.


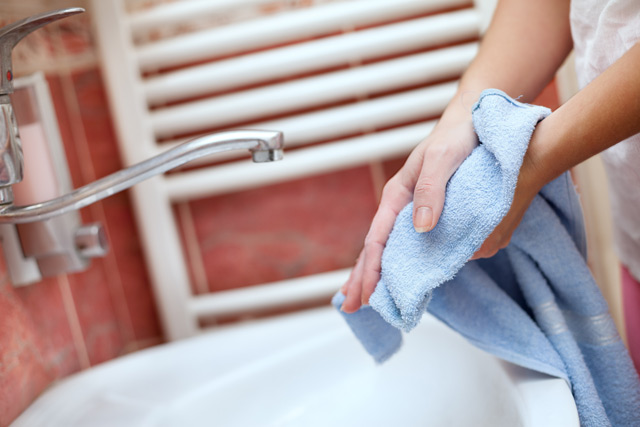
Once you have applied the cleaner or baking soda mixture and gently buffed out the scratches, it's important to thoroughly rinse your sink with water. This will remove any remaining residue from the cleaner or mixture. After rinsing, dry the sink with a clean cloth to prevent any water spots or streaks.4. Rinse the sink thoroughly with water and dry with a clean cloth.


4. Rinse the sink thoroughly with water and dry with a clean cloth.
:max_bytes(150000):strip_icc()/how-to-clean-a-copper-sink-4767276-05-a54b0d47425048cb89ccb81cc5bc868d.jpg)


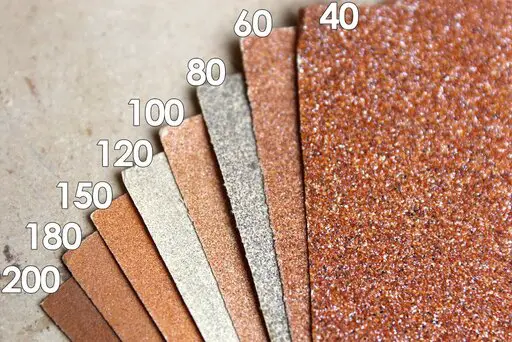
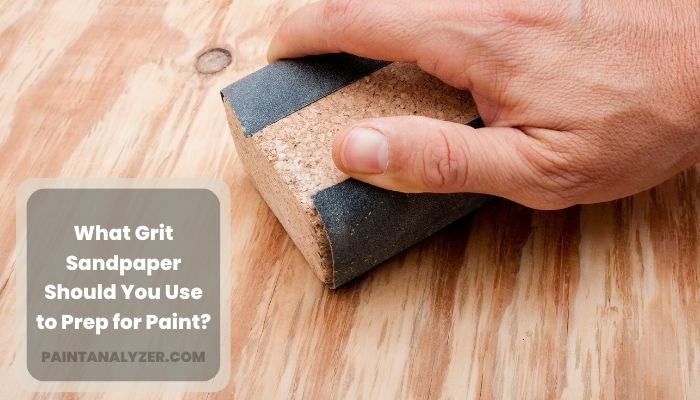
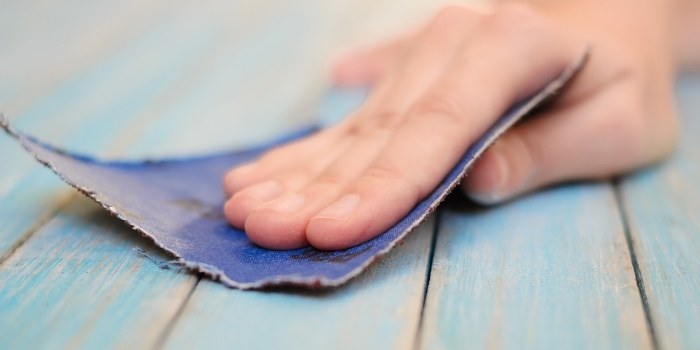
If you have deeper scratches in your sink, you may need to take a more aggressive approach. Try using a fine-grit sandpaper, such as 400 or 600 grit, to gently sand down the surface of the sink. Be sure to sand in the direction of the grain to avoid creating more scratches. This method may take more time and effort, but it can effectively remove deep scratches from your sink.5. For deeper scratches, try using a fine-grit sandpaper to gently sand down the surface of the sink.

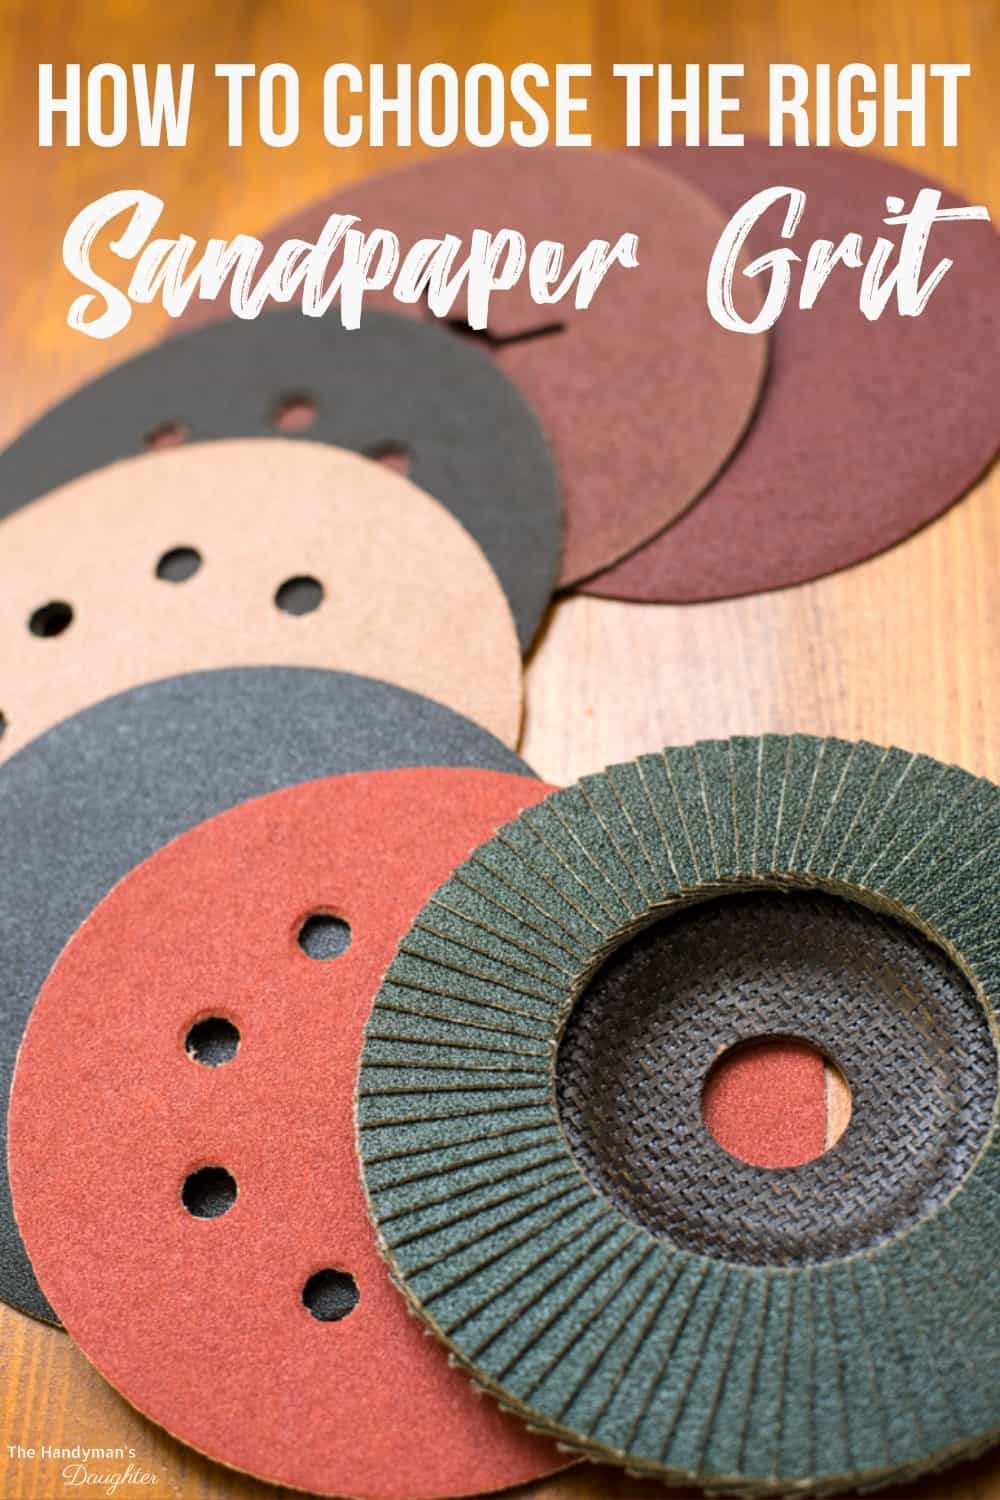

5. For deeper scratches, try using a fine-grit sandpaper to gently sand down the surface of the sink.


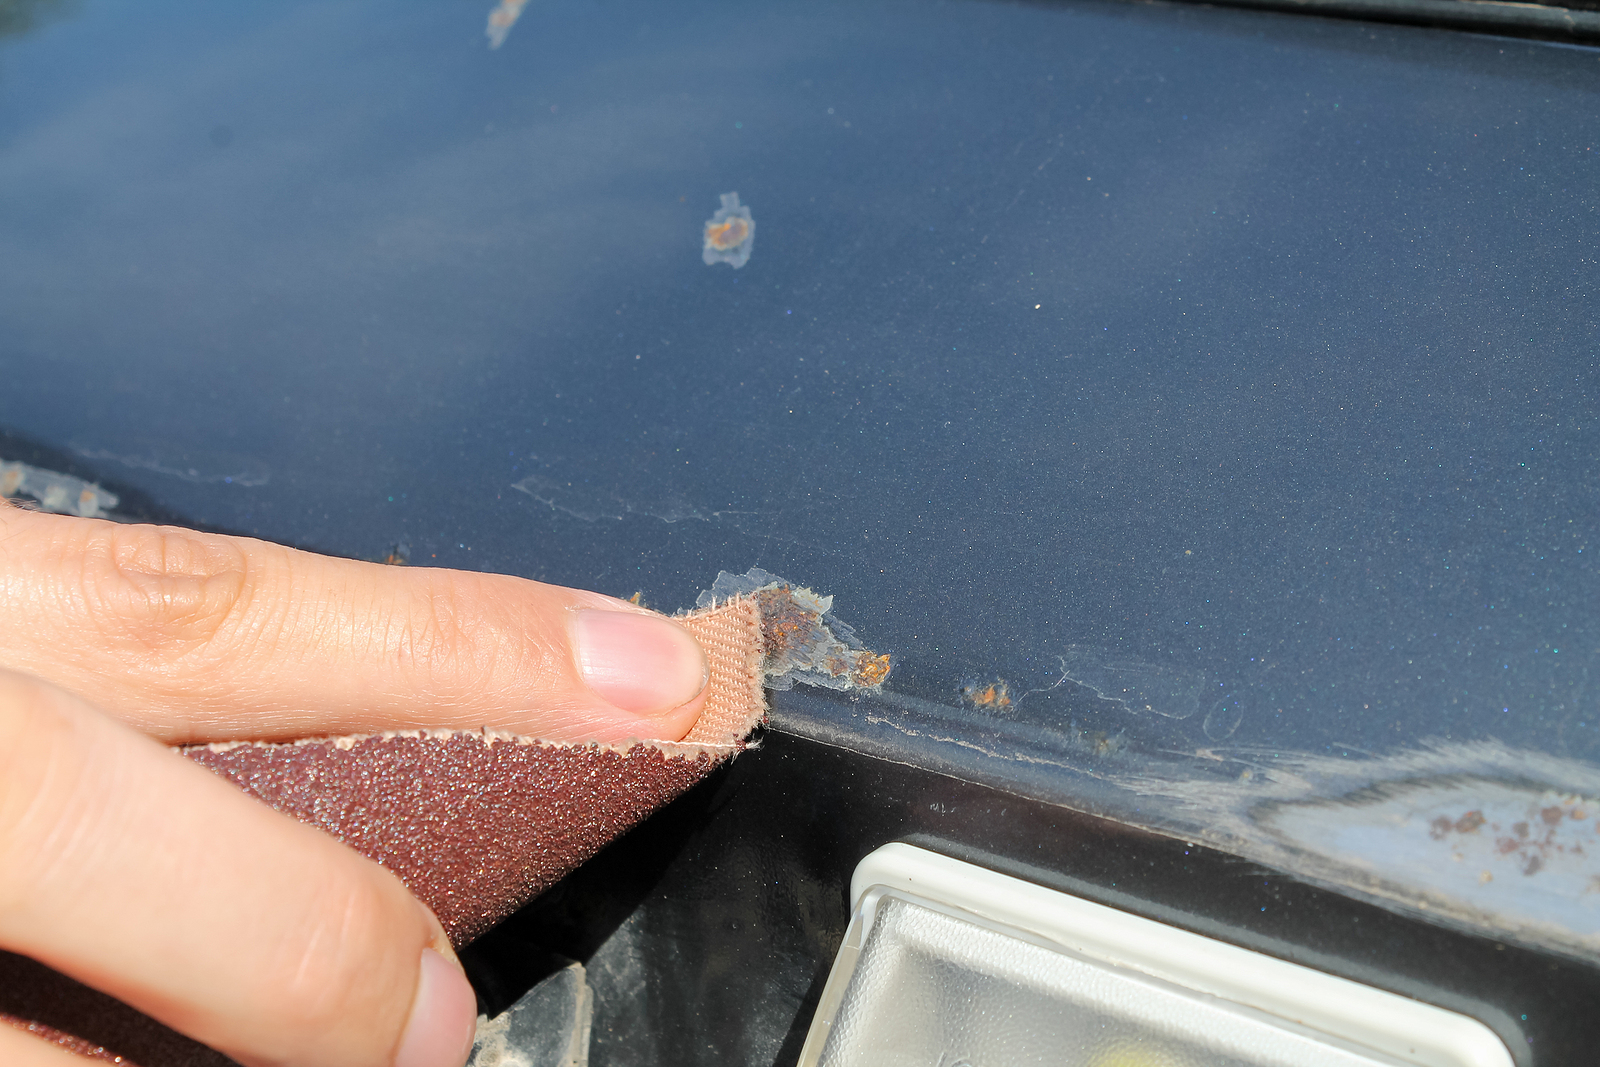

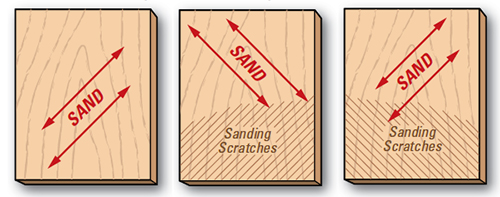
When using sandpaper to remove scratches from your sink, it's important to pay attention to the direction of the grain. Sanding against the grain can create more scratches and damage the surface of your sink. Always sand in the direction of the grain to achieve the best results.6. Be sure to sand in the direction of the grain to avoid creating more scratches.


6. Be sure to sand in the direction of the grain to avoid creating more scratches.


After sanding, use a non-abrasive cleaner to clean the sink and remove any debris or residue from the sandpaper. Rinse the sink thoroughly with water and dry with a clean cloth. If needed, you can repeat this step until the scratches are no longer visible.7. After sanding, clean the sink with a non-abrasive cleaner and rinse thoroughly.


7. After sanding, clean the sink with a non-abrasive cleaner and rinse thoroughly.


If your sink has very deep scratches or even small chips, you may need to use a sink repair kit specifically designed for these types of issues. These kits typically include a filler material and color-matching paste. Follow the instructions on the kit carefully to fill in the scratches and blend the repair with the surrounding area.8. For very deep scratches, you may need to use a sink repair kit specifically designed for scratches.


8. For very deep scratches, you may need to use a sink repair kit specifically designed for scratches.


When using a sink repair kit, it's important to carefully follow the instructions provided. Each kit may have different steps and methods for repairing scratches and chips. Take your time and be patient to achieve the best results. Once you have completed the repair, be sure to blend it with the surrounding area to make it less noticeable.9. Follow the instructions on the kit carefully and be sure to blend the repair with the surrounding area.

9. Follow the instructions on the kit carefully and be sure to blend the repair with the surrounding area.


Prevention is key when it comes to keeping your kitchen sink scratch-free. One way to prevent future scratches is by using a sink grid or mat while washing dishes. These accessories provide a protective barrier between your dishes and the surface of your sink, preventing scratches from occurring. Be sure to clean and dry the grid or mat regularly to avoid any buildup of debris or mildew. Don't let scratches ruin the look of your kitchen sink. With these tips and techniques, you can easily remove scratches and keep your sink looking shiny and new. Remember to always use gentle and non-abrasive methods and products to prevent further damage to your sink's surface. With proper care, your kitchen sink can last for many years to come.10. To prevent future scratches, use a sink grid or mat to protect the surface of your sink while washing dishes.


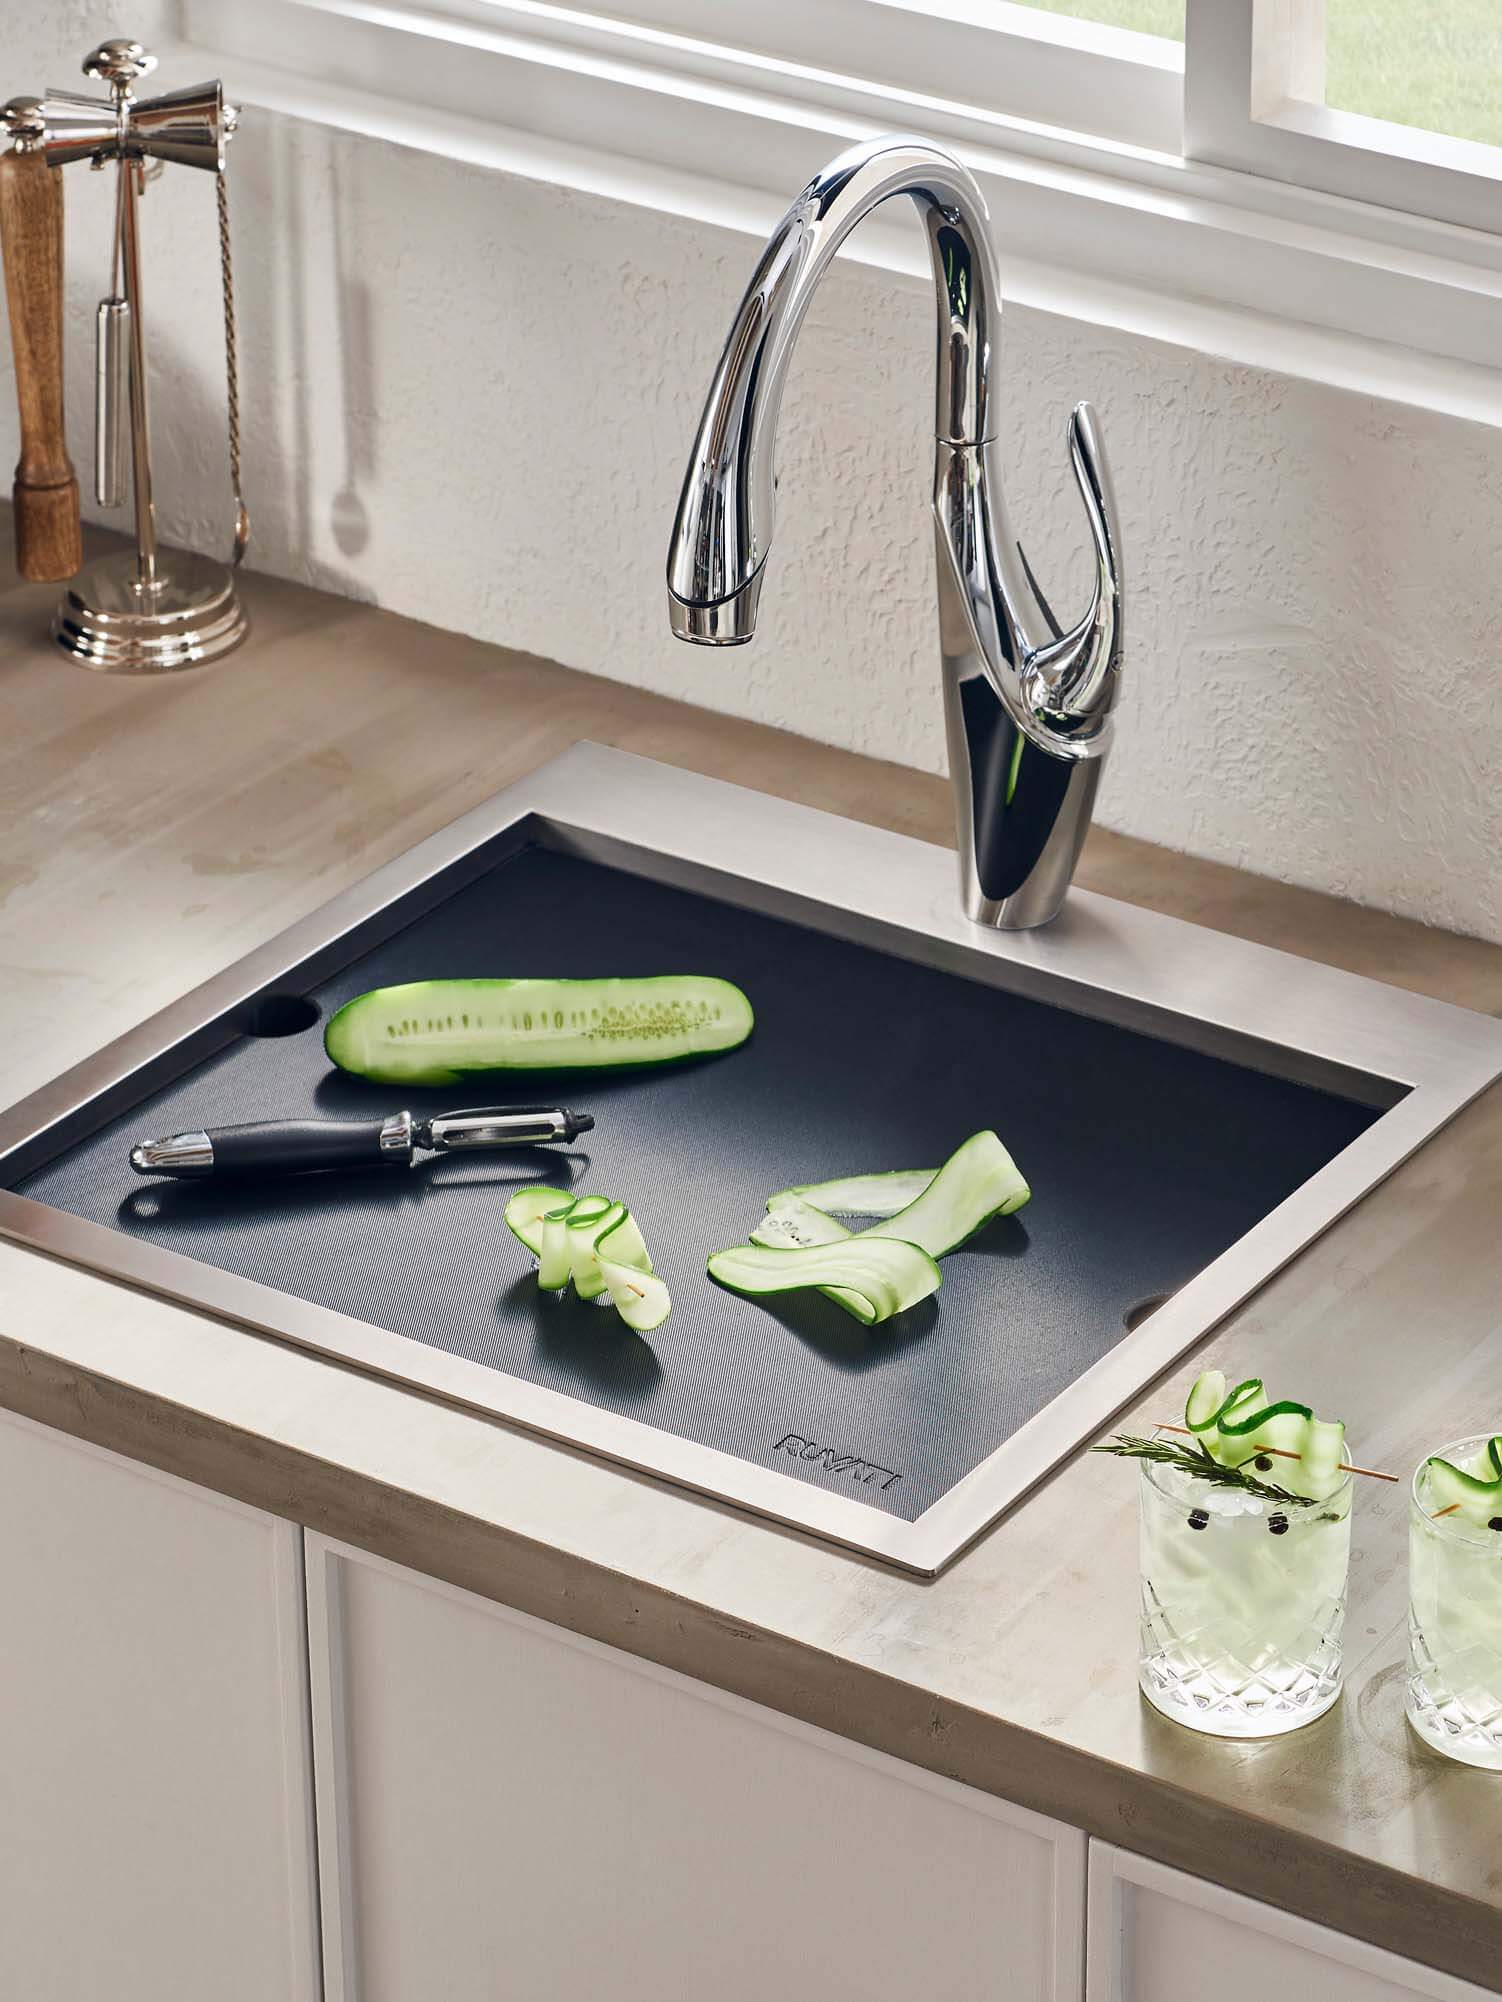
10. To prevent future scratches, use a sink grid or mat to protect the surface of your sink while washing dishes.


How to Effectively Remove Scratches from Your Kitchen Sink

A Guide to Keeping Your Kitchen Sink Looking Like New
 The kitchen sink is one of the most heavily used areas in any home. From washing dishes to cleaning fruits and vegetables, it's no surprise that over time, scratches can start to appear on the surface. Not only can these scratches be unsightly, but they can also harbor bacteria and make it difficult to keep your sink clean. However, with the right techniques, you can easily
remove scratches from your kitchen sink
and restore its shine and functionality.
The kitchen sink is one of the most heavily used areas in any home. From washing dishes to cleaning fruits and vegetables, it's no surprise that over time, scratches can start to appear on the surface. Not only can these scratches be unsightly, but they can also harbor bacteria and make it difficult to keep your sink clean. However, with the right techniques, you can easily
remove scratches from your kitchen sink
and restore its shine and functionality.
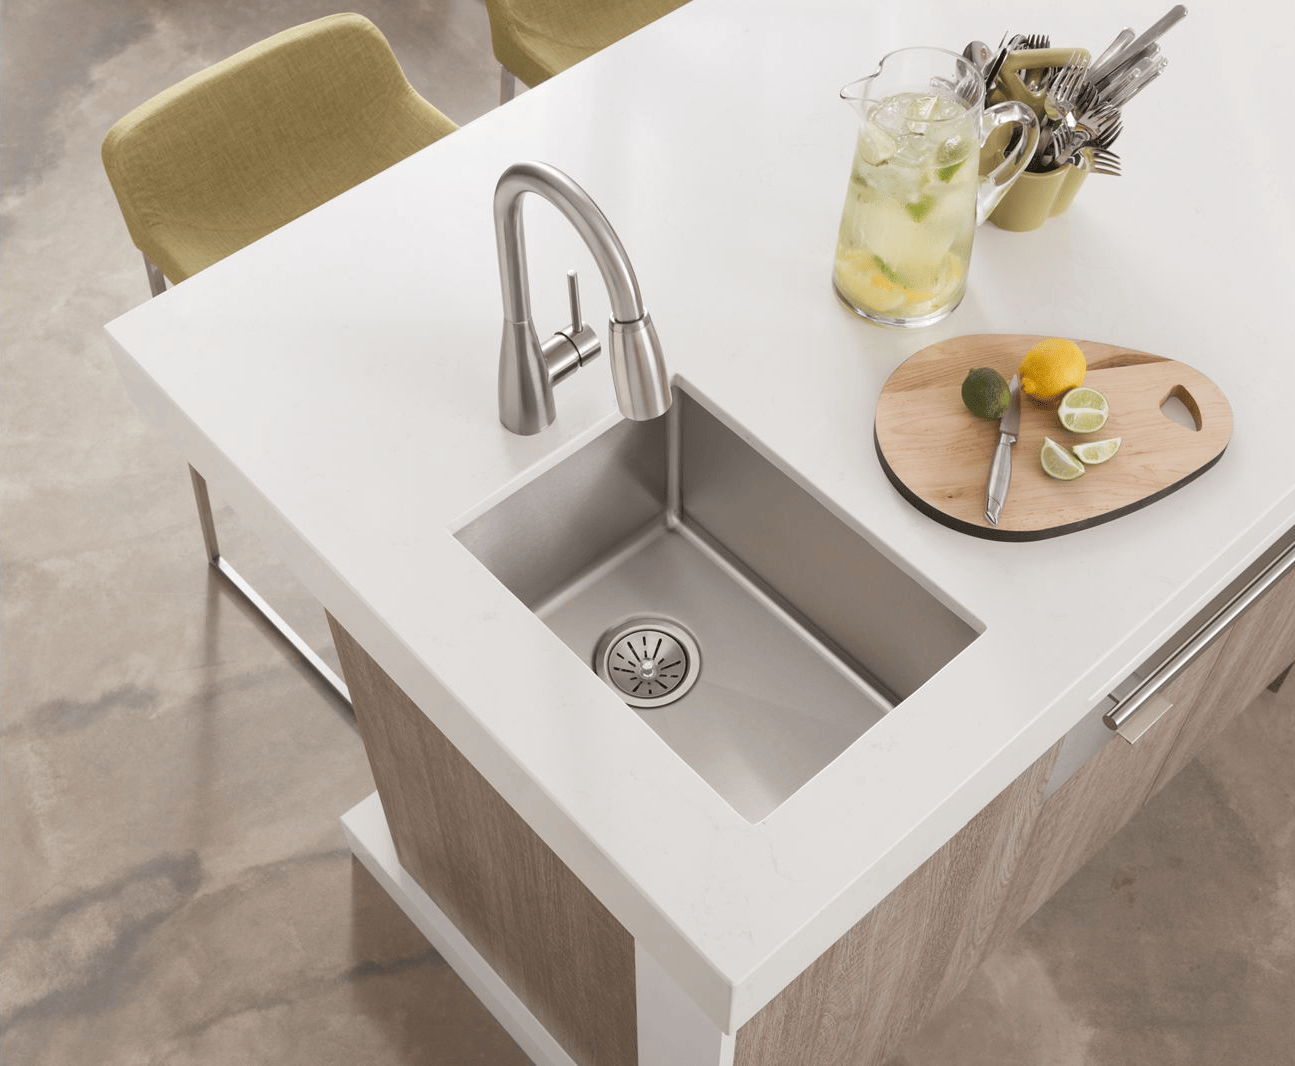
Identify the Type of Sink
:max_bytes(150000):strip_icc()/order-for-dish-washing-1900439-12-0e0863558b0841d6b6ea229db9282565.jpg) Before attempting to remove scratches from your kitchen sink, it's important to identify the type of material it is made of. This will determine the best method to use for
fixing scratches
. Stainless steel sinks are the most common type and can be easily buffed out with a polishing compound. Porcelain and enamel sinks, on the other hand, are more delicate and may require a gentler approach.
Before attempting to remove scratches from your kitchen sink, it's important to identify the type of material it is made of. This will determine the best method to use for
fixing scratches
. Stainless steel sinks are the most common type and can be easily buffed out with a polishing compound. Porcelain and enamel sinks, on the other hand, are more delicate and may require a gentler approach.
Tools and Materials
 To effectively remove scratches from your kitchen sink, you will need a few basic tools and materials. These include a mild abrasive cleaner, a polishing compound, a soft sponge or cloth, and a sink protector. If you have a stainless steel sink, you may also need some steel wool. It's important to
use only non-abrasive materials
as harsh chemicals or scrubbers can further damage the surface of your sink.
To effectively remove scratches from your kitchen sink, you will need a few basic tools and materials. These include a mild abrasive cleaner, a polishing compound, a soft sponge or cloth, and a sink protector. If you have a stainless steel sink, you may also need some steel wool. It's important to
use only non-abrasive materials
as harsh chemicals or scrubbers can further damage the surface of your sink.
Step-by-Step Guide
 1. Start by thoroughly cleaning the sink with a mild abrasive cleaner and a soft sponge or cloth. This will remove any dirt or grime that may be hiding scratches and allow you to see the full extent of the damage.
2. For stainless steel sinks, you can use a fine-grade steel wool to gently buff out the scratches. Be sure to rub in the direction of the grain to avoid creating more scratches.
3. For porcelain or enamel sinks, use a polishing compound specifically designed for these materials. Apply a small amount to the scratched area and gently rub in a circular motion with a soft cloth.
4. Rinse the sink well with clean water and dry with a soft cloth.
5. To prevent future scratches, consider using a sink protector to cushion heavy pots and pans.
1. Start by thoroughly cleaning the sink with a mild abrasive cleaner and a soft sponge or cloth. This will remove any dirt or grime that may be hiding scratches and allow you to see the full extent of the damage.
2. For stainless steel sinks, you can use a fine-grade steel wool to gently buff out the scratches. Be sure to rub in the direction of the grain to avoid creating more scratches.
3. For porcelain or enamel sinks, use a polishing compound specifically designed for these materials. Apply a small amount to the scratched area and gently rub in a circular motion with a soft cloth.
4. Rinse the sink well with clean water and dry with a soft cloth.
5. To prevent future scratches, consider using a sink protector to cushion heavy pots and pans.
Additional Tips
 - For deeper scratches on stainless steel sinks, you may need to use a coarser steel wool and a metal polish to remove them.
- For porcelain or enamel sinks, avoid using harsh chemicals or abrasive cleaners as they can damage the surface.
- Regularly clean and maintain your sink to prevent scratches from occurring in the first place.
By following these simple steps and being mindful of the type of sink you have, you can easily
remove scratches from your kitchen sink
and keep it looking like new. Remember to always use non-abrasive materials and to regularly clean and maintain your sink to prevent future scratches. With a little bit of effort, your kitchen sink will continue to be a shining centerpiece in your home.
- For deeper scratches on stainless steel sinks, you may need to use a coarser steel wool and a metal polish to remove them.
- For porcelain or enamel sinks, avoid using harsh chemicals or abrasive cleaners as they can damage the surface.
- Regularly clean and maintain your sink to prevent scratches from occurring in the first place.
By following these simple steps and being mindful of the type of sink you have, you can easily
remove scratches from your kitchen sink
and keep it looking like new. Remember to always use non-abrasive materials and to regularly clean and maintain your sink to prevent future scratches. With a little bit of effort, your kitchen sink will continue to be a shining centerpiece in your home.