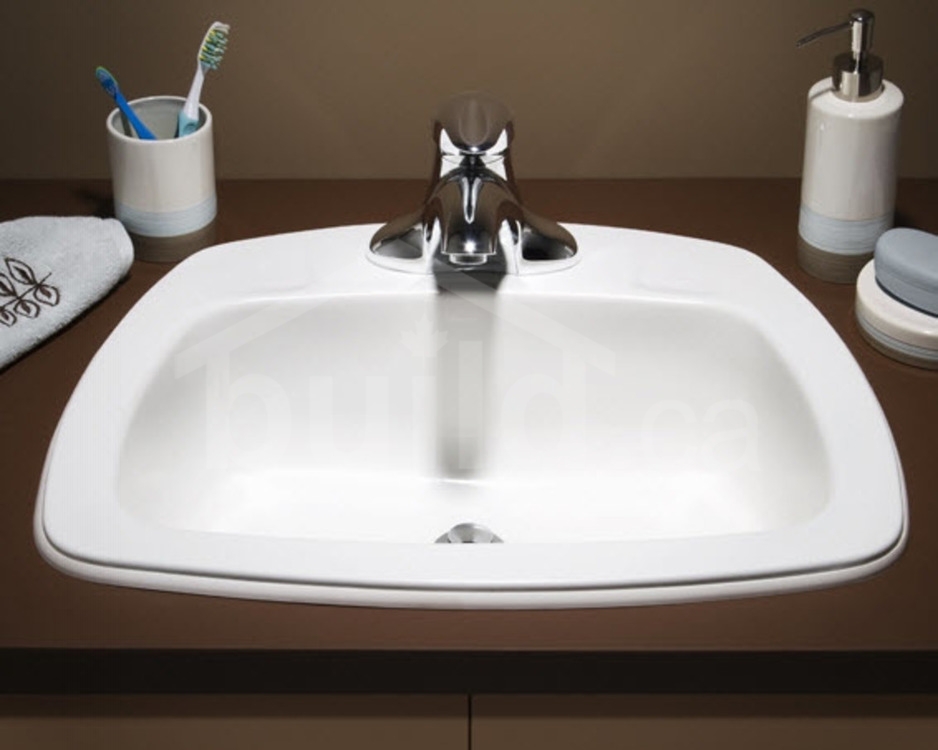
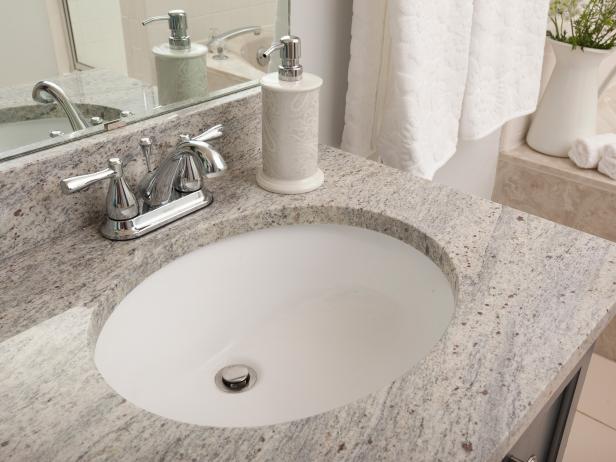
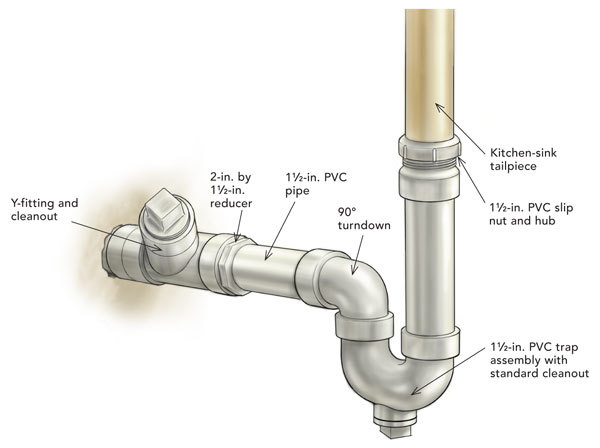
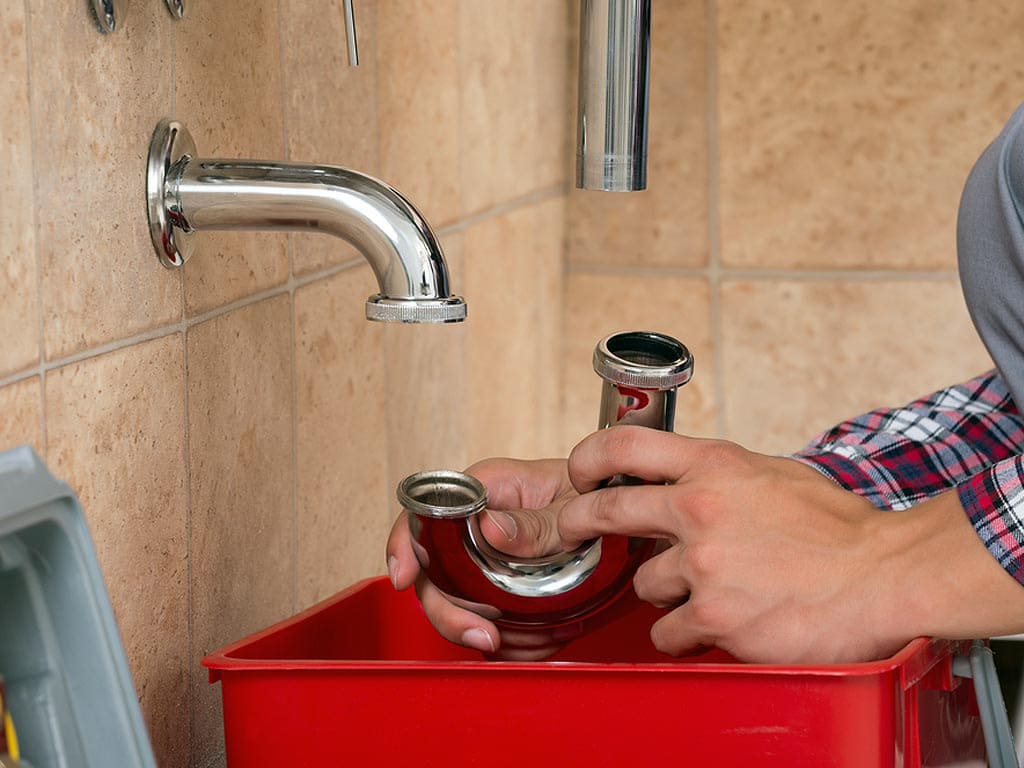
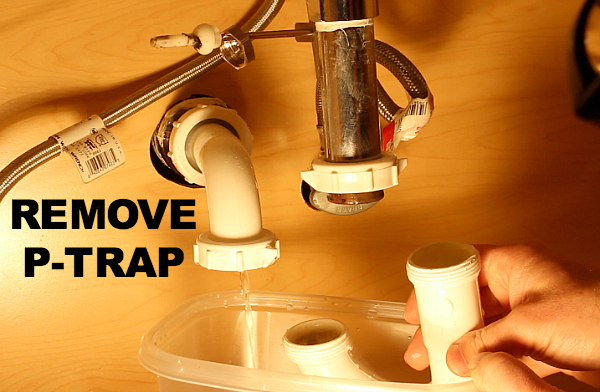
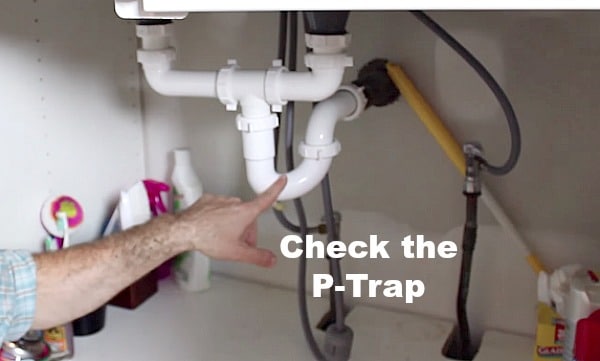
Removing a P-trap from a kitchen sink may seem like a daunting task, but with the right tools and knowledge, it can be a simple and straightforward process. Whether you're dealing with a clogged drain or need to make repairs, removing the P-trap is often the first step. In this guide, we will walk you through the process of removing a P-trap from a kitchen sink.How to Remove a P-Trap from a Kitchen Sink


How to Remove a P-Trap from a Kitchen Sink


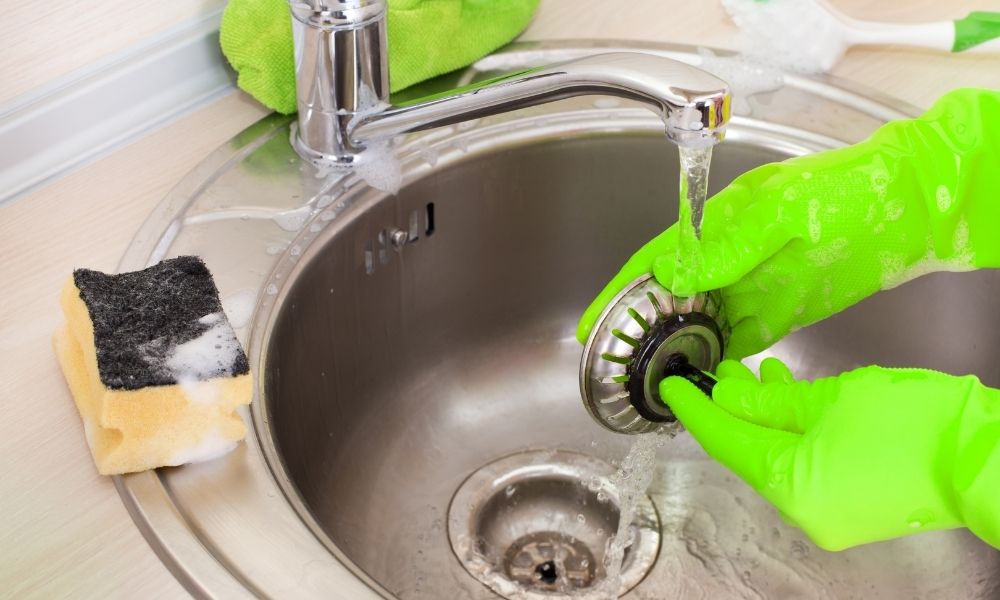
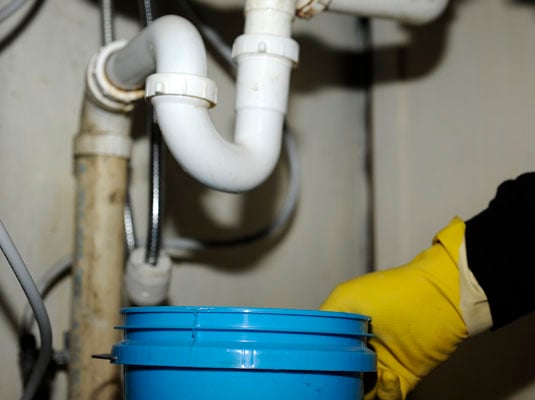
Before you begin, make sure to gather all the necessary tools and materials. You will need a pipe wrench, a bucket or large bowl, and a cloth or rag. Once you have these items, follow these steps:Removing a P-Trap from a Kitchen Sink: A Step-by-Step Guide


Removing a P-Trap from a Kitchen Sink: A Step-by-Step Guide


Now that you know the basic steps for removing a P-trap from a kitchen sink, let's dive deeper into the process and give you some helpful tips and tricks. Tip #1: Use a strap wrench to loosen tight coupling nuts. This will prevent you from damaging the nuts or pipes with a regular pipe wrench. Tip #2: If the P-trap is stuck, use a mixture of vinegar and baking soda to help loosen it. Pour the mixture into the P-trap and let it sit for a few minutes before attempting to remove it again. Tip #3: Consider wearing gloves when removing the P-trap to protect your hands from any sharp edges or debris. Tip #4: Take this opportunity to inspect the P-trap for any damage or wear and tear. If needed, you can replace it with a new one before reinstalling it.DIY: How to Remove a P-Trap from a Kitchen Sink


DIY: How to Remove a P-Trap from a Kitchen Sink


Now that you know how to remove a P-trap from a kitchen sink, here are some important things to keep in mind: Proper maintenance: Regularly cleaning and maintaining your P-trap can help prevent clogs and other plumbing issues. Make sure to clean the trap at least once a month. Reinstalling the P-trap: When reinstalling the P-trap, make sure to tighten the coupling nuts properly to prevent any leaks. You can also use plumbing tape to create a tighter seal. Seek professional help: If you encounter any problems or are unsure about removing the P-trap yourself, it's best to seek professional help. Plumbers have the necessary skills and tools to safely and efficiently remove the P-trap without causing any damage.Removing a P-Trap from a Kitchen Sink: What You Need to Know

Removing a P-Trap from a Kitchen Sink: Tips and Tricks

Removing a P-trap from a kitchen sink may seem like a daunting task, but with the right knowledge and tools, it can be a quick and easy process. By following the steps outlined in this guide and keeping these tips in mind, you can successfully remove the P-trap and address any plumbing issues you may have.How to Remove a P-Trap from a Kitchen Sink: A Comprehensive Guide

Step-by-Step Guide to Removing a P-Trap from a Kitchen Sink
While removing a P-trap from a kitchen sink may seem like a simple task, there are some common mistakes that people make that can lead to bigger problems. Here are a few mistakes to avoid: Not turning off the water supply: Always remember to turn off the water supply before starting any plumbing work. This will prevent any accidents or water damage. Forgetting to place a bucket or bowl: Not placing a bucket or bowl under the P-trap can result in a messy cleanup if any water spills out during removal. Tightening the coupling nuts too much: Tightening the coupling nuts too much can cause them to break or damage the pipes, leading to leaks.Removing a P-Trap from a Kitchen Sink: Common Mistakes to Avoid

Removing a P-Trap from a Kitchen Sink: What You Need to Know

With the right tools and knowledge, removing a P-trap from a kitchen sink can be a simple and straightforward process. By following the steps and tips outlined in this guide, you can successfully remove the P-trap and address any plumbing issues you may have. Remember to always take precautions and seek professional help if needed.DIY: Removing a P-Trap from a Kitchen Sink Made Easy


How to Remove a P-Trap from a Kitchen Sink: A Comprehensive Guide
If you encounter any problems while removing the P-trap from your kitchen sink, here are a few troubleshooting tips: Leaky coupling nuts: If the coupling nuts are leaking after reinstalling the P-trap, try tightening them a bit more or using plumbing tape to create a tighter seal. Stuck P-trap: If the P-trap is stuck and won't budge, try using a mixture of vinegar and baking soda to help loosen it. If that doesn't work, seek professional help. Damaged P-trap: If the P-trap is damaged or worn out, it's best to replace it with a new one. This will prevent any future plumbing issues.Removing a P-Trap from a Kitchen Sink: Troubleshooting Tips
Removing a P-Trap from a Kitchen Sink: Common Mistakes to Avoid

Removing a P-trap from a kitchen sink may seem like a daunting task, but with the right tools and knowledge, it can be a simple and straightforward process. By following the steps and tips outlined in this guide, you can successfully remove the P-trap and address any plumbing issues you may have. Always remember to take precautions and seek professional help if needed. Happy plumbing!Conclusion


DIY: Removing a P-Trap from a Kitchen Sink Made Easy
Why Removing the P Trap from Your Kitchen Sink is a Necessity for a Functional and Aesthetic House Design
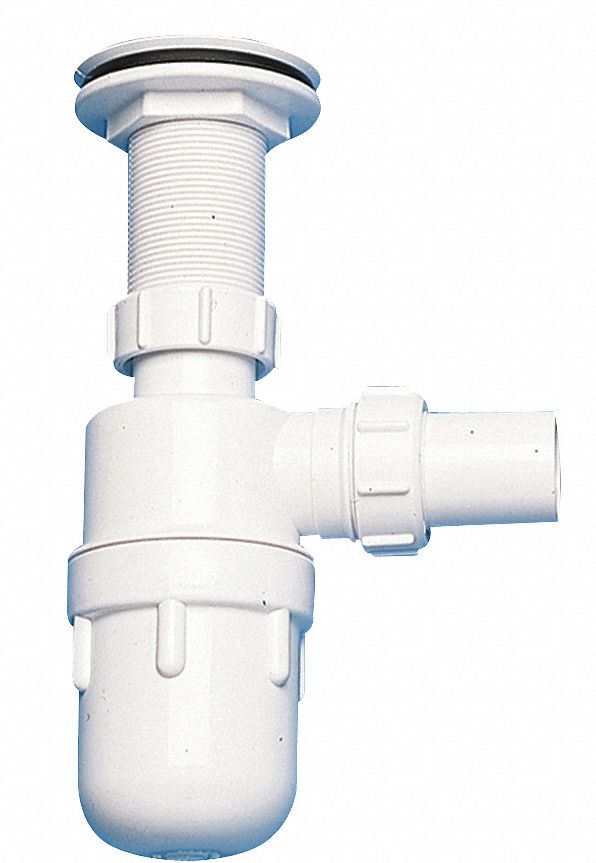
The Importance of a P Trap in Your Kitchen Sink
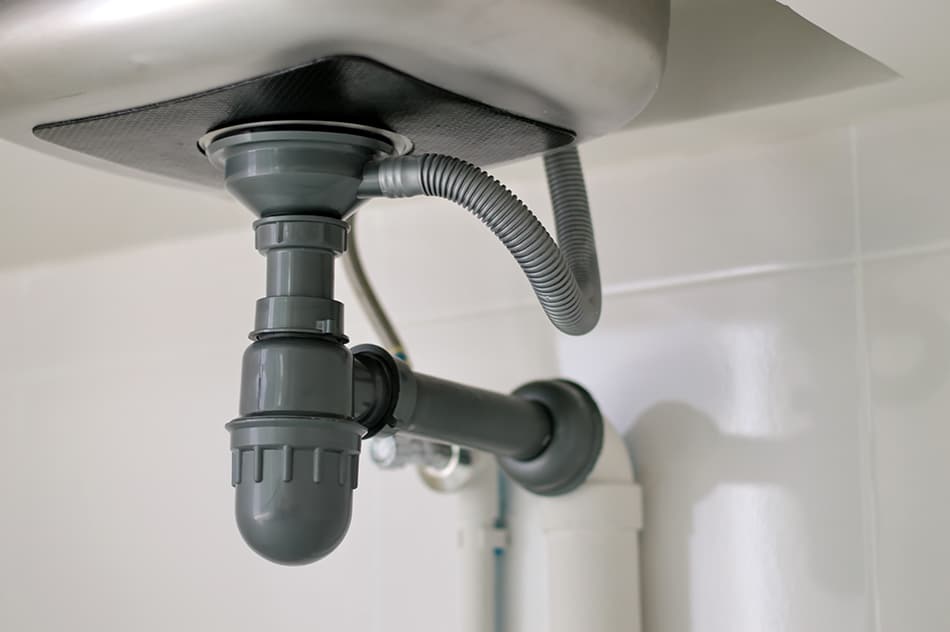
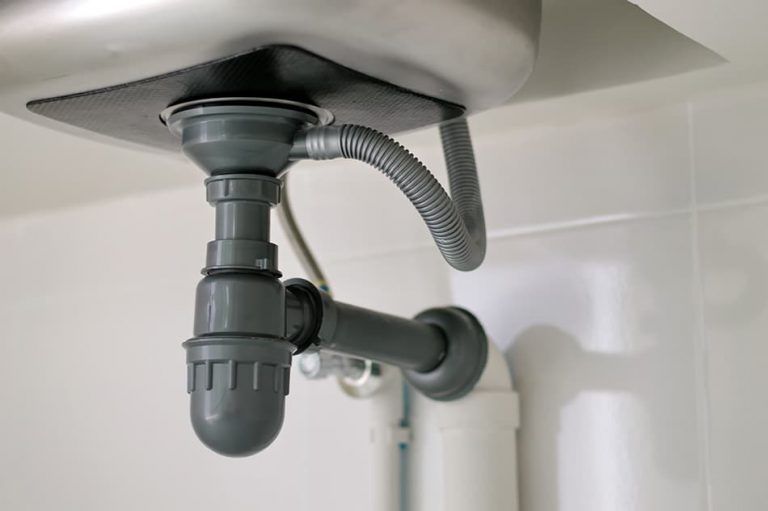
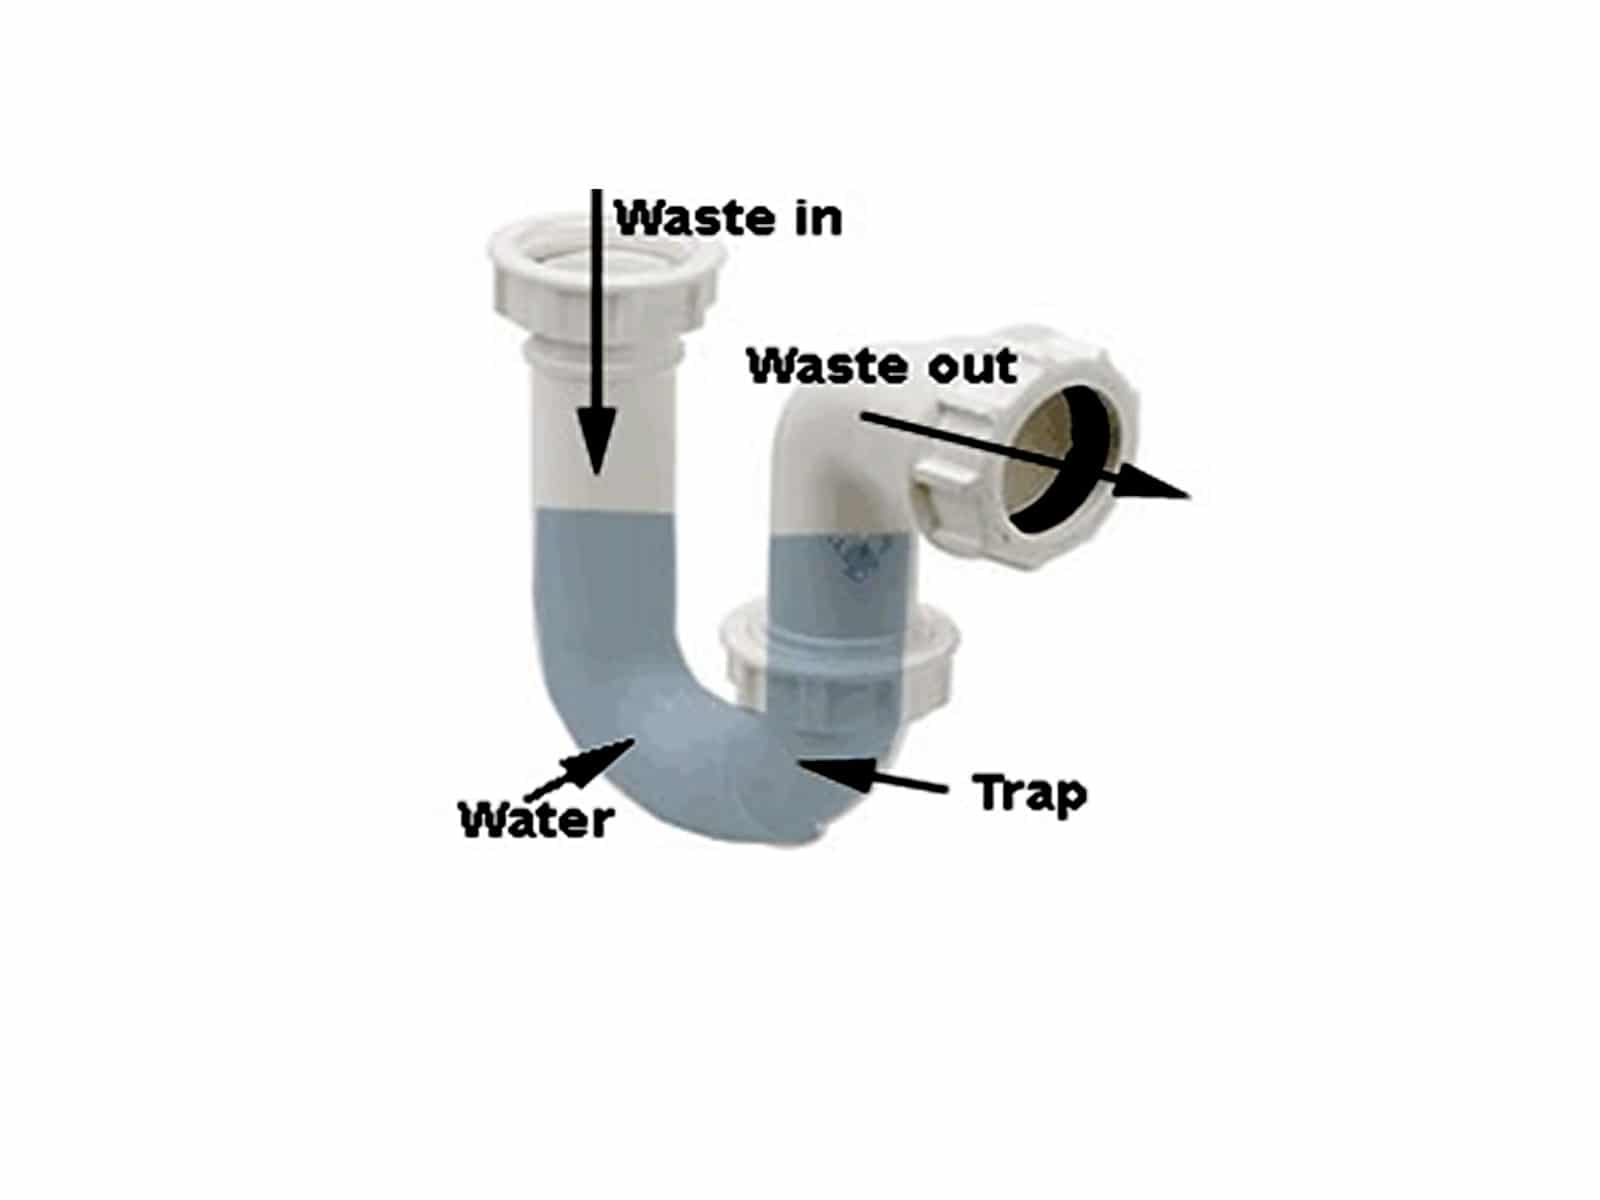
 When it comes to designing a functional and aesthetically pleasing house, the kitchen sink is often overlooked. However, the kitchen sink plays a crucial role in the overall design and functionality of your kitchen. One important component of the kitchen sink is the
P trap
. This is a curved pipe that is found under the sink and is responsible for preventing foul odors from entering your kitchen and keeping your drainage system free of clogs. But there are times when removing the P trap from your kitchen sink becomes necessary.
When it comes to designing a functional and aesthetically pleasing house, the kitchen sink is often overlooked. However, the kitchen sink plays a crucial role in the overall design and functionality of your kitchen. One important component of the kitchen sink is the
P trap
. This is a curved pipe that is found under the sink and is responsible for preventing foul odors from entering your kitchen and keeping your drainage system free of clogs. But there are times when removing the P trap from your kitchen sink becomes necessary.
When Should You Consider Removing the P Trap from Your Kitchen Sink?
 There are several reasons why you may need to remove the P trap from your kitchen sink:
- Renovation: During a kitchen renovation, you may need to remove the P trap to make space for a new sink or to change the layout of your plumbing system.
- Clog removal: If you have a stubborn clog in your kitchen sink, removing the P trap can help you access and remove the blockage.
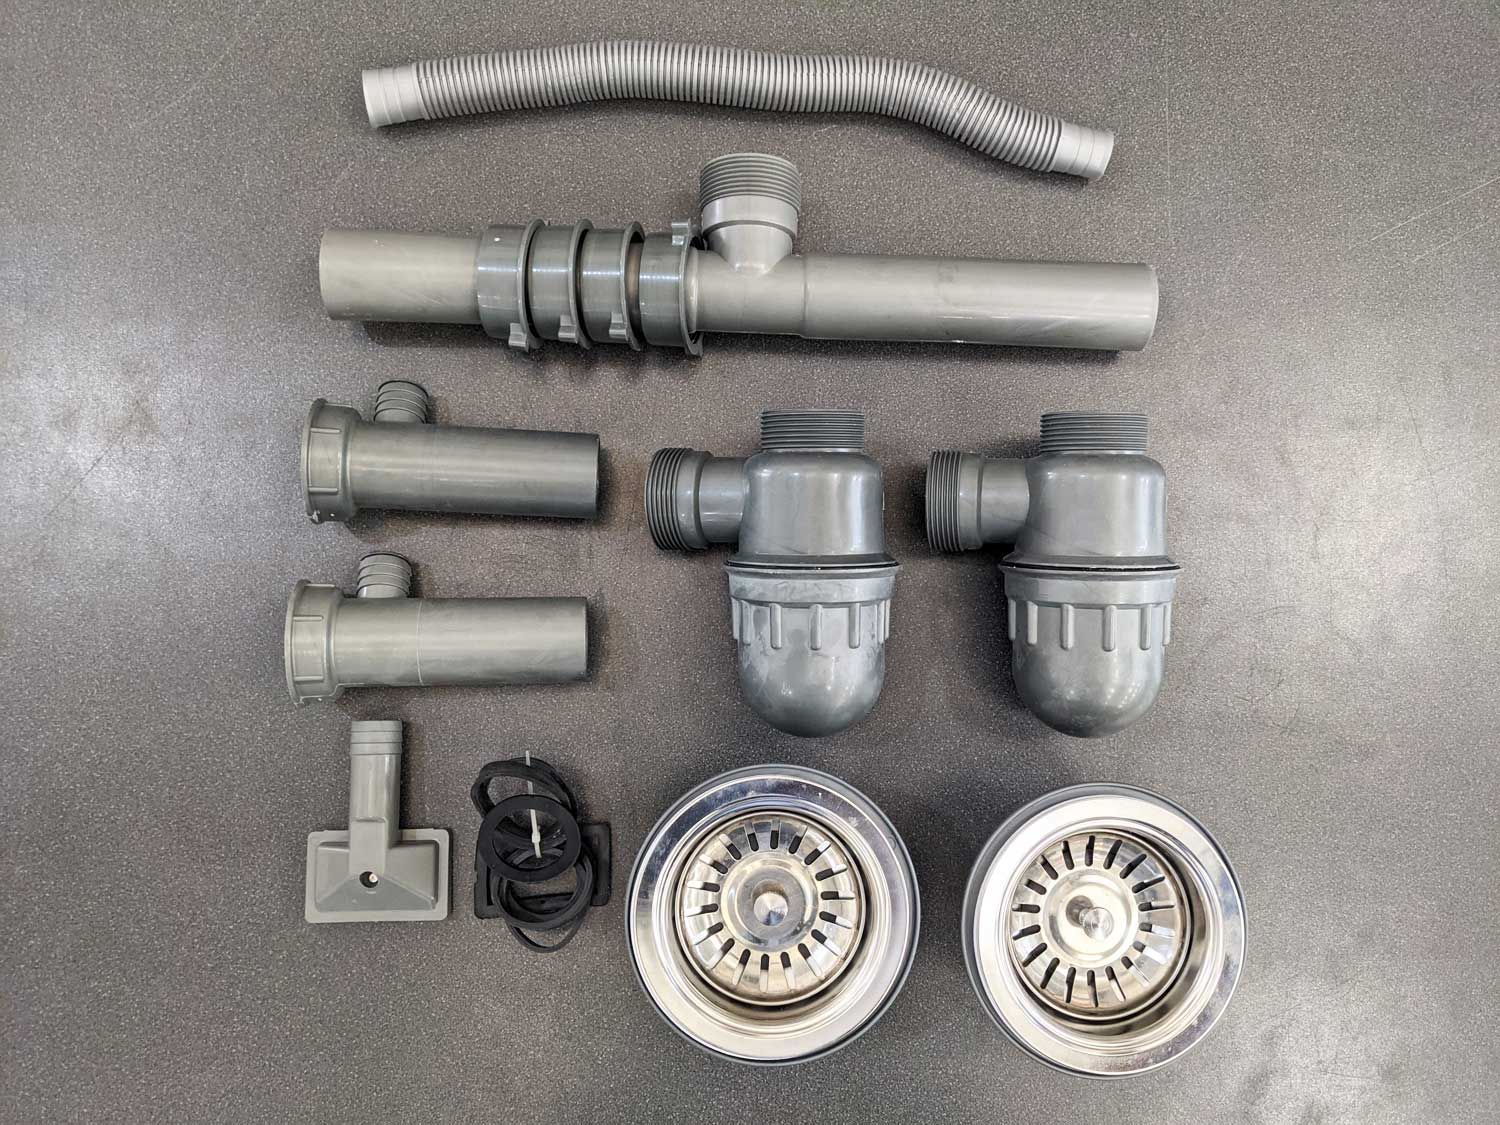
- Repair or replacement: If your P trap is damaged or worn out, it may need to be removed and replaced with a new one.
There are several reasons why you may need to remove the P trap from your kitchen sink:
- Renovation: During a kitchen renovation, you may need to remove the P trap to make space for a new sink or to change the layout of your plumbing system.
- Clog removal: If you have a stubborn clog in your kitchen sink, removing the P trap can help you access and remove the blockage.
- Repair or replacement: If your P trap is damaged or worn out, it may need to be removed and replaced with a new one.
The Benefits of Removing the P Trap
 Removing the P trap from your kitchen sink can bring several benefits:
- More space: By removing the P trap, you can free up some space under your sink, making it easier to store cleaning supplies or install a garbage disposal.
- Improved drainage: If your P trap is clogged or damaged, removing it can help improve the drainage of your sink and prevent future clogs.
- Better aesthetics: In some cases, the P trap can be an eyesore in an otherwise beautiful kitchen. Removing it can give your sink area a cleaner and more minimalist look.
However, it is important to note that removing the P trap should only be done if absolutely necessary and by a professional plumber
. The P trap serves an important function in your kitchen and its removal should not compromise the proper functioning of your drainage system.
Removing the P trap from your kitchen sink can bring several benefits:
- More space: By removing the P trap, you can free up some space under your sink, making it easier to store cleaning supplies or install a garbage disposal.
- Improved drainage: If your P trap is clogged or damaged, removing it can help improve the drainage of your sink and prevent future clogs.
- Better aesthetics: In some cases, the P trap can be an eyesore in an otherwise beautiful kitchen. Removing it can give your sink area a cleaner and more minimalist look.
However, it is important to note that removing the P trap should only be done if absolutely necessary and by a professional plumber
. The P trap serves an important function in your kitchen and its removal should not compromise the proper functioning of your drainage system.
In Conclusion
 In conclusion, the P trap may seem like a small and insignificant component of your kitchen sink, but it plays a crucial role in maintaining the functionality and aesthetics of your kitchen. While there are times when removing it becomes necessary, it should only be done with caution and by a professional. So, the next time you consider removing the P trap from your kitchen sink, make sure to weigh the pros and cons carefully.