If you've noticed your kitchen sink looking a little worse for wear, it might be time to give it a good deep clean. One of the biggest culprits for a dirty-looking sink is old caulk. Over time, caulk can become discolored and even moldy, making your sink appear old and unclean. But don't worry, removing old caulk around a kitchen sink is a relatively easy DIY project that can make a big difference in the appearance of your sink. Here's how to do it in just a few simple steps.How to Remove Old Caulk Around a Kitchen Sink


How to Remove Old Caulk Around a Kitchen Sink


Before you begin, it's important to gather all the necessary materials. You will need a caulk removal tool, a putty knife, a utility knife, rubbing alcohol, a clean cloth, and new caulk. It's also a good idea to have gloves and safety glasses to protect your hands and eyes.How to Remove Old Caulk from a Kitchen Sink


How to Remove Old Caulk from a Kitchen Sink

:max_bytes(150000):strip_icc()/how-to-remove-old-caulk-1824827-01-3d0370c59e124dbbaa6560c68bab111c.jpg)


/how-to-remove-old-caulk-1824827-hero-4863fcf5169e426da8f822429ed46301.jpg)

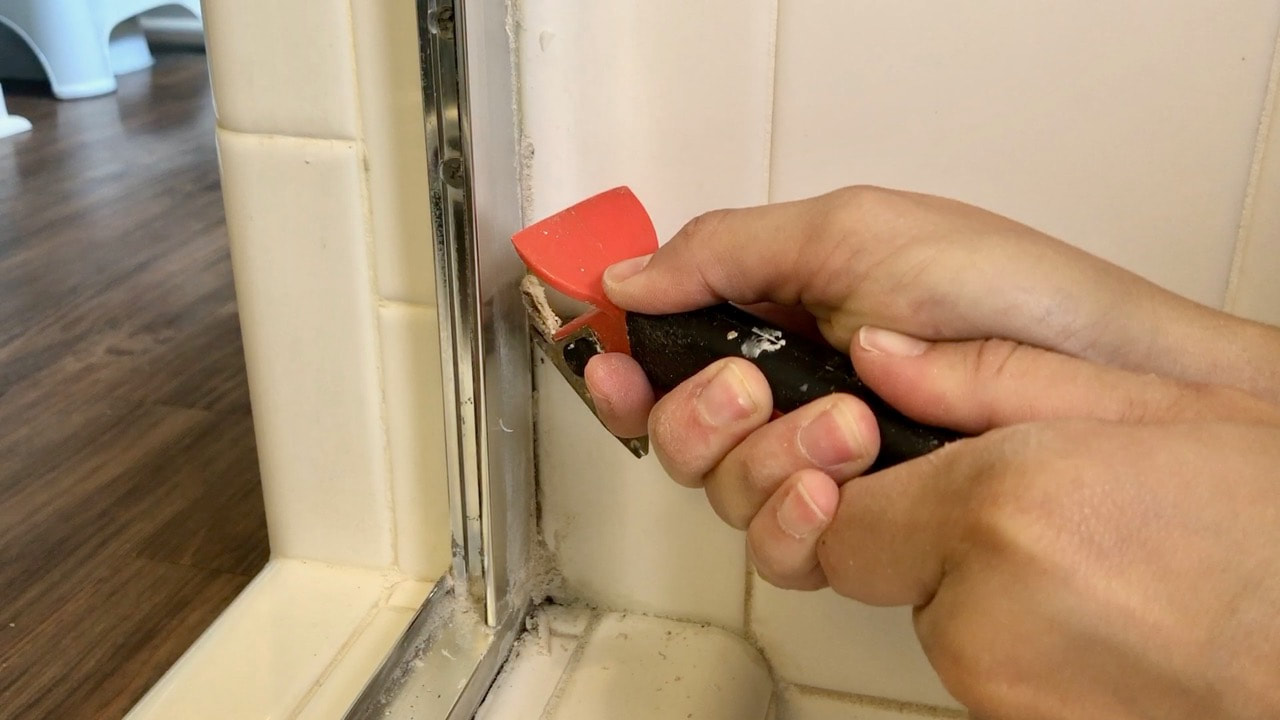
The first step is to use the caulk removal tool to scrape away as much of the old caulk as possible. This tool is specifically designed to remove caulk without damaging the surrounding surfaces. If you don't have a caulk removal tool, you can also use a putty knife or a utility knife, but be very careful not to scratch the sink or countertop.Removing Old Caulk from a Kitchen Sink


Removing Old Caulk from a Kitchen Sink
:max_bytes(150000):strip_icc()/how-to-remove-old-caulk-1824827-01-3d0370c59e124dbbaa6560c68bab111c.jpg)
:max_bytes(150000):strip_icc()/caulk-removal-tool-56ec7f1b3df78ce5f83535fe.jpg)


Next, use the utility knife to carefully cut away any remaining caulk. This will help you get a clean and smooth surface for the new caulk. Again, be cautious not to damage the sink or countertop with the knife.DIY: Removing Old Caulk Around a Kitchen Sink


DIY: Removing Old Caulk Around a Kitchen Sink


Once all the old caulk has been removed, clean the area with rubbing alcohol and a clean cloth. This will help to remove any remaining residue and provide a clean surface for the new caulk to adhere to.Step-by-Step Guide to Removing Old Caulk Around a Kitchen Sink


Step-by-Step Guide to Removing Old Caulk Around a Kitchen Sink


/caulk-removal-tool-56ec7f1b3df78ce5f83535fe.jpg)
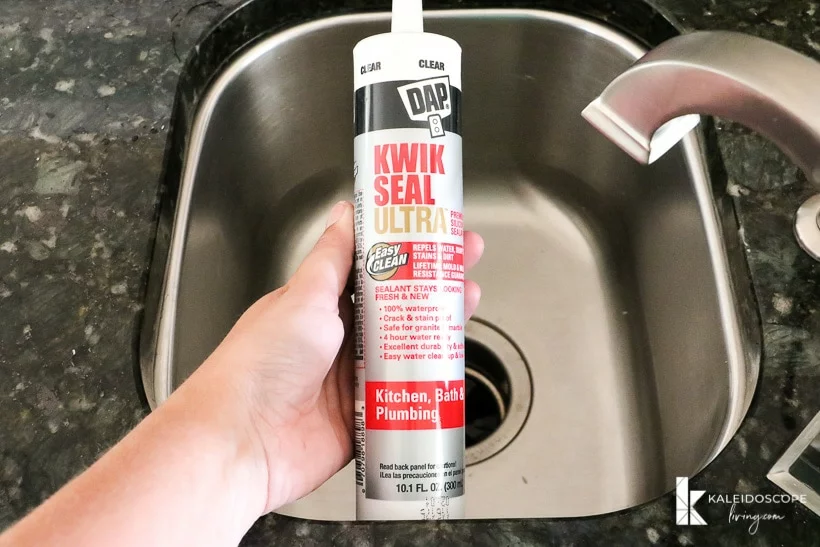
Now it's time to apply the new caulk. Using a caulk gun, apply a thin and even layer of caulk along the edges of the sink and countertop. Be sure to work slowly and carefully to ensure a clean application.Best Methods for Removing Old Caulk Around a Kitchen Sink


Best Methods for Removing Old Caulk Around a Kitchen Sink


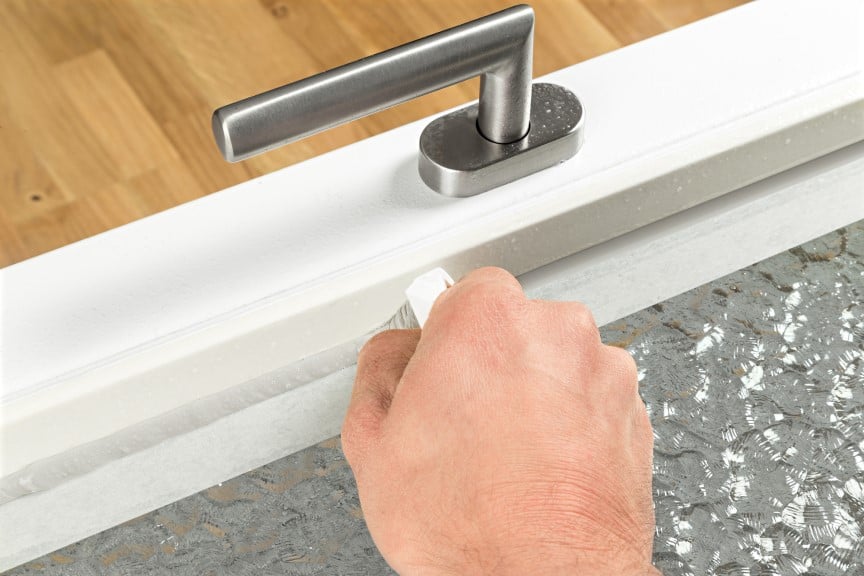
Once the caulk is applied, use your finger or a caulk smoothing tool to smooth out the caulk and remove any excess. This will help to create a clean and professional-looking finish. If you get any caulk on your hands, be sure to wipe it off with a clean cloth before it dries.Removing Old Caulk Around a Kitchen Sink: Tips and Tricks


Removing Old Caulk Around a Kitchen Sink: Tips and Tricks

Allow the caulk to dry for at least 24 hours before using your sink. This will ensure that the caulk has fully set and will provide a watertight seal. Once the caulk is completely dry, you can enjoy your freshly cleaned and updated sink.How to Easily Remove Old Caulk Around a Kitchen Sink


How to Easily Remove Old Caulk Around a Kitchen Sink

It's important to note that caulk can become moldy or discolored over time, so it's recommended to check and replace it every few years. This will not only keep your sink looking clean and fresh, but it will also help to prevent any water damage or leaks.Removing Old Caulk Around a Kitchen Sink: What You Need to Know

Removing Old Caulk Around a Kitchen Sink: What You Need to Know


If you're unsure about removing old caulk yourself, you can always hire a professional to do the job for you. They will have the necessary tools and experience to complete the project quickly and efficiently. Removing old caulk around a kitchen sink may seem like a daunting task, but with the right tools and techniques, it can be done easily and effectively. By following these steps, you'll have a clean and updated sink in no time. So don't put it off any longer, give your sink the makeover it deserves and enjoy a fresh and clean kitchen. Expert Tips for Removing Old Caulk Around a Kitchen Sink

Expert Tips for Removing Old Caulk Around a Kitchen Sink

Why Removing Old Caulk Around Kitchen Sink is Important for a Beautiful and Functional Kitchen?

The Benefits of Removing Old Caulk
:max_bytes(150000):strip_icc()/how-to-remove-old-caulk-1824827-01-3d0370c59e124dbbaa6560c68bab111c.jpg) Removing old caulk around your kitchen sink may seem like a daunting task, but it is an important part of keeping your kitchen beautiful and functional. Over time, caulk can become discolored, cracked, or moldy, making your sink area look unsightly. Not only does old caulk make your kitchen look less appealing, but it can also cause water damage and mold growth if left unattended. By regularly replacing old caulk, you can prevent these issues and maintain a clean and attractive kitchen.
Removing old caulk around your kitchen sink may seem like a daunting task, but it is an important part of keeping your kitchen beautiful and functional. Over time, caulk can become discolored, cracked, or moldy, making your sink area look unsightly. Not only does old caulk make your kitchen look less appealing, but it can also cause water damage and mold growth if left unattended. By regularly replacing old caulk, you can prevent these issues and maintain a clean and attractive kitchen.
The Steps to Remove Old Caulk
 Removing old caulk around your kitchen sink may seem like a difficult task, but with the right tools and techniques, it can be done easily. First, gather all the necessary supplies, including a caulk removal tool, a putty knife, and a caulk gun. Next, carefully scrape away the old caulk using the caulk removal tool and putty knife. Be sure to remove all traces of the old caulk to ensure a clean surface for the new caulk to adhere to. Once the old caulk is removed, clean the area with a mild cleaner and let it dry completely before applying the new caulk.
The Importance of Proper Caulking
 Proper caulk application is crucial for both the appearance and functionality of your kitchen sink.
Caulk is a waterproof sealant that prevents water from seeping in and causing damage to your countertops and cabinets.
It also helps to keep your sink securely in place and prevents food and debris from getting trapped between the sink and the countertop. By removing old caulk and properly applying new caulk, you can ensure that your kitchen sink remains functional and free from water damage.
Proper caulk application is crucial for both the appearance and functionality of your kitchen sink.
Caulk is a waterproof sealant that prevents water from seeping in and causing damage to your countertops and cabinets.
It also helps to keep your sink securely in place and prevents food and debris from getting trapped between the sink and the countertop. By removing old caulk and properly applying new caulk, you can ensure that your kitchen sink remains functional and free from water damage.
Enhance the Look of Your Kitchen
 In addition to its practical benefits, removing old caulk and applying new caulk can also enhance the overall look of your kitchen.
With the right color and application, caulk can seamlessly blend in with your sink and countertops, creating a clean and polished look.
You can even choose a caulk color that complements your kitchen's color scheme to add a pop of color and style. With fresh, new caulk, your kitchen sink area will look like new and add to the overall aesthetic of your kitchen.
In addition to its practical benefits, removing old caulk and applying new caulk can also enhance the overall look of your kitchen.
With the right color and application, caulk can seamlessly blend in with your sink and countertops, creating a clean and polished look.
You can even choose a caulk color that complements your kitchen's color scheme to add a pop of color and style. With fresh, new caulk, your kitchen sink area will look like new and add to the overall aesthetic of your kitchen.
Conclusion
 Removing old caulk around your kitchen sink is an important step in maintaining a beautiful and functional kitchen. By regularly replacing old caulk, you can prevent water damage, mold growth, and keep your sink securely in place. Proper caulk application can also enhance the overall look of your kitchen. Follow the steps outlined in this article to remove old caulk and apply new caulk for a clean and attractive kitchen sink area.