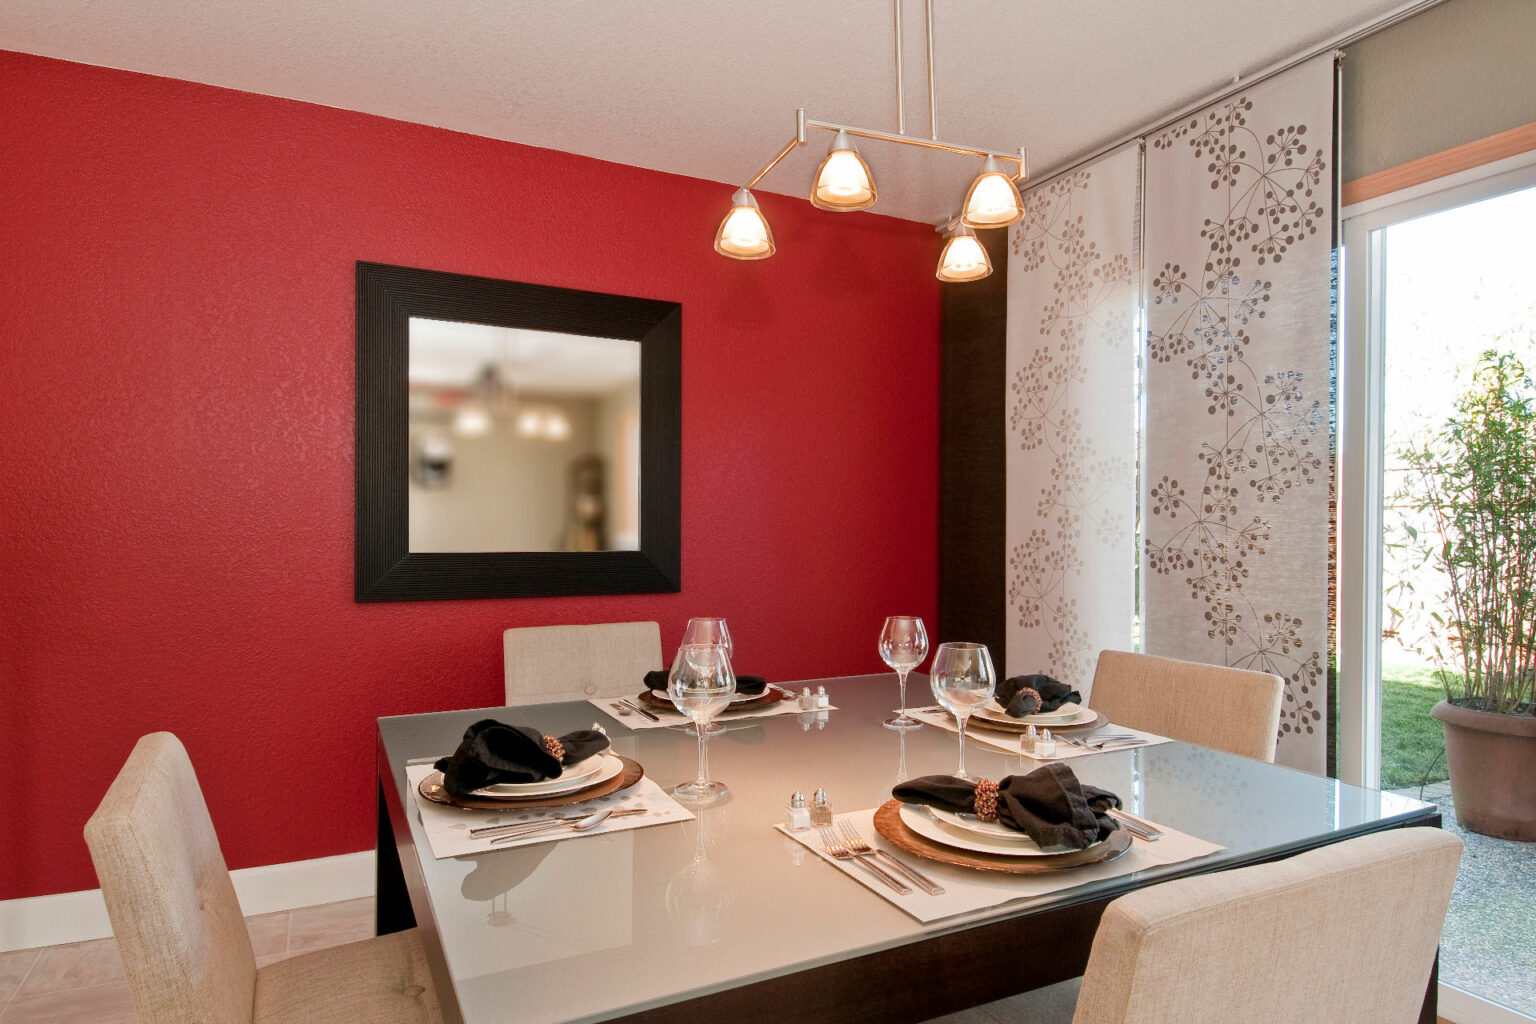
If you're looking to give your dining room a makeover, one of the first things you may want to do is remove the existing light fixture. Whether it's an outdated chandelier or a simple flush mount, removing it can instantly change the look and feel of the space. But if you've never done it before, you may be unsure of how to go about it. Don't worry, we've got you covered with this step-by-step guide on how to remove a dining room light fixture.Remove dining room light fixture

Remove dining room light fixture


Before you begin, make sure to turn off the power to the dining room light fixture at the circuit breaker. This is important for your safety and to ensure that you don't damage the wiring. Once the power is off, you can start the removal process. 1. Gather your tools: The tools you'll need for this project include a ladder, screwdriver, wire stripper, voltage tester, and possibly pliers. Make sure you have these on hand before you start. 2. Remove the cover: If your light fixture has a cover or globe, carefully remove it by unscrewing any screws or gently twisting it off. Set it aside in a safe place. 3. Disconnect the wires: Use the voltage tester to make sure the power is truly off. Then, use the screwdriver to unscrew the wire nuts and disconnect the wires from the fixture. Be sure to note which wire is connected to which so you can reconnect them properly later. 4. Remove the mounting bracket: Most light fixtures are attached to the ceiling with a mounting bracket. Use the screwdriver to unscrew the screws holding the bracket in place. Once it's loose, you can remove it from the ceiling. 5. Take down the fixture: With the mounting bracket removed, you can now take down the light fixture itself. If it's a chandelier or pendant light, make sure to hold onto it securely as you remove any remaining screws or wires. 6. Uninstall the wires: If your light fixture is hardwired, you'll need to uninstall the wires from the junction box in the ceiling. Use the wire stripper to remove any excess wire and make sure the ends are capped off with wire nuts. 7. Remove the mounting plate: The last step is to remove the mounting plate from the ceiling. Once it's off, you should be left with a clean and empty ceiling ready for a new light fixture.How to remove a dining room light fixture


How to remove a dining room light fixture
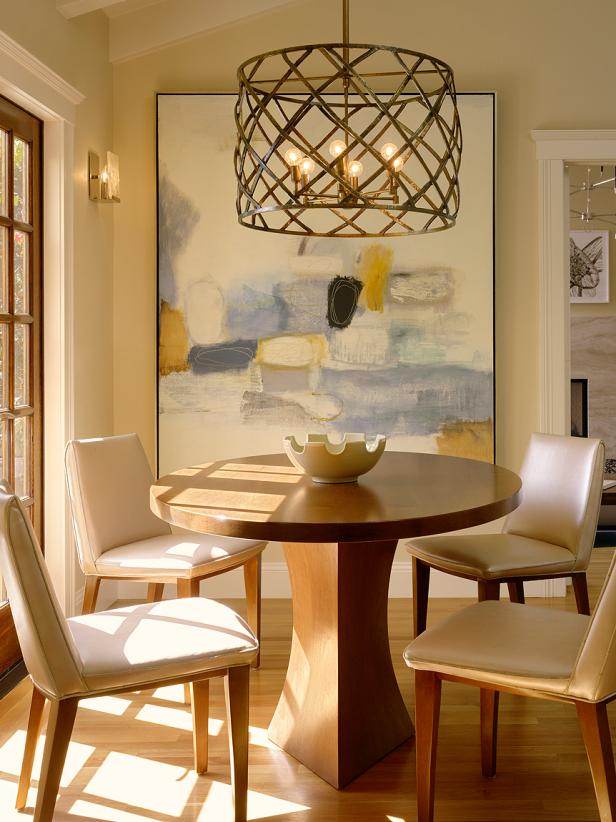
:max_bytes(150000):strip_icc()/dining-room-light-fixture-ideas-4-sarah-fultz-2-cc98d4ff43b14484b5b7caec932a2e6d.jpeg)
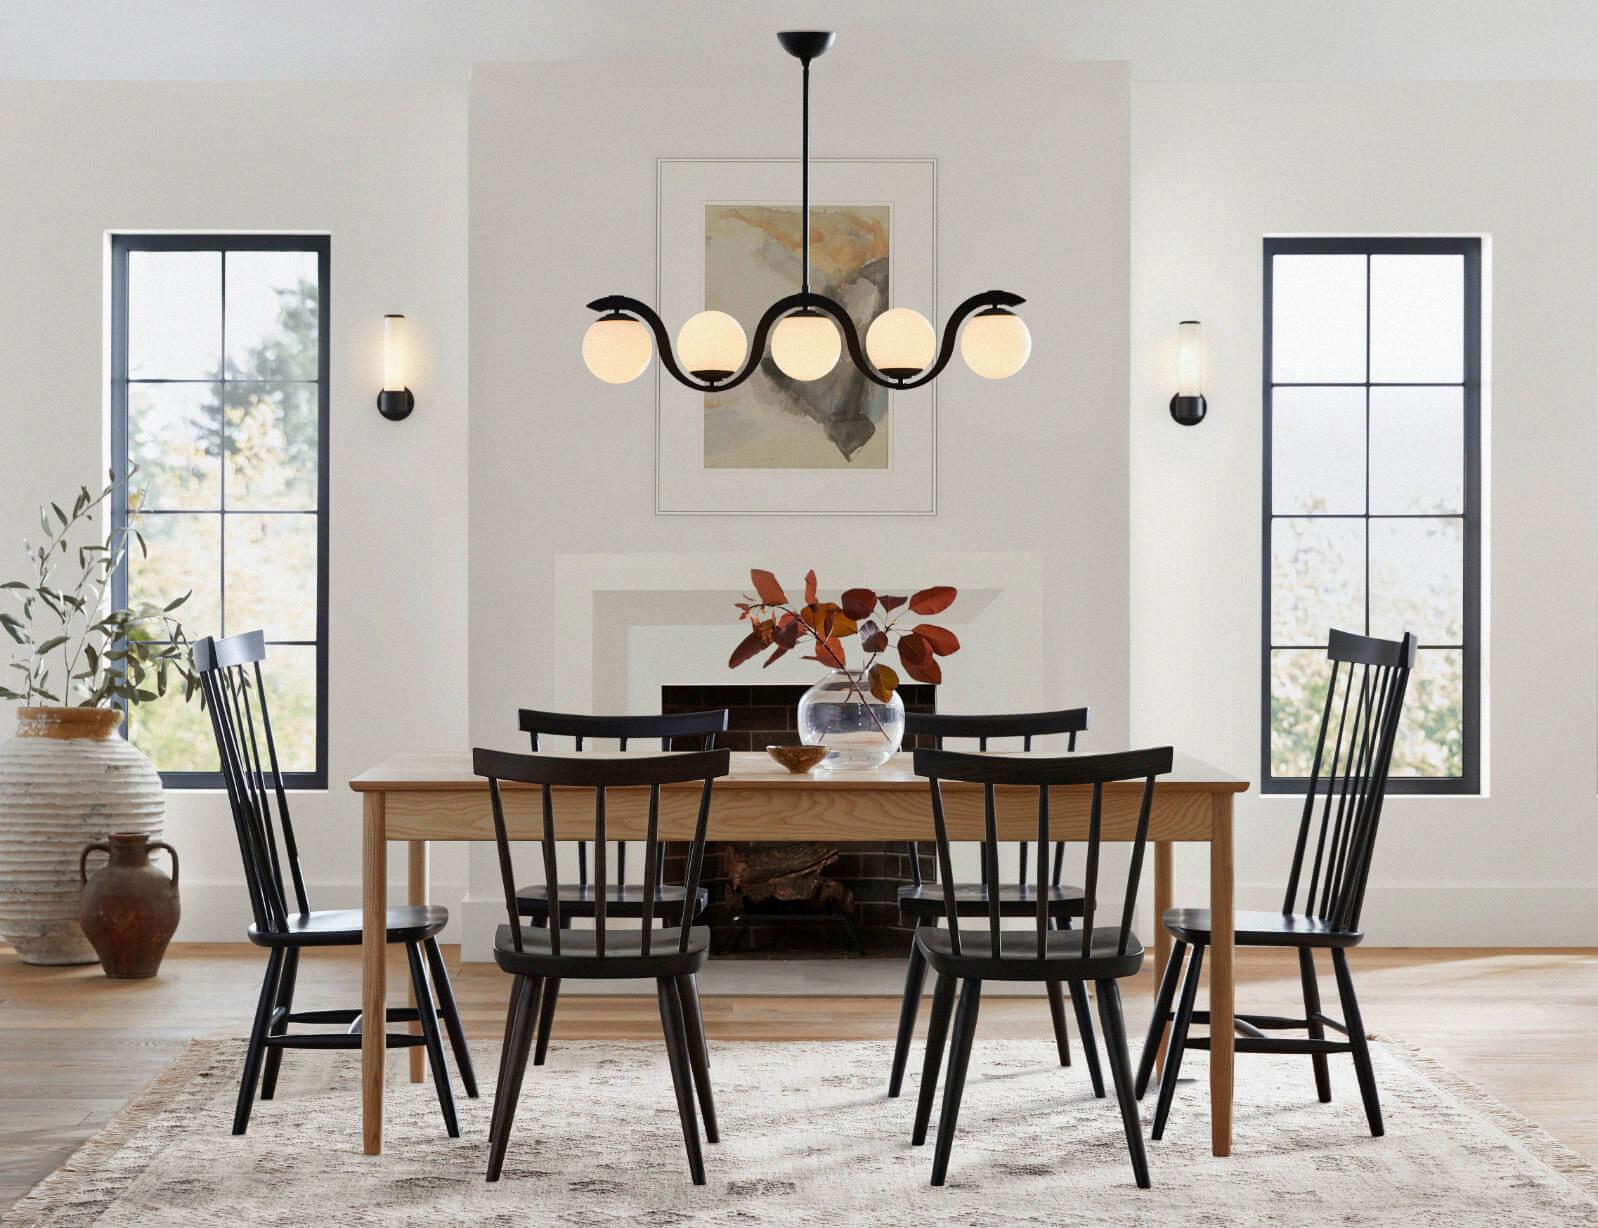


Now that you know the steps, removing a dining room light fixture is a simple and straightforward process. But if you're still feeling unsure, here are a few extra tips to keep in mind: - Make sure to have someone hold onto the light fixture while you work on unscrewing it. This will prevent it from falling and potentially causing damage. - If your light fixture is especially heavy or high up, it may be best to hire a professional to remove it for you. - Before you start, take a picture of the wires connected to the fixture. This will make it easier to remember how to reconnect them later.Removing a dining room light fixture


Removing a dining room light fixture

Removing a light fixture in your dining room is a great DIY project that can instantly update the look of the space. Plus, it can save you the cost of hiring a professional. Just make sure to follow the steps and safety precautions outlined above for a successful and safe removal.DIY dining room light fixture removal


DIY dining room light fixture removal

As a quick recap, here's a step-by-step guide to removing a dining room light fixture: 1. Turn off the power to the light fixture at the circuit breaker. 2. Gather your tools: ladder, screwdriver, wire stripper, voltage tester, and pliers. 3. Remove the cover or globe from the fixture. 4. Disconnect the wires from the fixture. 5. Remove the mounting bracket. 6. Take down the light fixture. 7. Uninstall the wires from the junction box. 8. Remove the mounting plate from the ceiling.Step-by-step guide to removing a dining room light fixture

Step-by-step guide to removing a dining room light fixture


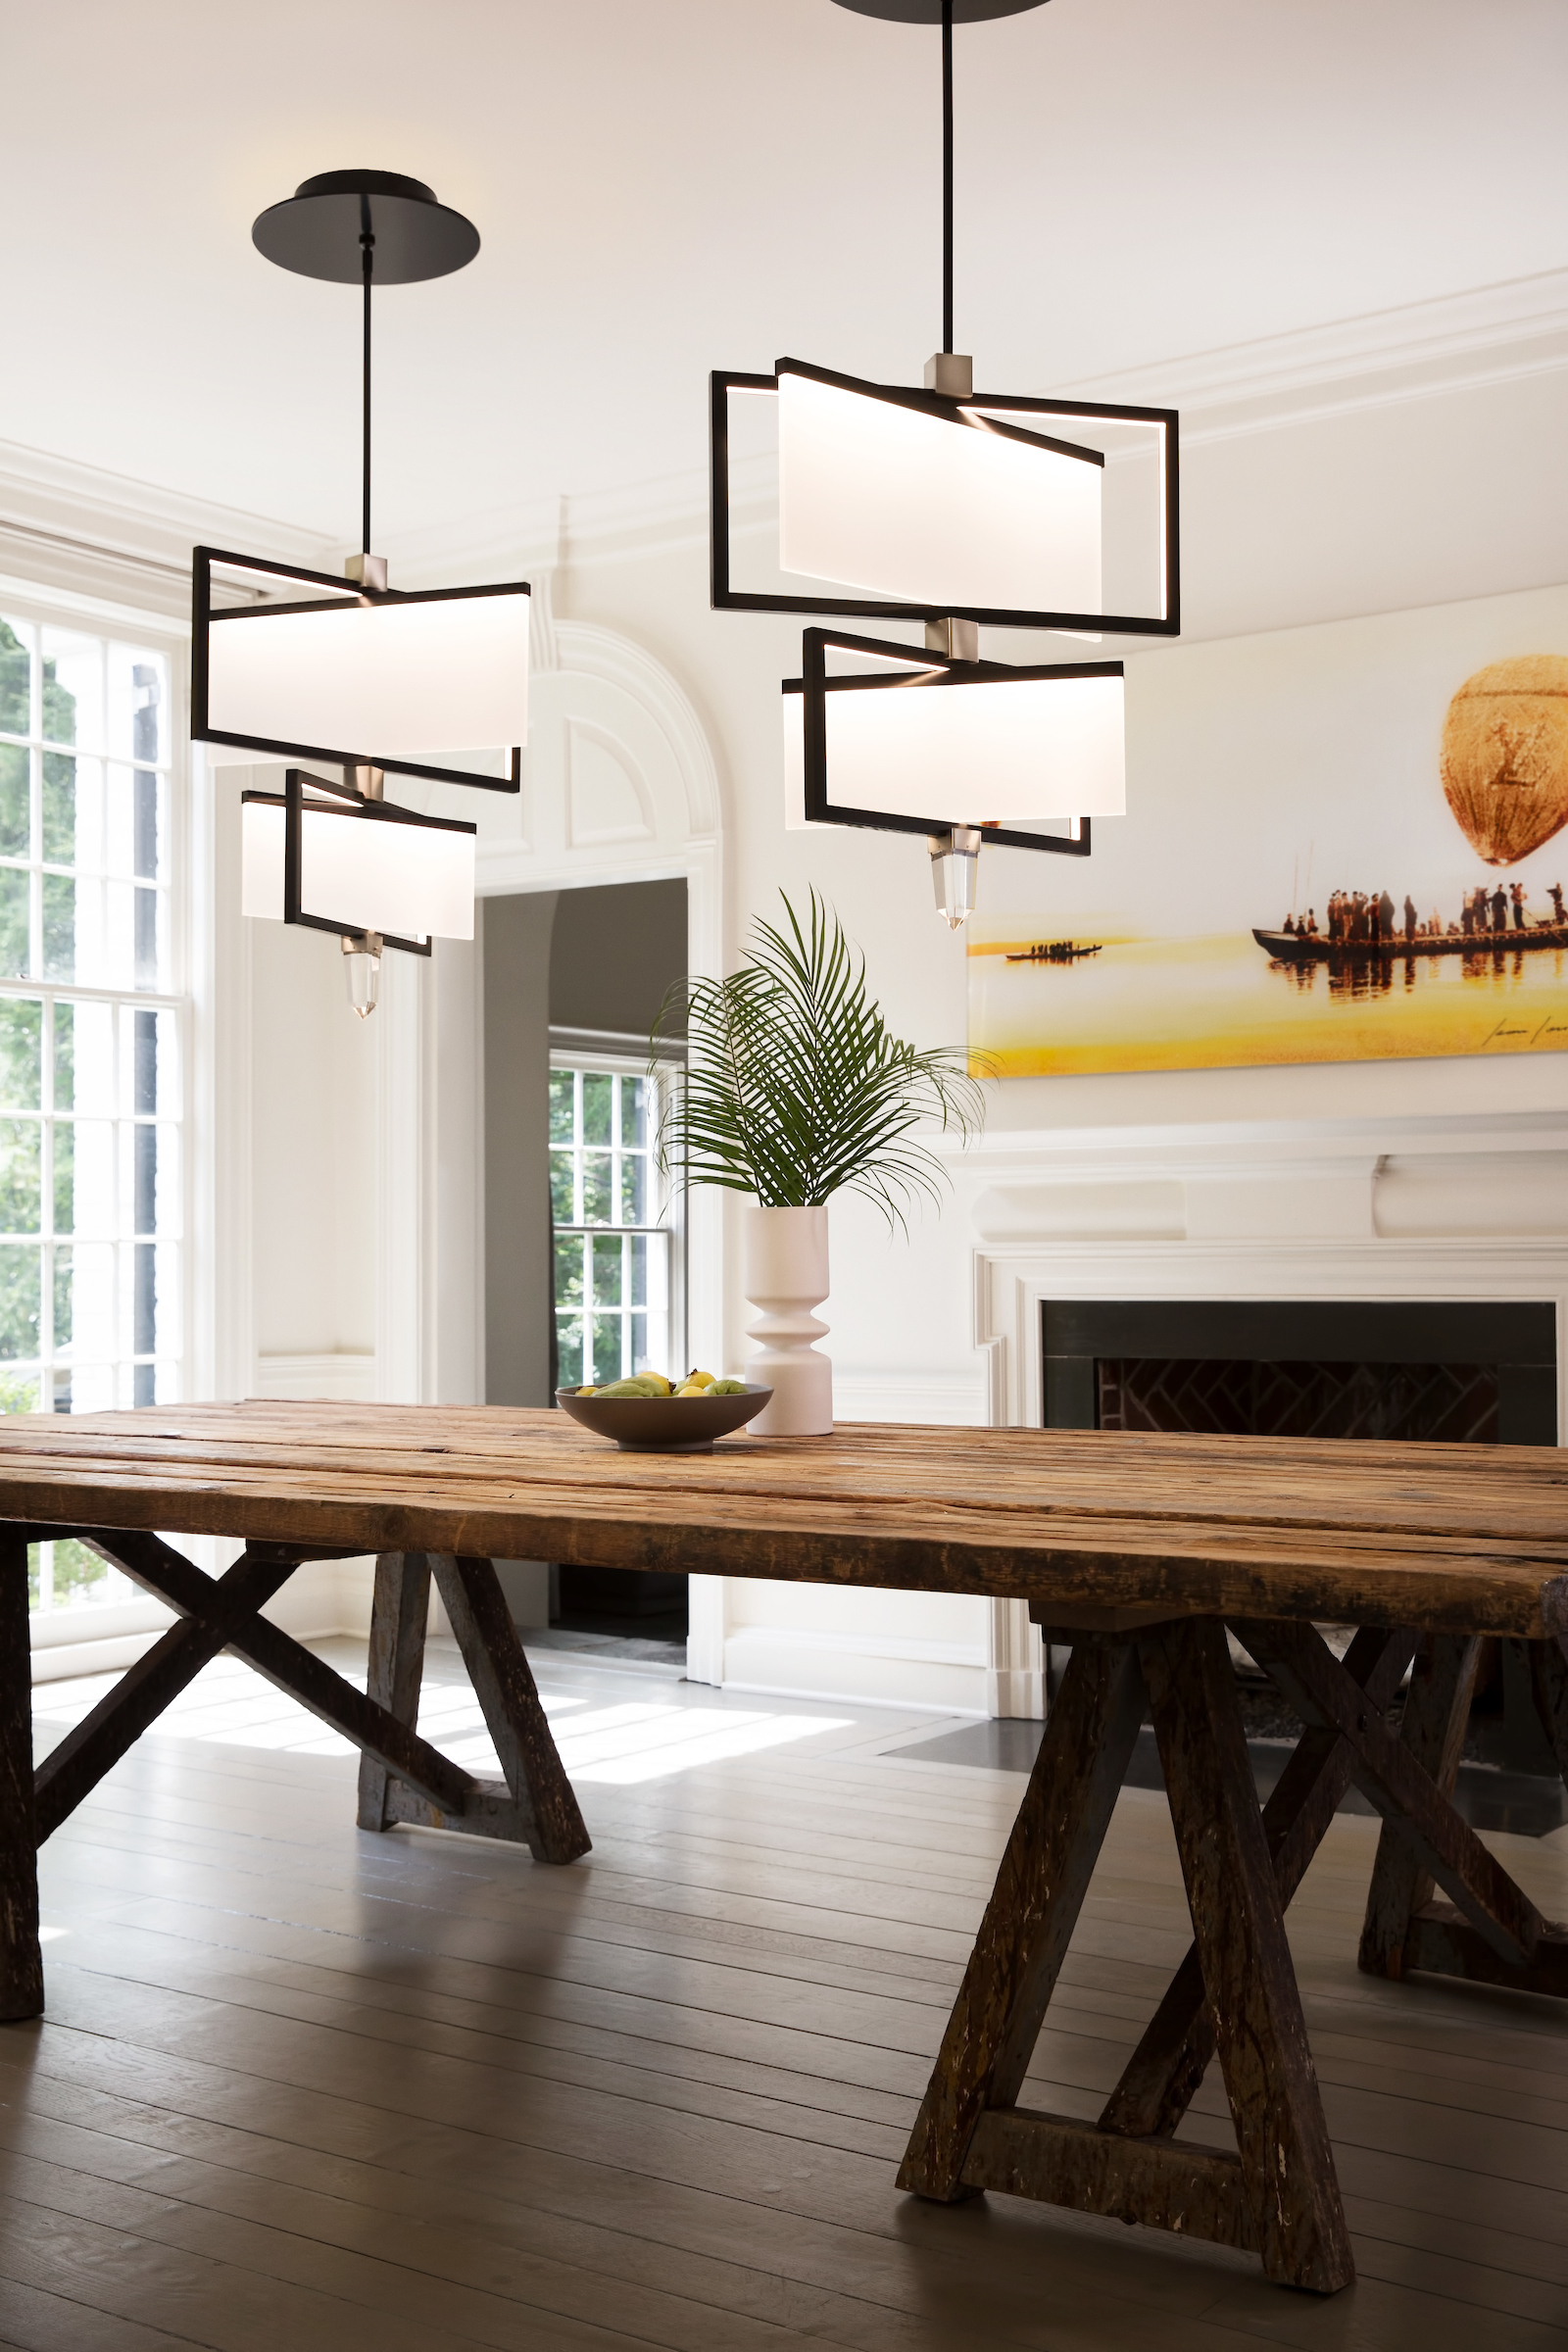
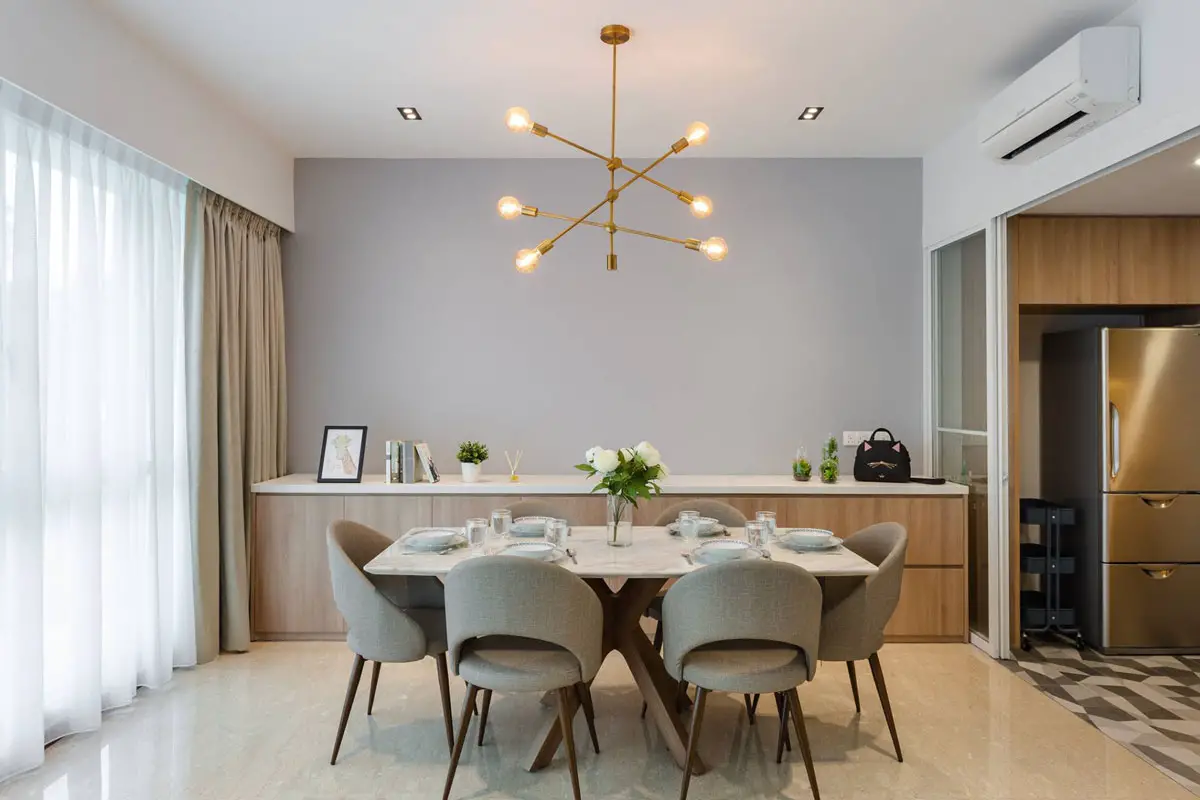
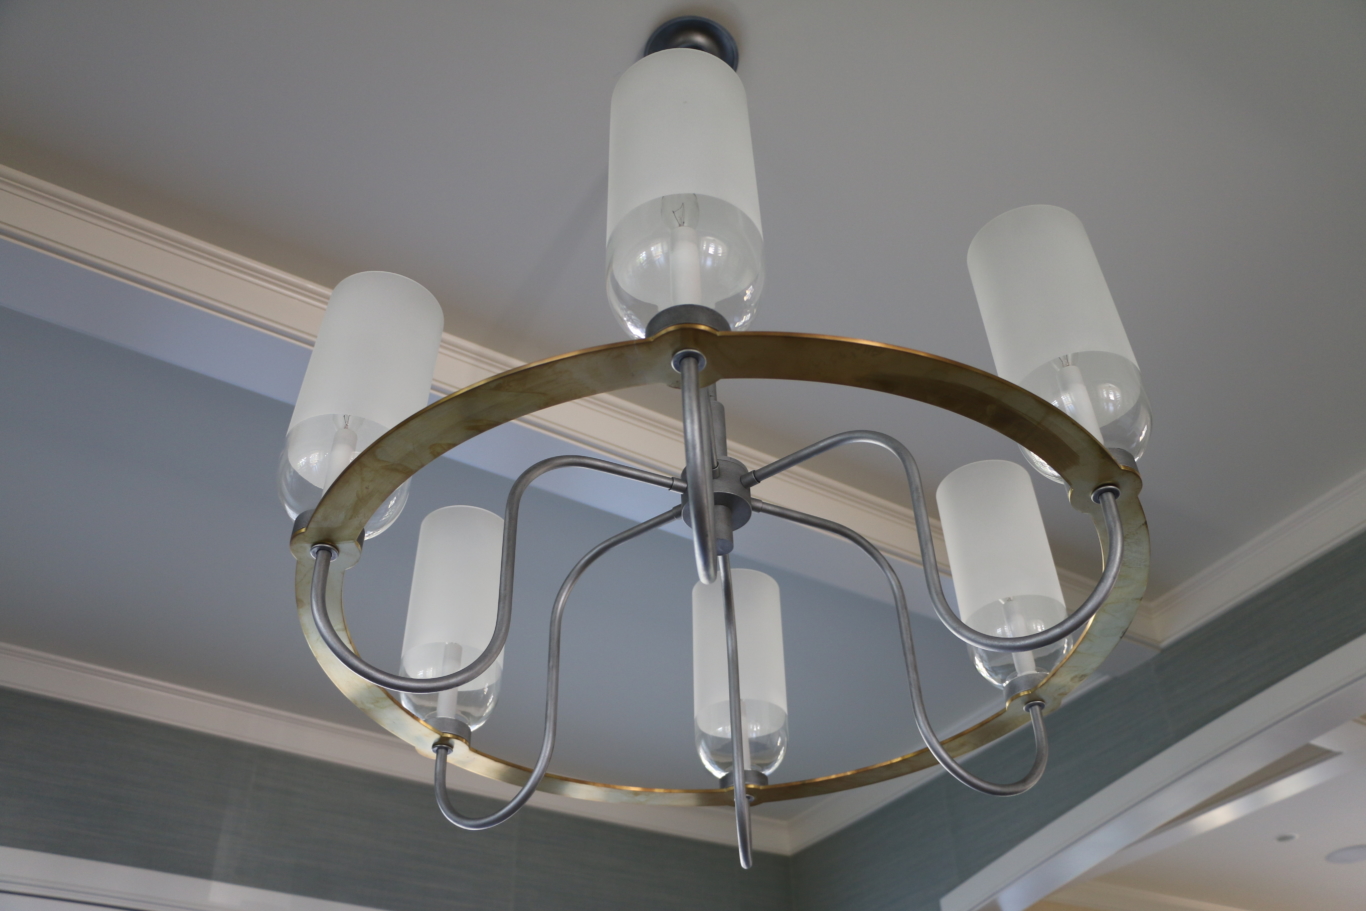
If you're specifically looking to remove a chandelier in your dining room, the process is the same as outlined above. Just make sure to have someone hold onto the chandelier while you work on removing it from the ceiling. And remember to take extra precautions if it's a particularly heavy or ornate chandelier.Removing a chandelier in the dining room


Removing a light fixture in the dining room


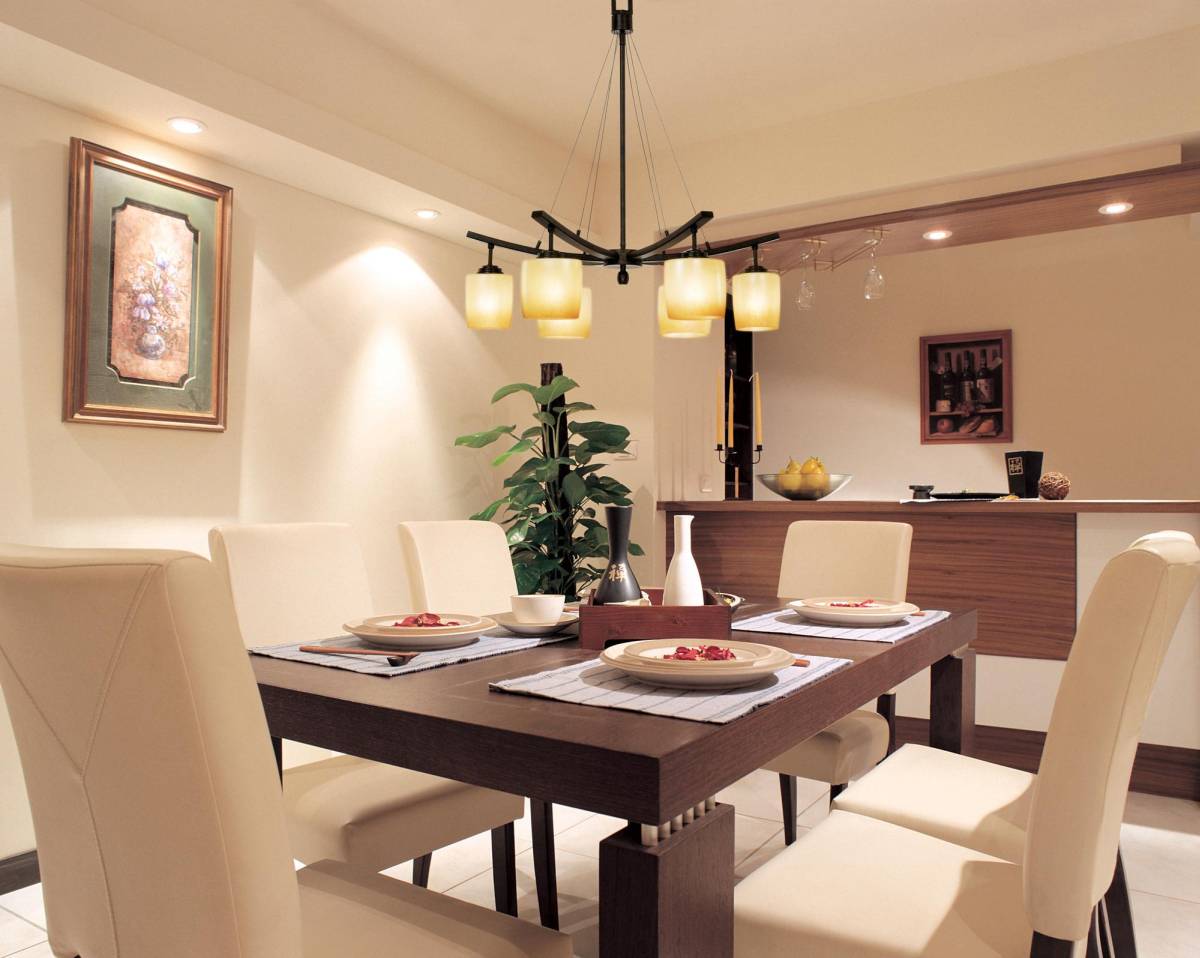
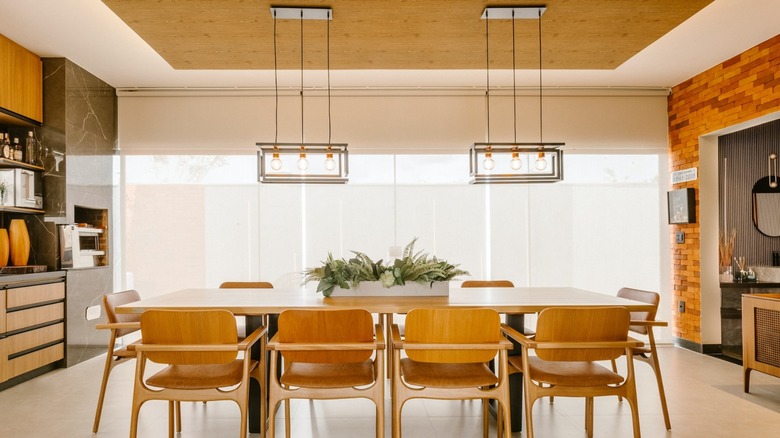
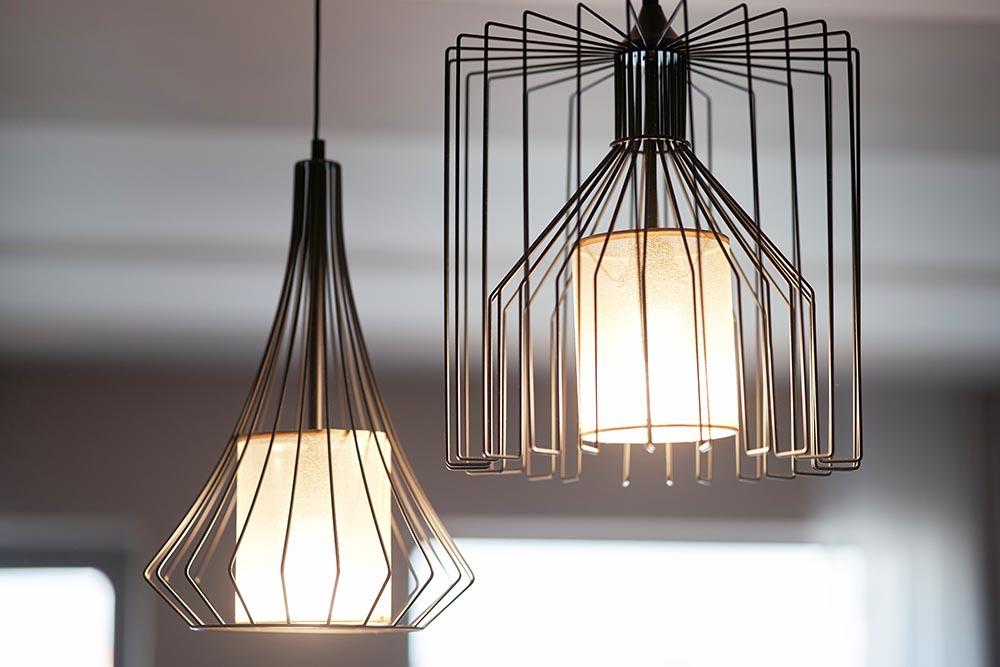
Pendant lights are a popular choice for dining rooms, but they can be a bit trickier to remove than other light fixtures. This is because they are usually attached to the ceiling with a chain or rod. Make sure to have someone hold onto the pendant light while you work on removing it, and be extra careful when detaching the chain or rod from the ceiling.Removing a pendant light in the dining room

Removing a chandelier in the dining room


/Chandelier_0635-0b1c24a8045f4a2cbdf083d80ef0f658.jpg)


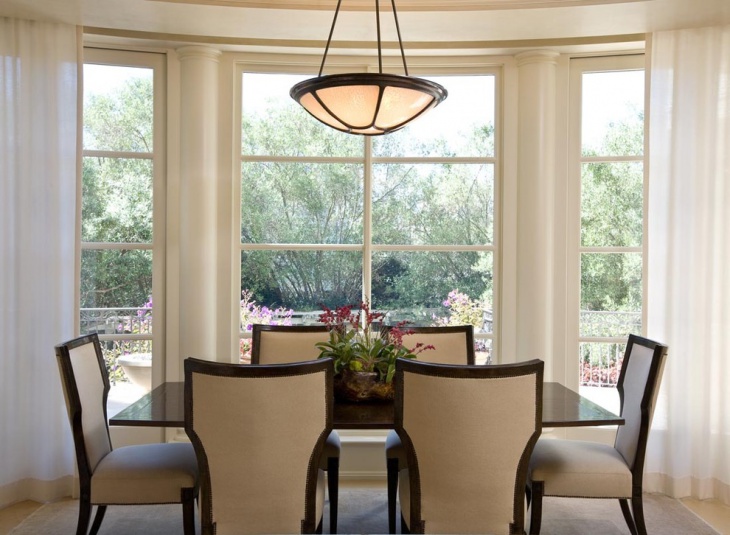
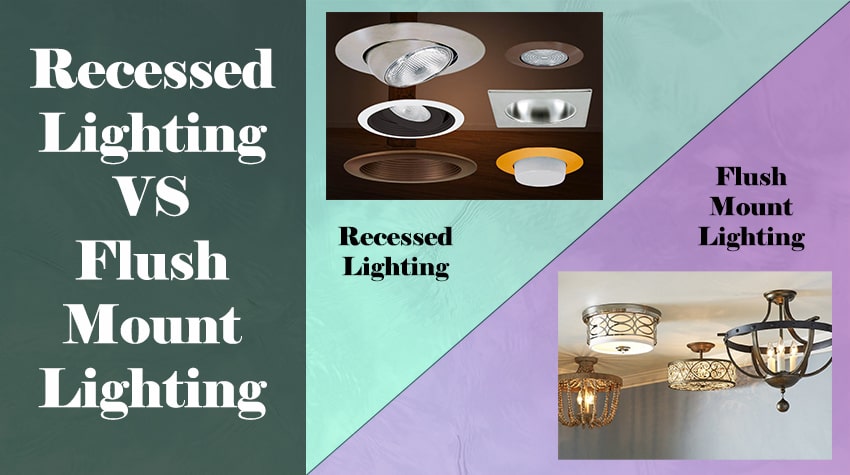
Flush mount lights are a simple and popular choice for dining rooms. They are attached directly to the ceiling and are relatively easy to remove. Just make sure to follow the steps outlined above and have someone hold onto the fixture while you work on removing it.Removing a flush mount light in the dining room


Removing a pendant light in the dining room


If you have a basic ceiling light in your dining room, removing it will be a breeze. Just follow the steps outlined above and you'll have it removed in no time. With this guide, you now know how to remove any type of light fixture in your dining room. Just remember to always put safety first and have the necessary tools on hand. And if you're not confident in your DIY skills, don't hesitate to hire a professional to do the job for you. Happy renovating!Removing a ceiling light in the dining room


Removing a flush mount light in the dining room


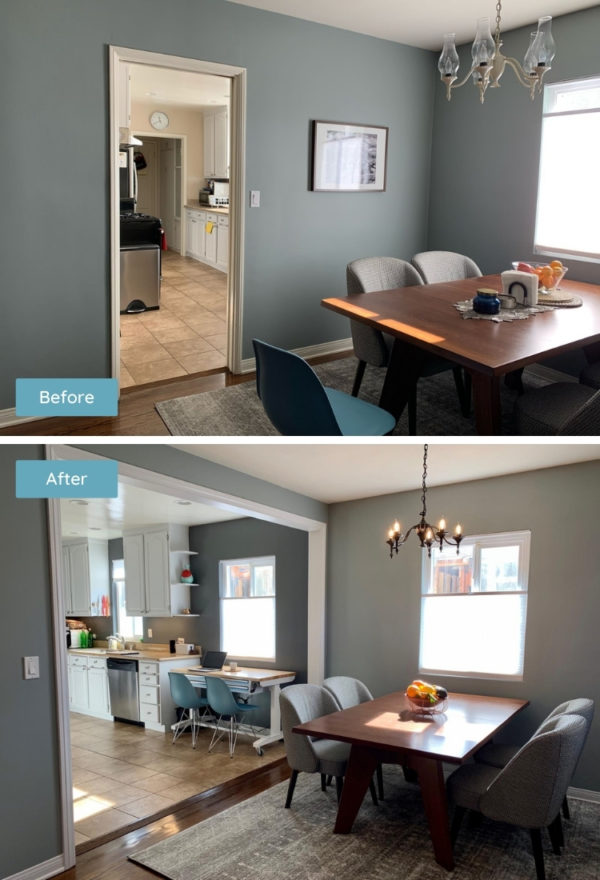
Why Removing a Dining Room Light Fixture Can Transform Your Space
The Importance of Lighting in House Design
 When it comes to designing a house, lighting is often an overlooked aspect. However, it plays a crucial role in creating a comfortable and welcoming atmosphere. Proper lighting can enhance the overall look and feel of a space, making it appear more spacious, cozy, and inviting. On the other hand, inadequate or outdated lighting can make a room feel dull, cramped, and uninviting. Therefore, it's essential to pay attention to the lighting in each room, including the dining room.
The Benefits of Removing a Dining Room Light Fixture
 One simple yet effective way to improve the lighting in your dining room is by removing the existing light fixture. This may seem counterintuitive, but it can have a significant impact on the overall design and functionality of the space. Here are some benefits of removing a dining room light fixture:
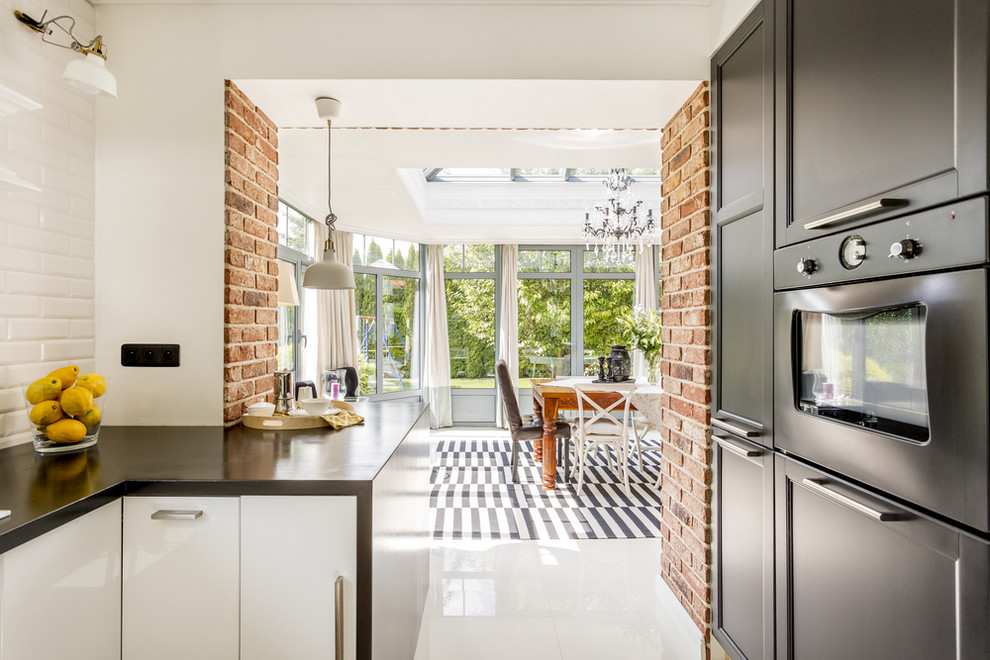
1. Create a More Open and Airy Space
A large and bulky light fixture can make a dining room feel cramped and closed off. By removing it, you can instantly create a more open and airy atmosphere. This is especially beneficial for smaller dining rooms or open-concept living spaces where natural light is limited.
2. Enhance Natural Lighting
Without a bulky light fixture blocking natural light, your dining room can receive more natural light, making it brighter and more inviting. This can also help reduce your energy bill as you won't need to rely on artificial lighting during the day.
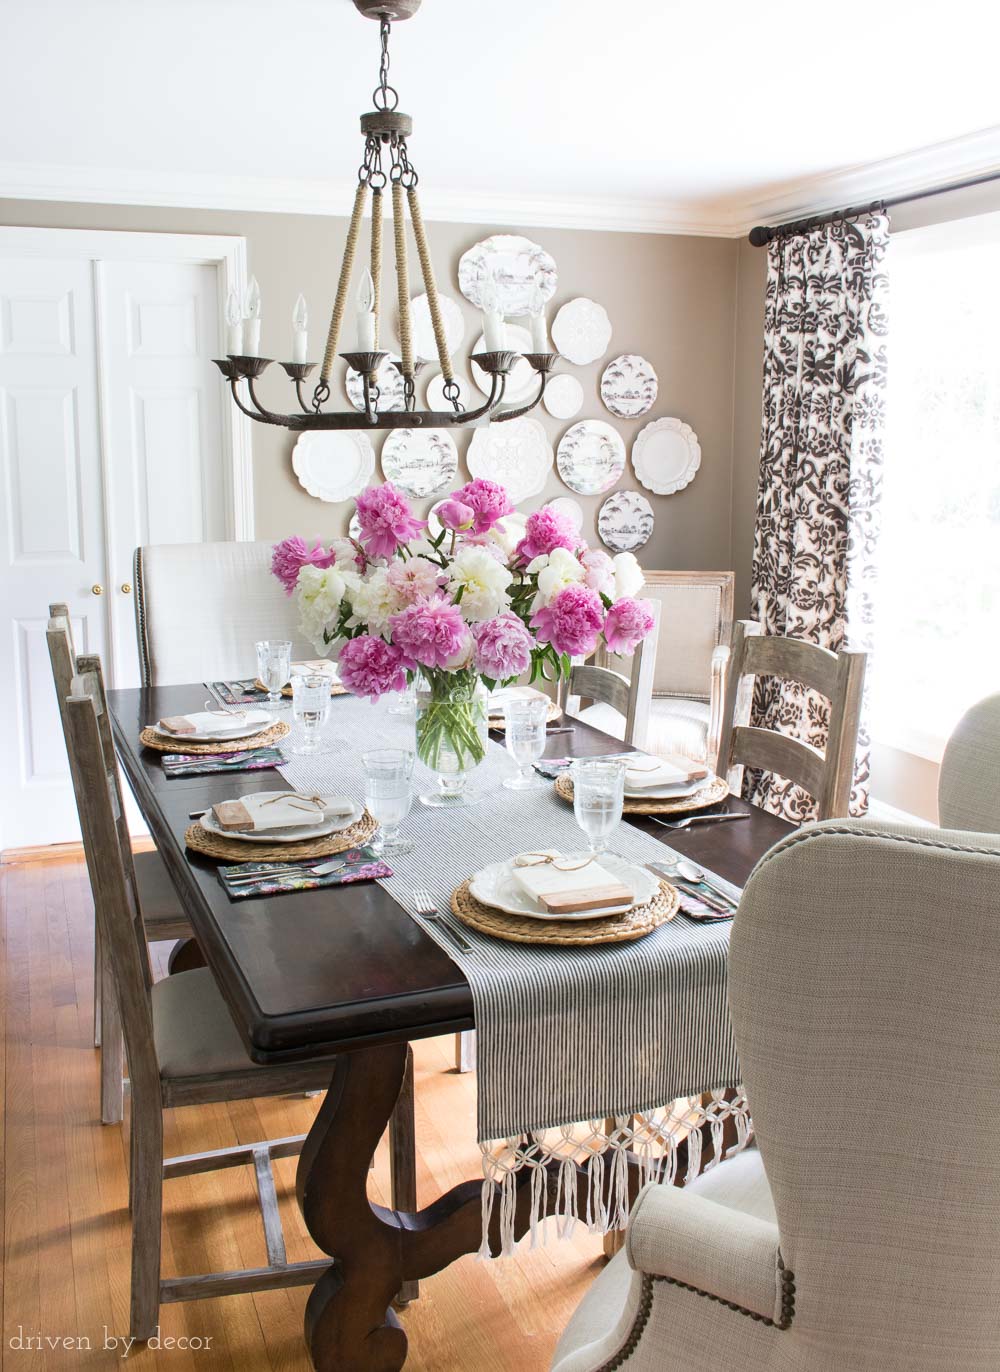
3. Highlight Other Design Elements
Removing a dining room light fixture can also draw attention to other design features in the room, such as a statement chandelier, artwork, or furniture. This can add more visual interest and depth to the space.
4. Create a Focal Point
Instead of a large light fixture, you can use other design elements to create a focal point in your dining room. This could be a unique light fixture above the dining table, a bold wallpaper, or a striking piece of furniture. By removing the existing light fixture, you have the opportunity to be more creative with your design choices.
One simple yet effective way to improve the lighting in your dining room is by removing the existing light fixture. This may seem counterintuitive, but it can have a significant impact on the overall design and functionality of the space. Here are some benefits of removing a dining room light fixture:
1. Create a More Open and Airy Space
A large and bulky light fixture can make a dining room feel cramped and closed off. By removing it, you can instantly create a more open and airy atmosphere. This is especially beneficial for smaller dining rooms or open-concept living spaces where natural light is limited.
2. Enhance Natural Lighting
Without a bulky light fixture blocking natural light, your dining room can receive more natural light, making it brighter and more inviting. This can also help reduce your energy bill as you won't need to rely on artificial lighting during the day.
3. Highlight Other Design Elements
Removing a dining room light fixture can also draw attention to other design features in the room, such as a statement chandelier, artwork, or furniture. This can add more visual interest and depth to the space.
4. Create a Focal Point
Instead of a large light fixture, you can use other design elements to create a focal point in your dining room. This could be a unique light fixture above the dining table, a bold wallpaper, or a striking piece of furniture. By removing the existing light fixture, you have the opportunity to be more creative with your design choices.
How to Remove a Dining Room Light Fixture
 Before removing a dining room light fixture, it's important to turn off the power to avoid any accidents. Once the power is off, you can follow these steps:
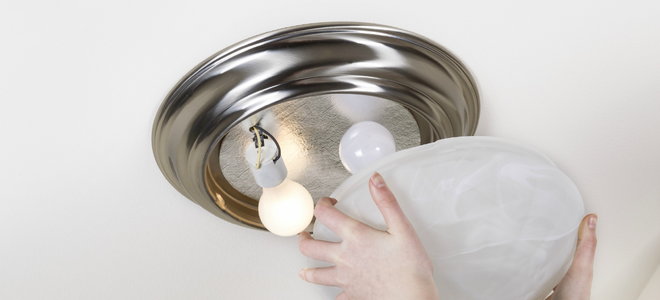
1. Remove the Light Bulbs and Shade
Start by unscrewing the light bulbs and carefully removing the shade or cover of the light fixture. Set them aside in a safe place.
2. Unscrew the Fixture
Using a screwdriver, unscrew the fixture from the ceiling. Make sure to hold onto it to avoid it falling and causing any damage.
3. Disconnect the Wires
Once the fixture is removed, you'll see the wires connected to the ceiling. Carefully disconnect them and remove the fixture completely.
4. Patch and Paint
If there are any holes or marks on the ceiling from the previous fixture, patch them up and repaint the area to create a seamless finish.
Before removing a dining room light fixture, it's important to turn off the power to avoid any accidents. Once the power is off, you can follow these steps:
1. Remove the Light Bulbs and Shade
Start by unscrewing the light bulbs and carefully removing the shade or cover of the light fixture. Set them aside in a safe place.
2. Unscrew the Fixture
Using a screwdriver, unscrew the fixture from the ceiling. Make sure to hold onto it to avoid it falling and causing any damage.
3. Disconnect the Wires
Once the fixture is removed, you'll see the wires connected to the ceiling. Carefully disconnect them and remove the fixture completely.
4. Patch and Paint
If there are any holes or marks on the ceiling from the previous fixture, patch them up and repaint the area to create a seamless finish.
Final Thoughts
 Removing a dining room light fixture may seem like a small change, but it can have a big impact on the overall design and feel of the space. It's a simple and cost-effective way to improve the lighting and enhance the overall aesthetic of your dining room. So, if you're looking to transform your dining room, consider removing the existing light fixture and see the difference it can make.