How to Remove Chair Rail From Dining Room
If you're looking to update your dining room, one of the first things you may want to do is remove the chair rail. This once-popular home decor trend can make a room look outdated and can limit your design options. Removing the chair rail is a simple and cost-effective way to give your dining room a fresh new look. Here's everything you need to know about removing chair rail from your dining room.
Step-by-Step Guide to Removing Chair Rail
Removing chair rail may seem daunting, but with the right tools and techniques, it can be a quick and easy process. Here's a step-by-step guide to safely and effectively remove chair rail from your dining room:
Step 1: Gather your tools. You'll need a hammer, a flathead screwdriver, a crowbar, a putty knife, and a utility knife.
Step 2: Start by removing any trim or molding at the top and bottom of the chair rail. Use the flathead screwdriver to gently pry it away from the wall.
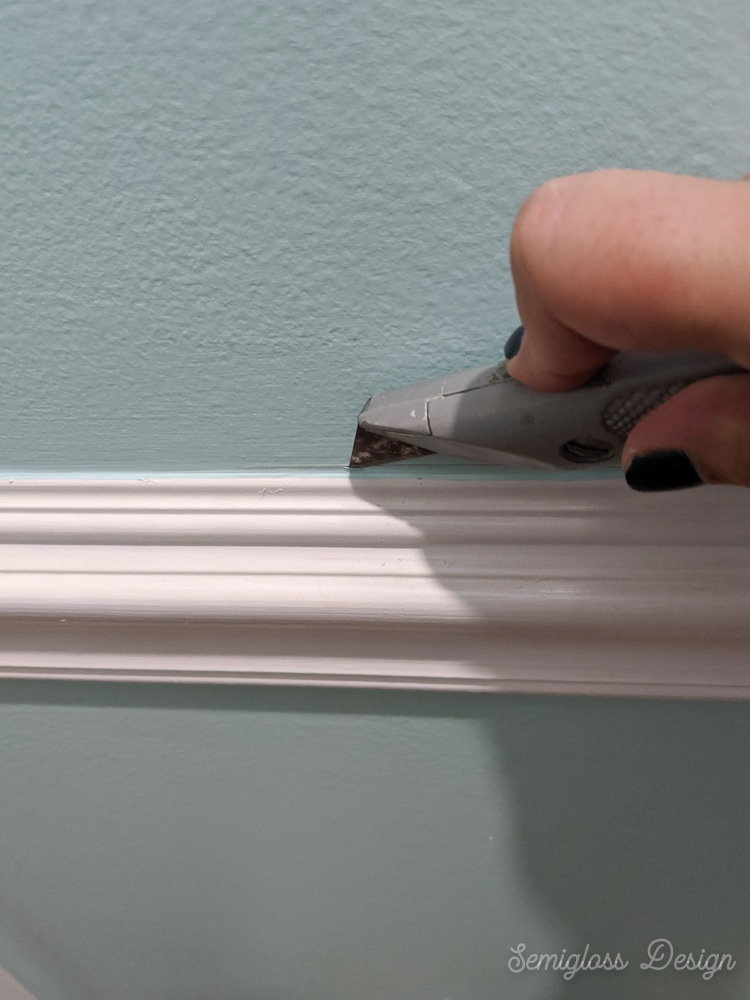
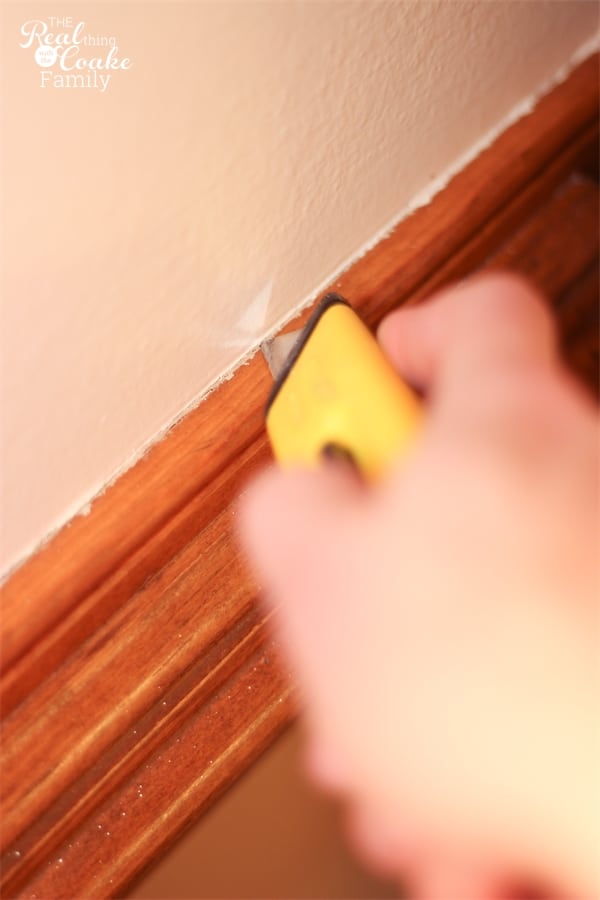
Step 3: Use the utility knife to score along the top and bottom edges of the chair rail where it meets the wall. This will help prevent any damage to the wall when removing the chair rail.
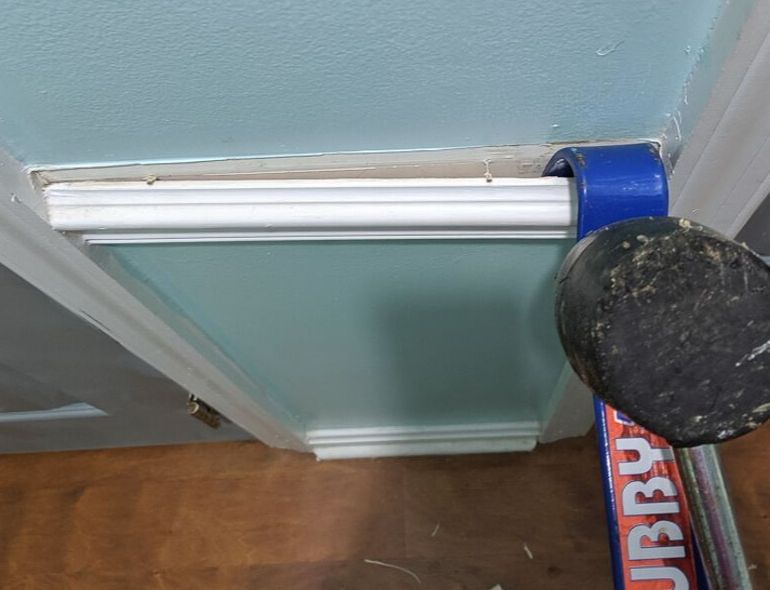
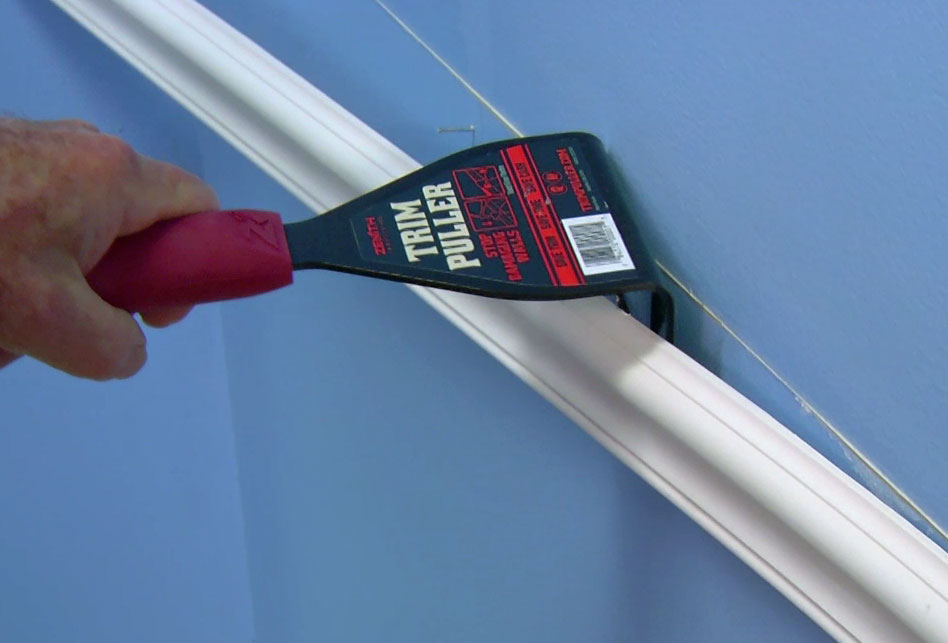
Step 4: Use the hammer and the crowbar to gently pry the chair rail away from the wall. Start at one end and work your way down, using the putty knife to help loosen any stubborn spots.
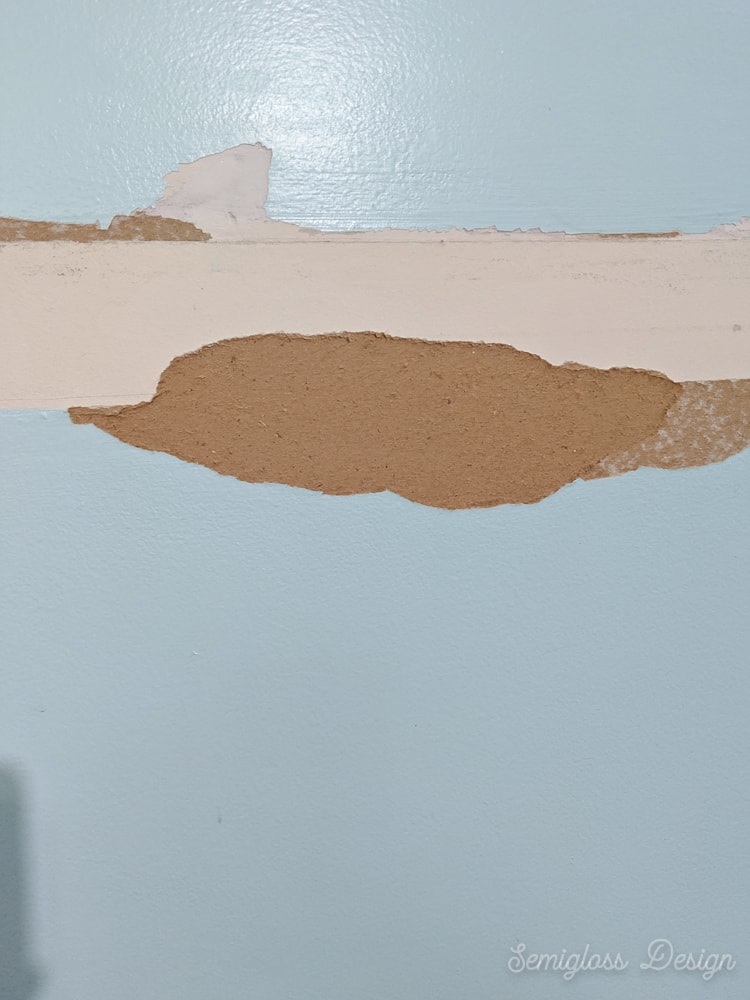
Step 5: Once the chair rail is removed, use the putty knife to remove any remaining adhesive or caulking from the wall. Be careful not to damage the drywall or plaster.
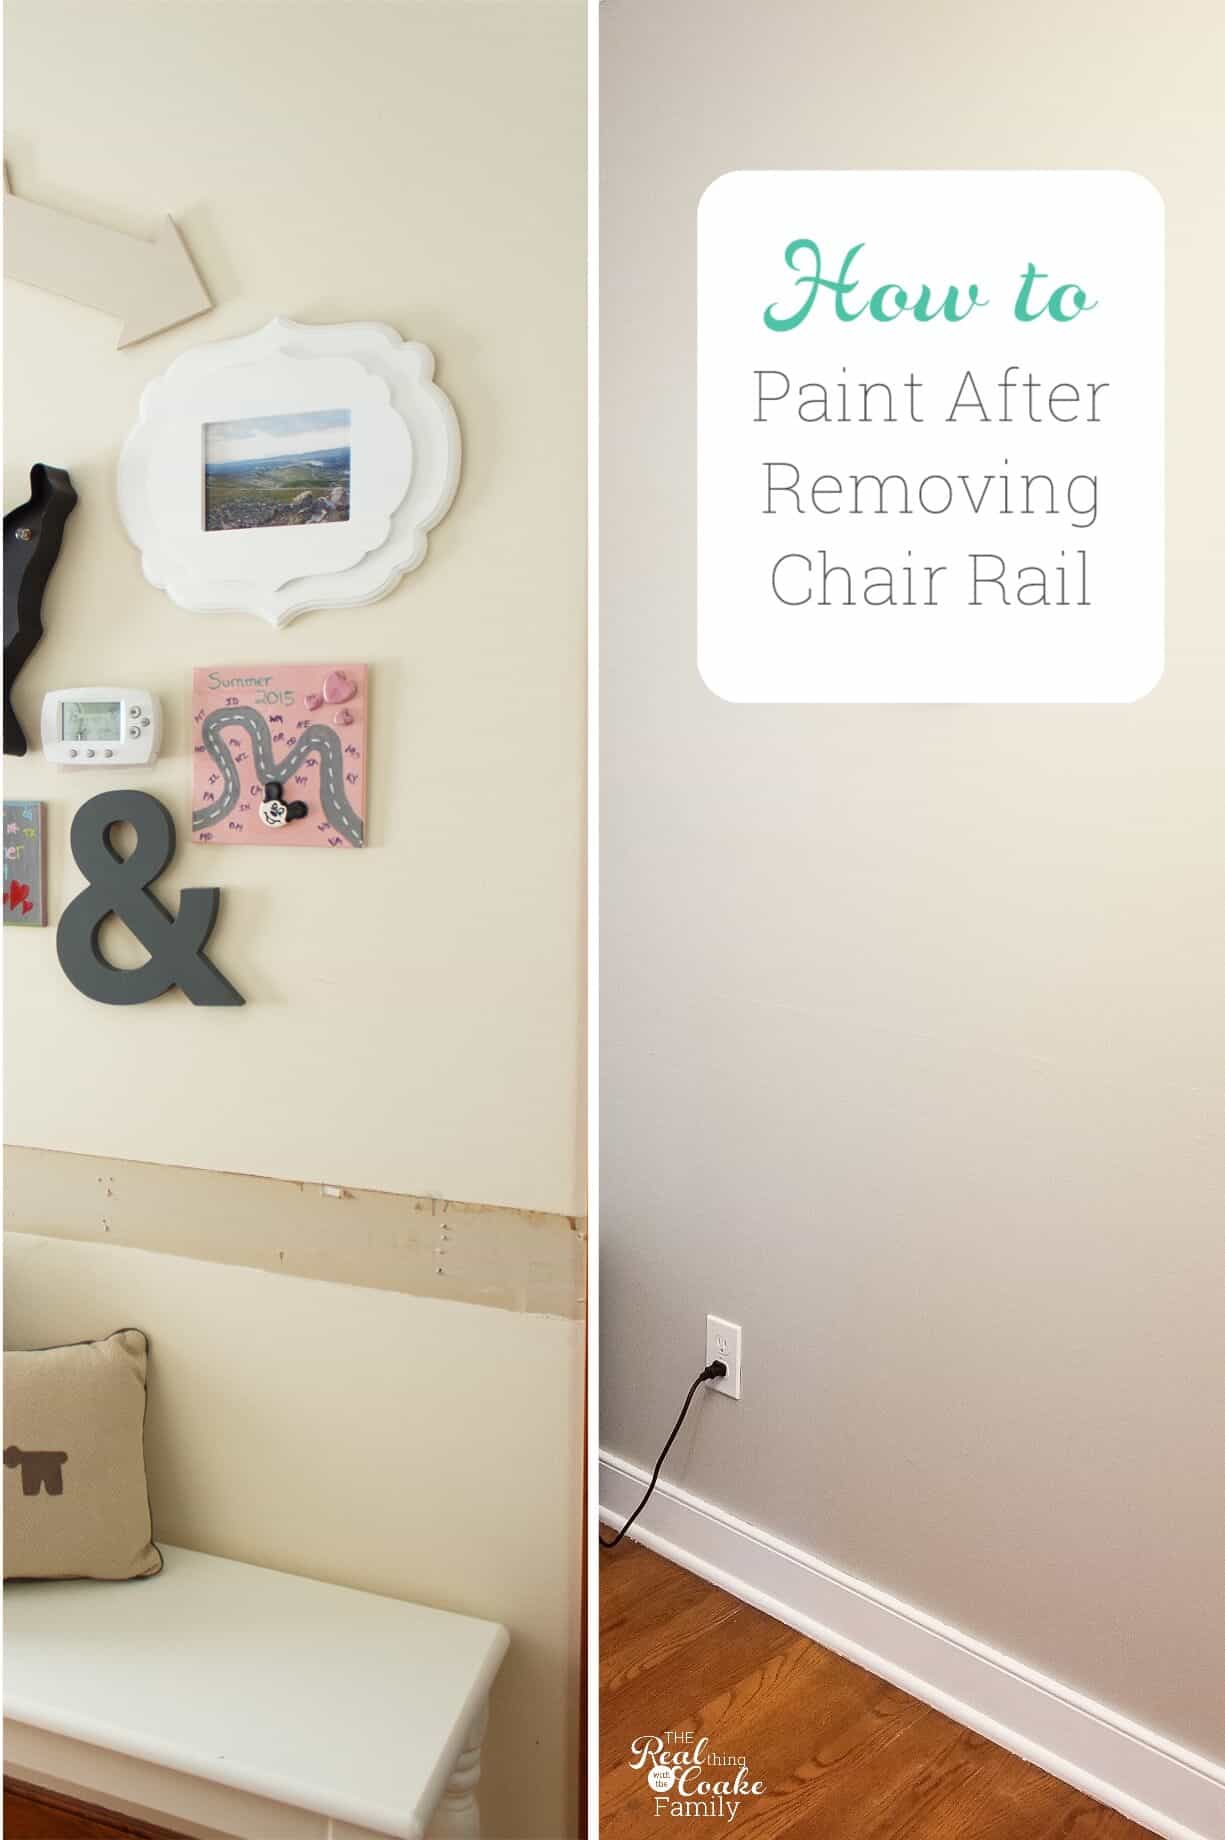
Step 6: Sand down any rough spots or imperfections on the wall where the chair rail was removed, and fill in any holes with spackling compound.
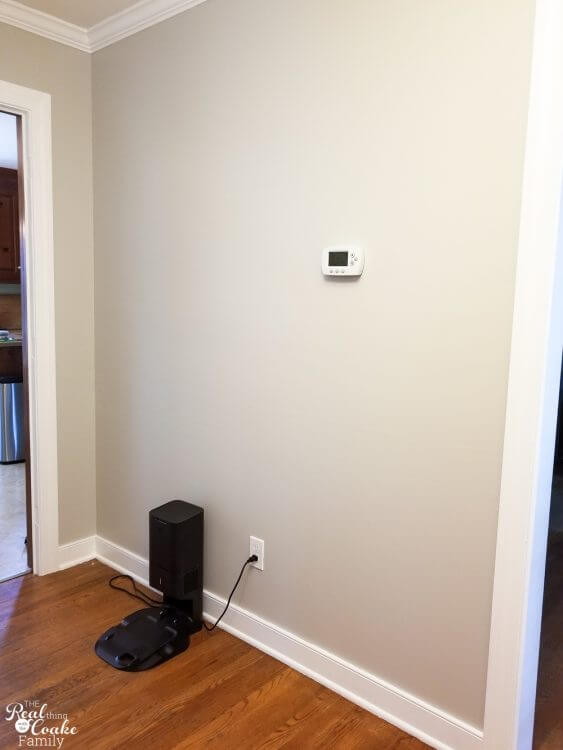
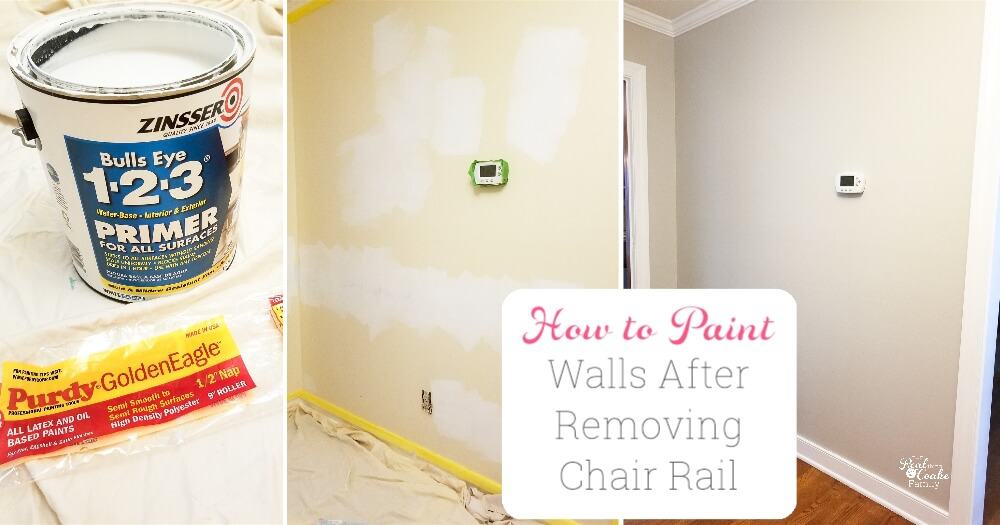
Step 7: Finally, prime and paint the walls to complete your newly updated dining room.
Removing Chair Rail Without Damaging Walls
One of the main concerns when removing chair rail is the potential for damage to the walls. To avoid this, it's important to use the proper techniques and tools. Here are some tips for removing chair rail without damaging your walls:
Tip 1: Score along the top and bottom edges of the chair rail with a utility knife before prying it away from the wall. This will help prevent any damage to the wall or paint.
Tip 2: Use a putty knife to gently pry the chair rail away from the wall, rather than a crowbar or hammer. This will help minimize the force used and reduce the risk of damage.
Tip 3: If the chair rail is stubborn and won't budge, try using a hair dryer on the highest setting to heat up the adhesive or caulking. This will make it easier to remove.
Tip 4: Be patient and take your time. Rushing the process can lead to mistakes and potential damage to the walls.
Tools Needed for Removing Chair Rail
To successfully remove chair rail from your dining room, you'll need a few essential tools. These include:
- Hammer
- Flathead screwdriver
- Crowbar
- Putty knife
- Utility knife
Having these tools on hand will make the process much easier and ensure that you can remove the chair rail safely and effectively.
Removing Chair Rail: Tips and Tricks
While removing chair rail may seem like a straightforward process, there are some tips and tricks that can make it even easier. Here are a few to keep in mind:
Tip 1: Use a putty knife to help loosen any stubborn spots or adhesive. This will help prevent damage to the wall when prying the chair rail away.
Tip 2: If the chair rail was painted over, use a heat gun or hair dryer to soften the paint before removing it. This will help prevent damage to the wall and make the process easier.
Tip 3: If the chair rail is in good condition, consider repurposing it for another project, such as creating a DIY picture frame or shelf.
Removing Chair Rail: Do's and Don'ts
When it comes to removing chair rail, there are a few things you should and shouldn't do. Here are some do's and don'ts to keep in mind:
Do: Score along the edges of the chair rail with a utility knife before removing it.
Do: Use a putty knife to gently pry the chair rail away from the wall.
Do: Take your time and be patient to avoid damaging the walls.
Don't: Use excessive force when removing the chair rail, as this can cause damage to the walls.
Don't: Skip priming and painting the walls after removing the chair rail, as this will leave behind noticeable marks and imperfections.
Removing Chair Rail: Common Mistakes to Avoid
While removing chair rail is a relatively simple process, there are some common mistakes that homeowners make. Here are a few to avoid:
Mistake 1: Rushing the process and using excessive force. This can lead to damage to the walls and make the removal process more difficult.
Mistake 2: Forgetting to score along the edges of the chair rail before removing it. This can cause damage to the wall or paint.
Mistake 3: Not taking the time to properly fill in any holes or imperfections on the wall after removing the chair rail. This will leave behind noticeable marks and affect the overall appearance of the room.
Removing Chair Rail: Pros and Cons
Before deciding to remove the chair rail in your dining room, it's important to consider the pros and cons. Here are a few to keep in mind:
Pros:
- Gives the room a more modern and updated look
- Allows for more design options, such as using wallpaper or creating an accent wall
Cons:
- Can be time-consuming and require some effort
- May result in damage to the walls if not done properly
Removing Chair Rail: Cost and Time Estimate
The cost and time required to remove chair rail from your dining room will depend on a few factors, such as the size of the room and the condition of the walls. Here's a rough estimate of what you can expect:
Time: 2-4 hours
Cost: $50-$100 (depending on the tools and materials needed)
Alternative Options to Removing Chair Rail
If you're not ready to commit to removing the chair rail in your dining room, there are alternative options to consider. These include:
- Painting the chair rail a different color to give it a more modern look
- Adding trim or molding to the top and bottom of the chair rail to create a more cohesive look
- Incorporating the chair rail into your design by using it as a shelf or picture ledge
Why Removing Chair Rail Can Transform Your Dining Room

The Benefits of Removing Chair Rail
 Chair rail
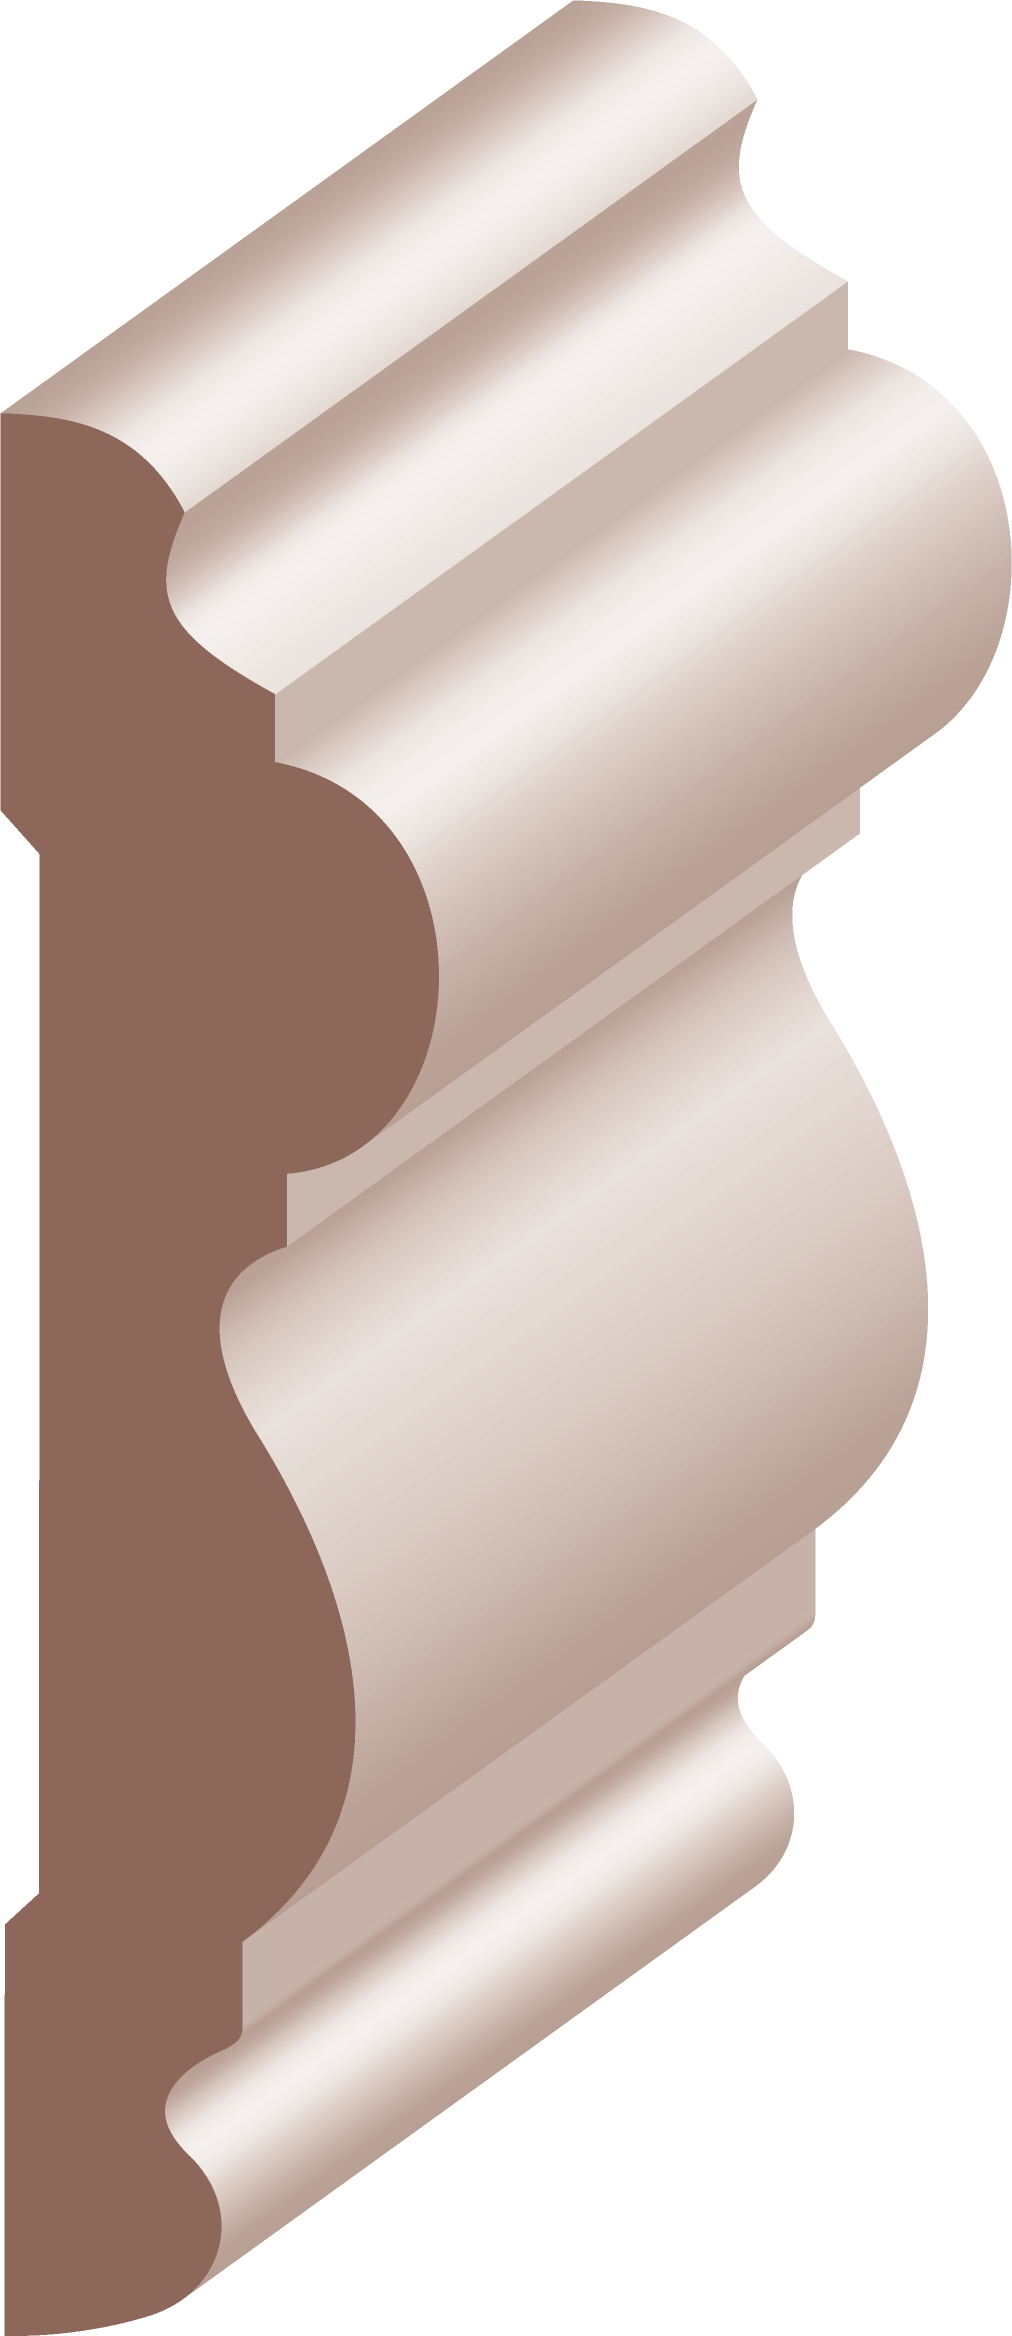
has long been a popular design feature in many homes, particularly in dining rooms. It is a horizontal strip of molding that runs along the walls, usually at the height of a chair back. While it was initially used to protect walls from chairs and other furniture, it has become more of a decorative element over the years. However, many modern homeowners are choosing to remove
chair rail
from their dining rooms, and for good reason. Here are some of the benefits you can enjoy by removing
chair rail
from your dining room.
Creates a Sense of Height and Space
 One of the main reasons why homeowners choose to remove
chair rail
is to create a sense of height and space. By eliminating this horizontal line that breaks up the walls, the room will appear taller and more open. This is especially beneficial for smaller dining rooms, as it can make them feel more spacious and less cramped. Additionally, removing
chair rail
can make the ceiling look higher, which can give the illusion of a larger room.
Allows for More Versatile Decorating Options
 Another advantage of removing
chair rail
is that it opens up the walls for more versatile decorating options. With
chair rail
, homeowners are limited to hanging artwork and other decor above or below the molding. Without it, the entire wall can be used as a blank canvas for decorating. This allows for more creative freedom and the ability to change up the look of the room more easily.
Creates a Modern and Streamlined Look
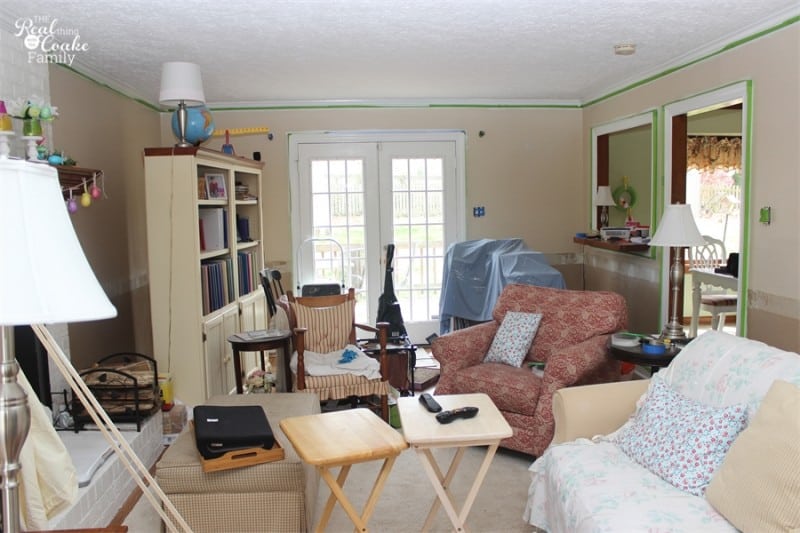 Many homeowners choose to remove
chair rail
as part of a larger effort to update their home's design.
Chair rail
can give a room a dated and traditional look, which may not be desirable for those seeking a more modern aesthetic. By removing it, the walls will have a more streamlined and contemporary appearance, which can instantly update the overall look and feel of the dining room.
How to Remove Chair Rail
 If you're convinced of the benefits of removing
chair rail
and want to tackle this project yourself, here are some steps to follow:
1. Start by carefully removing any artwork or decor that may be hanging above or below the
chair rail
.
2. Use a utility knife to score along the top and bottom edges of the
chair rail
where it meets the wall. This will help prevent damage to the walls when removing the molding.
3. Use a pry bar to gently lift the
chair rail
away from the wall. If it is secured with nails, you may need to use a hammer to carefully tap them out.
4. Once the
chair rail
is removed, use a putty knife to scrape off any remaining adhesive or caulk from the wall.
5. Finally, sand down any rough spots on the wall and touch up the paint if necessary.
In conclusion, removing
chair rail
from your dining room can have many benefits, including creating a sense of height and space, allowing for more versatile decorating options, and creating a modern and streamlined look. With the right tools and techniques, you can easily remove
chair rail
yourself and transform your dining room into a more modern and inviting space.

