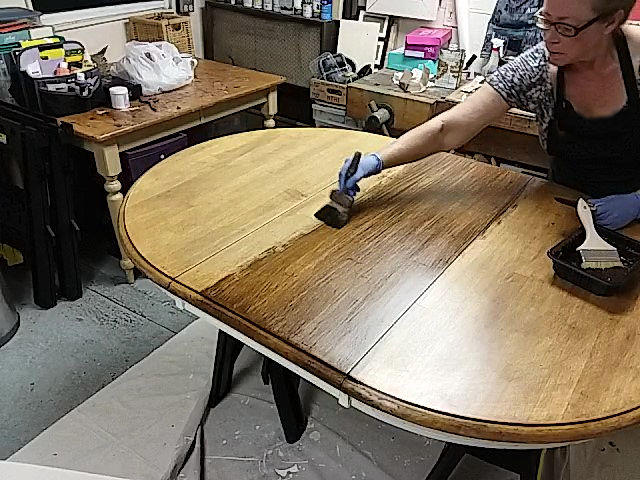
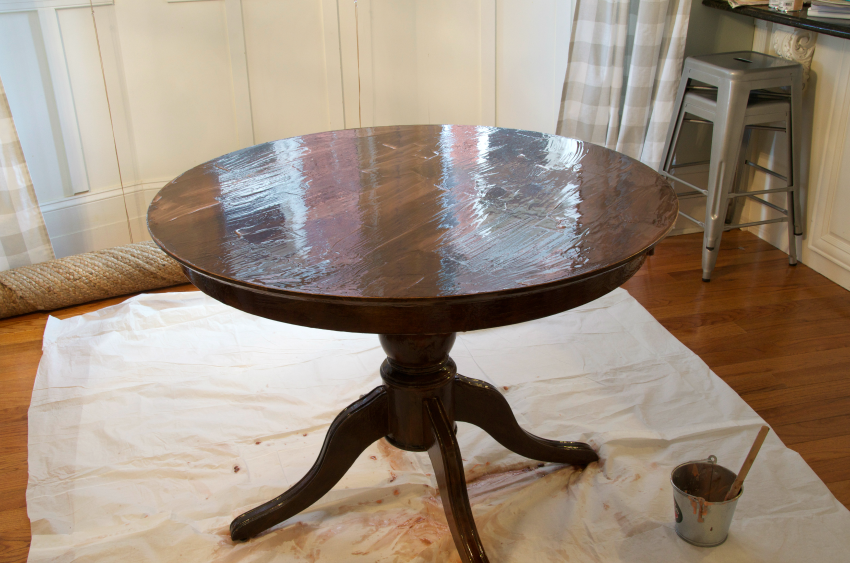
Refinishing a wooden kitchen table can bring new life to your dining space and save you the cost of buying a new table. With the right tools and techniques, you can easily transform your worn-out table into a beautiful and functional centerpiece. Follow these steps from DIY Network to learn how to refinish your wooden kitchen table and make it look brand new. First, gather all the necessary materials, including wood stain, sandpaper, paintbrushes, polyurethane, and a drop cloth. Make sure to also cover your workspace with a drop cloth to protect it from any spills or stains. Next, sand the table thoroughly to remove the old finish and any imperfections on the surface. Start with a coarse-grit sandpaper and gradually work your way to a finer grit for a smooth finish. Wipe down the table with a damp cloth to remove any dust and let it dry completely. Once the table is dry, it's time to stain the wood. Choose a stain color that matches your desired look and carefully apply it with a paintbrush, going with the grain of the wood. After applying the stain, let it sit for a few minutes before wiping off any excess with a clean cloth. Allow the stain to dry completely before moving on to the next step. Now, it's time to seal the table with polyurethane to protect it from spills and scratches. Use a paintbrush to apply a thin coat of polyurethane, following the direction of the wood grain. Let it dry for at least 24 hours before lightly sanding the surface with a fine-grit sandpaper and applying a second coat. Repeat this process for a third coat if desired. Finally, once the polyurethane is completely dry, your newly refinished wooden kitchen table is ready to use! Add a decorative table runner or centerpiece to complete the look and enjoy your beautiful, like-new table.1. How to Refinish a Wooden Kitchen Table | DIY Network


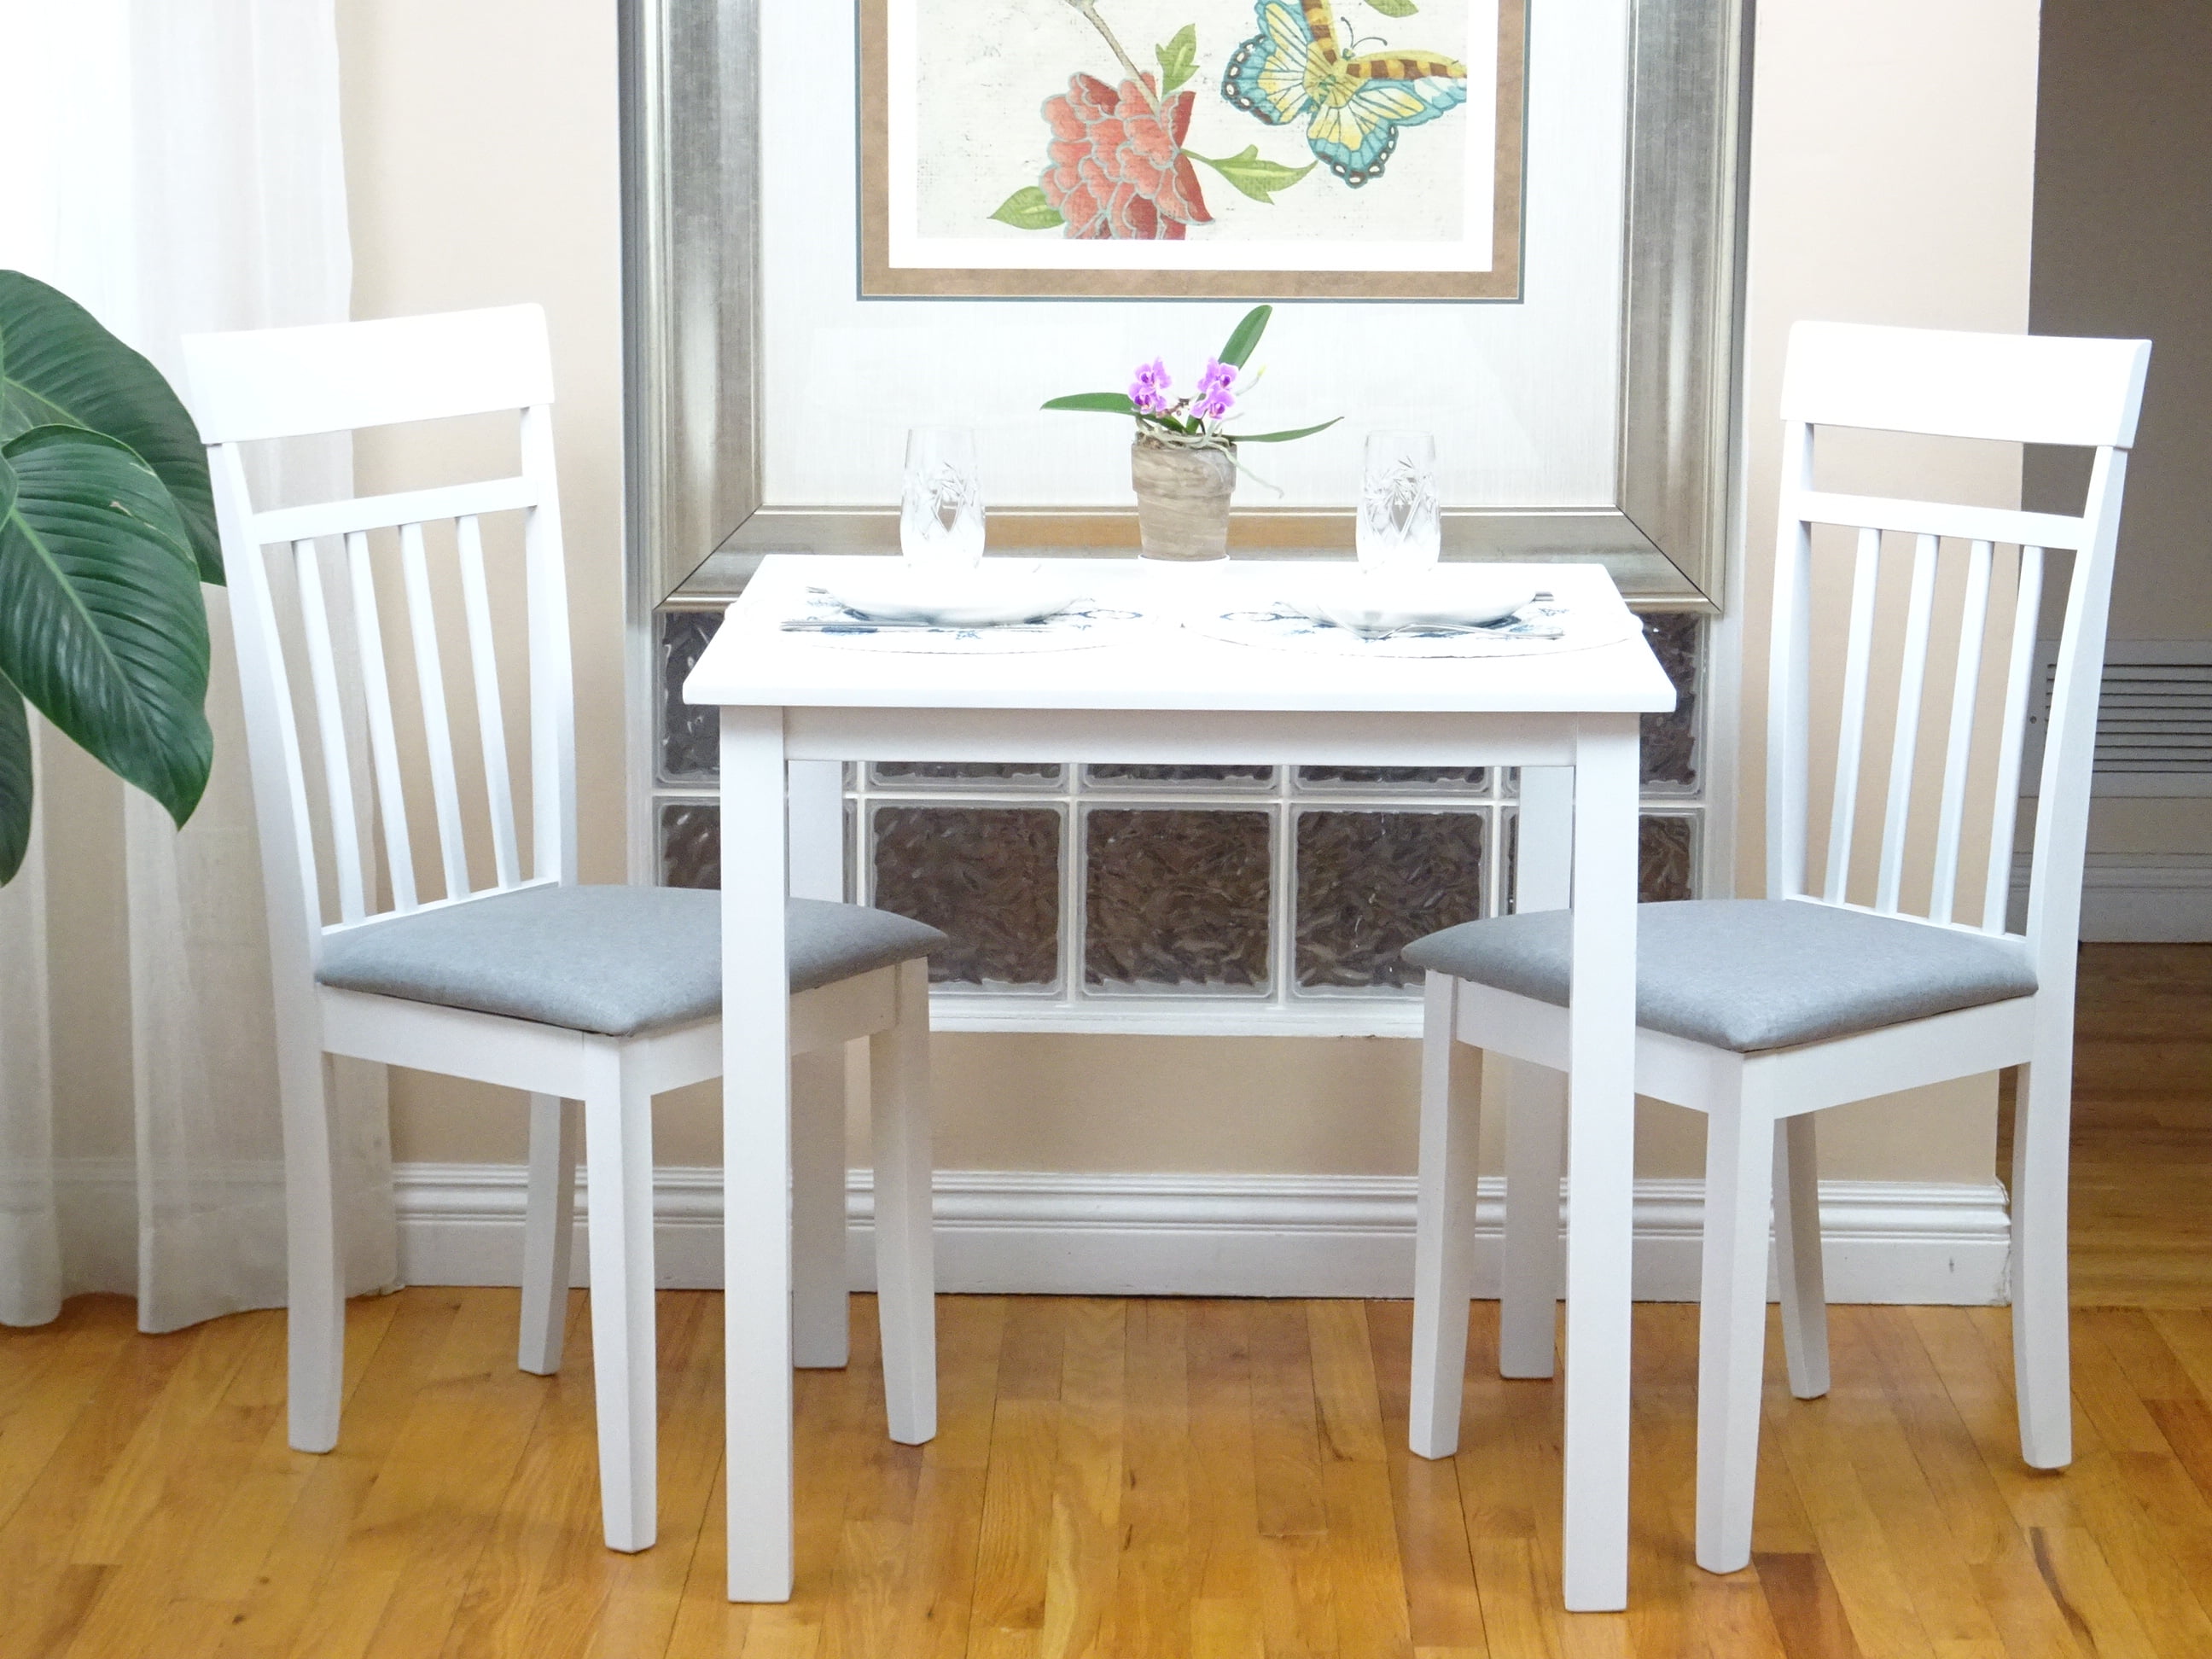
1. How to Refinish a Wooden Kitchen Table


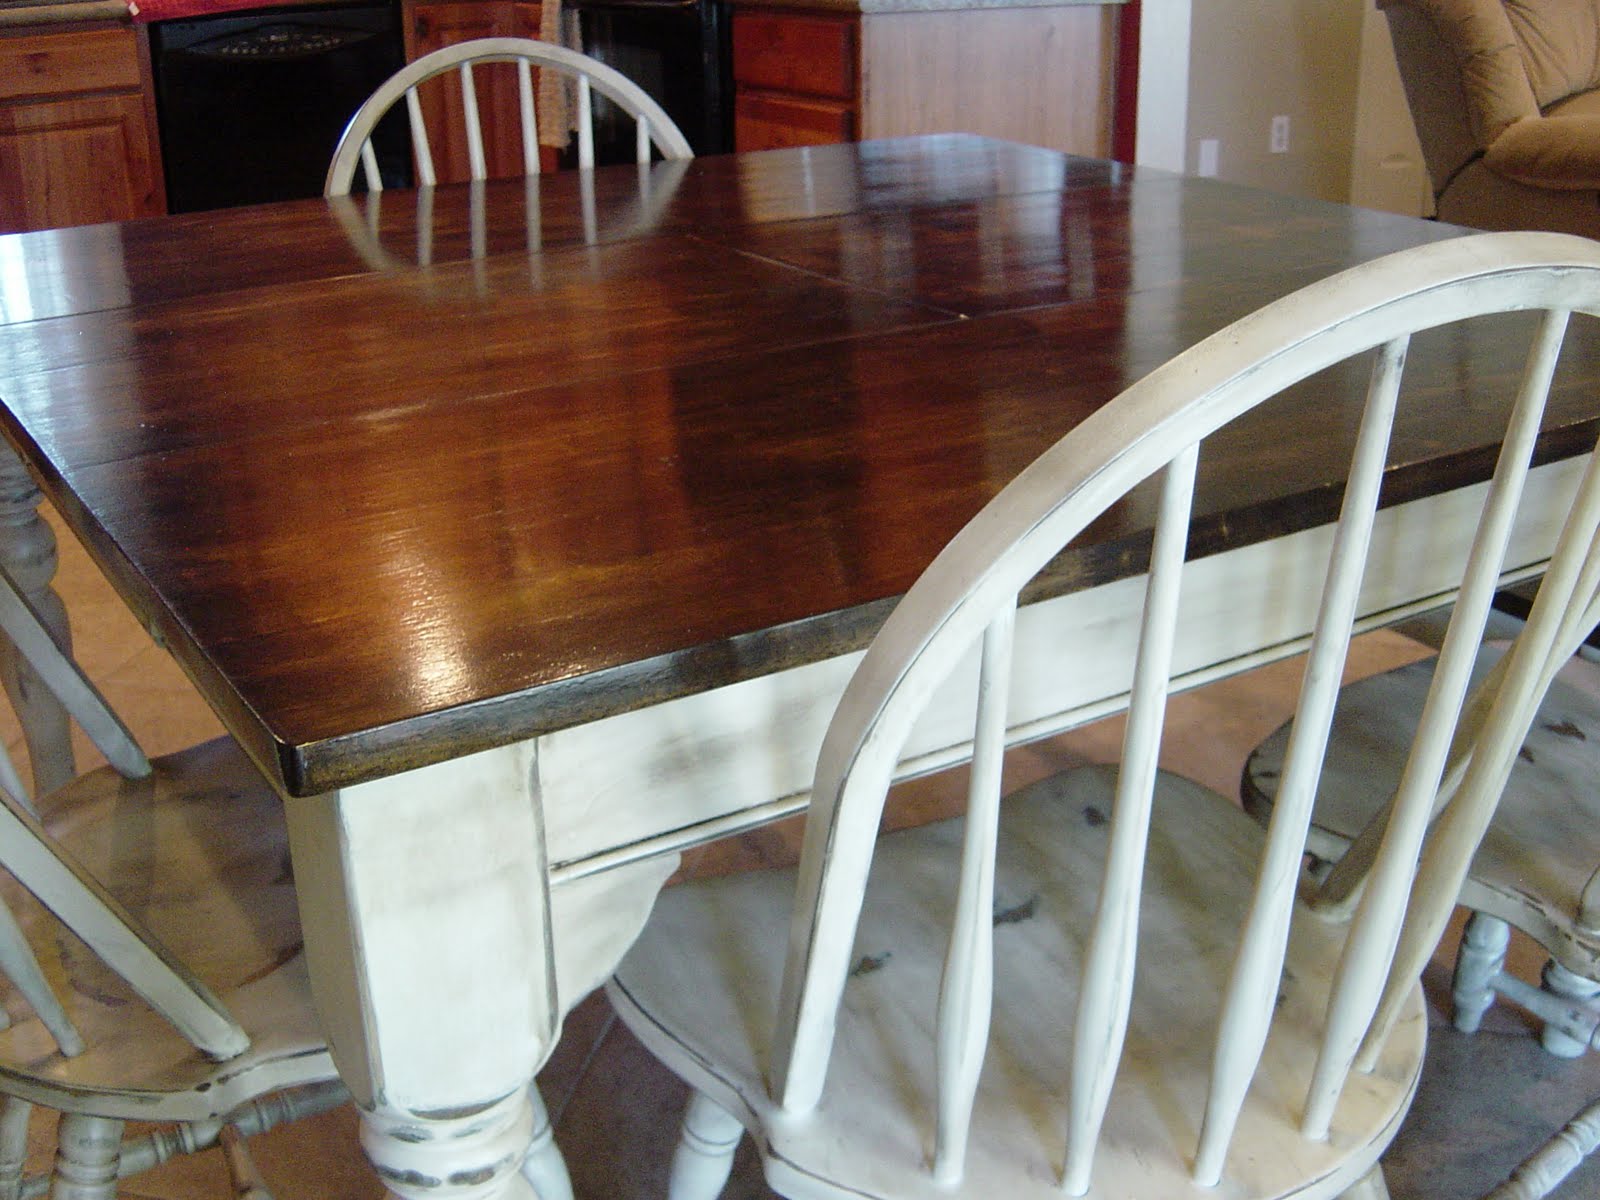
If you're looking to update your kitchen table, HGTV has some great ideas and pictures to inspire your refinishing project. From classic farmhouse tables to modern, sleek designs, there are endless possibilities for transforming your table into a statement piece. One popular technique for refinishing kitchen tables is painting. You can choose a bold color to make your table stand out or opt for a neutral shade to complement your existing decor. Sanding and priming the table before painting will ensure a smooth and long-lasting finish. Another option is to stain the wood for a more natural and rustic look. You can even experiment with different stain colors to achieve a unique and personalized design. Adding a distressed or weathered finish can also give your table a vintage feel. For a more creative approach, try adding a pattern or design to your table using stencils or decals. This can be a fun and easy way to add some personality to your kitchen table. You can also incorporate different materials, such as wood and metal, for a modern and industrial look. Remember to always protect your workspace and use the appropriate tools and materials for the specific refinishing technique you choose. With a little bit of creativity and some elbow grease, you can turn your old and worn-out kitchen table into a stunning piece of furniture.2. How to Refinish a Kitchen Table: Pictures & Ideas From HGTV | HGTV


DIY Network


Bob Vila is a trusted source for all things home improvement, including refinishing furniture. Their step-by-step guide for refinishing a table is easy to follow and provides helpful tips and tricks for achieving a professional-looking finish. One important aspect of refinishing a table is preparing the surface. This includes removing the old finish, sanding, and filling any imperfections in the wood. Bob Vila recommends using wood putty or filler to repair any cracks or scratches before sanding. Next, choose your finish. You can opt for a stain or paint, but make sure to select a high-quality product for the best results. Bob Vila suggests testing your chosen finish on a small inconspicuous area of the table to ensure it's the desired color and finish. Once you've applied the finish, seal the table with a clear coat of polyurethane. This will protect the wood and give it a beautiful shine. Bob Vila recommends applying multiple thin coats of polyurethane for a more durable finish. With these tips and techniques from Bob Vila, you can confidently refinish your table and achieve professional-looking results.3. How to Refinish a Table - Bob Vila


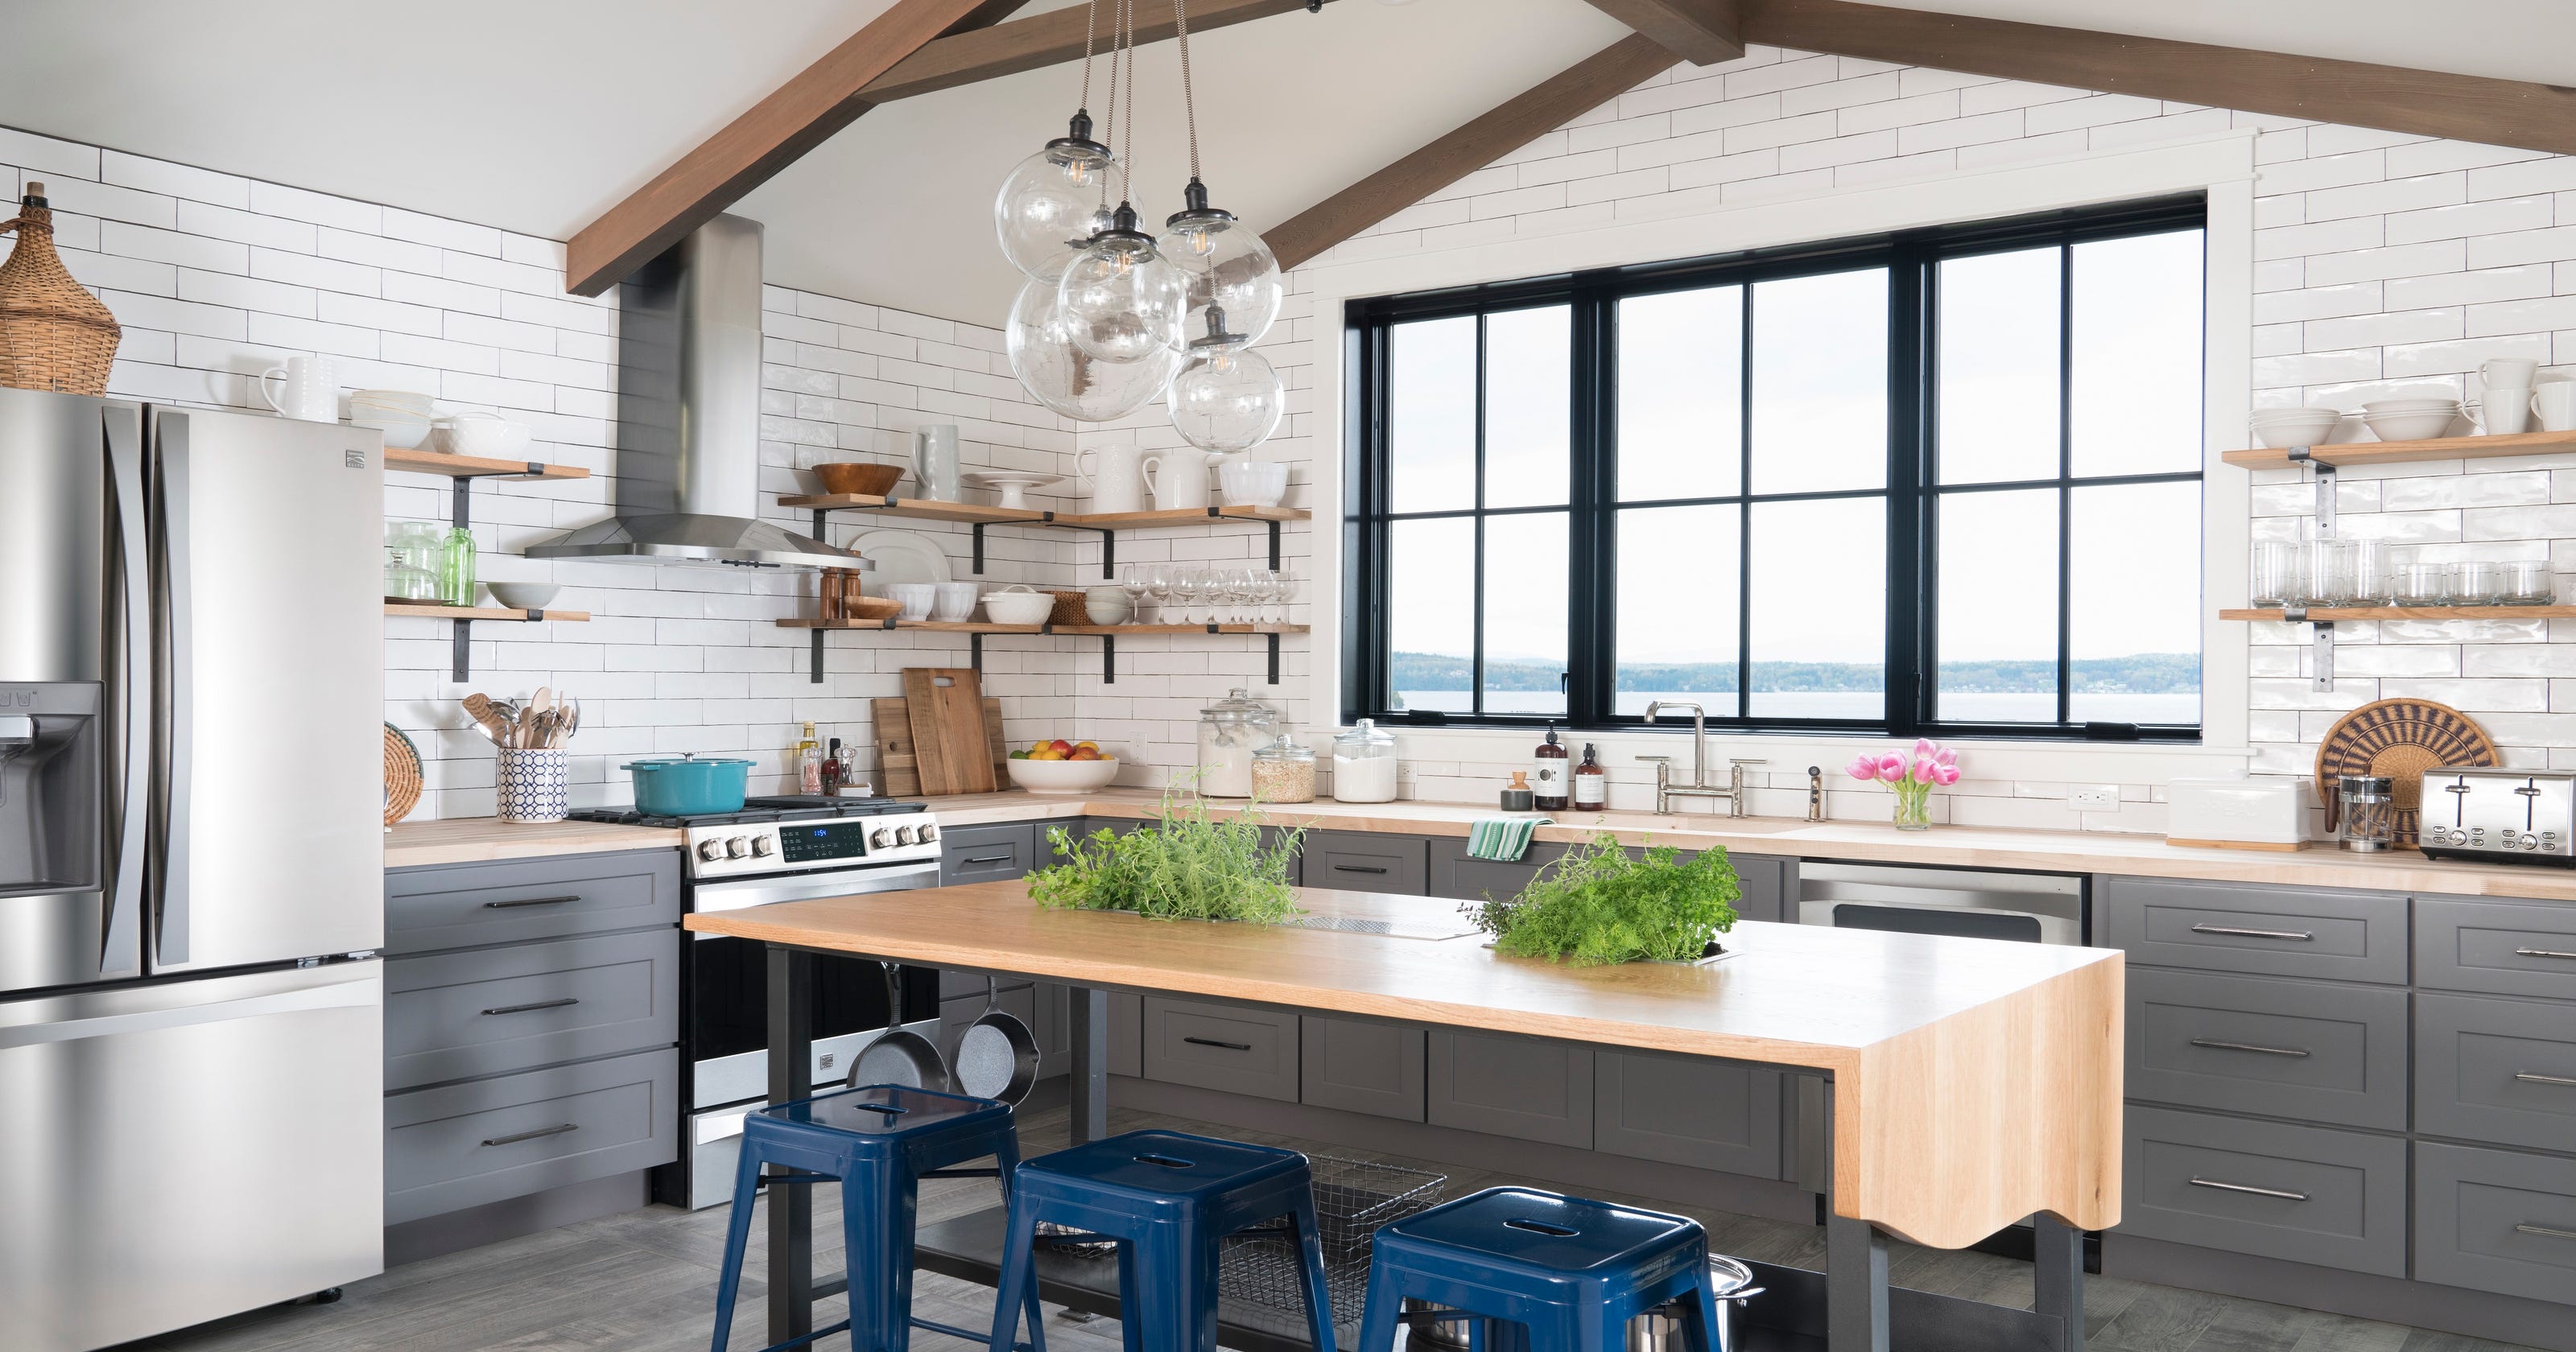
2. How to Refinish a Kitchen Table: Pictures & Ideas From HGTV


If the thought of sanding and stripping your table sounds daunting, don't worry - Hunker has a solution for refinishing your table without all the extra work. This technique is perfect for tables with a thin or worn-out finish. Clean the table thoroughly with a mixture of warm water and mild soap. Wipe away any dirt or grime and let it dry completely. Next, rough up the surface of the table using steel wool or a sanding block. This will create a texture for the new finish to adhere to. Make sure to wipe away any dust before moving on to the next step. Apply a gel stain to the table using a foam brush, going with the grain of the wood. The gel stain will fill in any scratches or imperfections, giving the table a smooth and flawless finish. Let the stain dry for 24 hours before adding a second coat if needed. Finally, seal the table with a clear coat of polyurethane, following the instructions on the product. Once it's dry, you can enjoy your beautifully refinished table without all the hassle of sanding and stripping.4. How to Refinish a Table Without Sanding & Stripping | Hunker


HGTV


The Spruce offers a detailed and easy-to-follow tutorial for refinishing a table. Their step-by-step guide includes helpful photos and tips for achieving a professional-looking finish. The first step is to remove the old finish. This can be done with sandpaper or a chemical stripper, depending on the type of finish on your table. If using a chemical stripper, make sure to follow the instructions carefully and work in a well-ventilated area. Next, sand the table to smooth out the surface and prepare it for staining or painting. The Spruce recommends using a sanding block or an electric sander for larger tables. Once the table is sanded, you can choose to stain or paint the wood. The Spruce suggests using a wood conditioner before staining to ensure an even finish. If painting, make sure to use a primer first to help the paint adhere to the wood. After the stain or paint is dry, it's time to seal the table. The Spruce recommends using a water-based polyurethane for a durable and easy-to-clean finish. Apply multiple thin coats, sanding lightly in between each coat for a smooth surface. With this easy step-by-step tutorial from The Spruce, you can easily refinish your table and achieve professional-looking results.5. How to Refinish a Table: Easy Step-by-Step Tutorial | The Spruce


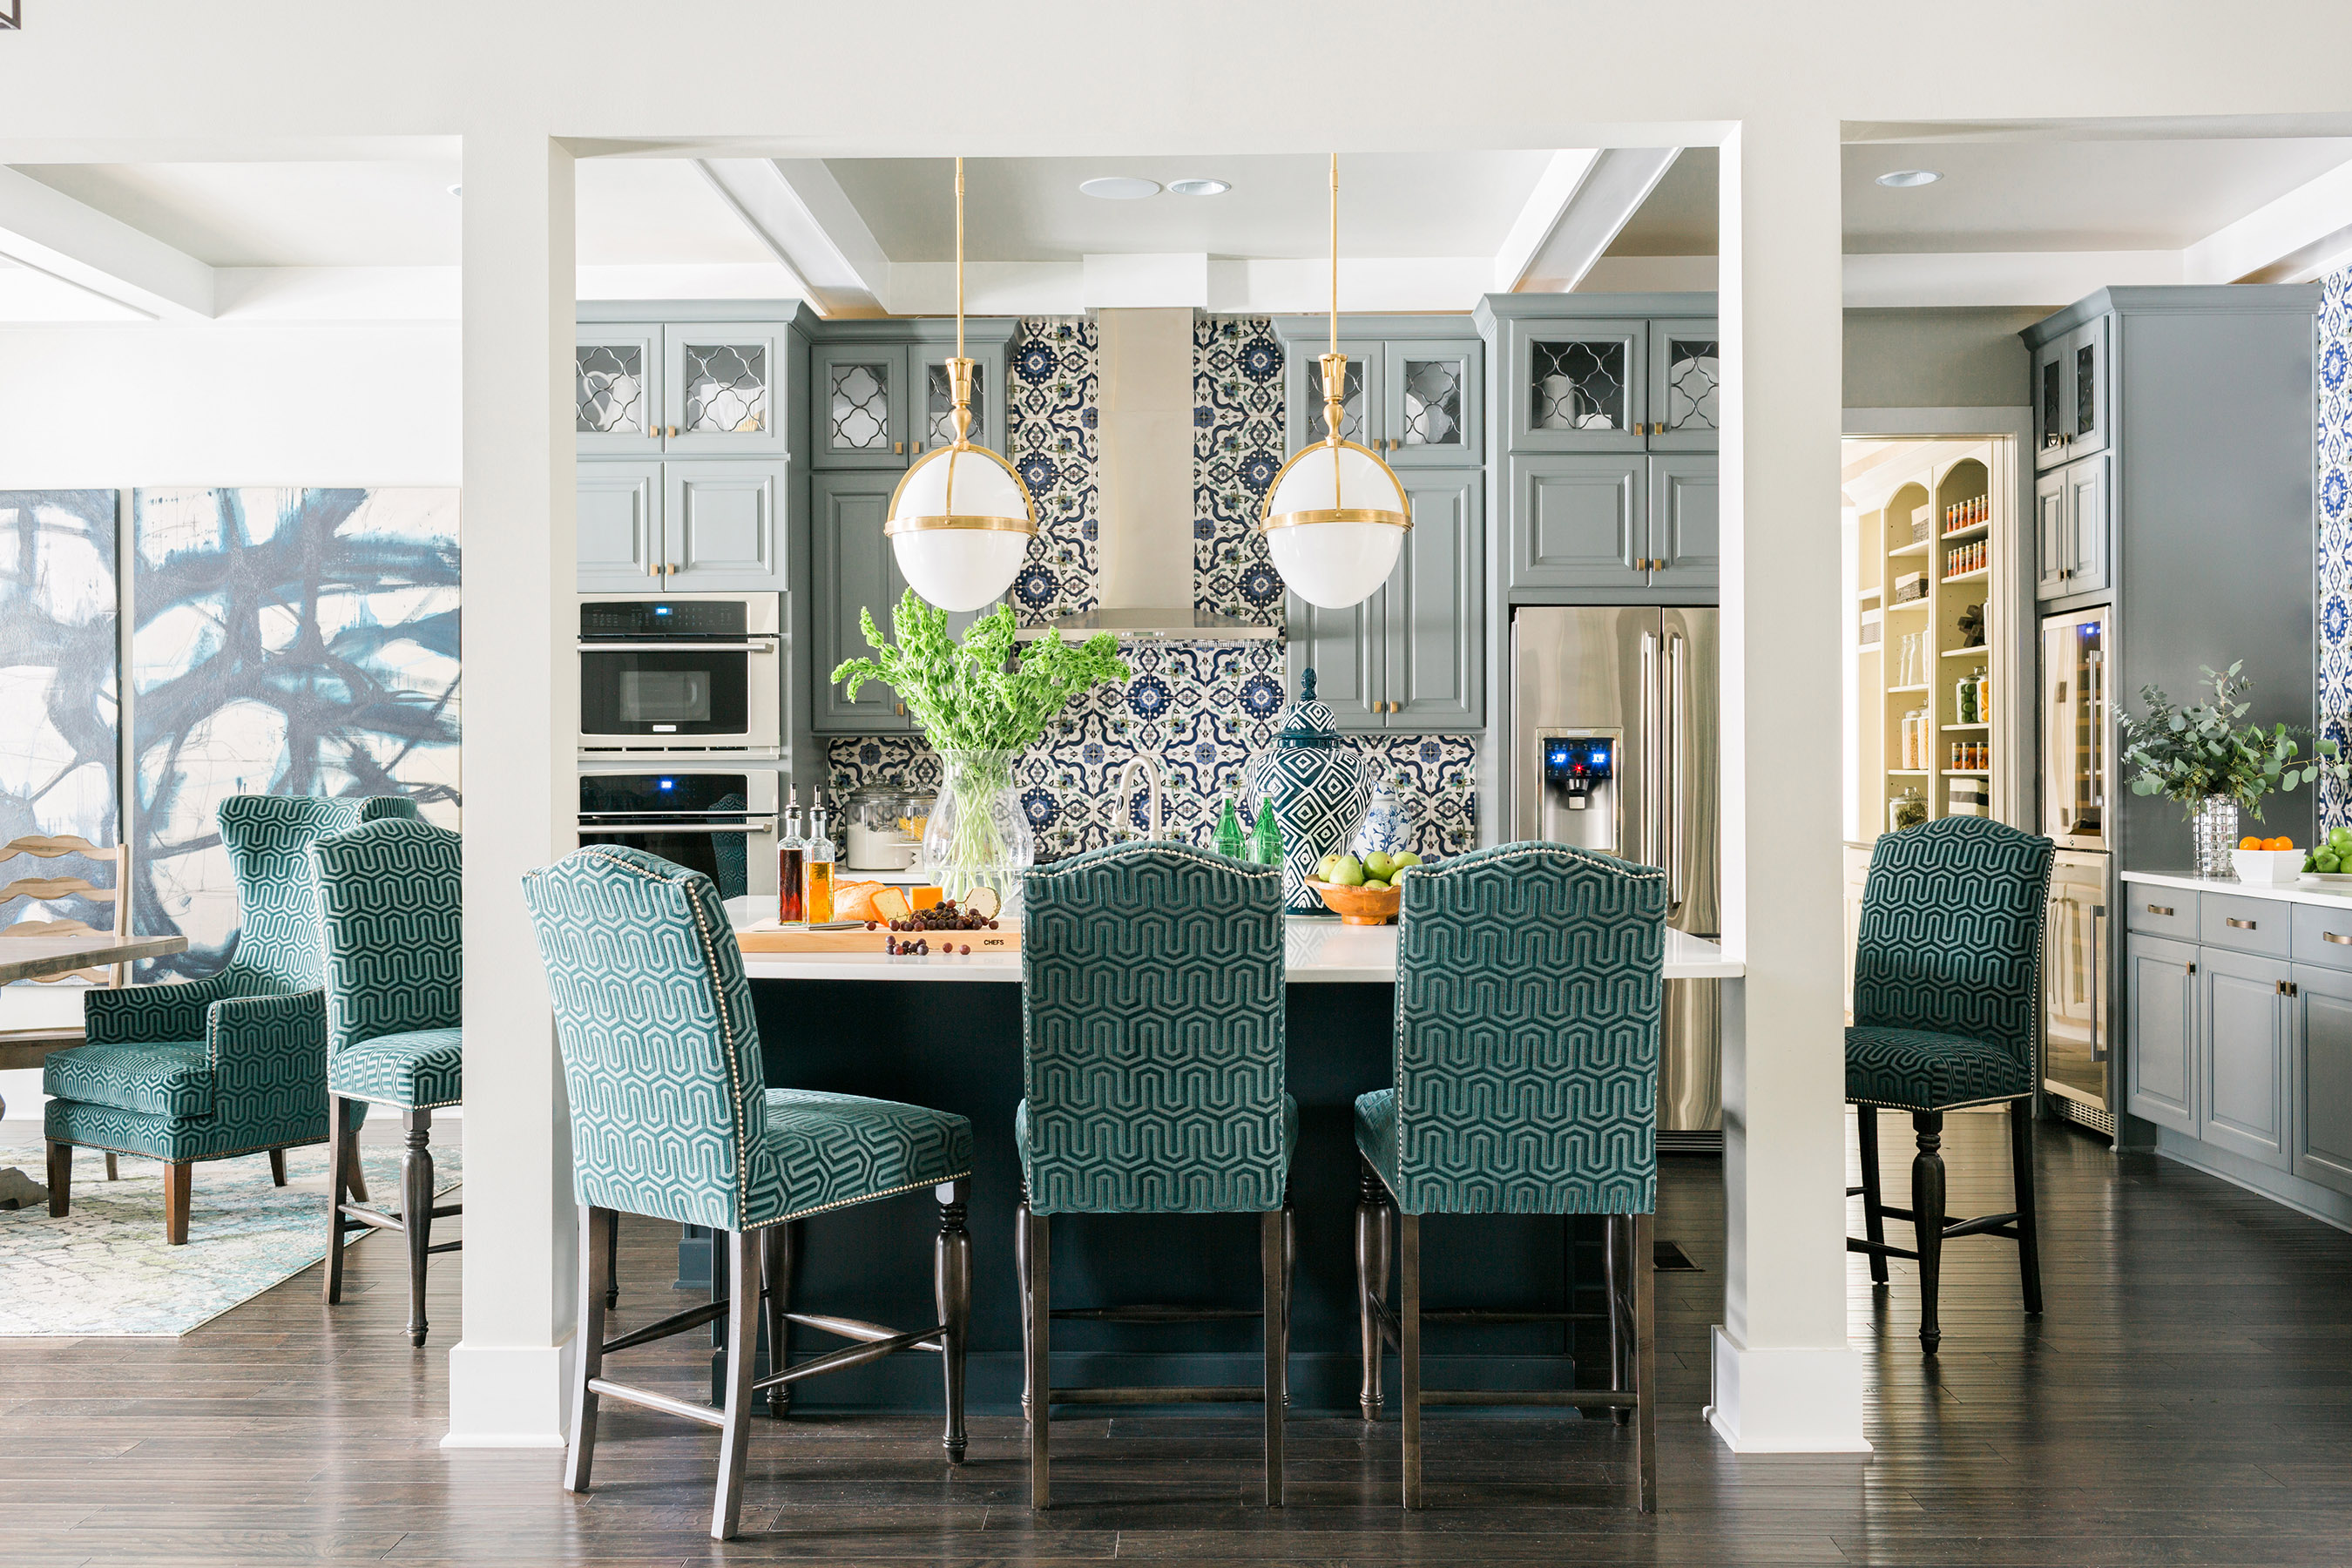
3. How to Refinish a Table - Bob Vila


The Home Depot offers a helpful video tutorial for refinishing a table. In this video, you can see the step-by-step process and learn some useful tips and tricks for achieving a beautiful finish. The first step is to remove the old finish. The Home Depot recommends using a chemical stripper for a faster and easier process. Make sure to wear protective gear and work in a well-ventilated area when using a chemical stripper. Next, sand the table to smooth out the surface and prepare it for staining or painting. The Home Depot suggests starting with a coarse-grit sandpaper and gradually working your way to a finer grit for a smooth finish. After sanding, it's time to apply the finish. You can choose to stain the wood for a natural look or paint it with your desired color. Make sure to follow the instructions on the product and apply multiple thin coats for a professional-looking finish. Finally, seal the table with a clear coat of polyurethane. This will protect the wood and give it a beautiful shine. The Home Depot recommends applying multiple coats for a durable finish. With this helpful video tutorial from The Home Depot, you can easily refinish your table and give it a new lease on life.6. How to Refinish a Table - The Home Depot


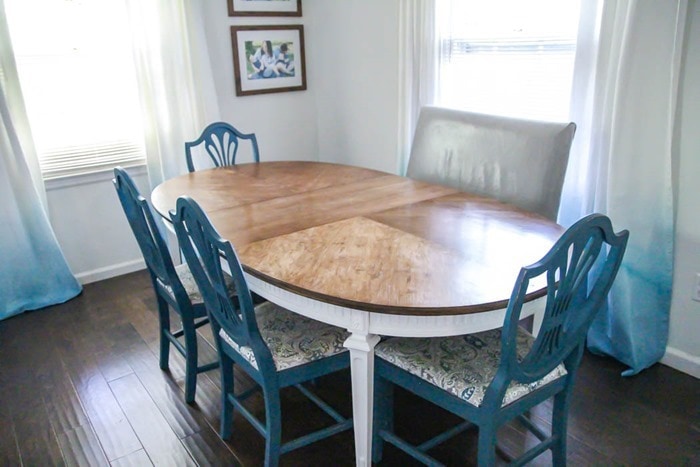
4. How to Refinish a Table Without Sanding & Stripping


This Old House offers a comprehensive and detailed guide for refinishing a table. Their step-by-step instructions and helpful tips will guide you through the process of transforming your old table into a beautiful and functional piece of furniture. The first step is to remove the old finish. This can be done with sandpaper or a chemical stripper, depending on the type of finish on your table. If using a chemical stripper, make sure to follow the instructions carefully and work in a well-ventilated area. Next, sand the table to smooth out the surface and prepare it for staining or painting. This Old House recommends starting with a coarse-grit sandpaper and gradually working your way to a finer grit for a smooth finish. Make sure to wipe away any dust before moving on to the next step. After sanding, you can choose to stain or paint the wood. This Old House recommends using a wood conditioner before staining to ensure an even finish. If painting, make sure to use a primer first to help the paint adhere to the wood. Once the stain or paint is dry, it's time to seal the table. This Old House suggests using a polyurethane finish for a durable and easy-to-clean surface. Apply multiple thin coats, sanding lightly in between each coat for a smooth finish. With this comprehensive guide from This Old House, you can confidently refinish your table and achieve professional-looking results.7. How to Refinish a Table - This Old House


Hunker


YouTube offers a plethora of video tutorials for refinishing a table. With a quick search, you can find various techniques and styles to inspire your own refinishing project. One popular technique is using chalk paint. This allows you to easily paint your table without the need for sanding or priming. You can also choose to distress the paint for a vintage and rustic look. Another option is creating a faux wood finish. This involves using different shades of stain and paint to achieve a realistic wood grain effect. This technique is perfect for tables with damaged or uneven surfaces. With the abundance of video tutorials available on YouTube, you can easily find a style and technique that suits your taste and skill level.8. How to Refinish a Table - YouTube


5. How to Refinish a Table: Easy Step-by-Step Tutorial

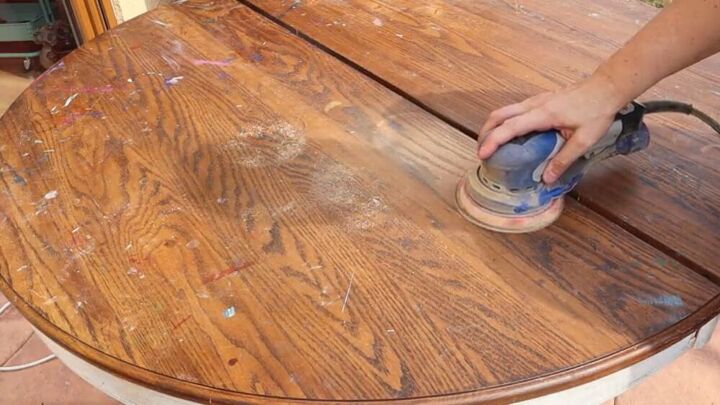


The Family Handyman offers a helpful and informative guide for refinishing a table. Their step-by-step instructions and detailed photos make it easy to follow along and achieve professional-looking results. The first step is to remove the old finish. This can be done with sandpaper or a chemical stripper, depending on the type of finish on your table. If using a chemical stripper, make sure to follow the instructions carefully and work in a well-ventilated area. Next, sand the table to smooth out the surface and prepare it for staining or painting. The Family Handyman suggests using a sanding block or an electric sander for larger tables. Make sure to wipe away any dust before moving on to the next step. After sanding, you can choose to stain or paint the wood. The Family Handyman recommends using a wood conditioner before staining to ensure an even finish. If painting, make sure to use a primer first to help the paint adhere to the wood. Finally, seal the table with a clear coat of polyurethane. This will protect the wood and give it a beautiful shine. The Family Handyman recommends applying multiple coats for a durable finish. With this detailed guide from The Family Handyman, you can easily refinish your table and achieve professional-looking results.9. How to Refinish a Table - The Family Handyman


The Spruce
/GettyImages-564734565-58dbe7bb5f9b584683f795b1.jpg)

:max_bytes(150000):strip_icc()/white-spruce-branch-837600712-5313112828fd4f4aa49d5d8f2e05568c.jpg)

:max_bytes(150000):strip_icc()/white-spruce-branch-1251151185-332cc9b191054193ba88789dd48ba70e.jpg)


Lowe's offers a helpful tutorial for refinishing a table. Their step-by-step instructions and informative tips will guide you through the process of transforming your old table into a beautiful and functional piece of furniture.10. How to Refinish a Table - Lowe's


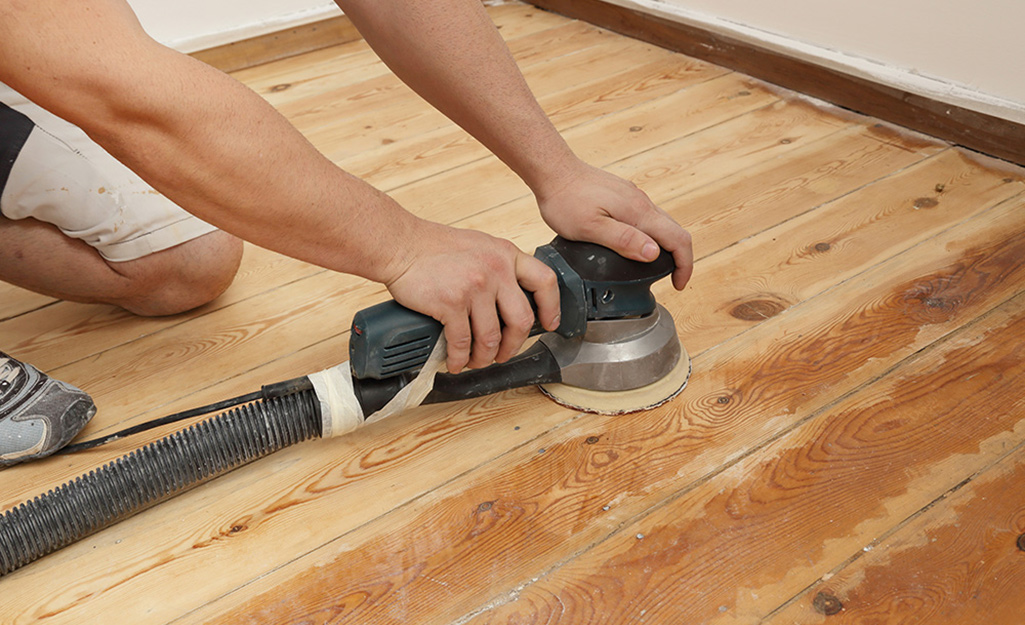
6. How to Refinish a Table - The Home Depot


Why Refinishing Your Wooden Kitchen Table Can Transform Your Home

Revitalize Your Space
 Refinishing your wooden kitchen table can be a game-changer when it comes to transforming your home. The kitchen is often the heart of the house, and the dining table is where many memories are made. Over time, the wear and tear of daily use can take a toll on your table, leaving it looking dull and worn. However, with a little bit of effort, you can bring back its beauty and revitalize your space.
Cost-Effective Solution
 Refinishing your wooden kitchen table is a cost-effective solution compared to buying a new one. Many people often think that to update their home, they need to spend a significant amount of money on new furniture. However, with refinishing, you can achieve the same result at a fraction of the cost. By simply sanding down the surface and applying a fresh coat of stain or paint, you can give your table a whole new look without breaking the bank.
Customize to Your Style
 Another great benefit of refinishing your wooden kitchen table is the ability to customize it to your style. Whether you prefer a rustic farmhouse look or a modern sleek design, refinishing allows you to choose the perfect stain or paint color to match your home decor. You can also add unique details like distressing or stenciling to make your table truly one-of-a-kind.
Extend Its Lifespan
 A well-maintained wooden kitchen table can last for decades, making it a great investment for your home. Refinishing your table not only enhances its appearance but also protects the wood from further damage. By sanding down any scratches or imperfections and sealing it with a protective coat, you can extend the lifespan of your table and enjoy it for many more years to come.
Easy and Rewarding DIY Project
 Refinishing your wooden kitchen table is a relatively simple and rewarding DIY project. With the right tools and materials, you can easily complete the task in a weekend. Not only will you save money by doing it yourself, but you will also have the satisfaction of seeing the transformation of your table firsthand. Plus, you can involve the whole family in the process and make it a fun weekend project.
In conclusion, refinishing your wooden kitchen table is a fantastic way to upgrade your home without breaking the bank. With its cost-effectiveness, ability to customize, and long-lasting results, it is a worthwhile investment for any homeowner. So why not give your kitchen table a new lease on life and see the amazing transformation it can bring to your home.
Refinishing your wooden kitchen table is a relatively simple and rewarding DIY project. With the right tools and materials, you can easily complete the task in a weekend. Not only will you save money by doing it yourself, but you will also have the satisfaction of seeing the transformation of your table firsthand. Plus, you can involve the whole family in the process and make it a fun weekend project.
In conclusion, refinishing your wooden kitchen table is a fantastic way to upgrade your home without breaking the bank. With its cost-effectiveness, ability to customize, and long-lasting results, it is a worthwhile investment for any homeowner. So why not give your kitchen table a new lease on life and see the amazing transformation it can bring to your home.