How to Recaulk an Undermount Kitchen Sink
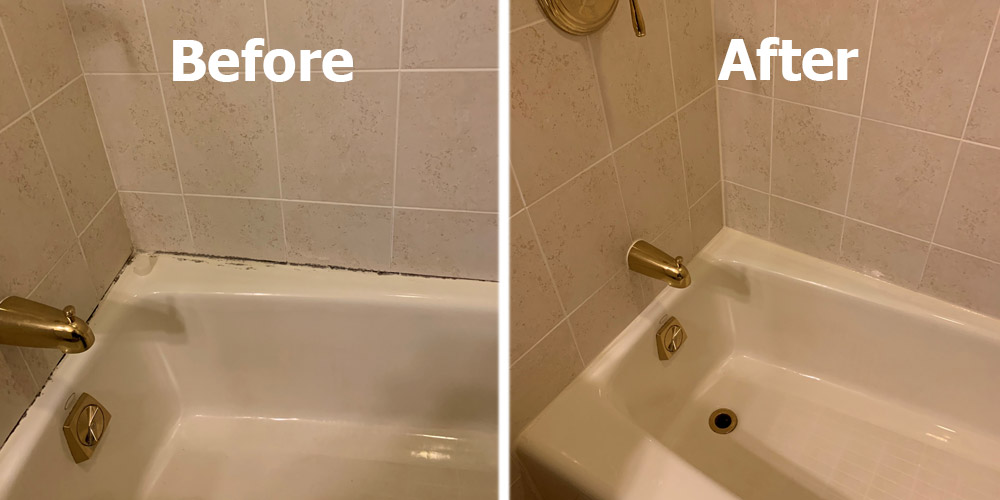
Recaulking your undermount kitchen sink might seem like a daunting task, but it is an essential part of maintaining a clean and functional kitchen. Over time, the caulk around your sink can become worn out, discolored, and even moldy. This not only affects the appearance of your kitchen but also poses a potential health hazard. In this guide, we will take you through the steps of recaulking your undermount kitchen sink to keep it looking fresh and hygienic.
Best Caulk for Undermount Kitchen Sink
When it comes to recaulking your undermount kitchen sink, it is crucial to choose the right caulk for the job. The best caulk for undermount sinks is silicone caulk, as it is waterproof, flexible, and durable. Look for a caulk specifically designed for use in kitchen and bathroom areas, as they are more resistant to moisture and mold. Some popular brands to consider are GE Silicone II and DAP Kwik Seal Ultra.
Step-by-Step Guide for Recaulking an Undermount Sink
Now that you have the right caulk, it's time to get down to business. Here is a step-by-step guide for recaulking your undermount kitchen sink:
Step 1: Gather Your Materials
Before you begin, make sure you have all the necessary tools and materials on hand. This includes a caulk gun, silicone caulk, a putty knife or scraper, a damp cloth, and painter's tape.
Step 2: Prep the Area
First, clean the area around your sink thoroughly. Use a mild cleaner and a scrub brush to remove any dirt, grime, or old caulk. Then, dry the area with a clean towel.
Step 3: Apply the Caulk
Load the silicone caulk into your caulk gun and cut the tip of the nozzle at a 45-degree angle. Apply a thin, even bead of caulk along the edge of your sink, using gentle pressure on the trigger of the caulk gun. Smooth out the caulk with your finger or a putty knife.
Step 4: Remove Excess Caulk
Using a damp cloth or your finger, remove any excess caulk from the sink and surrounding area. This will create a clean and neat finish.
Step 5: Let it Dry
Allow the caulk to dry according to the manufacturer's instructions. Typically, it takes 24 hours to fully cure.
Step 6: Remove the Tape
If you used painter's tape to create a straight line, gently remove it while the caulk is still wet.
Step 7: Enjoy Your Freshly Caulked Sink
Once the caulk is completely dry, you can use your sink as usual. Admire the clean and polished look of your newly recaulked undermount kitchen sink.
Tips for a Successful Undermount Sink Recaulking
Here are some additional tips to keep in mind for a successful undermount sink recaulking:
Tip 1: Don't rush the process. Take your time to ensure a neat and even application.
Tip 2: Use painter's tape to create a straight line for a professional-looking finish.
Tip 3: Avoid using your sink for at least 24 hours to allow the caulk to fully cure.
Tip 4: Regularly clean and dry your sink to prevent mold and mildew from forming on the caulk.
Common Mistakes to Avoid When Recaulking an Undermount Sink
Even with the best intentions, mistakes can happen during the recaulking process. Here are some common mistakes to avoid:
Mistake 1: Using the wrong type of caulk. As mentioned earlier, silicone caulk is the best choice for undermount sinks.
Mistake 2: Not properly cleaning and drying the area before applying the caulk.
Mistake 3: Not smoothing out the caulk after application, resulting in a messy and uneven finish.
Mistake 4: Using old caulk. Always use a fresh tube of caulk for best results.
Tools and Materials Needed for Recaulking an Undermount Sink
To recap, here is a list of the tools and materials you will need for recaulking your undermount kitchen sink:
1. Caulk gun
2. Silicone caulk
3. Putty knife or scraper
4. Damp cloth
5. Painter's tape
6. Mild cleaner
7. Scrub brush
8. Clean towel
How Often Should You Recaulk an Undermount Sink?
It is recommended to recaulk your undermount sink every 1-2 years, depending on how often you use your sink and the quality of the caulk used. If you notice any signs of wear or mold, it's best to tackle the recaulking process sooner rather than later.
DIY vs Hiring a Professional for Undermount Sink Recaulking
If you are confident in your DIY skills, recaulking your undermount sink can be an easy and cost-effective task. However, if you are not comfortable with home improvement projects or have a large and complex kitchen sink, it might be best to hire a professional. They have the tools, experience, and expertise to ensure a flawless and long-lasting recaulking job.
How to Remove Old Caulk from an Undermount Sink
If you are recaulking your undermount sink for the first time, you will need to remove the old caulk before applying the new one. Here's how:
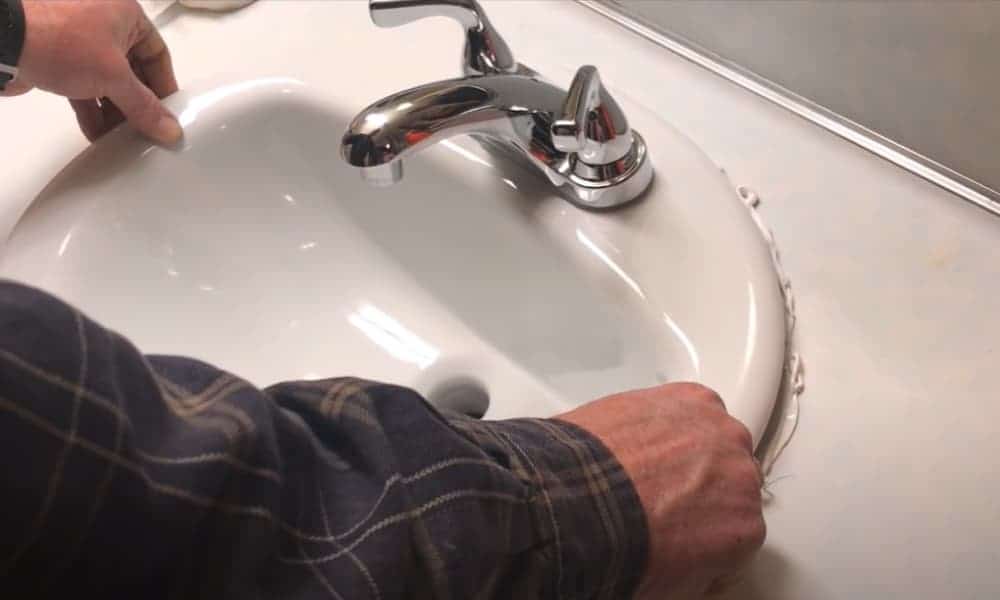
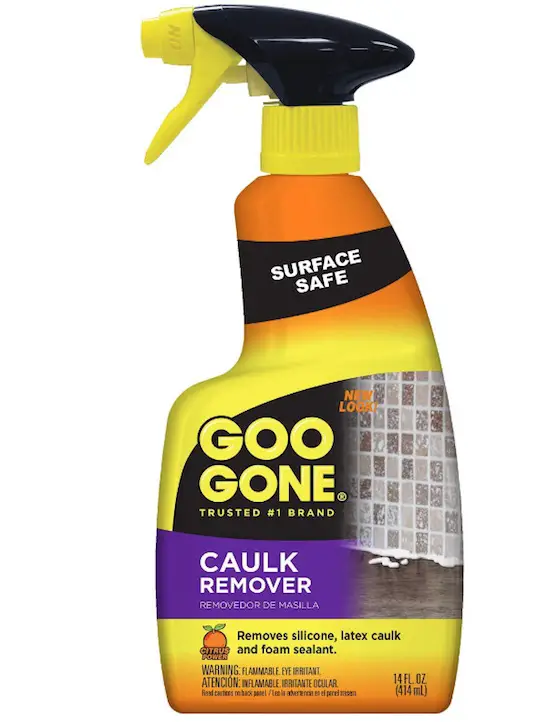
Step 1: Soften the old caulk by applying a caulk remover or a mixture of equal parts white vinegar and warm water.
Step 2: Use a scraper or putty knife to gently remove the old caulk. Be careful not to scratch or damage your sink.
Step 3: Clean the area with a mild cleaner and dry thoroughly before applying new caulk.
Benefits of Regularly Recaulking an Undermount Sink
Recaulking your undermount sink not only improves the appearance of your kitchen but also has several other benefits:
1. Prevents water damage: Properly sealed caulk prevents water from seeping into your countertop and causing damage.
2. Keeps your sink hygienic: Old and moldy caulk can harbor bacteria and mold, which can be harmful to your health.
3. Extends the life of your sink: Regular maintenance, such as recaulking, can prolong the lifespan of your undermount sink.
4. Adds value to your home: A well-maintained kitchen, including a freshly recaulked sink, can increase the value of your home.
In conclusion, recaulking your undermount kitchen sink is an essential and relatively simple task that can have a significant impact on the appearance, cleanliness, and longevity of your kitchen. With the right tools and materials, you can easily tackle this project yourself and enjoy a clean and functional sink for years to come.
The Importance of Recaulking Your Kitchen Sink Undermount
Why is it Necessary to Recaulk Your Kitchen Sink Undermount?
 Maintaining a well-functioning and aesthetically pleasing kitchen is an important aspect of house design. One essential element of a functional kitchen is the sink, and for undermount sinks, proper caulking is crucial to its longevity and appearance.
Recaulking your kitchen sink undermount is necessary to prevent water damage, mold and mildew growth, and to keep your sink securely in place.
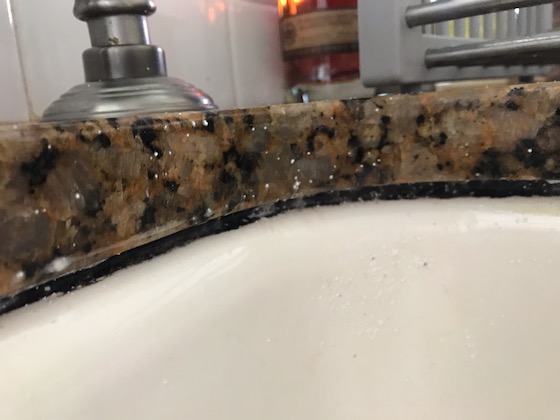
Over time, the caulking around your kitchen sink undermount can deteriorate due to constant exposure to water and moisture. As the caulking breaks down, it can create gaps between the sink and the counter, allowing water to seep in and cause damage. This can lead to costly repairs and compromise the structure of your kitchen.
How to Recaulk Your Kitchen Sink Undermount
 Recaulking your kitchen sink undermount is a simple and cost-effective way to maintain the overall appearance and functionality of your kitchen.
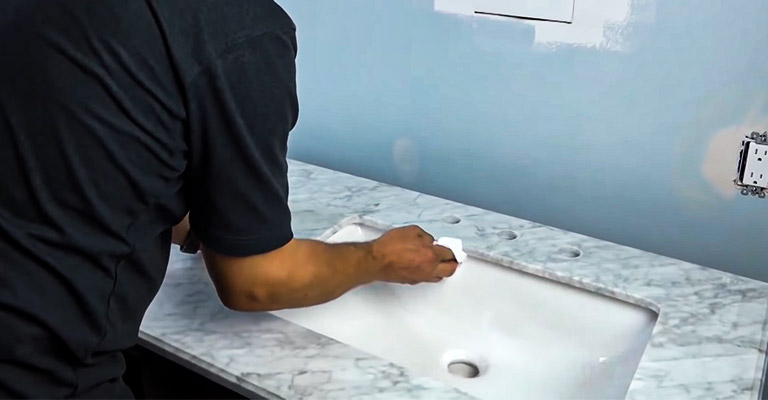
It is recommended to recaulk your sink every 1-2 years or as needed. Here are the steps to properly recaulk your kitchen sink undermount:


.jpg)



















:max_bytes(150000):strip_icc()/how-to-remove-old-caulk-1824827-01-3d0370c59e124dbbaa6560c68bab111c.jpg)


:max_bytes(150000):strip_icc()/how-to-remove-old-caulk-1824827-04-c71b38e1f79142e3b7b6656a81cdcdbb.jpg)
:max_bytes(150000):strip_icc()/caulk-removal-tool-56ec7f1b3df78ce5f83535fe.jpg)


