Putting a bathroom sink back together may seem like a daunting task, but with the right tools and some patience, it can be a relatively simple process. Whether you're reattaching a sink that has become detached from the wall or reassembling a sink after a renovation, this step-by-step guide will walk you through the process. How to Put a Bathroom Sink Back Together


How to Put a Bathroom Sink Back Together
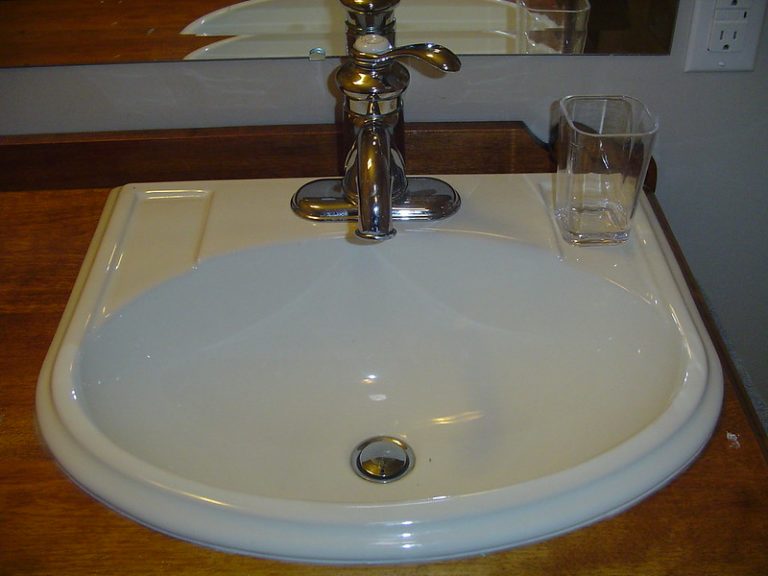
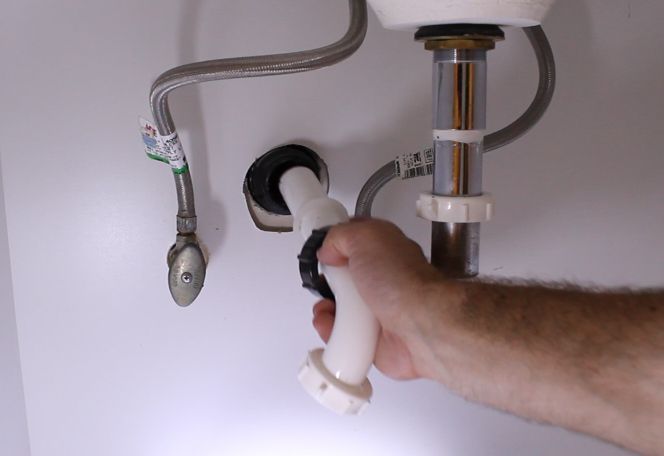


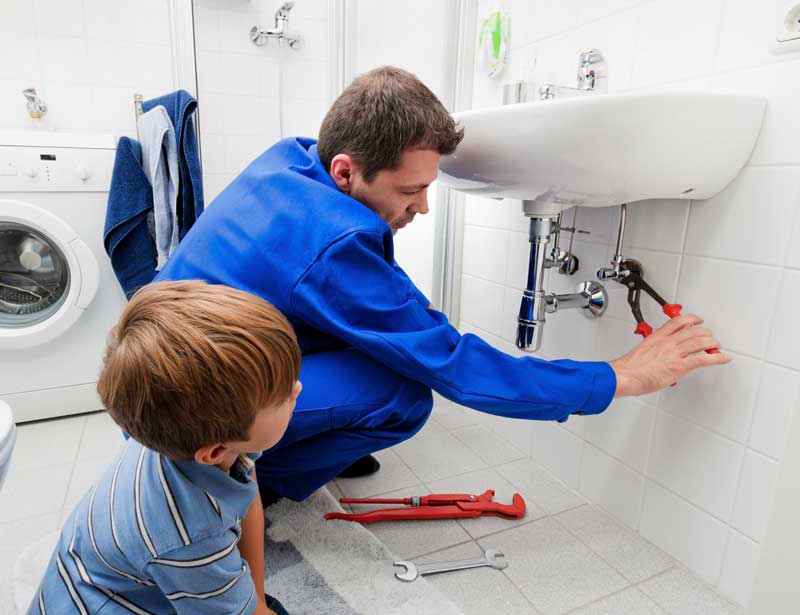
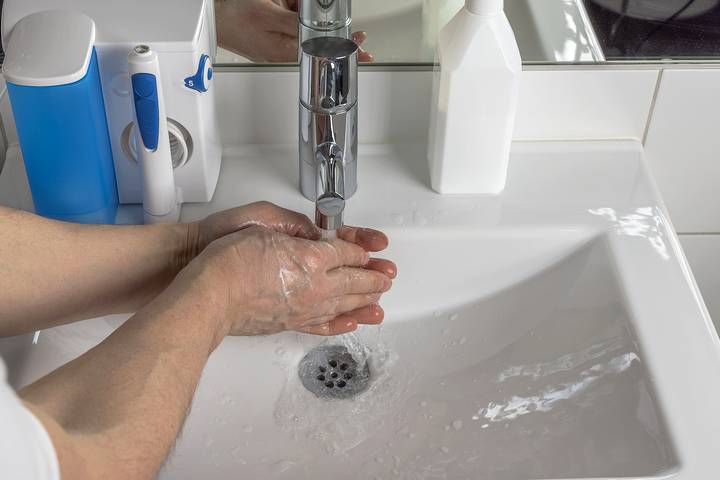
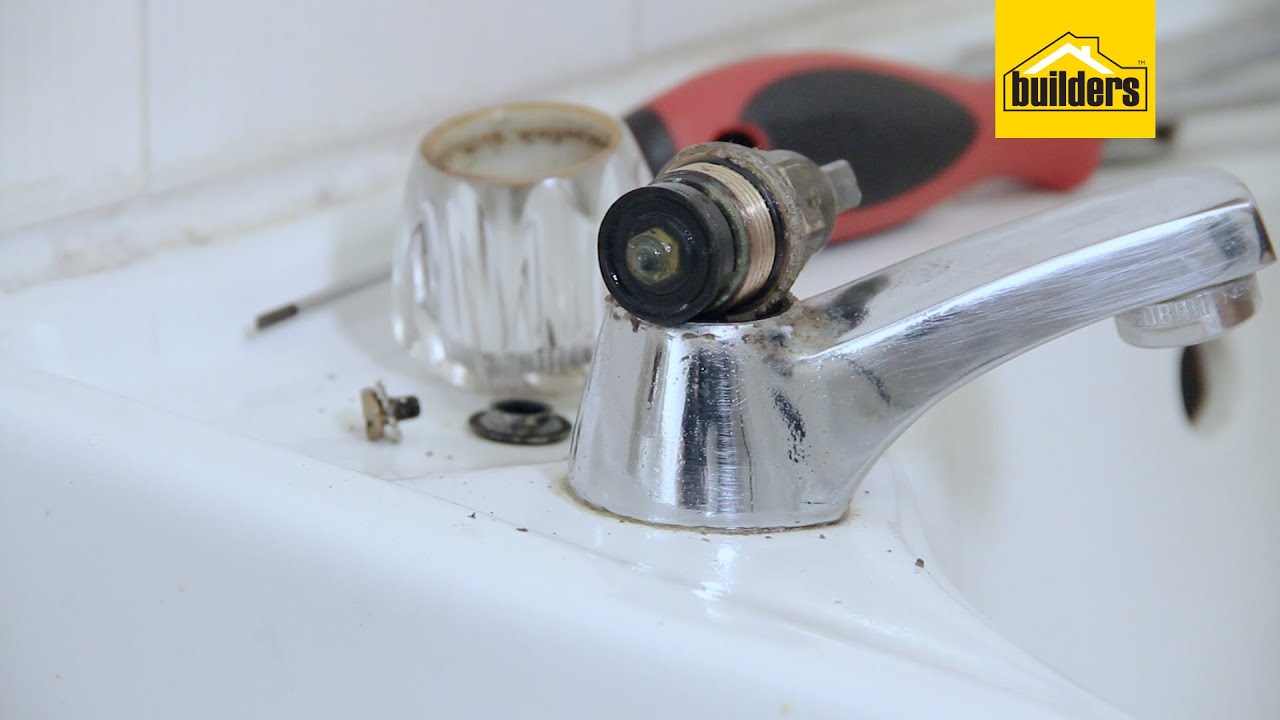
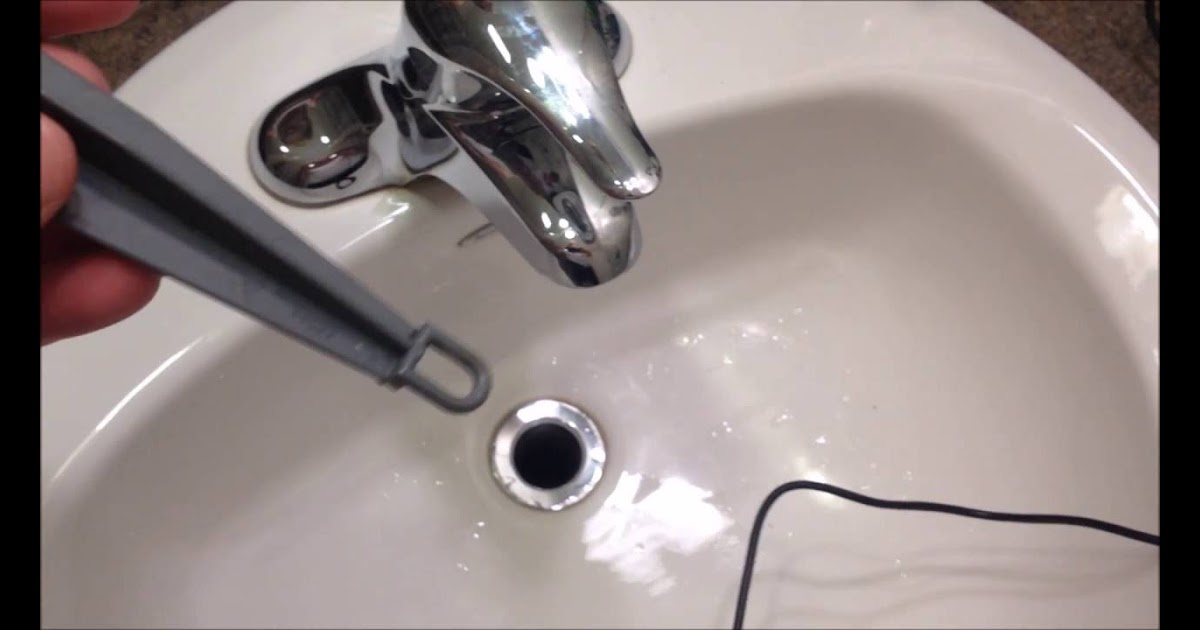
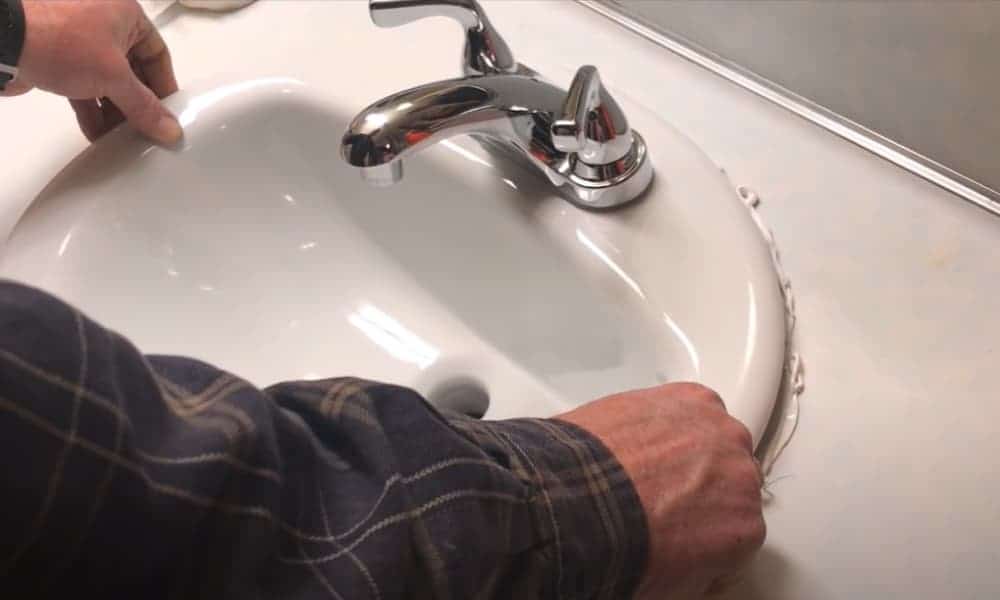
The first step in putting a bathroom sink back together is to gather all the necessary tools. You will need a wrench, screwdriver, pliers, putty knife, and plumber's tape. Once you have everything you need, follow these steps: 1. Clean the Sink and Drain: Before reassembling, make sure to clean any debris or old putty from the sink and drain. Use a putty knife to scrape off any old putty and a mild cleaner to remove any buildup. 2. Reattach the Drain: Apply plumber's tape to the threads of the drain and screw it back into place. Use pliers to tighten it securely. 3. Secure the Faucet: Place the faucet back onto the sink and use a wrench to tighten the mounting nuts underneath the sink. 4. Install the Pop-Up Drain Stopper: If your sink has a pop-up drain stopper, insert it into the drain and secure it with the provided screws. 5. Attach the Water Supply Lines: Connect the hot and cold water supply lines to the corresponding faucet handles. Use a wrench to tighten them securely. 6. Reattach the Sink to the Wall: If your sink was detached from the wall, use a drill to reattach it using screws and anchors. 7. Turn on the Water: Once everything is securely in place, turn the water back on and check for any leaks. If you notice any, use plumber's tape to seal any loose connections. Step-by-Step Guide for Reassembling a Bathroom Sink


Step-by-Step Guide for Reassembling a Bathroom Sink


While reassembling a bathroom sink may seem like a straightforward process, there are some tips to keep in mind to make the task even easier: 1. Take Photos Before Disassembling: Before taking apart your sink, take photos of the setup to use as a reference when putting it back together. 2. Use Plumber's Tape: Plumber's tape is an essential tool for preventing leaks. Make sure to apply it to all threaded connections. 3. Don't Over-Tighten: It may be tempting to tighten everything as much as possible, but over-tightening can damage the sink or cause leaks. 4. Use a Putty Knife: A putty knife is helpful for removing old putty and cleaning the sink before reassembling. Tips for Putting Your Bathroom Sink Back Together


Tips for Putting Your Bathroom Sink Back Together


When putting a bathroom sink back together, there are a few things to keep in mind to ensure a successful reassembly: 1. Take Your Time: Rushing through the reassembly process can lead to mistakes, so take your time and follow each step carefully. 2. Use the Right Tools: Having the necessary tools on hand will make the process much easier and prevent any damage to the sink or fixtures. 3. Check for Leaks: After turning the water back on, check for any leaks and make sure to fix them before using the sink. Reassembling a Bathroom Sink: What You Need to Know


Reassembling a Bathroom Sink: What You Need to Know


Putting a bathroom sink back together is a task that can easily be done by any DIY enthusiast. By following the steps outlined above and using the right tools, you can save money on hiring a professional and have the satisfaction of completing the task yourself. DIY: Putting Your Bathroom Sink Back Together


DIY: Putting Your Bathroom Sink Back Together


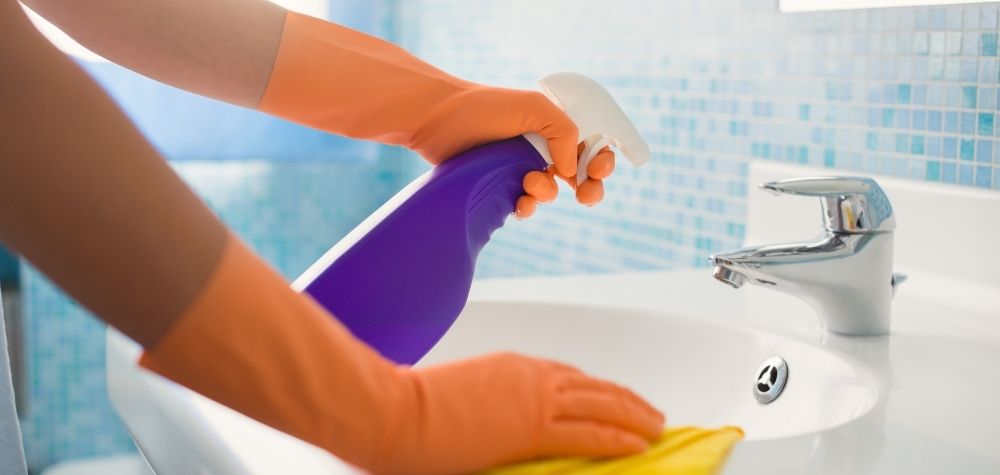
While reassembling a bathroom sink may seem straightforward, there are some common mistakes that people make that can lead to issues. Some of these include: 1. Forgetting to Apply Plumber's Tape: Plumber's tape is essential for preventing leaks, so make sure to use it on all threaded connections. 2. Over-Tightening: As mentioned before, over-tightening can cause damage or leaks, so make sure to only tighten connections enough to prevent movement. 3. Not Cleaning the Sink Thoroughly: Before reassembling, make sure to clean the sink and drain thoroughly to prevent any debris from causing issues. Common Mistakes When Putting a Bathroom Sink Back Together


Common Mistakes When Putting a Bathroom Sink Back Together


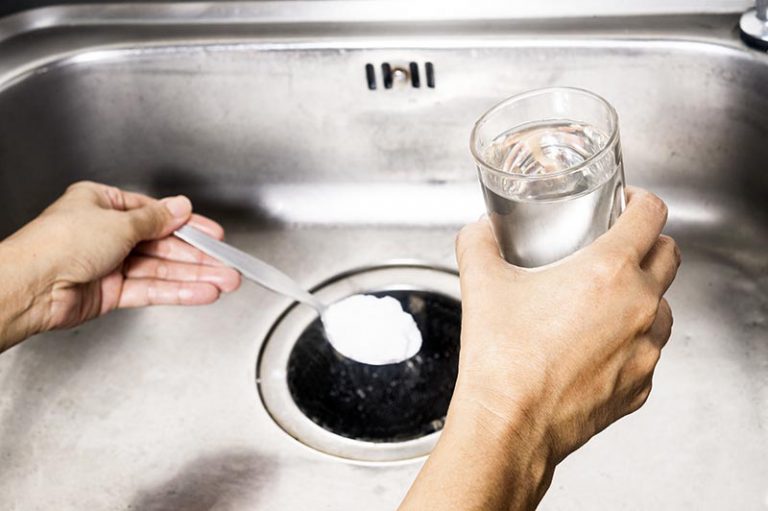
If you encounter any issues while putting your bathroom sink back together, here are some common troubleshooting tips: 1. Leaks: If you notice any leaks, check to make sure all connections are tight and use plumber's tape to seal any loose connections. 2. Sink is Not Level: If your sink is not level, check to make sure it is properly attached to the wall. If not, you may need to adjust the screws and anchors. 3. Drain is Clogged: If your drain is clogged, use a plunger or drain snake to remove any blockages. If the issue persists, you may need to disassemble the drain and clean it thoroughly. Troubleshooting: Issues with Reassembling a Bathroom Sink


Troubleshooting: Issues with Reassembling a Bathroom Sink

:max_bytes(150000):strip_icc()/what-is-under-the-bathroom-sink-3973574-03-c2c800c743054899aca9bdcc0535db34.jpg)


Before reassembling your bathroom sink, make sure you have the following tools on hand: 1. Wrench 2. Screwdriver 3. Pliers 4. Putty Knife 5. Plumber's Tape Tools You'll Need for Putting a Bathroom Sink Back Together


Tools You'll Need for Putting a Bathroom Sink Back Together


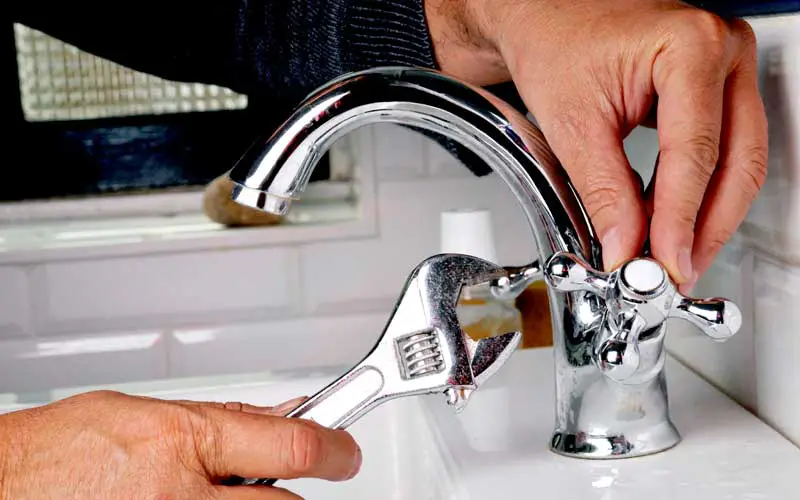
If you notice any leaks while putting your bathroom sink back together, here's how to fix them: 1. Tighten Connections: Use a wrench or pliers to tighten any loose connections. 2. Apply Plumber's Tape: If tightening the connections doesn't work, apply plumber's tape to the threads and try again. 3. Replace Seals: If the leak persists, you may need to replace the seals on the faucet or drain. How to Fix a Leaky Bathroom Sink During Reassembly


How to Fix a Leaky Bathroom Sink During Reassembly
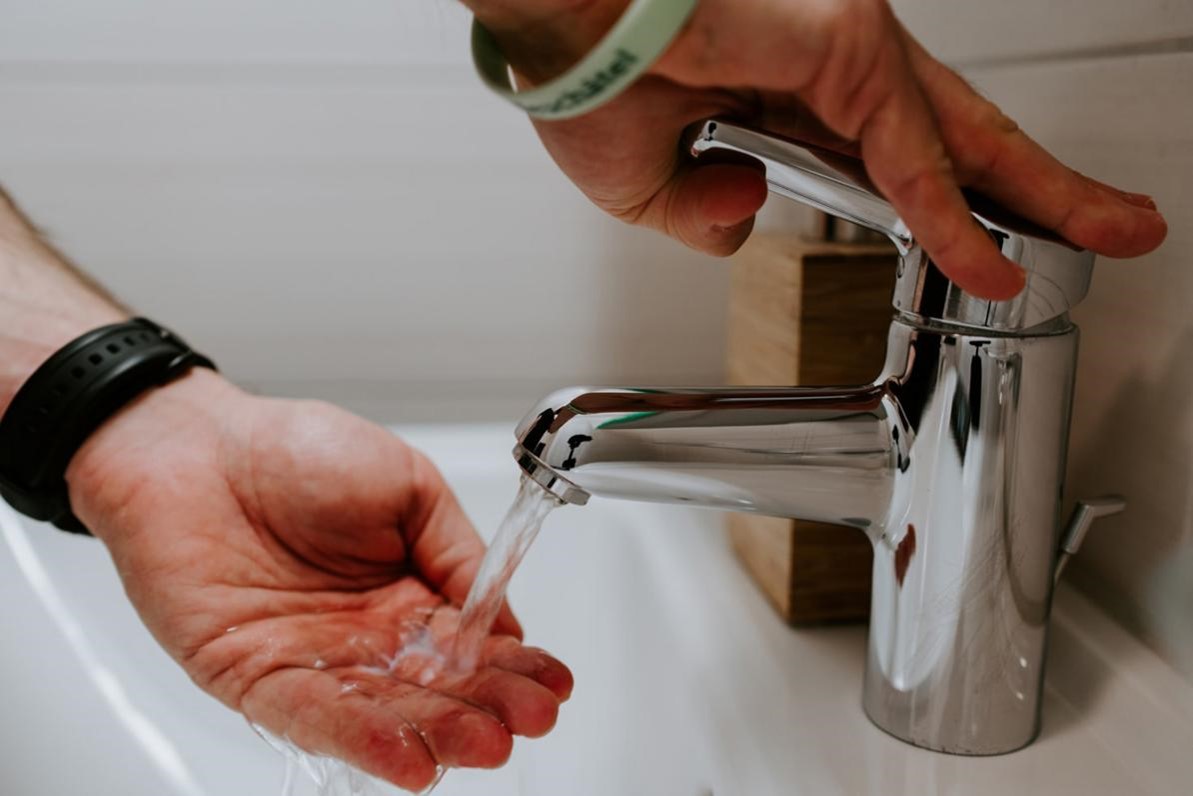


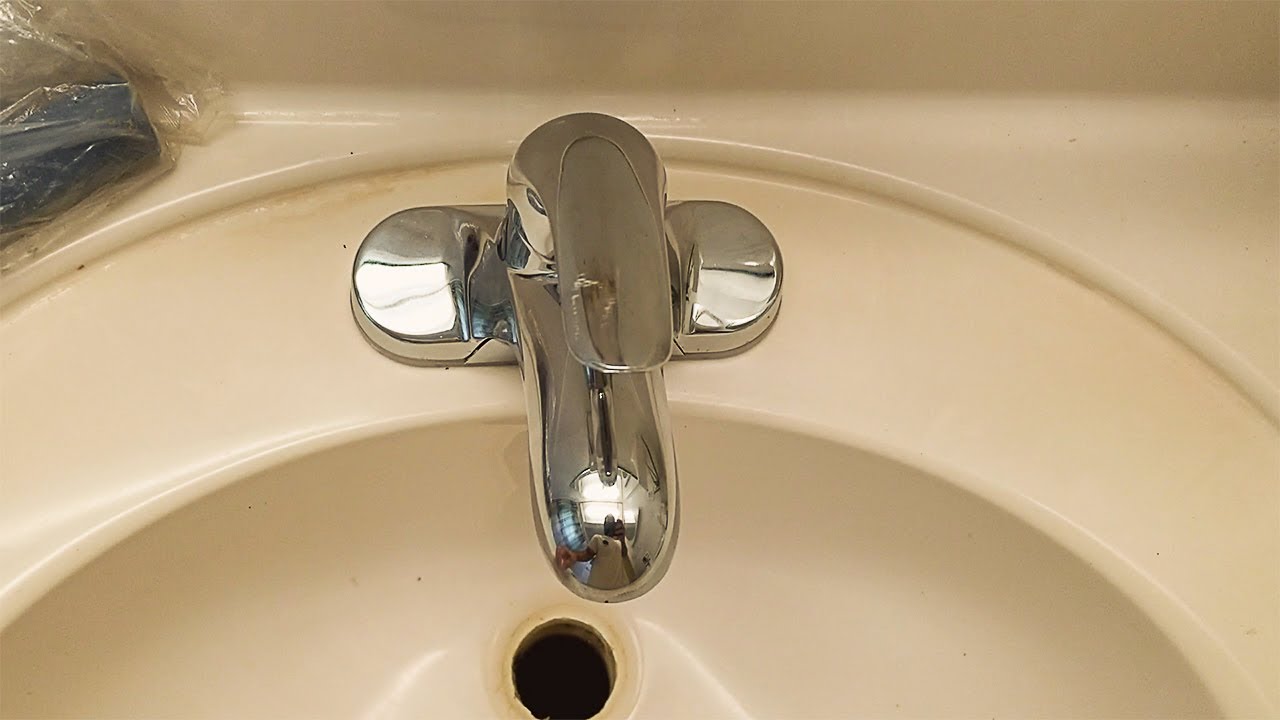
After following all the steps and troubleshooting any issues, here are the final things to do to complete reassembling your bathroom sink: 1. Clean Up: Once everything is in place, clean up any debris and put away your tools. 2. Turn on the Water: Turn the water back on and check for any leaks. 3. Enjoy Your Reassembled Sink: Congratulations, your bathroom sink is now back together and ready to use! Final Steps for Putting Your Bathroom Sink Back Together

Final Steps for Putting Your Bathroom Sink Back Together


Why Bathroom Sink Design Matters
The Importance of a Functional and Stylish Bathroom Sink
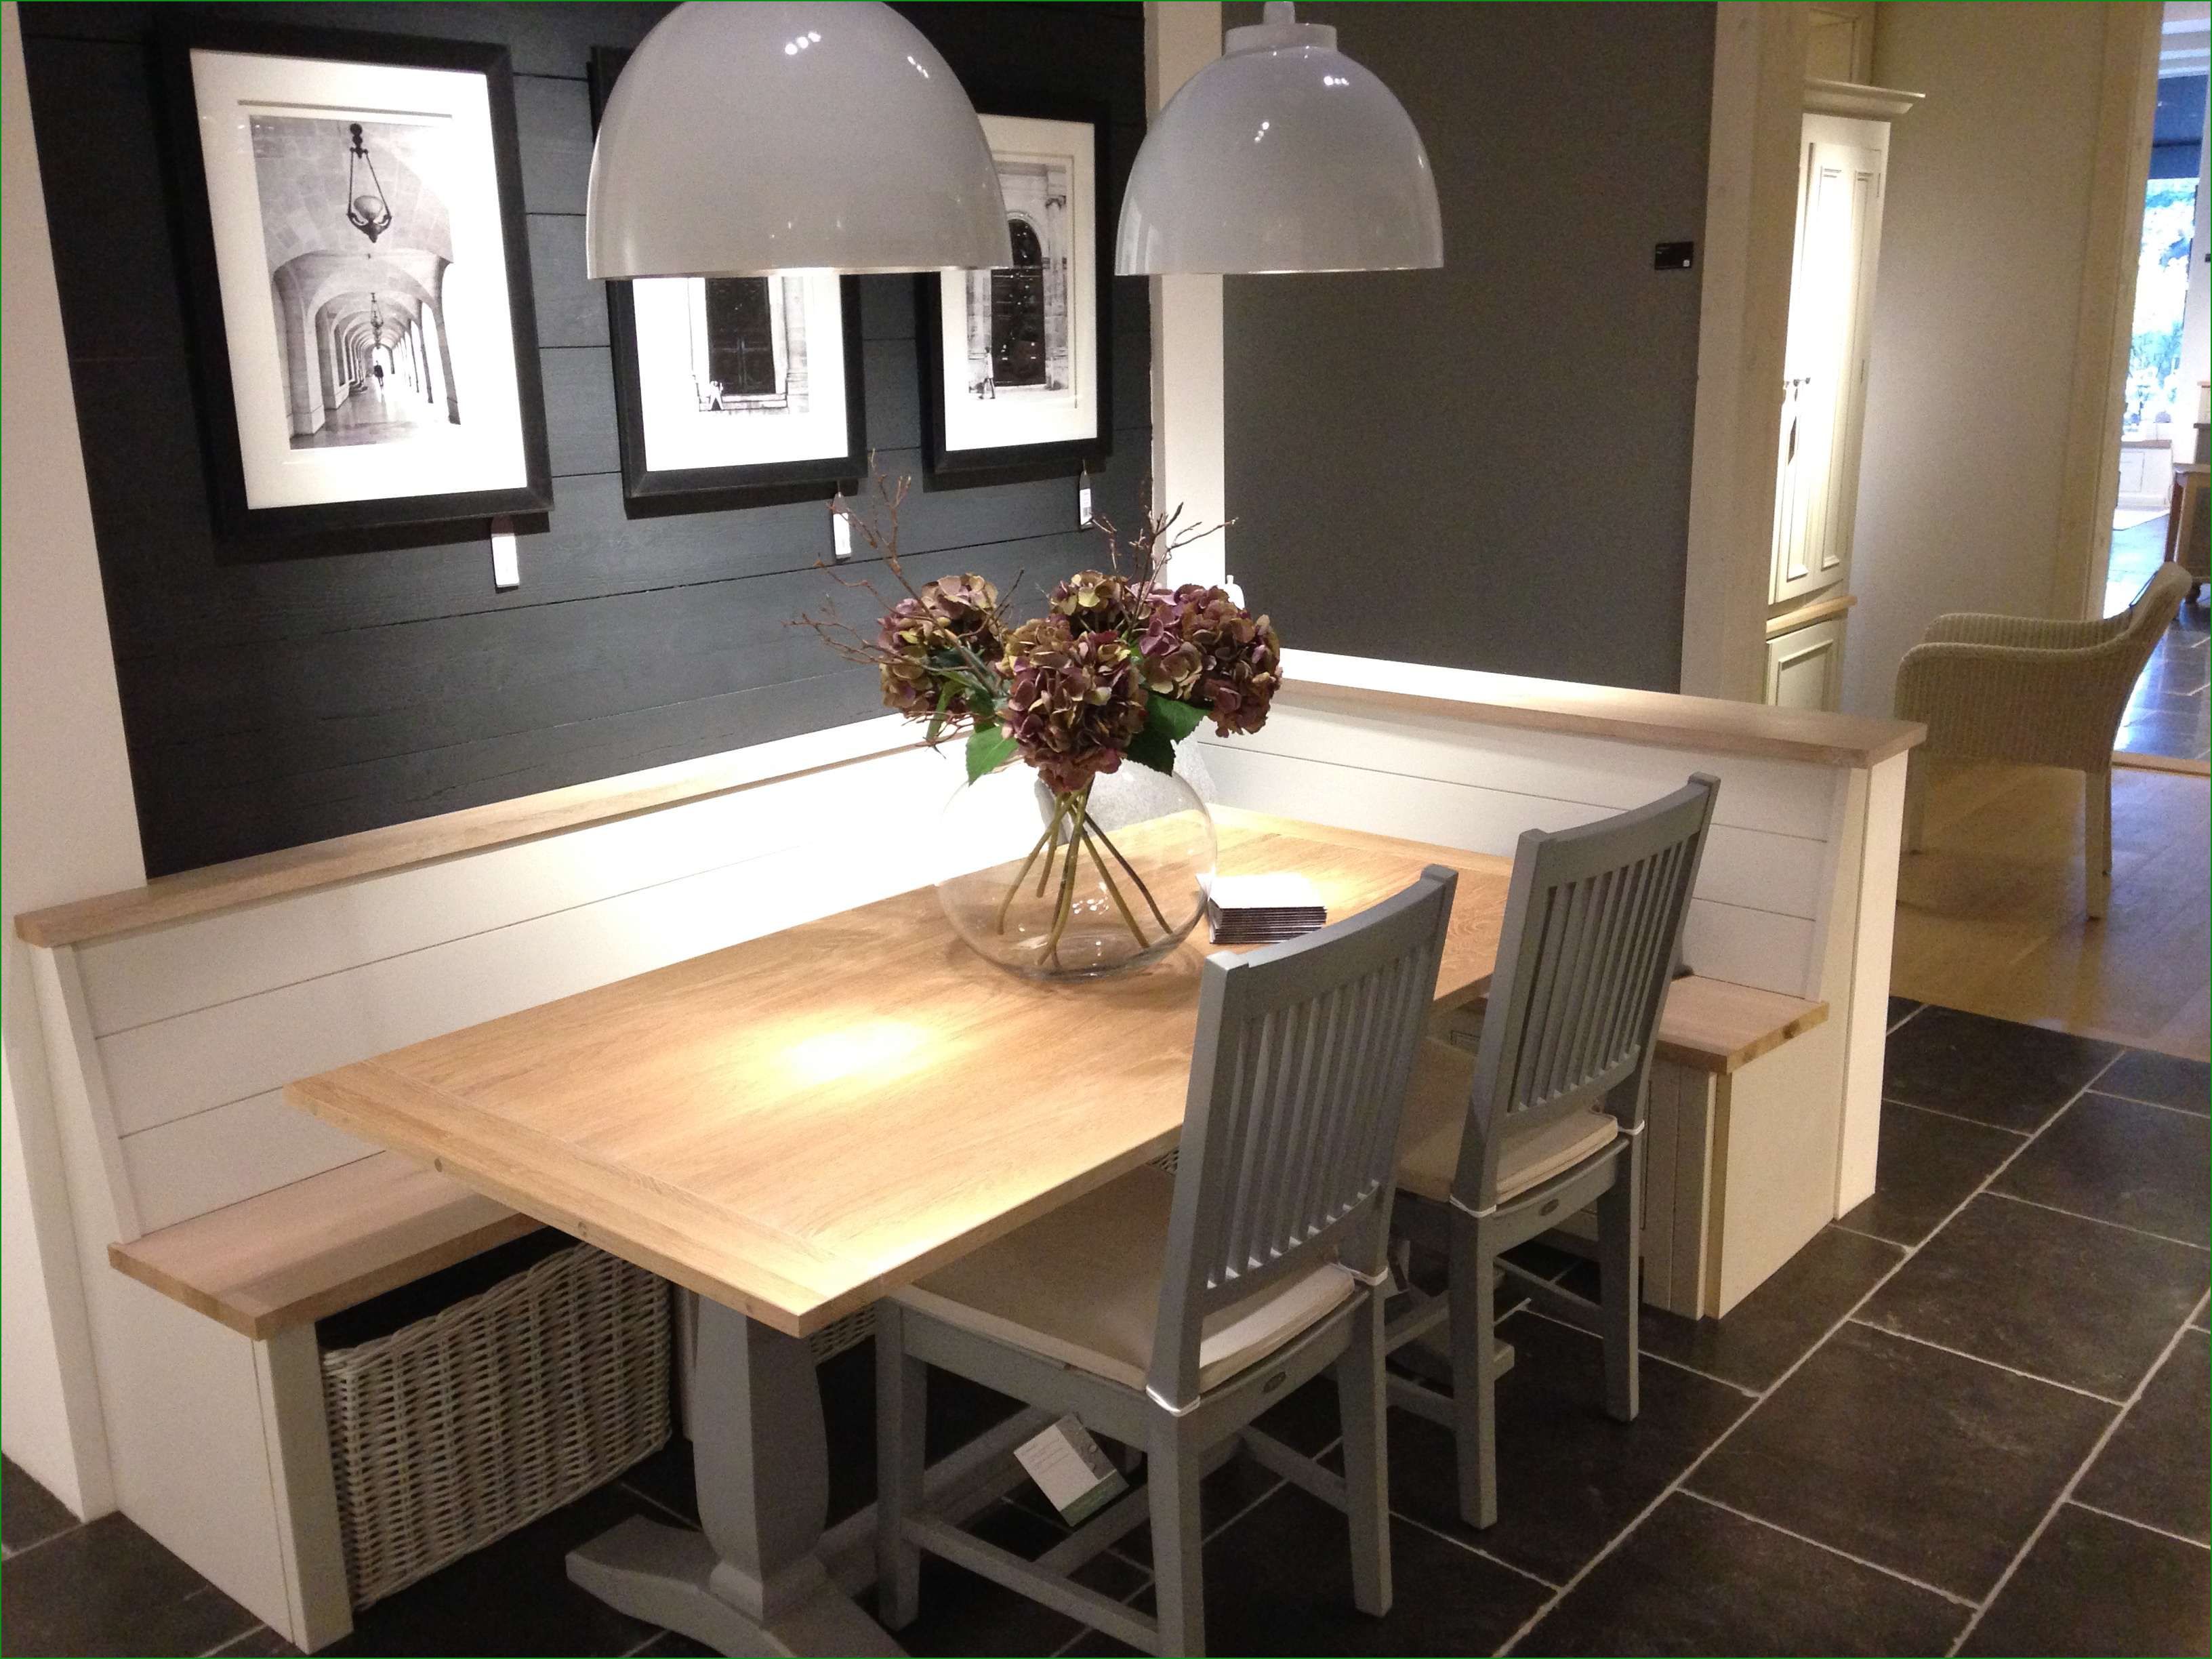
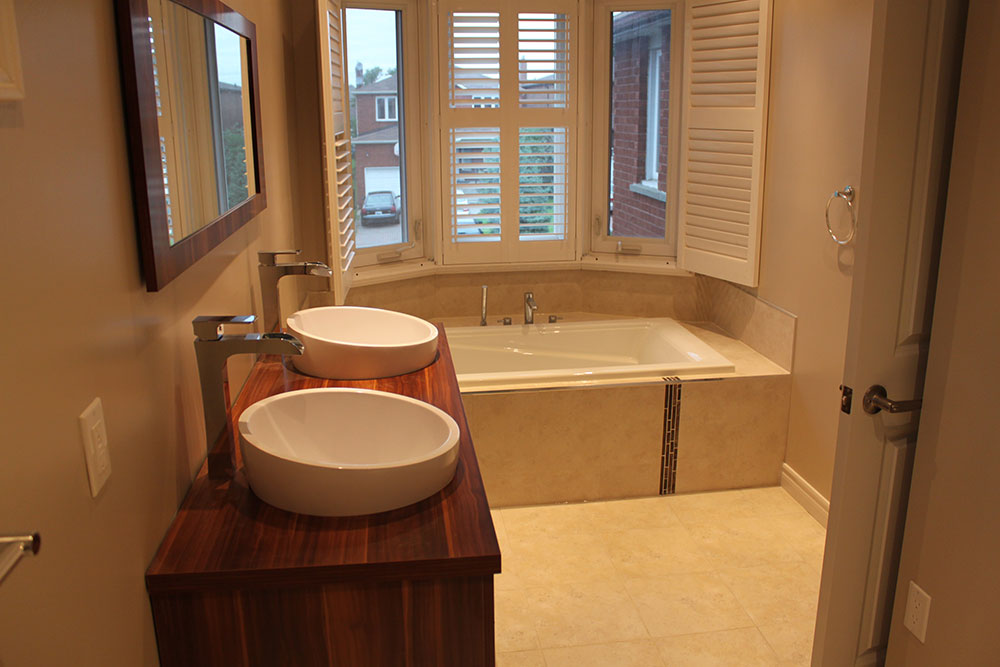
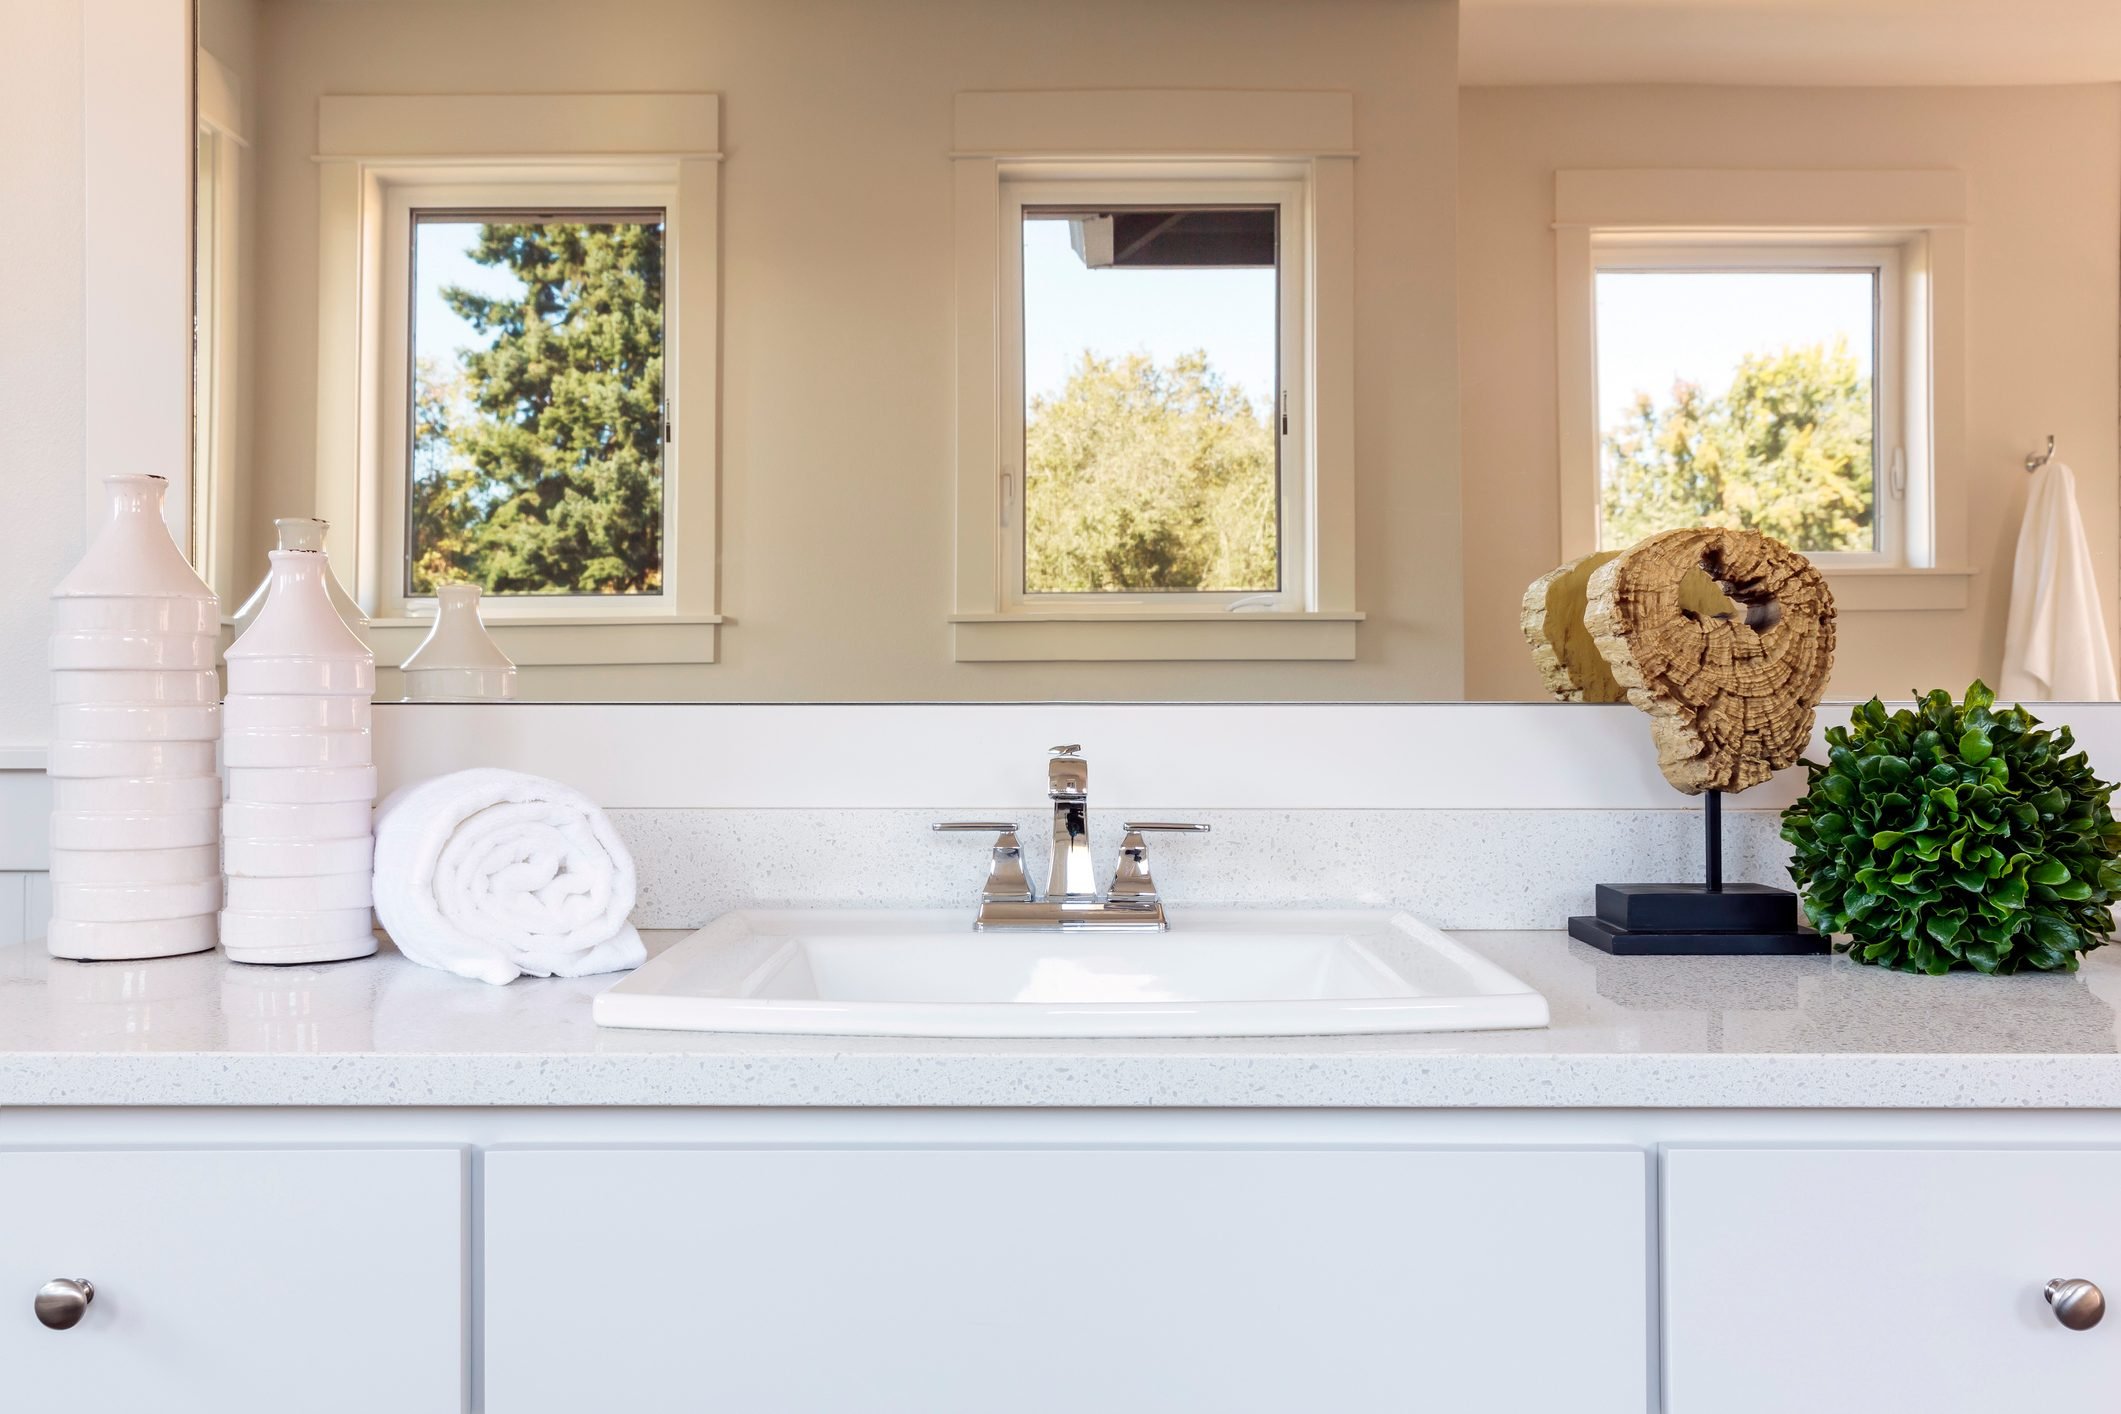
 When it comes to designing a house, many homeowners tend to focus on the bigger aspects such as the layout and furniture. However, one area that should not be overlooked is the bathroom sink. Apart from its practical use, the sink can also be a focal point in the room and add to the overall aesthetic of the space.
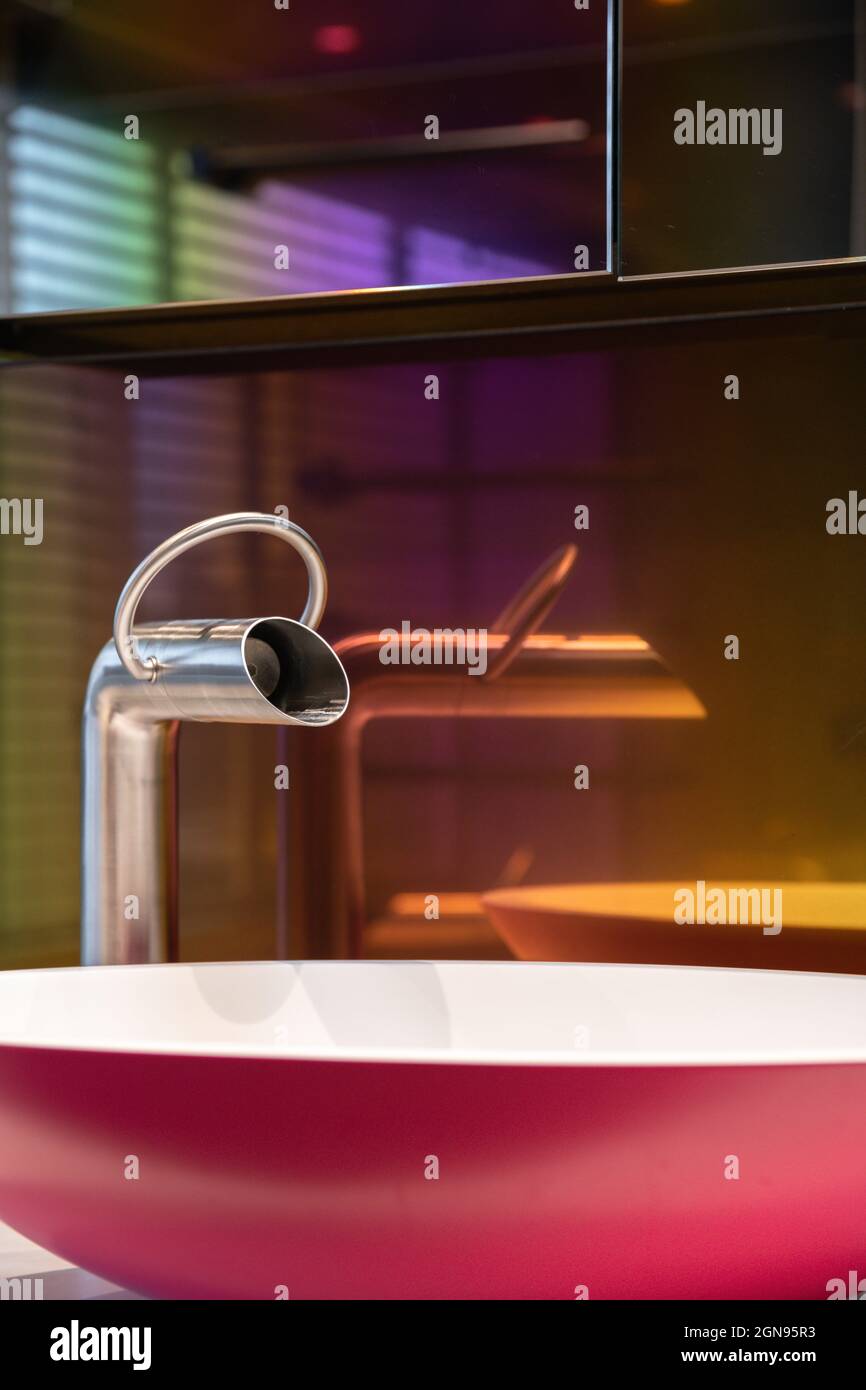
Bathroom sinks come in a variety of styles, shapes, and sizes, making it easy to find one that suits your personal taste and the design of your bathroom.
From sleek and modern to classic and traditional, the options are endless. But why does bathroom sink design matter?
First and foremost, a well-designed sink can greatly enhance the functionality of your bathroom. A sink with the right size and shape can make all the difference in terms of convenience and ease of use. For example, a large double sink can be perfect for a busy family, while a smaller pedestal sink can be a space-saving option for a smaller bathroom.
Moreover,
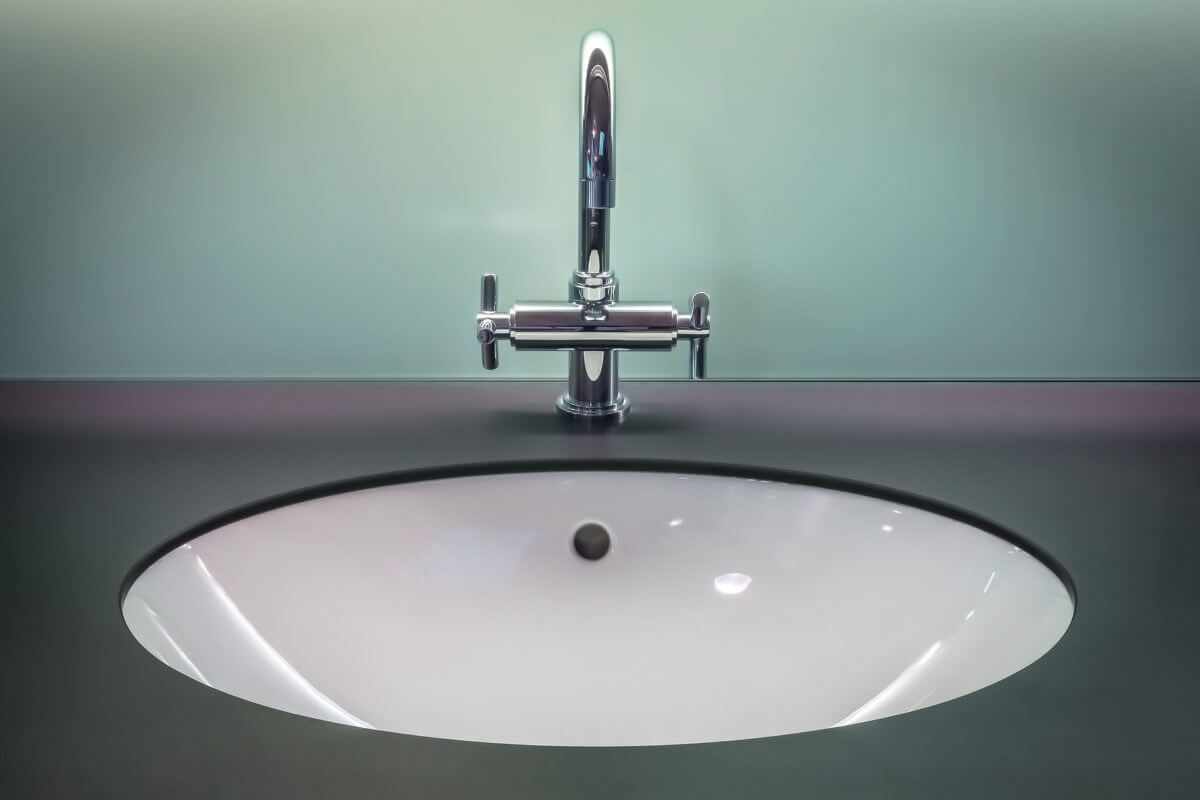
a stylish bathroom sink can elevate the overall look of your bathroom and add a touch of luxury and sophistication.
A beautiful sink can also make a statement and tie the whole design of the room together. It can be the perfect finishing touch to your bathroom design, creating a cohesive and visually appealing space.
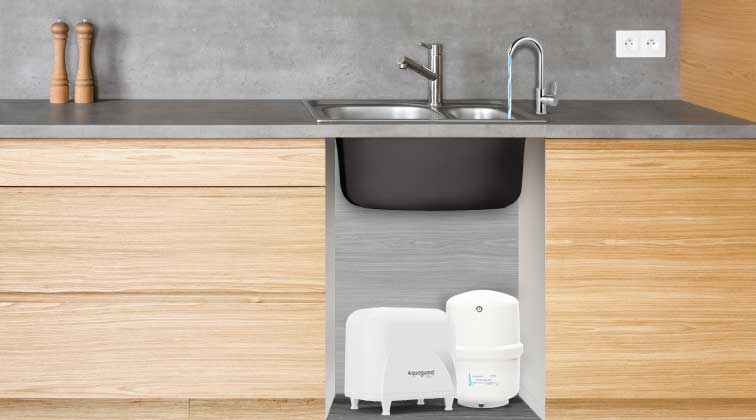
Another important aspect of bathroom sink design is functionality and efficiency.
With the advancement of technology, there are now sinks with features such as touchless faucets, temperature control, and built-in storage options. These not only add convenience to your daily routine but also contribute to a more sustainable and eco-friendly lifestyle.
In addition to functionality and style,
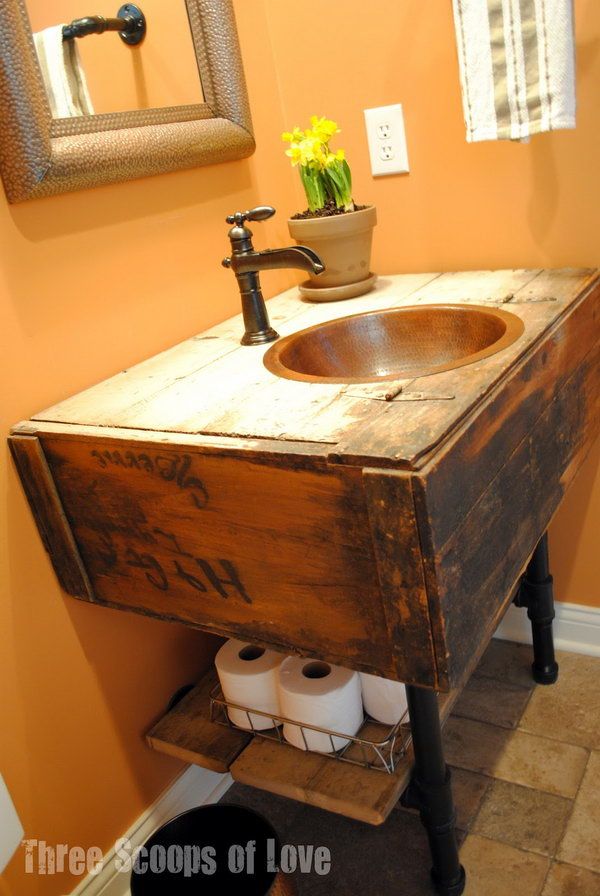
the material of the sink is also a crucial factor to consider.
Different materials such as porcelain, glass, and stone have their own unique characteristics and can greatly impact the look and durability of the sink. It is important to choose a material that not only complements the overall design of your bathroom but also fits your lifestyle and maintenance preferences.
In conclusion,
the design of your bathroom sink should not be overlooked when planning your house design.
It is not just a practical element, but also a design feature that can greatly enhance the functionality, style, and efficiency of your bathroom. With the right sink, you can create a beautiful and functional space that you will enjoy using every day.
When it comes to designing a house, many homeowners tend to focus on the bigger aspects such as the layout and furniture. However, one area that should not be overlooked is the bathroom sink. Apart from its practical use, the sink can also be a focal point in the room and add to the overall aesthetic of the space.
Bathroom sinks come in a variety of styles, shapes, and sizes, making it easy to find one that suits your personal taste and the design of your bathroom.
From sleek and modern to classic and traditional, the options are endless. But why does bathroom sink design matter?
First and foremost, a well-designed sink can greatly enhance the functionality of your bathroom. A sink with the right size and shape can make all the difference in terms of convenience and ease of use. For example, a large double sink can be perfect for a busy family, while a smaller pedestal sink can be a space-saving option for a smaller bathroom.
Moreover,
a stylish bathroom sink can elevate the overall look of your bathroom and add a touch of luxury and sophistication.
A beautiful sink can also make a statement and tie the whole design of the room together. It can be the perfect finishing touch to your bathroom design, creating a cohesive and visually appealing space.
Another important aspect of bathroom sink design is functionality and efficiency.
With the advancement of technology, there are now sinks with features such as touchless faucets, temperature control, and built-in storage options. These not only add convenience to your daily routine but also contribute to a more sustainable and eco-friendly lifestyle.
In addition to functionality and style,
the material of the sink is also a crucial factor to consider.
Different materials such as porcelain, glass, and stone have their own unique characteristics and can greatly impact the look and durability of the sink. It is important to choose a material that not only complements the overall design of your bathroom but also fits your lifestyle and maintenance preferences.
In conclusion,
the design of your bathroom sink should not be overlooked when planning your house design.
It is not just a practical element, but also a design feature that can greatly enhance the functionality, style, and efficiency of your bathroom. With the right sink, you can create a beautiful and functional space that you will enjoy using every day.