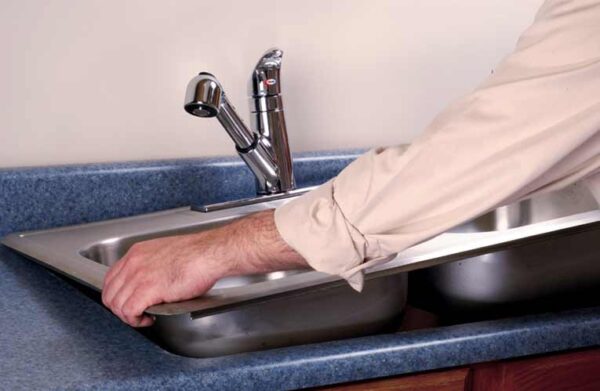
Installing a kitchen sink may seem like a daunting task, but with the right tools and techniques, it can be a simple and rewarding DIY project. A properly installed kitchen sink can not only enhance the overall look of your kitchen, but also improve its functionality and durability. In this guide, we will walk you through the top 10 steps for mounting a kitchen sink the right way.How to Install a Kitchen Sink
Mounting a kitchen sink involves securing it to the countertop and connecting it to the plumbing system. This process may vary depending on the type of sink and countertop you have, but the basic steps remain the same. Let's take a closer look at the proper way to mount a kitchen sink.How to Mount a Kitchen Sink
Before you begin the installation process, make sure you have all the necessary tools and materials. This includes a screwdriver, adjustable wrench, plumber's putty, silicone caulk, and plumber's tape. You may also need a jigsaw or hole saw if your countertop needs to be modified to fit the sink.Proper Way to Install a Kitchen Sink
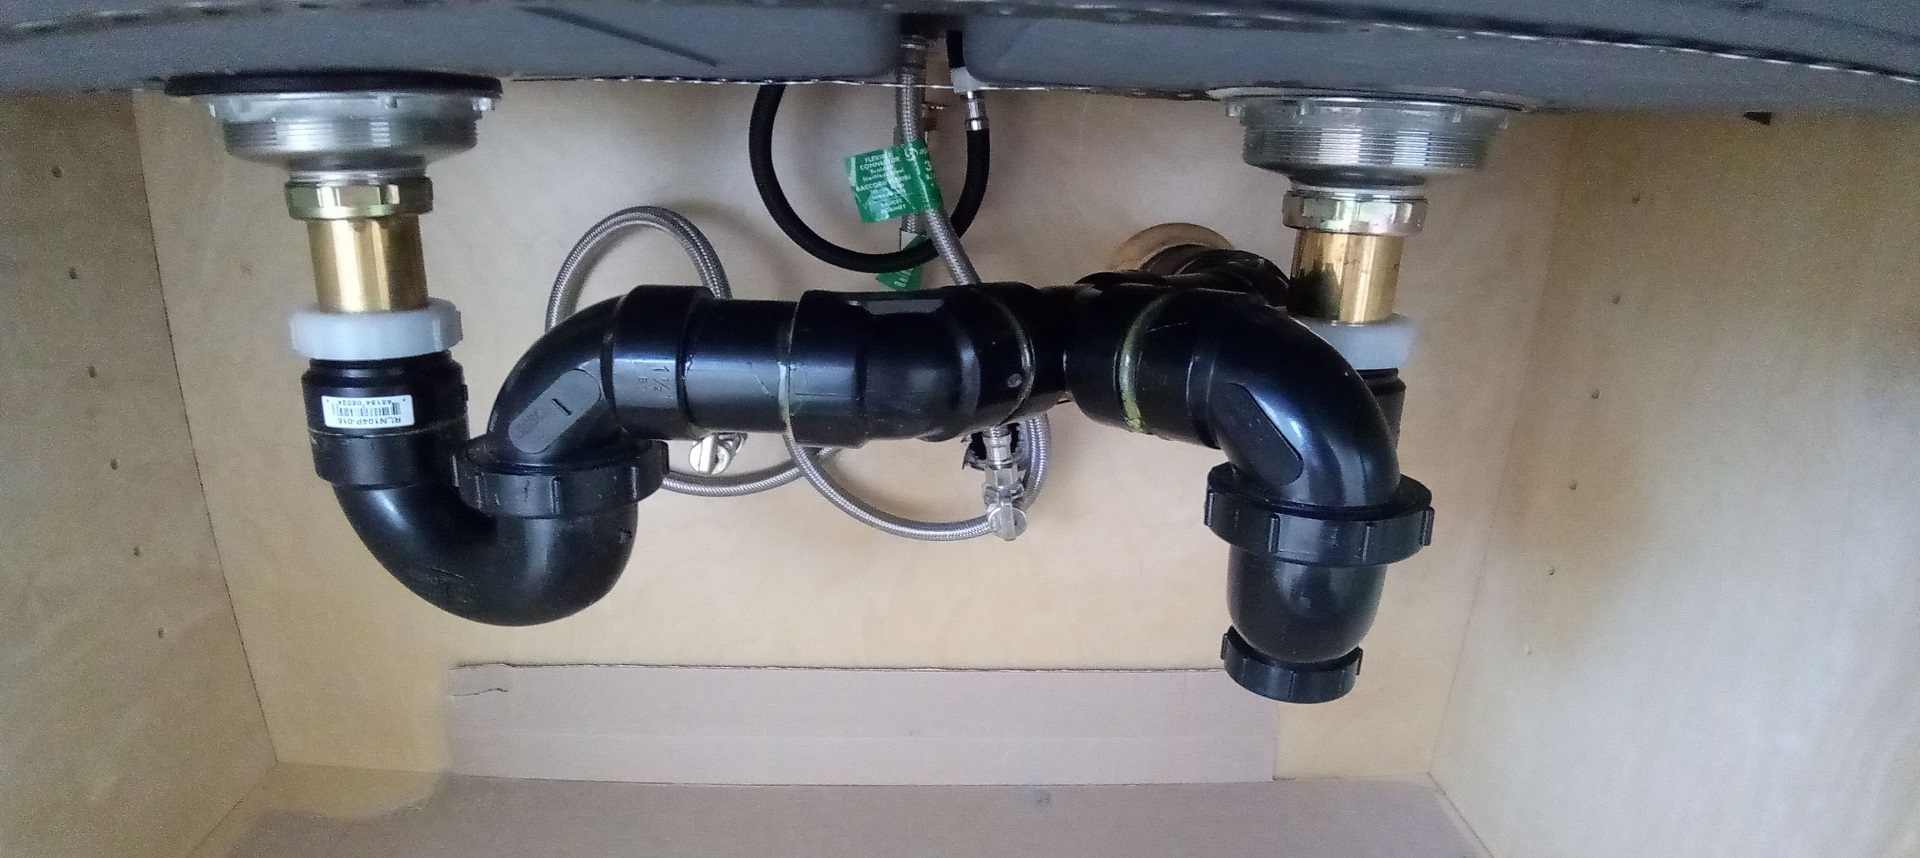
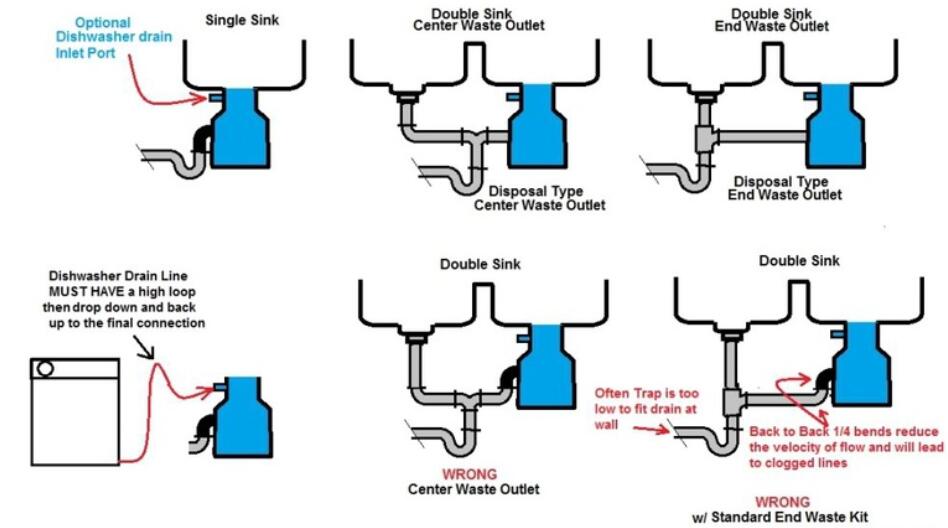
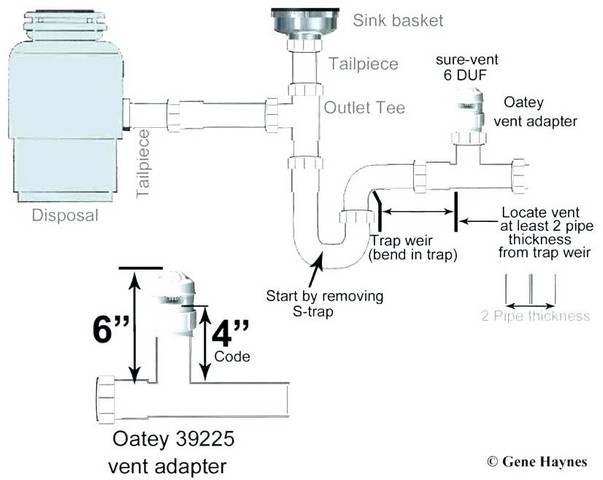
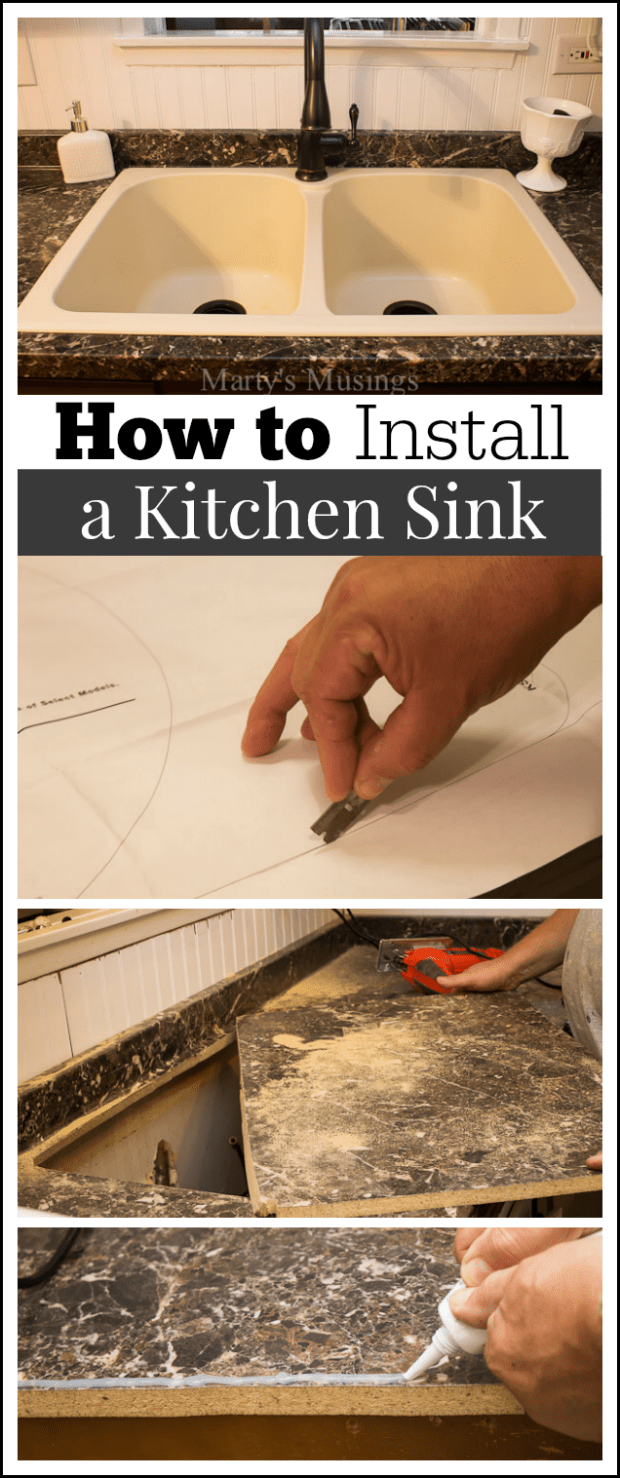
Step 1: Prepare the sink and countertop - Before installing the sink, clean it thoroughly and check for any defects. Next, measure and mark the position of the sink on the countertop. Step 2: Cut the hole - If your countertop does not have a hole for the sink, use a jigsaw or hole saw to create one according to the manufacturer's instructions. Step 3: Apply plumber's putty - Roll out a thin rope of plumber's putty and apply it around the edge of the sink opening to create a watertight seal. Step 4: Place the sink - Carefully lower the sink into the opening and press it firmly into the putty to secure it in place. Step 5: Secure the clips - Use the clips provided by the manufacturer to secure the sink to the countertop. Make sure they are evenly spaced and tightened to hold the sink in place. Step 6: Connect the water supply - Use plumber's tape to wrap the threads of the water supply lines and then connect them to the faucet and shut-off valves. Step 7: Install the drain - Apply plumber's putty to the underside of the drain and then insert it into the drain hole. Tighten the nut underneath the sink to secure the drain in place. Step 8: Connect the garbage disposal - If you have a garbage disposal, follow the manufacturer's instructions to connect it to the sink drain. Step 9: Seal the edges - Apply a bead of silicone caulk around the edges of the sink to create a watertight seal and prevent water from seeping under the sink. Step 10: Test for leaks - Turn on the water and check for any leaks. If everything looks good, congratulations, you have successfully mounted your kitchen sink!Step-by-Step Guide to Mounting a Kitchen Sink
While hiring a professional to install your kitchen sink may seem like the easier option, doing it yourself can save you money and give you a sense of accomplishment. With the right tools and instructions, anyone can successfully mount a kitchen sink.DIY Kitchen Sink Installation
To ensure a successful and long-lasting installation, there are a few best practices to keep in mind when mounting a kitchen sink. These include properly preparing the sink and countertop, using the correct tools and materials, and carefully following the manufacturer's instructions.Best Practices for Mounting a Kitchen Sink
Having the right tools for the job is crucial when it comes to installing a kitchen sink. Some essential tools you will need include a screwdriver, adjustable wrench, plumber's putty, silicone caulk, plumber's tape, and a jigsaw or hole saw if necessary.Essential Tools for Installing a Kitchen Sink
While mounting a kitchen sink may seem straightforward, there are some common mistakes that can lead to a faulty installation. These include not properly preparing the sink and countertop, using incorrect tools and materials, and not following the manufacturer's instructions carefully.Common Mistakes to Avoid When Mounting a Kitchen Sink
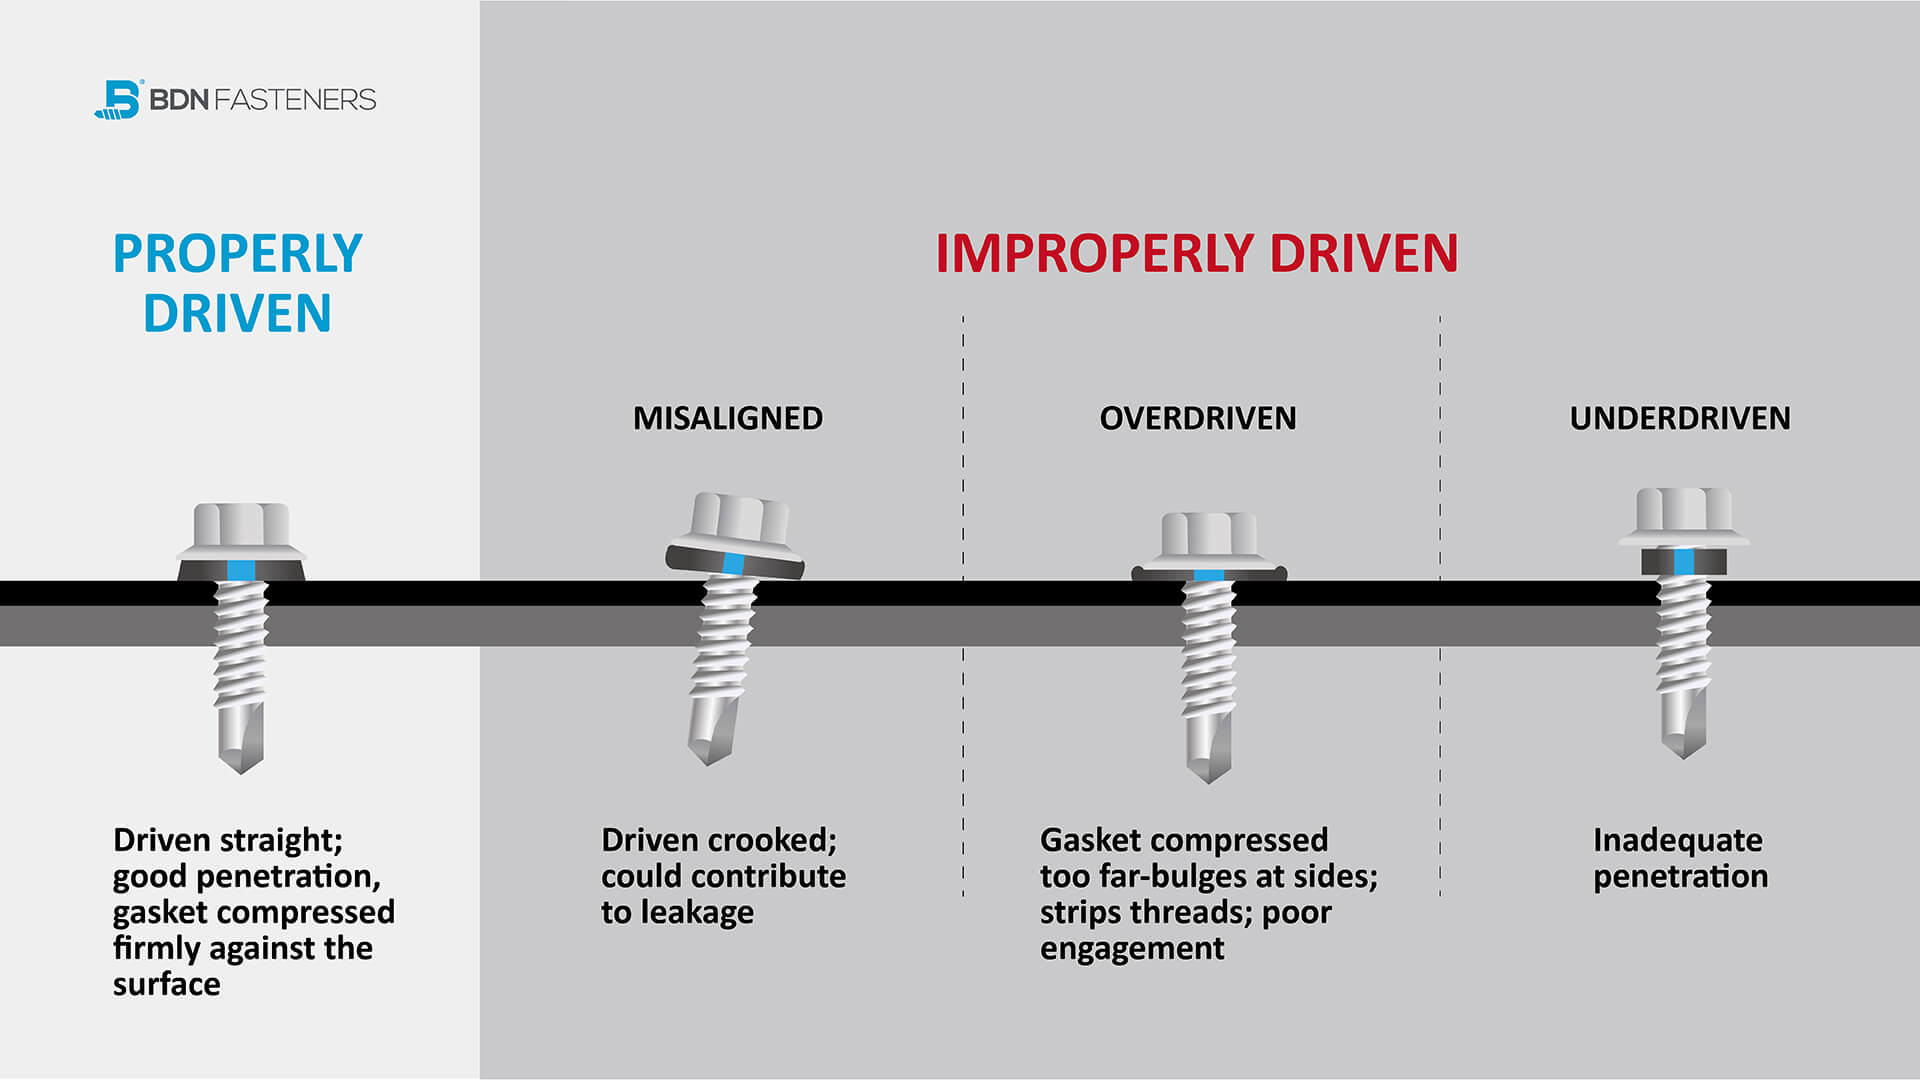
For a professional-looking installation, here are some expert tips to keep in mind when mounting a kitchen sink: - Always use the recommended tools and materials for the specific sink and countertop you have. - Double check for any defects or damage to the sink before installing it. - Measure and mark the position of the sink accurately to ensure a perfect fit. - Avoid overtightening the clips and nuts to prevent damaging the sink and countertop. - Take your time during the installation process and make sure everything is properly aligned and sealed.Expert Tips for Properly Mounting a Kitchen Sink
Properly mounting a kitchen sink is crucial for its longevity and durability. By following the correct steps and using the right tools and materials, you can ensure a secure and stable installation that will last for years to come. Congratulations, you now know the top 10 steps for mounting a kitchen sink the right way. With this guide, you can confidently tackle this DIY project and enjoy a beautiful and functional kitchen sink in no time!How to Securely Mount a Kitchen Sink for Long-Lasting Results
Additional Body Paragraph: Tips for Properly Mounting a Kitchen Sink

1. Choose the Right Sink for Your Kitchen
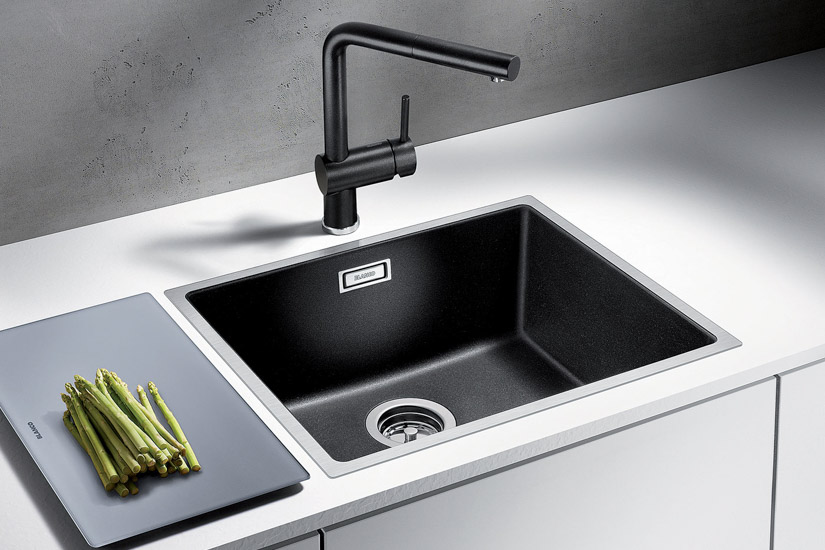
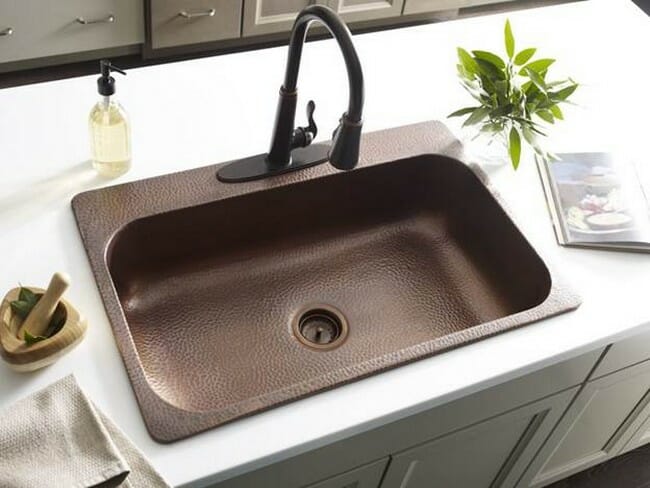
 One of the most important steps in properly mounting a kitchen sink is choosing the right one for your kitchen. This means considering the size, style, and material of the sink.
Kitchen sinks
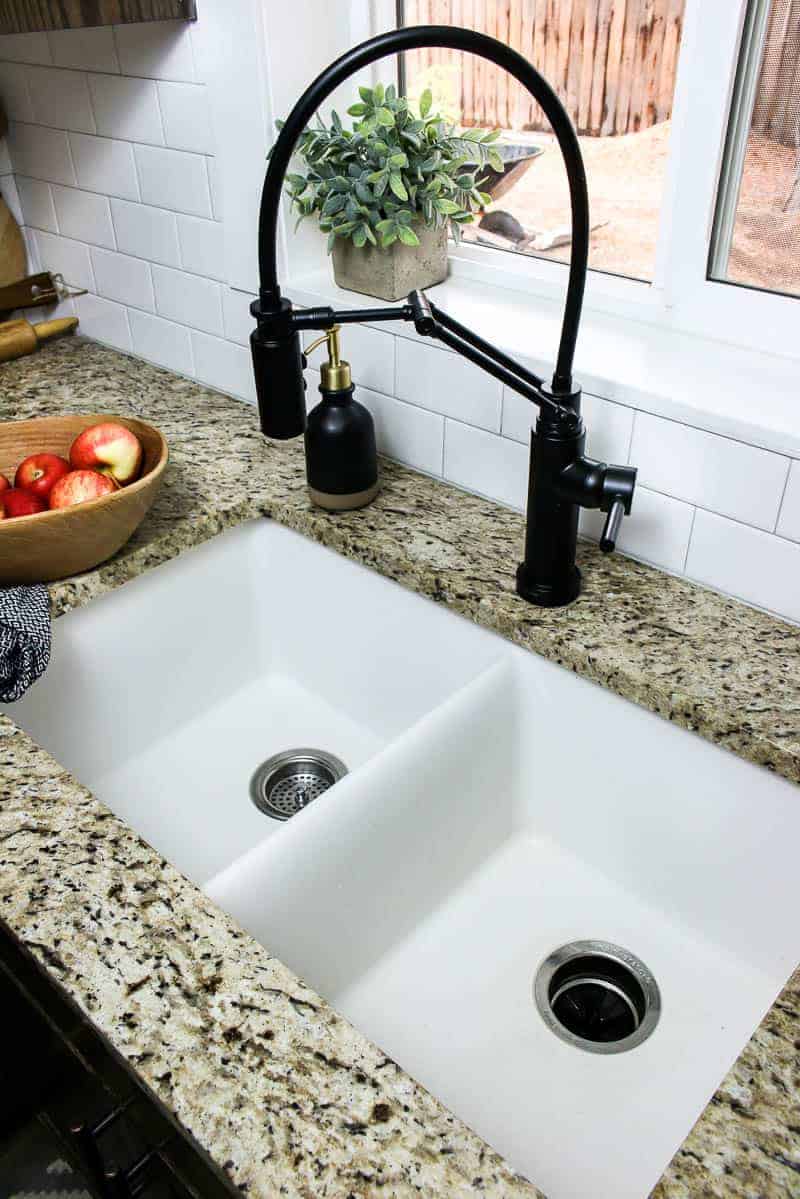
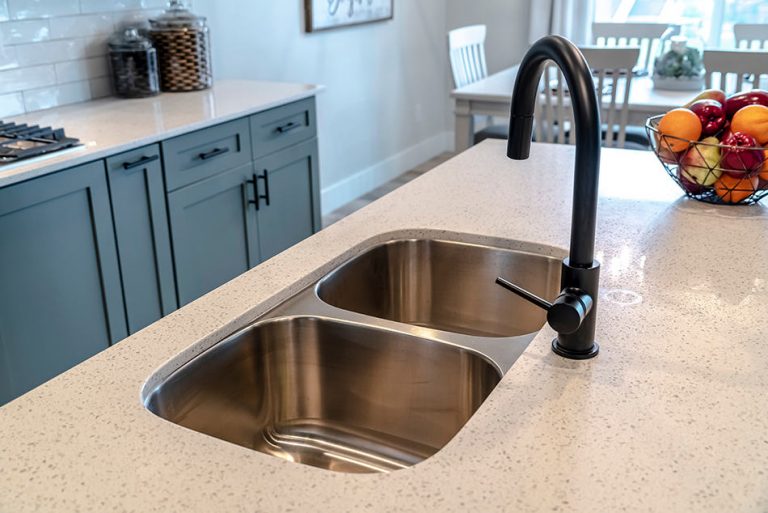
come in various sizes, from single to double bowls, and in different materials such as stainless steel, granite, and porcelain. Consider the size and layout of your kitchen and your personal style when choosing a sink to ensure it fits seamlessly into your kitchen design.
2. Measure and Prepare the Sink Area
 Before mounting the sink, it is crucial to measure the sink area and make sure it is the right size for your chosen sink. Measure the width, depth, and height of the cabinet where the sink will be placed and compare it to the sink's dimensions. This will help prevent any installation issues and ensure a proper fit. Additionally, make sure the cabinet is strong enough to support the weight of the sink and any additional fixtures.
3. Follow the Manufacturer's Instructions
 Each sink may have specific instructions for mounting, so it is important to read and follow the manufacturer's guidelines carefully. This will ensure that the sink is installed correctly and prevent any potential issues in the future.
Properly mounting a kitchen sink
can also help extend its lifespan and prevent any damage to your kitchen cabinets and countertops.
4. Use the Right Tools and Materials
 To properly mount a kitchen sink, you will need the right tools and materials. These may include a drill, screwdriver, plumber's putty, silicone adhesive, and mounting clips. Make sure to use high-quality materials and follow the instructions carefully to ensure a secure and long-lasting installation.
5. Consider Hiring a Professional
 If you are unsure about properly mounting a kitchen sink or do not have the necessary tools and skills, it may be best to hire a professional. They can ensure that the sink is installed correctly and save you time and potential headaches in the long run. Plus, they may also be able to offer valuable advice on choosing the right sink for your kitchen and provide additional services such as plumbing and sealing.
In conclusion, properly mounting a kitchen sink is an essential part of creating a functional and visually appealing kitchen design. By following these tips and using high-quality materials, you can ensure a successful installation and enjoy your new sink for years to come.


:no_upscale()/cdn.vox-cdn.com/uploads/chorus_asset/file/19495086/drain_0.jpg)


