Painting a veneer kitchen table can be a cost-effective and fun way to revamp your dining space. Veneer is a thin layer of wood that is often used to cover furniture, giving it a smooth and polished appearance. While it may seem intimidating to paint over this type of surface, it can actually be a relatively simple process if done correctly. In this article, we will guide you through the steps of painting a veneer kitchen table to give it a fresh new look.How to Paint a Veneer Kitchen Table


How to Paint a Veneer Kitchen Table


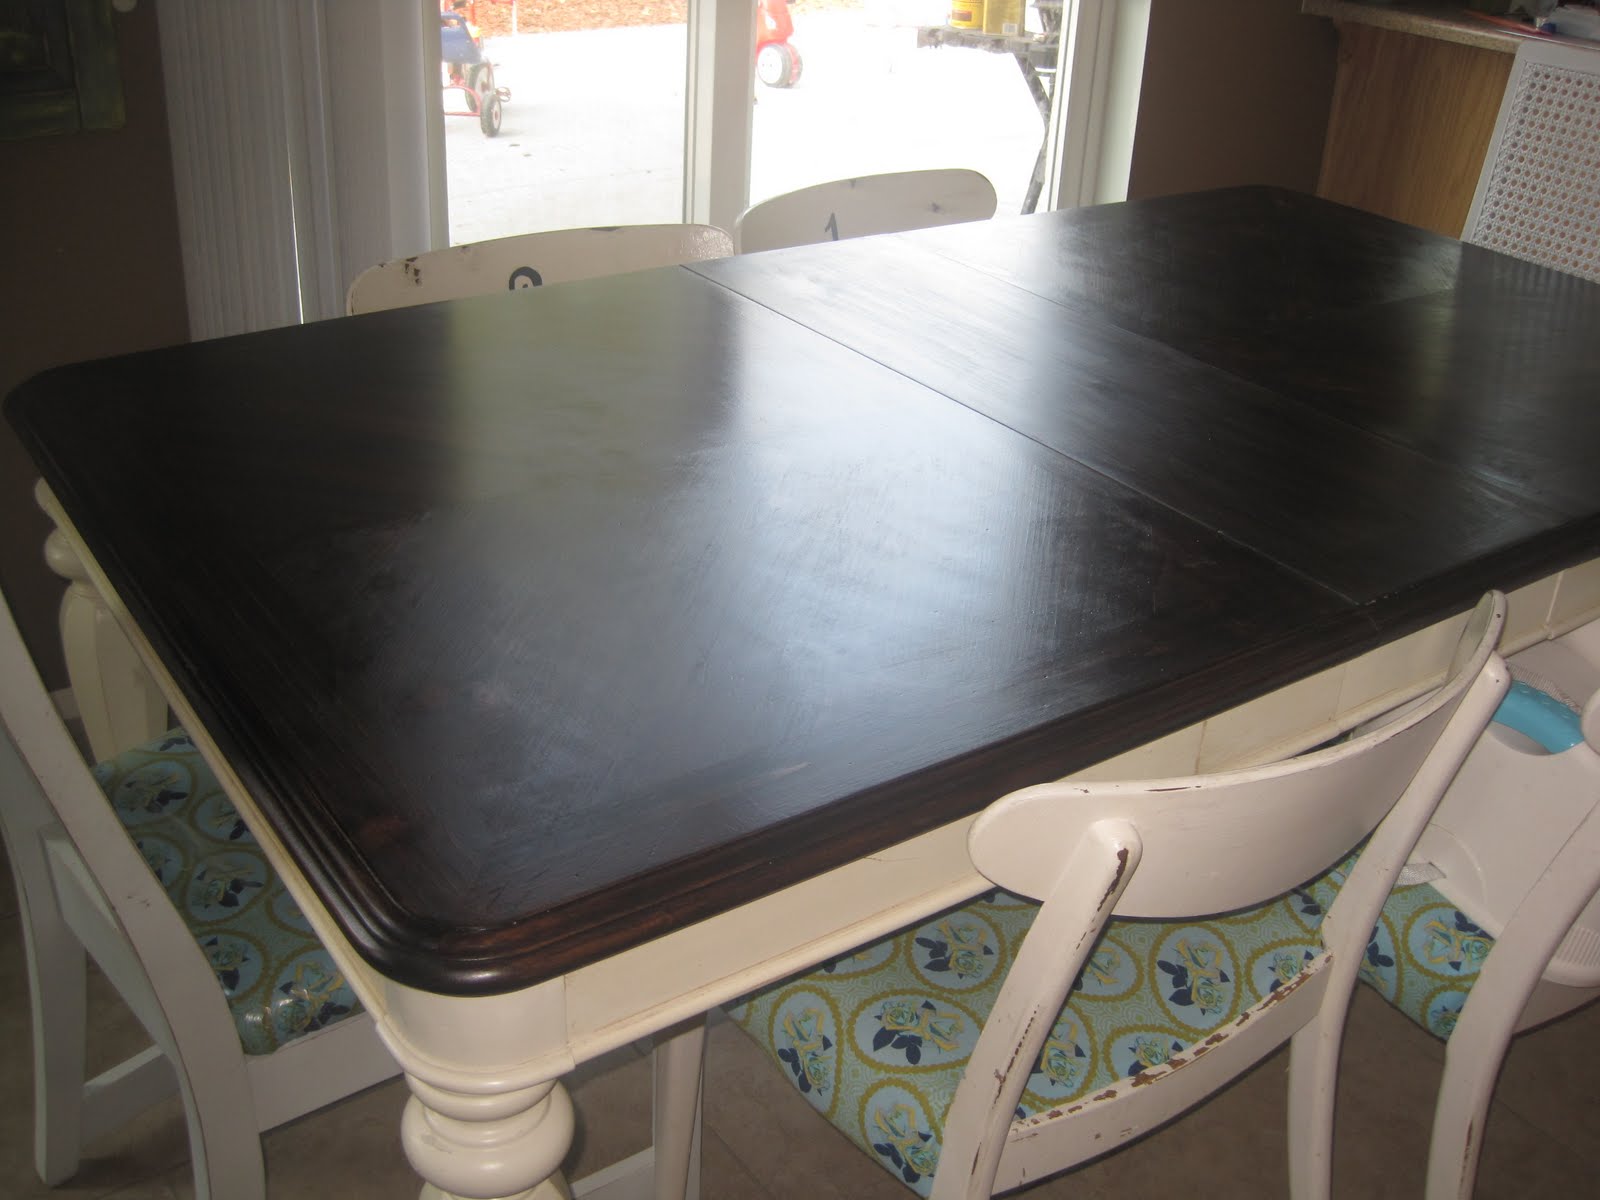
Before you begin, make sure you have all the necessary materials. This includes sandpaper, primer, paint, a paintbrush or roller, and a topcoat. Once you have everything ready, follow these simple steps: Step 1: Begin by lightly sanding the surface of the veneer table. This will help the paint adhere better and create a smooth finish. Use a fine-grit sandpaper and work in the direction of the wood grain to avoid creating scratches. Step 2: Clean the table thoroughly with a damp cloth to remove any dust or debris from sanding. Step 3: Apply a coat of primer to the entire table. This will help the paint stick to the surface and prevent any bleed-through of the original color. Use a roller or paintbrush to evenly cover the table. Let the primer dry completely before moving on to the next step. Step 4: Choose your paint color and apply the first coat. It is recommended to use a high-quality, acrylic-based paint for the best results. Again, use a roller or paintbrush to evenly cover the table and let it dry completely before applying a second coat. Step 5: Once the second coat of paint is dry, you can choose to distress the table for a more rustic look. Use sandpaper to lightly sand the edges and corners of the table to expose some of the wood underneath. This step is optional and can be skipped if you prefer a solid color table. Step 6: Finish off your painted veneer kitchen table with a topcoat. This will protect the paint and make it easier to clean. You can choose between a glossy, matte, or satin finish depending on your preference. Follow the instructions on the topcoat product for the best application technique.Painting a Veneer Kitchen Table: A Step-by-Step Guide


Painting a Veneer Kitchen Table: A Step-by-Step Guide


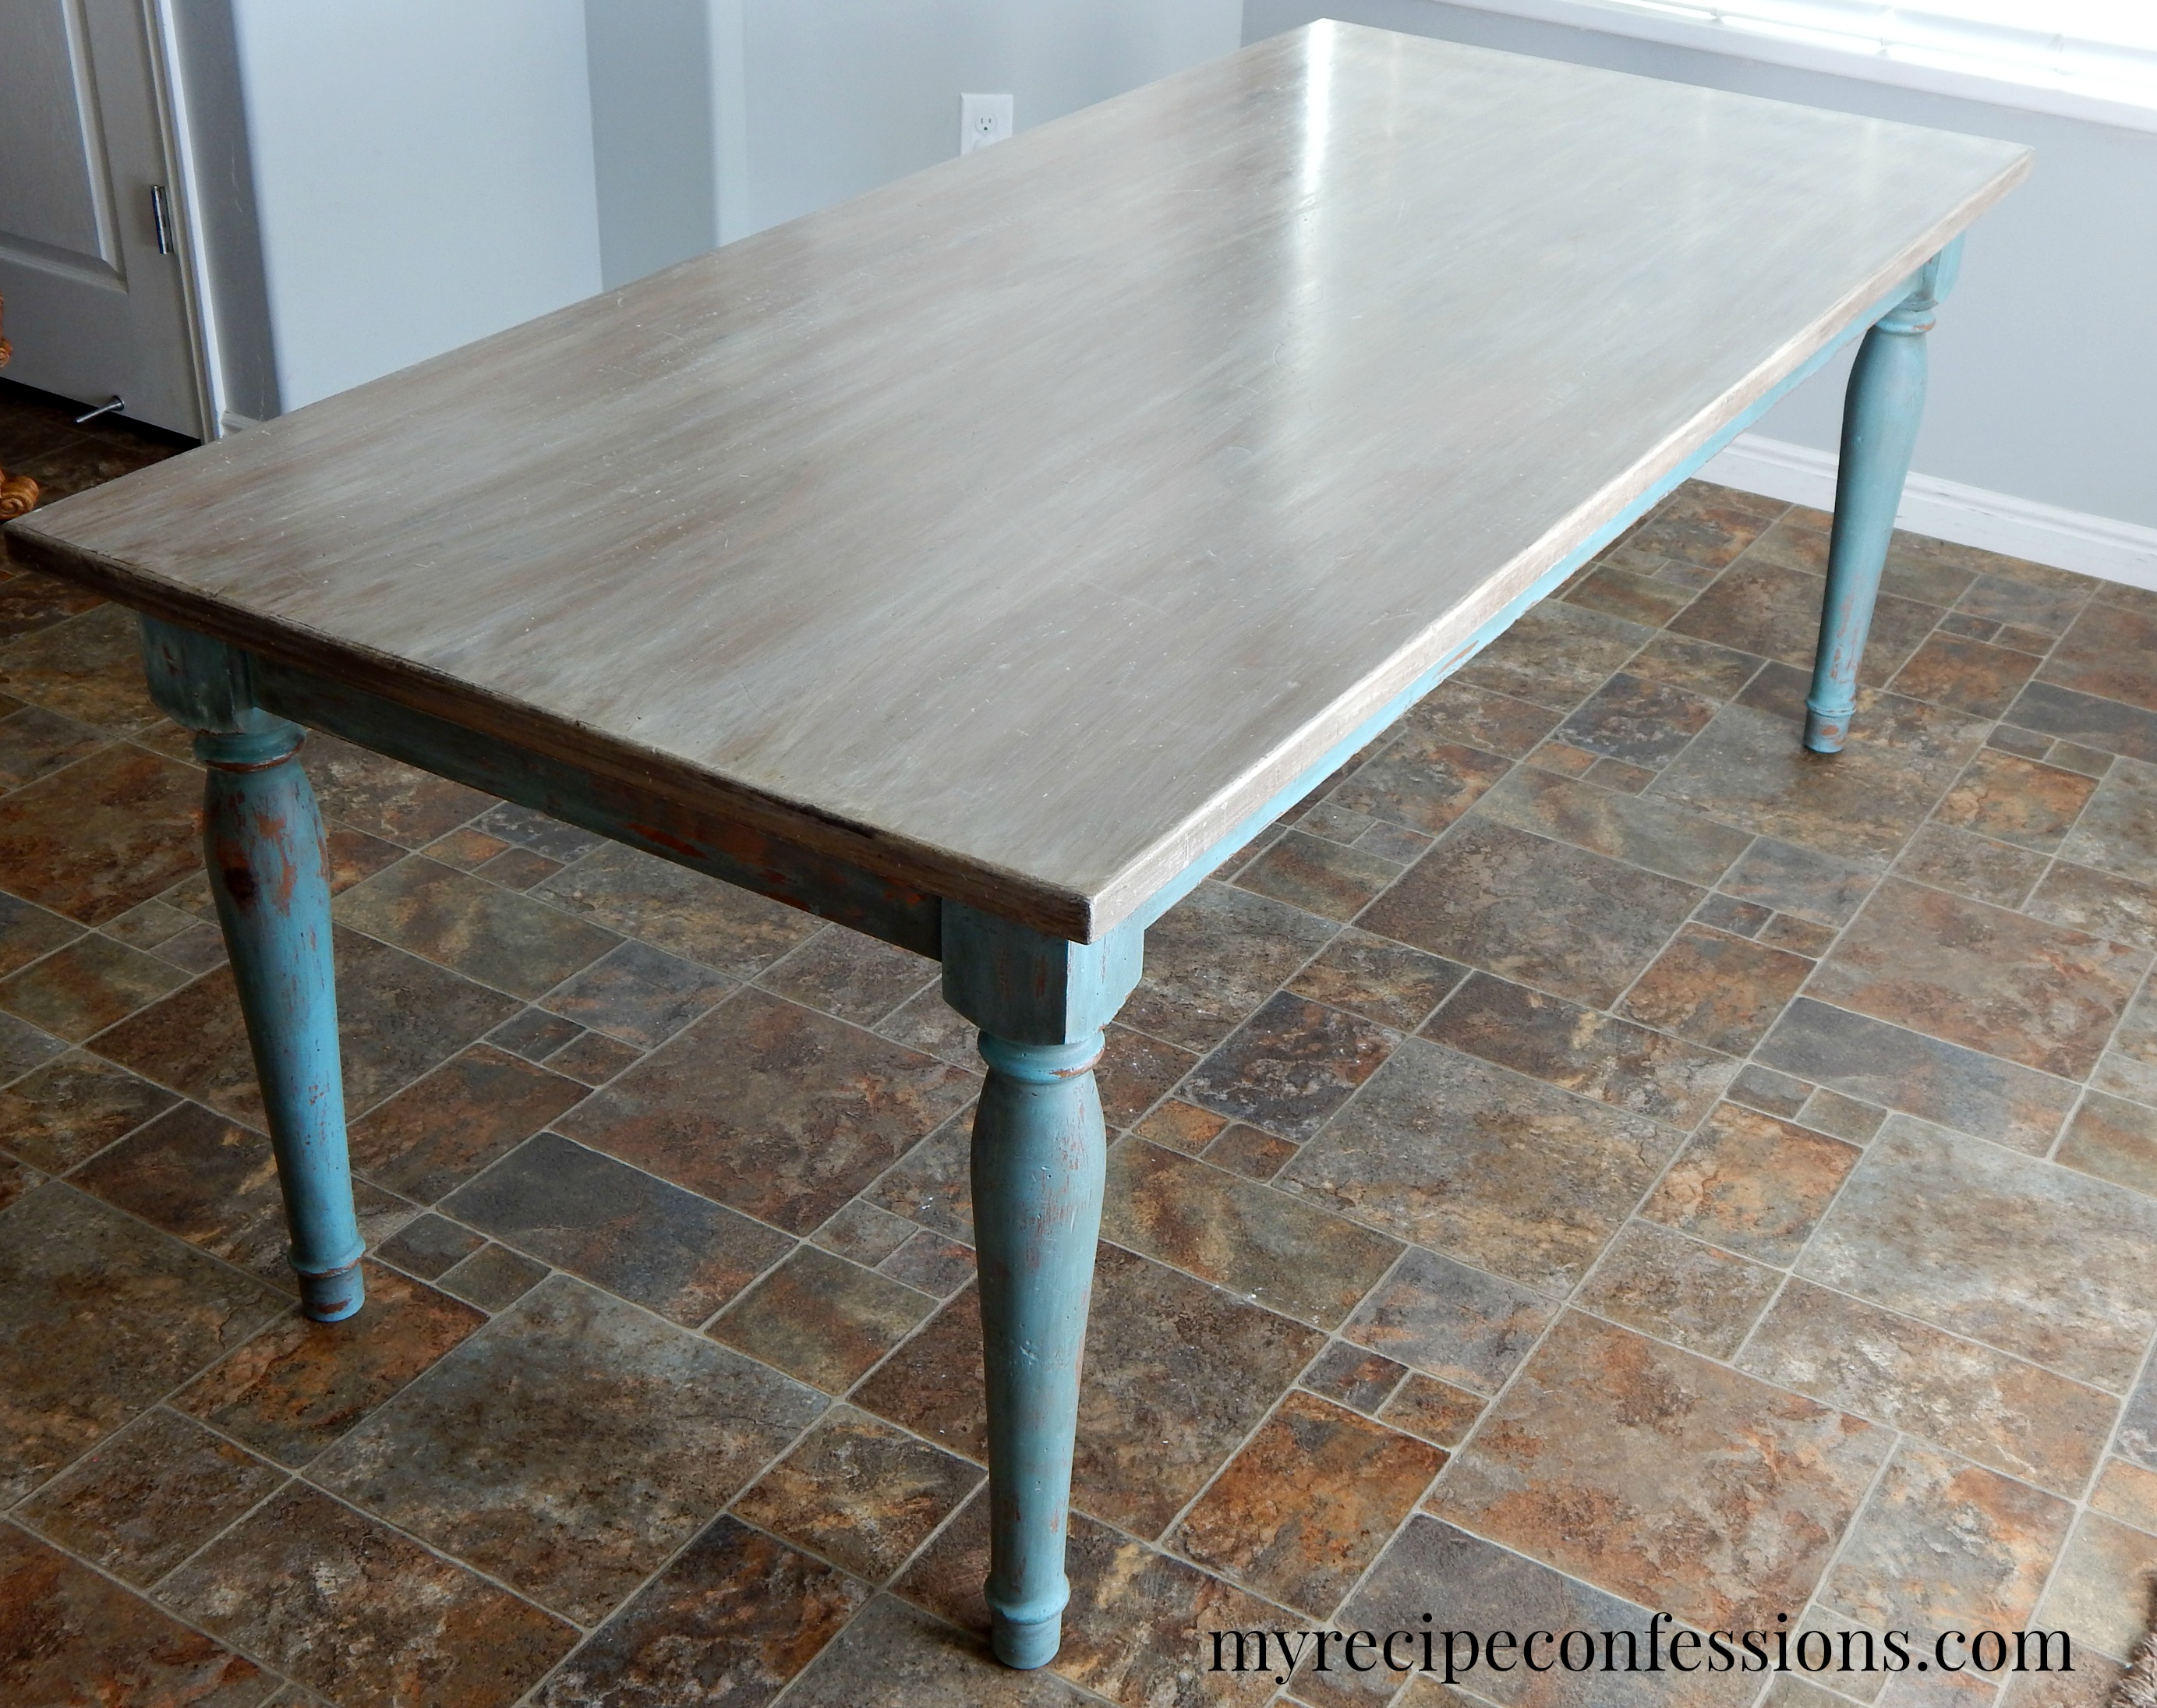
If you're on a budget or just love to get creative, painting a veneer kitchen table can be a great DIY project. Not only will it save you money, but you will also have a unique and personalized piece of furniture. Here are some tips for a successful DIY veneer painting project: Tip 1: Make sure to choose the right paint for your veneer table. As mentioned earlier, acrylic-based paint is the best option for this type of surface. It is durable, easy to apply, and comes in a variety of colors. Tip 2: Don't be afraid to experiment with different techniques and finishes. You can use stencils to create patterns, distress the table for a vintage look, or even add a pop of color by painting the table legs a different shade. Tip 3: Take your time and be patient. Painting a veneer kitchen table may take a few days to complete, but the end result will be worth it. Rushing through the process may lead to mistakes or an uneven finish.DIY: Painting a Veneer Kitchen Table

DIY: Painting a Veneer Kitchen Table


When it comes to choosing the best paint for your veneer kitchen table, it's important to consider both the type of paint and the brand. As mentioned earlier, acrylic-based paint is the most suitable for this type of surface. Some popular brands that are known for their quality and durability include Behr, Sherwin-Williams, and Benjamin Moore. If you are looking for a more eco-friendly option, there are also natural, non-toxic paints available that are safe to use on veneer surfaces. These can be found at specialty paint stores or online.Best Paint for Veneer Kitchen Table


Best Paint for Veneer Kitchen Table


Here are some additional tips to keep in mind when painting a veneer kitchen table: Tip 1: Use light, even strokes when applying the paint to avoid streaks or brush marks. Tip 2: If you are using a paintbrush, make sure to use a high-quality one to avoid bristles getting stuck in the paint and ruining the finish. Tip 3: Consider adding a layer of clear wax over the topcoat for added protection and to give the table a slight sheen.Tips for Painting a Veneer Kitchen Table

Tips for Painting a Veneer Kitchen Table


Painting a veneer kitchen table can completely transform the look of your dining space. Whether you choose to go for a bold color or a more subtle shade, the end result will be a table that is unique and personalized to your style. Don't be afraid to get creative and experiment with different techniques and finishes. With the right materials and a little patience, you can easily achieve a professional-looking painted veneer kitchen table.Transform Your Kitchen Table with Veneer Painting


Transform Your Kitchen Table with Veneer Painting


If you're new to painting furniture, you may be hesitant to take on the task of painting a veneer kitchen table. However, with this easy tutorial, you'll be able to confidently transform your table in no time. Step 1: Gather all necessary materials and set up a well-ventilated workspace. Step 2: Sand the table lightly in the direction of the wood grain. Step 3: Clean the table thoroughly with a damp cloth. Step 4: Apply a coat of primer and let it dry completely. Step 5: Apply two coats of paint, letting each coat dry before applying the next. Step 6: Optional: Distress the table by lightly sanding the edges and corners. Step 7: Apply a topcoat and let it dry completely. Your veneer kitchen table is now ready to use and enjoy!Easy Veneer Kitchen Table Painting Tutorial


Easy Veneer Kitchen Table Painting Tutorial


If you have an old, worn-out veneer kitchen table that needs a new lease on life, refinishing it with paint is a great option. Not only will it give your table a fresh new look, but it can also cover up any imperfections or damage. Follow these steps to refinish your veneer kitchen table: Step 1: Begin by sanding the table to remove any old finish or imperfections. Step 2: Clean the table thoroughly with a damp cloth. Step 3: Apply a coat of primer and let it dry completely. Step 4: Choose your desired paint color and apply two coats, letting each coat dry before applying the next. Step 5: Optional: Distress the table for a more rustic look. Step 6: Apply a topcoat and let it dry completely. Your refinished veneer kitchen table is now ready to be used and admired!How to Refinish a Veneer Kitchen Table with Paint


How to Refinish a Veneer Kitchen Table with Paint


If you're short on time or simply prefer the convenience of spray paint, you can easily give your veneer kitchen table a makeover using this method. Here's how: Step 1: Set up a well-ventilated workspace and protect the surrounding area with drop cloths or newspaper. Step 2: Sand the table lightly in the direction of the wood grain. Step 3: Clean the table thoroughly with a damp cloth. Step 4: Apply a coat of primer and let it dry completely. Step 5: Shake the spray paint can well and apply multiple thin coats, letting each coat dry before applying the next. Your spray-painted veneer kitchen table is now complete and ready to be used and admired!Spray Painting Veneer Kitchen Table: A Quick and Easy Makeover


Spray Painting Veneer Kitchen Table: A Quick and Easy Makeover


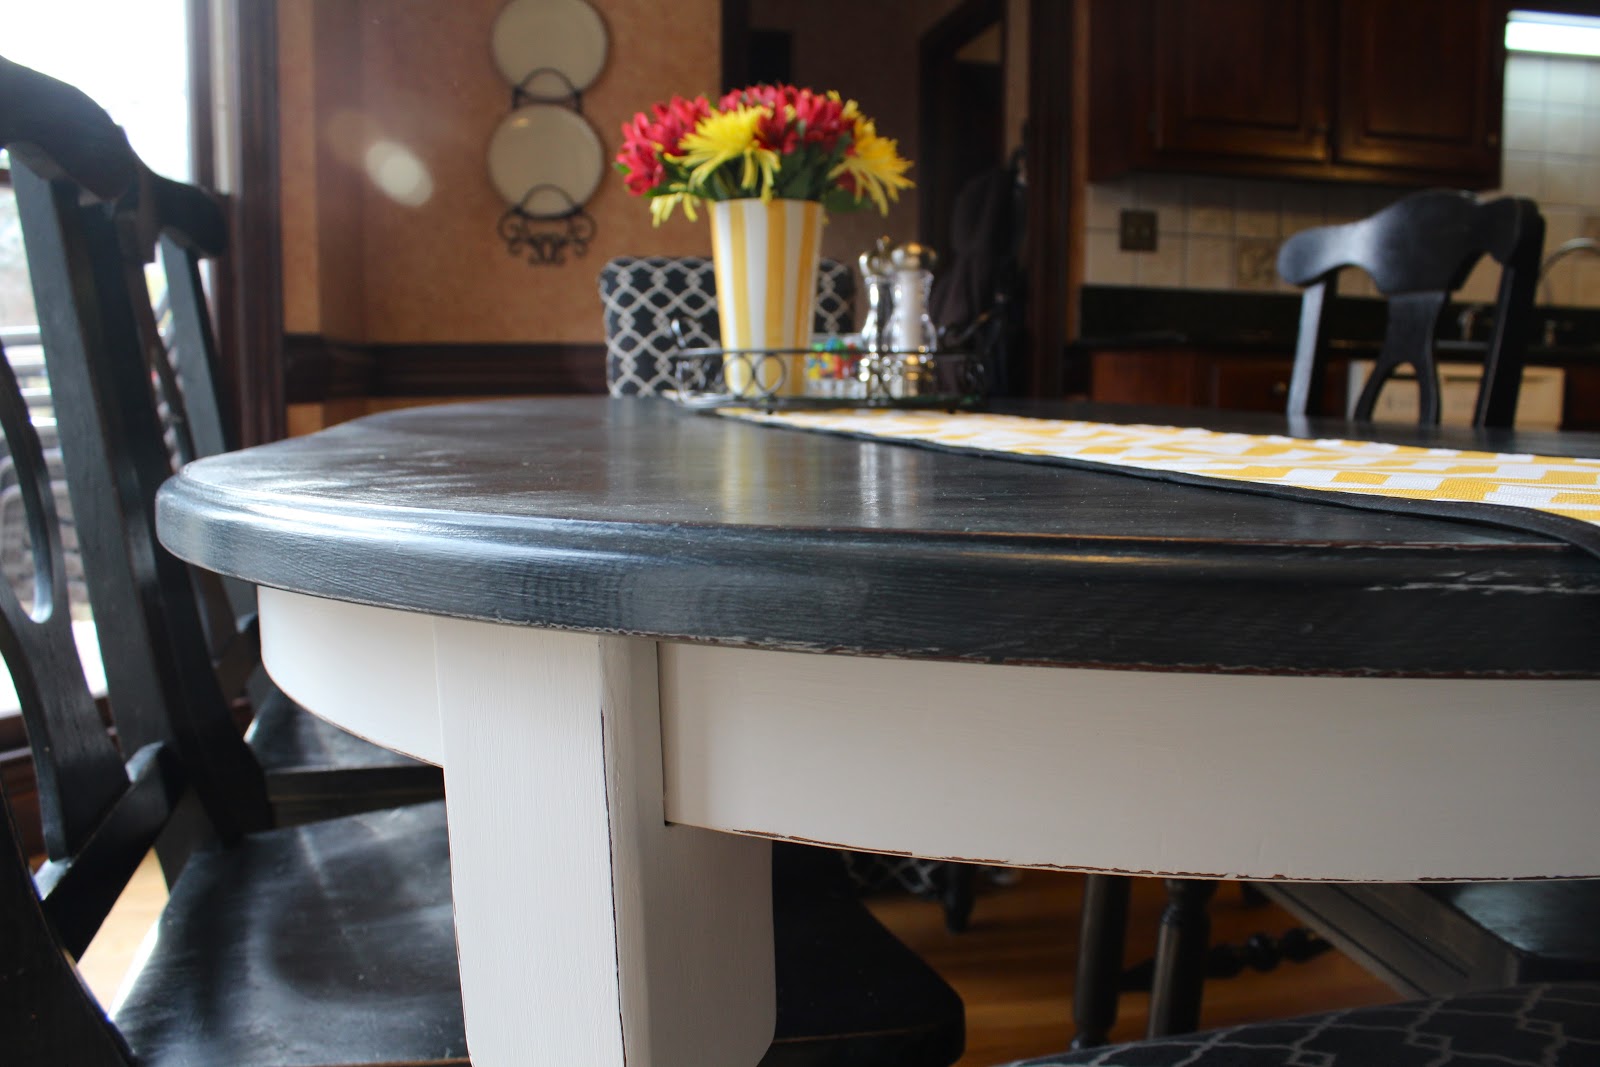
Chalk paint has gained popularity in recent years for its versatility and ease of use. It can be used on various surfaces, including veneer, and can give your kitchen table a beautiful matte finish. Follow these steps for a chalk paint veneer kitchen table makeover: Step 1: Prep the table by lightly sanding and cleaning it. Step 2: Apply a coat of chalk paint, using long, even strokes in the direction of the wood grain. Step 3: Let the first coat dry completely before applying a second coat. Step 4: Optional: Use a different color of chalk paint to add some depth and interest to the table. You can also use a dry brush technique to create a distressed or vintage look. Step 5: Finish off the table with a clear wax for added protection and a smooth finish. Your chalk paint veneer kitchen table makeover is now complete and ready to be enjoyed!Chalk Paint Veneer Kitchen Table Makeover

Chalk Paint Veneer Kitchen Table Makeover


How to Transform Your Kitchen with a Fresh Coat of Paint on Your Veneer Table

The Power of Paint in Home Design
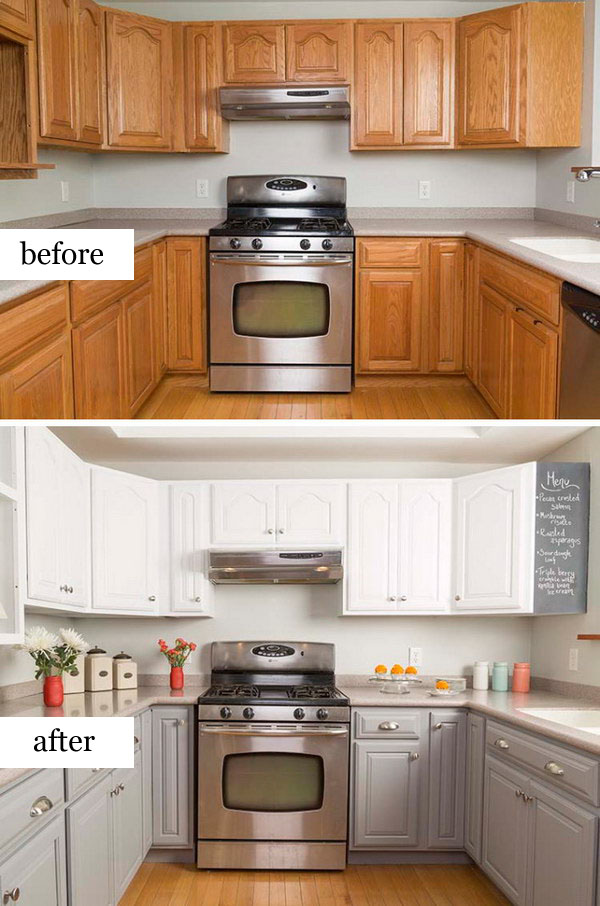
 When it comes to home design, paint can be a powerful tool in transforming any space. Not only does it add color and personality, but it can also breathe new life into old furniture and surfaces. If you have a
veneer kitchen table
that is looking worn or outdated, don't rush to replace it just yet. Consider giving it a fresh coat of paint to completely change its appearance and give your kitchen a whole new look.
When it comes to home design, paint can be a powerful tool in transforming any space. Not only does it add color and personality, but it can also breathe new life into old furniture and surfaces. If you have a
veneer kitchen table
that is looking worn or outdated, don't rush to replace it just yet. Consider giving it a fresh coat of paint to completely change its appearance and give your kitchen a whole new look.
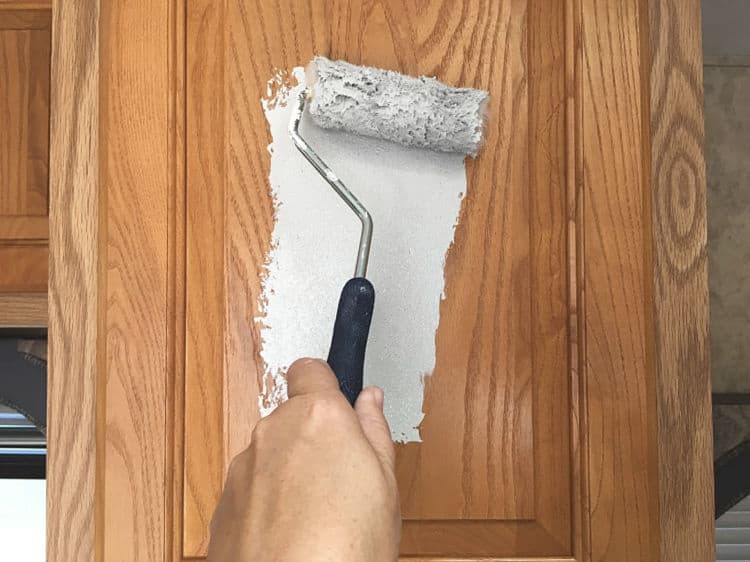
Prepping Your Veneer Table for Painting
 Before you begin painting, it's important to properly prepare your
kitchen table
to ensure the best results. Start by cleaning the surface with a mild cleaner and water to remove any dirt or grime. Next, lightly sand the table with a fine grit sandpaper to create a smooth and even surface for the paint to adhere to. Wipe away any dust or debris with a damp cloth and allow the table to dry completely before moving on to the next step.
Before you begin painting, it's important to properly prepare your
kitchen table
to ensure the best results. Start by cleaning the surface with a mild cleaner and water to remove any dirt or grime. Next, lightly sand the table with a fine grit sandpaper to create a smooth and even surface for the paint to adhere to. Wipe away any dust or debris with a damp cloth and allow the table to dry completely before moving on to the next step.
Choosing the Right Paint for Your Veneer Table
 When it comes to painting a
veneer kitchen table
, it's important to choose the right type of paint. Look for a paint specifically designed for use on furniture and surfaces, such as a high-quality latex or enamel paint. These types of paint are durable and will provide a smooth and long-lasting finish on your table. It's also important to consider the color of the paint and how it will complement the rest of your kitchen's design.
When it comes to painting a
veneer kitchen table
, it's important to choose the right type of paint. Look for a paint specifically designed for use on furniture and surfaces, such as a high-quality latex or enamel paint. These types of paint are durable and will provide a smooth and long-lasting finish on your table. It's also important to consider the color of the paint and how it will complement the rest of your kitchen's design.
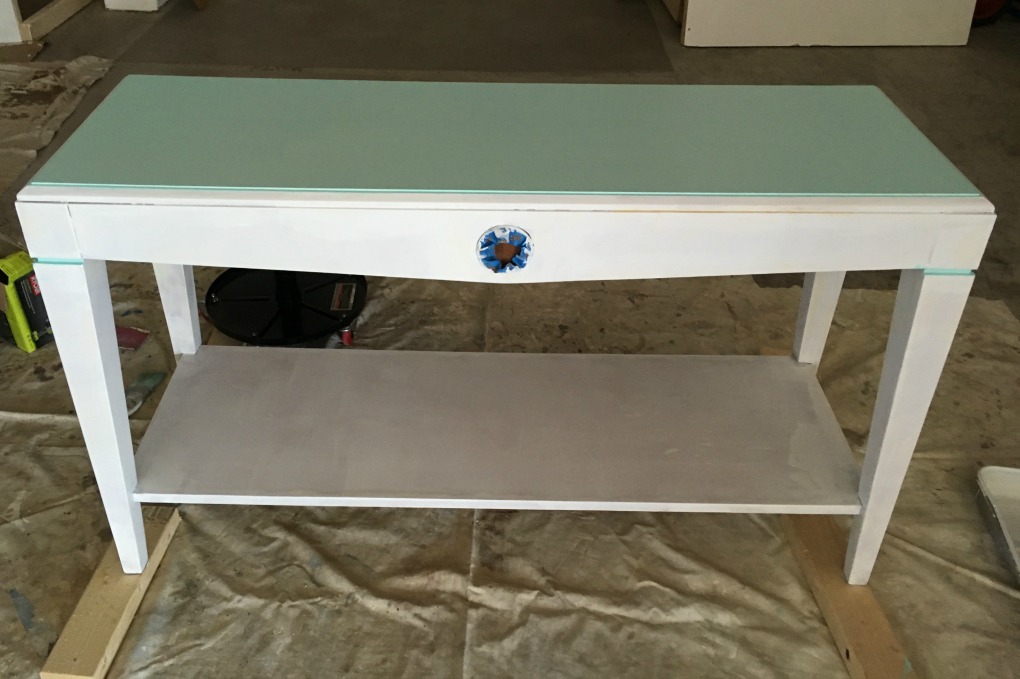
Painting Your Veneer Table
 Now it's time to paint your
kitchen table
! Start by applying a coat of primer to the entire surface, using a brush or roller to ensure even coverage. Once the primer is dry, you can begin painting with your chosen color. Apply the paint in thin, even coats, allowing each layer to dry completely before adding the next. This will ensure a smooth and professional finish. You may need to apply multiple coats, depending on the color and type of paint you choose.
Now it's time to paint your
kitchen table
! Start by applying a coat of primer to the entire surface, using a brush or roller to ensure even coverage. Once the primer is dry, you can begin painting with your chosen color. Apply the paint in thin, even coats, allowing each layer to dry completely before adding the next. This will ensure a smooth and professional finish. You may need to apply multiple coats, depending on the color and type of paint you choose.
Finishing Touches
 Once your
veneer kitchen table
is completely dry, you can add some finishing touches to enhance its appearance. Consider adding a coat of polyurethane to protect the paint and add a glossy finish. You can also add decorative accents, such as stenciling or distressing, to give your table a unique and personalized touch.
Once your
veneer kitchen table
is completely dry, you can add some finishing touches to enhance its appearance. Consider adding a coat of polyurethane to protect the paint and add a glossy finish. You can also add decorative accents, such as stenciling or distressing, to give your table a unique and personalized touch.
Conclusion
 Painting your
veneer kitchen table
is a cost-effective and creative way to update your kitchen's design. With proper preparation and the right type of paint, you can achieve a beautiful and professional finish that will completely transform your space. So don't be afraid to get out your paintbrush and give your old kitchen table a new lease on life.
Painting your
veneer kitchen table
is a cost-effective and creative way to update your kitchen's design. With proper preparation and the right type of paint, you can achieve a beautiful and professional finish that will completely transform your space. So don't be afraid to get out your paintbrush and give your old kitchen table a new lease on life.