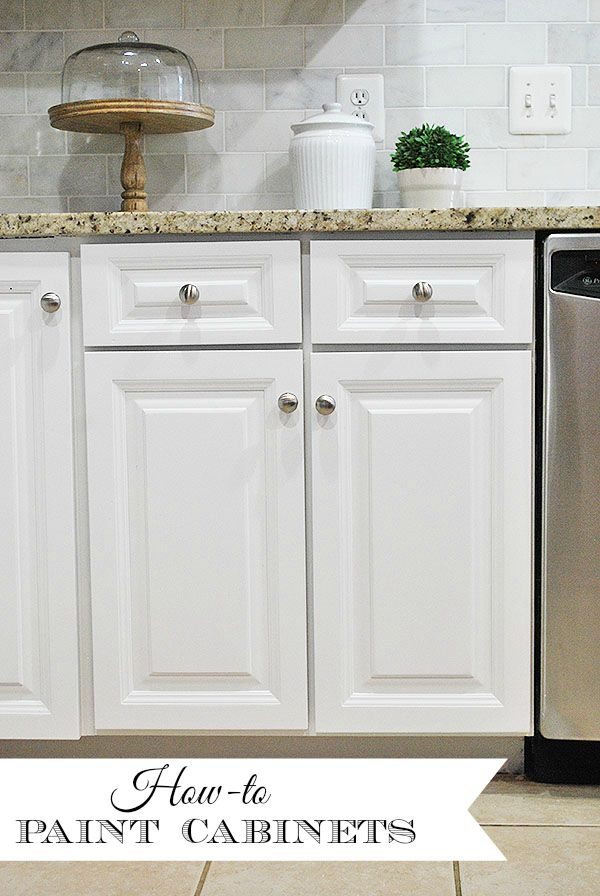
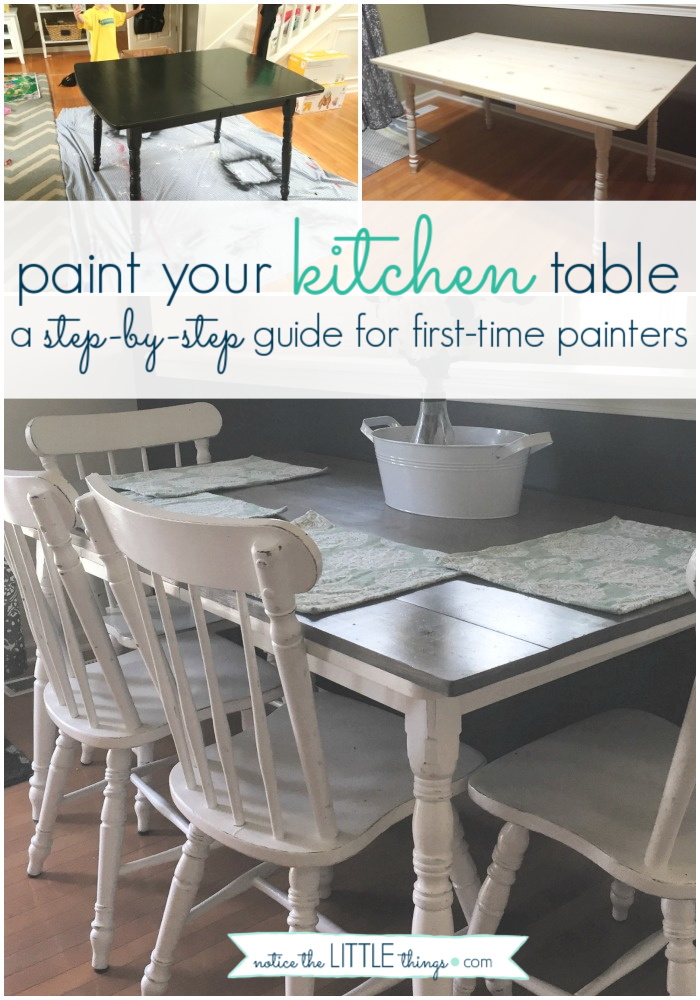
Before you can start painting the base of your kitchen table, it's important to properly prepare the surface. This will ensure that the paint adheres well and creates a smooth and long-lasting finish. Start by removing any existing paint or finish from the base of the table using a paint stripper or sandpaper. Next, clean the surface thoroughly with a mild soap and water solution to remove any dirt, grime, or grease. Finally, use a tack cloth to remove any remaining dust or debris.1. Preparing the Base of the Kitchen Table for Painting


1. Preparing the Base of the Kitchen Table for Painting


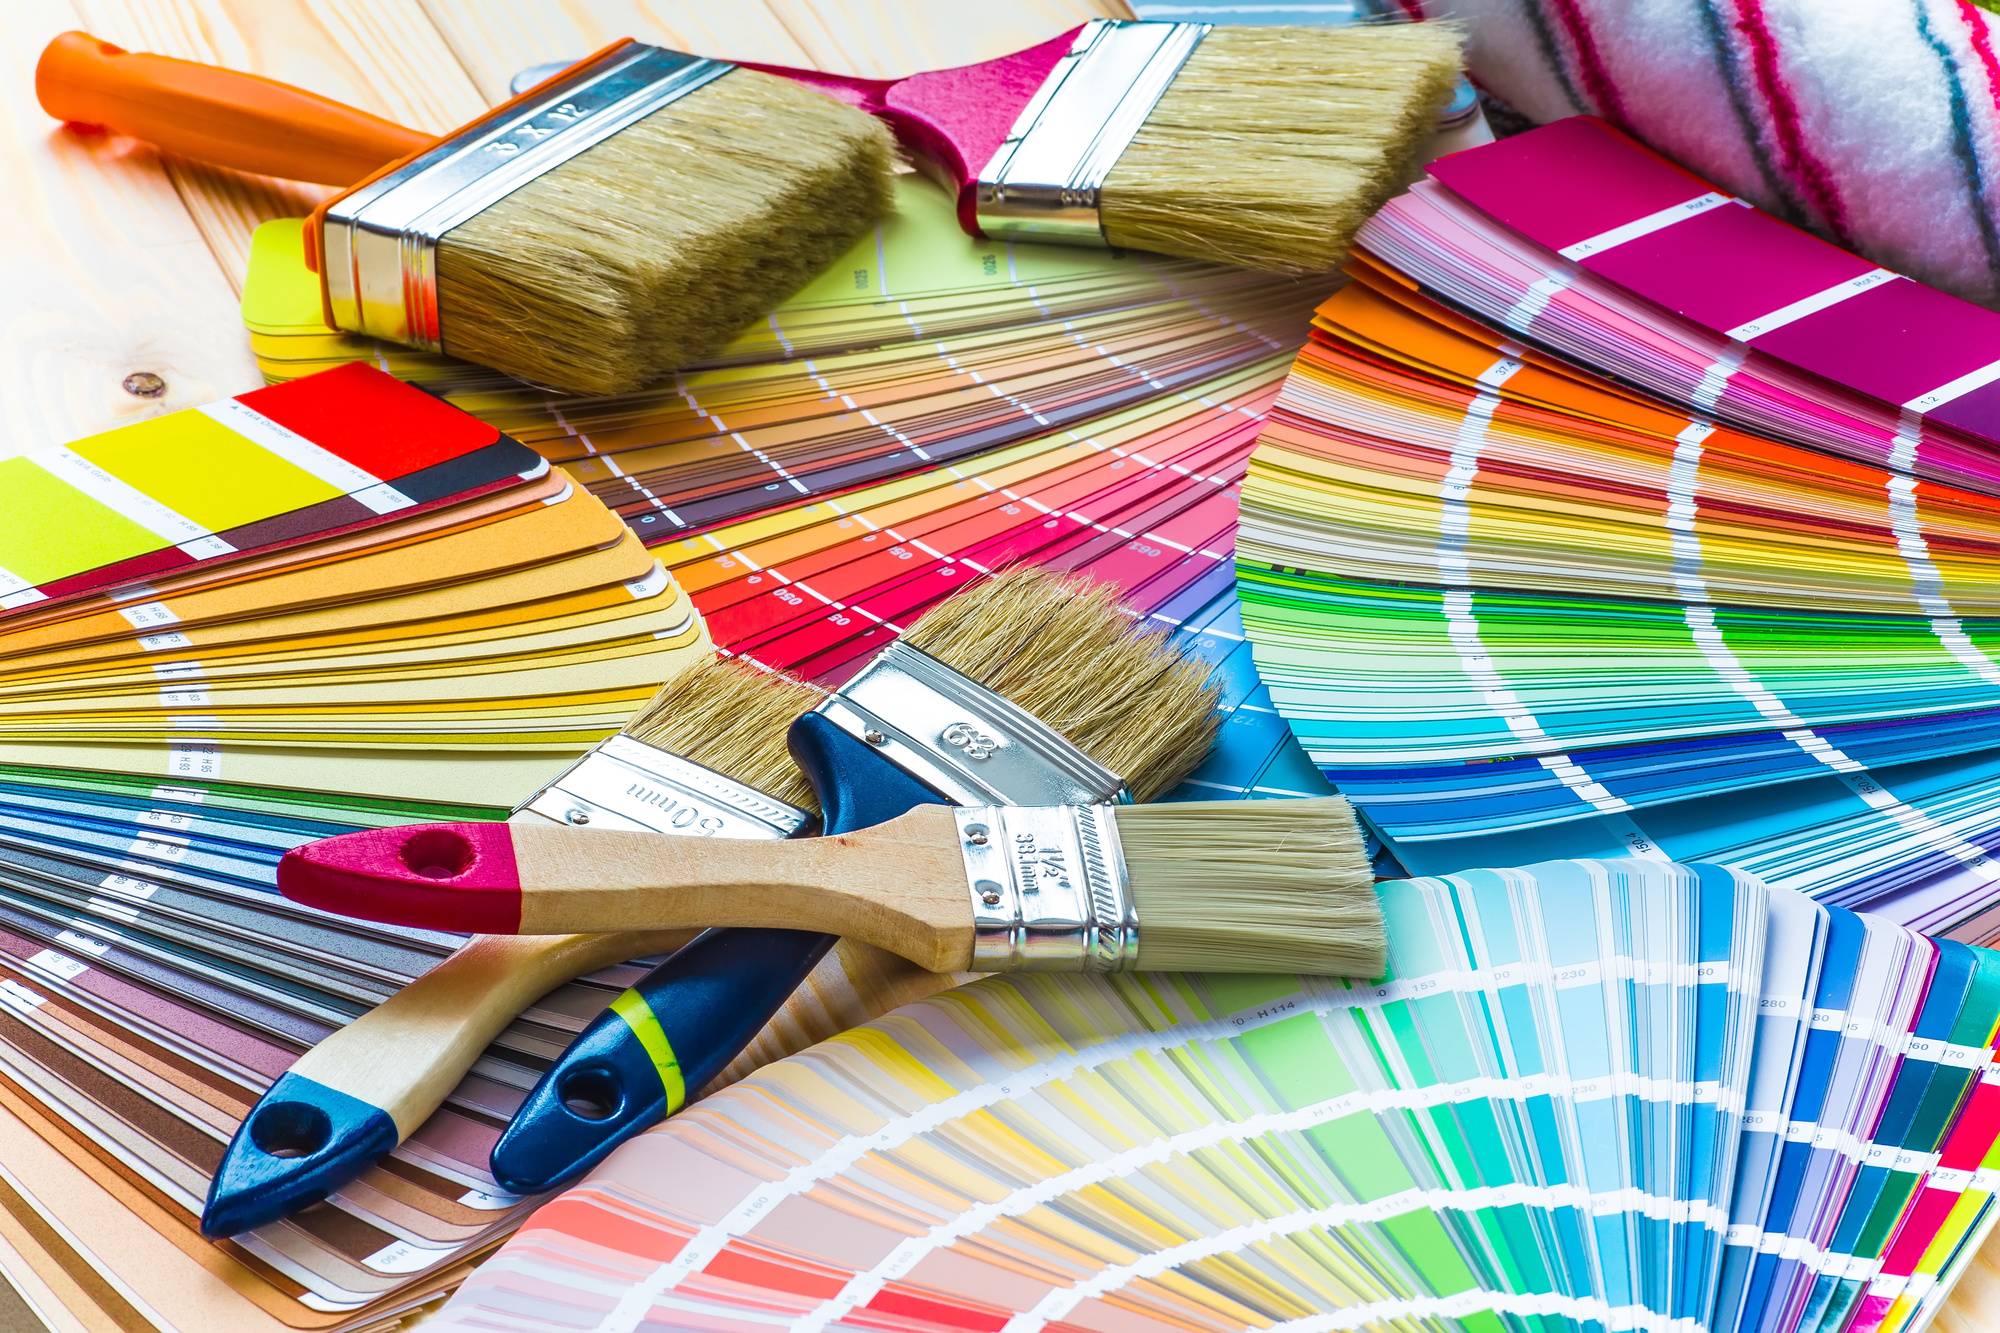
When it comes to painting the base of your kitchen table, it's important to choose the right type of paint. Acrylic paint is a popular choice for furniture as it is durable, easy to use, and comes in a variety of colors. You can also opt for chalk paint, which gives a matte, distressed finish, or oil-based paint for a more glossy and durable finish. Consider the style and color scheme of your kitchen when choosing the paint for your table base.2. Choosing the Right Paint for the Base of Your Kitchen Table

2. Choosing the Right Paint for the Base of Your Kitchen Table


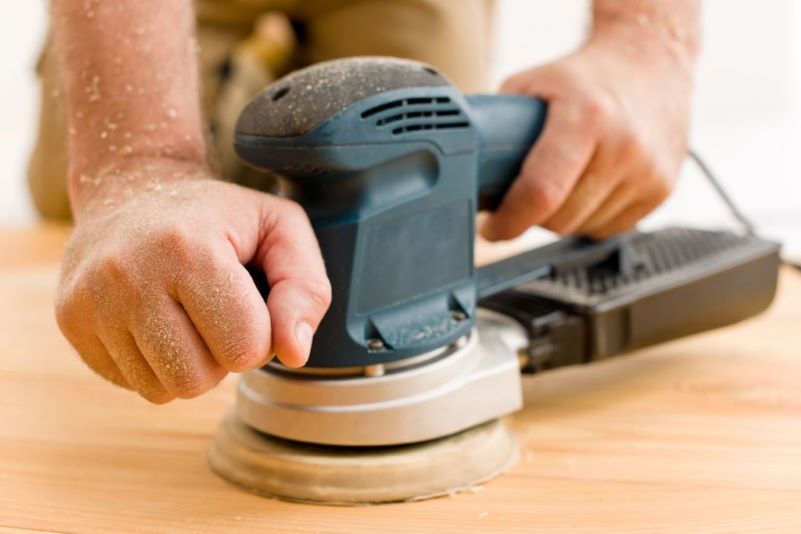
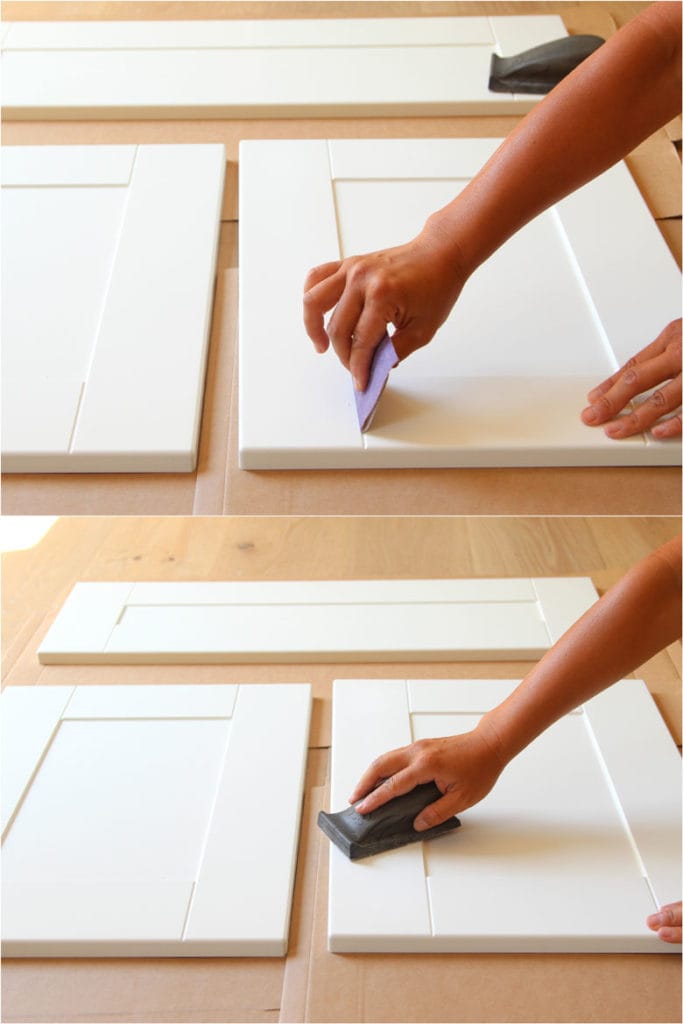
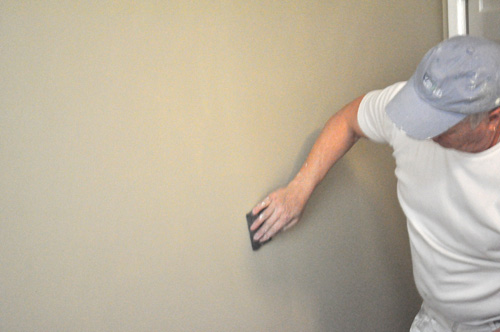
Sanding is an essential step in preparing the base of your kitchen table for painting. It helps to remove any imperfections, smooth out the surface, and create a better bonding surface for the paint. Start by using a medium-grit sandpaper to sand the entire surface of the base. Then, switch to a fine-grit sandpaper to achieve a smooth finish. Be sure to sand in the direction of the wood grain for the best results.3. Sanding the Base of the Kitchen Table for a Smooth Finish


3. Sanding the Base of the Kitchen Table for a Smooth Finish


Priming is an important step to ensure that the paint adheres well to the base of your kitchen table. Use a wood primer to seal the surface and prevent the paint from peeling or chipping. Apply the primer using a brush or roller, making sure to cover the entire base evenly. Let the primer dry completely before moving on to the next step.4. Priming the Base of the Kitchen Table for Better Adhesion


4. Priming the Base of the Kitchen Table for Better Adhesion


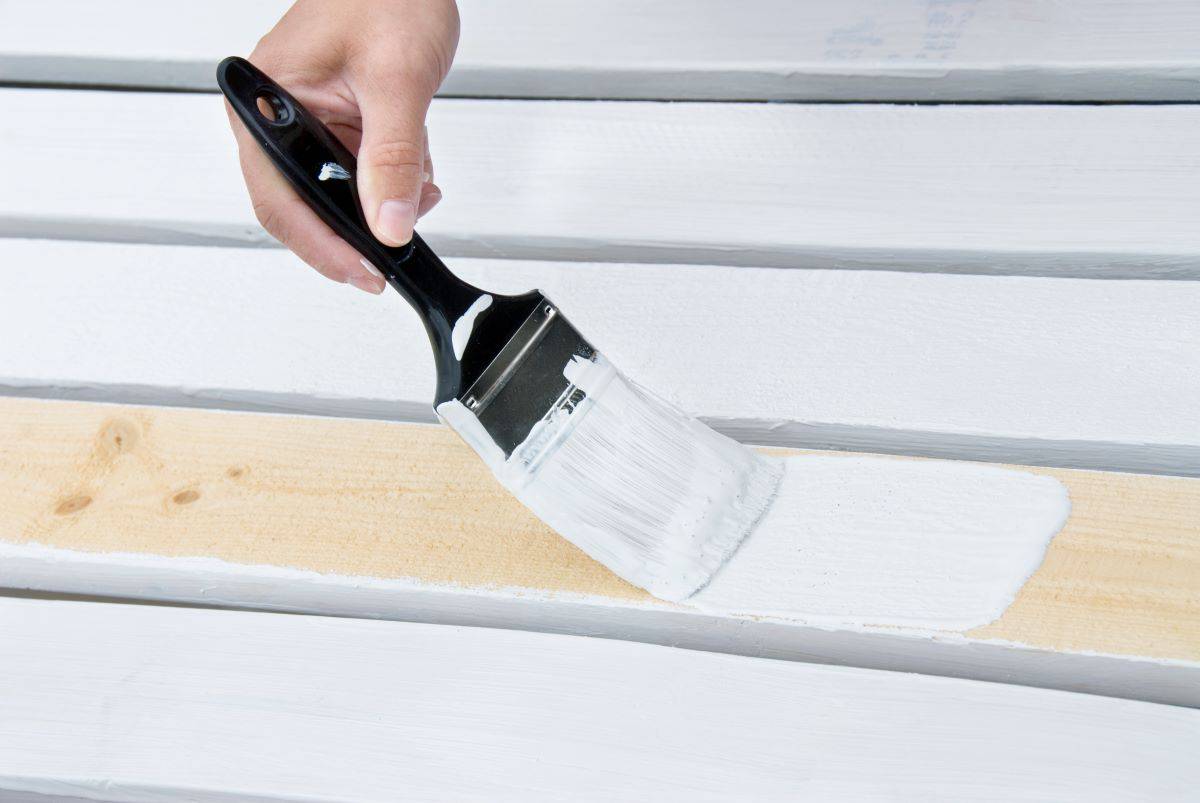


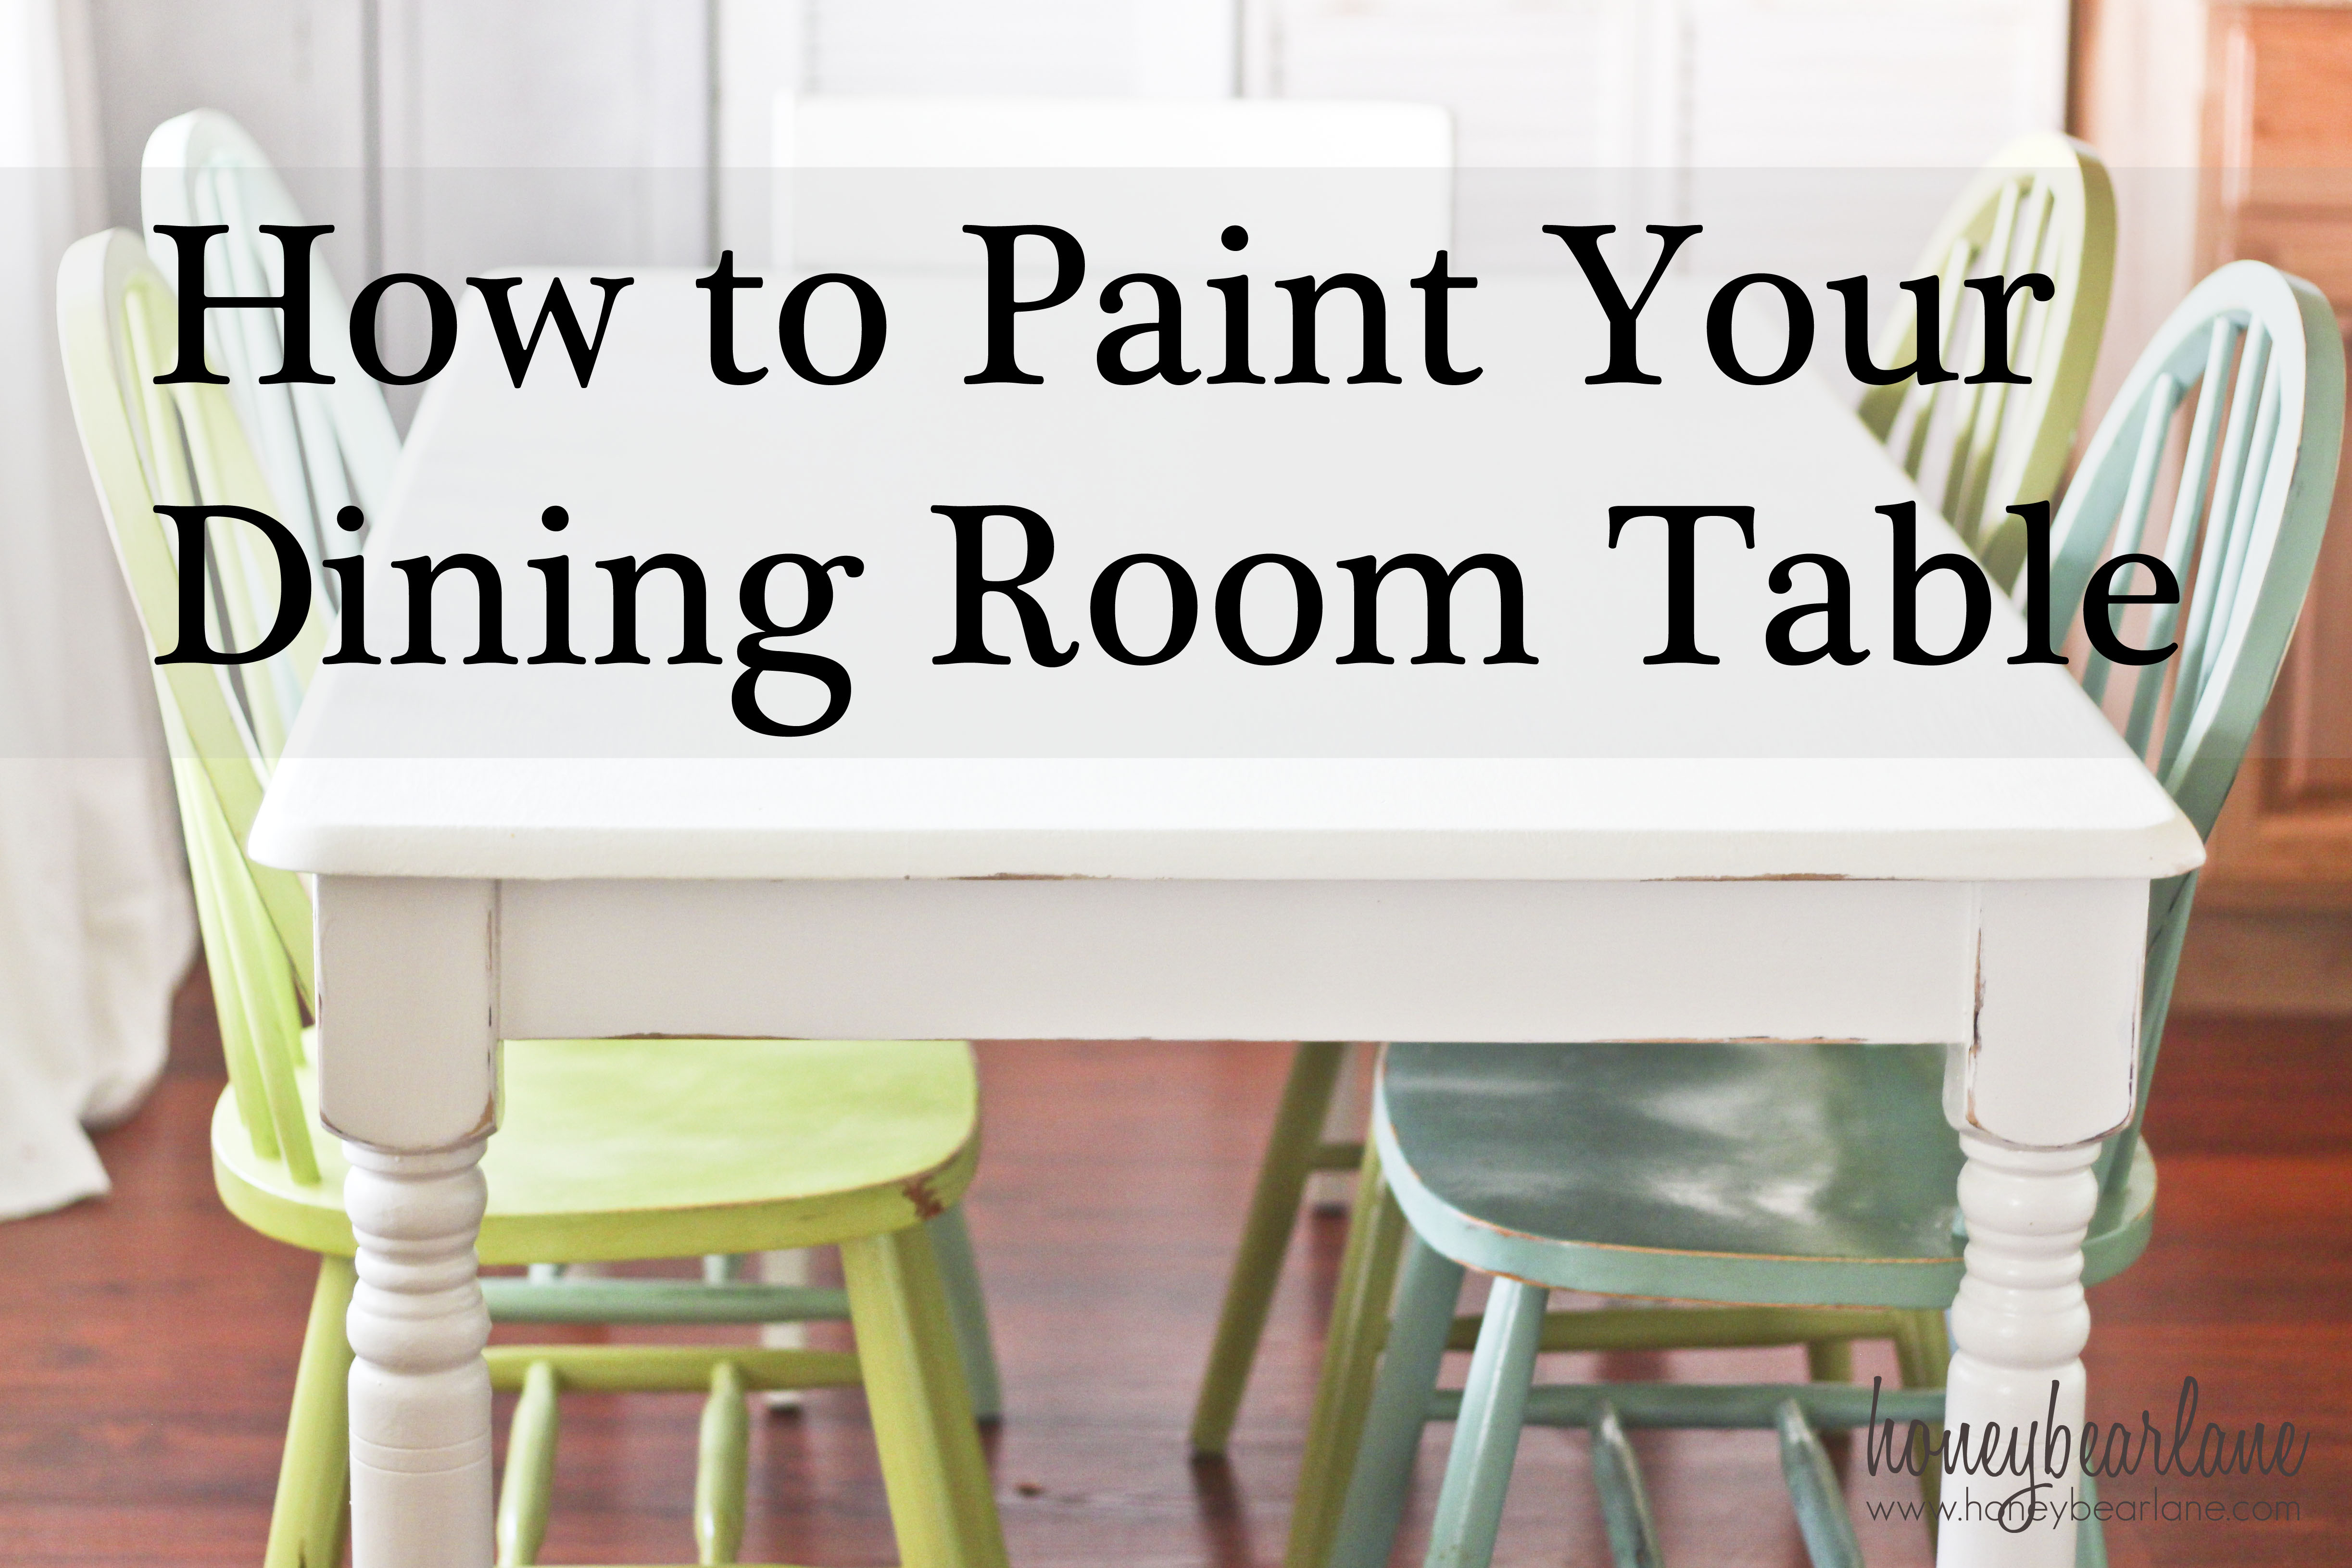
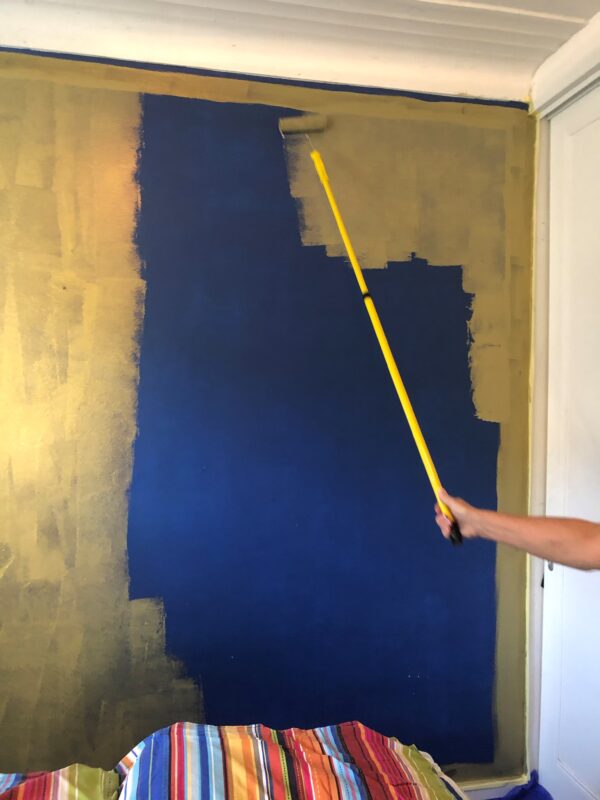
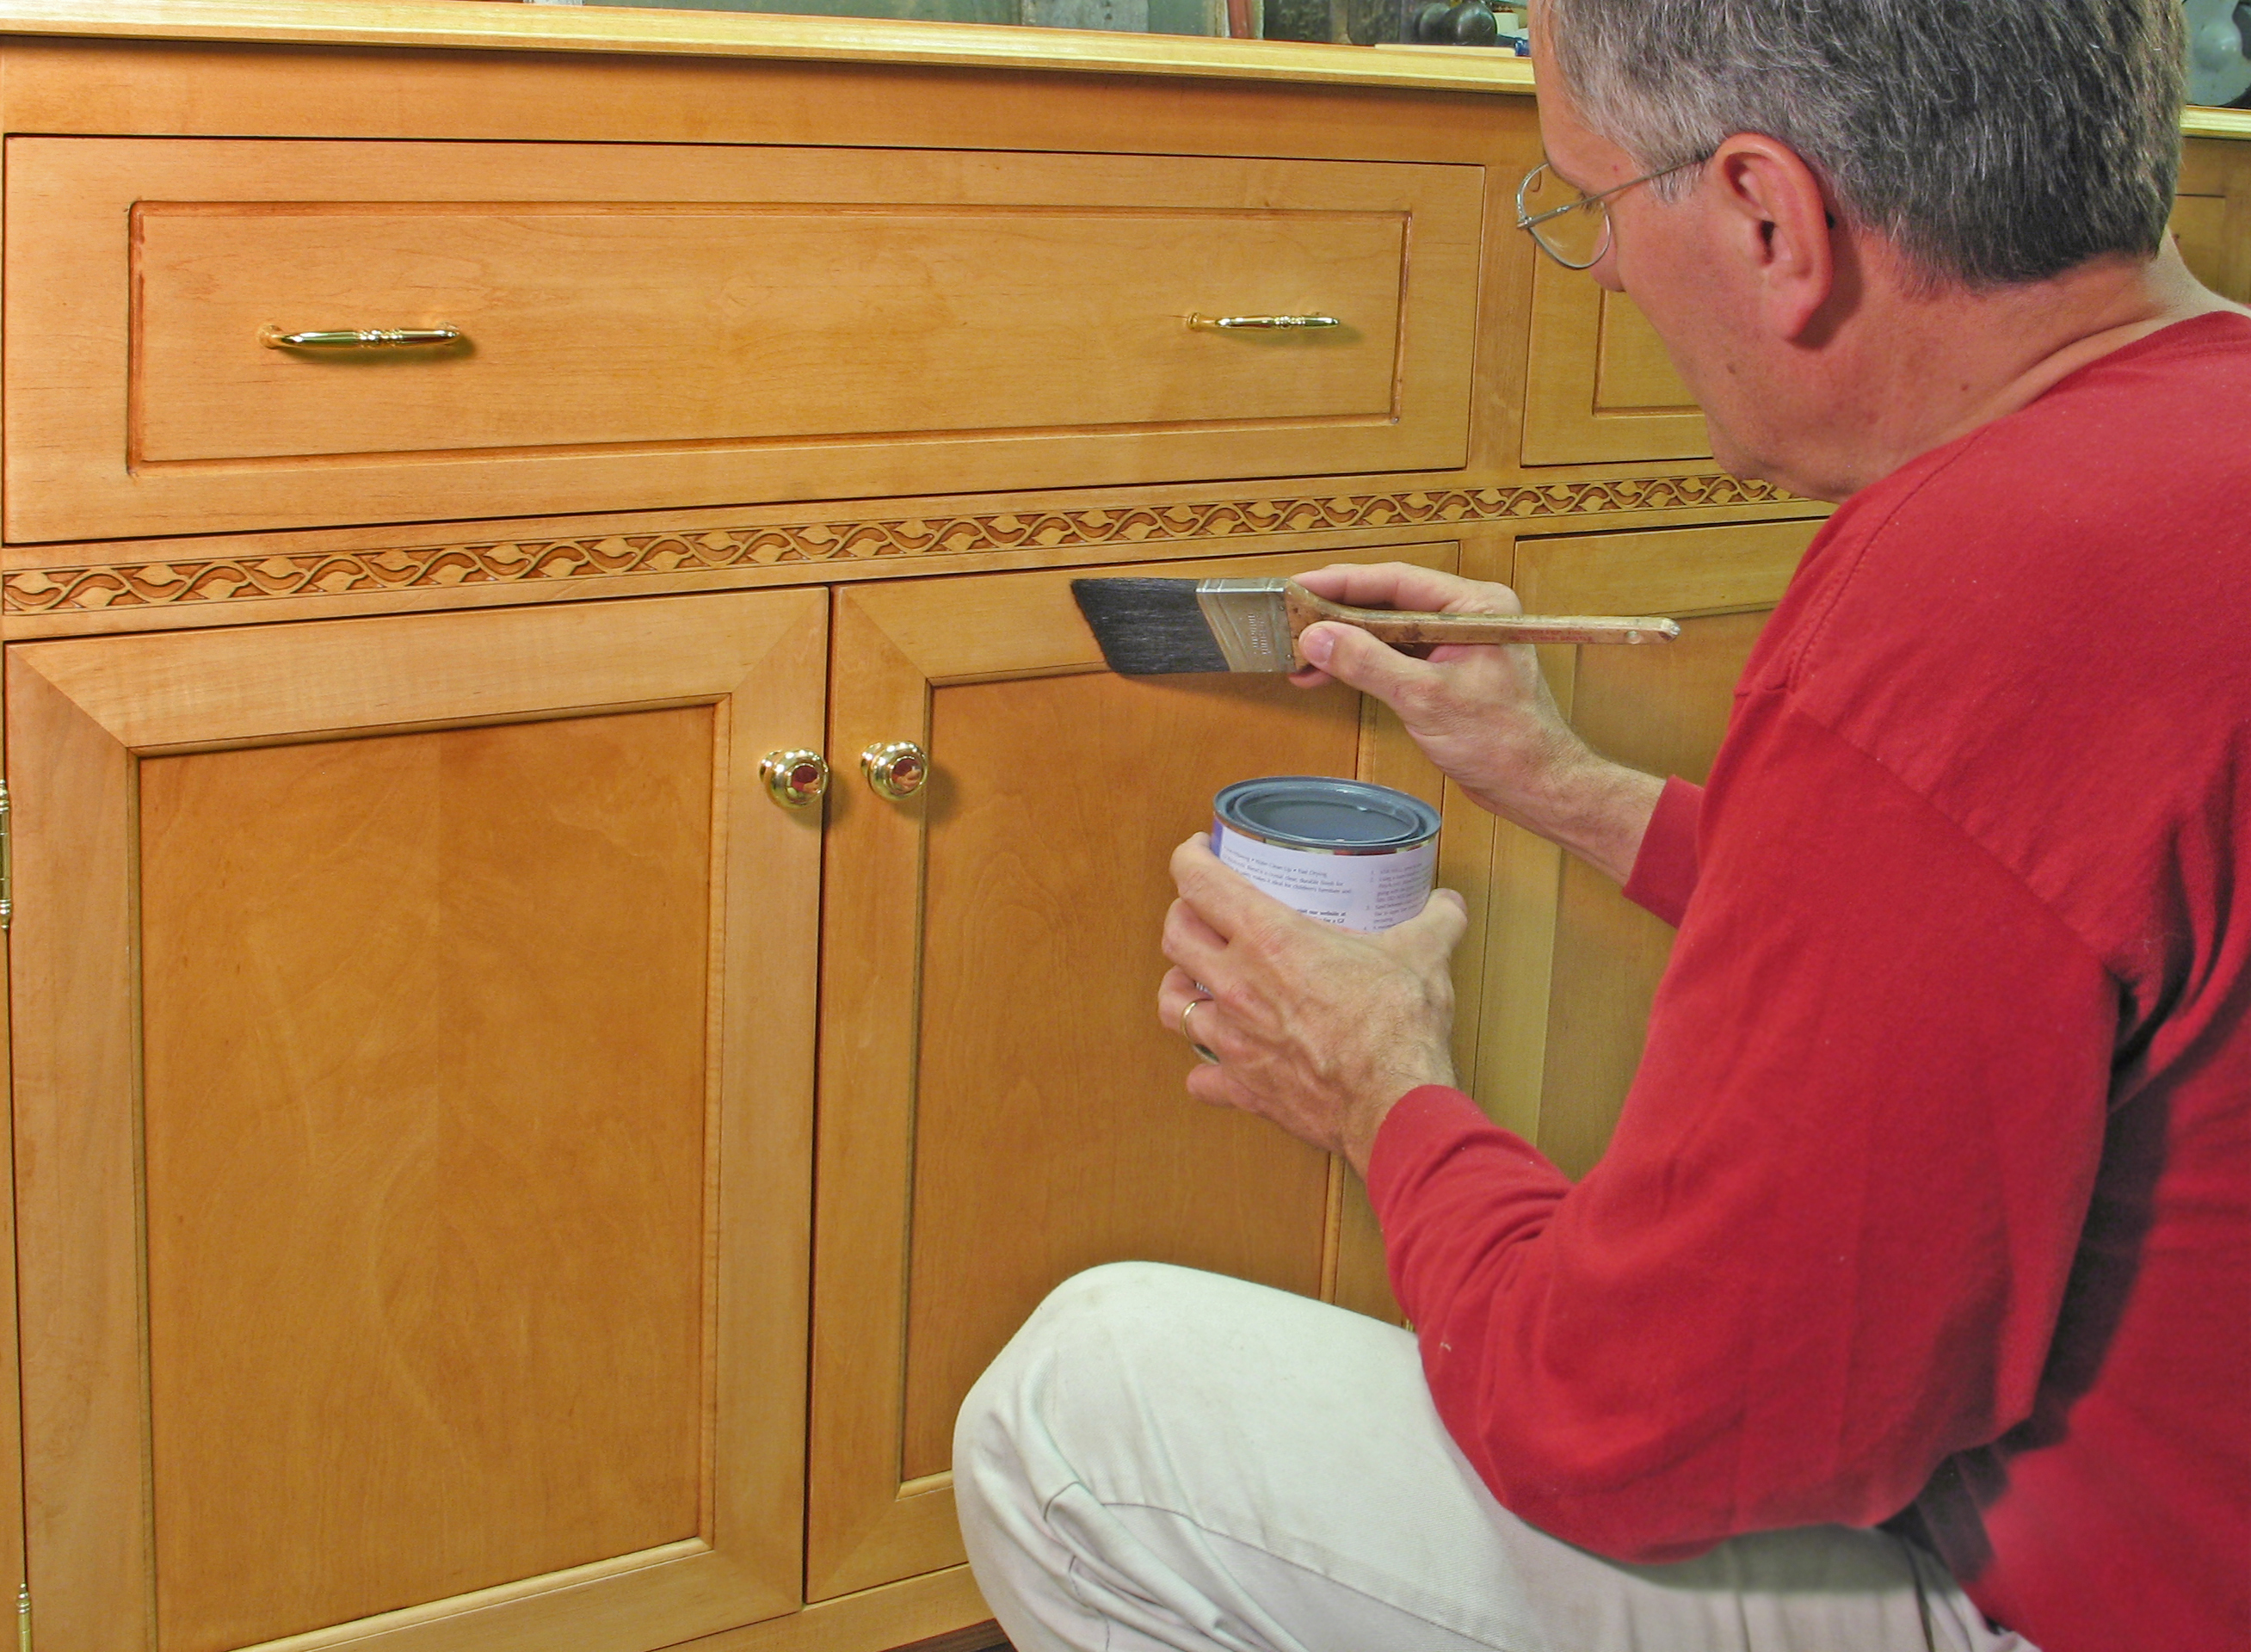
Now comes the fun part – painting! Use a brush or roller to apply the paint to the base of your kitchen table. Start with a thin coat and work your way up to a thicker coat for a more even and smooth finish. Be sure to paint in the direction of the wood grain for a professional look. Let the first coat dry completely before adding a second coat for better coverage.5. Painting the Base of the Kitchen Table with a Brush or Roller
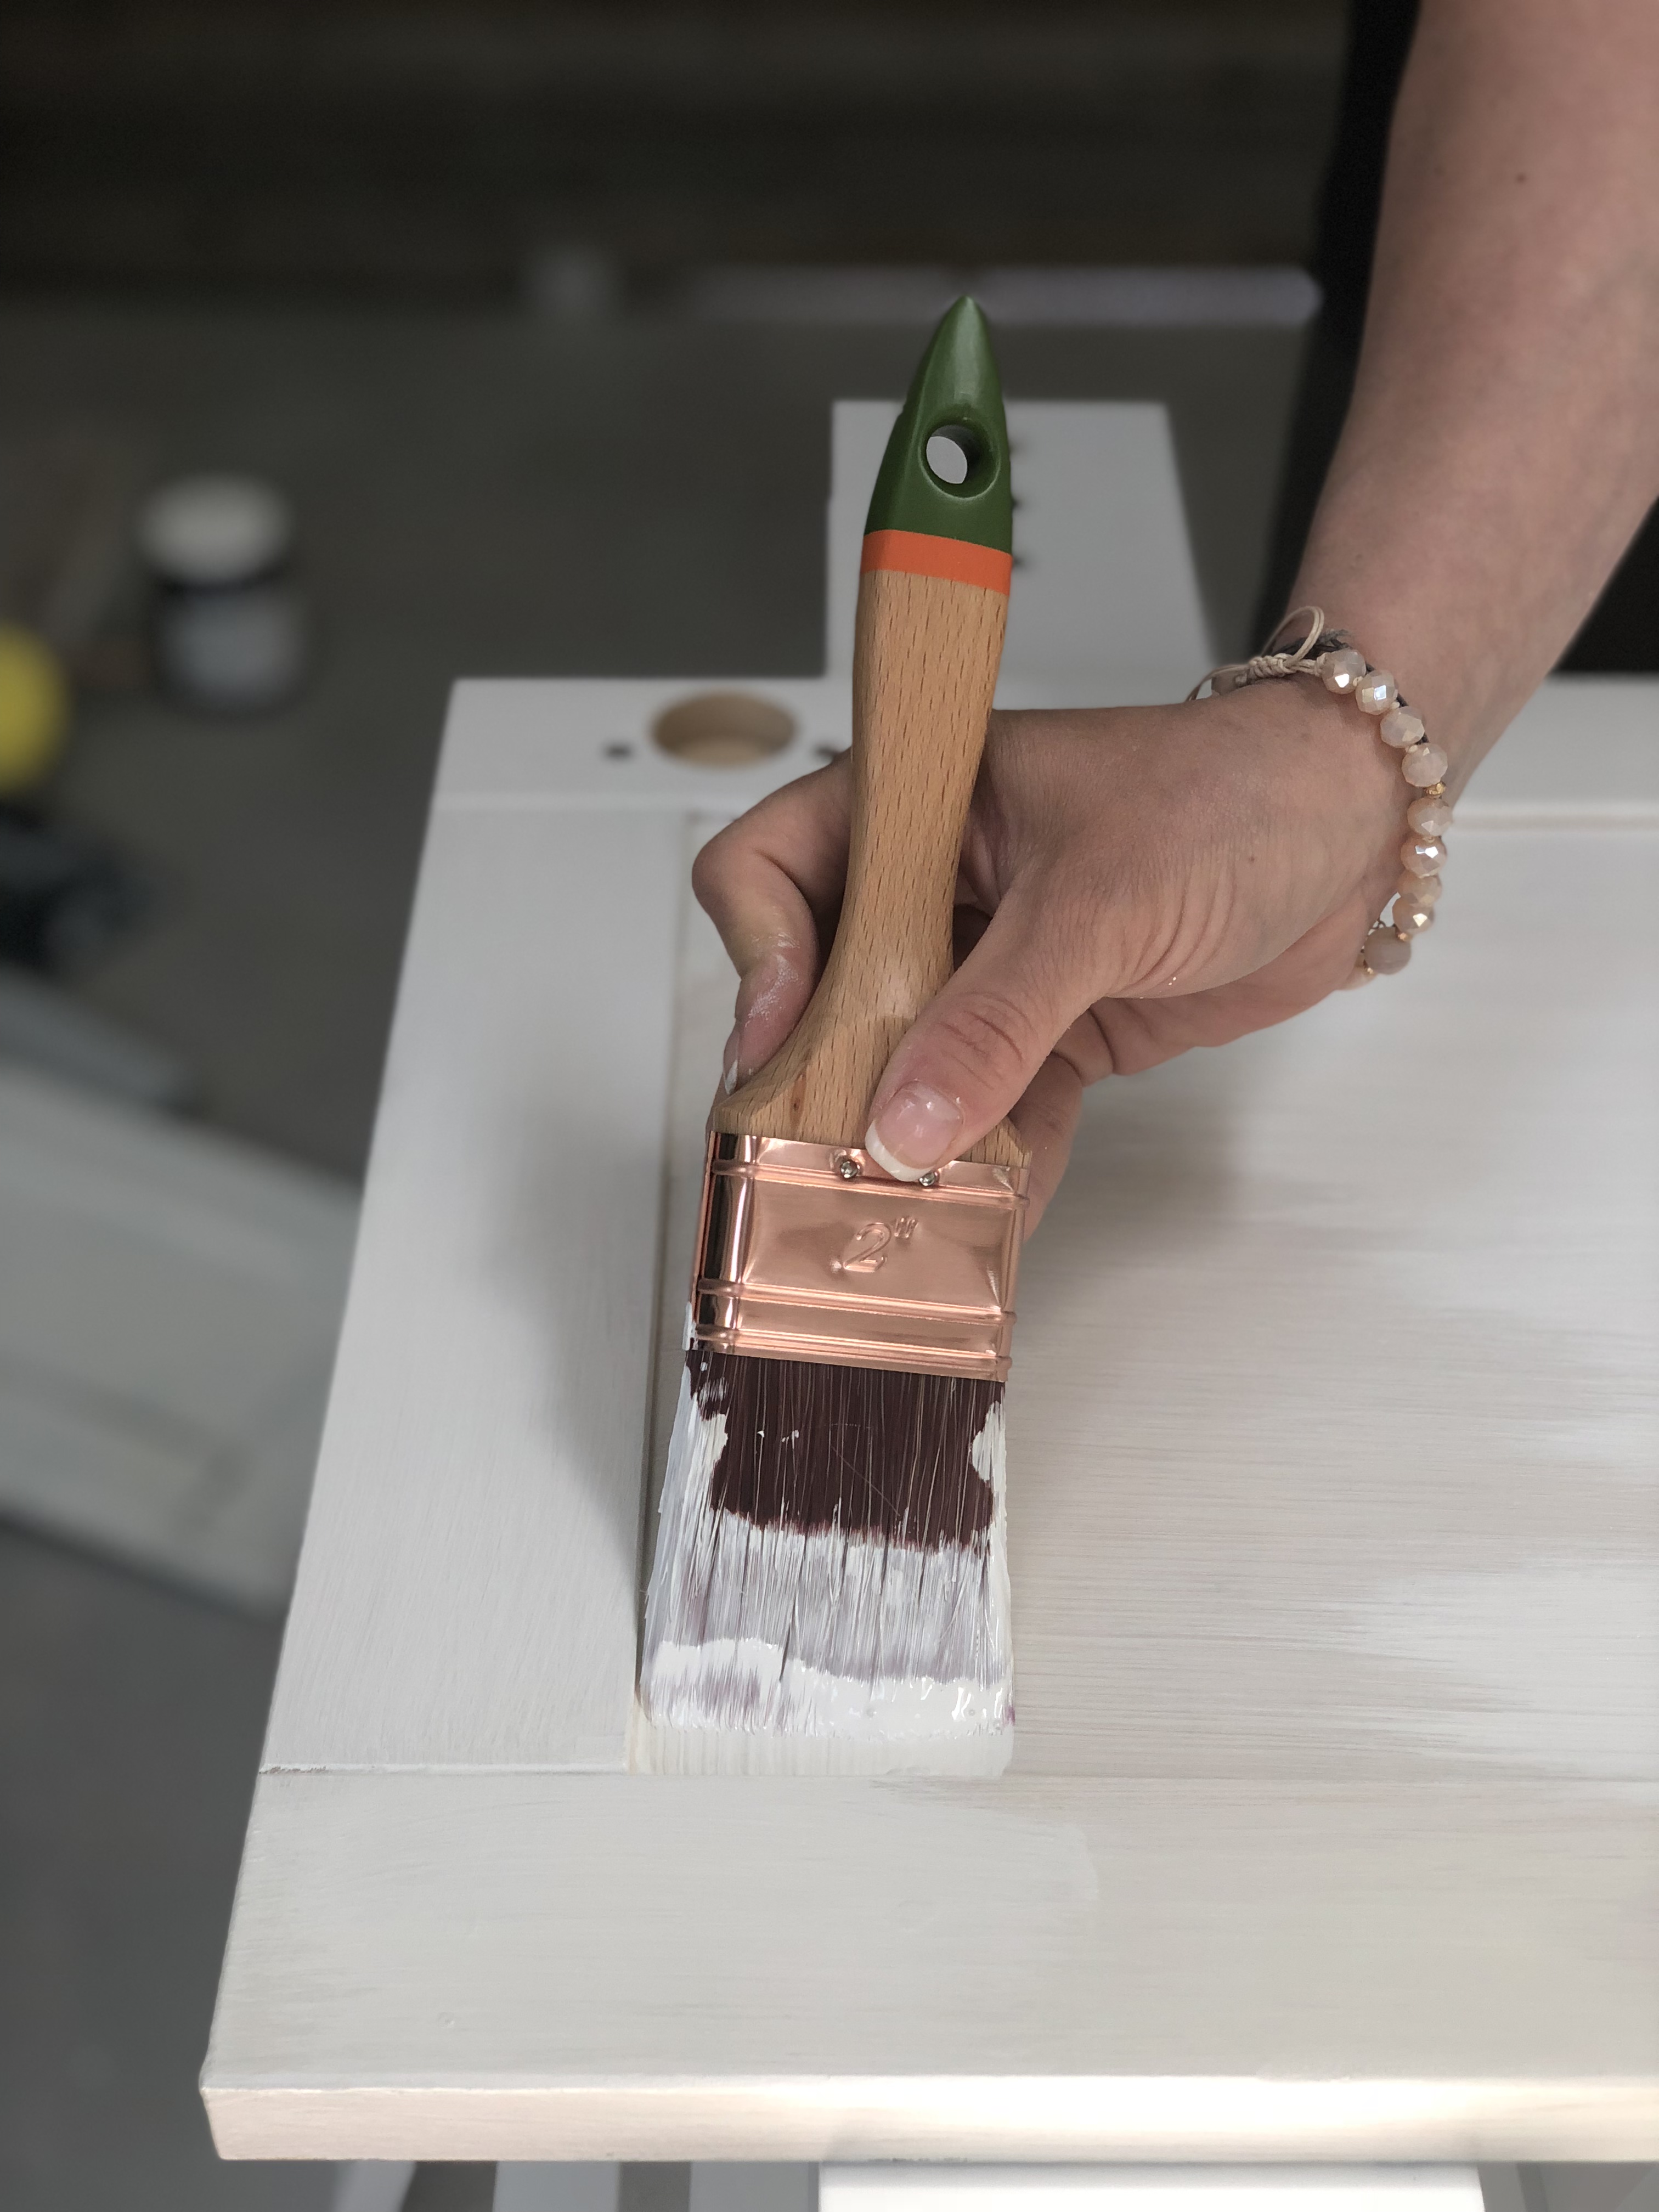


5. Painting the Base of the Kitchen Table with a Brush or Roller


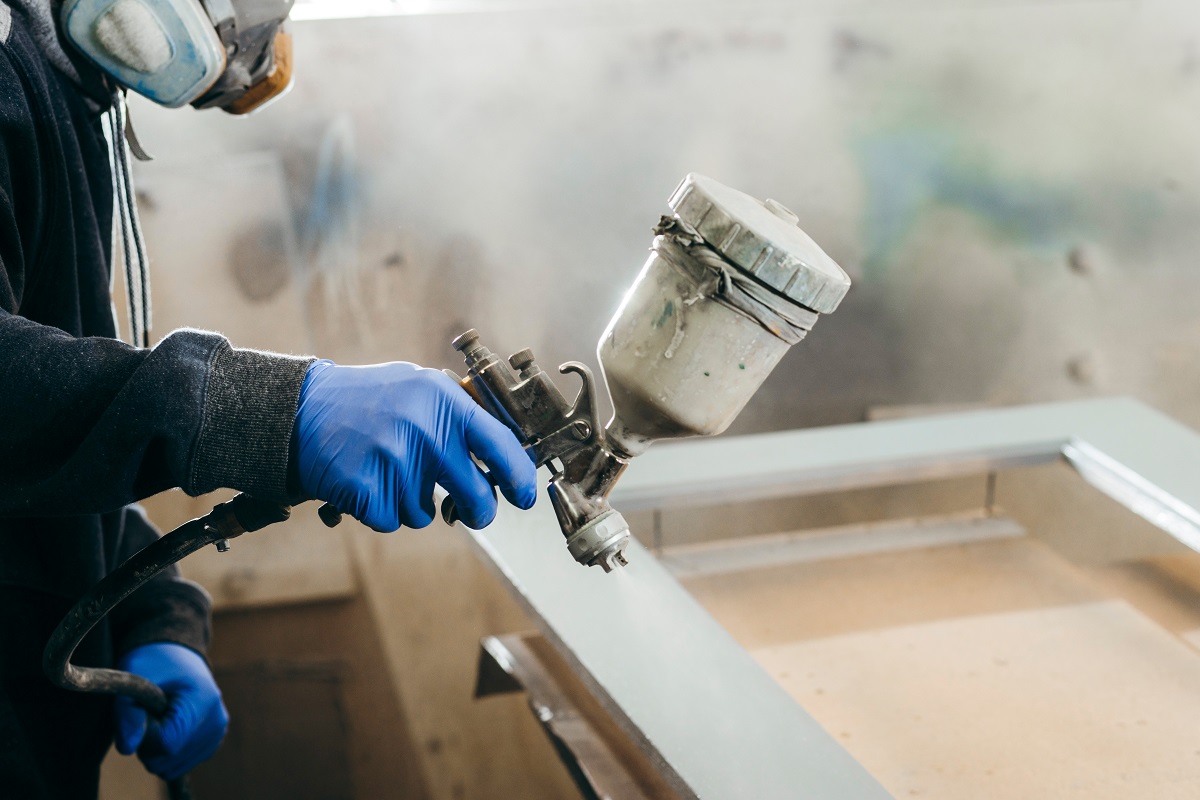
If you're looking for a quick and easy way to paint the base of your kitchen table, consider using spray paint. It allows for a smooth and even finish without the hassle of using brushes or rollers. Simply cover the surrounding area with drop cloths or newspapers and spray the paint in a well-ventilated area. Be sure to follow the instructions on the spray paint can for best results.6. Using Spray Paint for a Quick and Easy Base Painting Process


6. Using Spray Paint for a Quick and Easy Base Painting Process

:max_bytes(150000):strip_icc()/how-to-spray-paint-kitchen-cabinets-4150186-12-8b15779f0d2e41a28da5dc10171ab840.jpg)


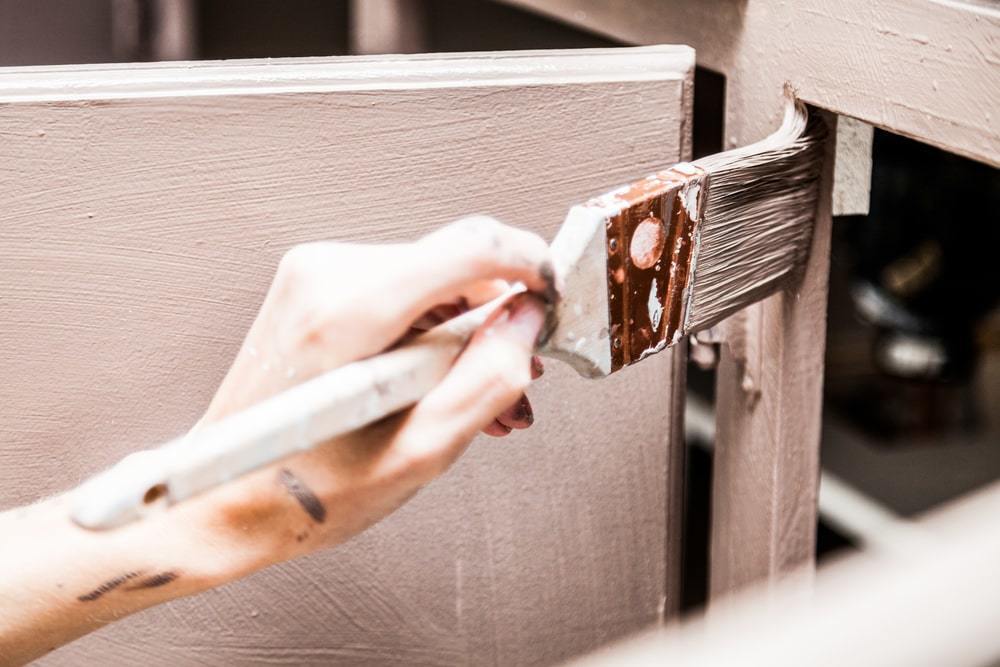
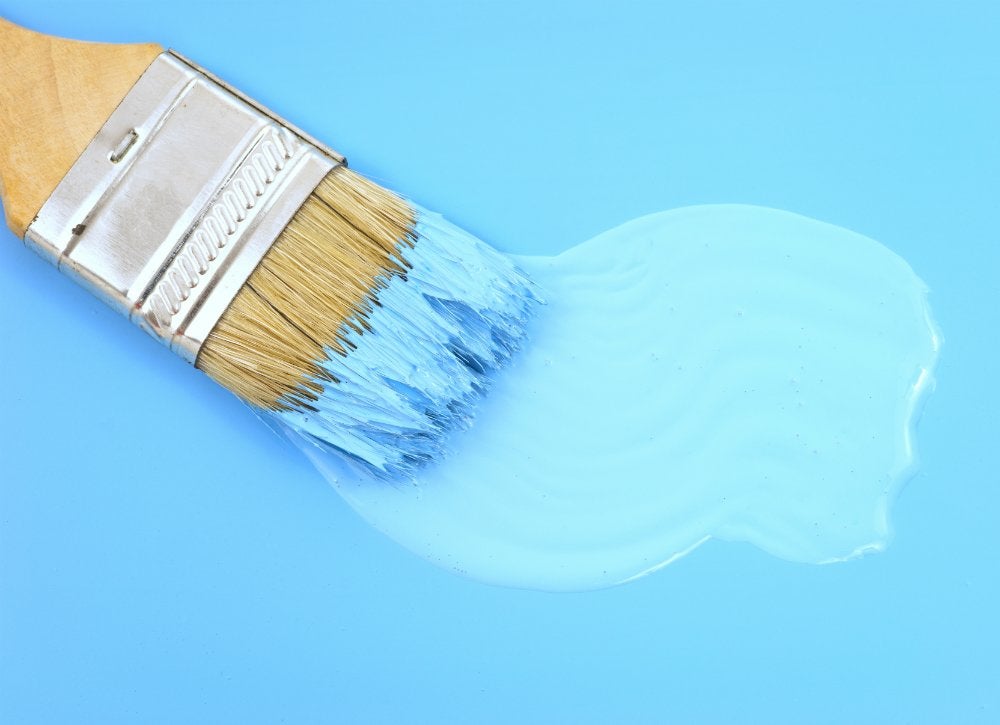
For a more vibrant and bold color, consider adding a second coat of paint to the base of your kitchen table. This will also help to cover any imperfections or brush strokes from the first coat. Use the same technique as before, applying thin coats and letting each coat dry completely before adding another.7. Adding a Second Coat of Paint for a More Vibrant Color


7. Adding a Second Coat of Paint for a More Vibrant Color


:max_bytes(150000):strip_icc()/how-to-properly-use-a-paint-brush-1824840-07-b7e4ba354d8e4ffcbe015f0eece2472a.jpg)


To ensure that your newly painted kitchen table base stays looking fresh and new, it's important to add a protective topcoat. This will seal and protect the paint from scratches, stains, and spills. You can choose from a variety of topcoat options, such as polyurethane for a glossy finish, wax for a matte finish, or varnish for a durable finish. Apply the topcoat using a brush or roller, and let it dry completely.8. Adding a Protective Topcoat to Seal and Protect the Painted Base


8. Adding a Protective Topcoat to Seal and Protect the Painted Base


Take your painted kitchen table base to the next level by adding some decorative details with paint. You can use stencils to create fun designs, add a pop of color with accent paint, or use a paint pen to draw intricate patterns. These small details can make a big impact and add a personal touch to your kitchen table.9. Adding Decorative Details to the Base of Your Kitchen Table with Paint


9. Adding Decorative Details to the Base of Your Kitchen Table with Paint


Here are some additional tips and tricks to help you achieve a professional-looking painted base on your kitchen table:10. Tips and Tricks for a Professional-Looking Painted Base on Your Kitchen Table

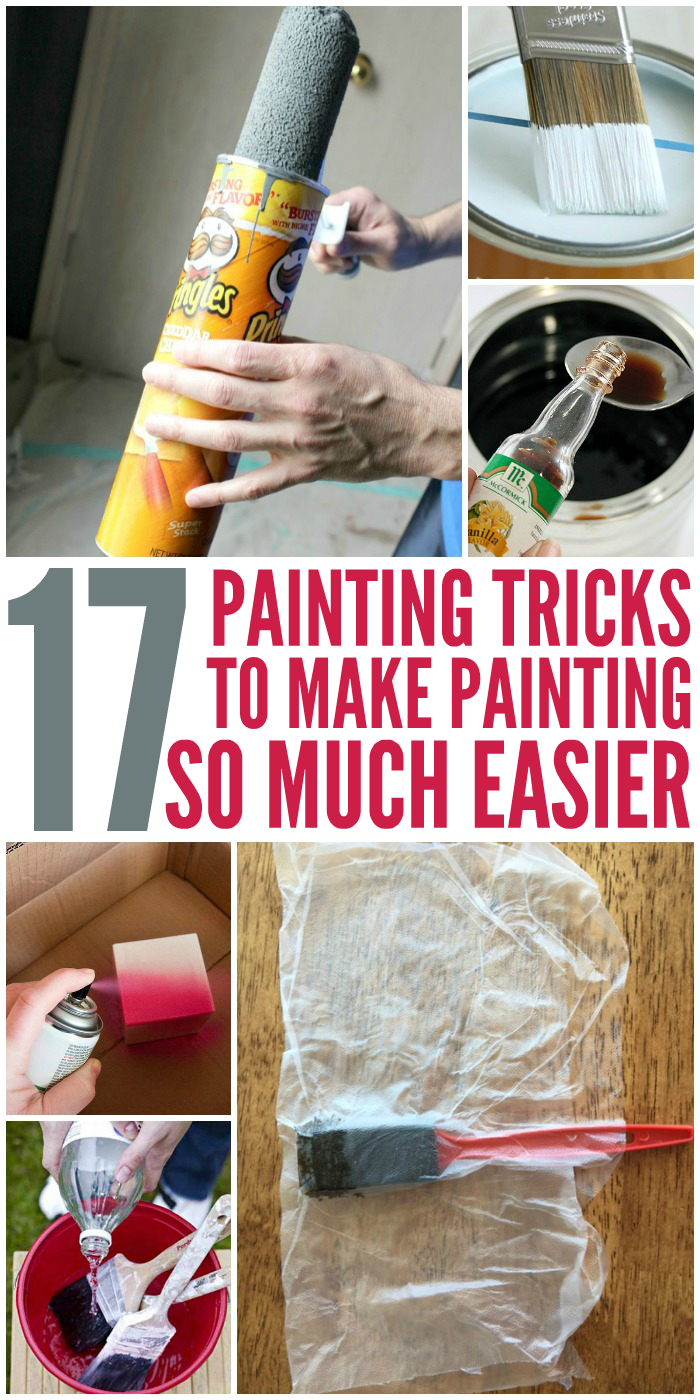
10. Tips and Tricks for a Professional-Looking Painted Base on Your Kitchen Table


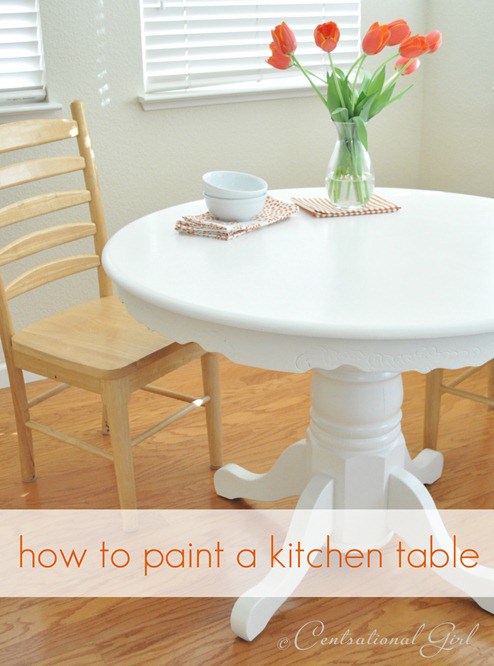
Why Painting the Base of a Kitchen Table is the Perfect Design Choice

The Importance of a Well-Designed Kitchen
 The kitchen is often considered the heart of the home, and for good reason. It's where we gather with family and friends, share meals, and create memories. As such, the design of a kitchen is crucial in creating a welcoming and functional space. One design element that can make a big impact in a kitchen is the color of the kitchen table's base.
Why Paint?
 Painting the base of a kitchen table may seem like a small detail, but it can have a big impact on the overall design of the room. It allows you to add a pop of color or tie in existing colors in the space. Plus, it's a cost-effective and easy way to update the look of your kitchen without having to completely renovate.
Choosing the Right Color
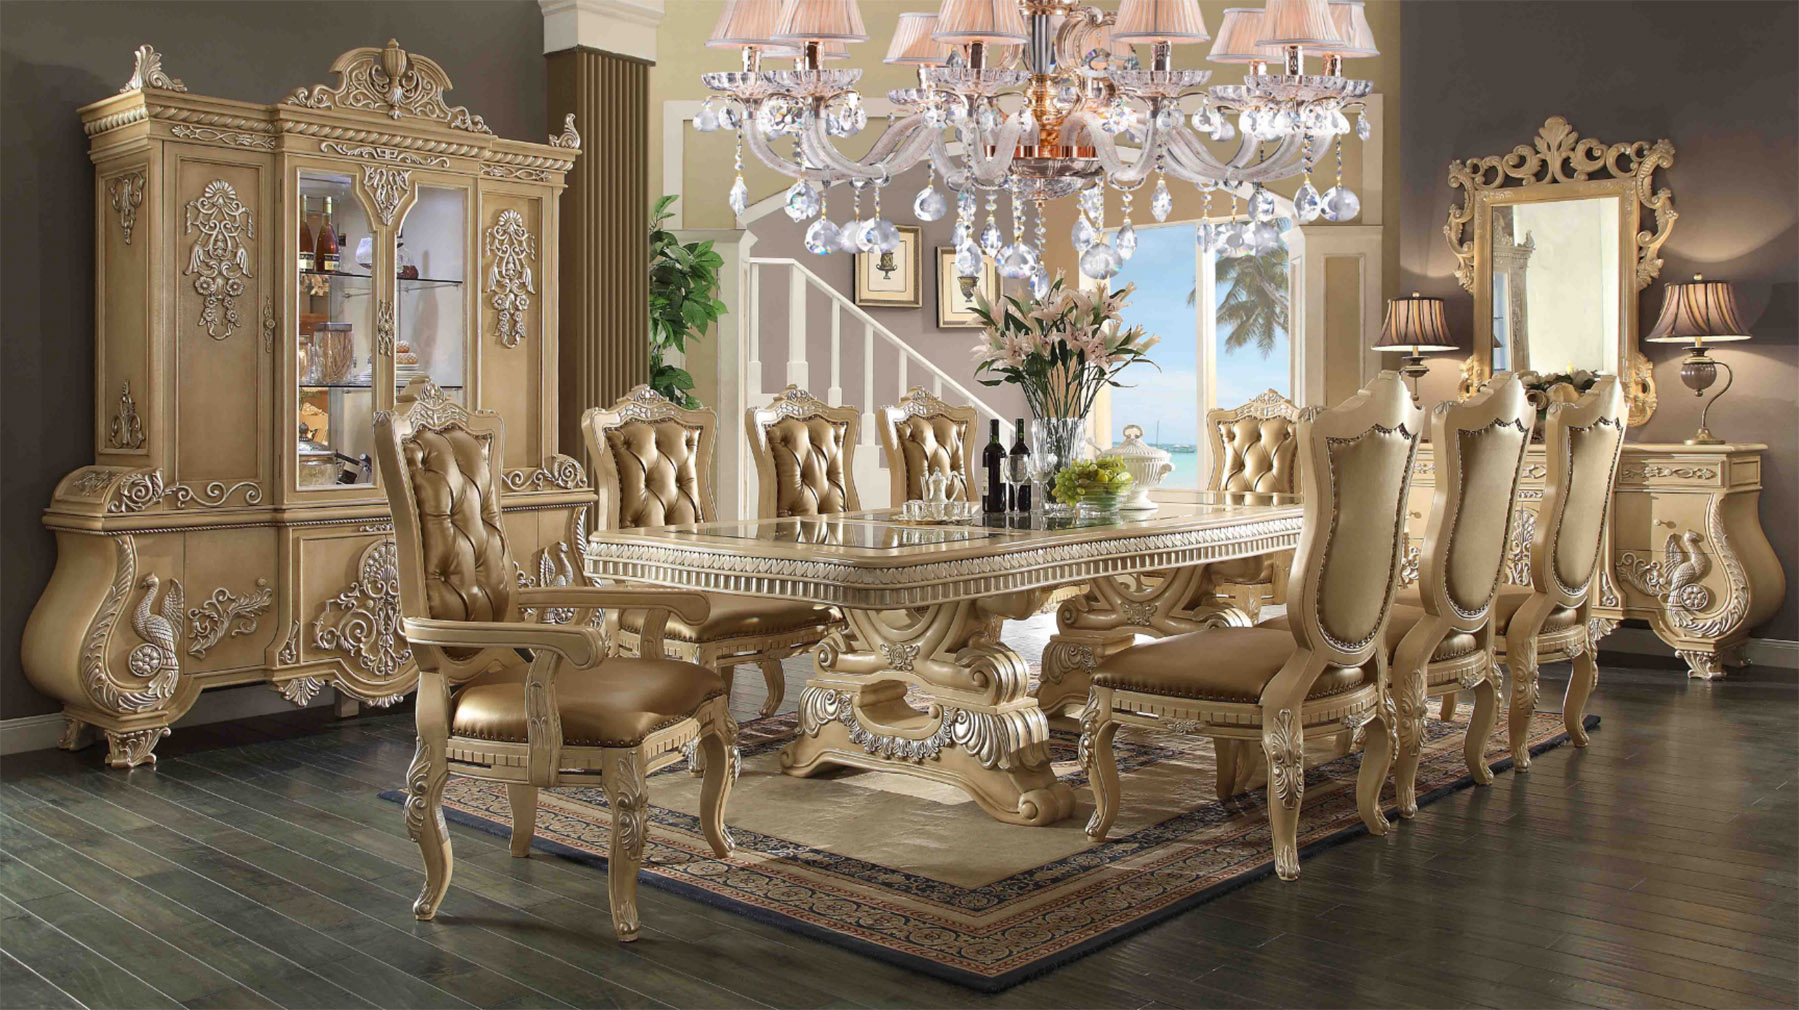
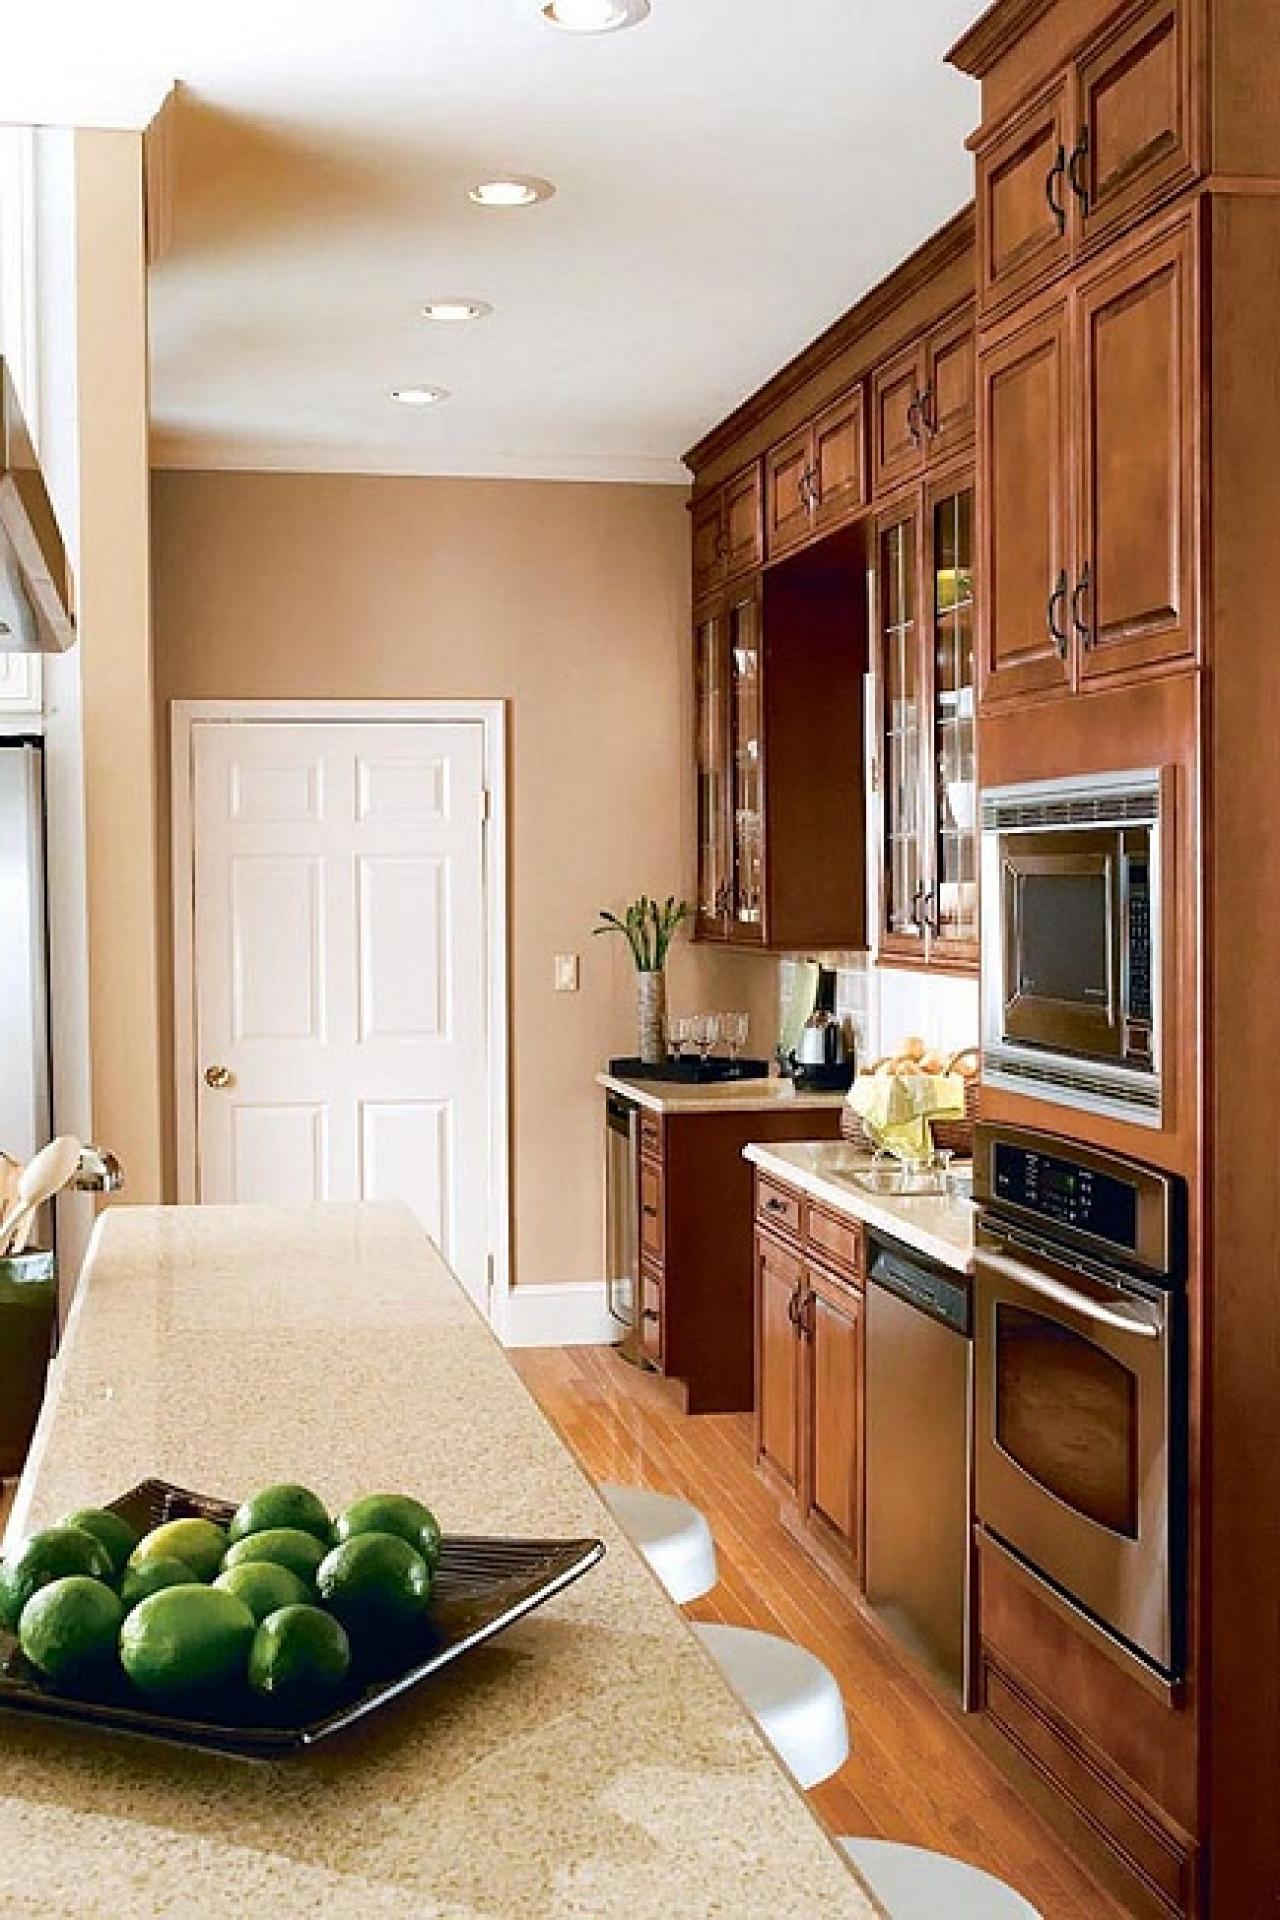
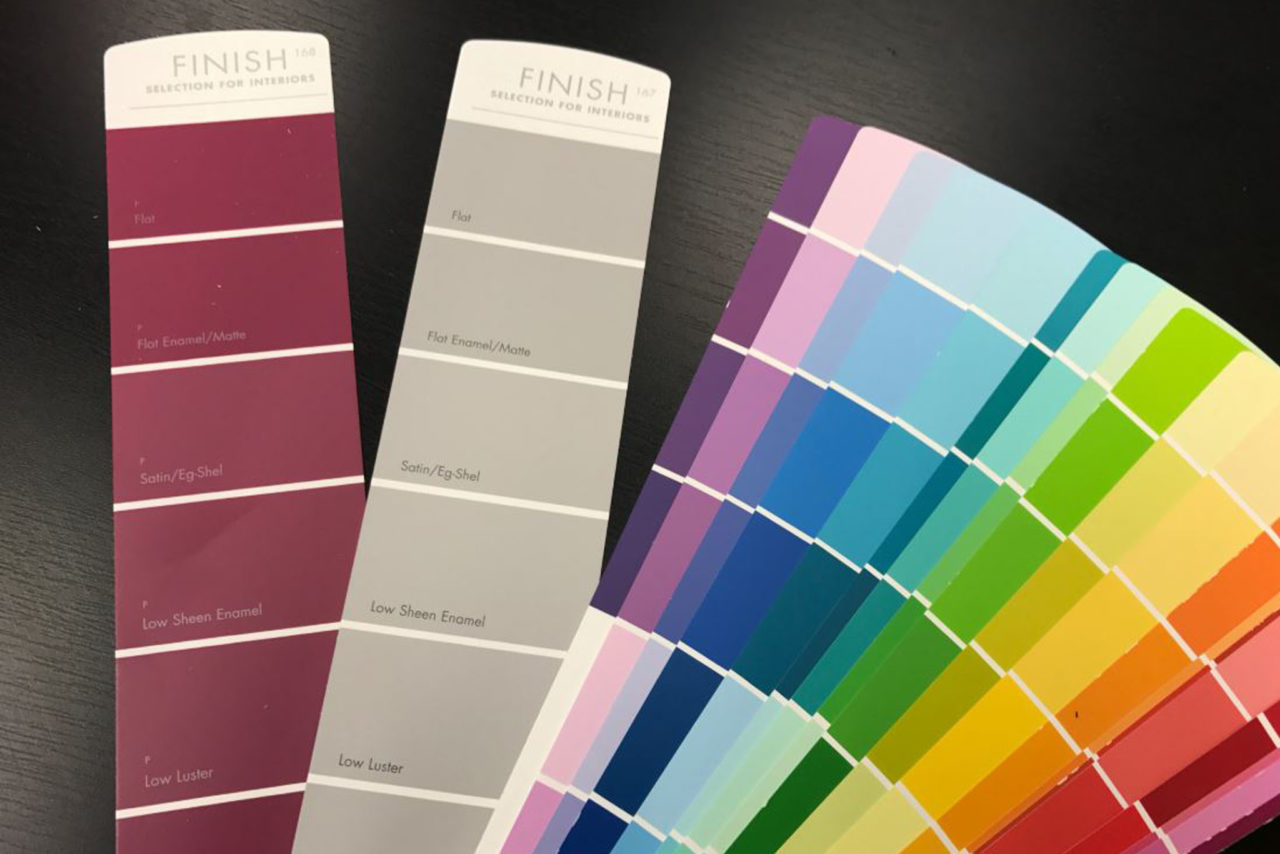
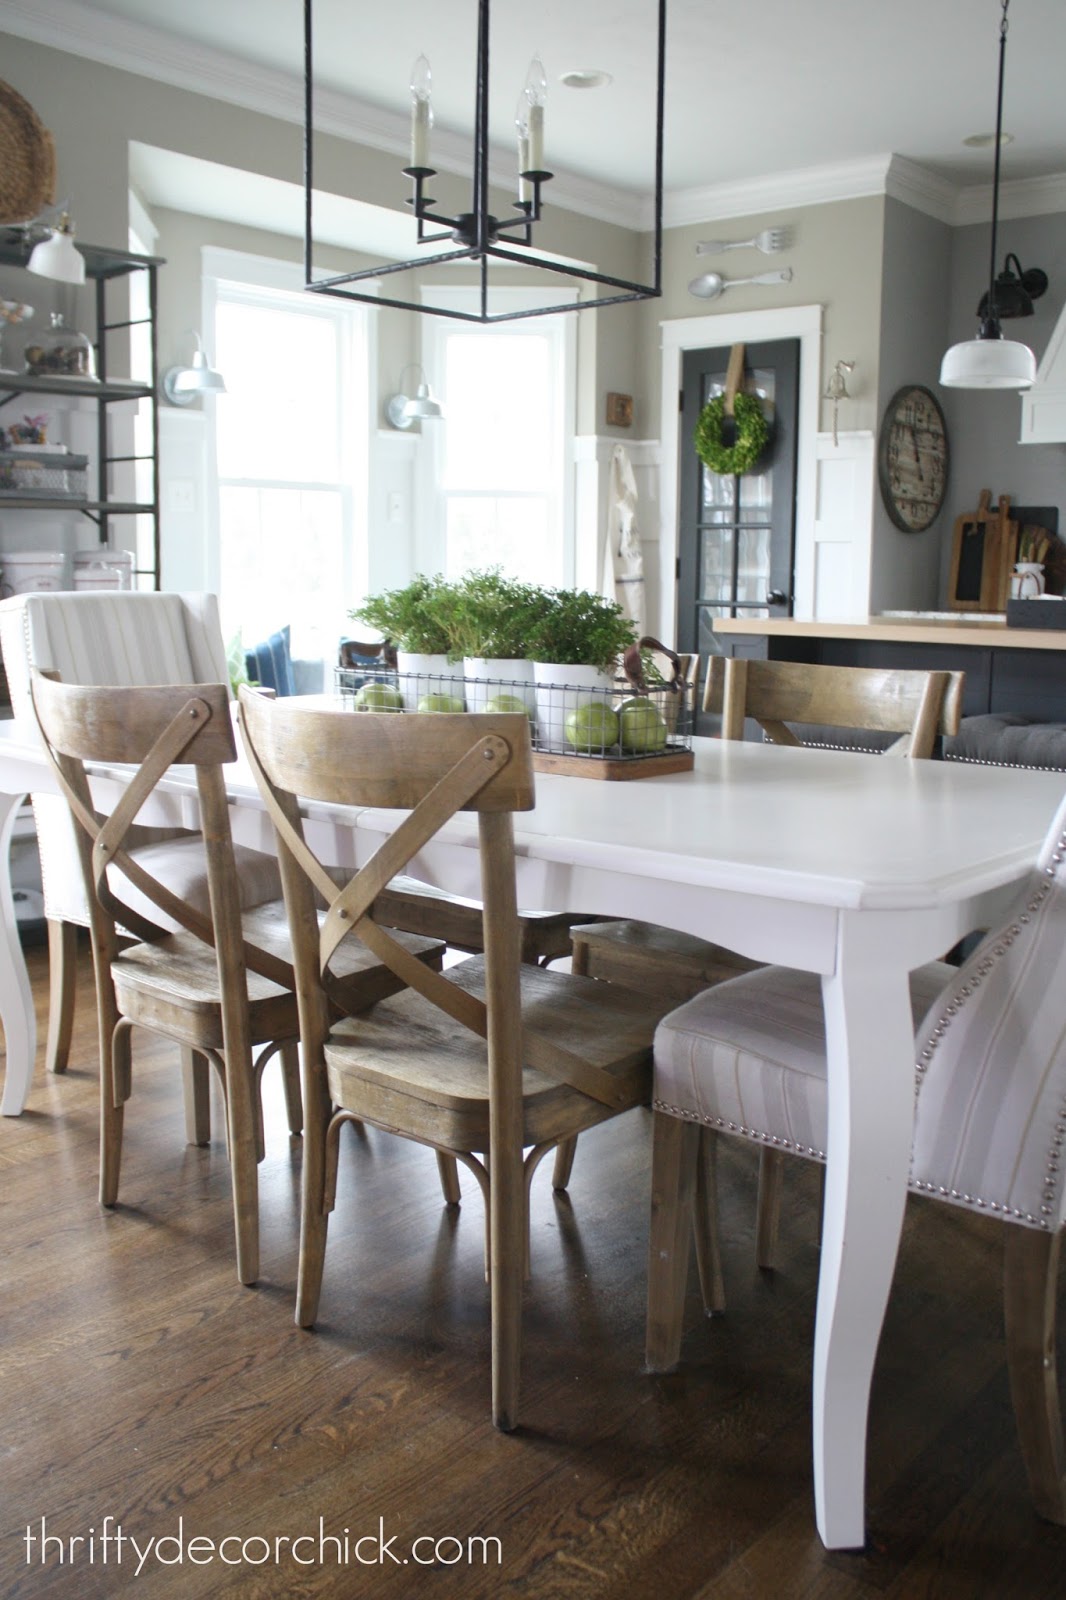
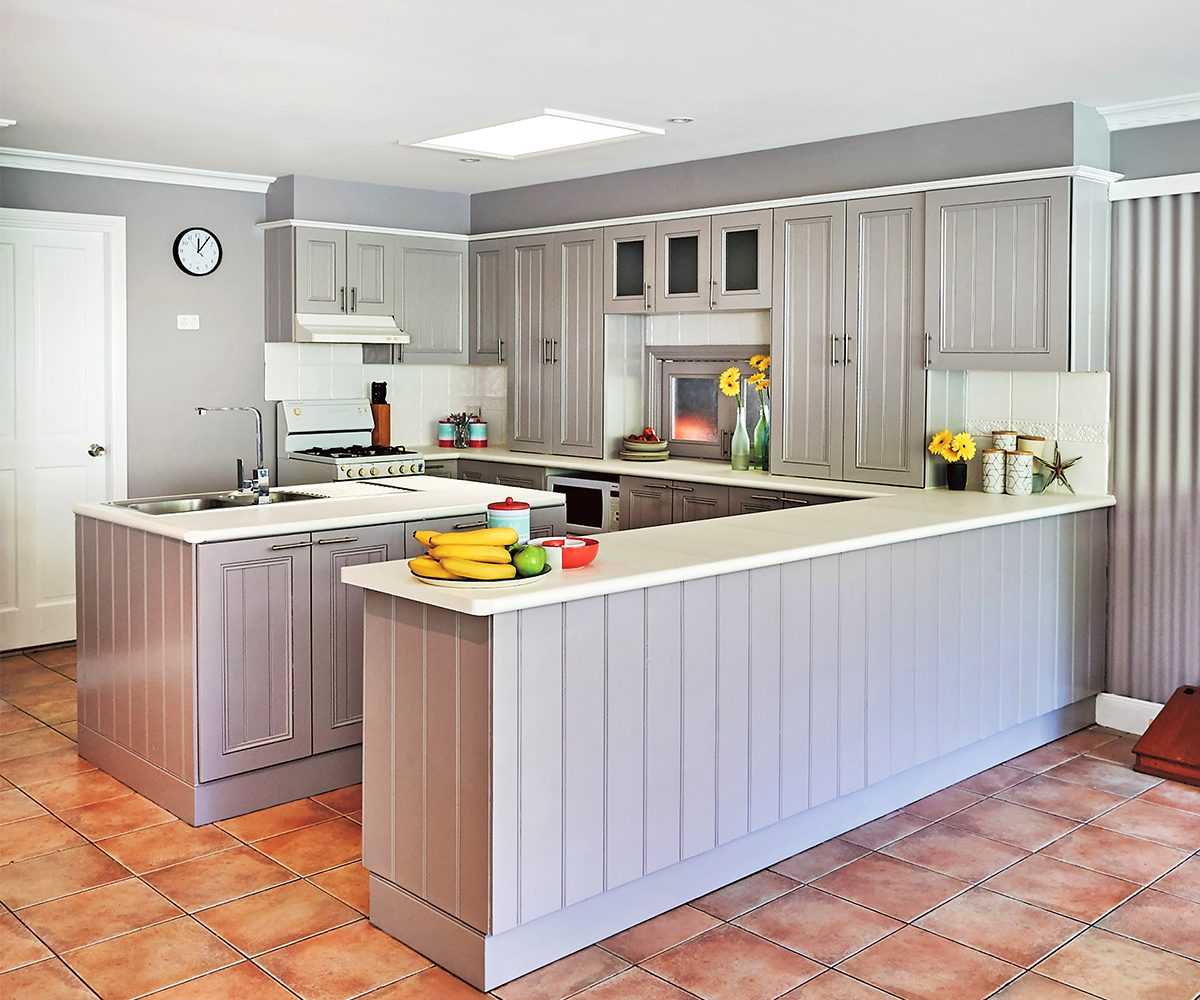
 When it comes to painting the base of a kitchen table, the options are endless. You can go for a bold, statement color to add a fun and playful touch to the room, or opt for a more subtle tone that complements the existing color scheme. It's important to consider the overall design and style of your kitchen before choosing a color. For a modern and sleek look, consider a neutral color like white, grey, or black. If you want to add warmth and coziness to the space, opt for warmer colors like beige, brown, or even a soft pastel.
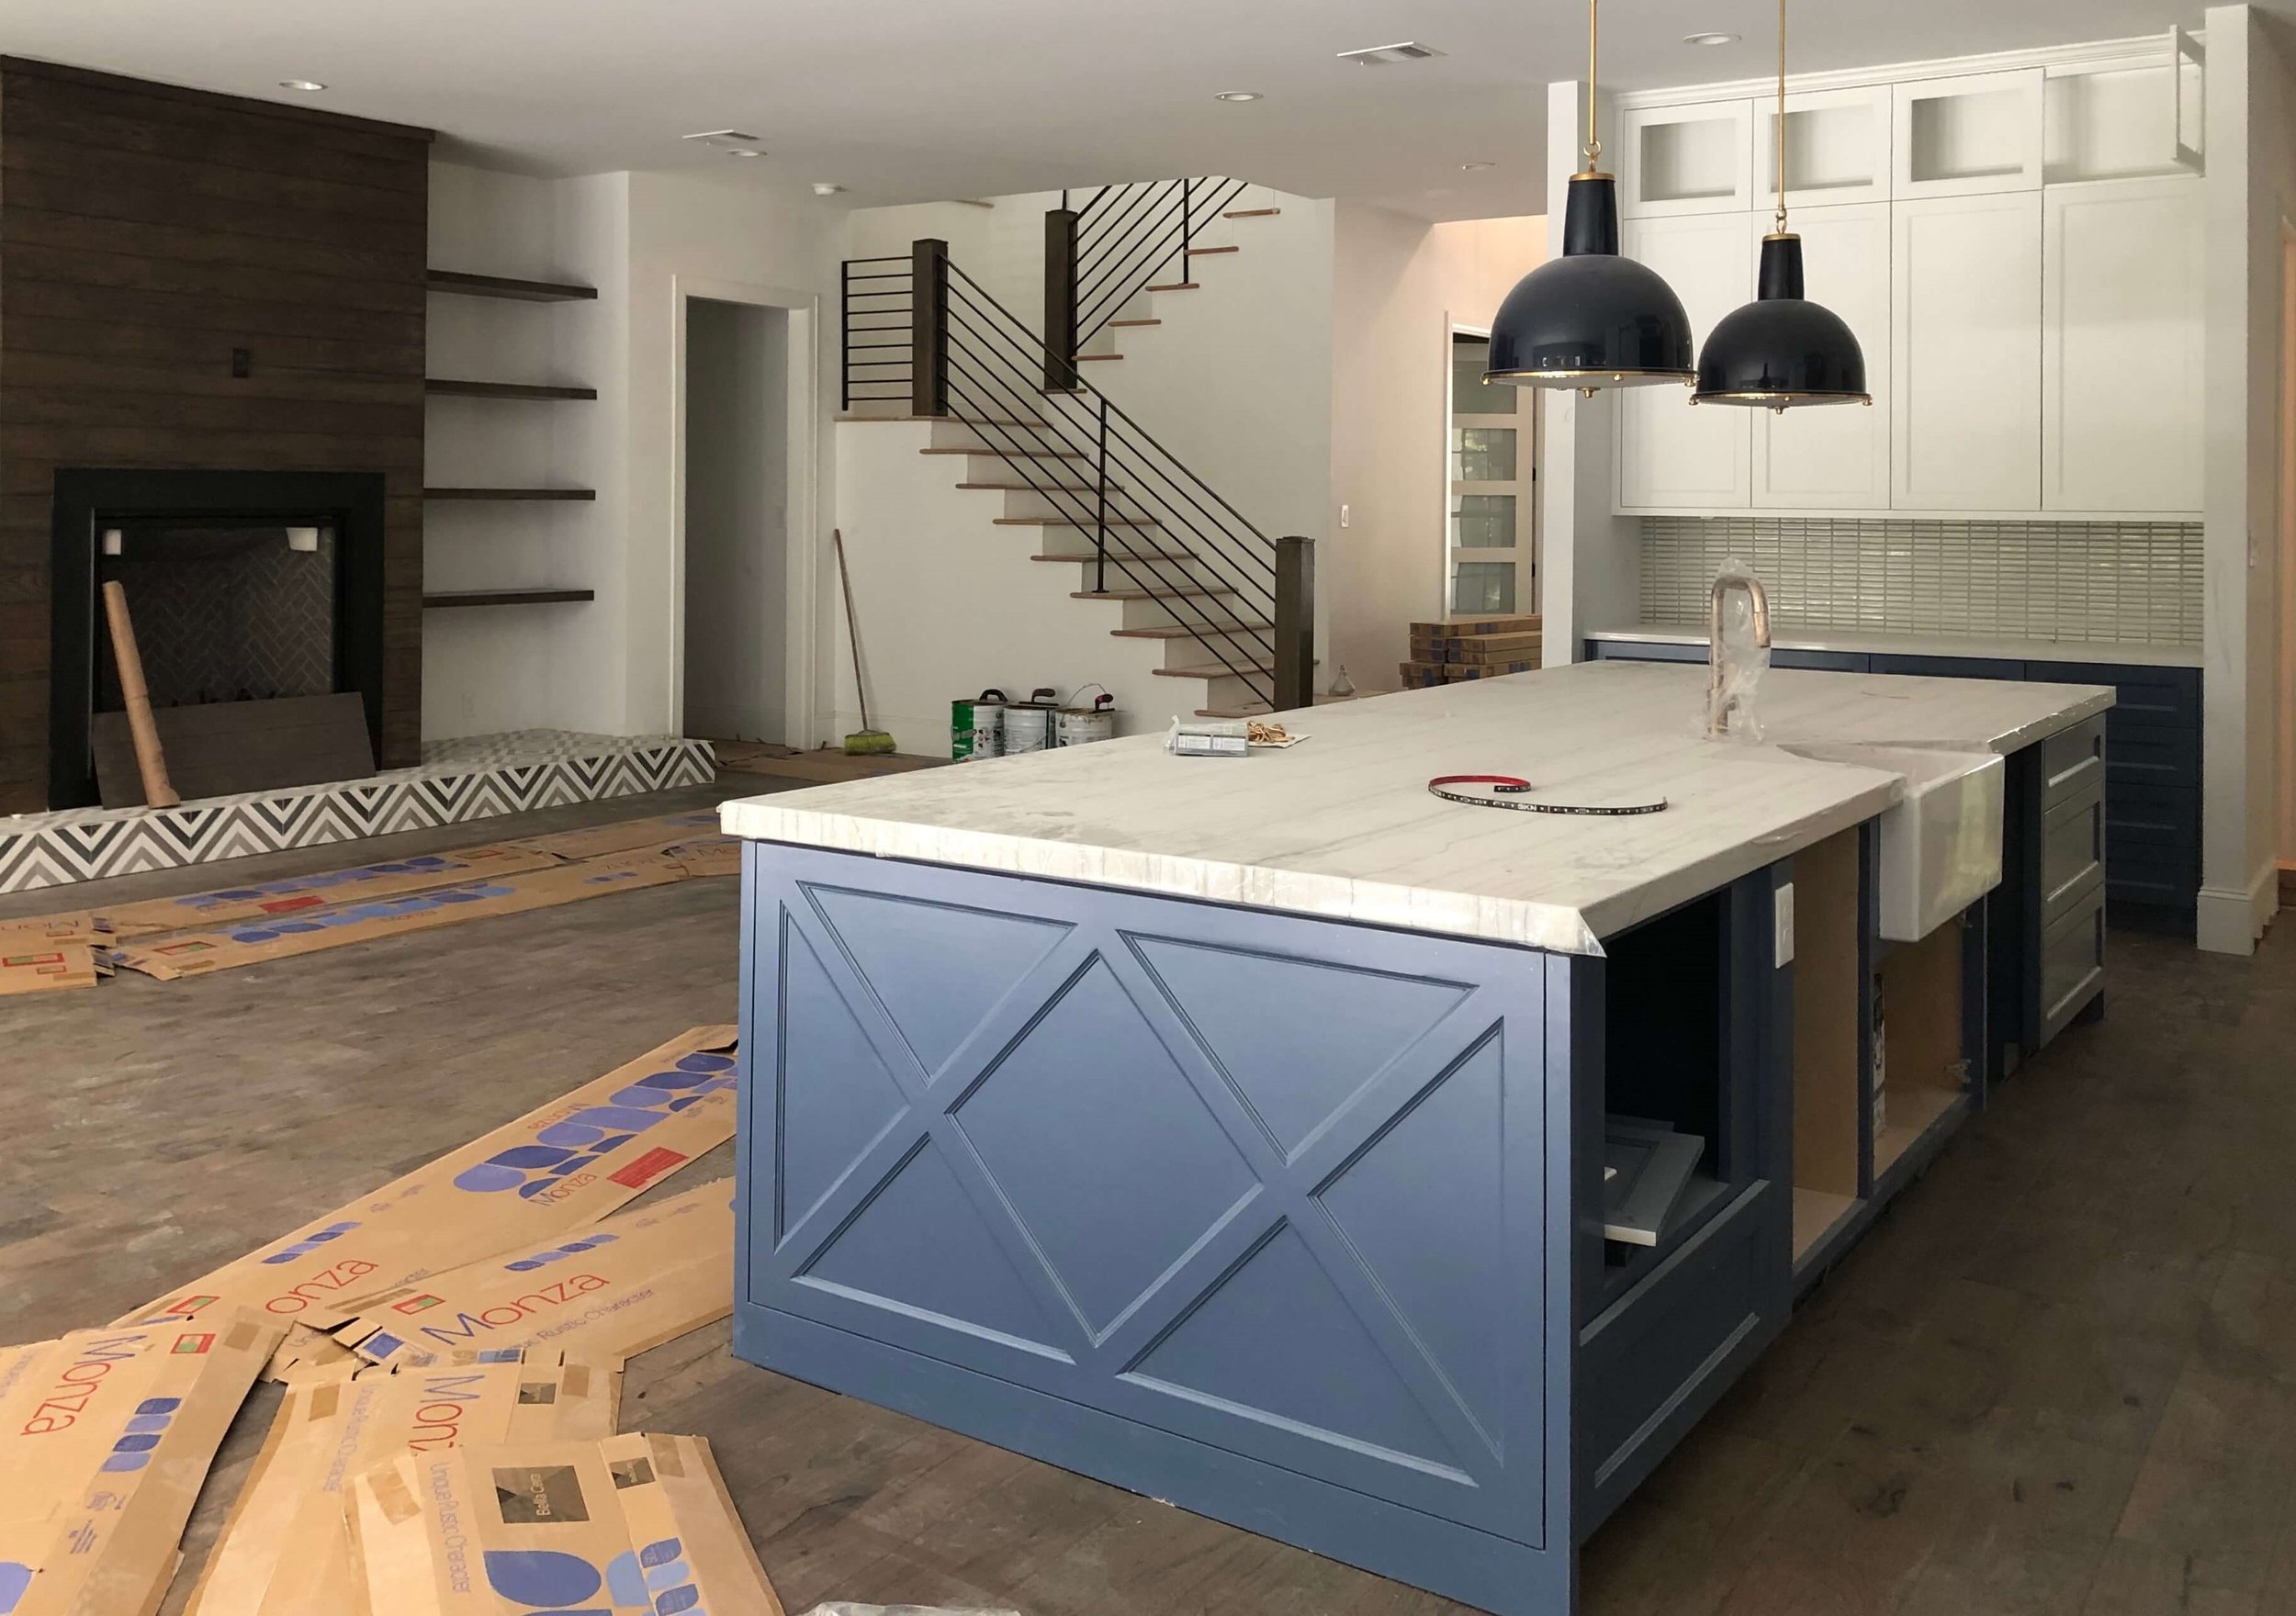
Creating Contrast
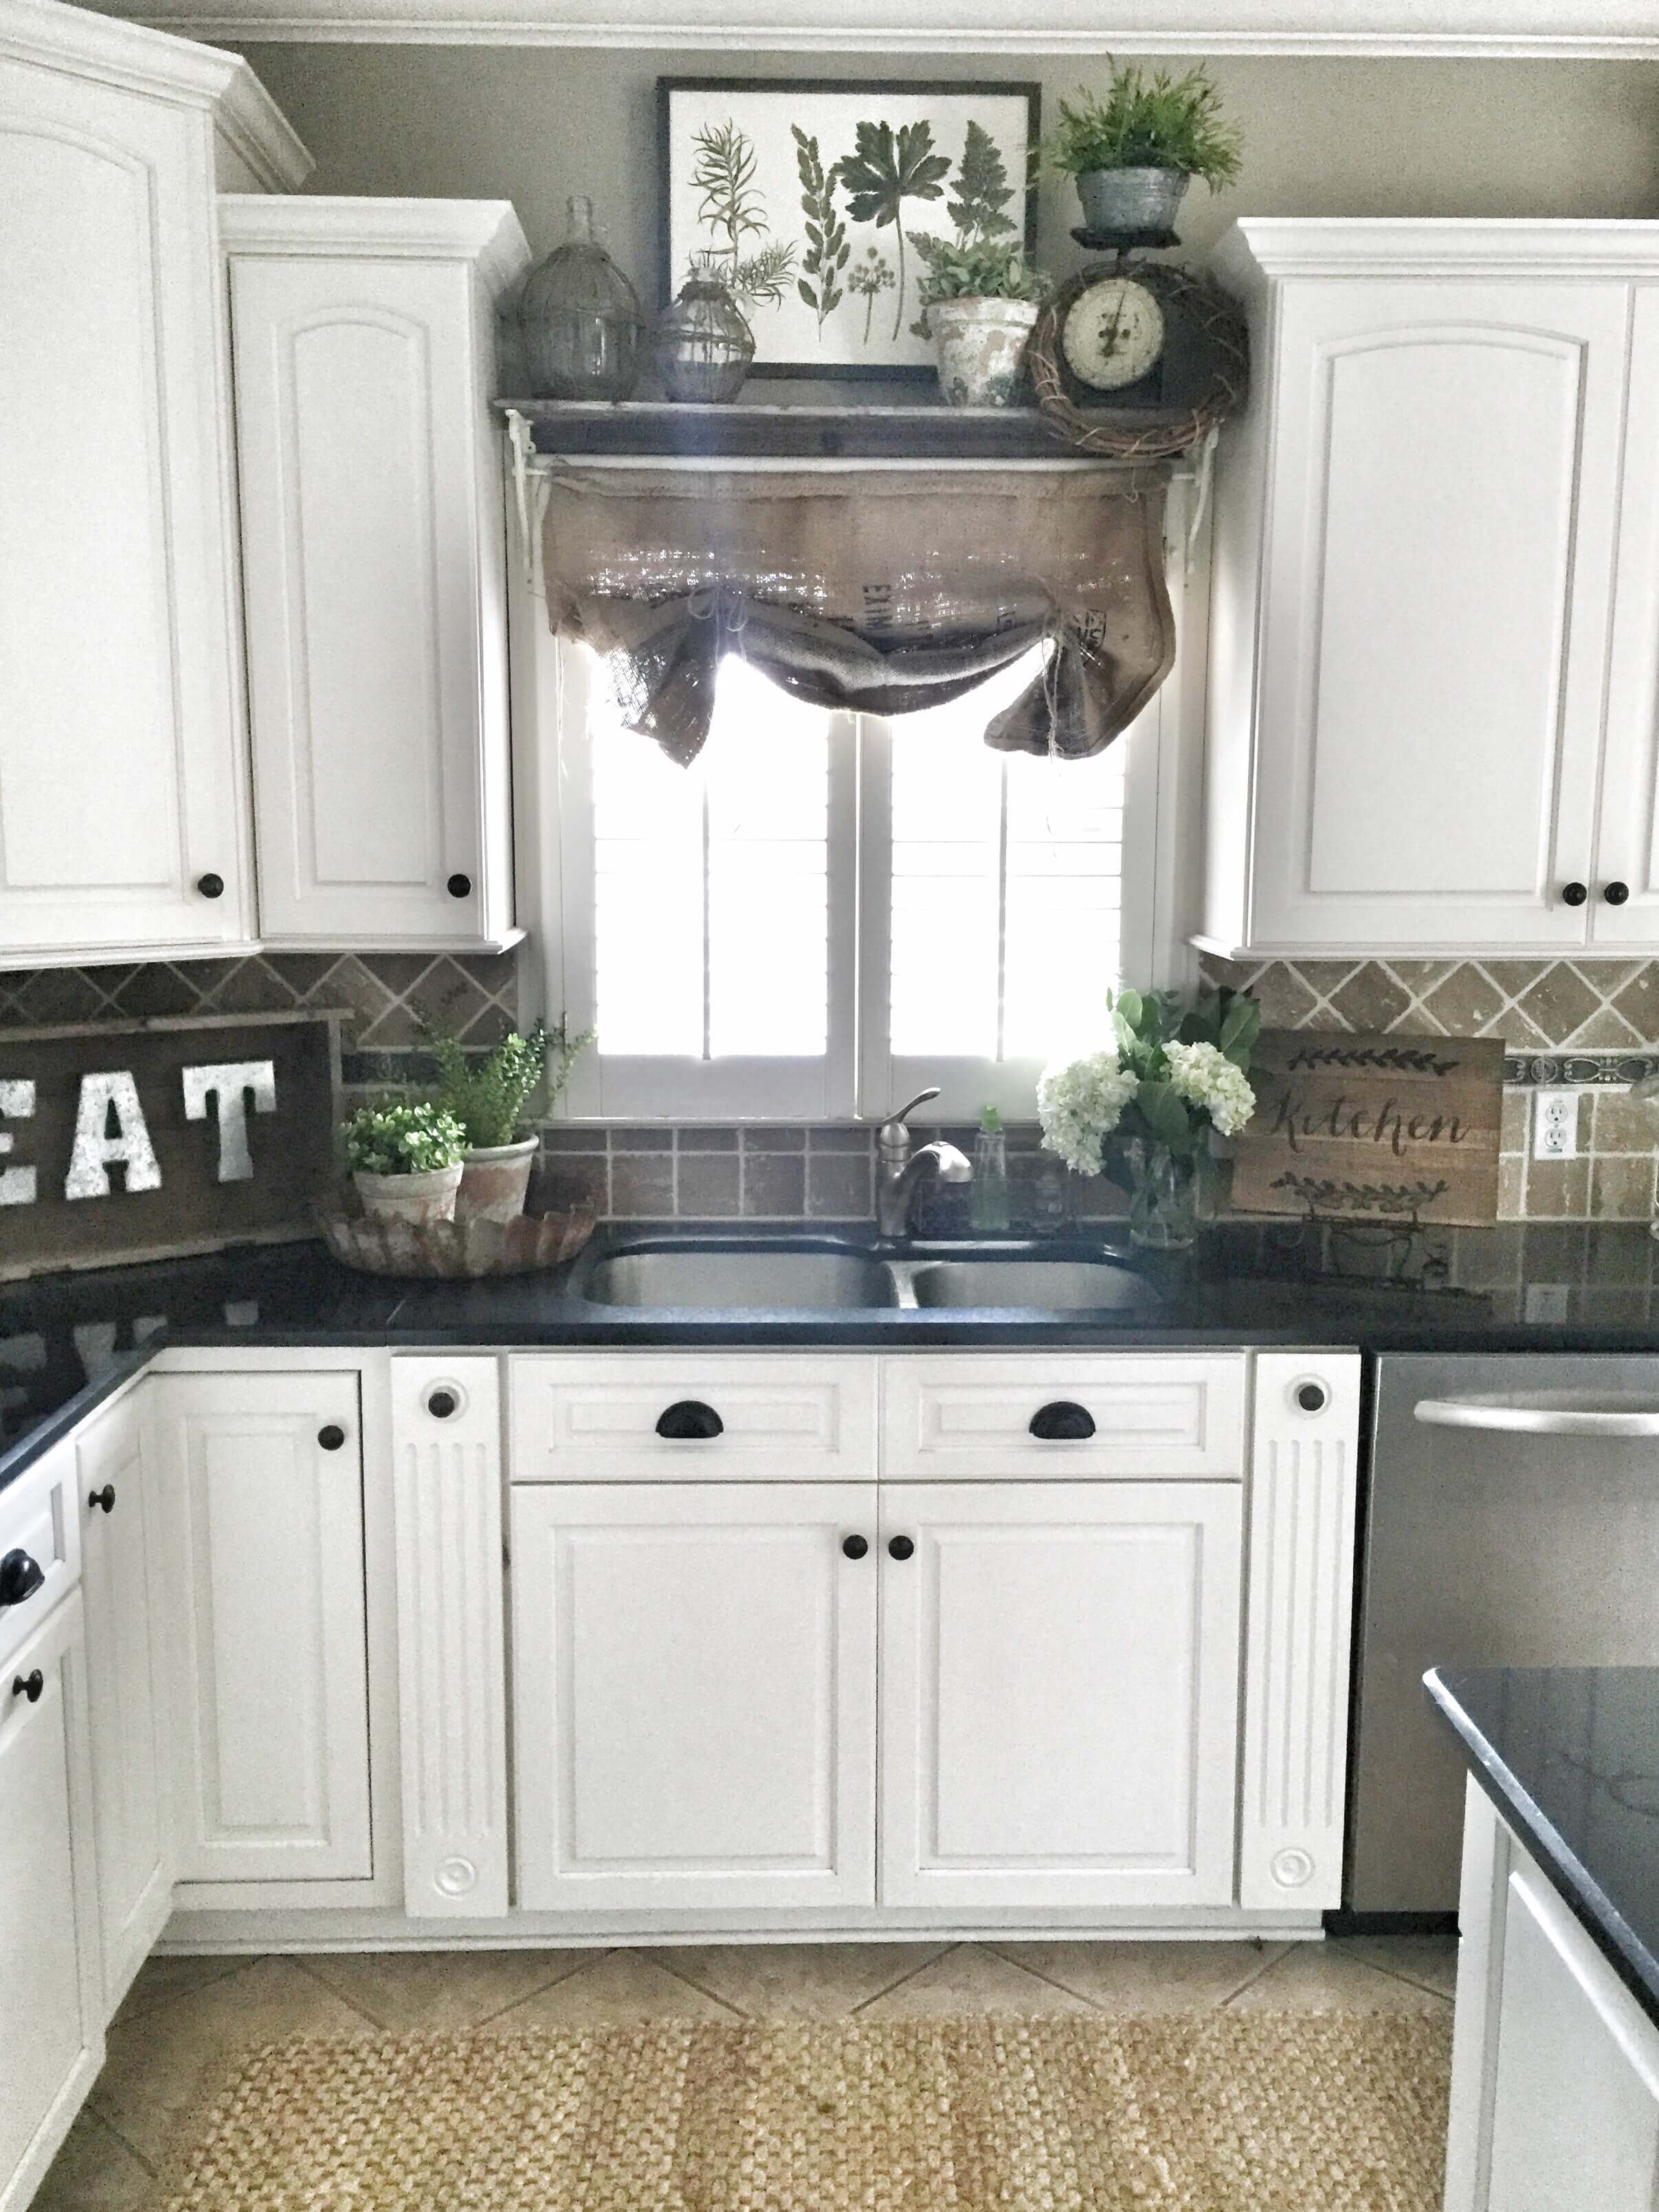
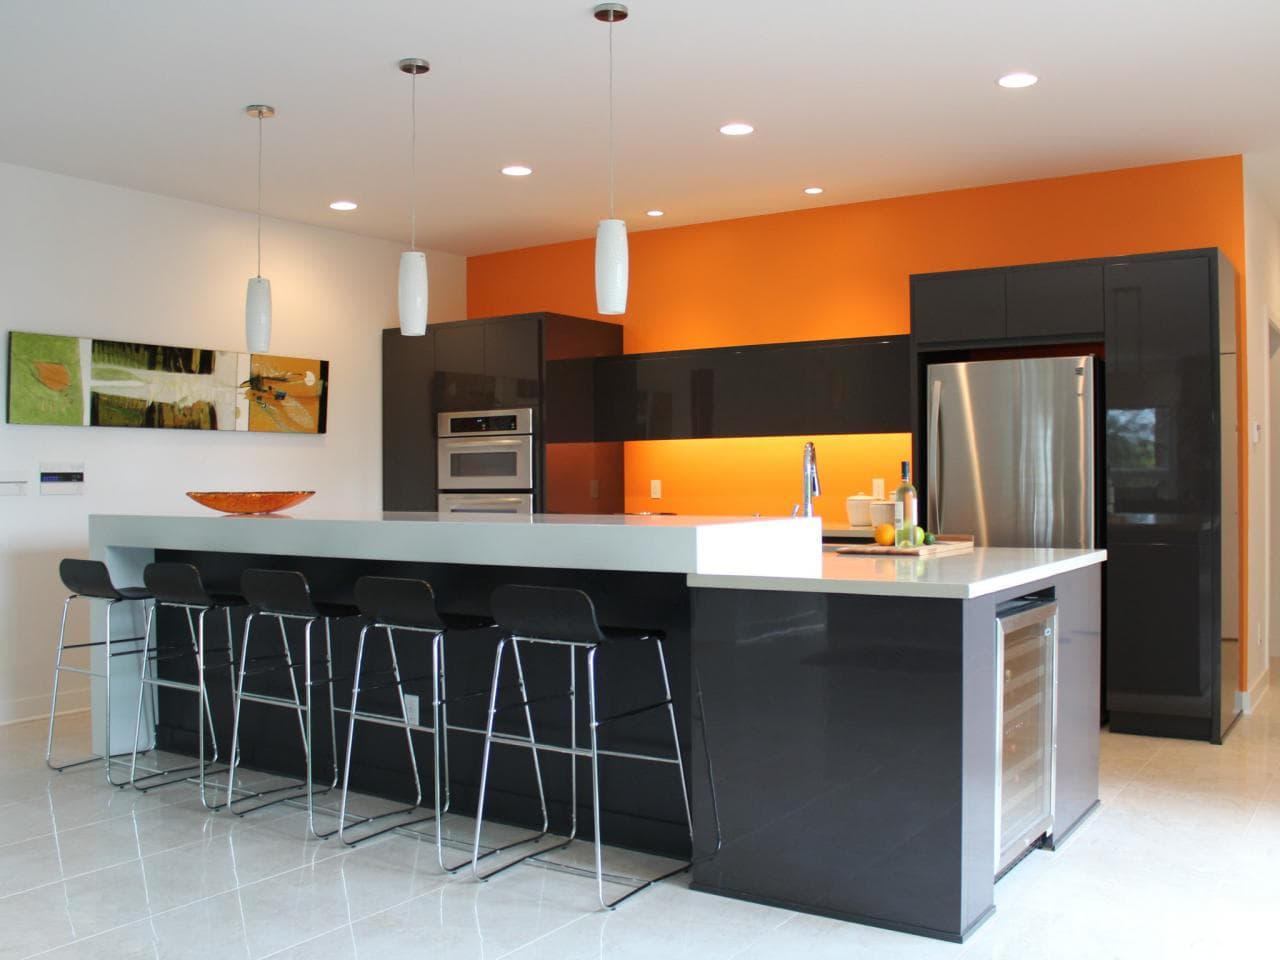
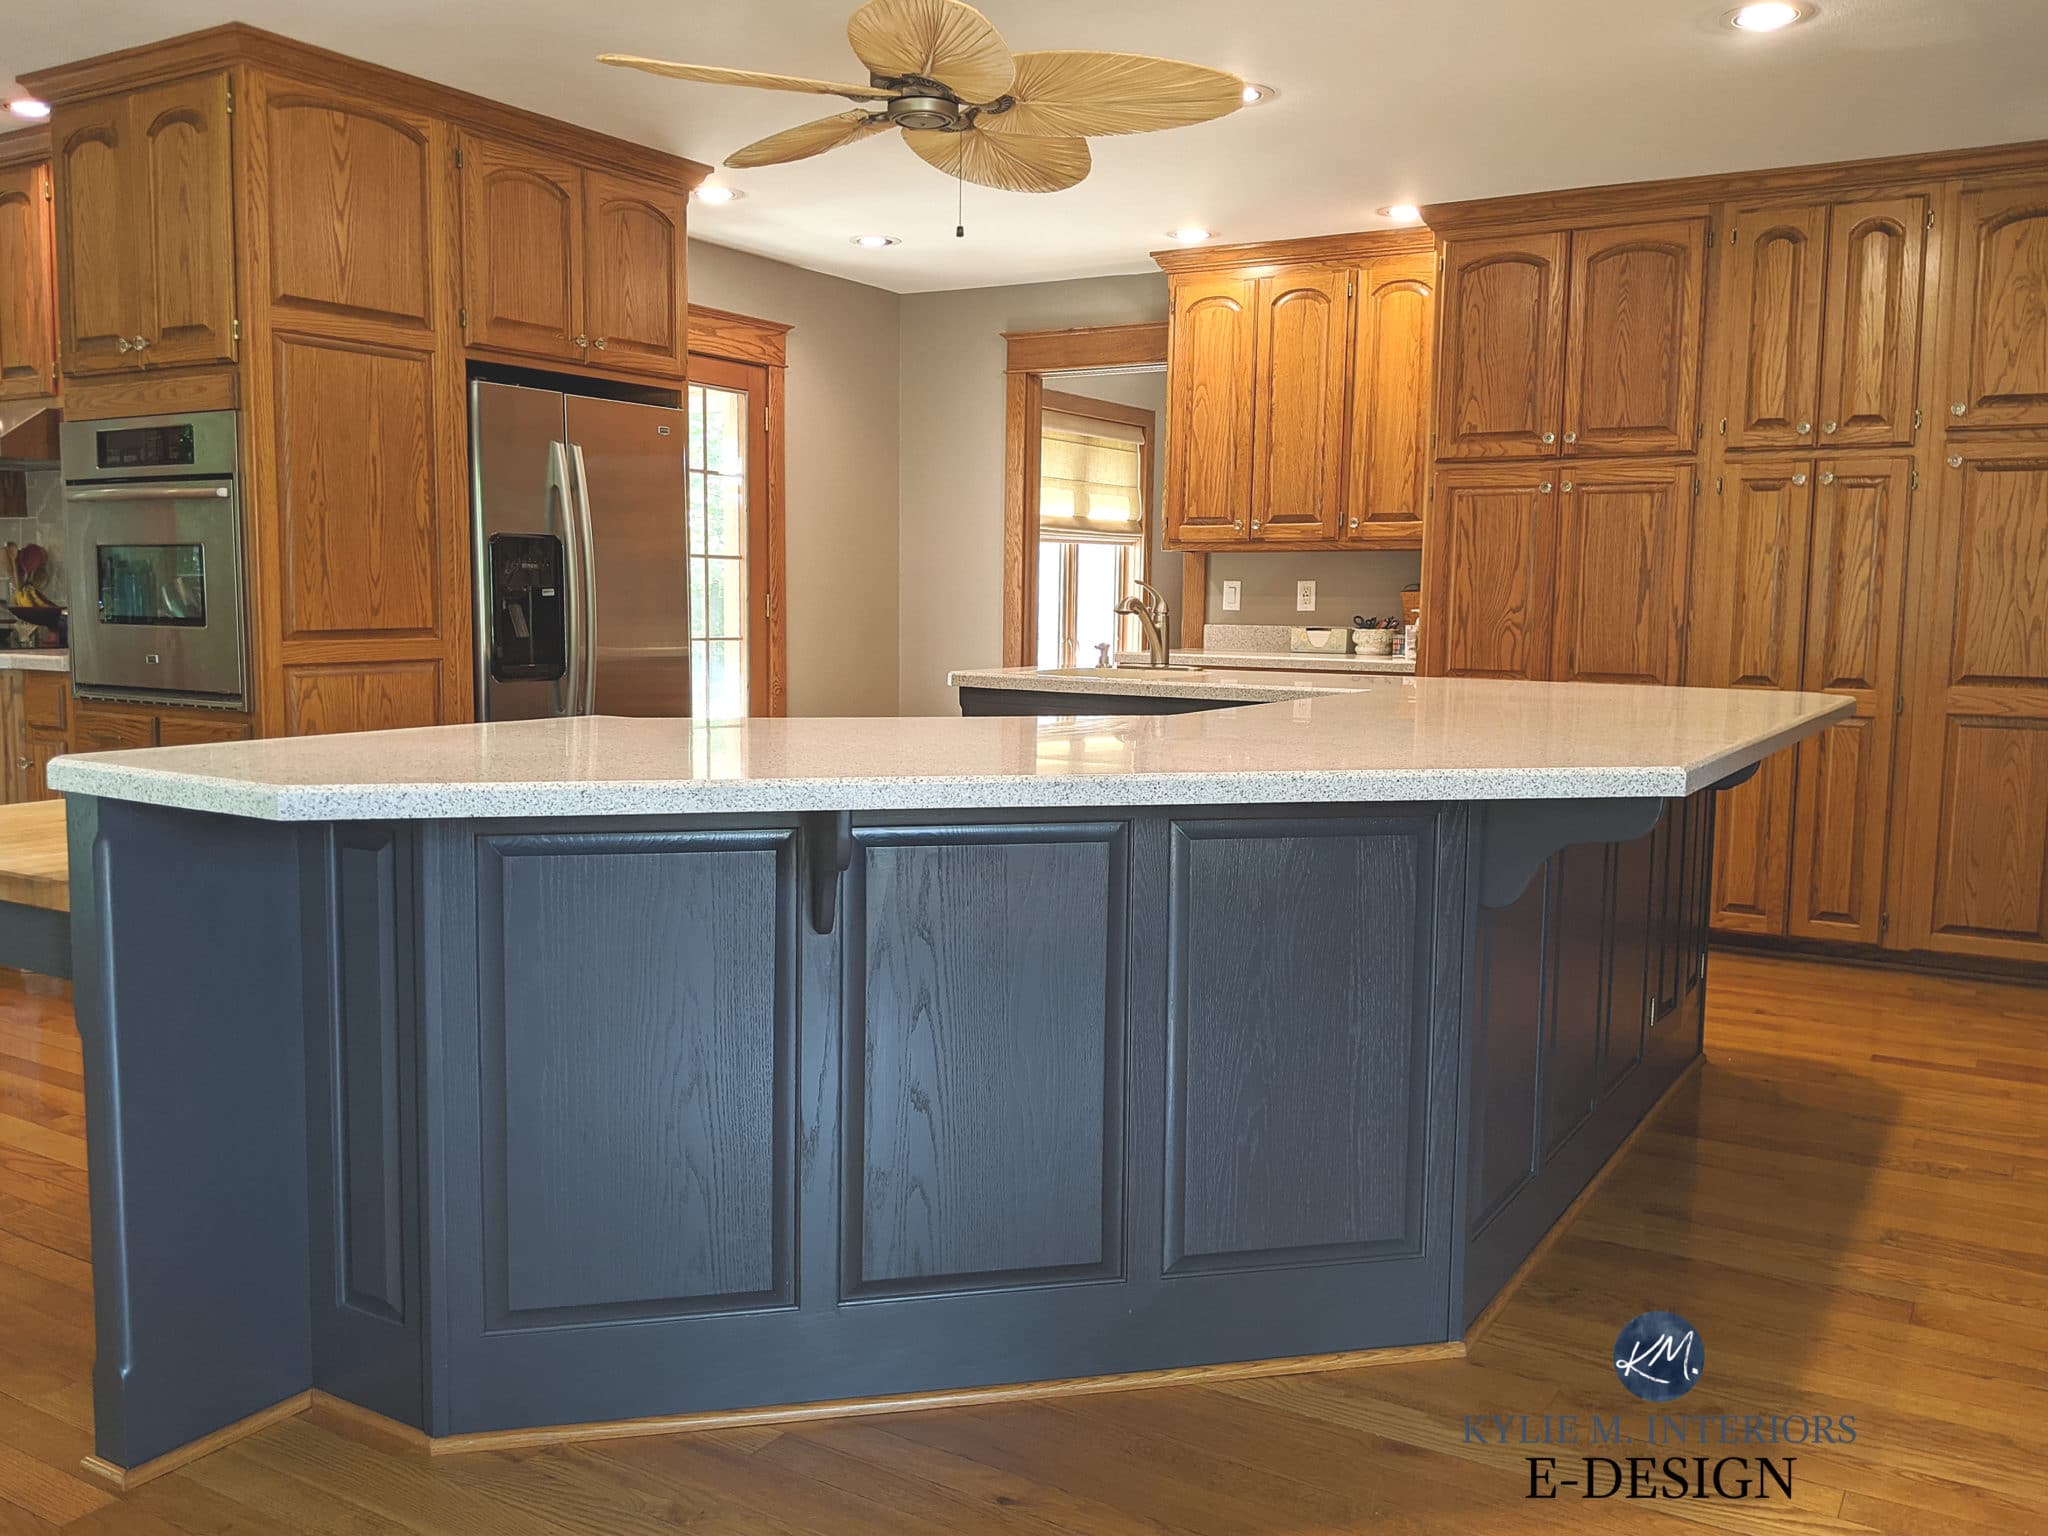
 Painting the base of a kitchen table can also be a great way to create contrast in the room. If your kitchen cabinets and walls are a light color, painting the base of the table a darker shade can create a beautiful contrast and make the table stand out as a focal point. On the other hand, if your cabinets and walls are dark, a lighter base color can help to balance out the room and create a sense of lightness.
Unleashing Your Creativity
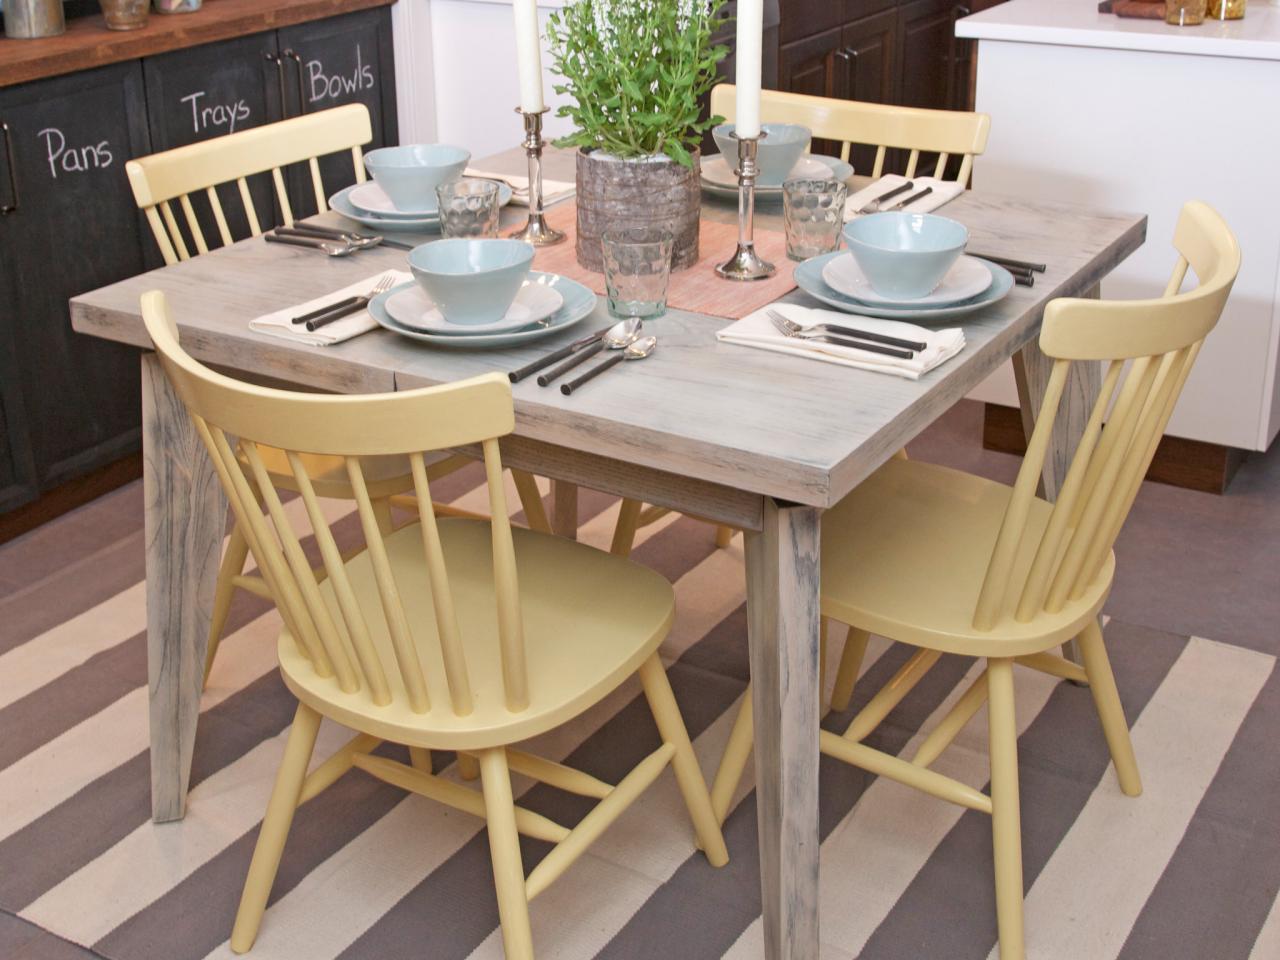
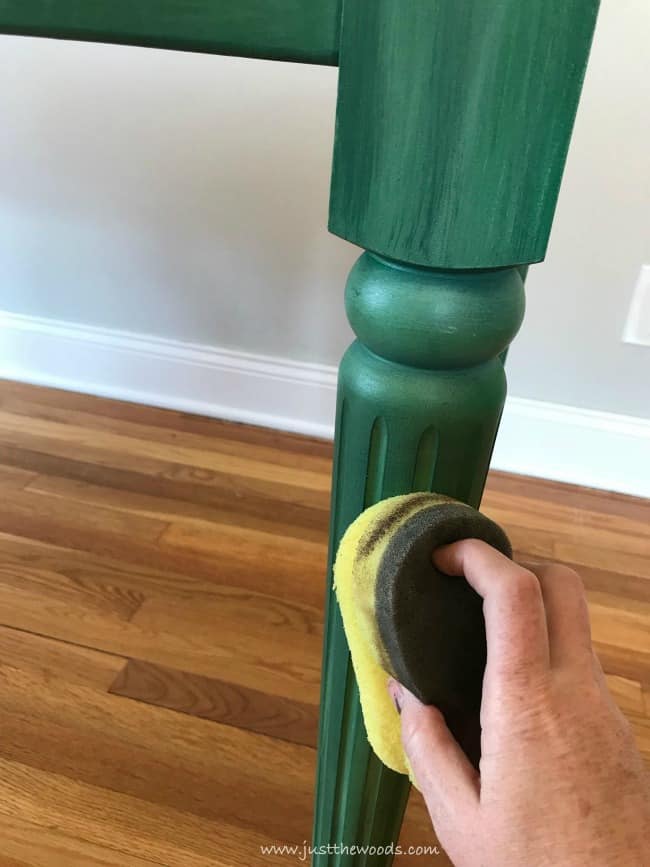
 With painting, the possibilities are endless. You can choose to paint the entire base of the table, or create a two-tone effect by painting just the legs or base. You can also add unique patterns or designs for a more personalized touch. This is a great opportunity to let your creative side shine and make your kitchen truly one-of-a-kind.
Conclusion
 In conclusion, painting the base of a kitchen table is a simple and effective way to elevate the design of your kitchen. It allows you to add color, create contrast, and unleash your creativity, all while staying within a budget. So next time you're looking to update your kitchen, don't overlook this small but impactful detail.