When it comes to giving your living room a fresh new look, painting is a great way to do it. Not only is it cost-effective, but it can also completely transform the look and feel of the room. However, before you start slapping on that paint, it's important to properly prepare your living room to ensure a smooth and successful painting process. Here are 10 essential tips to help you prep your living room for a new coat of paint. Painting Preparation Tips for Your Living Room
Prepping your living room for painting may seem like a daunting task, but it doesn't have to be. With the right steps and techniques, you can make the process much easier and more efficient. The first step is to clear out the room and remove any furniture or decor that may get in the way. This will give you ample space to work and prevent any accidental spills or damage to your belongings. How to Prep Your Living Room for Painting
Before you start painting, you'll need to make sure the walls are in good condition. This means filling in any holes or cracks with spackling paste and sanding them down for a smooth surface. It's also a good idea to thoroughly clean the walls to remove any dirt or grime that may affect the paint's adhesion. Once the walls are clean and dry, you can begin the priming process. Essential Steps for Painting Your Living Room
Priming is a crucial step in the painting process, as it creates a smooth and even base for your paint to adhere to. It also helps to cover up any imperfections on the walls. Make sure to use a high-quality primer and apply it evenly with a roller or brush. Allow it to dry completely before moving on to the next step. Preparing Your Living Room for a Fresh Coat of Paint
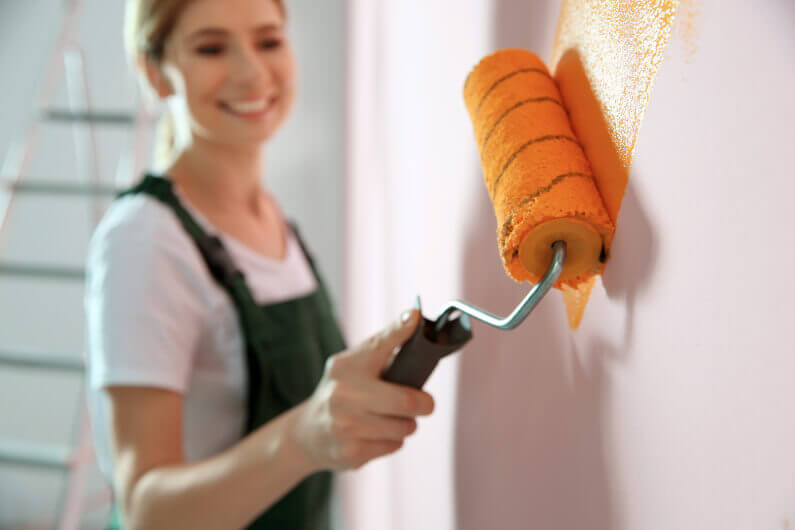
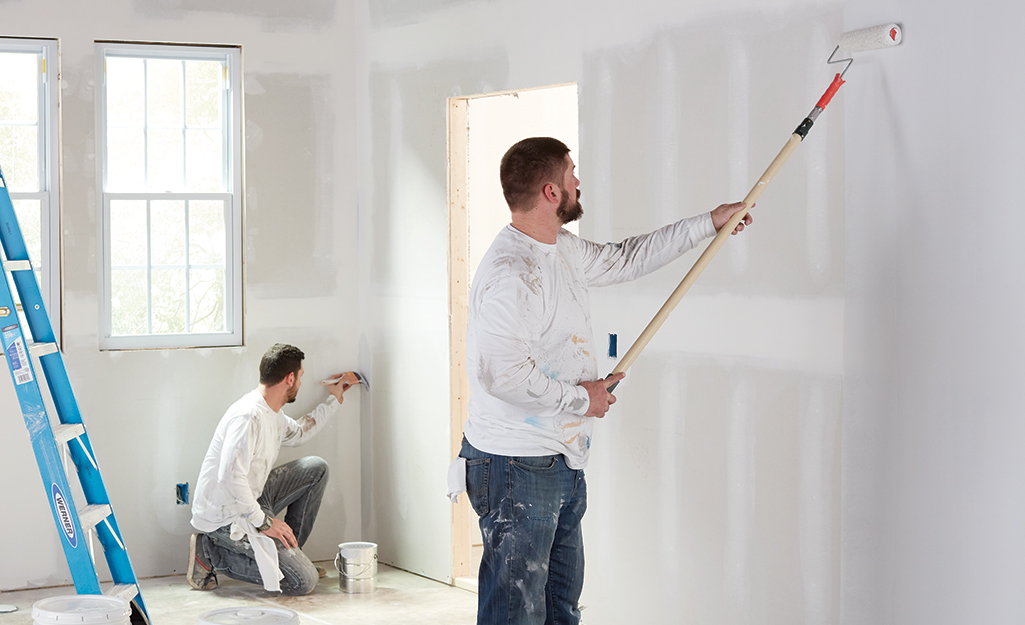
Once the primer is dry, you can start painting your living room walls with your chosen color. It's important to use a high-quality paint and apply it evenly with a roller or brush. You may need to apply multiple coats, depending on the color and type of paint you're using. Allow each coat to dry completely before adding another layer. Best Practices for Prepping Your Living Room Walls
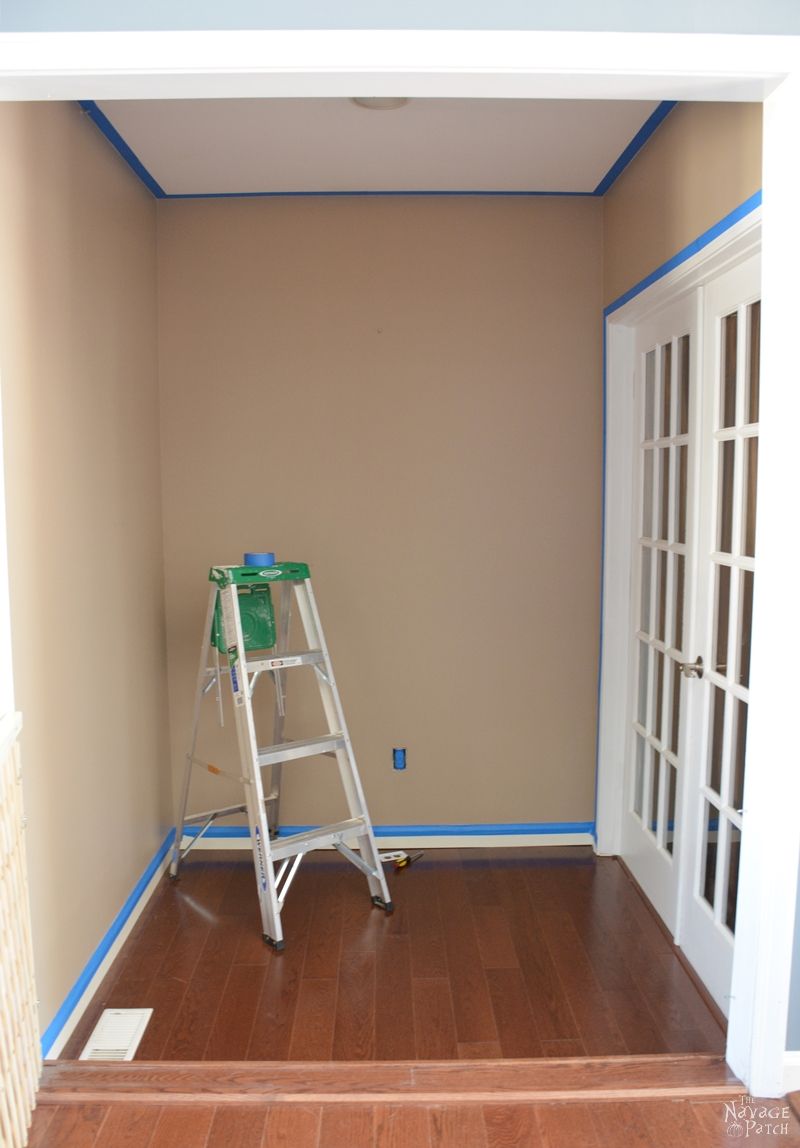
While painting the walls may be the main focus, don't forget about the other surfaces in your living room. This includes the ceiling, baseboards, and trim. These areas may also need to be primed and painted for a cohesive look. Make sure to use painter's tape to protect any surfaces you don't want to get paint on. Painting Prep: Living Room Edition
Before you start painting, it's important to take the time to properly prepare your living room. This includes covering the floors and any remaining furniture with drop cloths, removing outlet and light switch covers, and filling in any remaining holes or imperfections in the walls. Taking these extra steps will ensure a professional-looking paint job. The Ultimate Guide to Preparing Your Living Room for Painting
Another important step in the preparation process is to make sure you have all the necessary tools and supplies. This includes high-quality paint, primer, brushes, rollers, drop cloths, and painter's tape. Having everything you need before you start painting will save you time and ensure a smooth process. Key Steps for Painting Prep in Your Living Room
One helpful tip for prepping your living room for painting is to use a paint edger tool to create clean lines along the edges of the walls and ceiling. This will save you time and effort compared to using a brush. You can also use a small brush or roller to paint around corners and edges before filling in the rest of the wall with a larger roller. Tips and Tricks for Prepping Your Living Room for a Paint Job
If you're not confident in your painting skills or simply don't have the time to do it yourself, consider hiring a professional painter. They have the expertise and equipment to ensure a flawless paint job in your living room. Just make sure to communicate your desired color and finish to them before they start. Preparing Your Living Room for a Professional Paint Job
Prepping Your Living Room for a Fresh Coat of Paint

Why is Prepping Important?
 Before you start painting your living room, it is essential to properly prepare the space. Prepping your living room ensures that the paint will go on smoothly and last longer. It also helps to protect your furniture and floors from potential damage. By taking the time to prep your living room, you will achieve a professional-looking paint job that will enhance the overall appearance of your home.
Clear Out the Room
 The first step in prepping your living room is to clear out all the furniture and decorations. This includes moving any large pieces of furniture away from the walls and covering them with plastic sheets or drop cloths. Remove any wall hangings, curtains, and light switch plates. This will provide you with a clean slate to work with and prevent any accidental paint splatters on your belongings.
Repair Any Damaged Surfaces
 Before painting, it is essential to repair any damaged surfaces in your living room. This includes filling in any holes or cracks in the walls with spackle and sanding them down once dry. If there are any dents or scratches on the baseboards, use wood filler to smooth them out. You may also need to caulk any gaps between the walls and trim. These repairs will ensure that your walls have a smooth and even surface to paint on.
Clean and Prep the Walls
 Next, you will need to thoroughly clean the walls to remove any dirt, dust, or grease. This will help the paint adhere better and result in a smoother finish. Use a mild detergent and warm water to wash the walls, and then rinse them with clean water. Once the walls are dry, use painter's tape to cover any trim, baseboards, or edges that you do not want to be painted. This will help you achieve clean and crisp lines.
Protect Your Floors
 Paint drips and spills can easily damage your floors, so it is crucial to protect them before starting your project. Lay down drop cloths or plastic sheets to cover the entire floor. If you have hardwood floors, you may want to use a protective film specifically designed for this purpose. This will prevent any accidental damage and make it easier to clean up after the painting is complete.
Final Touches
 Before you start painting, make sure you have all the necessary tools and materials ready. These include paint brushes, rollers, paint trays, and paint. It is also a good idea to have a damp cloth on hand to quickly clean up any spills or mistakes. Once everything is prepped and ready to go, you can begin painting your living room to create a fresh and updated look.
In conclusion,
properly prepping your living room before painting is crucial for achieving a professional and long-lasting result. By following these steps and taking the time to prep your space, you will be rewarded with a beautifully painted living room that will enhance the overall design of your home. So, before you pick up that paintbrush, remember the importance of prepping and enjoy the process of transforming your living room into a space you love.















:max_bytes(150000):strip_icc()/DesignbyEmilyHendersonDesignPhotographerbySaraTramp_181-ba033340b54147399980cfeaed3673ee.jpg)

















/105776921-56a49f225f9b58b7d0d7e0ee.jpg)





:max_bytes(150000):strip_icc()/wayfair-e3ed3713f1d84403a35afa2437f9676a.jpg)
