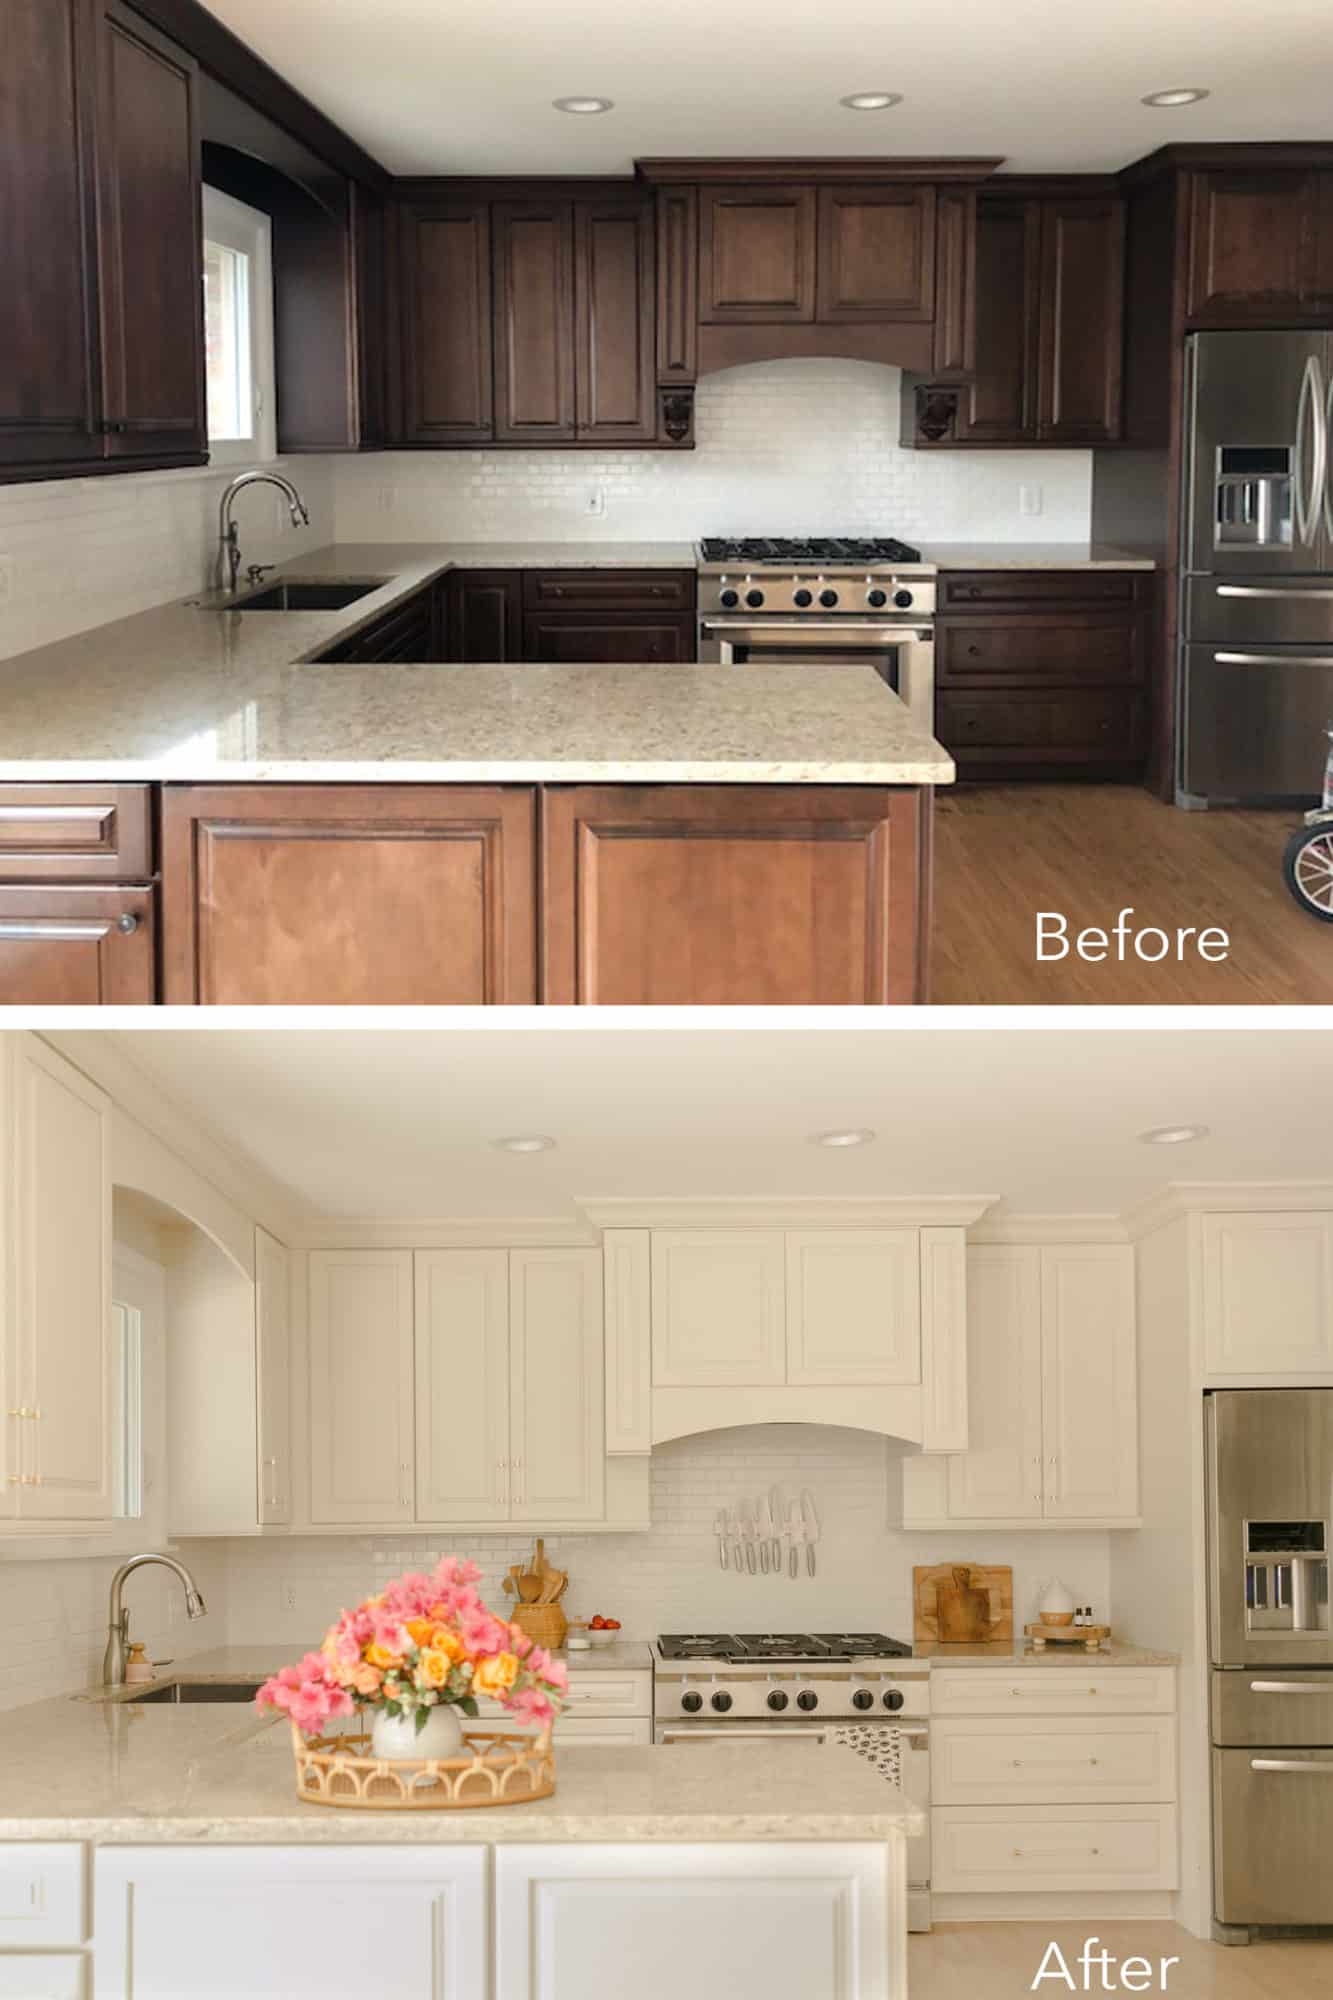
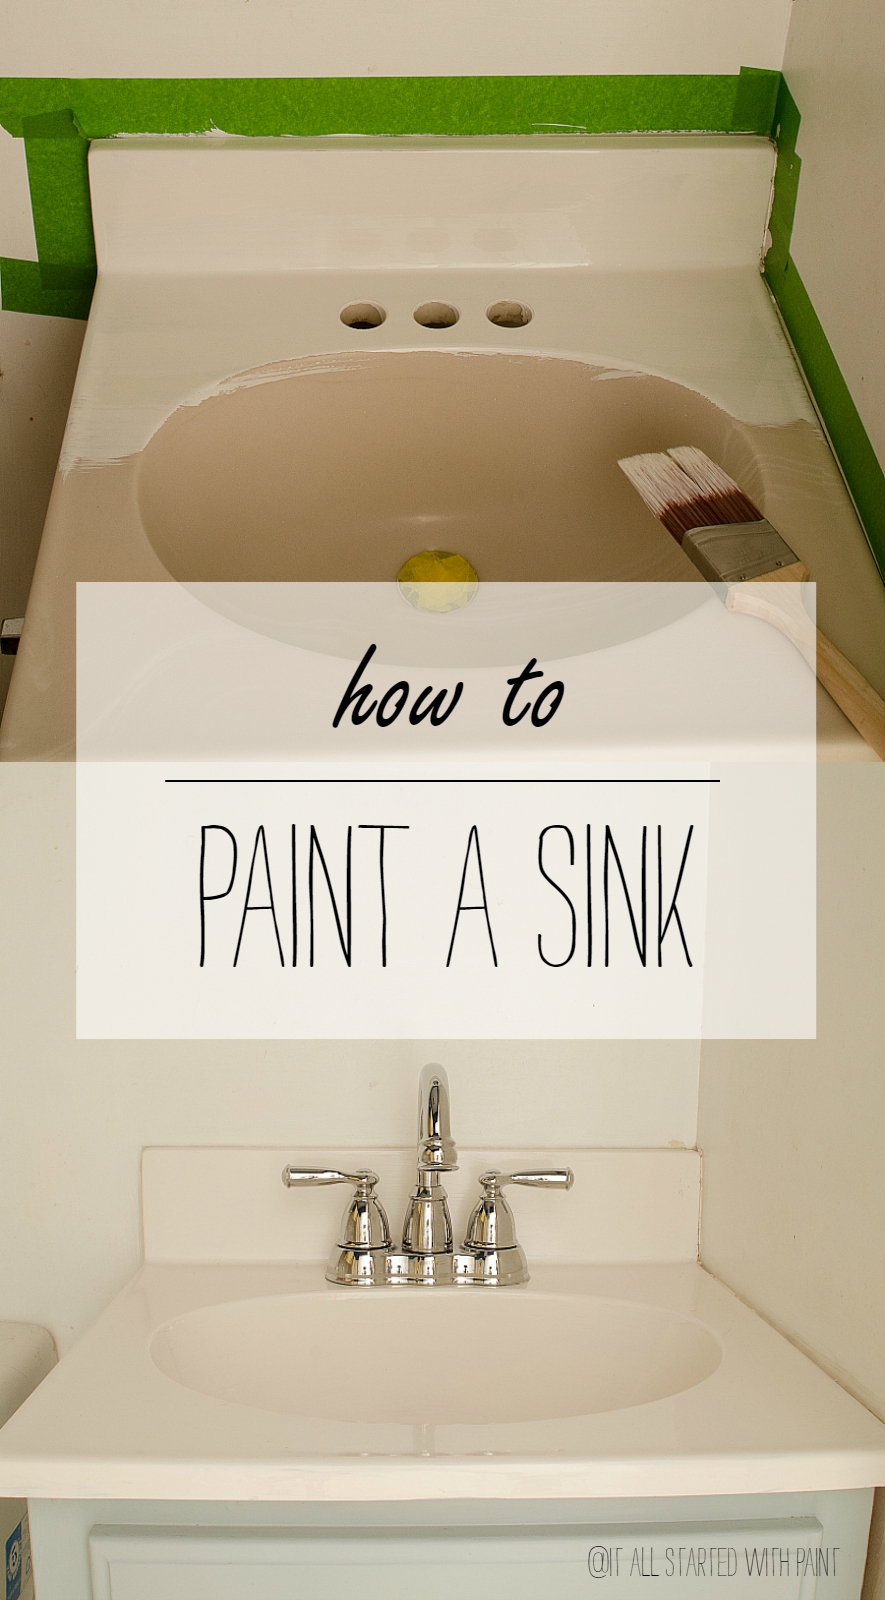
If you're looking to give your kitchen a budget-friendly makeover, painting your kitchen sink is a great place to start. Not only is it a cost-effective option, but it can also add a pop of color to your kitchen and make your sink look brand new. Before you get started, here's a step-by-step guide on how to paint your kitchen sink.1. How to Paint a Kitchen Sink


1. How to Paint a Kitchen Sink


The type of paint you use for your kitchen sink is crucial for ensuring a long-lasting finish. Acrylic enamel paint is the best option for painting your kitchen sink as it is specifically designed for high-moisture and high-traffic areas. It also provides a durable and glossy finish that is easy to clean and maintain.2. Best Paint for Kitchen Sinks


2. Best Paint for Kitchen Sinks


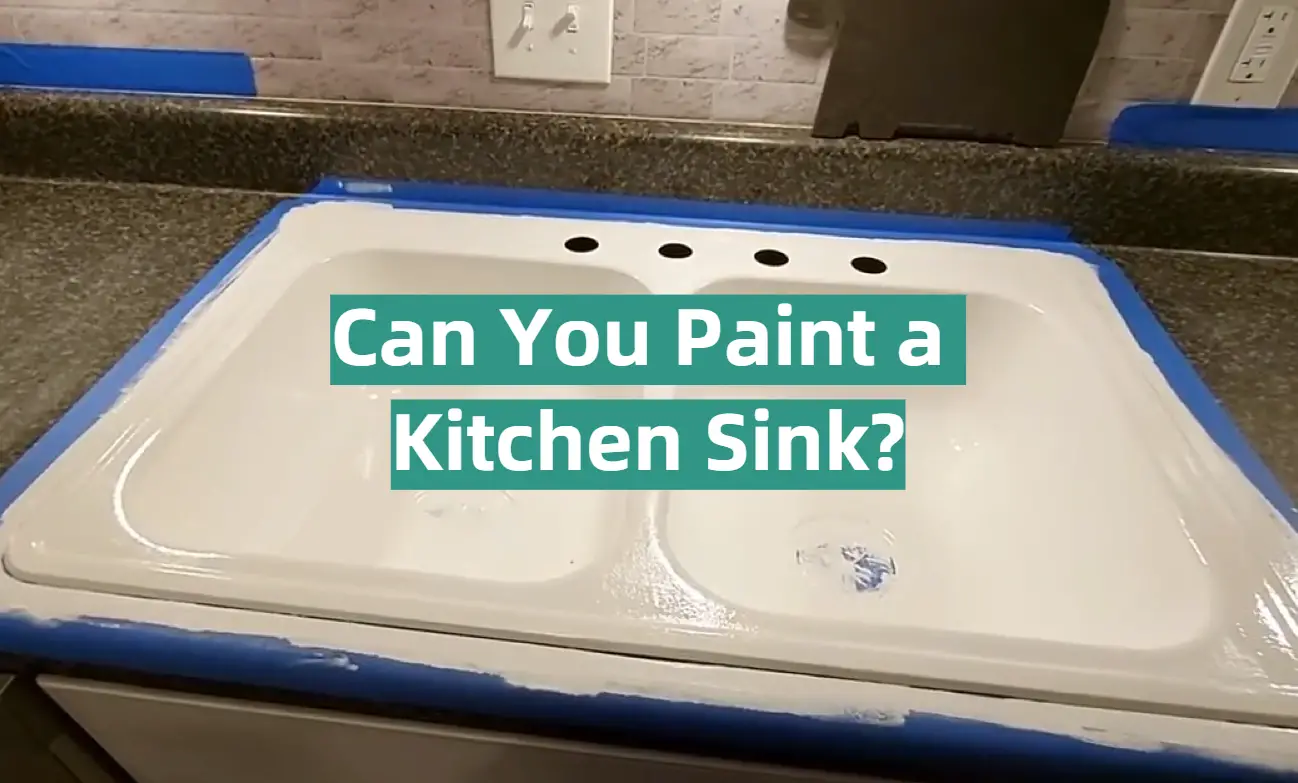
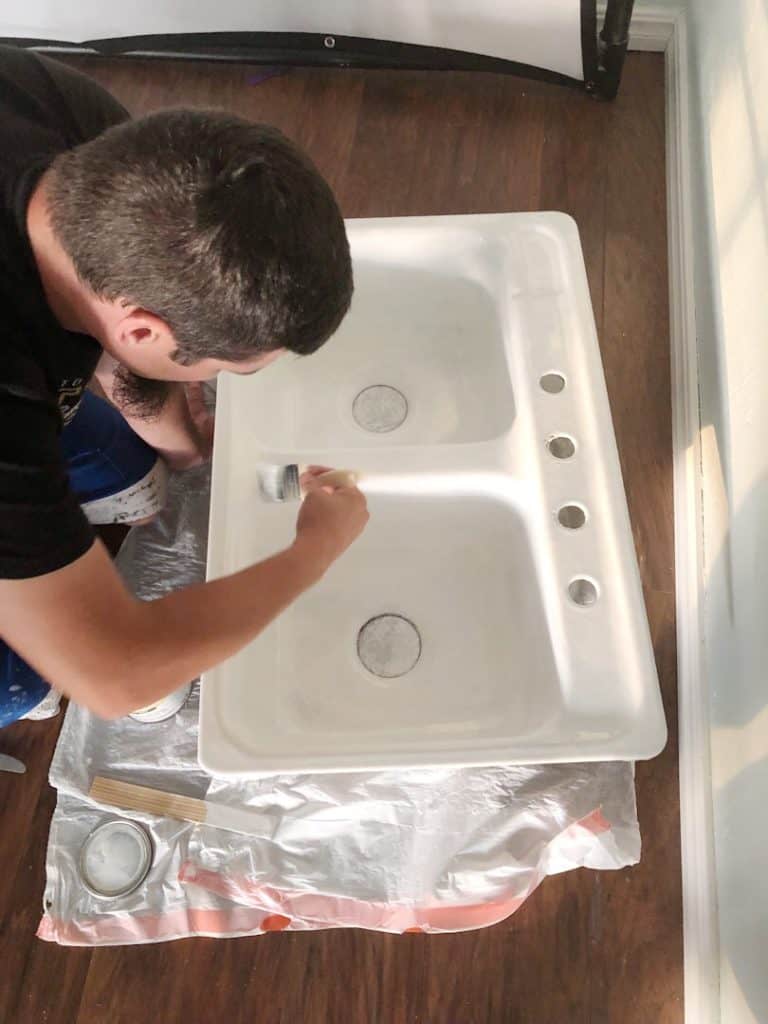
Painting your kitchen sink is a simple and affordable DIY project that can be completed in just a few hours. Here's a quick tutorial on how to paint your kitchen sink: Step 1: Start by thoroughly cleaning your sink with a degreaser and a scrub brush. Rinse off any residue and dry it completely. Step 2: Sand the sink with fine-grit sandpaper to create a smooth surface for the paint to adhere to. Wipe away any dust with a damp cloth. Step 3: Apply a coat of primer to the sink using a high-quality brush or a foam roller. Allow it to dry completely before moving on to the next step. Step 4: Using a brush or a roller, apply two coats of acrylic enamel paint to the sink, allowing each coat to dry completely before applying the next one. Step 5: Once the final coat is dry, apply a clear topcoat to protect the paint and give it a glossy finish. Let it dry for 24 hours before using the sink.3. DIY Kitchen Sink Painting Tutorial


3. DIY Kitchen Sink Painting Tutorial


Before you start painting your kitchen sink, here are a few tips to keep in mind: - Choose a lighter color: Darker colors may show scratches and wear more easily, so it's best to opt for a lighter color for your kitchen sink. - Don't paint the inside of the sink: The inside of the sink is constantly in contact with water and cleaning products, so it's best to leave it unpainted for better durability. - Use a high-quality brush or roller: Using a cheap brush or roller can result in a streaky finish. Invest in a good-quality brush or roller for a smooth and even application.4. Tips for Painting a Kitchen Sink
:max_bytes(150000):strip_icc()/copper-kitchen-sink-faucet_4389236-4af855f513f347c18349fcf54ce3d18e.jpg)


4. Tips for Painting a Kitchen Sink
/0f49f5acd27c4bd46d8ce8741d918709-92eb0474bfd142a6abe9161e30fdca29.jpg?resize=1000%2C750&ssl=1)
:max_bytes(150000):strip_icc()/how-to-clean-a-copper-sink-101822848-f2348e5d975246679f1ea4ff6d0329aa.jpg)


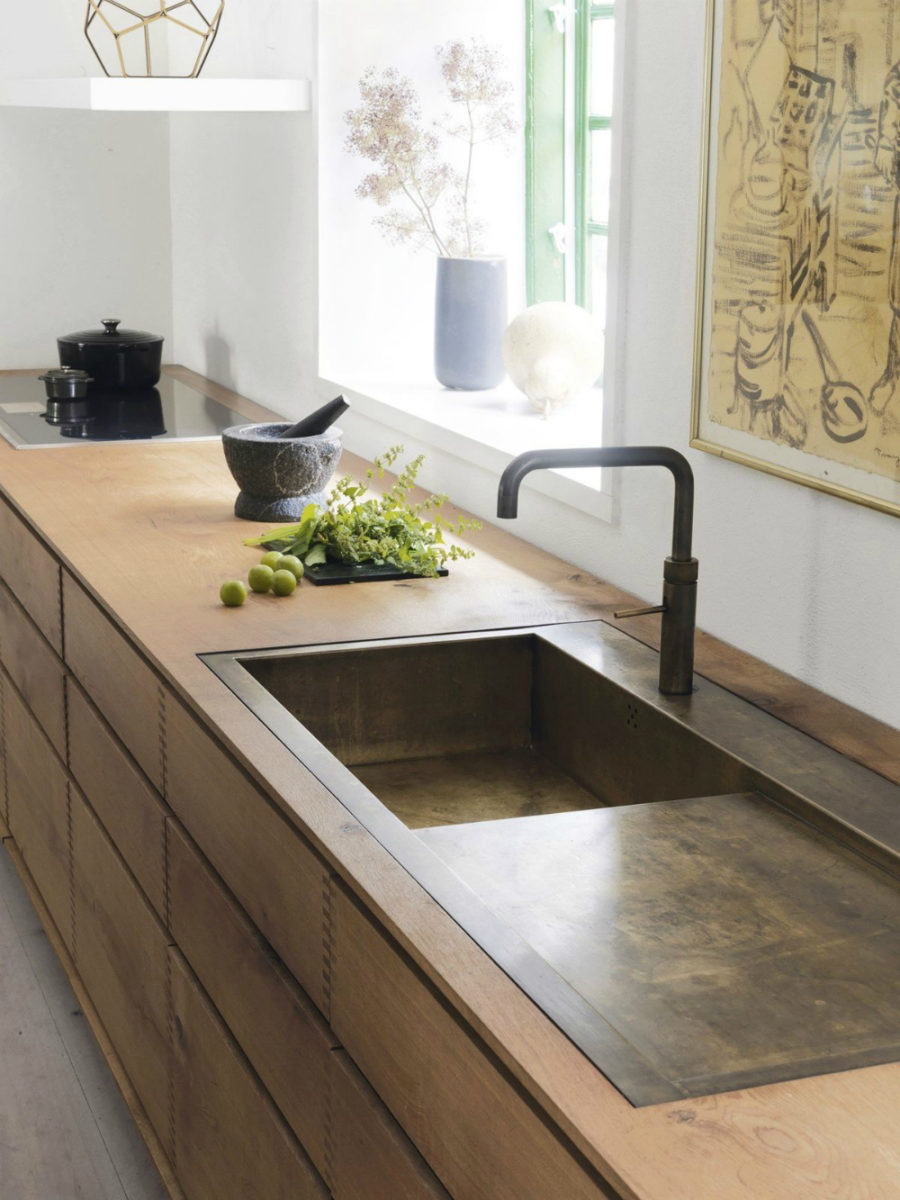
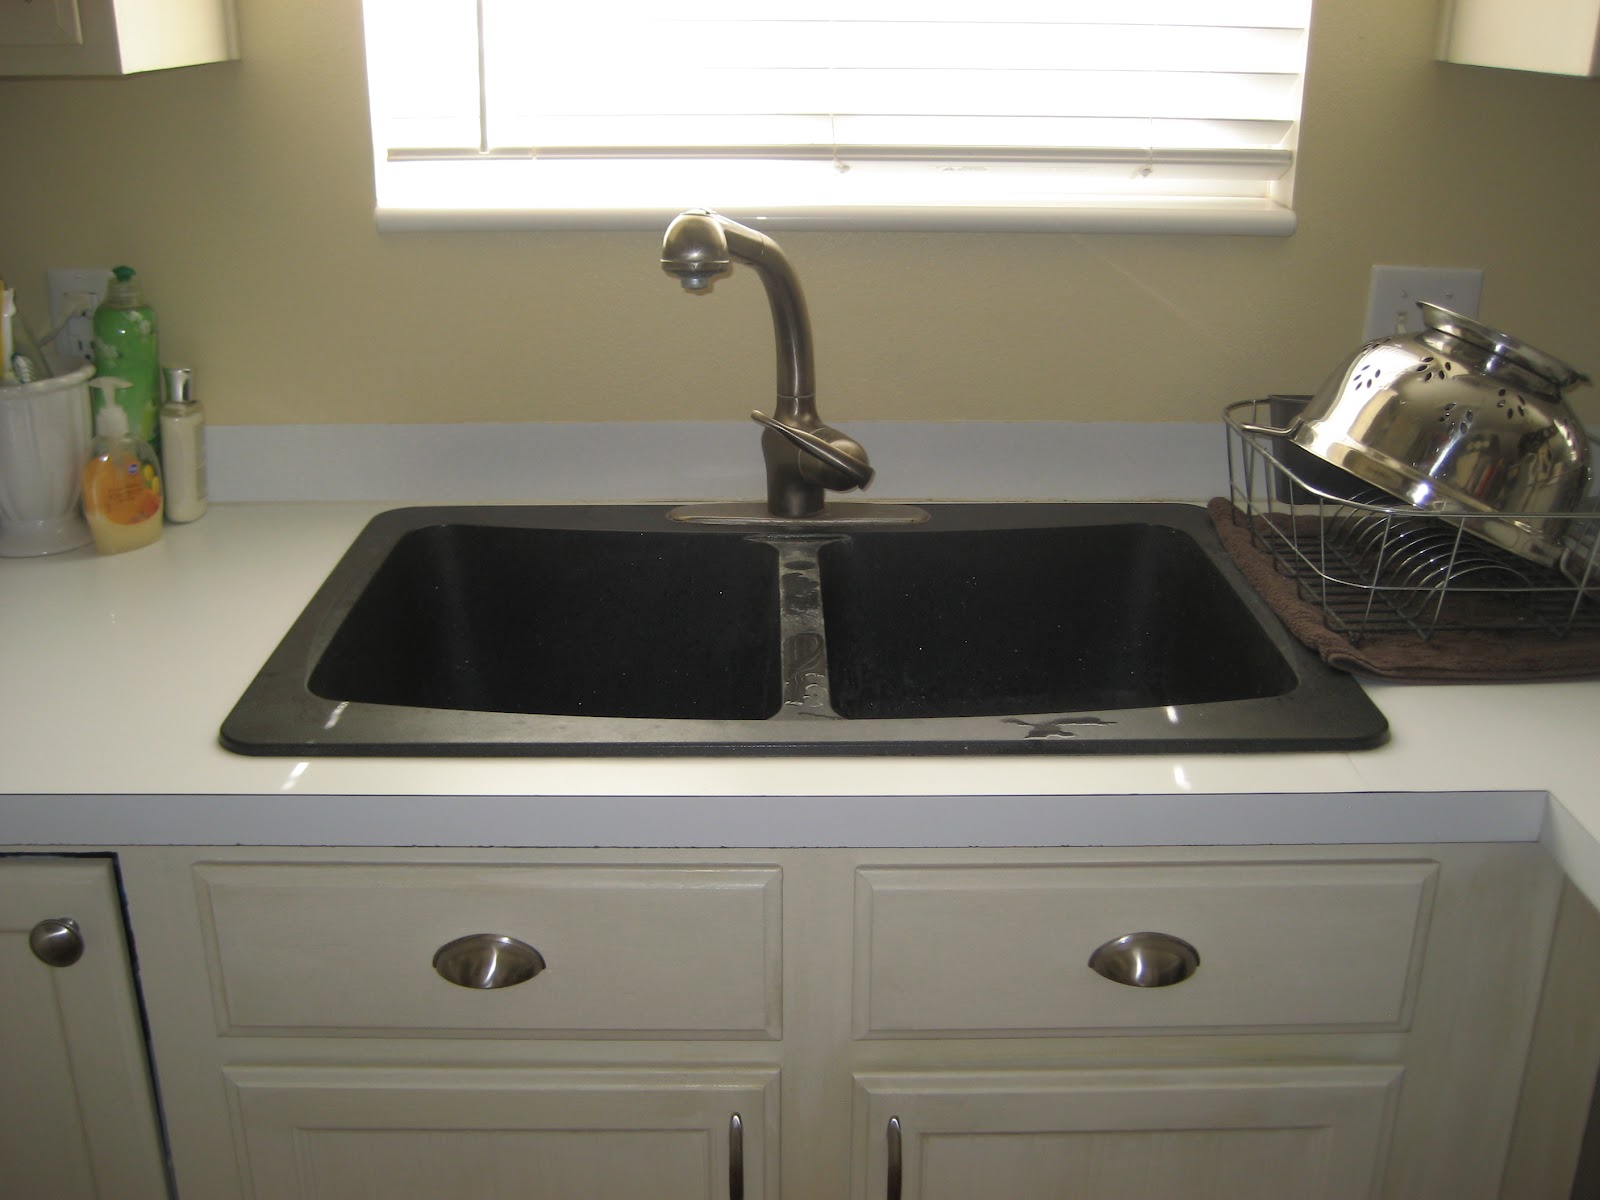
Painting your kitchen sink is a simple yet effective way to transform the look of your kitchen. You can choose a bold color to make a statement or opt for a neutral shade for a more subtle change. Whichever color you choose, a painted kitchen sink is sure to give your kitchen a fresh and updated look.5. Transform Your Kitchen Sink with Paint


5. Transform Your Kitchen Sink with Paint


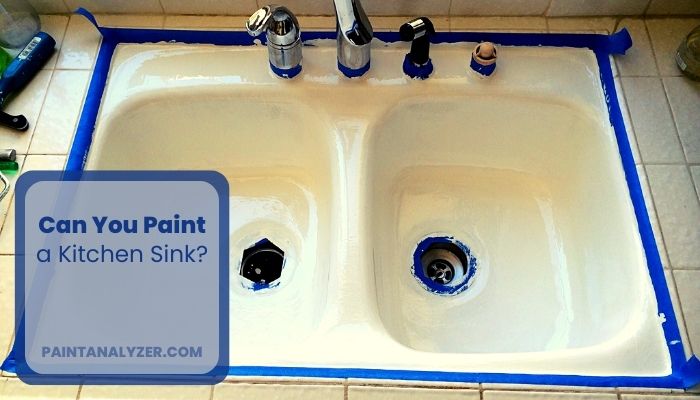


If you're wondering how to paint your kitchen sink, here's a step-by-step guide to help you get started: Step 1: Choose the color you want to paint your sink. Make sure it complements the rest of your kitchen's color scheme. Step 2: Remove any hardware from the sink, such as the faucet and drain, and set them aside. Step 3: Clean the sink thoroughly with a degreaser and a scrub brush. Rinse it off and dry it completely. Step 4: Sand the sink with fine-grit sandpaper to create a smooth surface for the paint to adhere to. Wipe away any dust with a damp cloth. Step 5: Apply a coat of primer to the sink using a high-quality brush or a foam roller. Allow it to dry completely before moving on to the next step. Step 6: Using a brush or a roller, apply two coats of acrylic enamel paint to the sink, allowing each coat to dry completely before applying the next one. Step 7: Once the final coat is dry, apply a clear topcoat to protect the paint and give it a glossy finish. Let it dry for 24 hours before using the sink.6. Step-by-Step Guide to Painting a Kitchen Sink


6. Step-by-Step Guide to Painting a Kitchen Sink
:max_bytes(150000):strip_icc()/how-to-clean-a-copper-sink-4767276-07-7281ad15196b40cbaf08187520d8ba72.jpg)


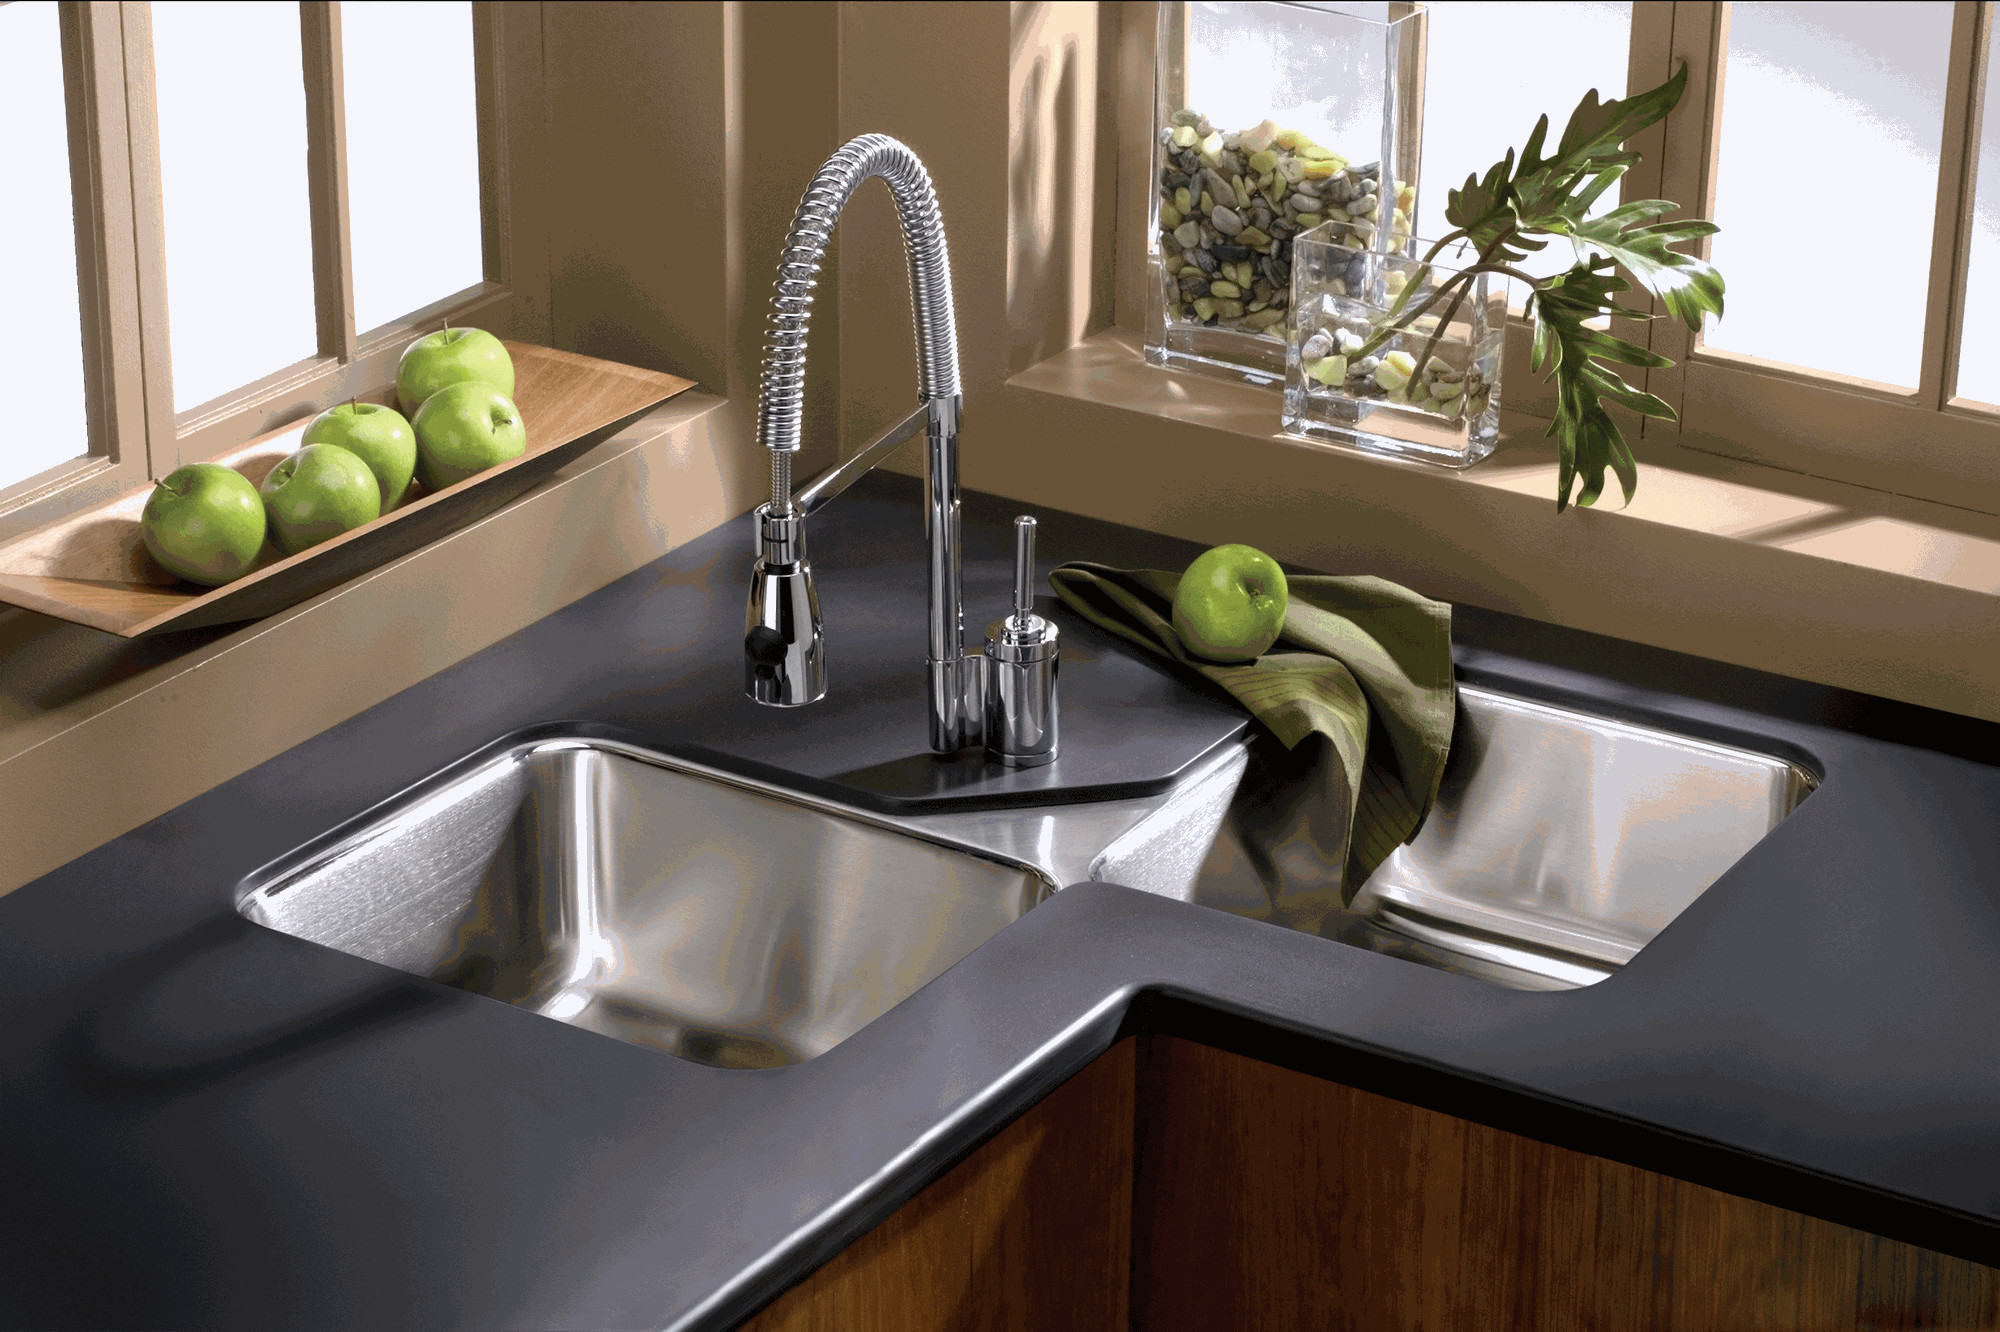
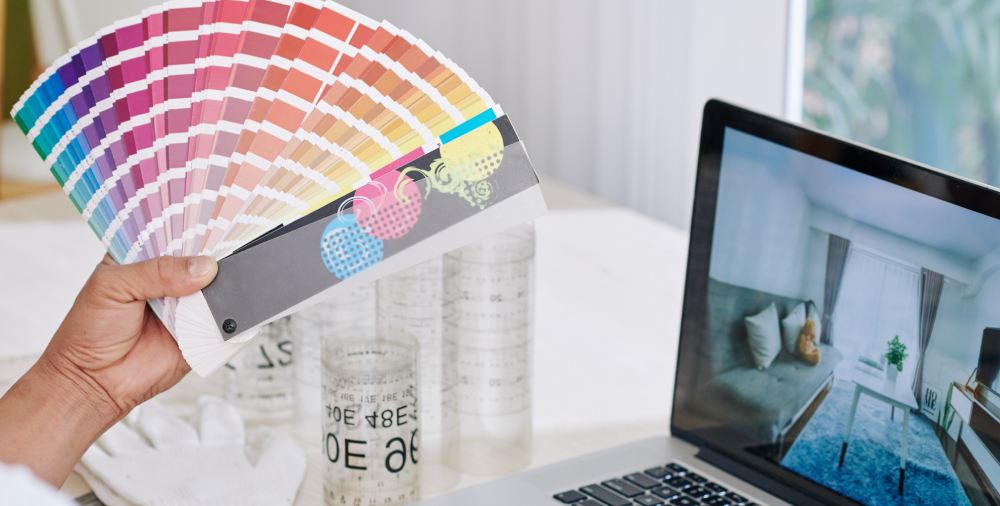
When it comes to choosing the color to paint your kitchen sink, there are a few factors to consider. First, think about the overall color scheme of your kitchen and choose a color that complements it. For a classic look, opt for a white or black sink. For a more modern and bold look, choose a bright or pastel color.7. Choosing the Right Color to Paint Your Kitchen Sink


7. Choosing the Right Color to Paint Your Kitchen Sink


When painting your kitchen sink, there are a few do's and don'ts to keep in mind: Do: Choose a high-quality paint and primer for a long-lasting finish. Do: Sand the sink before painting to create a smooth surface. Do: Use a clear topcoat to protect the paint and give it a glossy finish. Don't: Paint the inside of the sink for better durability. Don't: Use a cheap brush or roller as it can result in a streaky finish.8. Painting a Kitchen Sink: Do's and Don'ts


8. Painting a Kitchen Sink: Do's and Don'ts


Proper preparation is key to achieving a smooth and long-lasting finish when painting your kitchen sink. Here are the steps you need to follow to prep your sink for painting: Step 1: Clean the sink thoroughly with a degreaser and a scrub brush. Rinse it off and dry it completely. Step 2: Sand the sink with fine-grit sandpaper to create a smooth surface for the paint to adhere to. Wipe away any dust with a damp cloth. Step 3: Apply a coat of primer to the sink using a high-quality brush or a foam roller. Allow it to dry completely before moving on to the next step.9. How to Prep Your Kitchen Sink for Painting


9. How to Prep Your Kitchen Sink for Painting

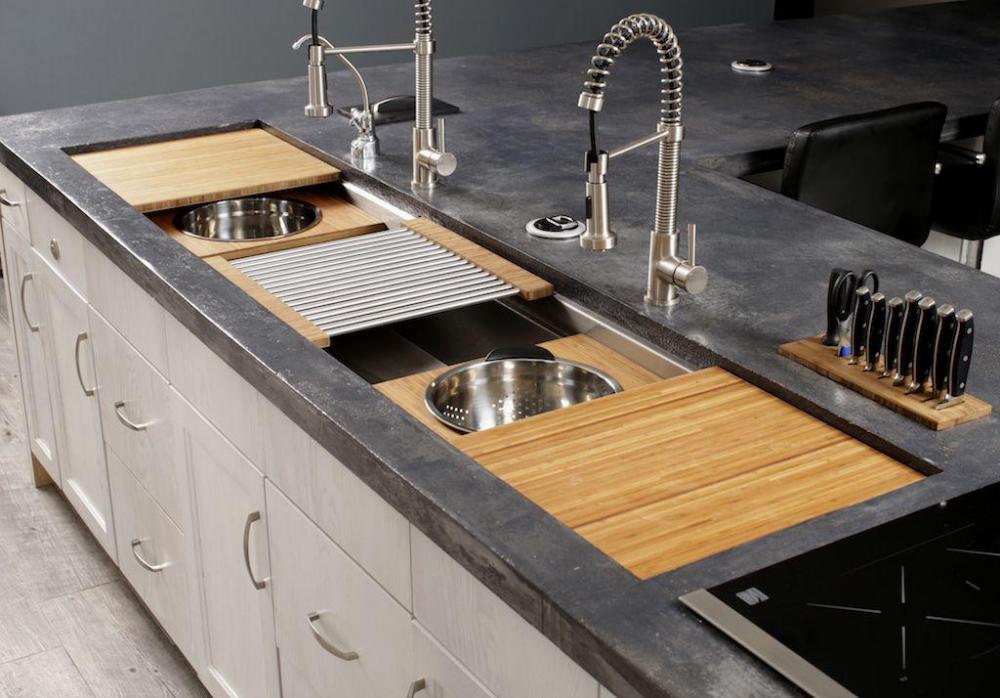


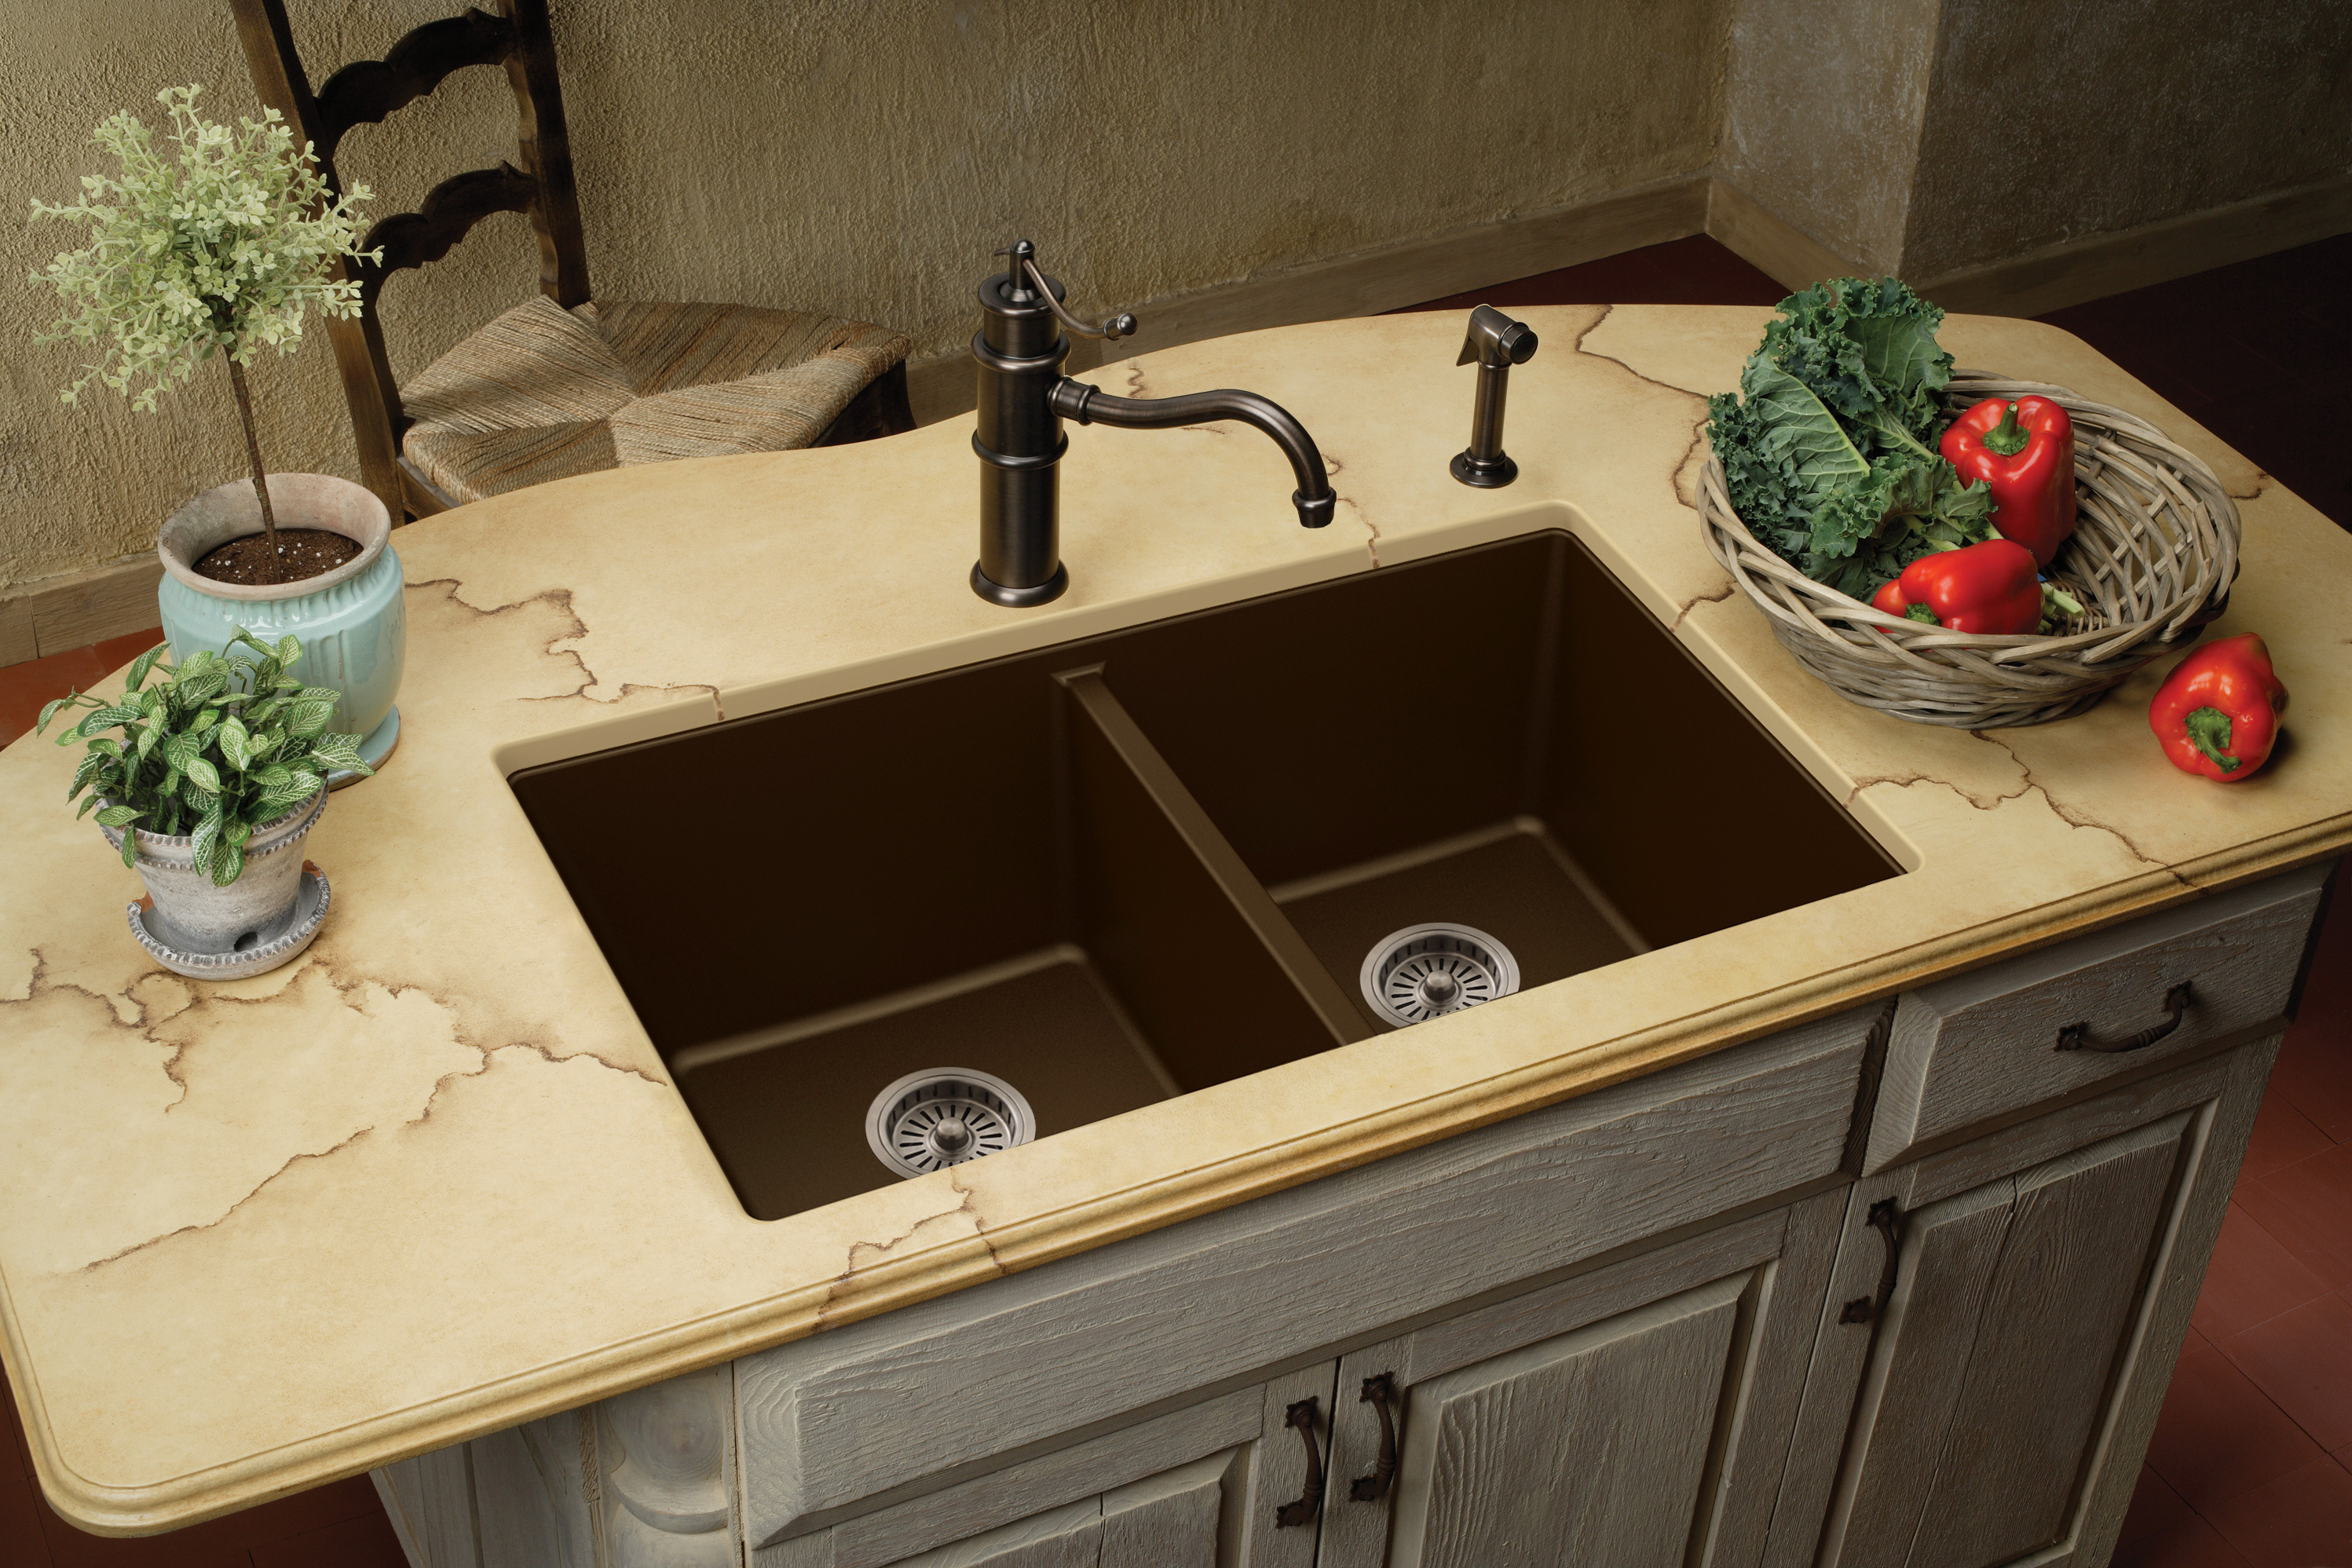
Looking for some creative inspiration for painting your kitchen sink? Here are a few ideas to get you started: - Two-tone sink: Paint the inside of the sink one color and the rim and edges a different color for a unique and eye-catching look. - Ombre sink: Create an ombre effect by using different shades of the same color to paint your sink. - Patterned sink: Use stencils to create a pattern on your sink, such as a geometric design or floral pattern. With these tips and ideas, you can easily transform your kitchen sink with a fresh coat of paint. Not only will it add a new look to your kitchen, but it will also save you money compared to buying a new sink. So why not give it a try and see the amazing results for yourself?10. Creative Ideas for Painting Your Kitchen Sink


10. Creative Ideas for Painting Your Kitchen Sink


:max_bytes(150000):strip_icc()/Basic-kitchen-sink-types-1821207_color_rev-0b539306b9ef4236a136624ad2a89a4c.jpg)


Transform Your Kitchen Sink with a Fresh Coat of Paint
Adding a Pop of Color to Your Kitchen Design
 When it comes to designing and decorating a house, the kitchen is often considered the heart of the home. It's where meals are prepared, memories are made, and family and friends gather together. With so much time spent in the kitchen, it's important to create a space that is not only functional but also visually appealing. One way to add a touch of personality and style to your kitchen is by
painting your kitchen sink.
When it comes to designing and decorating a house, the kitchen is often considered the heart of the home. It's where meals are prepared, memories are made, and family and friends gather together. With so much time spent in the kitchen, it's important to create a space that is not only functional but also visually appealing. One way to add a touch of personality and style to your kitchen is by
painting your kitchen sink.
The Benefits of Painting Your Kitchen Sink
 While it may seem unconventional, painting your kitchen sink can have many benefits. First and foremost, it can completely transform the look of your kitchen. Whether you have a traditional white sink or a stainless steel one,
a fresh coat of paint can add a pop of color and make a statement.
It's also a cost-effective way to update your kitchen without having to replace the entire sink. Plus, with a wide range of paint colors and finishes available, the possibilities are endless.
While it may seem unconventional, painting your kitchen sink can have many benefits. First and foremost, it can completely transform the look of your kitchen. Whether you have a traditional white sink or a stainless steel one,
a fresh coat of paint can add a pop of color and make a statement.
It's also a cost-effective way to update your kitchen without having to replace the entire sink. Plus, with a wide range of paint colors and finishes available, the possibilities are endless.
Preparing Your Kitchen Sink for Painting
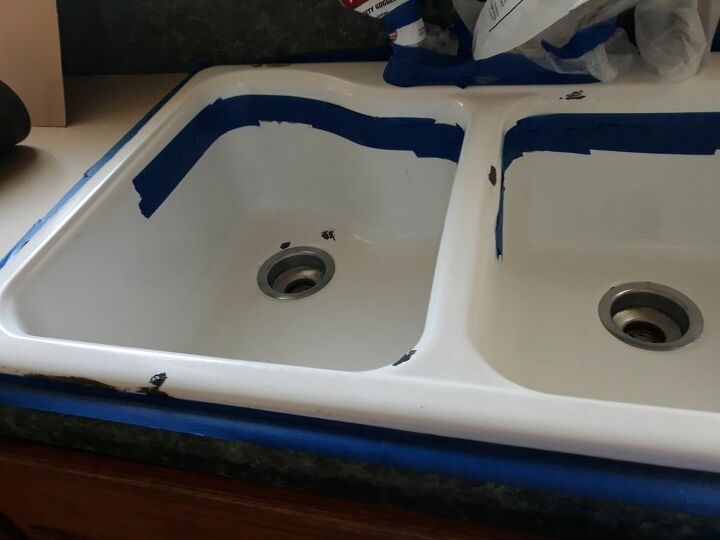
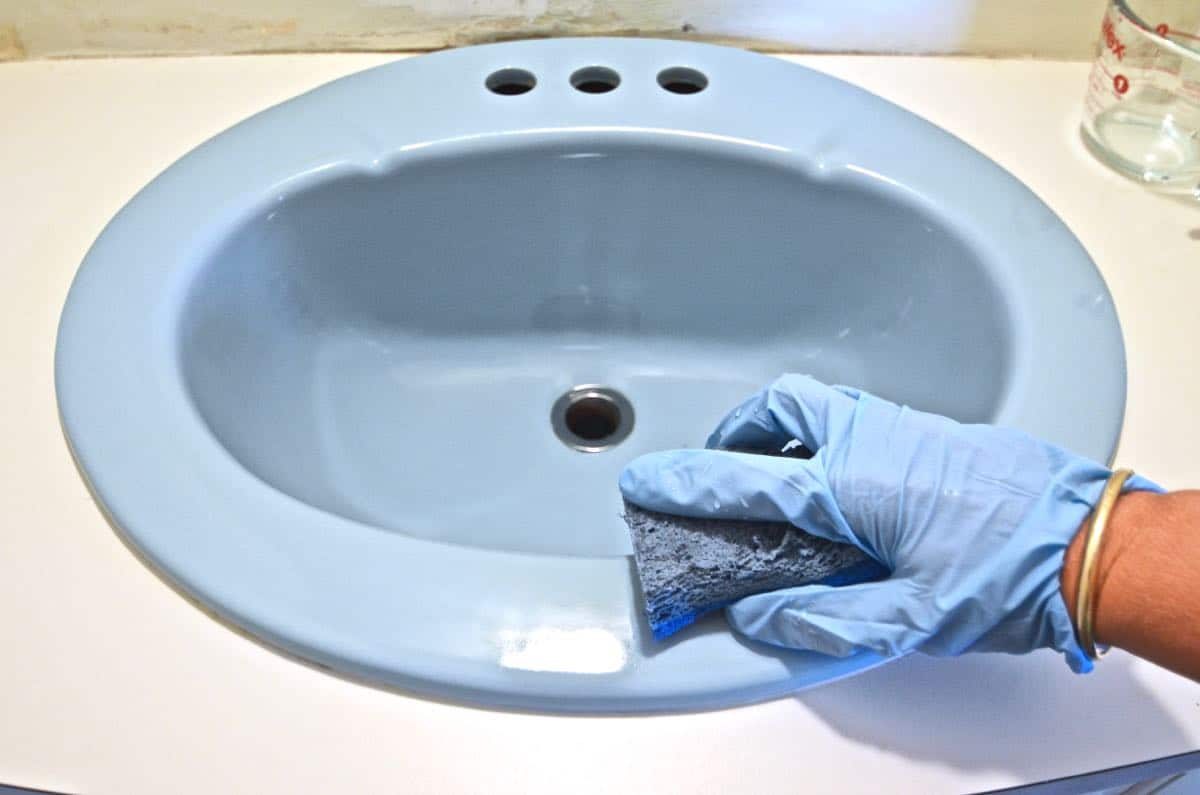 Before you begin the painting process, it's important to properly prepare your kitchen sink. Start by thoroughly cleaning the sink and removing any soap scum, grease, or debris. Next, lightly sand the surface of the sink to create a rough texture for the paint to adhere to. Then, use a painter's tape to cover any areas you don't want to paint, such as the faucet or drain. Finally, apply a coat of primer to the sink to ensure the paint will stick and prevent any chipping or peeling.
Choosing the Right Paint for Your Kitchen Sink
 When it comes to choosing the right paint for your kitchen sink, there are a few options to consider.
Epoxy paint
is a popular choice as it provides a durable finish that can withstand daily wear and tear. It's also water-resistant, which is important for a sink that is constantly exposed to water. Another option is
acrylic enamel paint,
which is known for its glossy finish and quick drying time. Whichever paint you choose, make sure it is suitable for use on surfaces that come into contact with water.
When it comes to choosing the right paint for your kitchen sink, there are a few options to consider.
Epoxy paint
is a popular choice as it provides a durable finish that can withstand daily wear and tear. It's also water-resistant, which is important for a sink that is constantly exposed to water. Another option is
acrylic enamel paint,
which is known for its glossy finish and quick drying time. Whichever paint you choose, make sure it is suitable for use on surfaces that come into contact with water.
Bringing Your Kitchen Sink to Life
 Once you have completed the painting process, it's time to bring your kitchen sink to life.
Consider adding a pattern or design to the sink
using stencils or painter's tape to create a unique and personalized look. You can also add a protective sealant to ensure the paint stays intact for years to come. With a newly painted kitchen sink, your kitchen will have a fresh and modern look that you will love.
In conclusion, painting your kitchen sink is a simple and cost-effective way to add a touch of style and personality to your kitchen design. With the right preparation and paint, you can transform your sink into a statement piece that will enhance the overall look of your kitchen. So why not give it a try and see the difference a fresh coat of paint can make?
Once you have completed the painting process, it's time to bring your kitchen sink to life.
Consider adding a pattern or design to the sink
using stencils or painter's tape to create a unique and personalized look. You can also add a protective sealant to ensure the paint stays intact for years to come. With a newly painted kitchen sink, your kitchen will have a fresh and modern look that you will love.
In conclusion, painting your kitchen sink is a simple and cost-effective way to add a touch of style and personality to your kitchen design. With the right preparation and paint, you can transform your sink into a statement piece that will enhance the overall look of your kitchen. So why not give it a try and see the difference a fresh coat of paint can make?