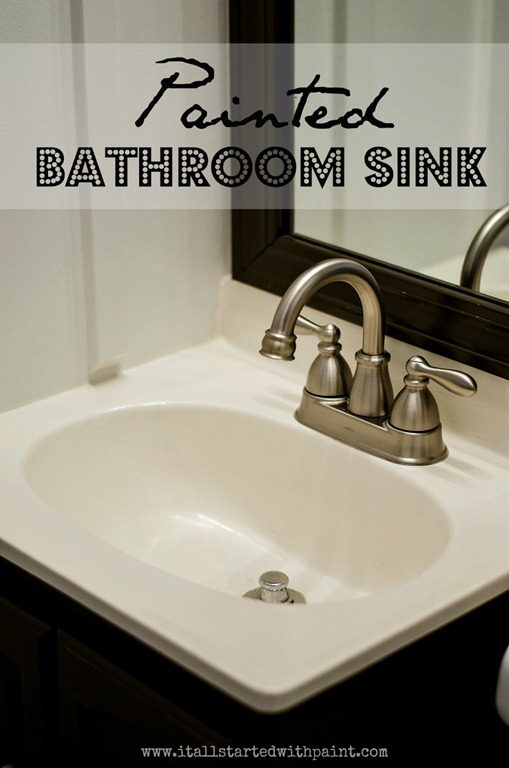
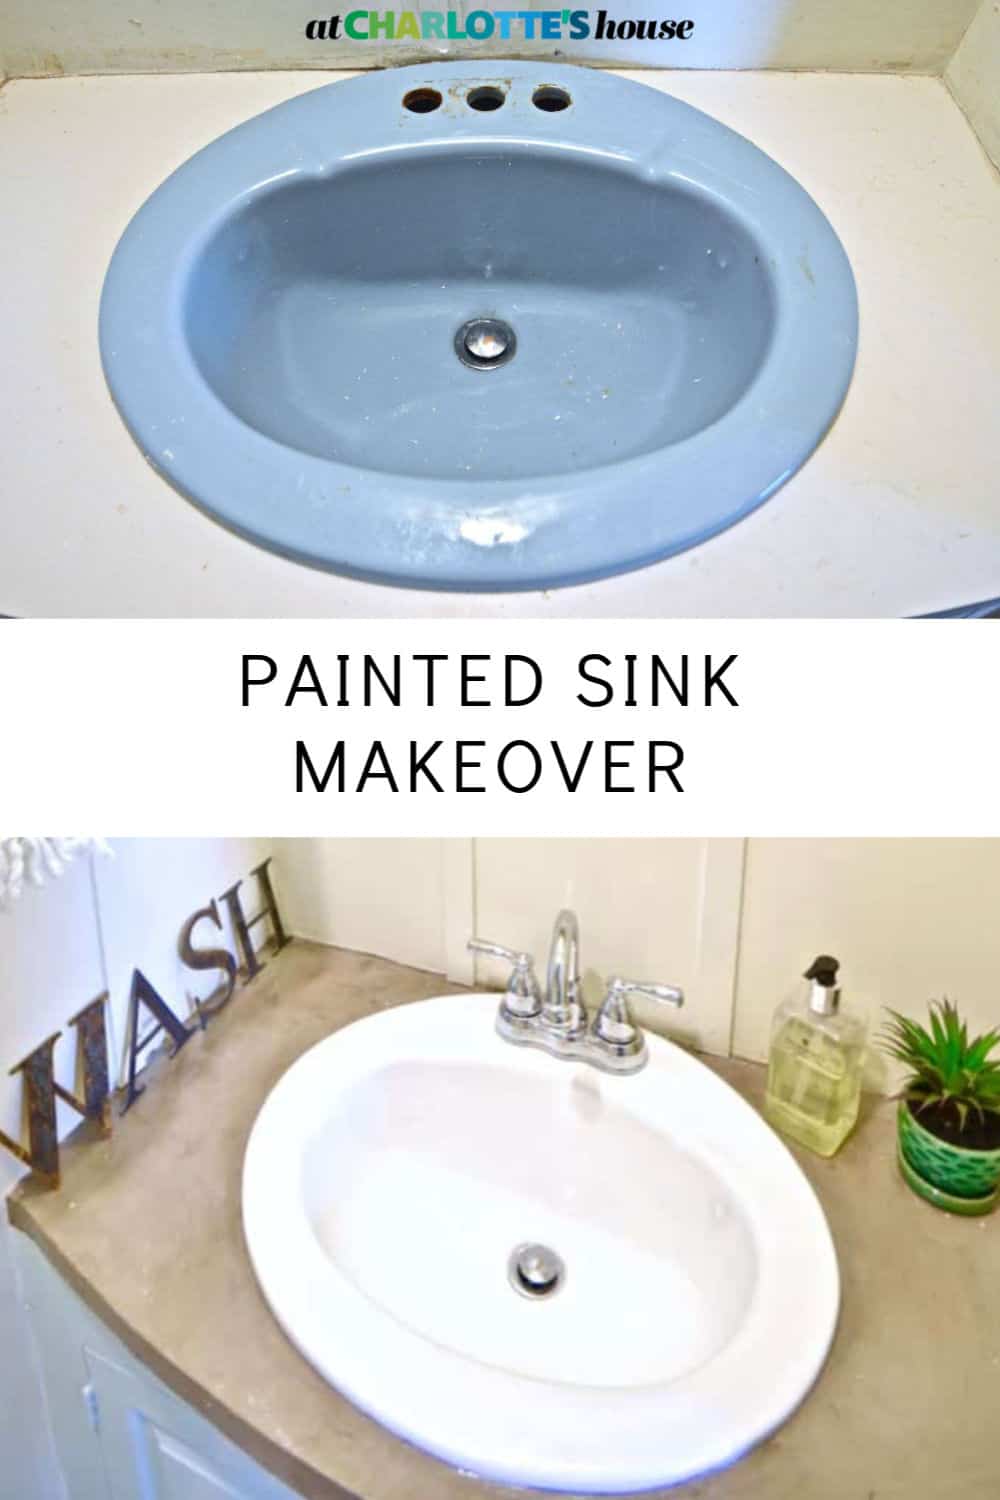
If you're looking to give your bathroom a fresh new look without breaking the bank, painting your bathroom sink is a great way to do it. It's a simple and affordable way to update your bathroom and make it feel more modern and stylish. Plus, painting your bathroom sink allows you to customize the color and design to match your personal style. So, if you're ready to give your bathroom sink a makeover, keep reading to learn how to paint a bathroom sink.1. Why Paint a Bathroom Sink?


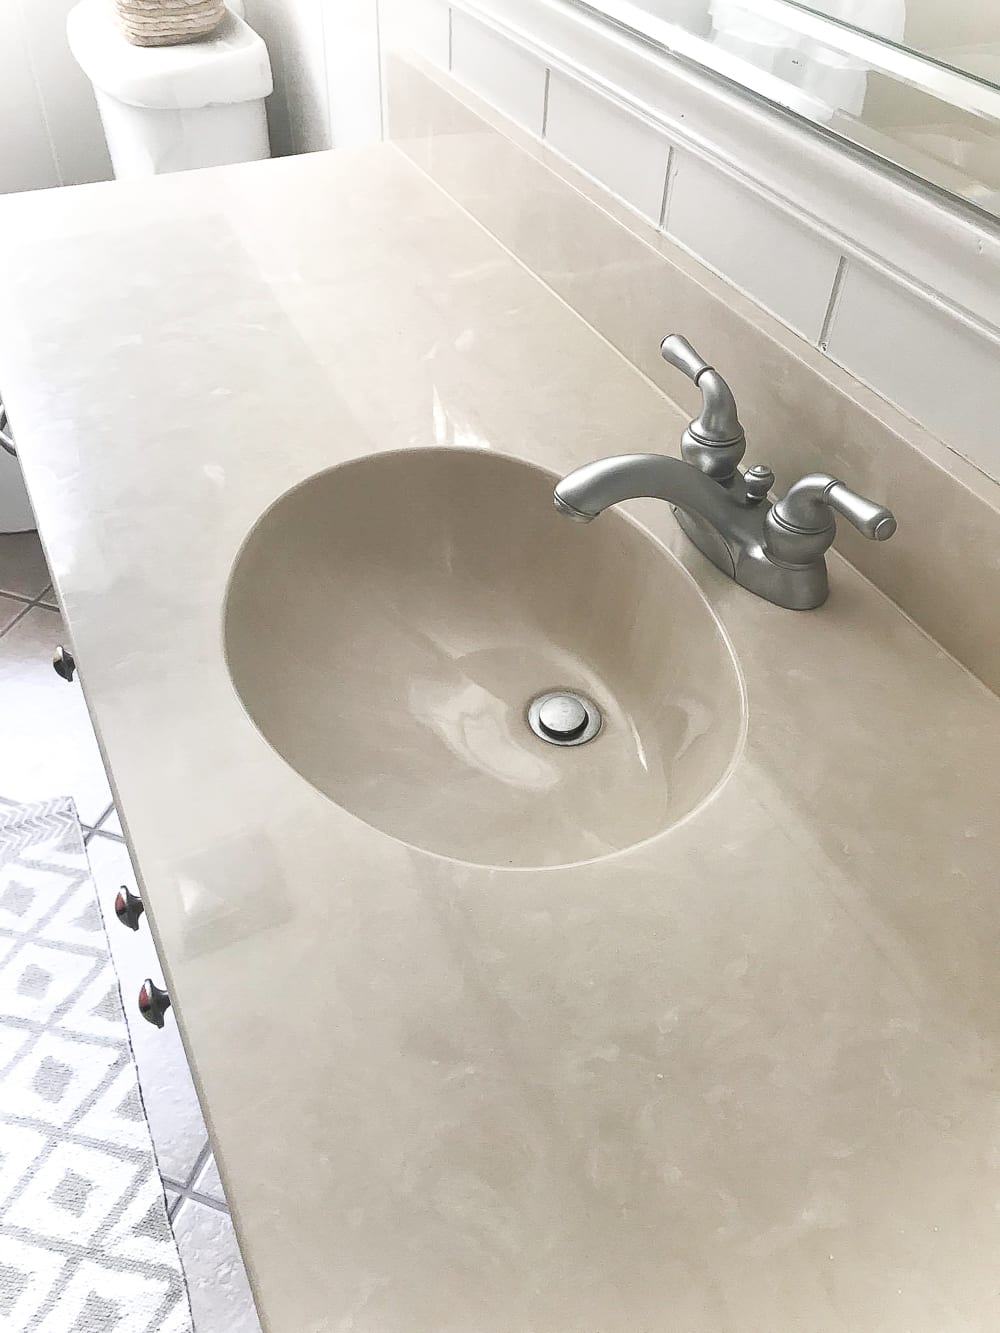
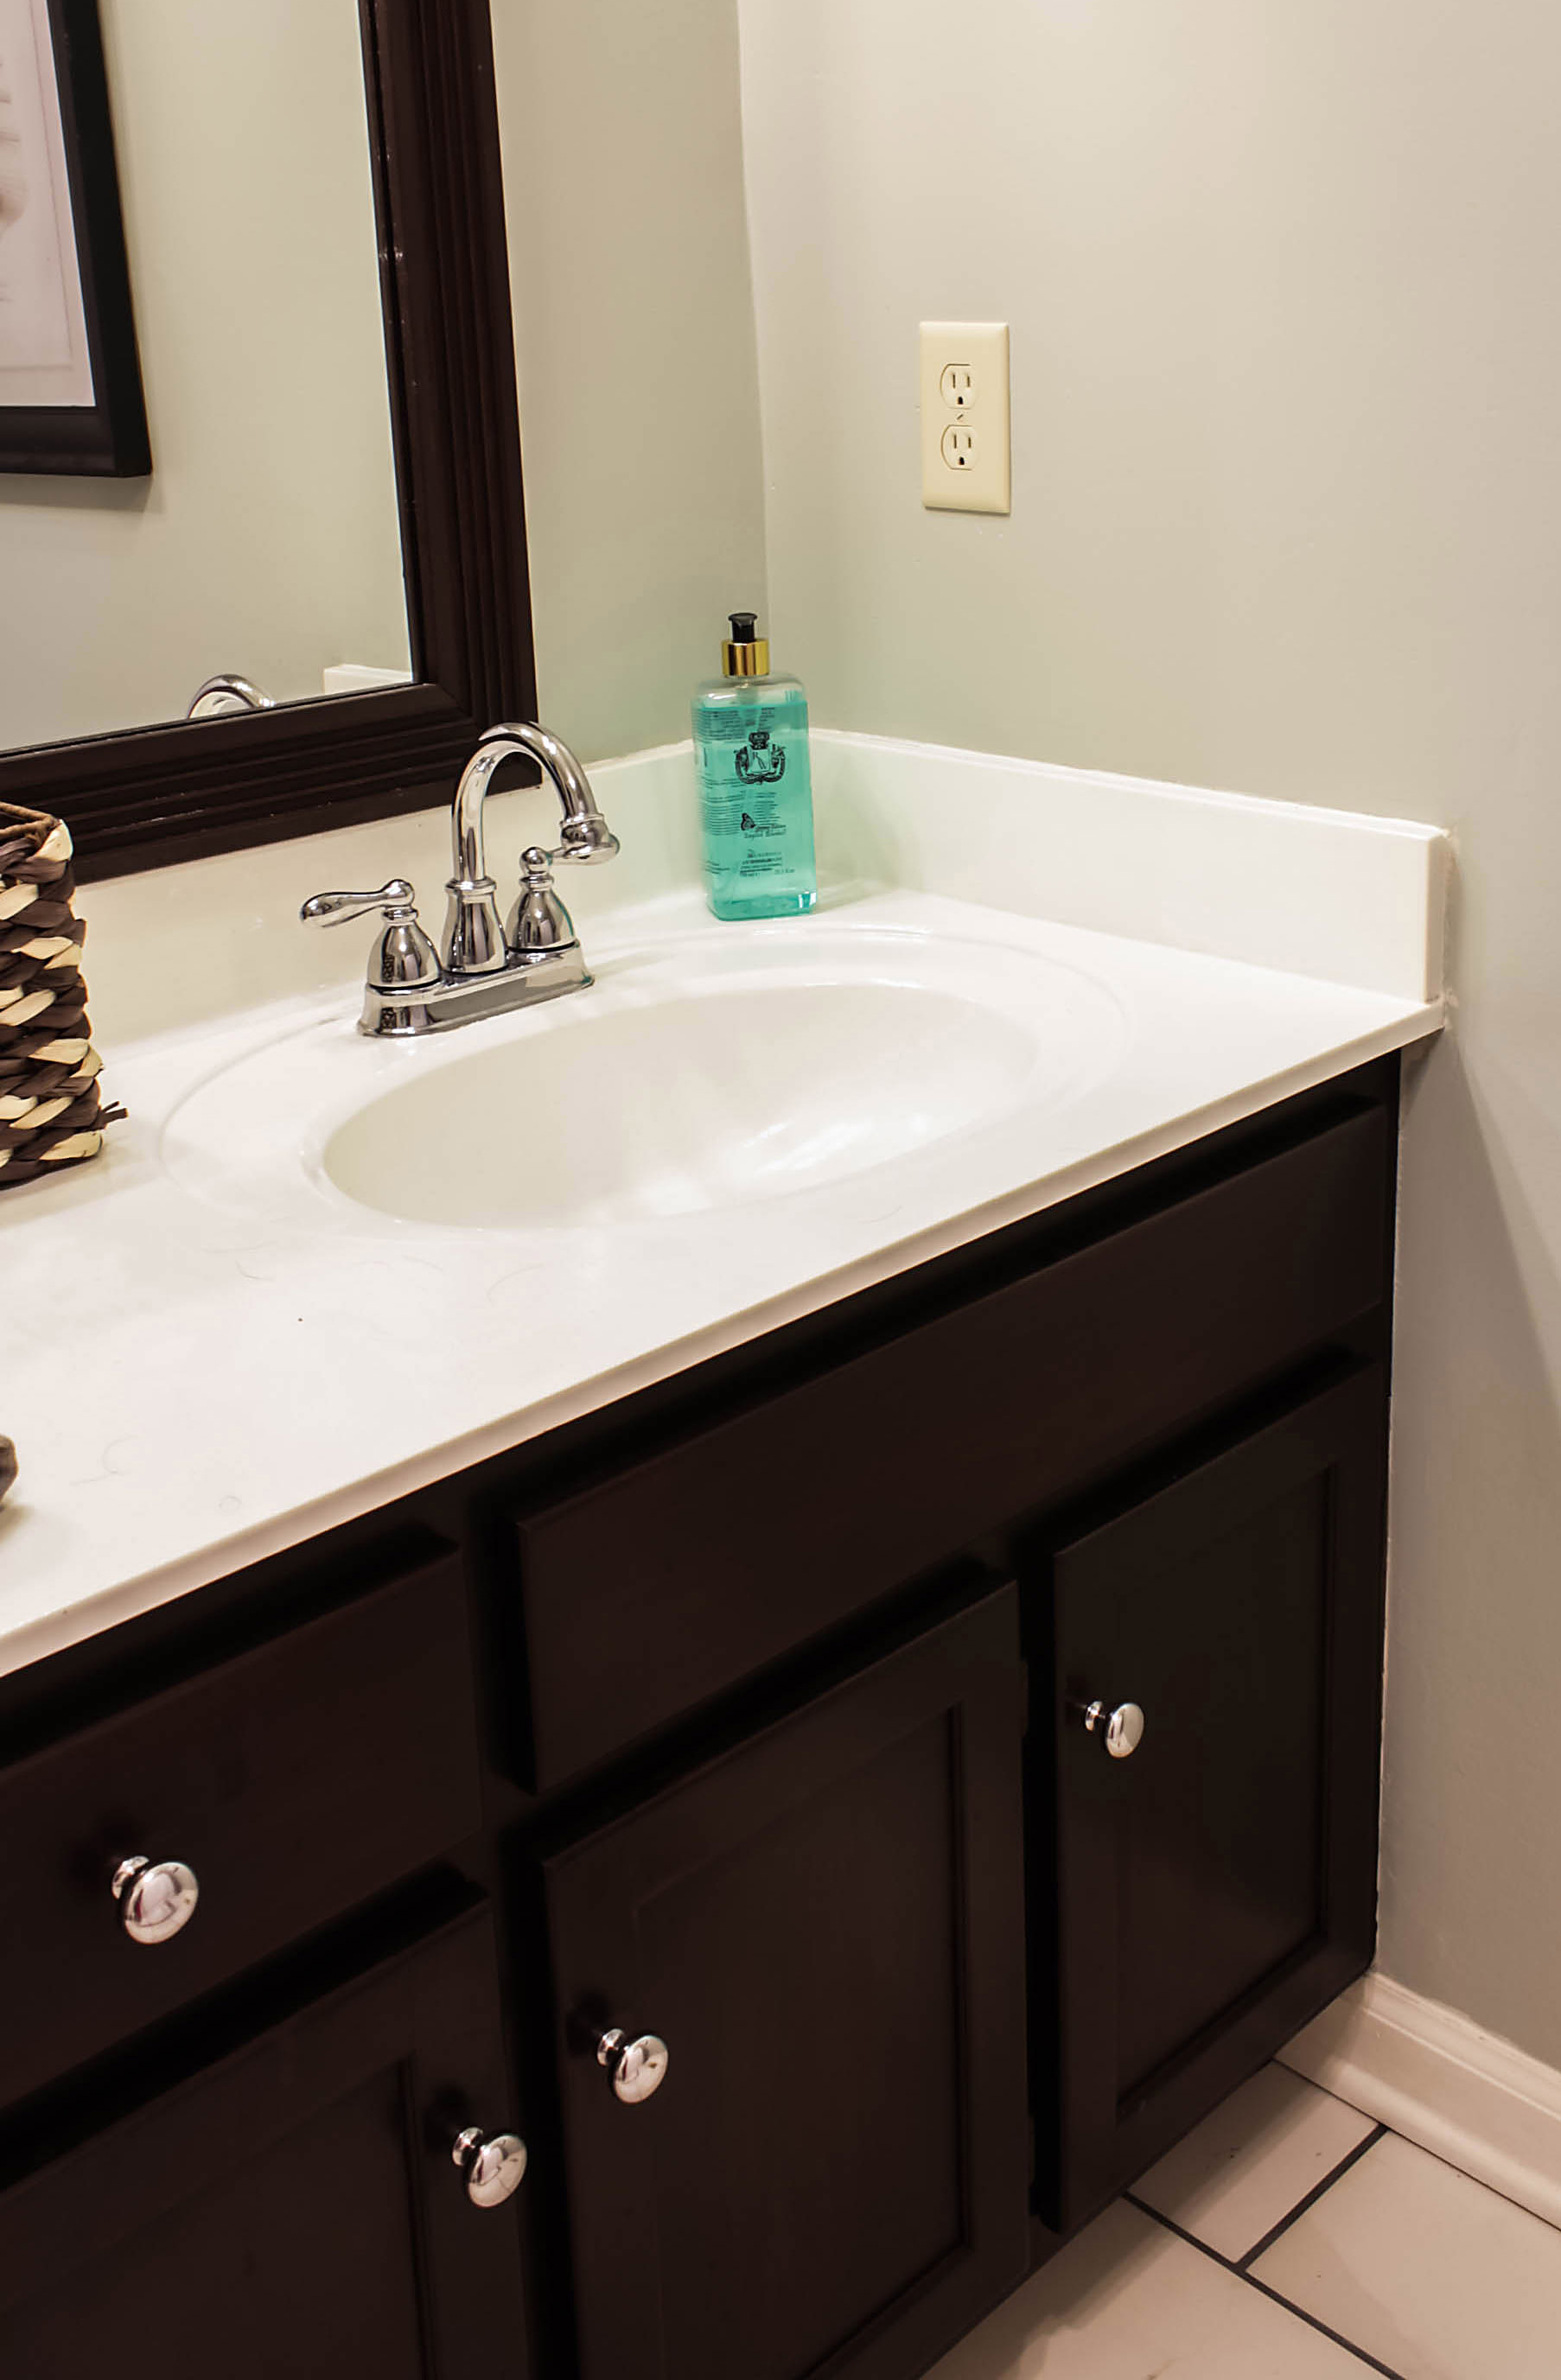
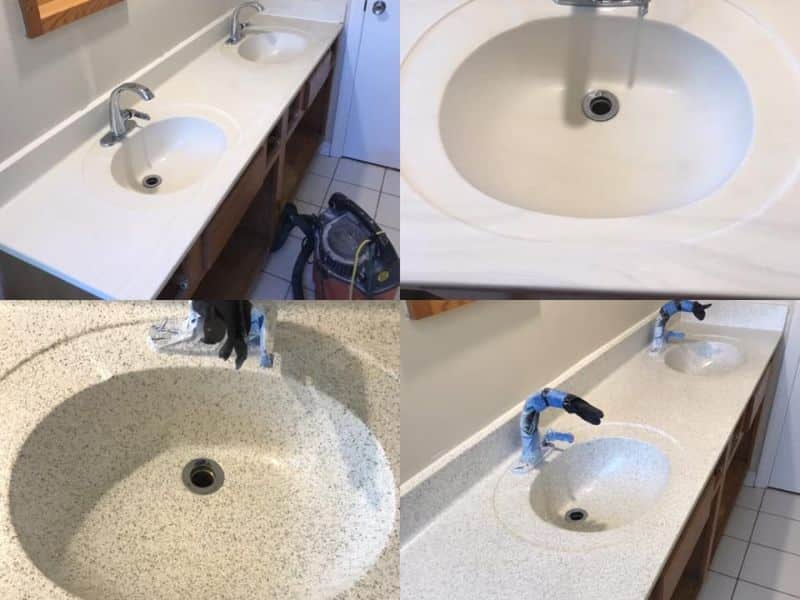
painting bathroom sink


Before you can start painting your bathroom sink, you'll need to gather your supplies. Here's what you'll need:2. Gather Your Supplies
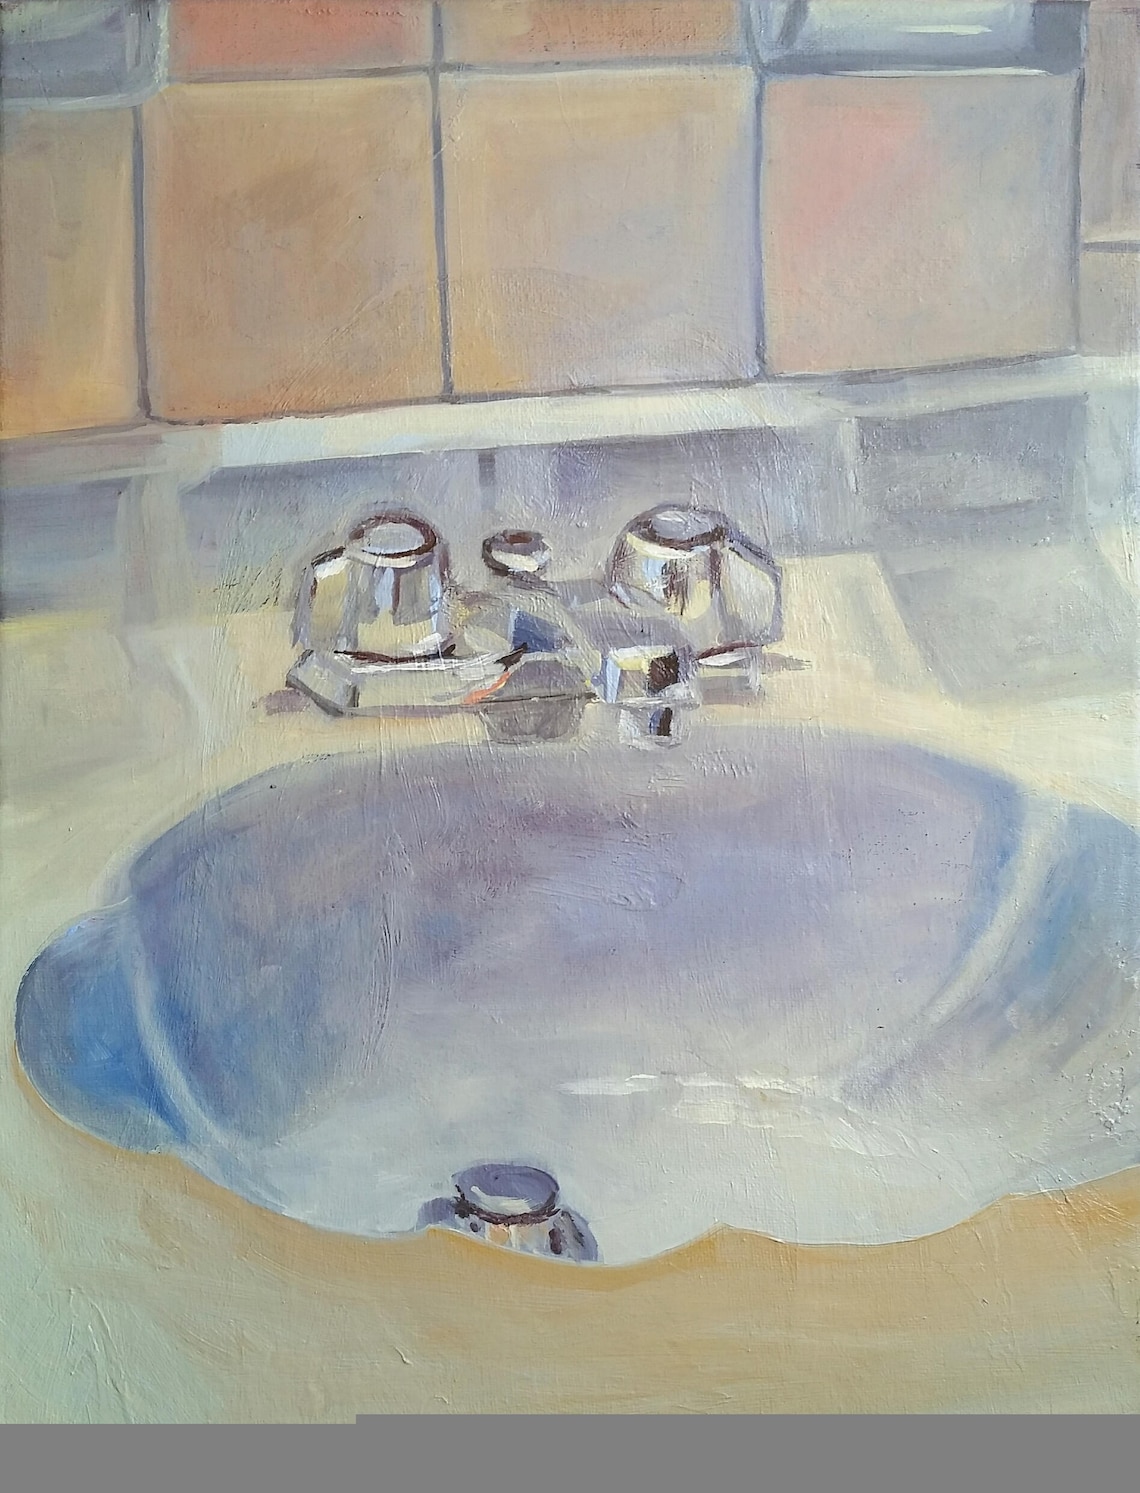
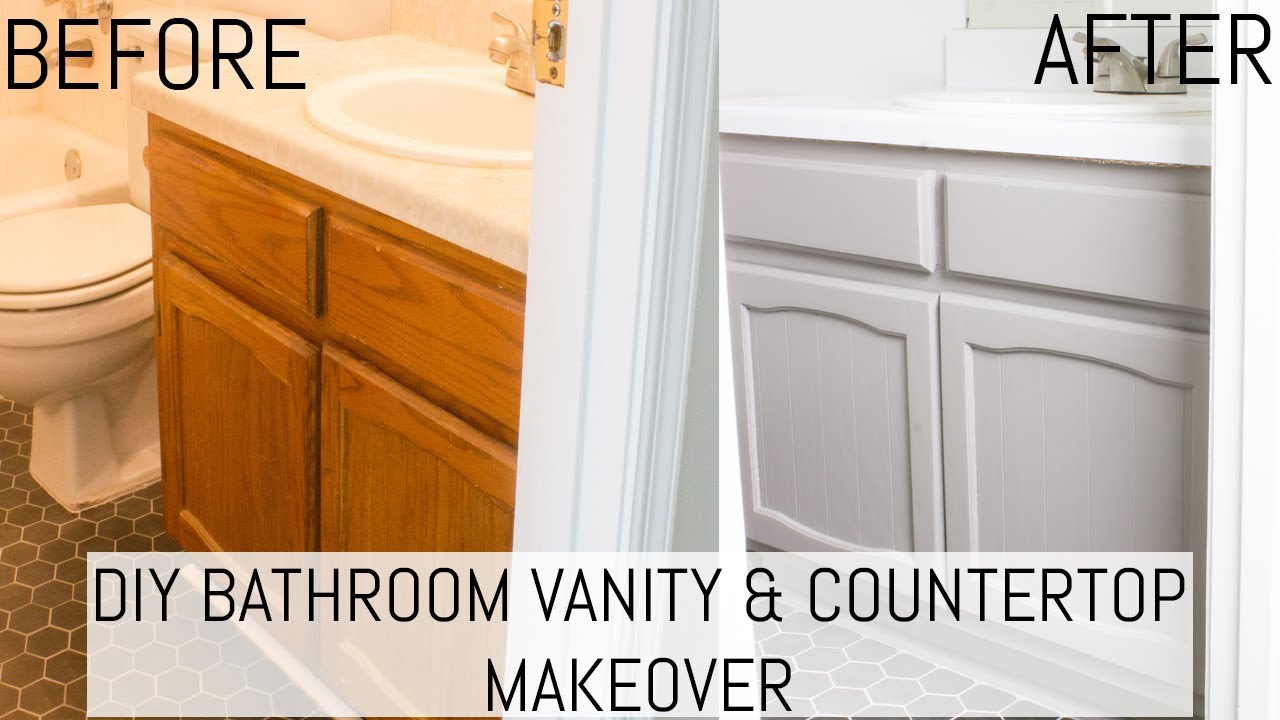
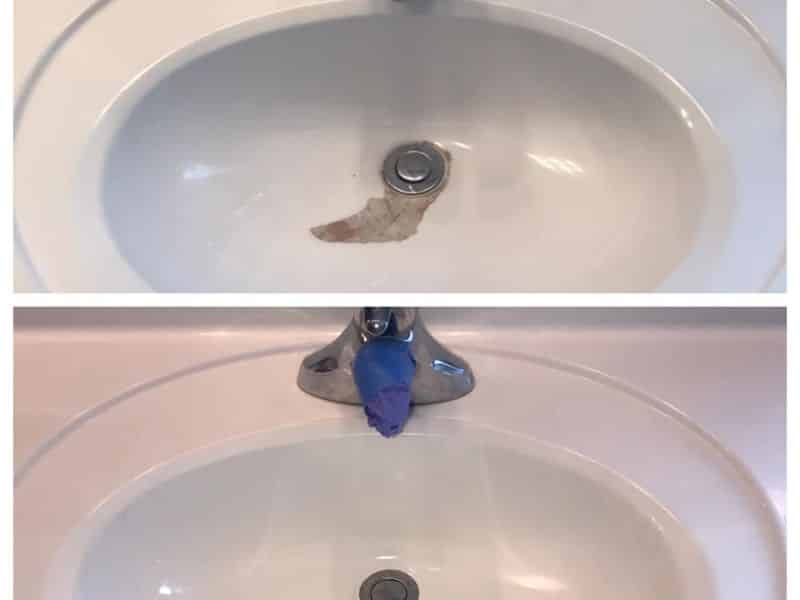
how to paint a bathroom sink


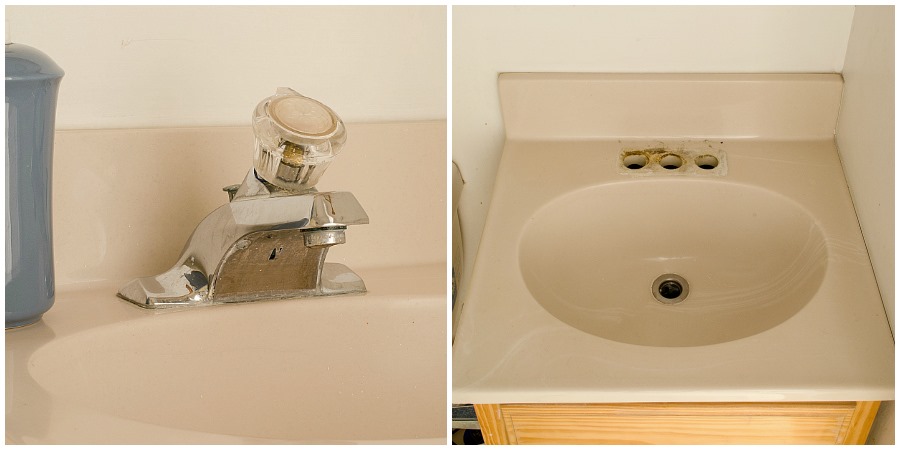
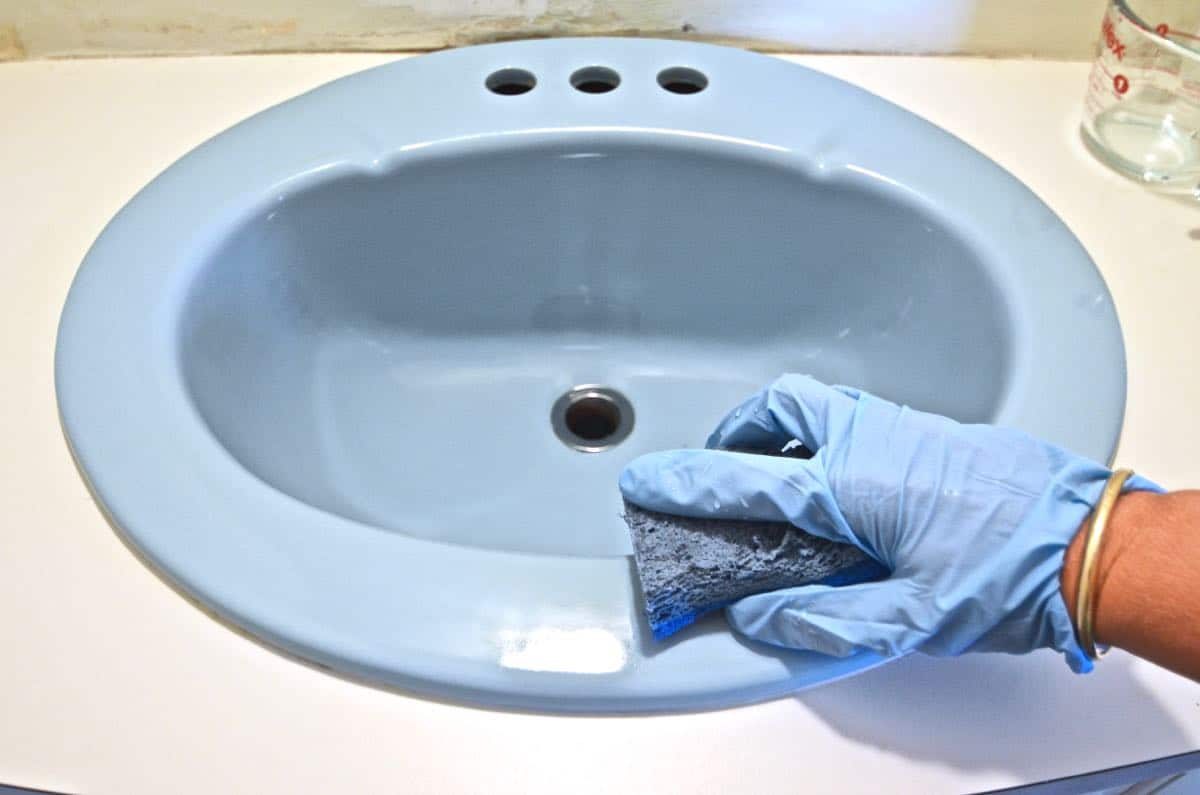
Before you can start painting, you'll need to properly prepare your sink. Begin by cleaning the sink with a cleaner and letting it dry completely. Then, use sandpaper to lightly sand the surface of your sink. This will help the paint adhere better and create a smoother finish. Once you've finished sanding, wipe down the sink with a damp cloth to remove any dust.3. Prepare Your Sink for Painting


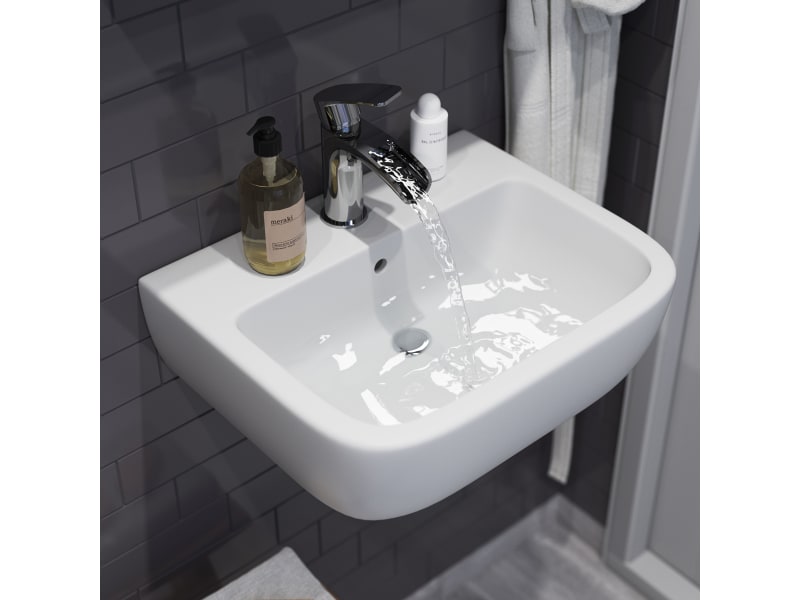
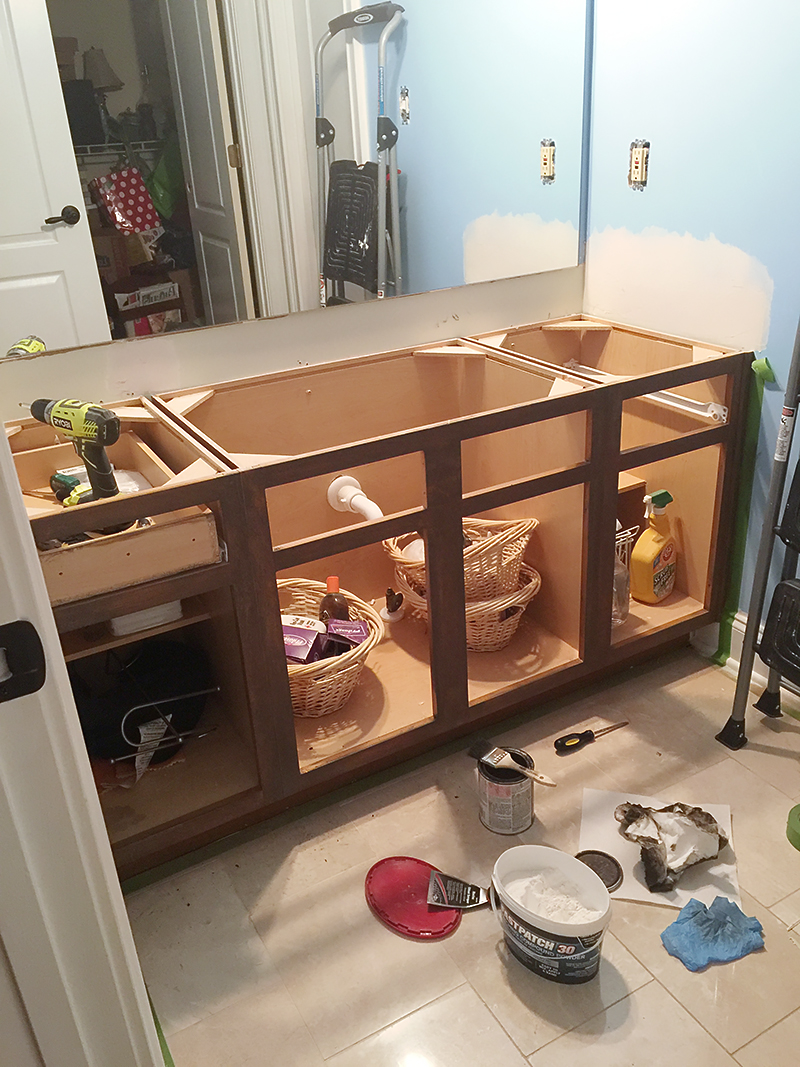
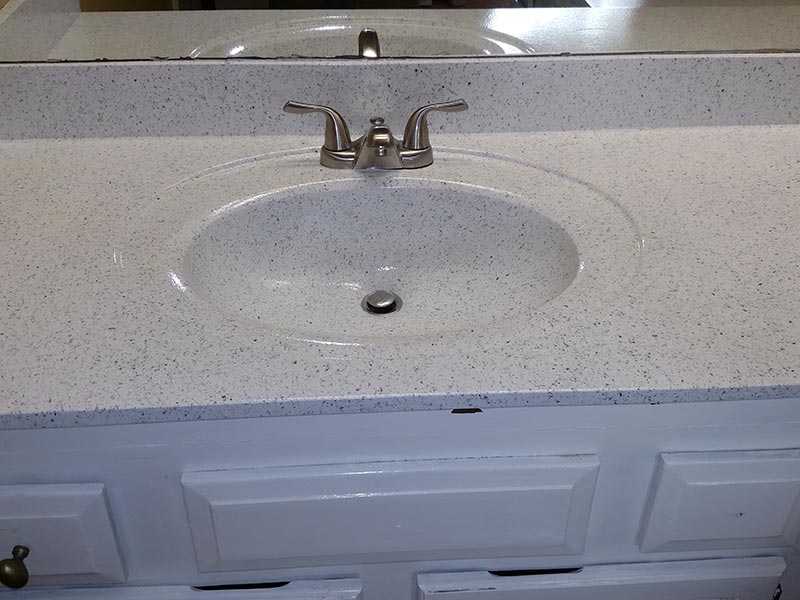
bathroom sink paint


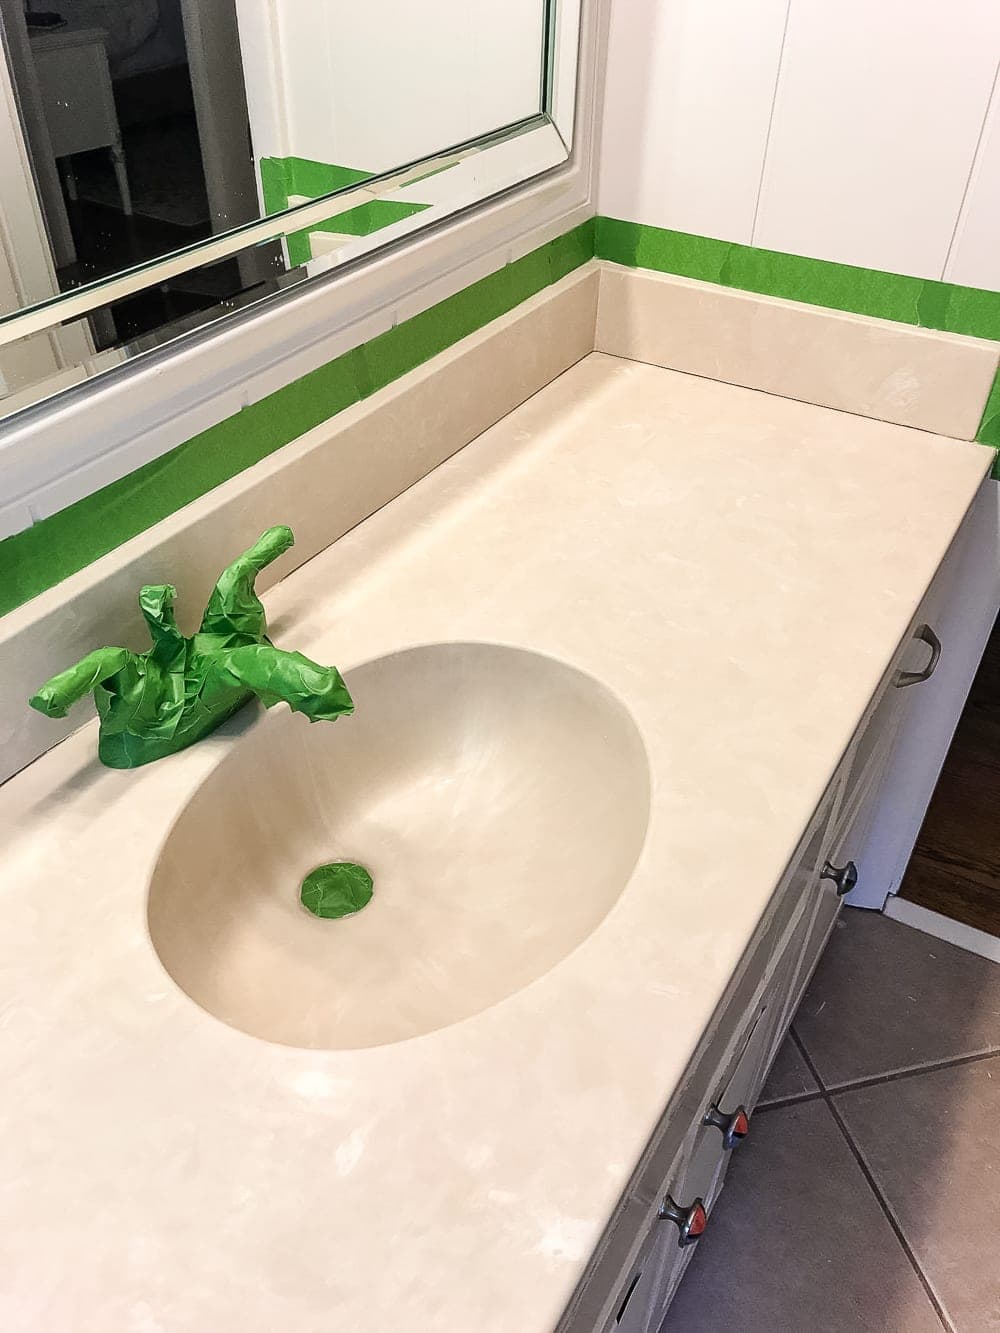
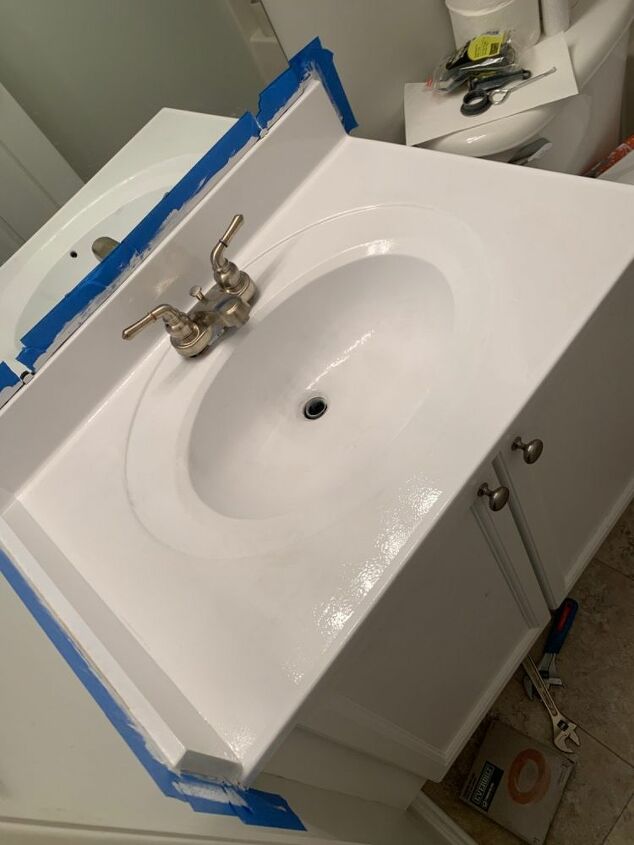
To ensure clean and straight lines, use masking tape to tape off the edges of your sink. This will help you avoid getting paint on areas you don't want painted, such as the countertop and faucet.4. Tape Off the Edges

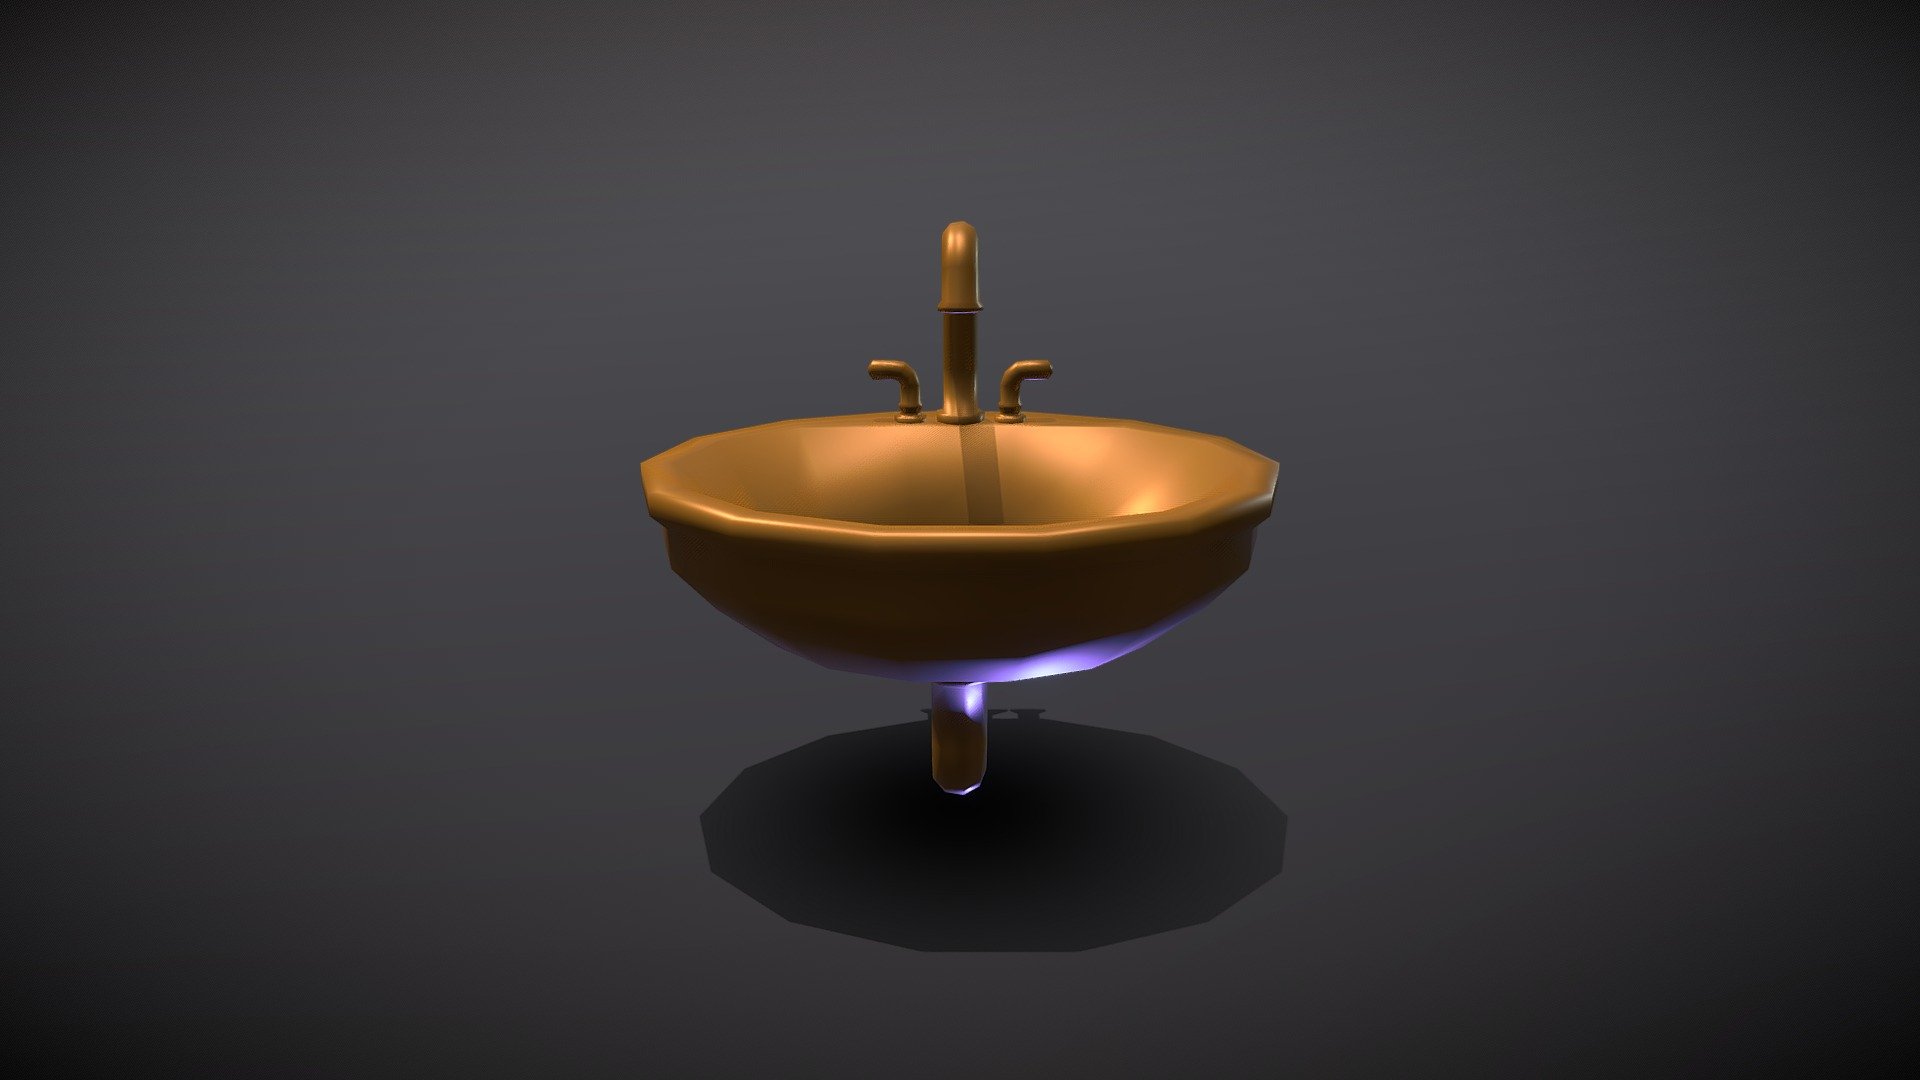
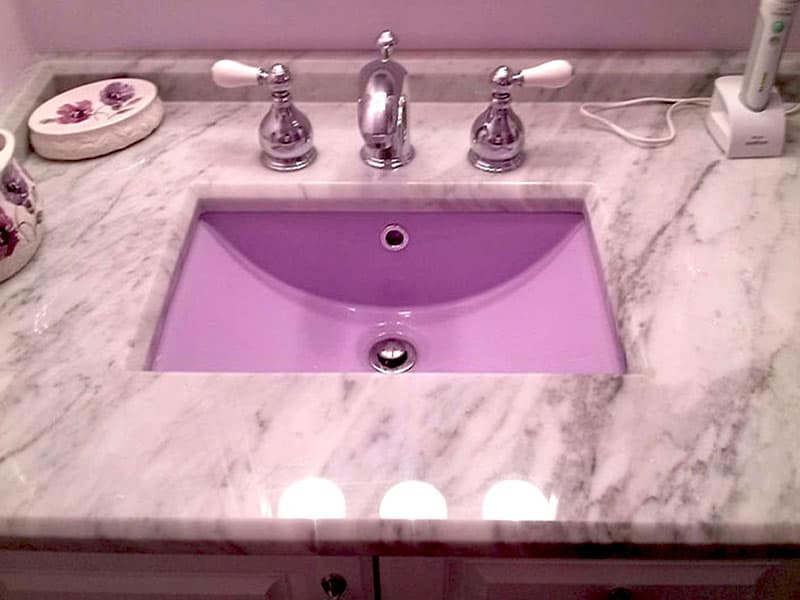
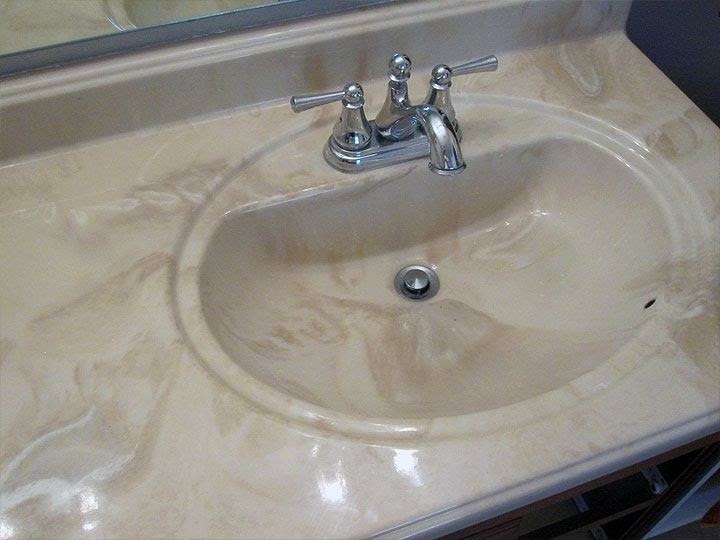
bathroom sink painting


Now it's time to start painting! Begin by applying a coat of primer to your sink using a brush or roller. Make sure to follow the manufacturer's instructions for drying time. Once the primer is dry, lightly sand the surface again and wipe it clean.5. Prime Your Sink

painting a bathroom sink

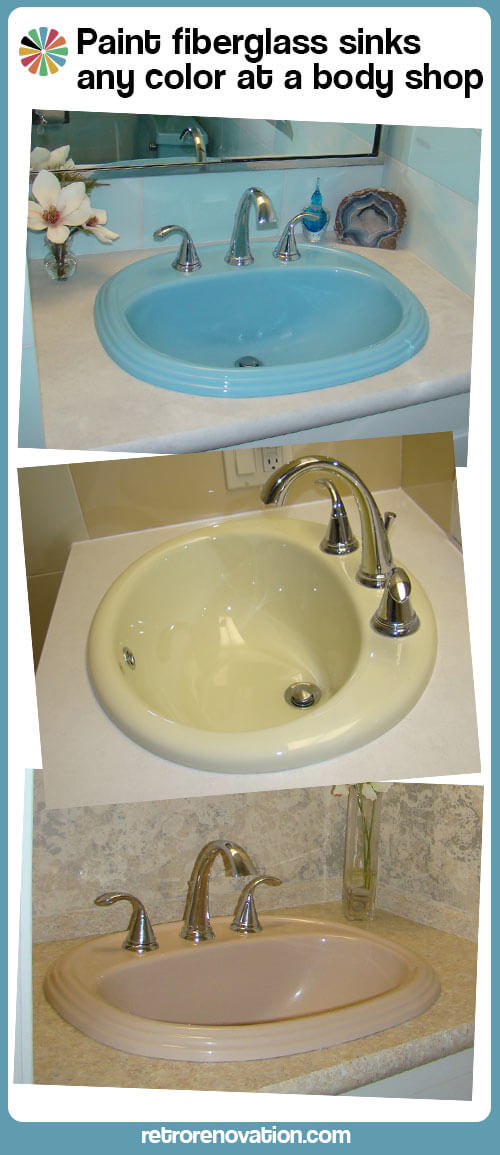
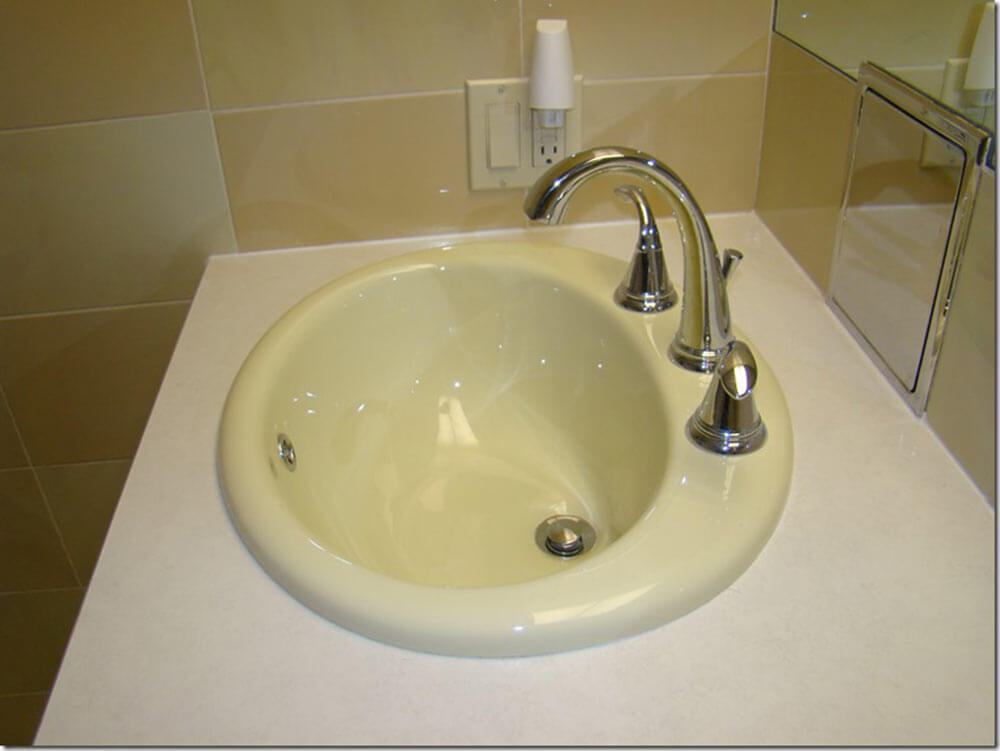
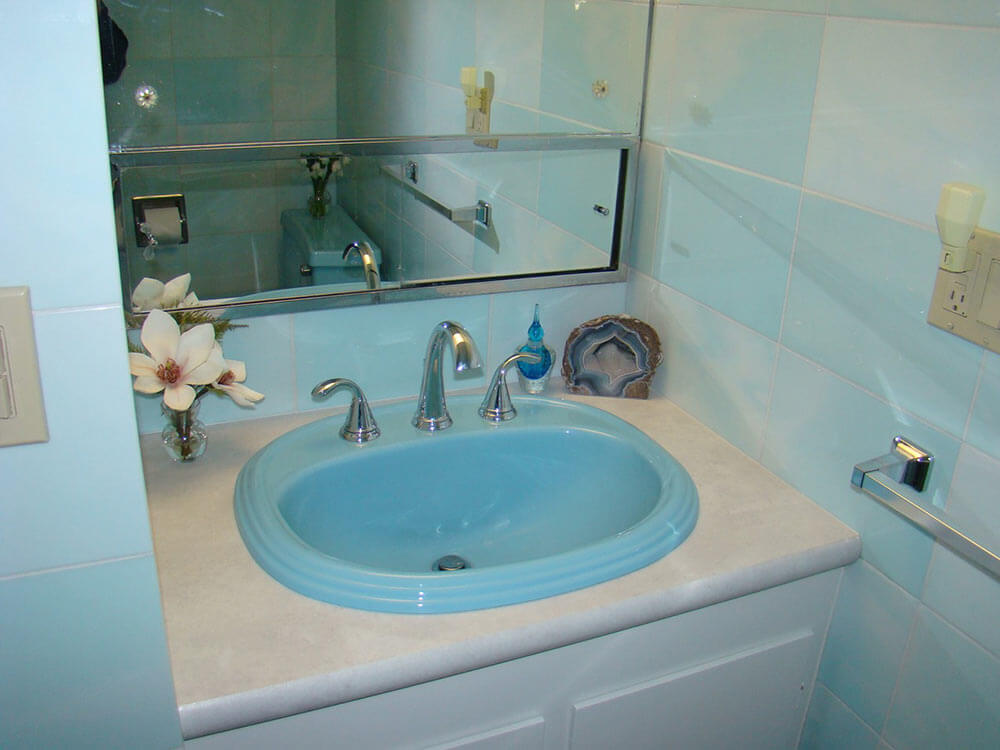
Now comes the fun part - choosing your paint color! Look for a bathroom sink paint kit that offers a variety of colors to choose from. You can go with a classic white, a bold color, or even a metallic finish. The choice is yours!6. Choose Your Paint Color


bathroom sink refinishing


Using a brush or roller, apply your chosen paint color to your sink. Make sure to follow the manufacturer's instructions for drying time between coats. You may need to apply multiple coats to achieve your desired color and coverage.7. Paint Your Sink


bathroom sink paint kit


Once your final coat of paint is dry, it's time to apply a topcoat. This will help protect your sink from scratches and water damage. Follow the manufacturer's instructions for drying time between coats.8. Apply a Topcoat
bathroom sink paint colors


After applying the topcoat, let your sink dry completely before using it. This may take a few days, so be patient and avoid using your sink until it's fully dry.9. Let It Dry

bathroom sink paint ideas

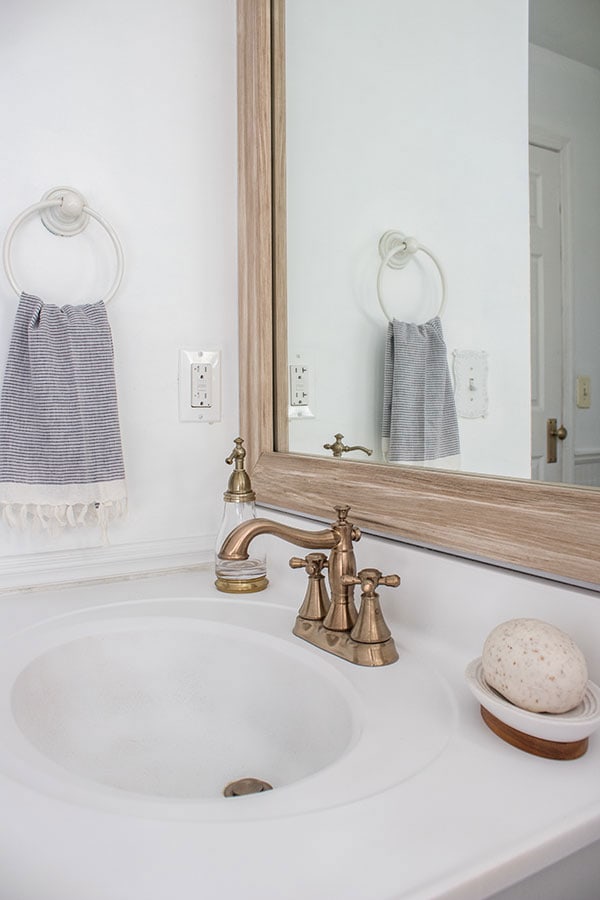
Congratulations, you've successfully painted your bathroom sink! Now you can enjoy your new, updated bathroom without spending a fortune on a brand new sink. Just make sure to follow the manufacturer's instructions for cleaning and maintenance to keep your sink looking its best for years to come.10. Enjoy Your Newly Painted Sink


bathroom sink paint diy

Transform Your Bathroom with a Fresh Coat of Paint on Your Sink

Revamp Your Bathroom Design with a Simple DIY Project
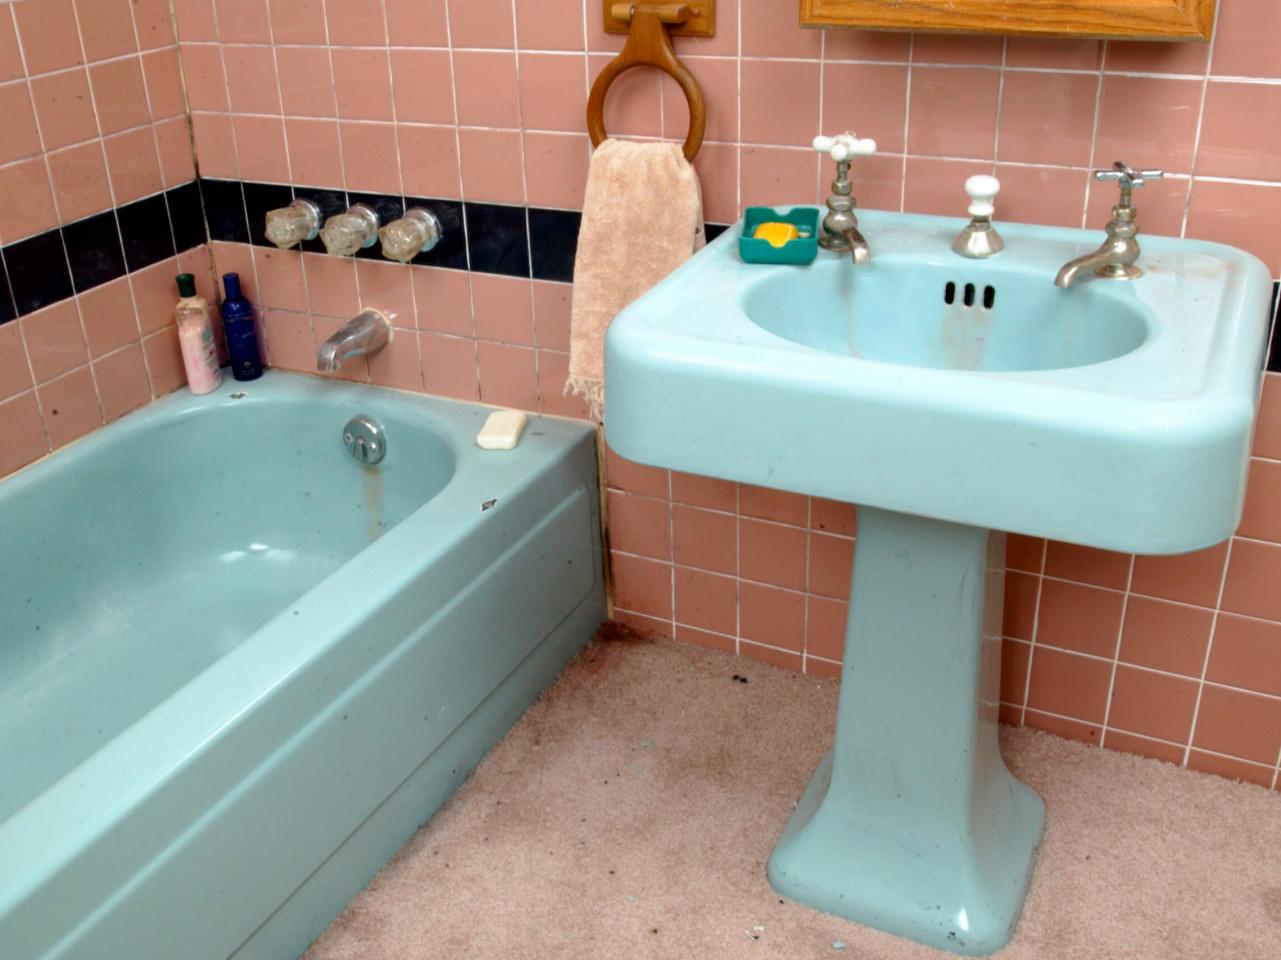
 Are you tired of the outdated look of your bathroom sink? Or maybe you're just looking for a quick and budget-friendly way to give your bathroom a mini makeover. Either way, painting your bathroom sink can be a great solution. Not only is it an easy and affordable DIY project, but it can also completely transform the look of your bathroom design. So, let's dive in and learn how to paint a bathroom sink.
The Power of Paint
The first step is to choose the right paint for your bathroom sink. Look for a high-quality, durable paint specifically designed for use in bathrooms and on surfaces that are regularly exposed to water. You can also opt for a specialty sink and tub paint for an even longer-lasting finish. Make sure to also choose a color that will complement your bathroom design and add a fresh and modern touch.
Prep and Prime
Before you start painting, you'll need to properly prep your sink. Start by removing any hardware like handles and faucets. Then, give your sink a good cleaning with a degreaser to remove any built-up grime or soap scum. Once your sink is clean and dry, lightly sand the surface to create a rough texture for the paint to adhere to. Next, apply a coat of primer to ensure better adhesion and a smoother finish.
Time to Paint
Now it's time for the fun part – painting! Use a small brush or a foam roller to apply the paint, and start with the edges and corners first. Then, fill in the larger areas with smooth and even strokes. Depending on the type of paint you're using, you may need to apply multiple coats for full coverage. Allow the paint to dry according to the manufacturer's instructions before applying the next coat.
The Finishing Touches
Once your final coat is dry, it's time to put your sink back together. Reattach any hardware and give your sink a thorough cleaning with a non-abrasive cleaner. This will help remove any dust or debris and give your sink a polished finish. You can also add a clear sealant for extra protection and to give your sink a glossy look.
Enjoy Your Newly Painted Sink
In just a few simple steps, you can transform the look of your bathroom sink and give your entire bathroom design a fresh and modern update. And the best part is, this DIY project won't break the bank. So, gather your supplies and get ready to enjoy your newly painted bathroom sink.
Are you tired of the outdated look of your bathroom sink? Or maybe you're just looking for a quick and budget-friendly way to give your bathroom a mini makeover. Either way, painting your bathroom sink can be a great solution. Not only is it an easy and affordable DIY project, but it can also completely transform the look of your bathroom design. So, let's dive in and learn how to paint a bathroom sink.
The Power of Paint
The first step is to choose the right paint for your bathroom sink. Look for a high-quality, durable paint specifically designed for use in bathrooms and on surfaces that are regularly exposed to water. You can also opt for a specialty sink and tub paint for an even longer-lasting finish. Make sure to also choose a color that will complement your bathroom design and add a fresh and modern touch.
Prep and Prime
Before you start painting, you'll need to properly prep your sink. Start by removing any hardware like handles and faucets. Then, give your sink a good cleaning with a degreaser to remove any built-up grime or soap scum. Once your sink is clean and dry, lightly sand the surface to create a rough texture for the paint to adhere to. Next, apply a coat of primer to ensure better adhesion and a smoother finish.
Time to Paint
Now it's time for the fun part – painting! Use a small brush or a foam roller to apply the paint, and start with the edges and corners first. Then, fill in the larger areas with smooth and even strokes. Depending on the type of paint you're using, you may need to apply multiple coats for full coverage. Allow the paint to dry according to the manufacturer's instructions before applying the next coat.
The Finishing Touches
Once your final coat is dry, it's time to put your sink back together. Reattach any hardware and give your sink a thorough cleaning with a non-abrasive cleaner. This will help remove any dust or debris and give your sink a polished finish. You can also add a clear sealant for extra protection and to give your sink a glossy look.
Enjoy Your Newly Painted Sink
In just a few simple steps, you can transform the look of your bathroom sink and give your entire bathroom design a fresh and modern update. And the best part is, this DIY project won't break the bank. So, gather your supplies and get ready to enjoy your newly painted bathroom sink.