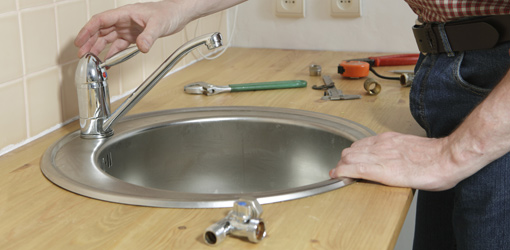
How to Mount a Bathroom Sink
Mounting a bathroom sink may seem like a daunting task, but with the right tools and knowledge, it can be a simple and satisfying DIY project. Whether you are replacing an old sink or installing a new one, the process is relatively similar. In this article, we will provide you with a step-by-step guide on how to mount a bathroom sink, including tips and common mistakes to avoid. So, let's get started!


How to Mount a Bathroom Sink


Step-by-Step Guide for Mounting a Bathroom Sink
Before you begin, make sure you have all the necessary tools and materials. These include a level, measuring tape, drill, screws, silicone adhesive, and plumber’s putty. Once you have everything ready, follow these steps:
Step 1: Measure and Mark
Using a measuring tape, measure the distance between the wall and the center of the drainpipe to determine the exact placement of the sink. Mark this spot on the wall with a pencil.
Step 2: Install the Faucet
If your sink comes with a separate faucet, now is the time to install it. Follow the manufacturer's instructions for proper installation.
Step 3: Prepare the Sink
Apply a thin layer of plumber's putty around the edge of the sink. This will help create a watertight seal when the sink is mounted.
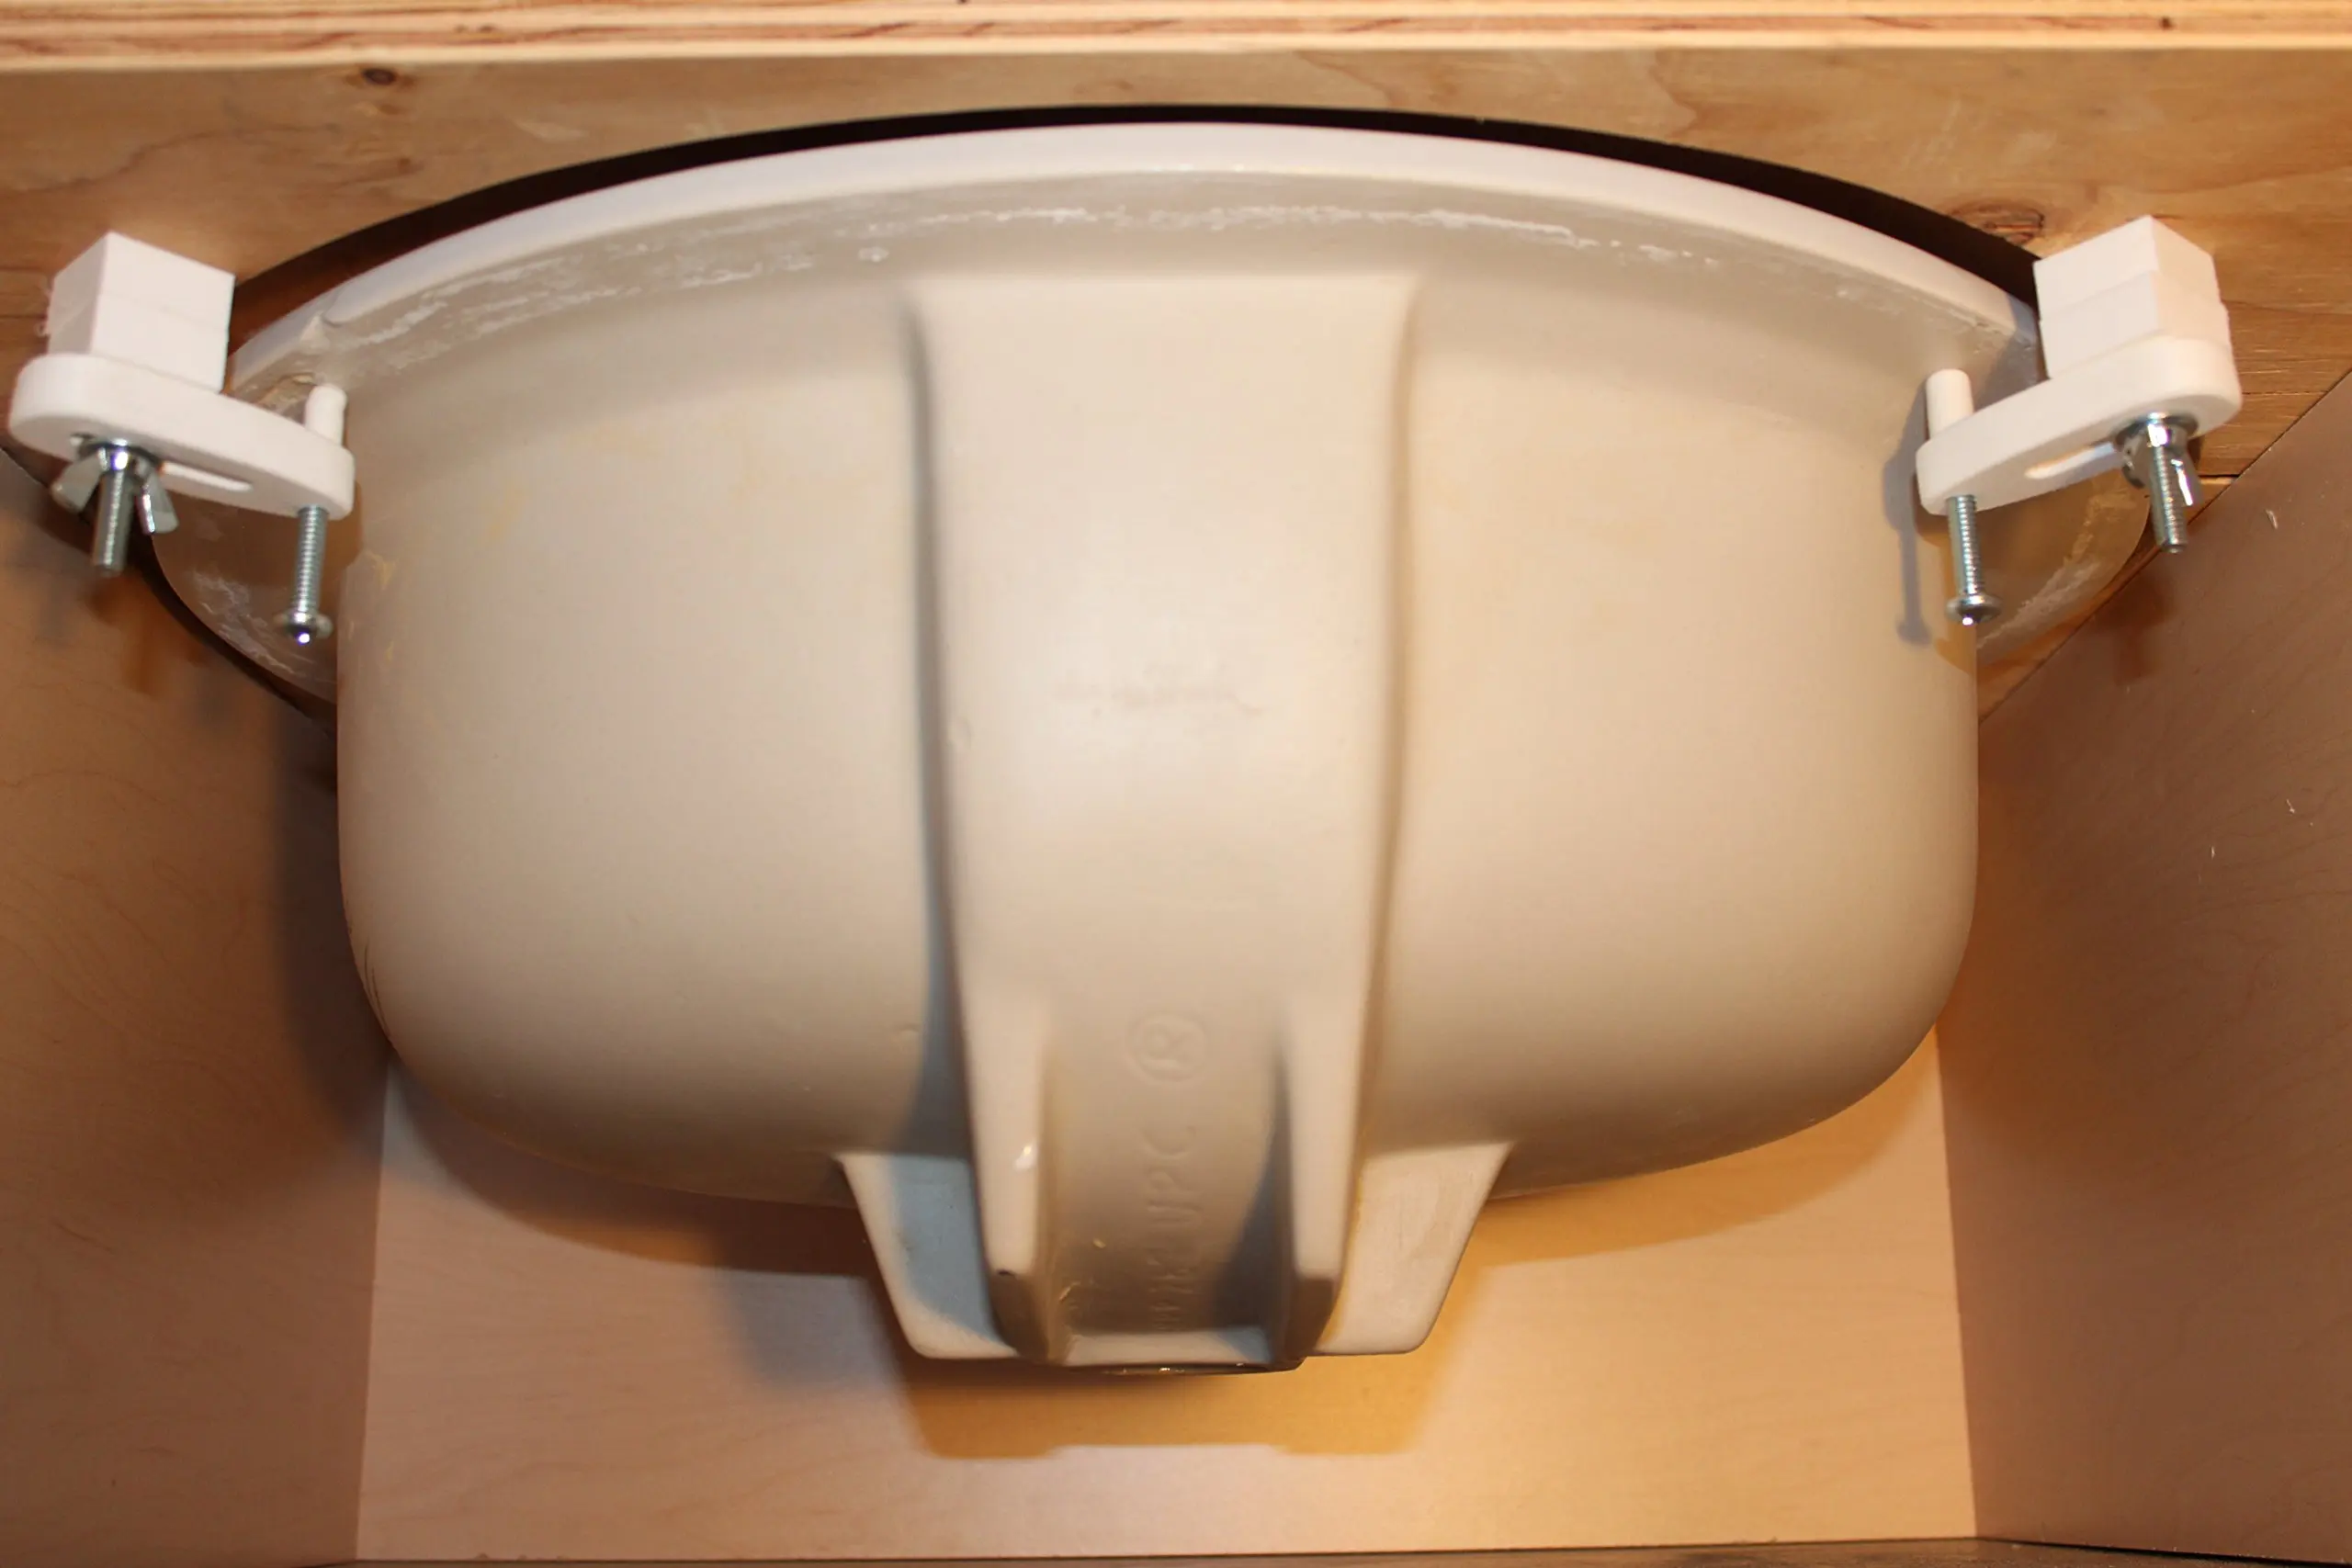
Step 4: Attach the Mounting Brackets
Place the mounting brackets on the back of the sink and secure them with the provided screws. Make sure they are evenly spaced and aligned with the marks on the wall.
Step 5: Secure the Sink to the Wall
With the help of a friend, carefully lift the sink and position it against the wall, making sure the brackets are inserted into the holes. Use a level to ensure the sink is straight and then secure it to the wall with screws.
Step 6: Connect the Drainpipe
Connect the drainpipe to the sink using a P-trap and tighten the connections with pliers. Make sure there are no leaks before moving on to the next step.
Step 7: Apply Silicone Adhesive
Using a caulking gun, apply a bead of silicone adhesive around the edge of the sink where it meets the wall. This will provide extra support and prevent water from seeping behind the sink.
Step 8: Finishing Touches
Wipe off any excess silicone and clean the sink with a damp cloth. Install the drain stopper and turn on the water to check for any leaks. If everything looks good, your bathroom sink is now securely mounted and ready to use!


Step-by-Step Guide for Mounting a Bathroom Sink


DIY Bathroom Sink Mounting
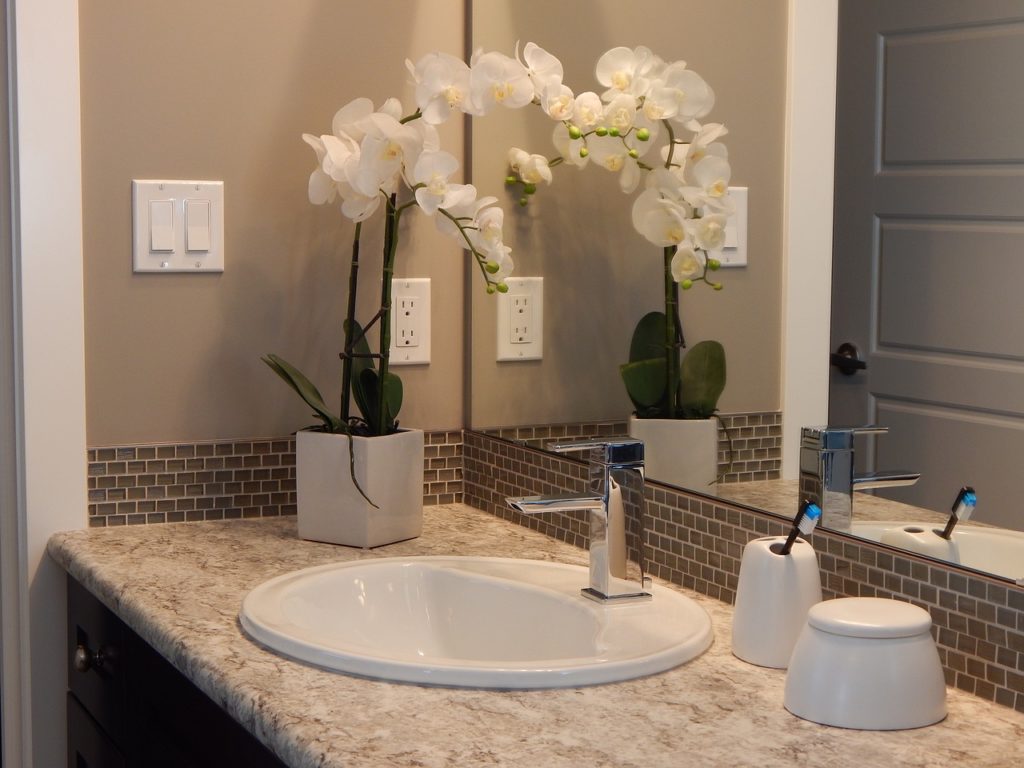
While hiring a professional to mount your bathroom sink may seem like the easier option, doing it yourself can save you money and give you a sense of accomplishment. Plus, with the right tools and our step-by-step guide, it can be a straightforward process. Just make sure to take your time and follow the instructions carefully.

DIY Bathroom Sink Mounting


/bathroom-sink-523598998-5797c0dc5f9b58461f3d5c23.jpg)
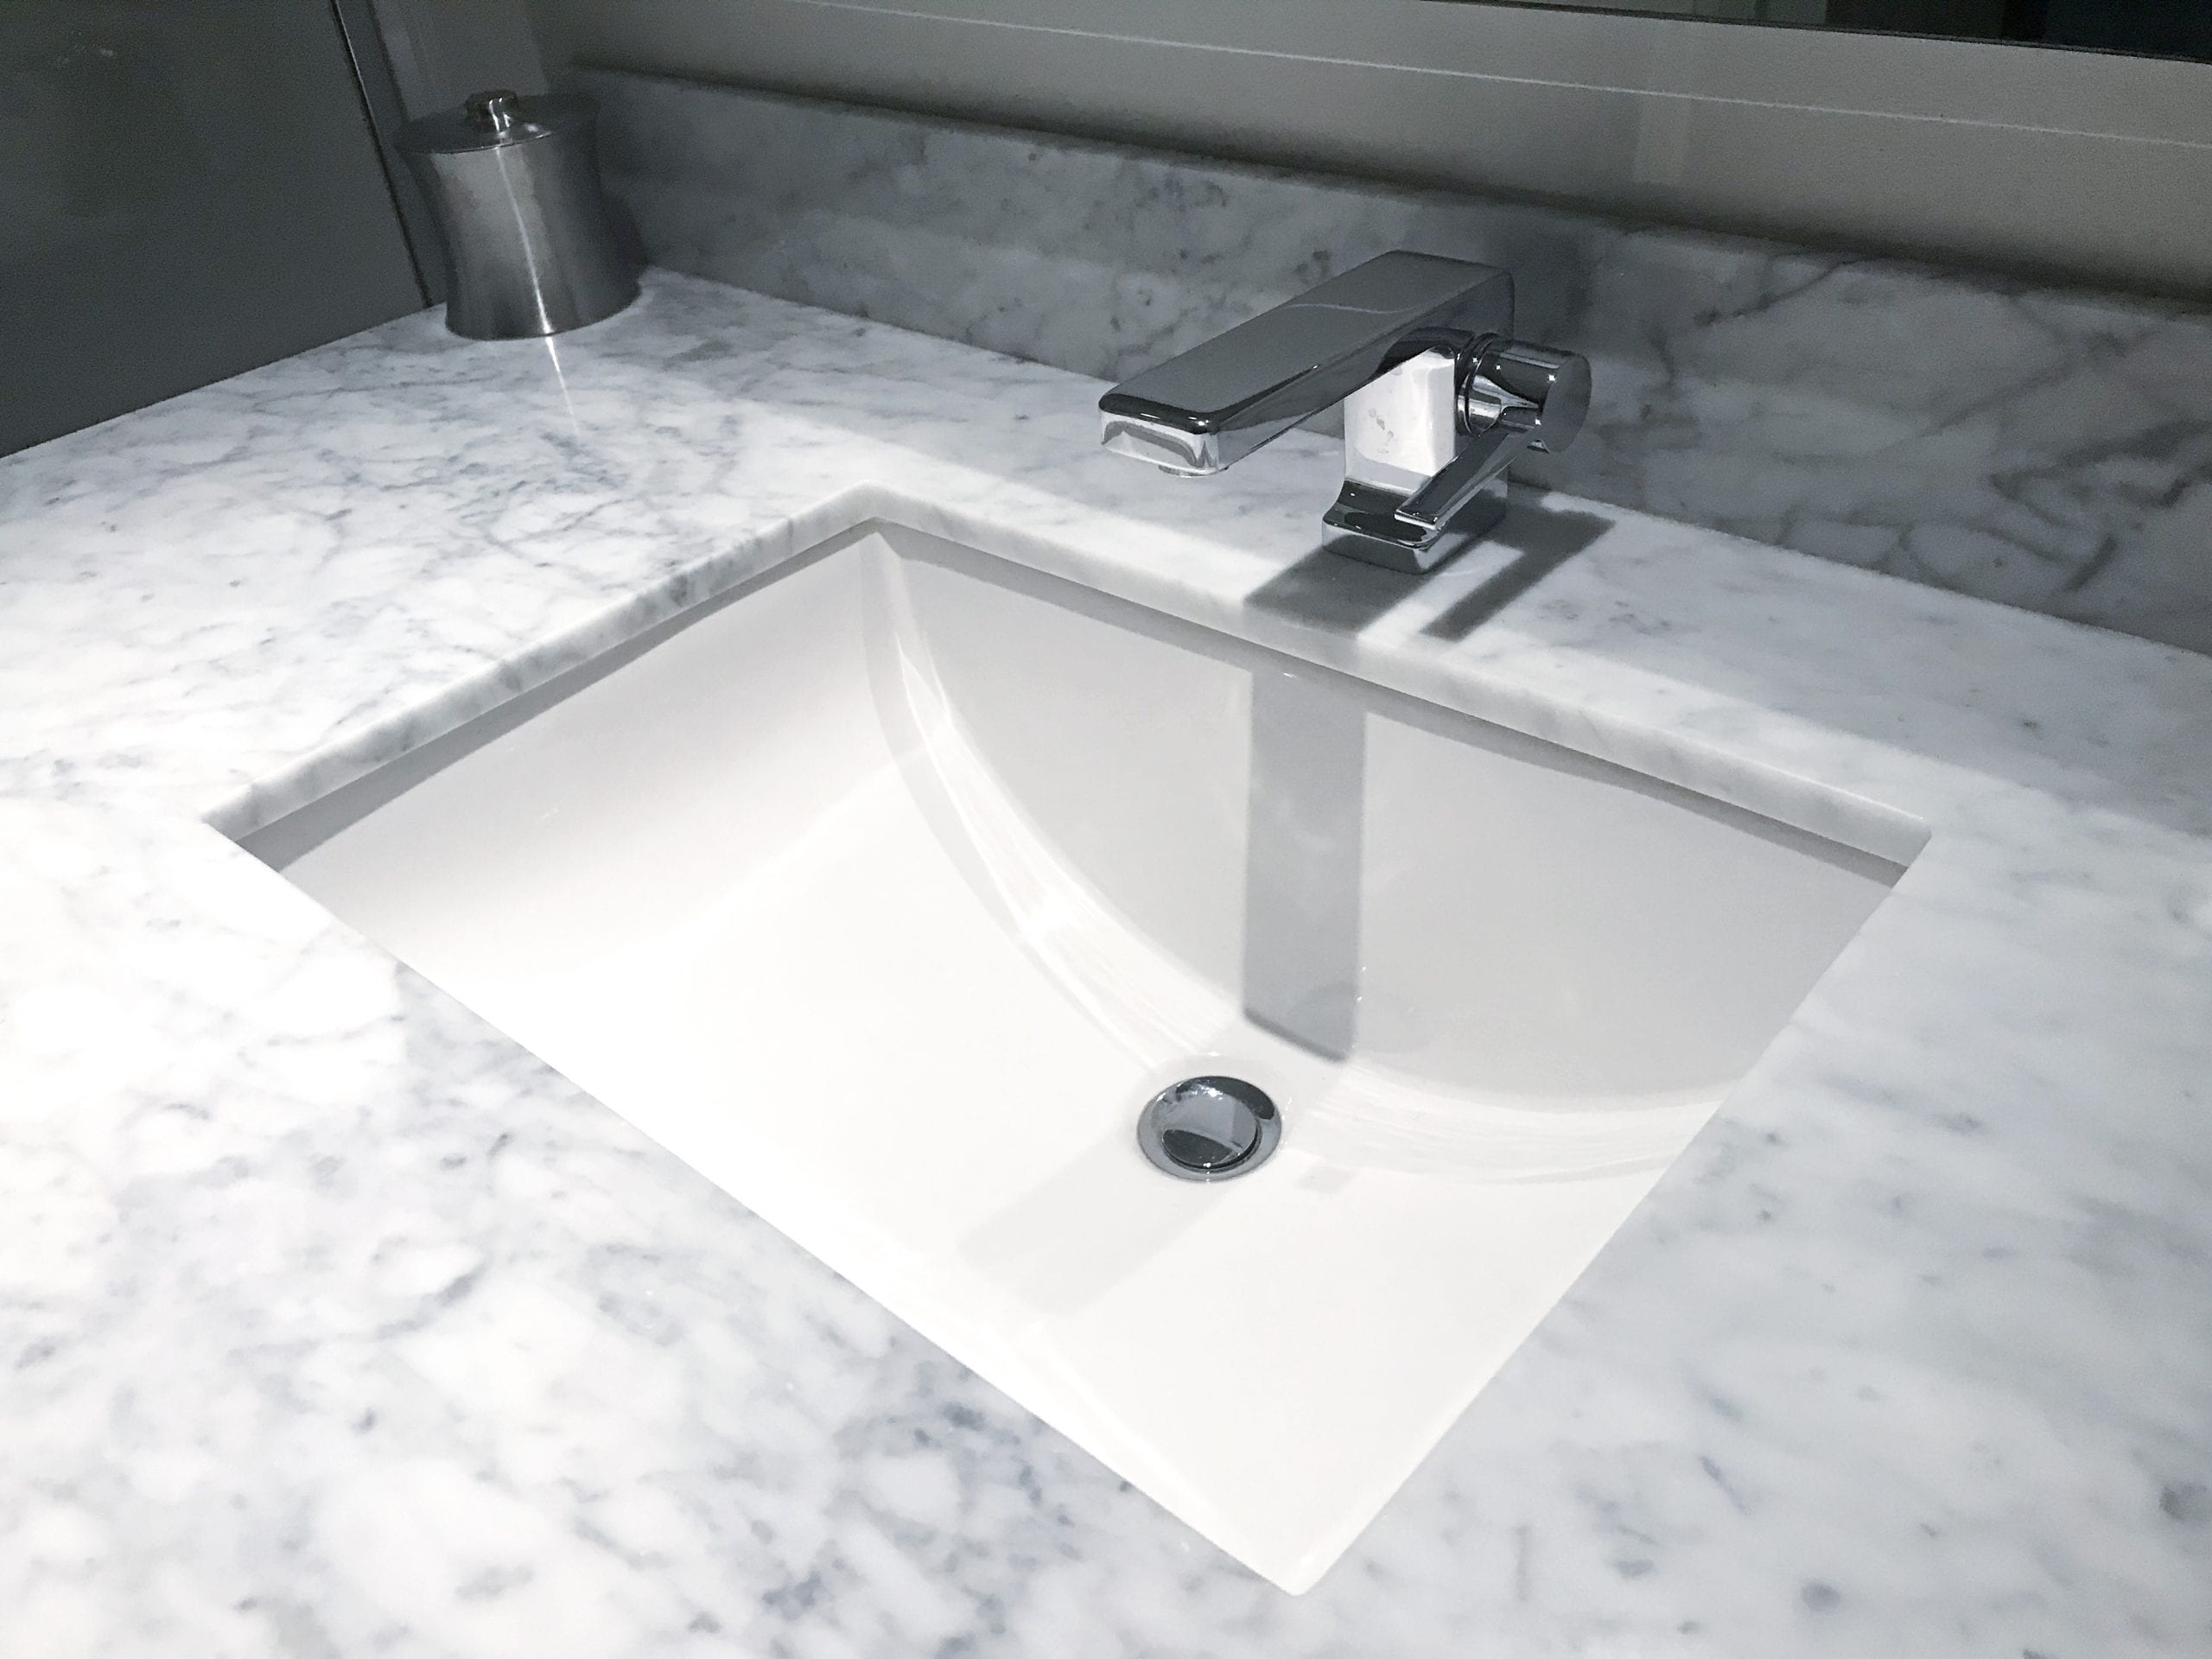
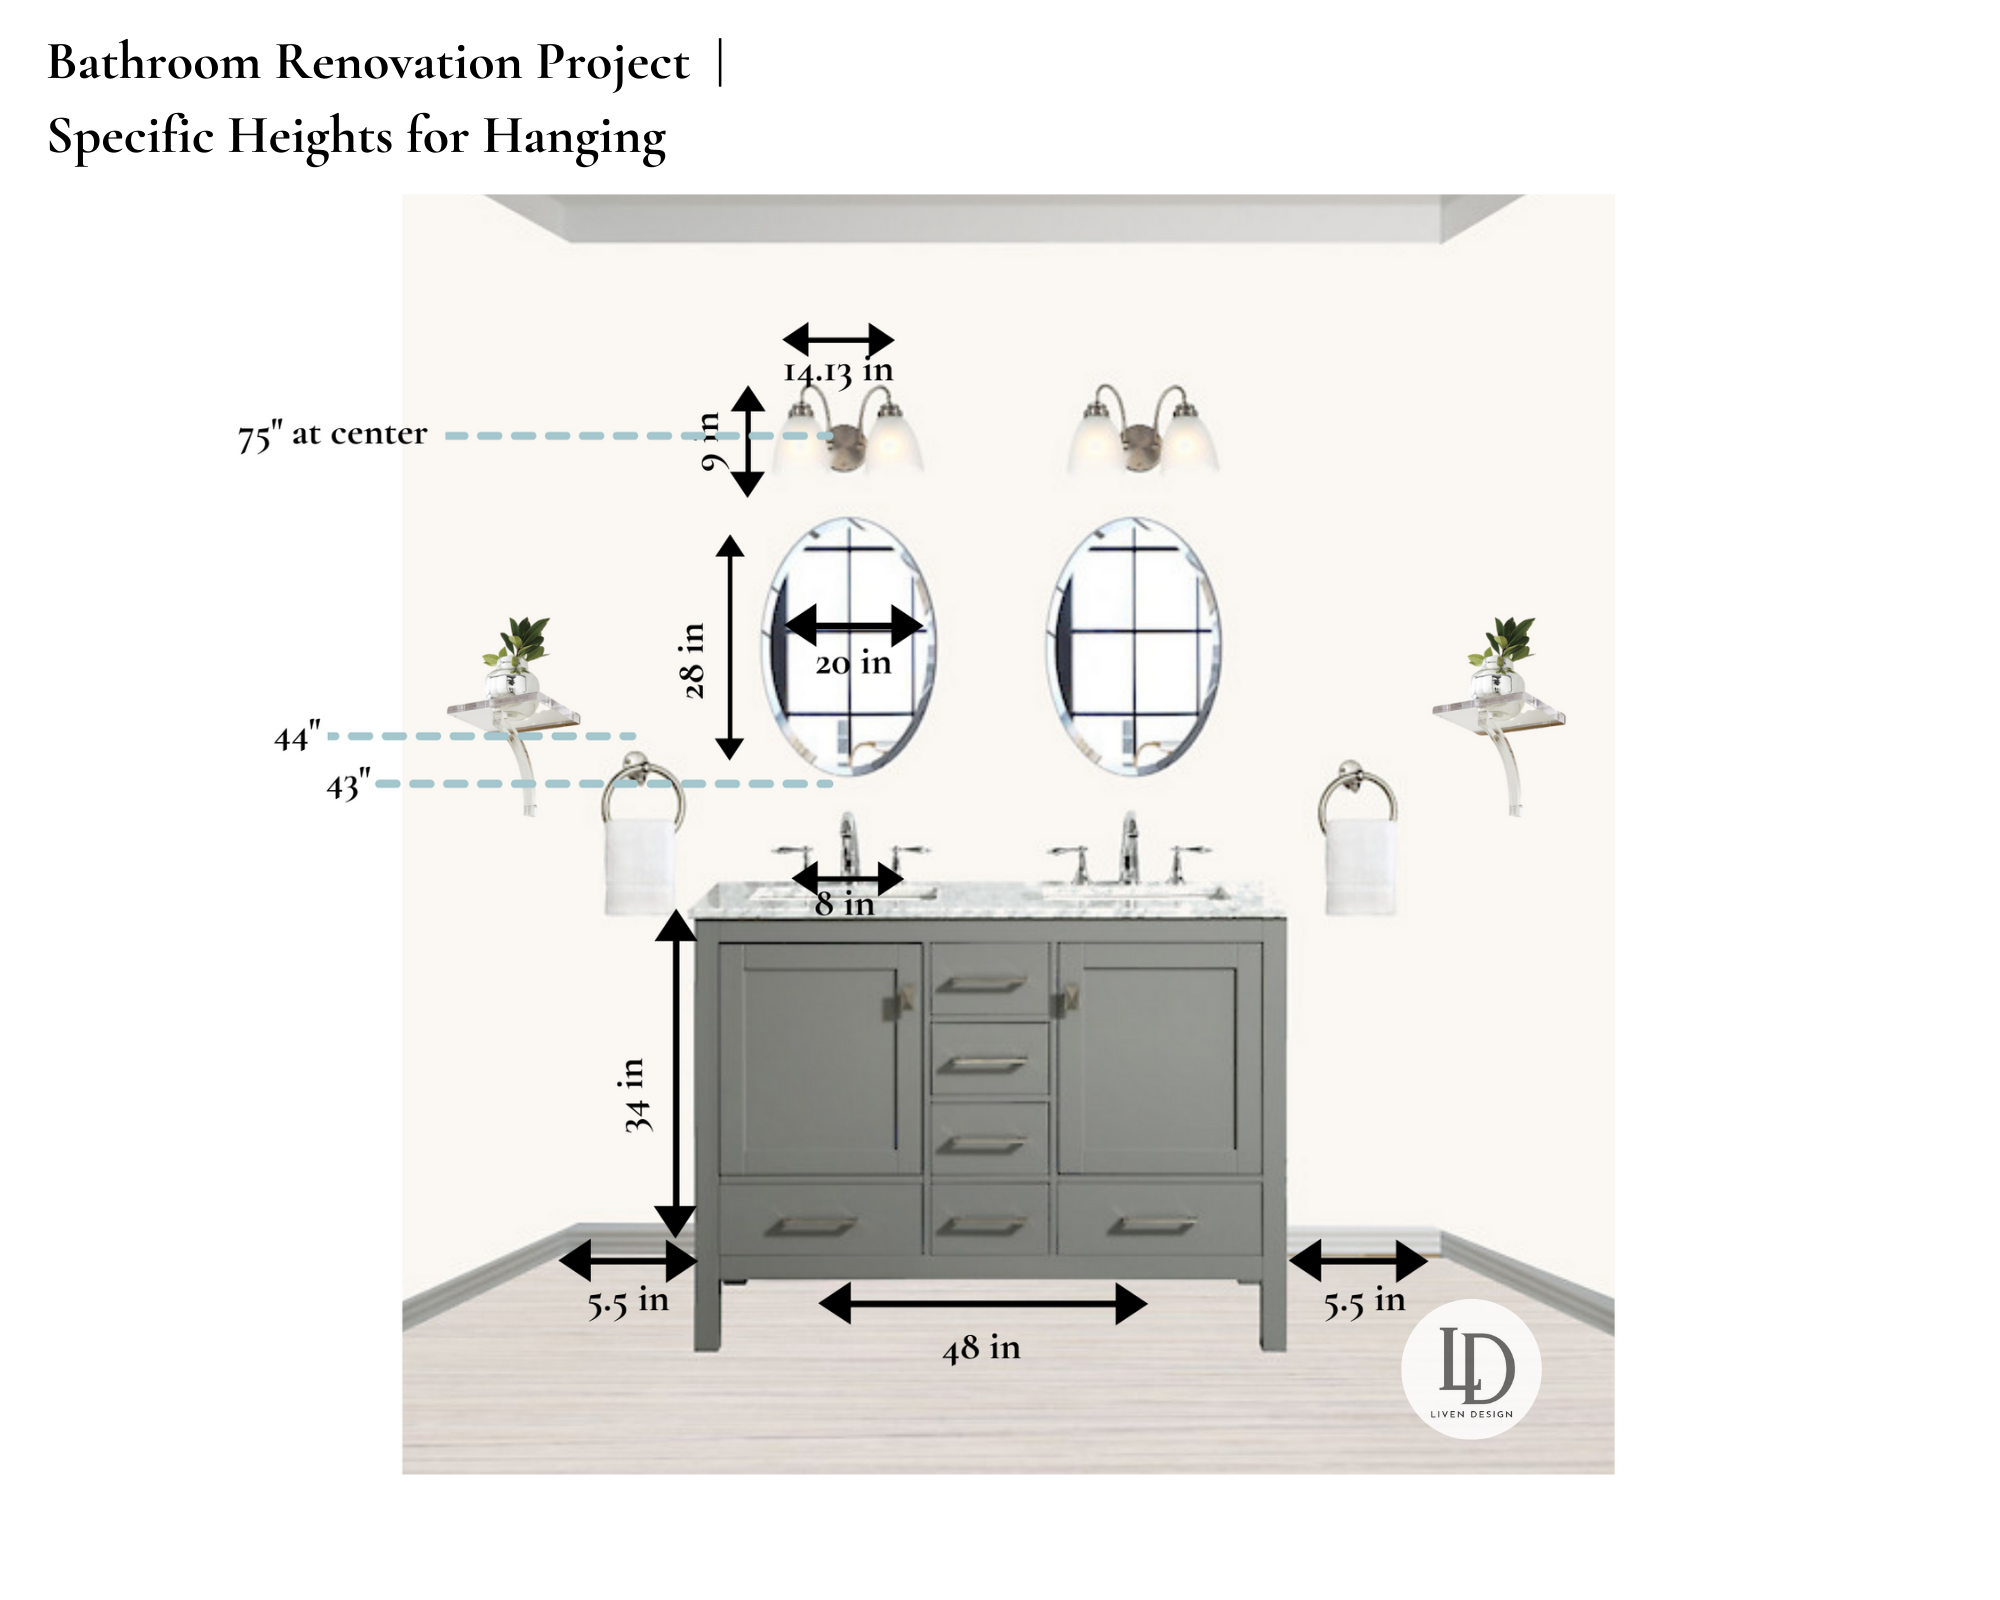
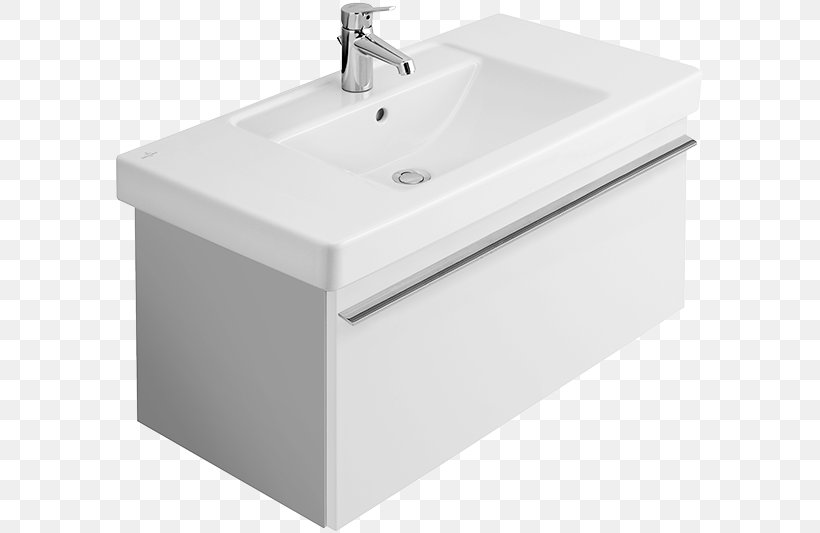
Mounting a Bathroom Sink on a Vanity
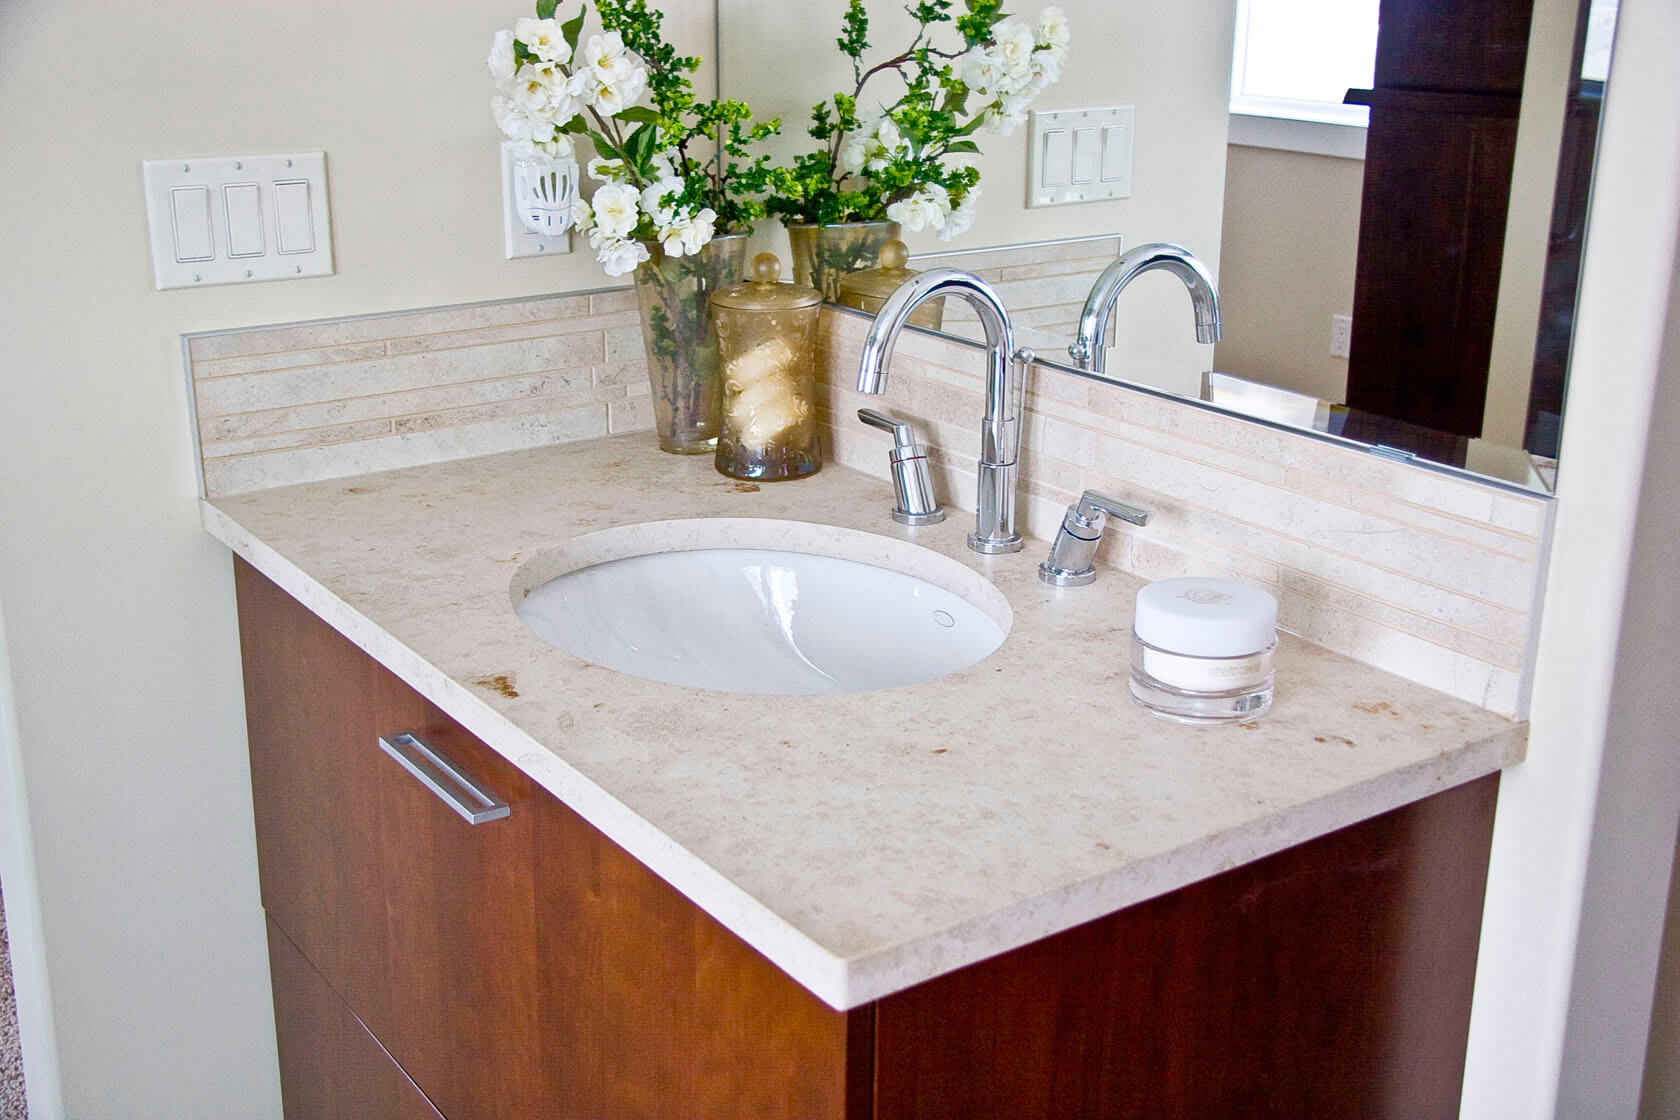
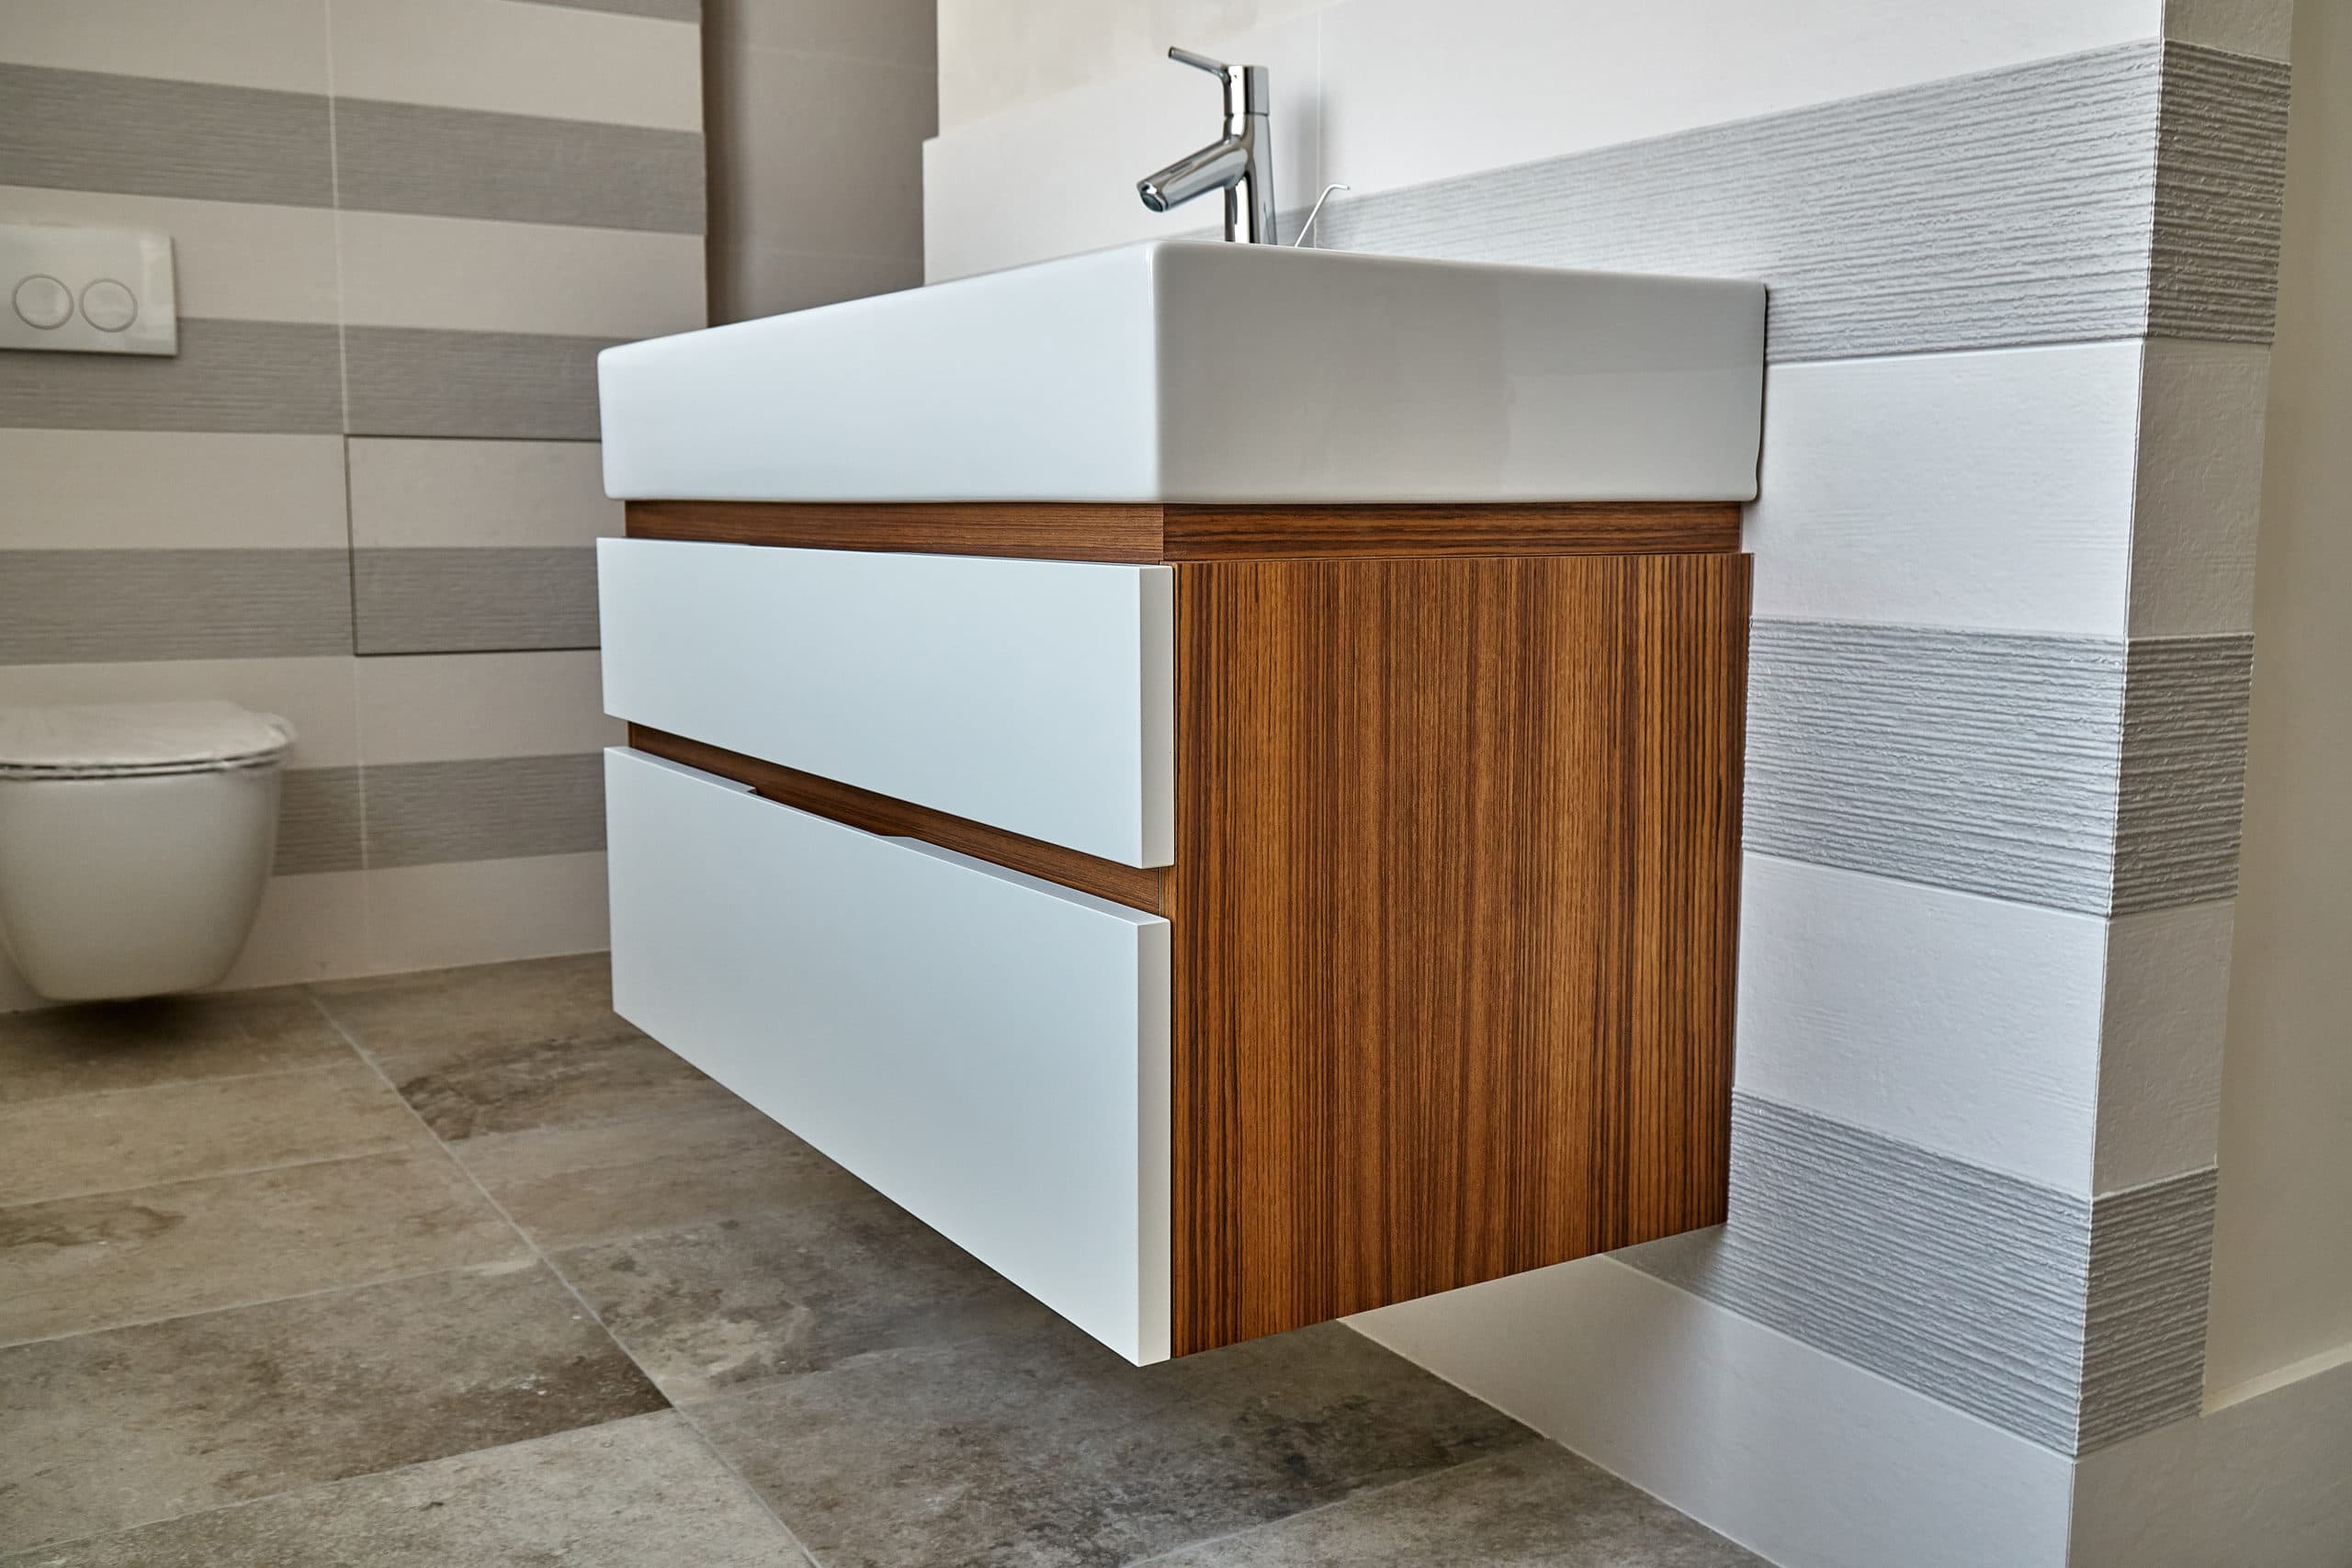
If you have a vanity in your bathroom, you may be wondering how to mount a sink on it. The process is quite similar to mounting a sink on the wall, but you may need to make some adjustments to the vanity to accommodate the sink. Make sure to measure and mark the placement of the sink carefully and use the correct tools for the job.


Mounting a Bathroom Sink on a Vanity


Tools Needed for Mounting a Bathroom Sink
To successfully mount a bathroom sink, you will need the following tools:

Tools Needed for Mounting a Bathroom Sink


Tips for Properly Mounting a Bathroom Sink
Here are some tips to keep in mind when mounting a bathroom sink:


Tips for Properly Mounting a Bathroom Sink


/Bathroomtile-GettyImages-177243228-5930e1be5f9b589eb4d1ad80.jpg)


Common Mistakes to Avoid When Mounting a Bathroom Sink
While mounting a bathroom sink may seem like a simple task, there are some common mistakes that can lead to a faulty installation. These include:


Common Mistakes to Avoid When Mounting a Bathroom Sink


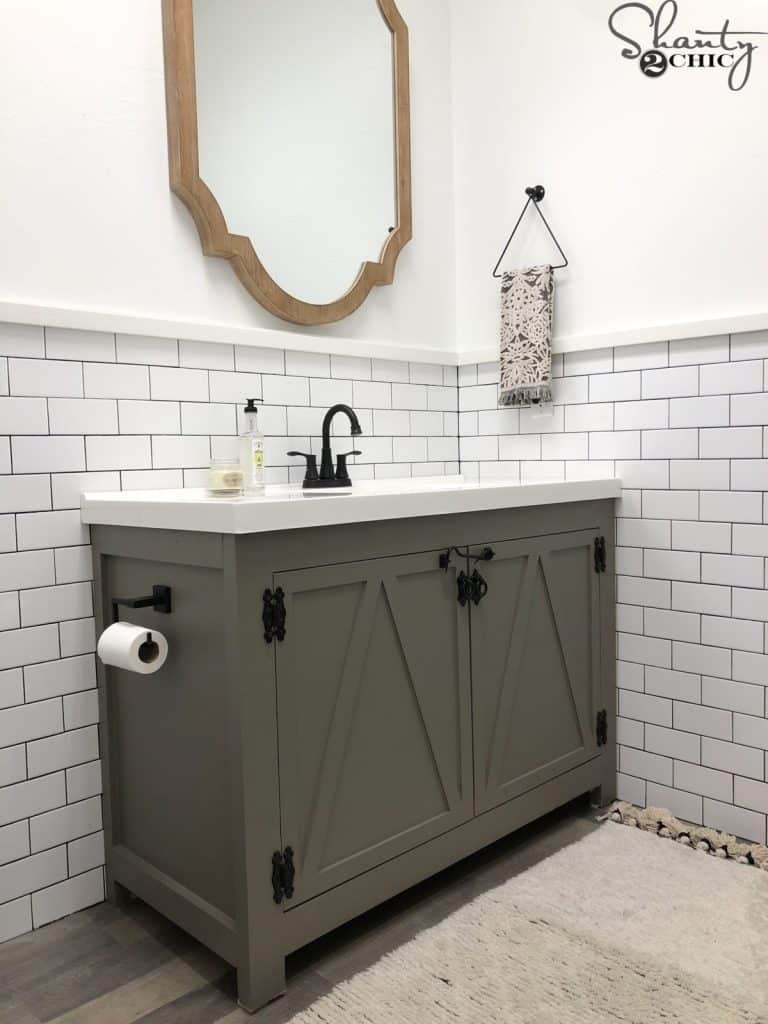
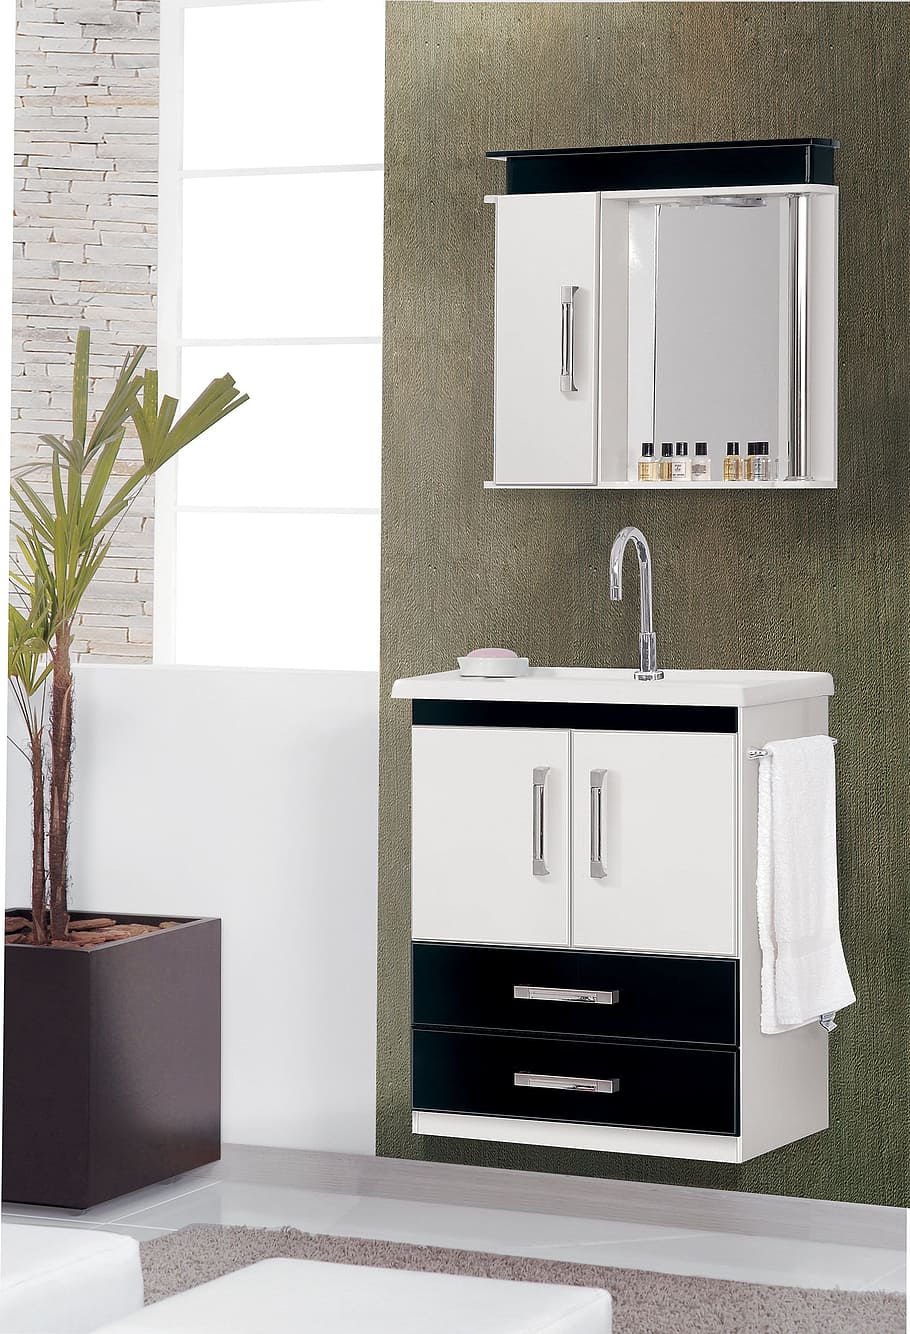
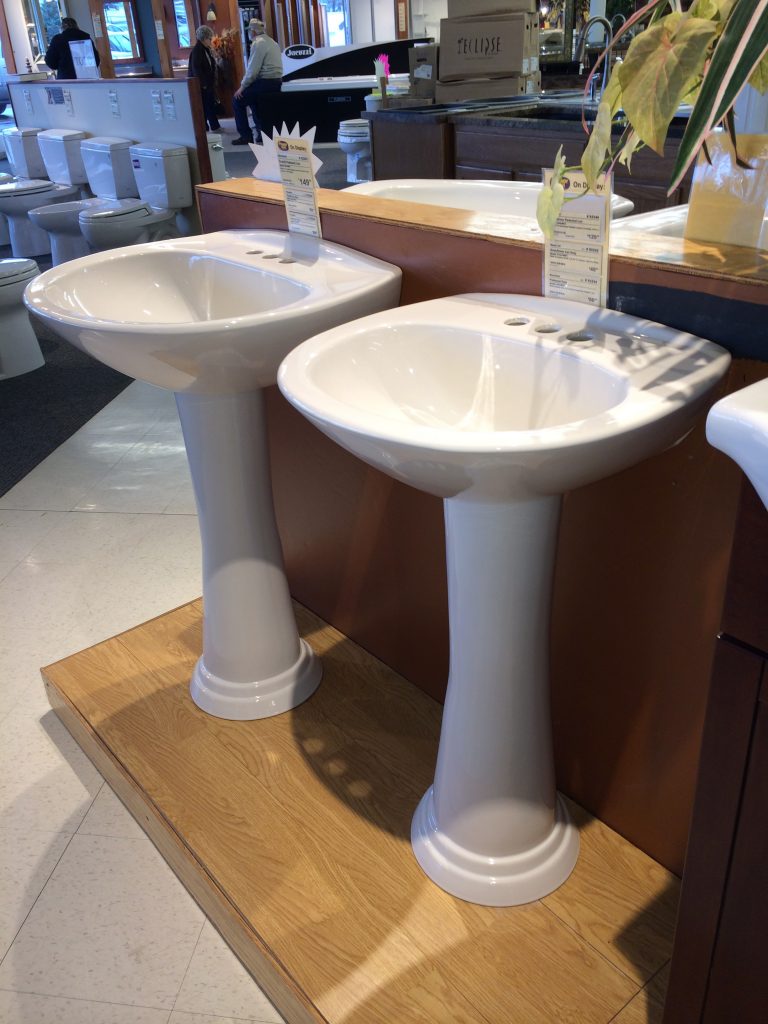
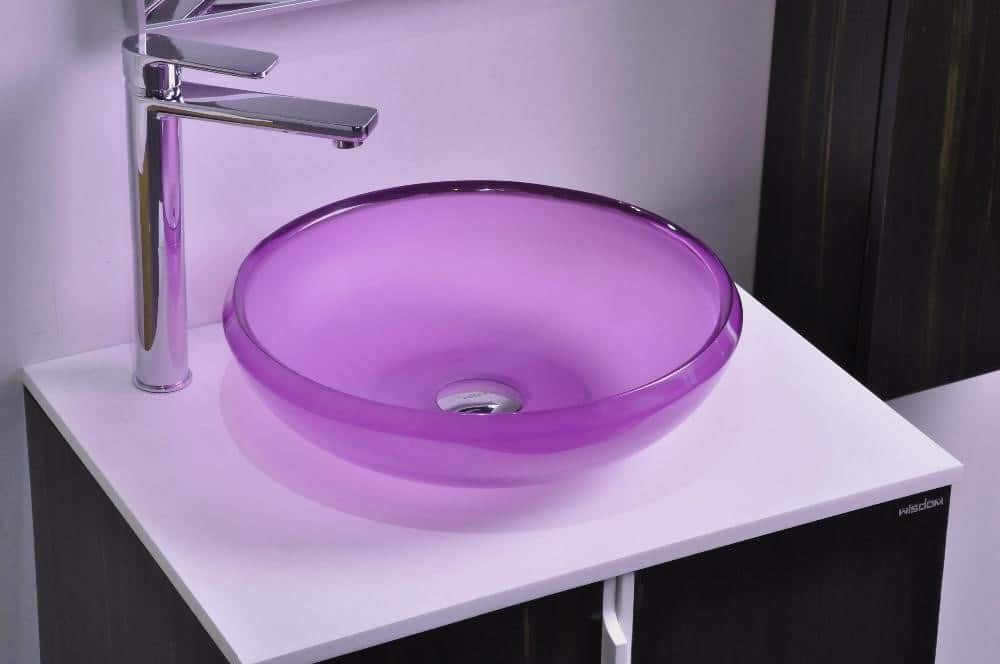
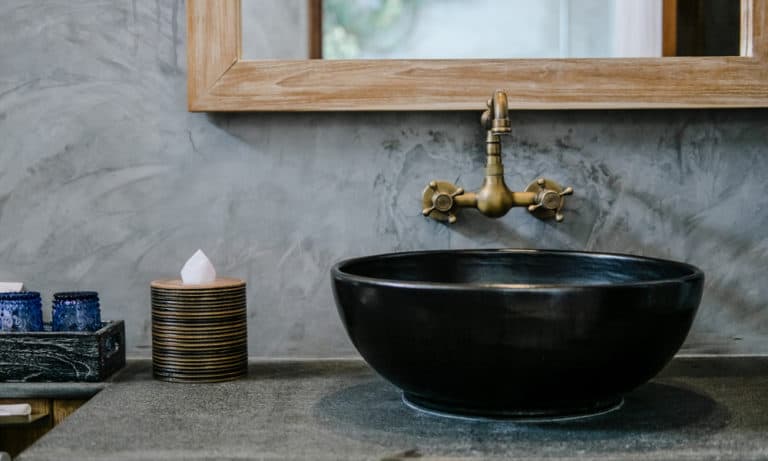
Different Types of Mounting Options for Bathroom Sinks
There are a few different ways to mount a bathroom sink, depending on your preference and the type of sink you have. These include wall-mount, pedestal, and vanity mount. Each option has its own set of benefits and considerations, so make sure to research and choose the best one for your bathroom.


Different Types of Mounting Options for Bathroom Sinks


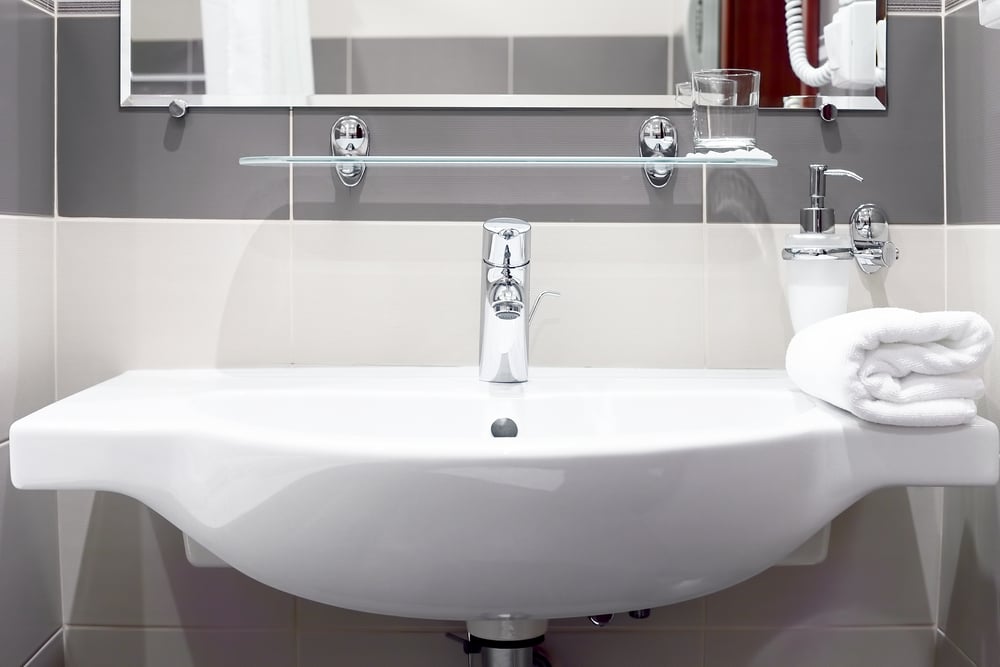

How to Securely Mount a Bathroom Sink to the Wall
Securing a bathroom sink to the wall is crucial for its stability and longevity. Make sure to use the correct tools and follow our step-by-step guide for a secure and successful installation. If you are unsure of your DIY skills, it is always best to hire a professional to ensure the sink is mounted properly.


How to Securely Mount a Bathroom Sink to the Wall


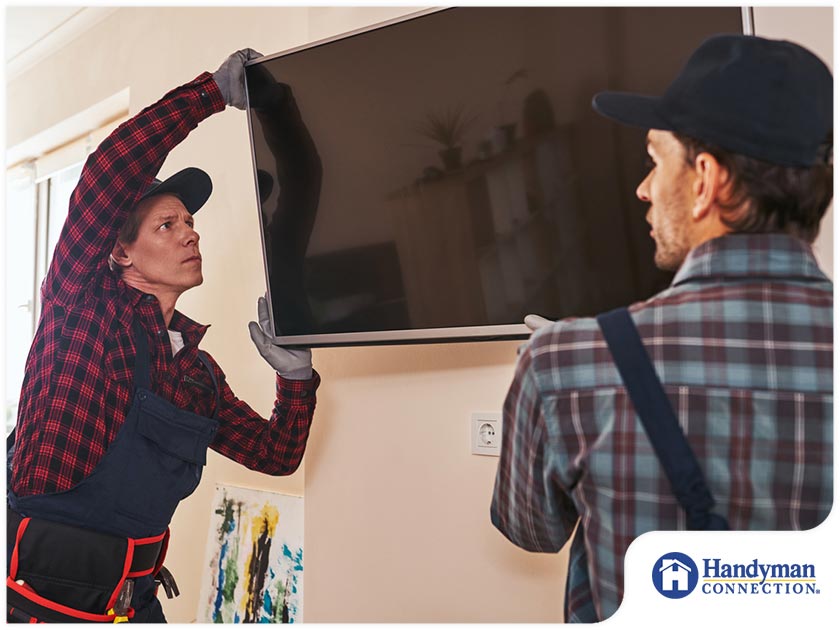
Professional vs. DIY Bathroom Sink Mounting
Deciding whether to hire a professional or do the job yourself ultimately depends on your skill level and budget. While hiring a professional may cost more, it can save you time and ensure a proper installation. On the other hand, doing it yourself can save you money, but it requires some knowledge and skill. Make sure to weigh the pros and cons and choose the option that works best for you.
Mounting a bathroom sink is a necessary step in any bathroom renovation or remodel. With our step-by-step guide and tips, you can confidently tackle this DIY project and have a fully functioning and stylish sink in no time. Just remember to measure and mark accurately, use the correct tools, and take your time for a successful and secure installation. Happy mounting!


Professional vs. DIY Bathroom Sink Mounting


:max_bytes(150000):strip_icc()/steam-cleaning-professional-vs-diy-2908776-hero-24ffd77737924bca908036dabcdcbbad.jpg)


Mounting a Bathroom Sink: A Step-by-Step Guide
/bathroom-sink-523598998-5797c0dc5f9b58461f3d5c23.jpg)
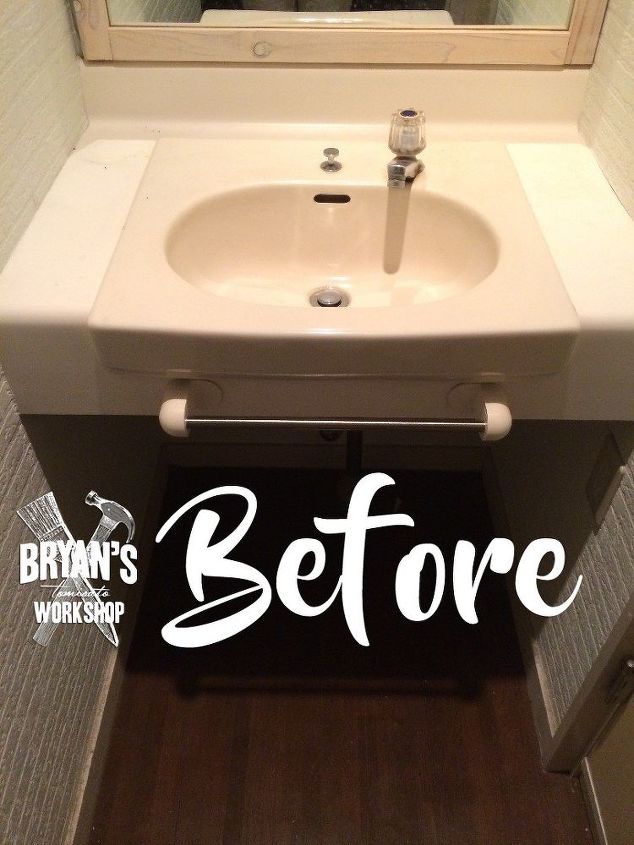
Preparing for Installation
 Are you ready to give your bathroom a fresh new look by installing a new sink? Mounting a bathroom sink may seem like a daunting task, but with the right tools and techniques, it can be a simple and rewarding DIY project. Before you begin, be sure to gather all the necessary materials, including your new sink, mounting hardware, a drill, and a wrench. It's also important to shut off the water supply and remove the old sink and faucet before starting the installation process.
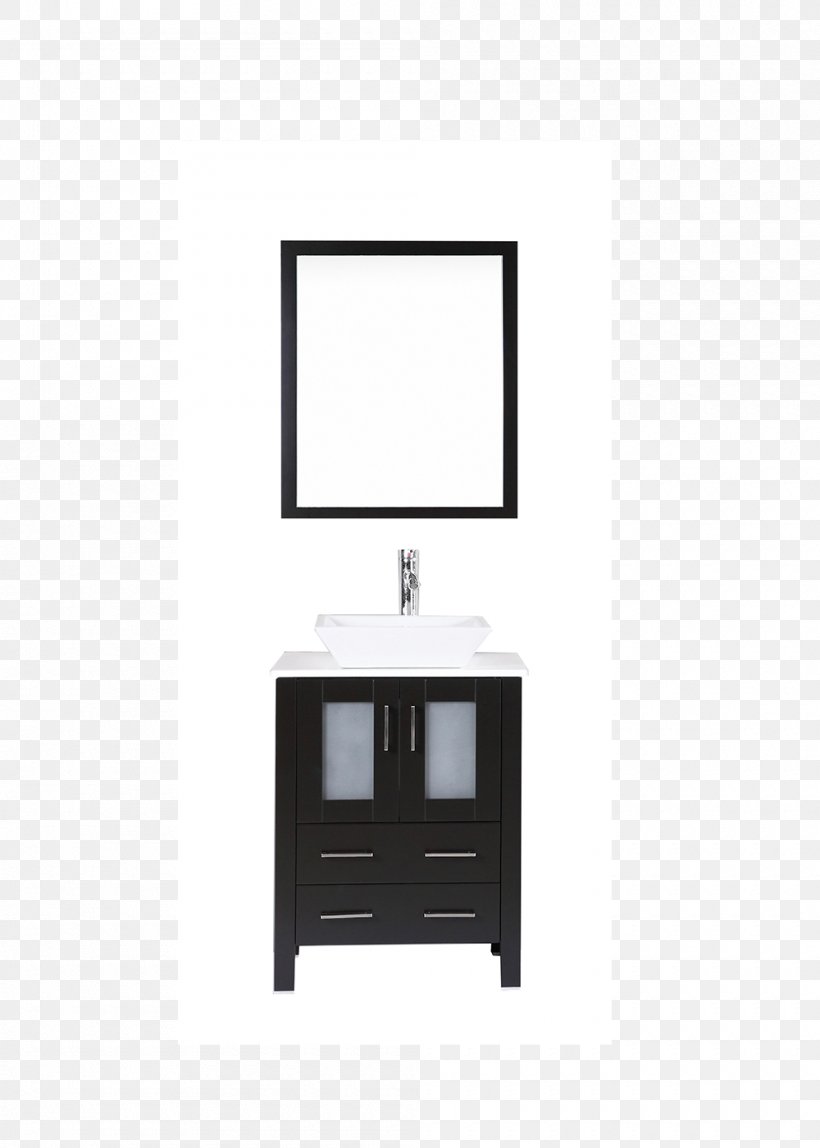
Choosing the Right Mounting Method
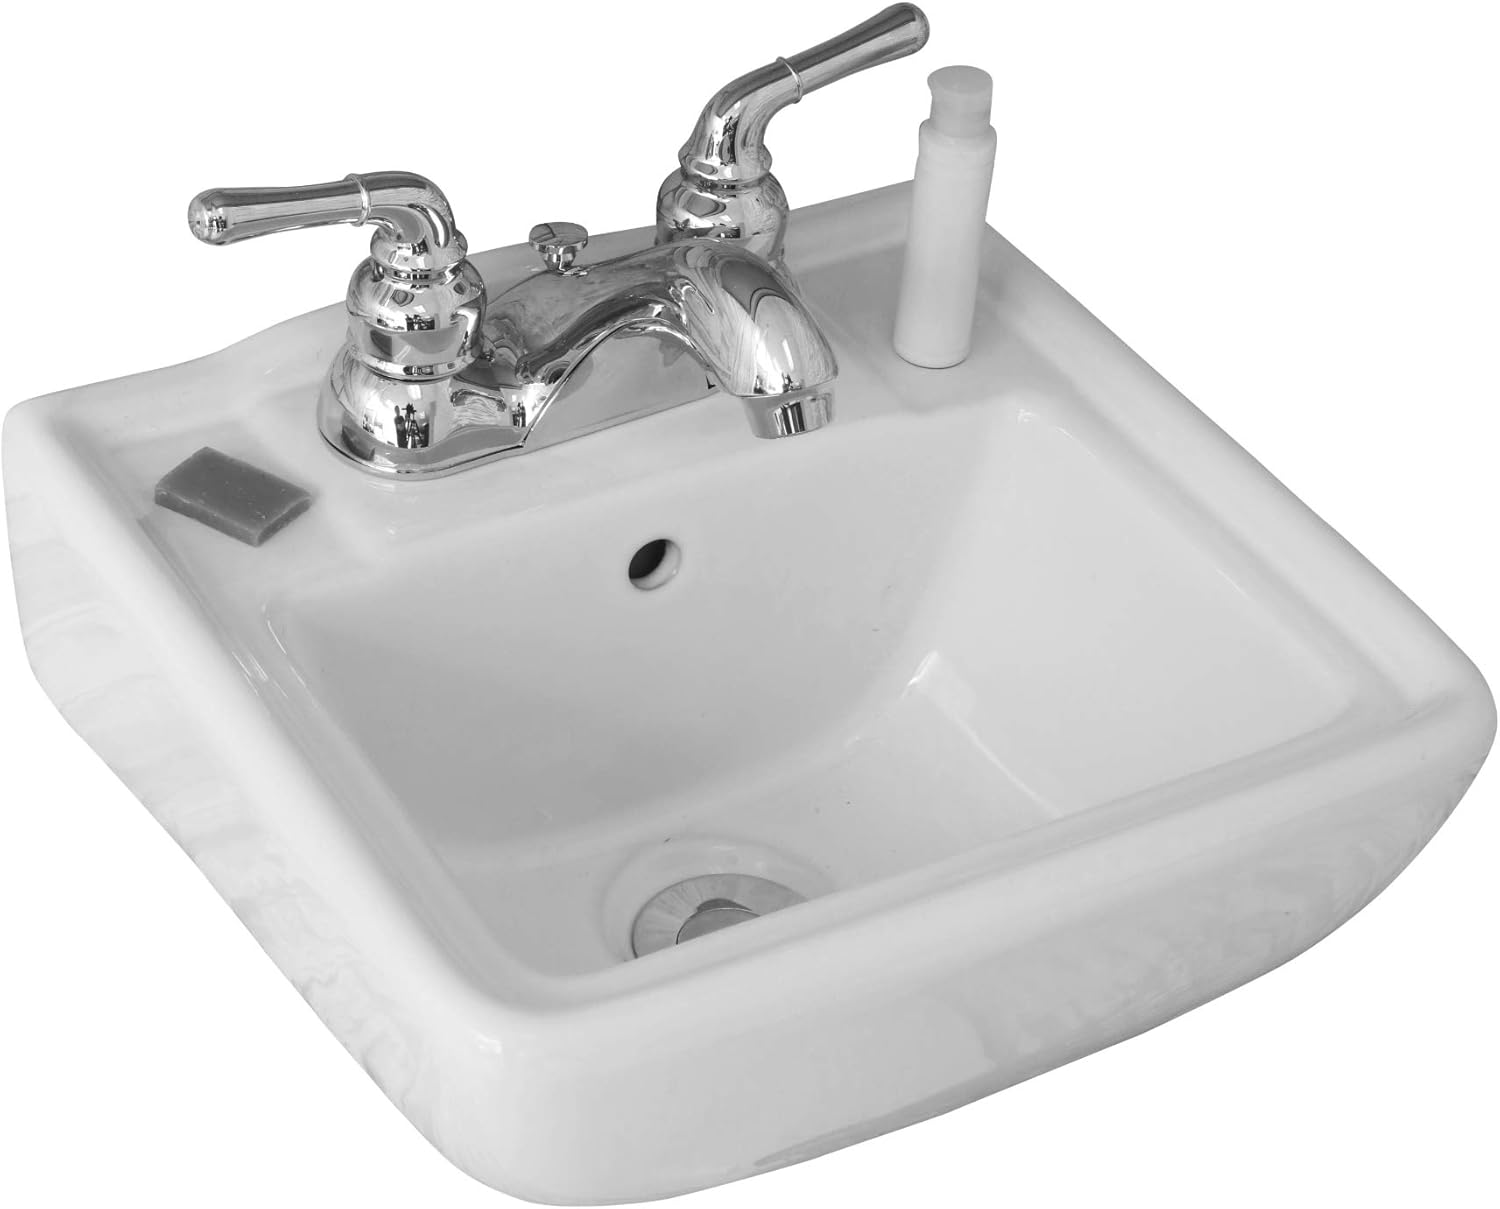
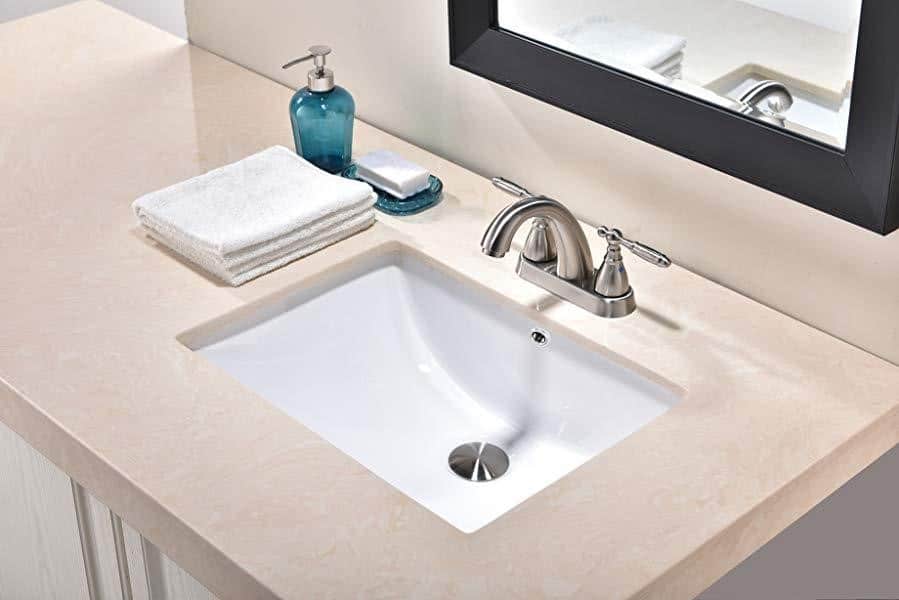
 When it comes to mounting a bathroom sink, there are two main methods to choose from: wall-mounted or countertop-mounted. Wall-mounted sinks are attached directly to the wall, leaving the space beneath the sink open for storage. Countertop-mounted sinks, on the other hand, sit on top of the countertop and are secured with clips and adhesive. Consider the layout and design of your bathroom to determine which method will work best for your space.
Installing the Sink
 Once you have chosen the mounting method, it's time to install the sink. Begin by attaching the mounting hardware to the sink according to the manufacturer's instructions. Then, with the help of a friend, carefully lift the sink into place and secure it to the wall or countertop. Next, connect the water supply lines and the drain pipe, making sure all connections are tight and leak-free. Finally, caulk around the edges of the sink to create a watertight seal.
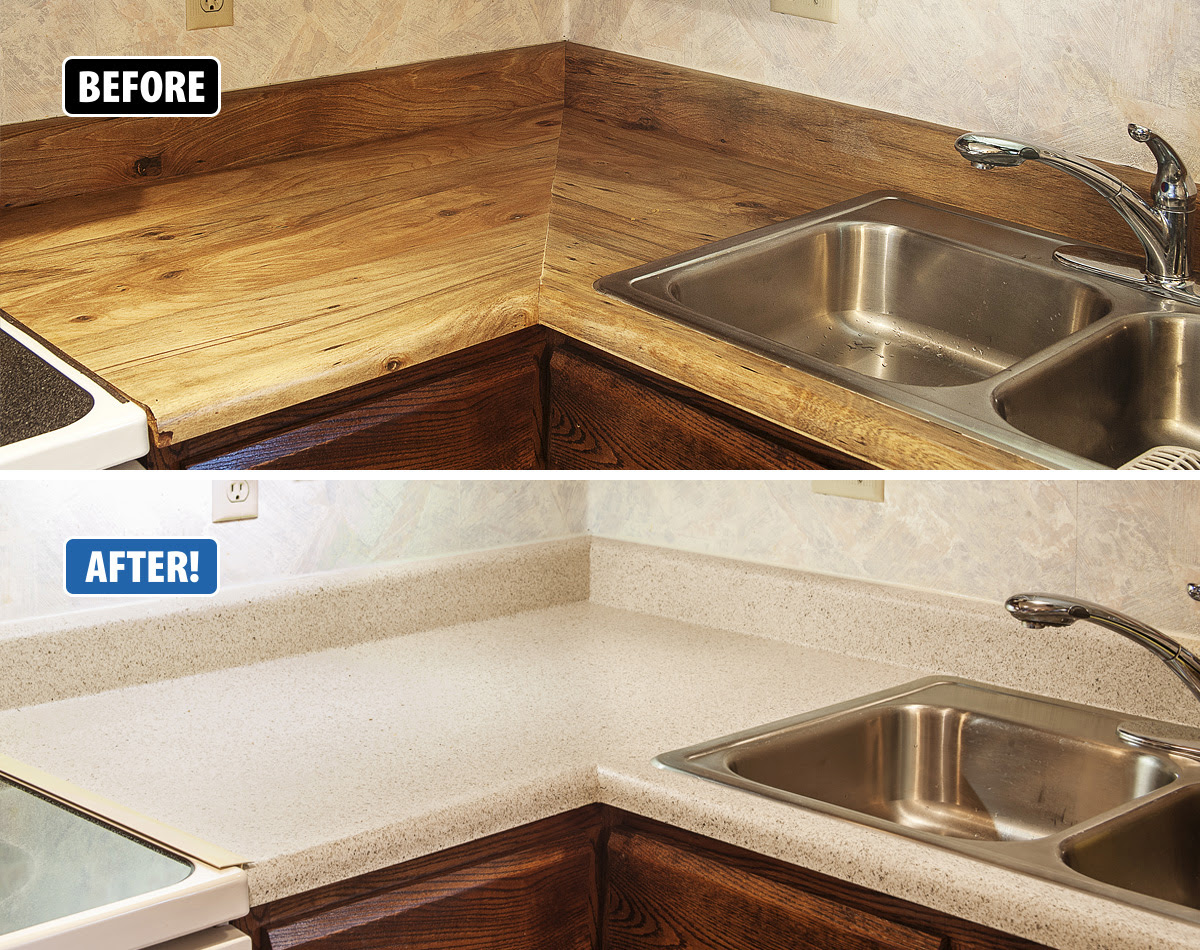
Adding the Finishing Touches
 With the sink securely mounted, it's time to add the finishing touches. Install the faucet according to the manufacturer's instructions and test for any leaks. If you are installing a wall-mounted sink, you may also want to add a backsplash to protect your walls from water damage. You can also add a fresh coat of paint or new fixtures to complete the updated look of your bathroom.
In Conclusion
 Mounting a bathroom sink may seem like a daunting task, but with the right tools and techniques, it can be a simple and rewarding DIY project. By following these steps and taking the time to properly install your sink, you can transform your bathroom into a beautiful and functional space. So why wait? Start planning your bathroom sink installation today and enjoy the satisfaction of a job well done.