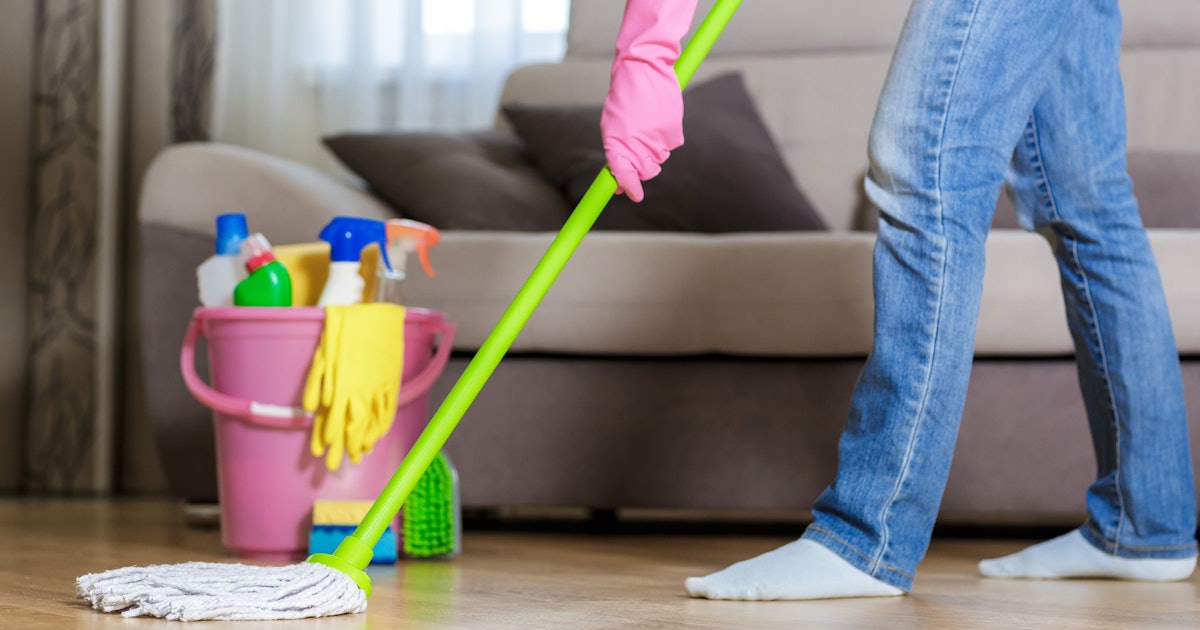
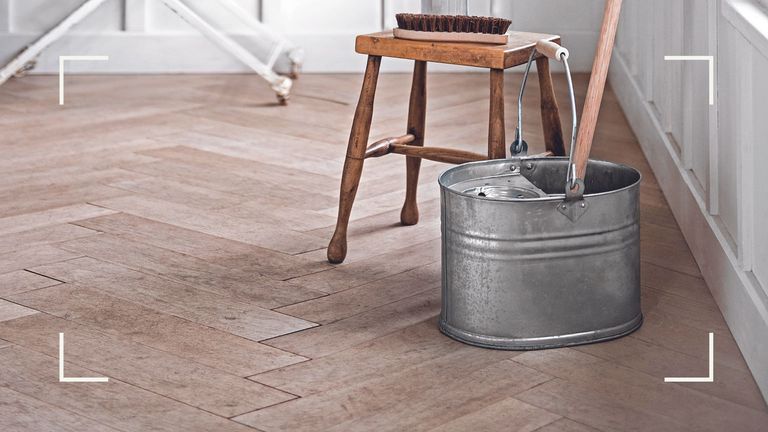
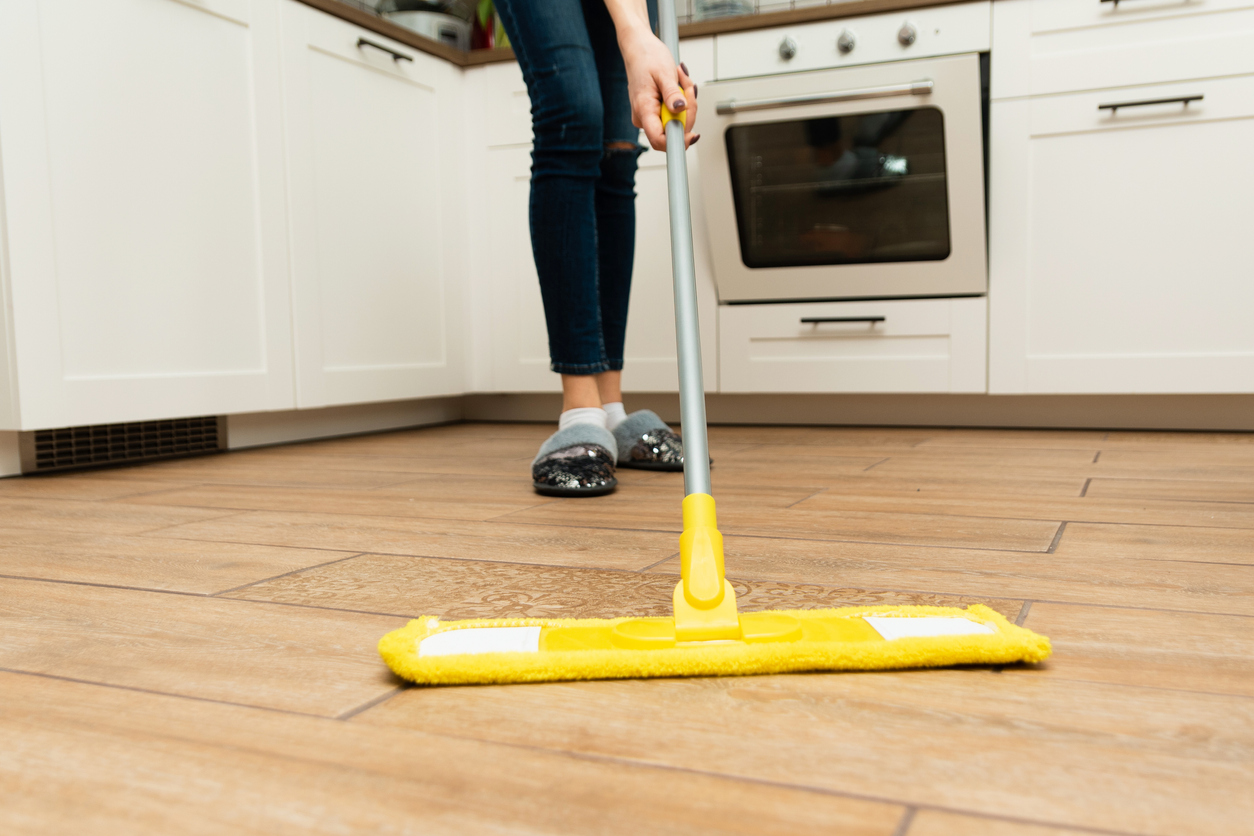
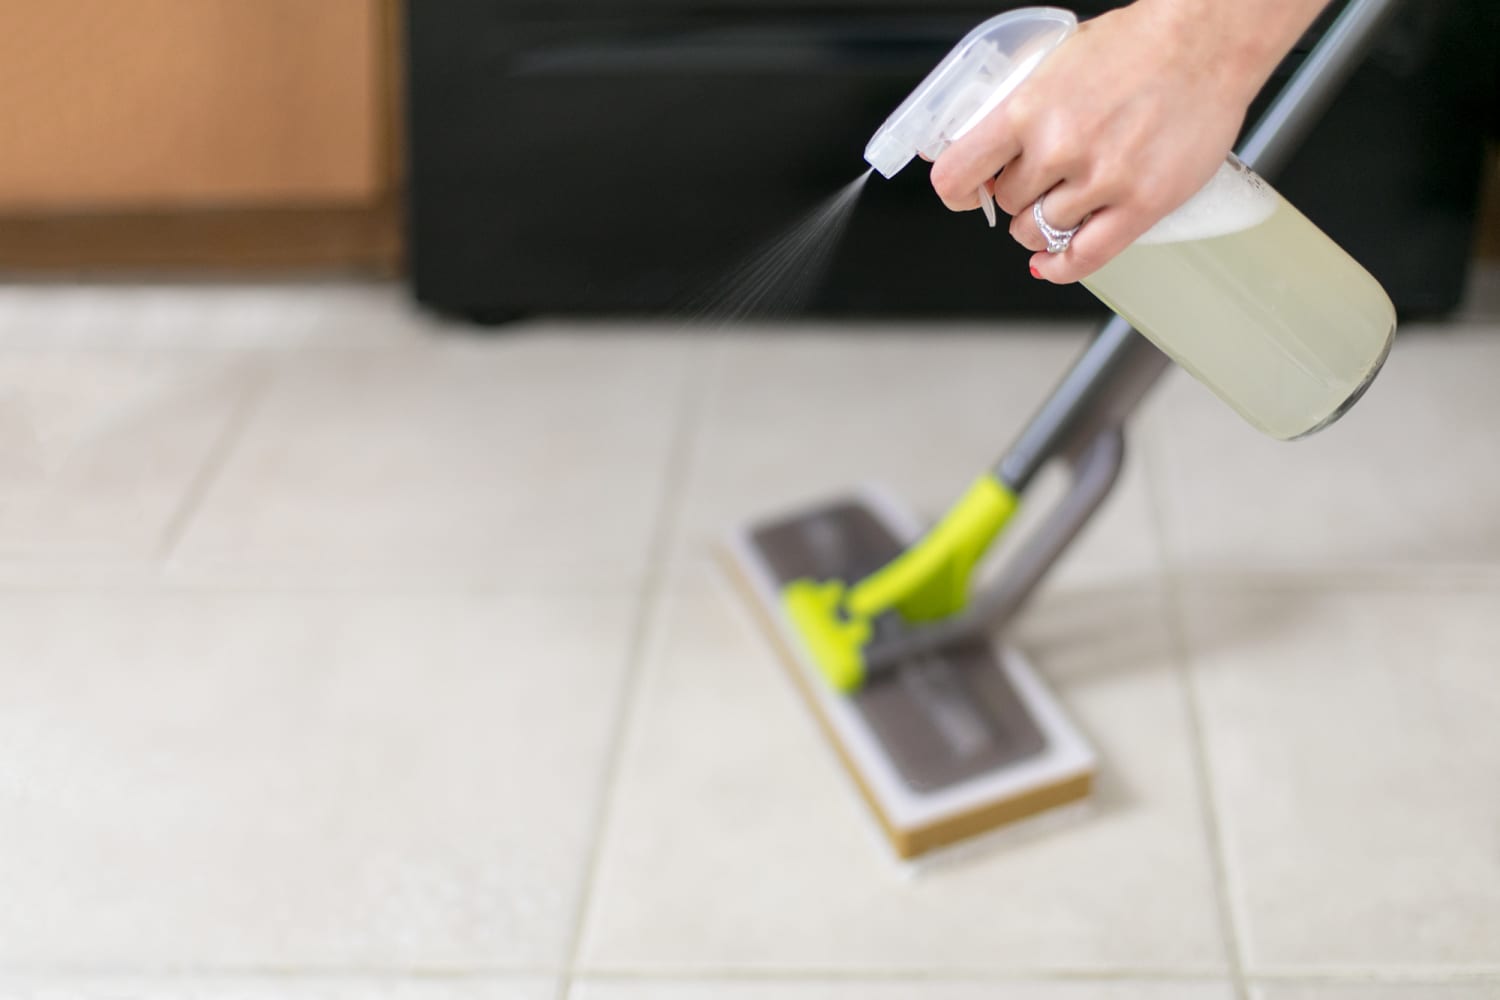
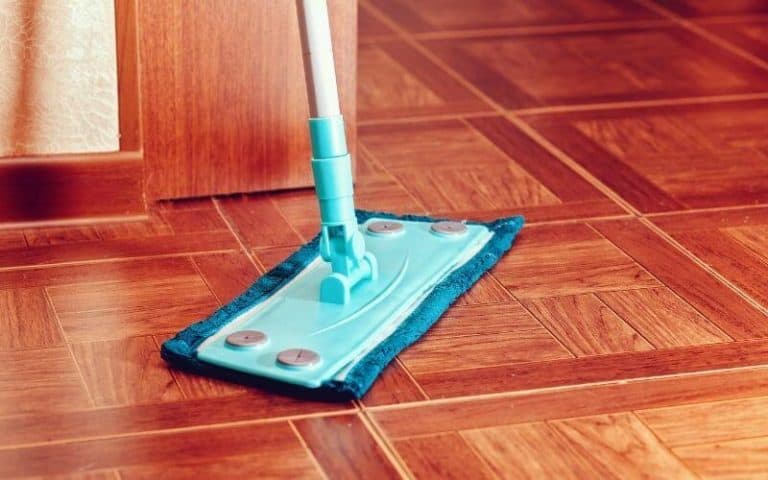
Keeping your kitchen floor and sink clean is essential for maintaining a hygienic and inviting space. A simple and effective way to accomplish this task is by using a mop. In this guide, we will walk you through the process of mopping your kitchen floor and sink to achieve a sparkling clean result. First, gather your supplies. You will need a mop, a bucket, a cleaning solution, and some towels or rags for drying. Make sure your mop is clean and free of any debris before starting. Next, fill your bucket with warm water and add your preferred cleaning solution. You can use a store-bought cleaner or make your own using natural ingredients like lemon juice and essential oils for a fresh and environmentally friendly option. Once your cleaning solution is ready, dip your mop into the bucket and wring out any excess water. You want your mop to be damp, not soaking wet. Start by mopping the kitchen floor, working your way from one end to the other in a back-and-forth motion. Use gentle pressure to remove any stains or dirt, and be sure to reach into corners and edges for a thorough clean. If you encounter any tough spots, let the cleaner sit for a few minutes before mopping over them again. After mopping the floor, it's time to move on to the sink. Dip your mop into the cleaning solution again, and wring it out before starting. Use the same back-and-forth motion to clean the surface of the sink, including the sides and any hard-to-reach areas. If you have a stainless steel sink, be sure to mop in the direction of the grain for a streak-free finish. Once you have finished mopping, empty the dirty water from the bucket and refill it with clean water. Dip your mop in the clean water and wring it out, then go over the floor and sink again to rinse off any remaining cleaner. Finally, use a towel or rag to dry the floor and sink, making sure to remove any excess water. This step is crucial in preventing water spots and ensuring a sparkling clean result.1. Mop the Kitchen Floor and Sink: A Step-by-Step Guide


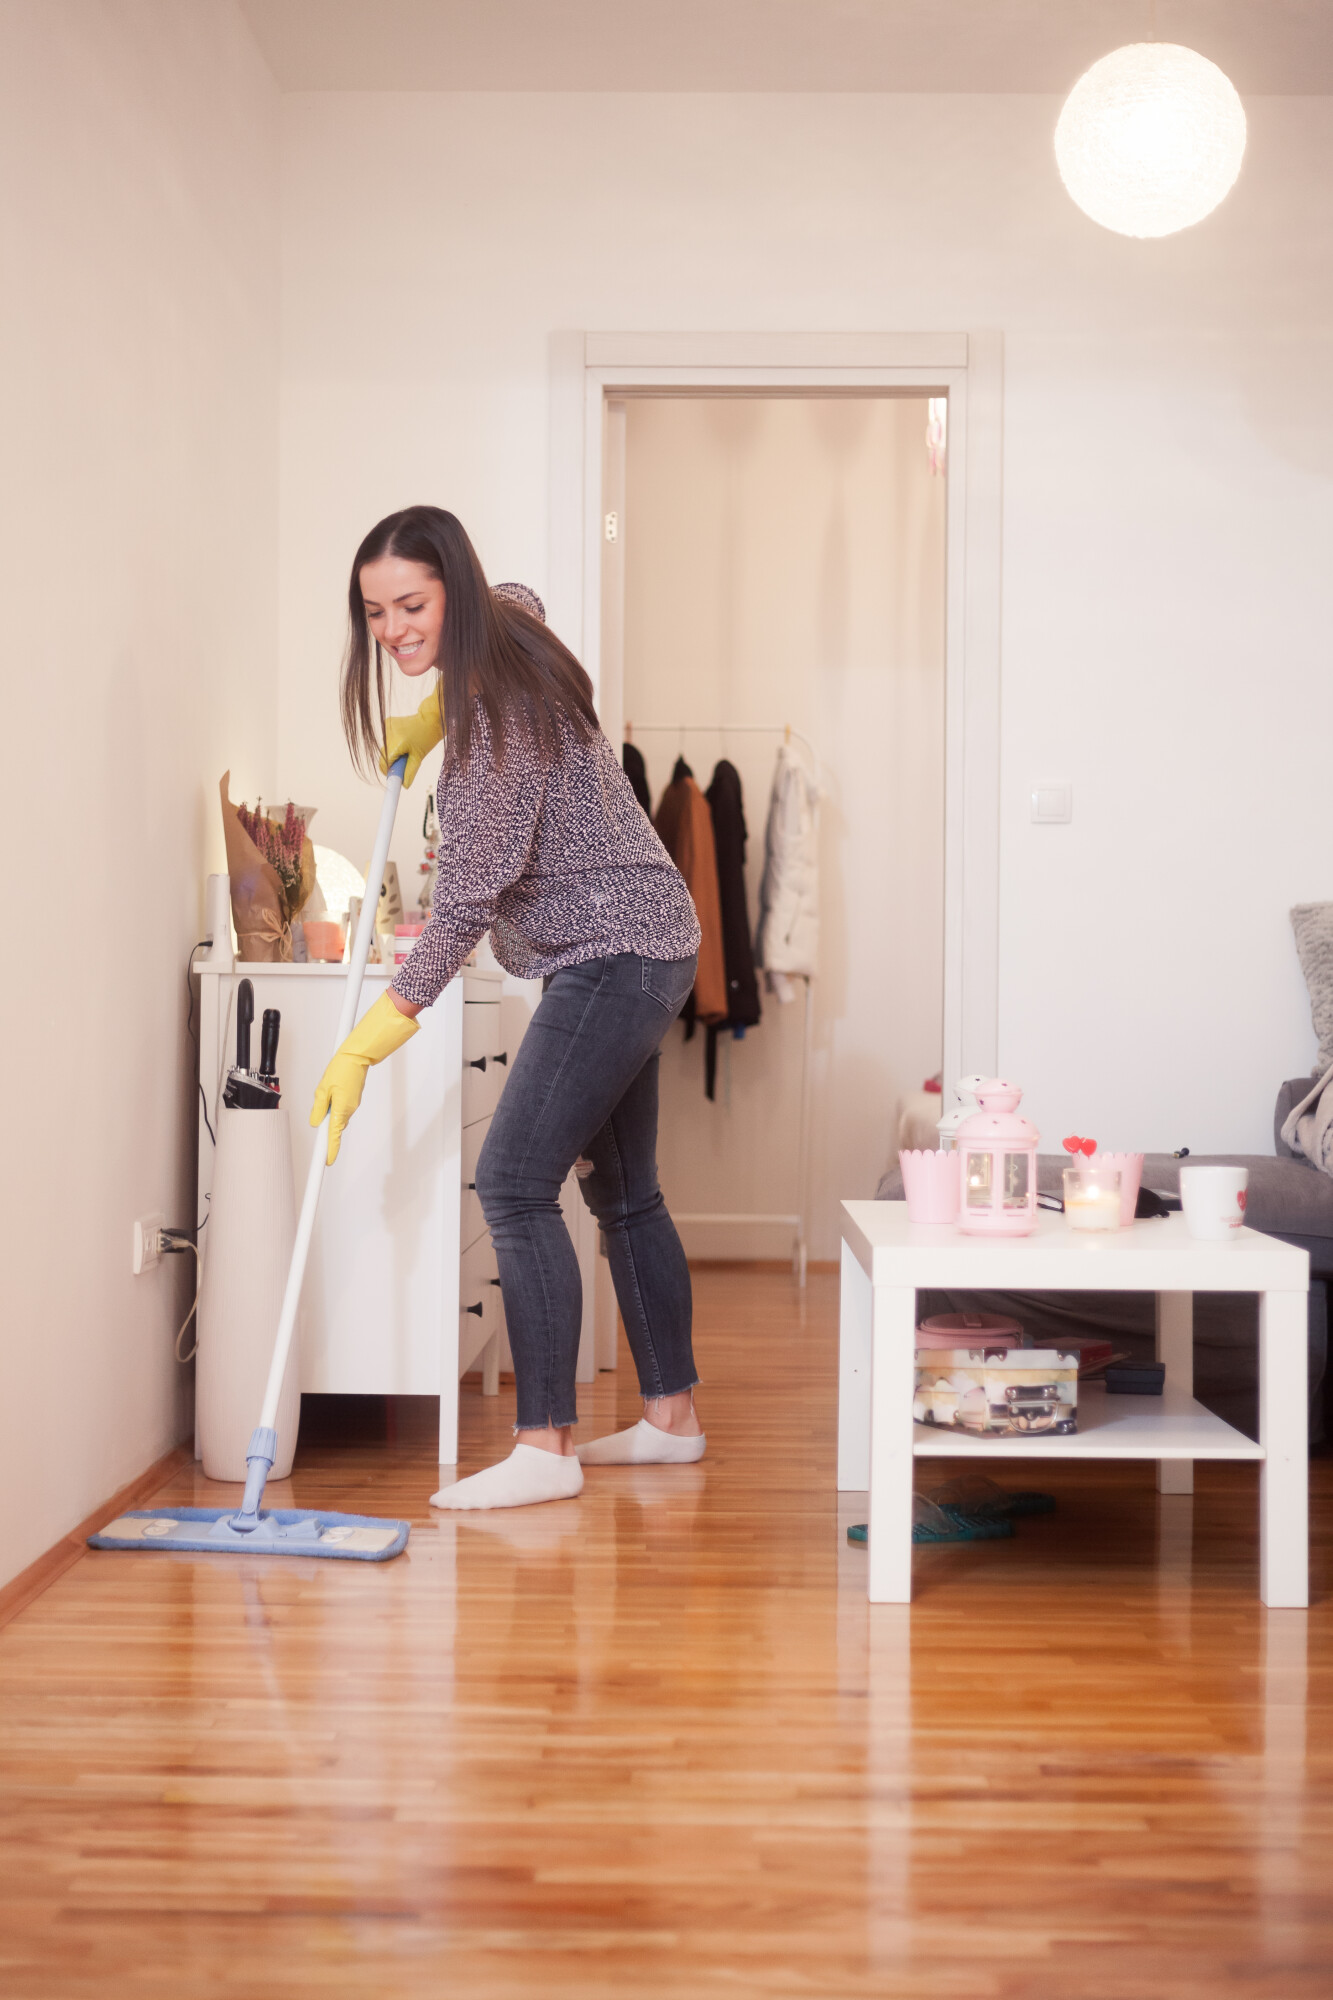
1. Mop the kitchen floor and sink

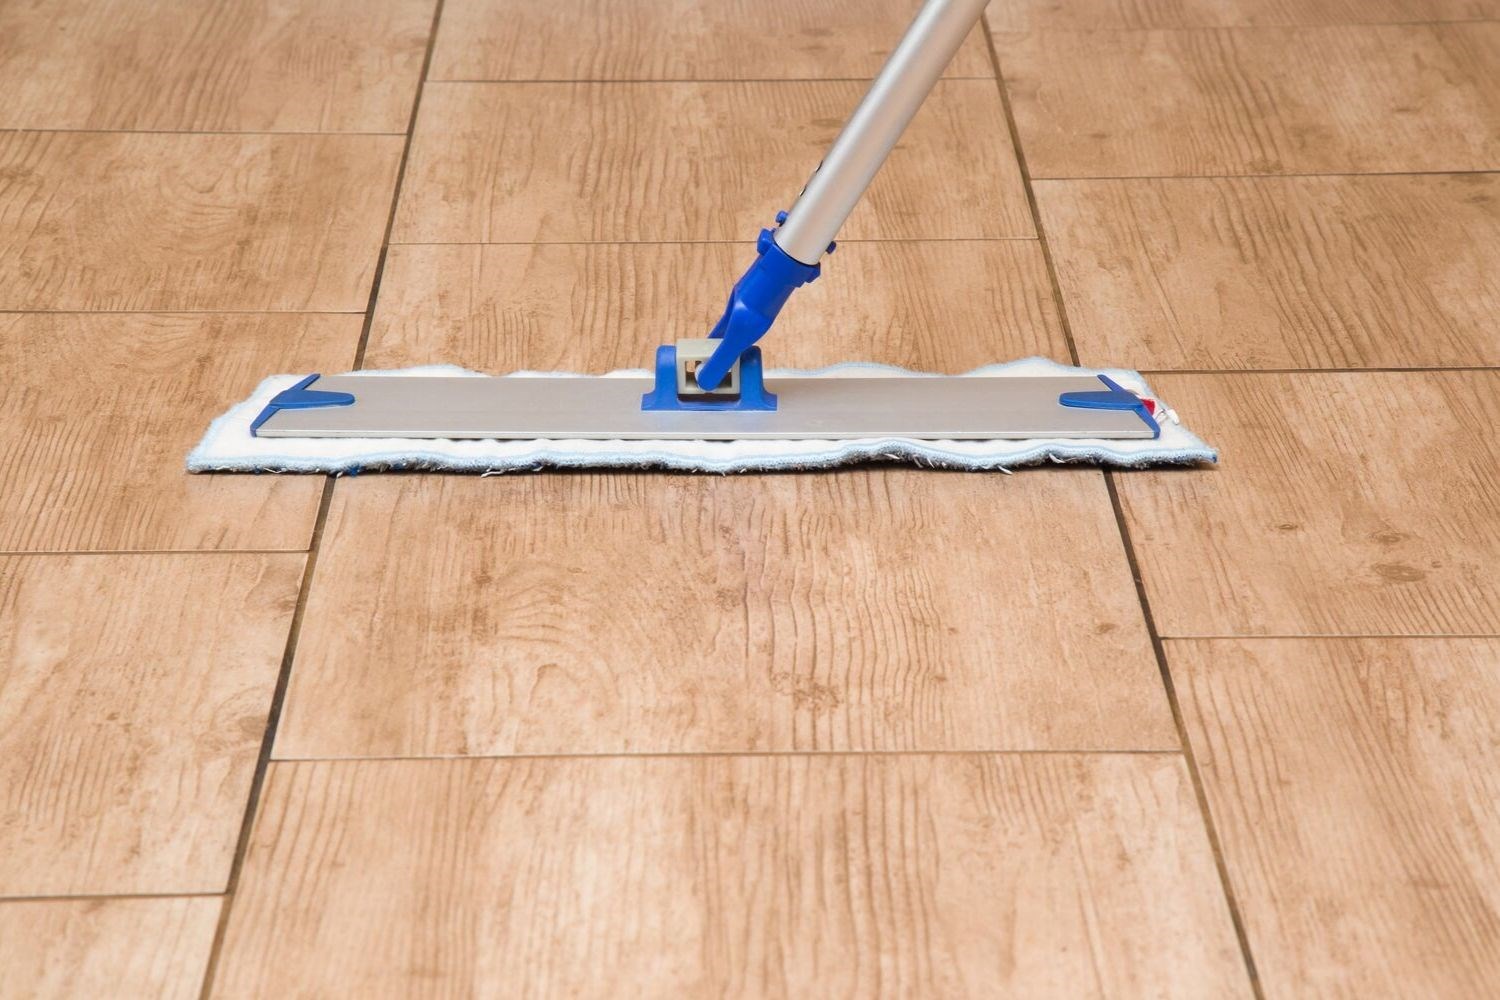


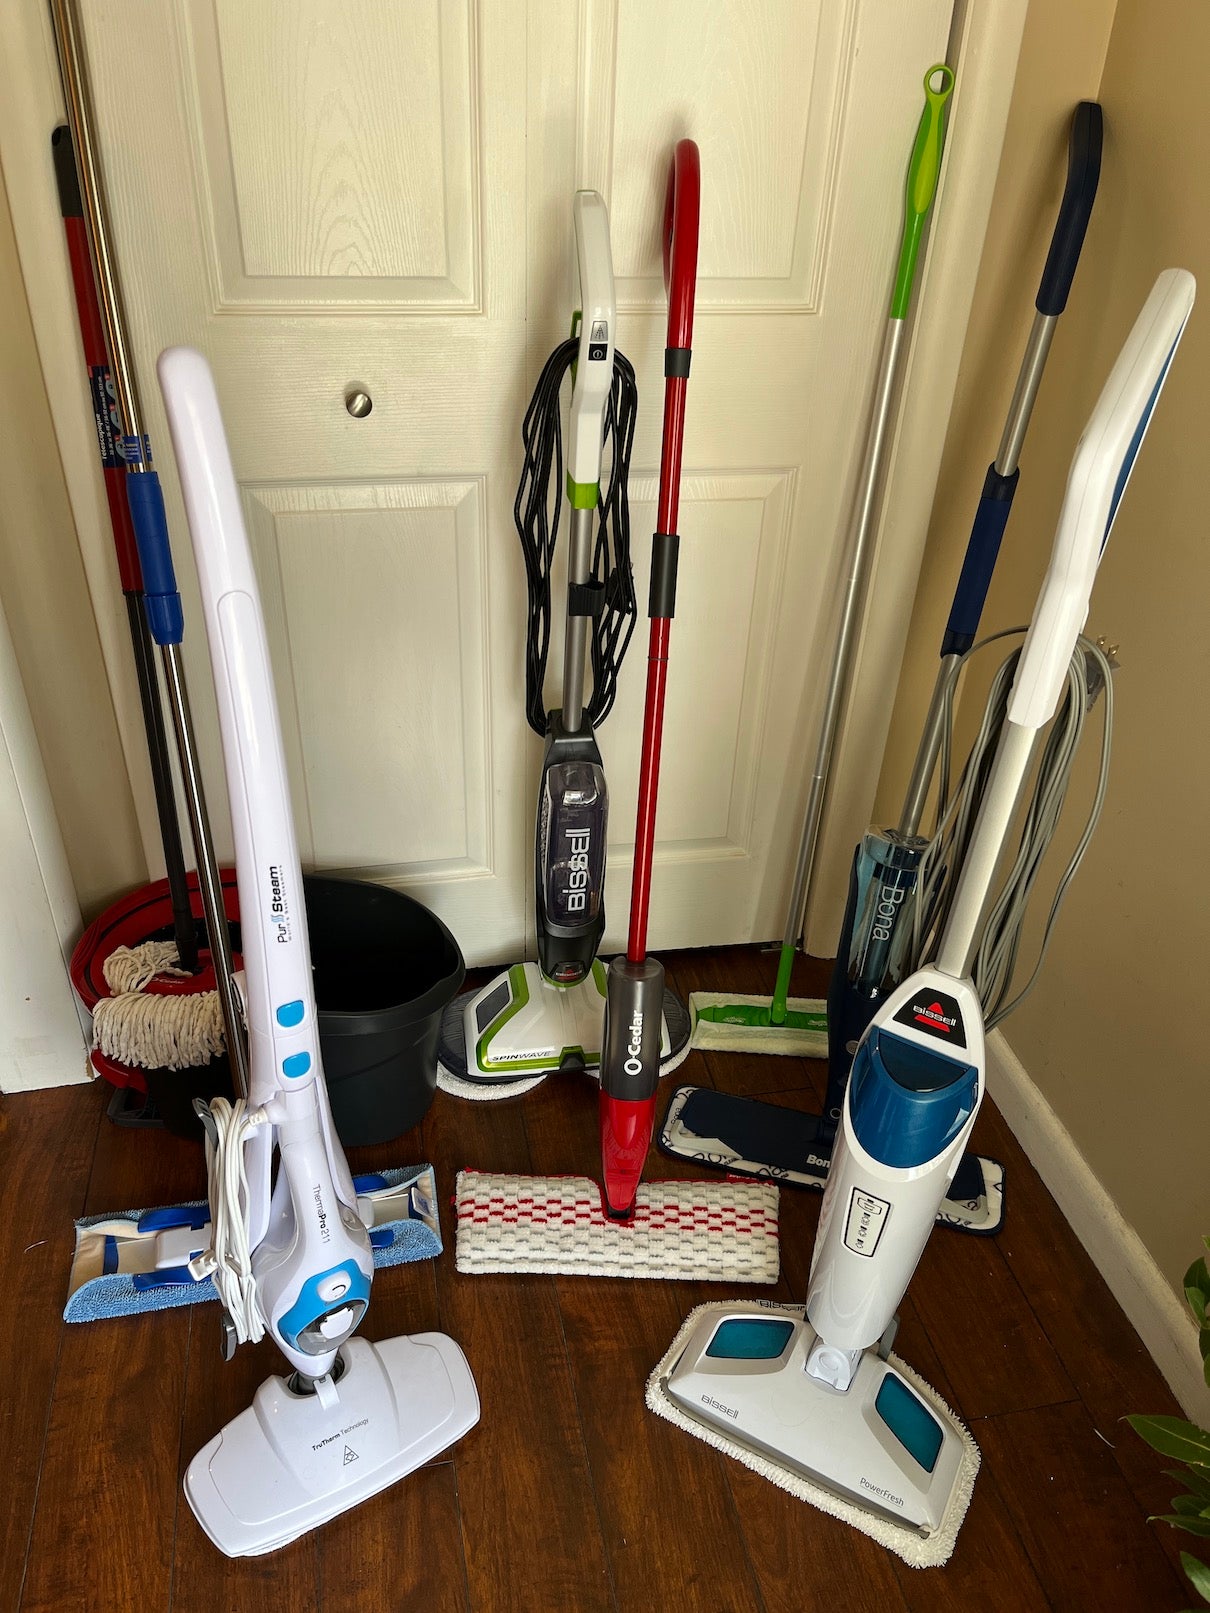
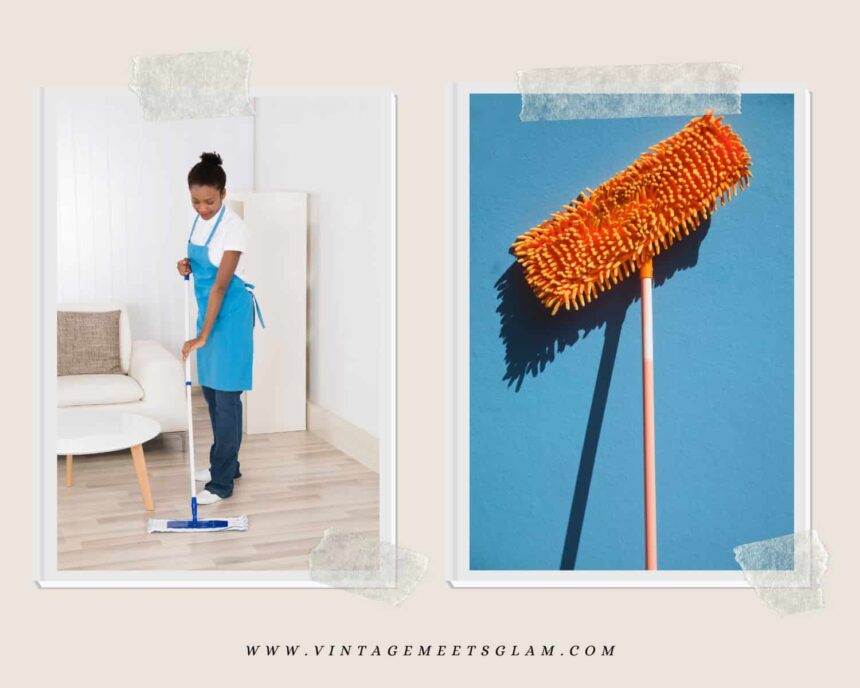
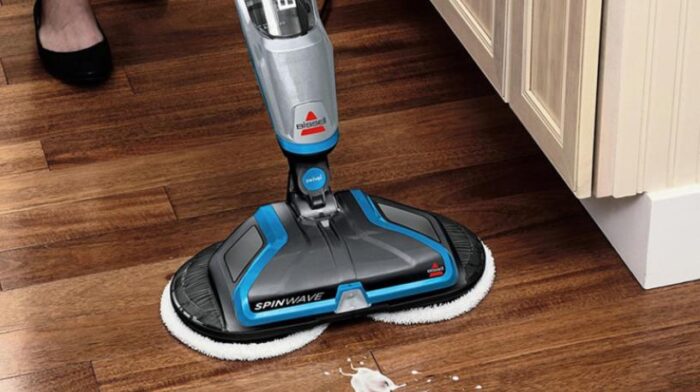
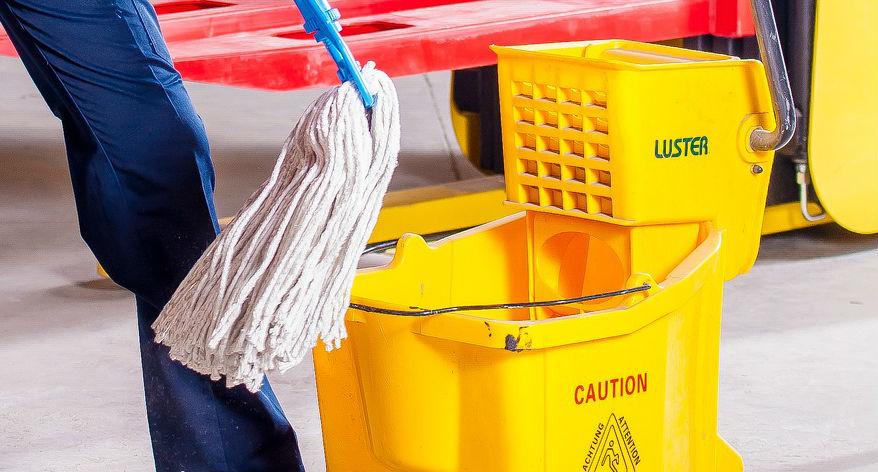
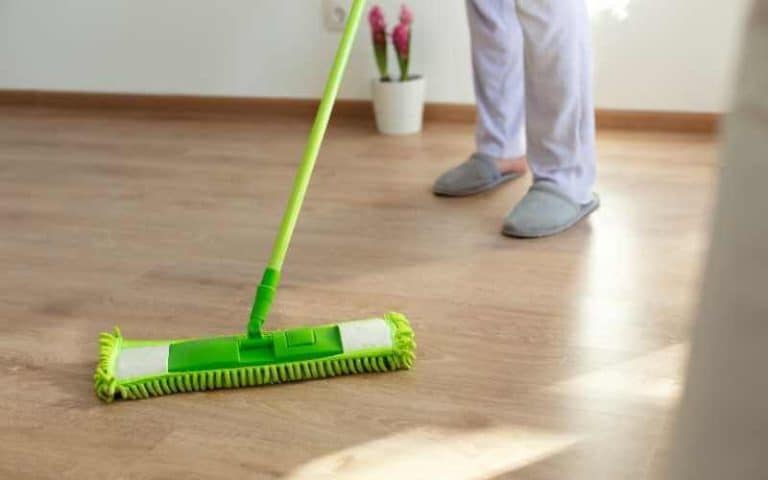
Mopping your kitchen floor and sink is a quick and easy way to keep these high-traffic areas clean and sanitary. Here are some additional tips to help you achieve the best results: Choose the Right Mop: When it comes to mopping kitchen floors and sinks, there are a few different options to consider. Traditional mops with a detachable head and a wringer bucket are great for deep cleaning, while flat mops with disposable pads are perfect for daily maintenance. You can also opt for a steam mop for a chemical-free and efficient clean. Use Hot Water: Hot water is better at dissolving dirt and grime, making it the ideal choice for mopping. However, make sure the water isn't too hot, as it can damage certain types of flooring. Change the Water Frequently: If you have a large area to mop, you may need to change the water a few times to ensure you are using clean water throughout the process. This will prevent spreading dirt and grime around. Clean from Cleanest to Dirtiest: When mopping, it's best to start with the cleanest areas and work your way to the dirtiest. This will help prevent spreading bacteria around and ensure a more efficient clean.2. How to Clean a Kitchen Floor and Sink with a Mop


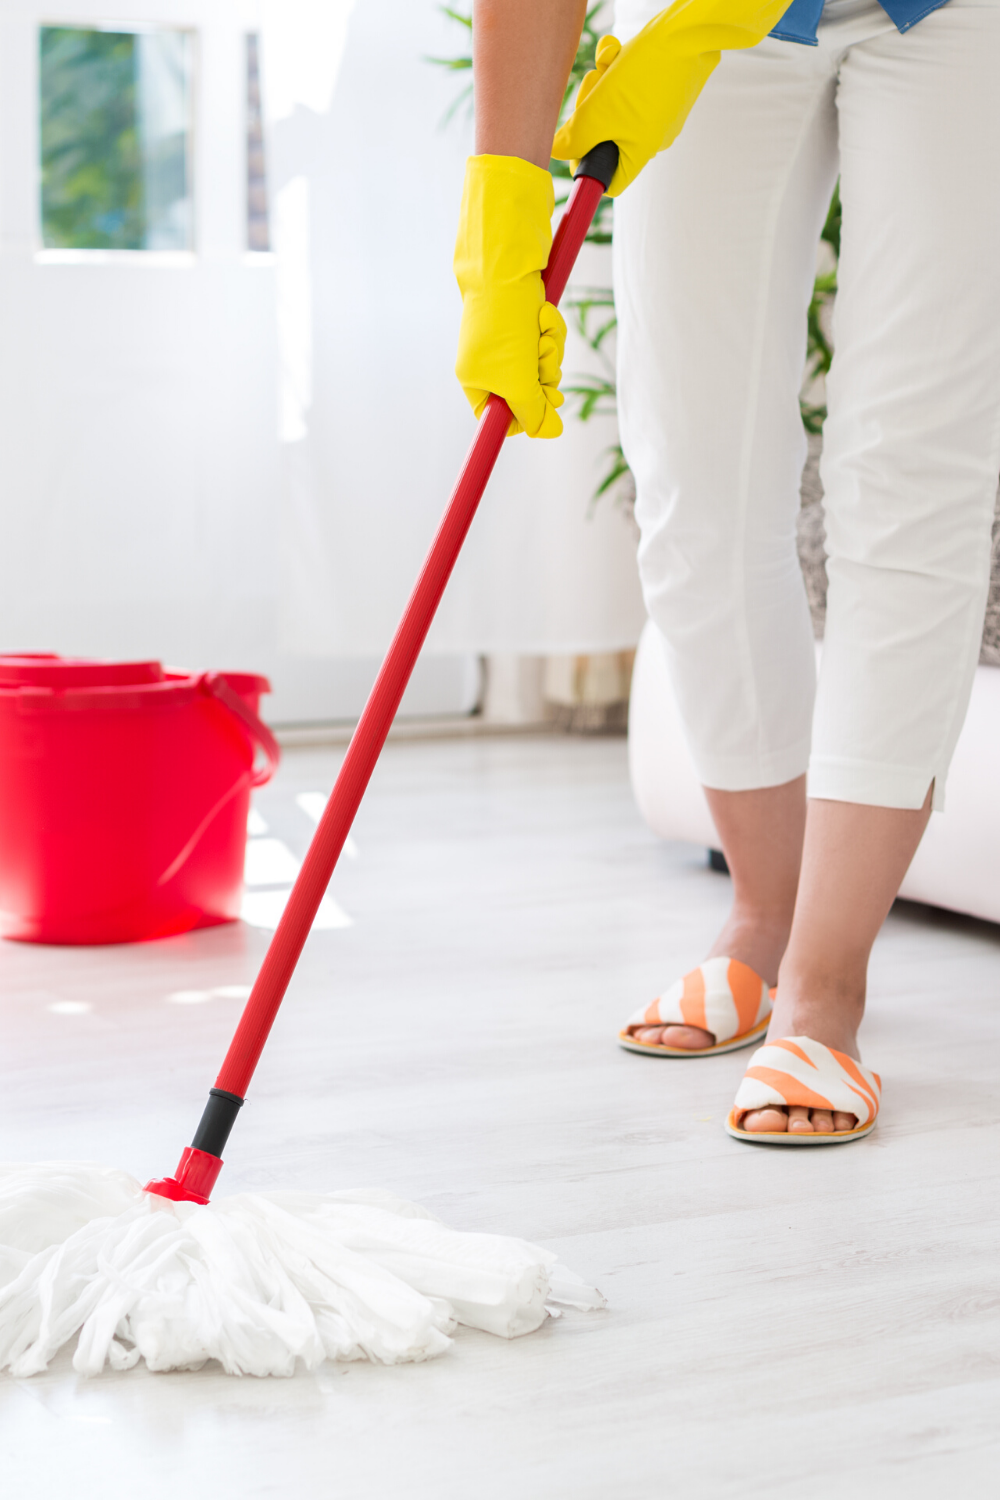
2. How to clean a kitchen floor and sink with a mop


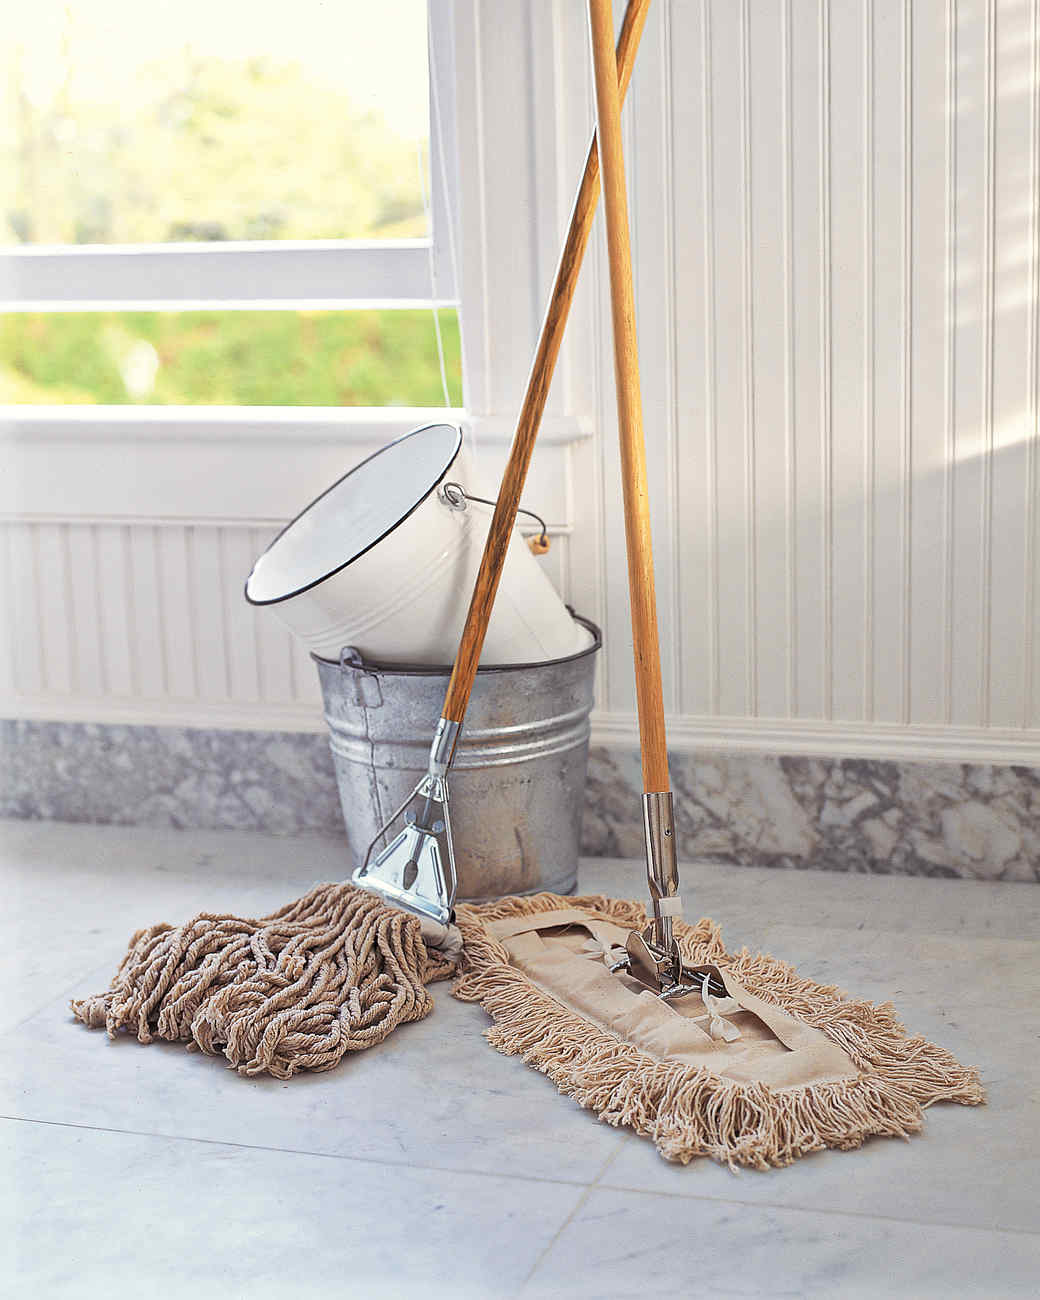
With so many mop options available in the market, it can be overwhelming to choose the best one for your kitchen floors and sinks. Here are a few top-rated mops that can help make your cleaning routine a breeze: Bona Hardwood Floor Spray Mop: This mop is perfect for hardwood floors and comes with a refillable cartridge for your preferred cleaning solution. Swiffer WetJet Mop: This mop is great for daily maintenance and comes with disposable pads for a quick and easy clean. Shark Genius Pocket Mop: This steam mop is ideal for a chemical-free clean and comes with washable and reusable pads for a more eco-friendly option.3. Best Mop for Kitchen Floors and Sinks


3. Best mop for kitchen floors and sinks


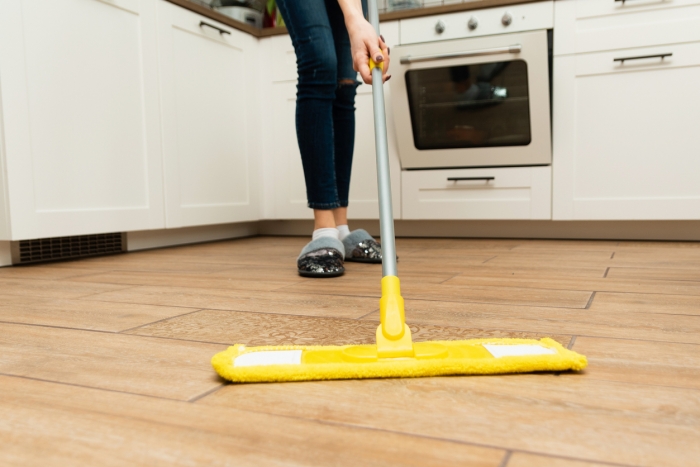
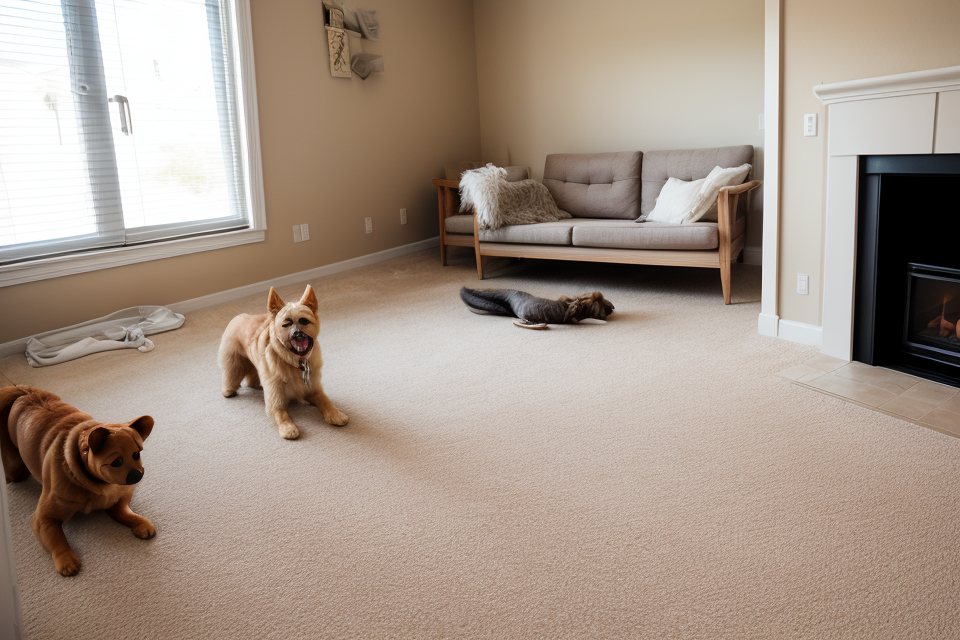
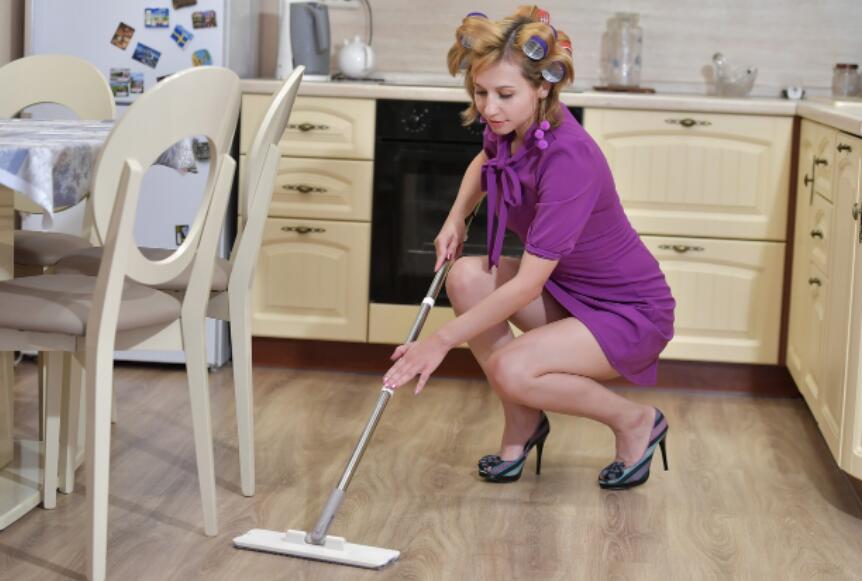
Mopping may seem like a straightforward task, but there are a few tips and tricks that can help you achieve a more effective and efficient clean: Remove Any Debris First: Before mopping, sweep or vacuum the floor to remove any loose debris. This will prevent your mop from pushing around dirt and making your job harder. Use Different Mops for Different Areas: It's best to have separate mops for your kitchen and bathroom to avoid cross-contamination. You can also use a different mop for the floor and the sink to ensure a more hygienic clean. Rotate Your Mop Head: If you are using a traditional mop with a detachable head, make sure to rotate the head after each use to prevent a build-up of bacteria and ensure a more thorough clean.4. Tips for Mopping a Kitchen Floor and Sink
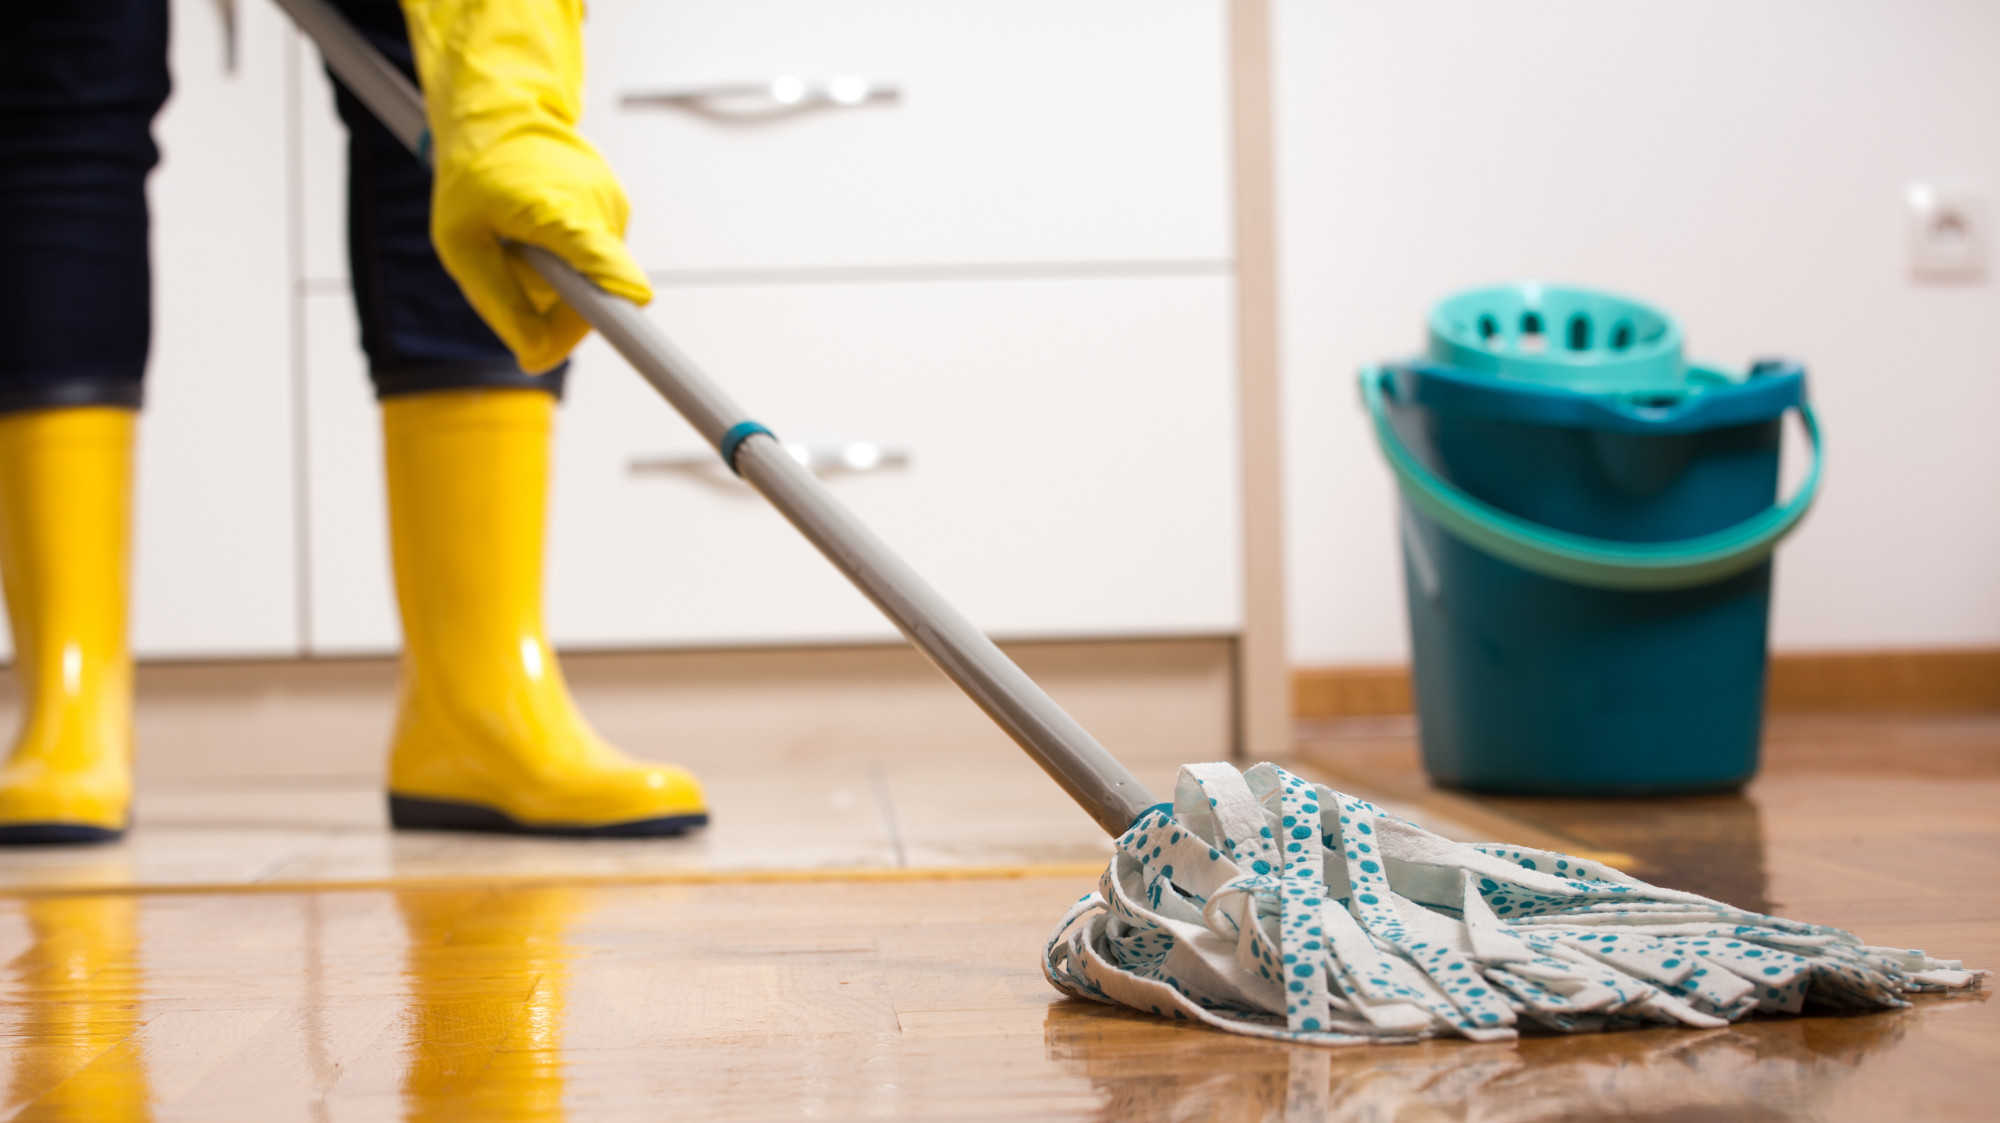
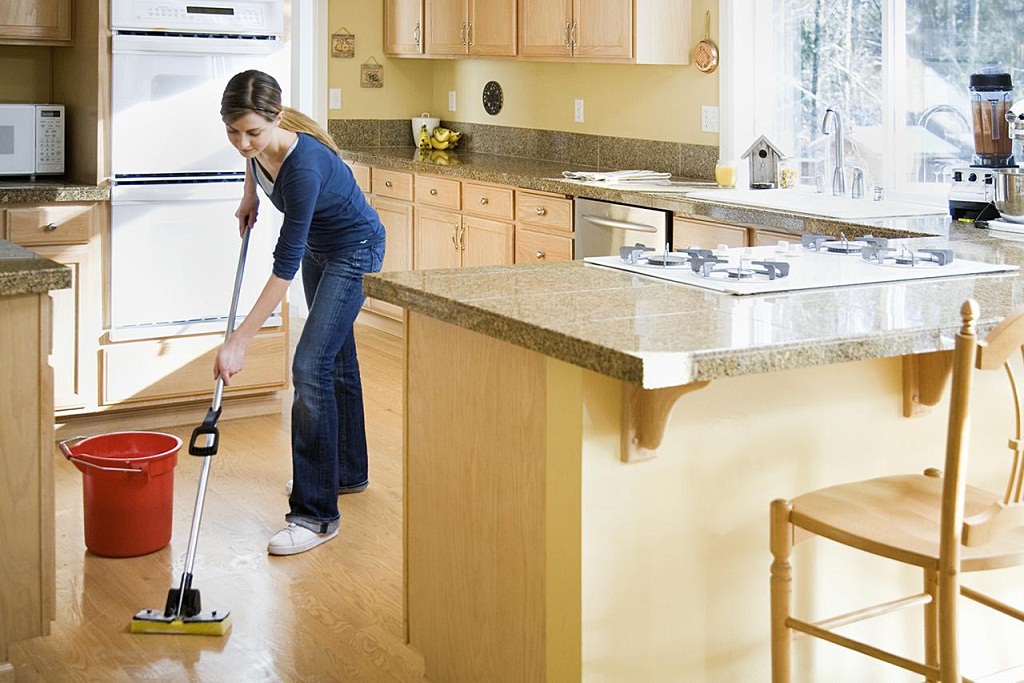
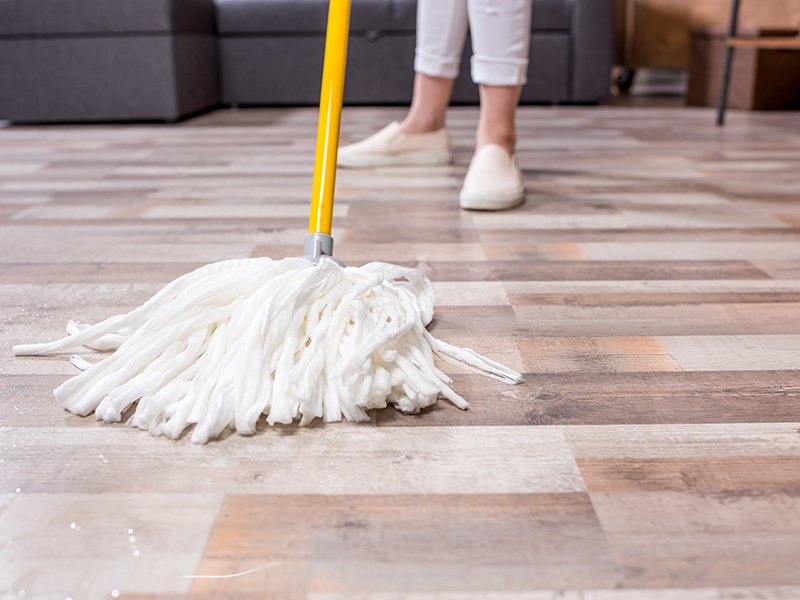
:max_bytes(150000):strip_icc()/person-mopping-floor-string-mop-2ebdf3eb-2fdd7b0540d7476d8ece86d1a0be2fce.jpg)


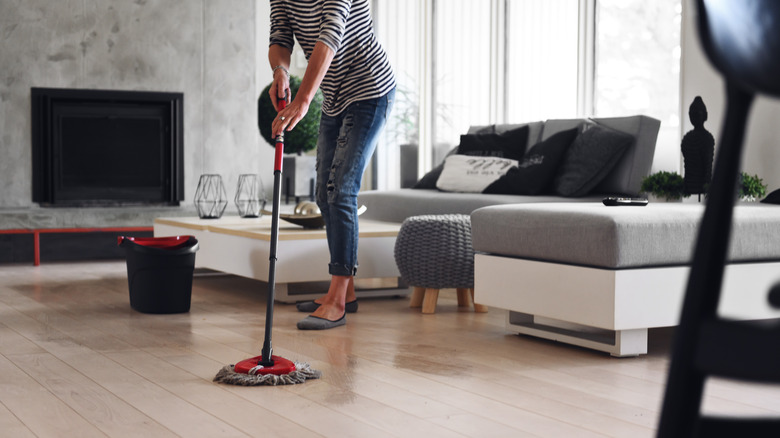
4. Tips for mopping a kitchen floor and sink


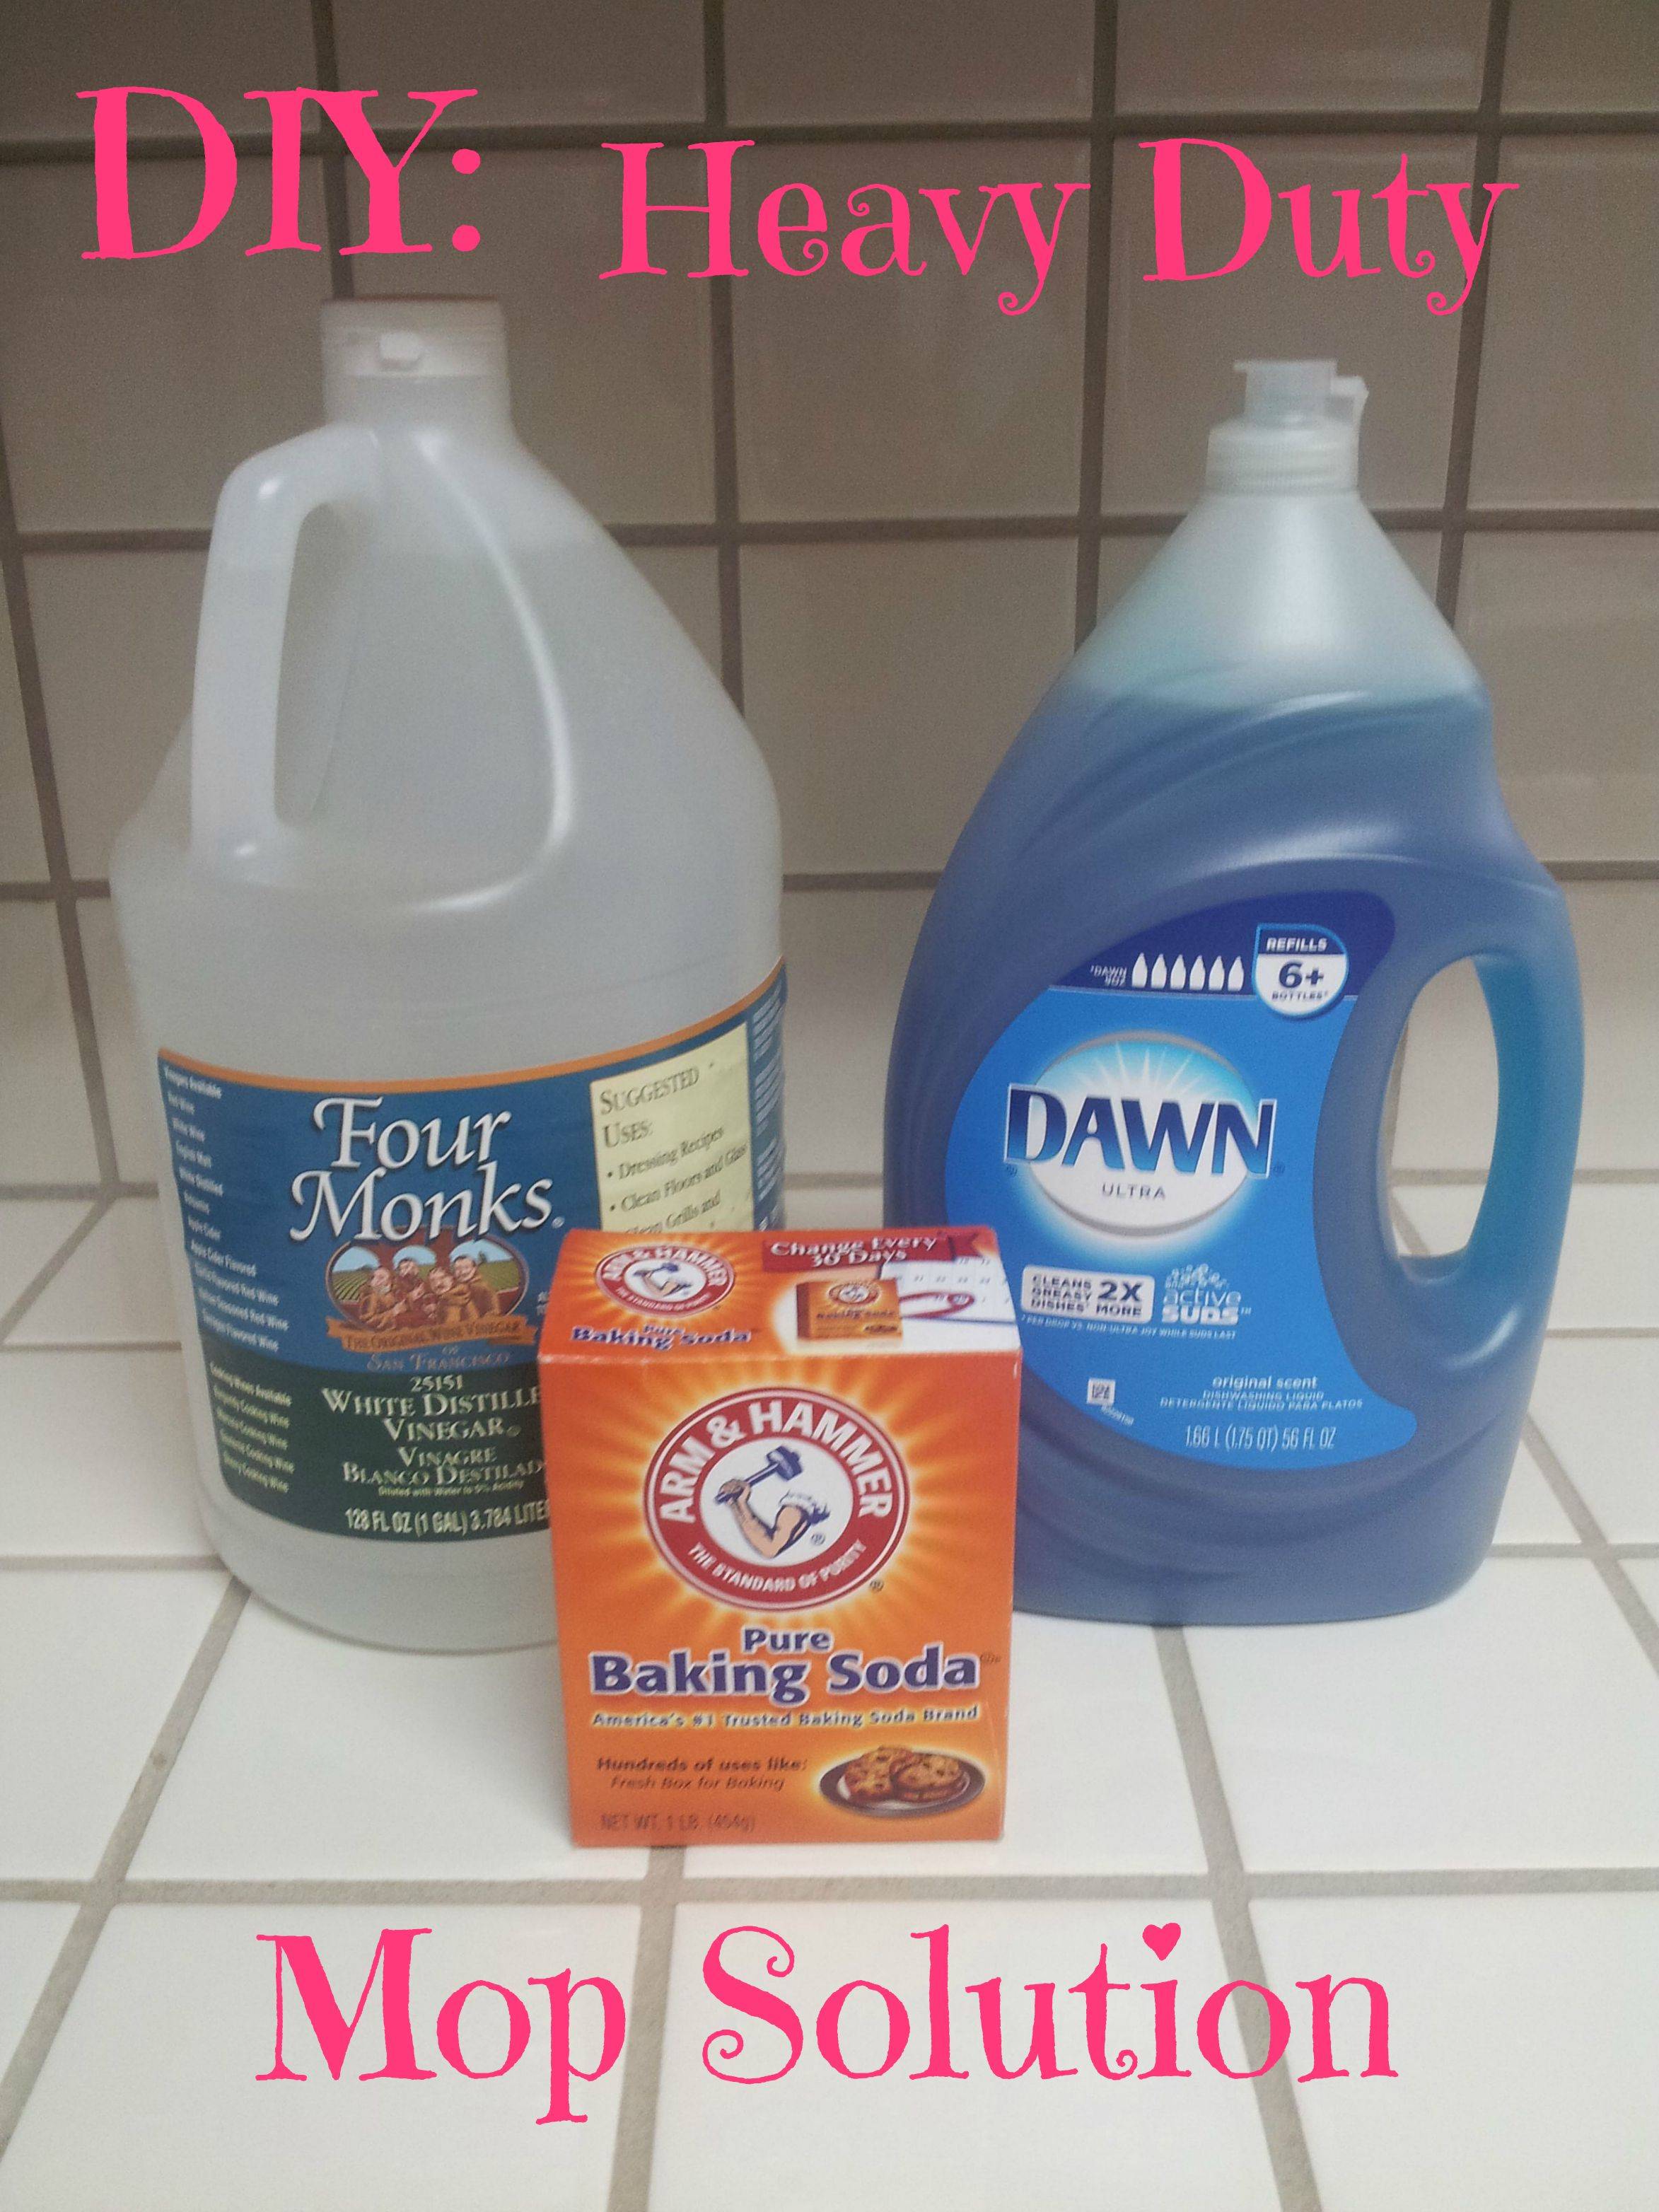
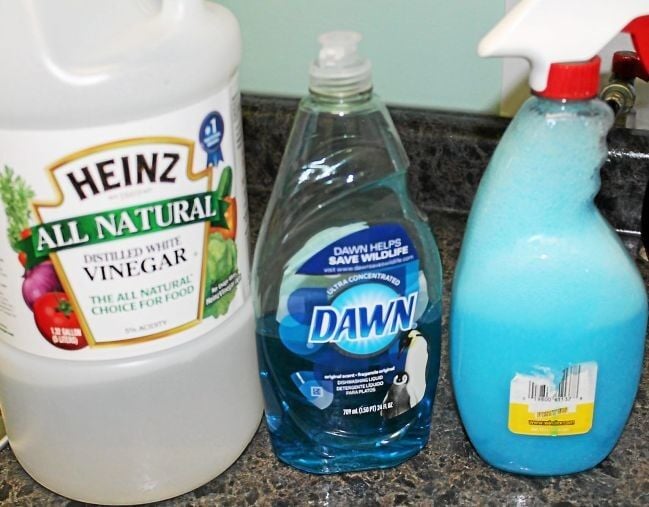
If you prefer to use natural and chemical-free cleaning solutions, here is a simple recipe for a DIY cleaner for your kitchen floors and sinks: Ingredients: - ¼ cup of white vinegar - 1 tablespoon of lemon juice - 10 drops of essential oils (such as lavender or tea tree) - 2 cups of warm water Instructions: 1. Mix all the ingredients in a spray bottle. 2. Spray the solution onto the floor and sink and let it sit for a few minutes. 3. Use a mop to clean the surface, and wipe away any excess water with a towel or rag.5. DIY Natural Cleaner for Kitchen Floors and Sinks


5. DIY natural cleaner for kitchen floors and sinks


The frequency of mopping your kitchen floor and sink will depend on your household's needs and level of traffic in these areas. However, it's generally recommended to mop at least once a week for routine maintenance and more frequently if you have children or pets. If your kitchen experiences heavy use, or you cook regularly, you may need to mop more often to keep the space clean and hygienic.6. How Often Should You Mop Your Kitchen Floor and Sink?

6. How often should you mop your kitchen floor and sink?


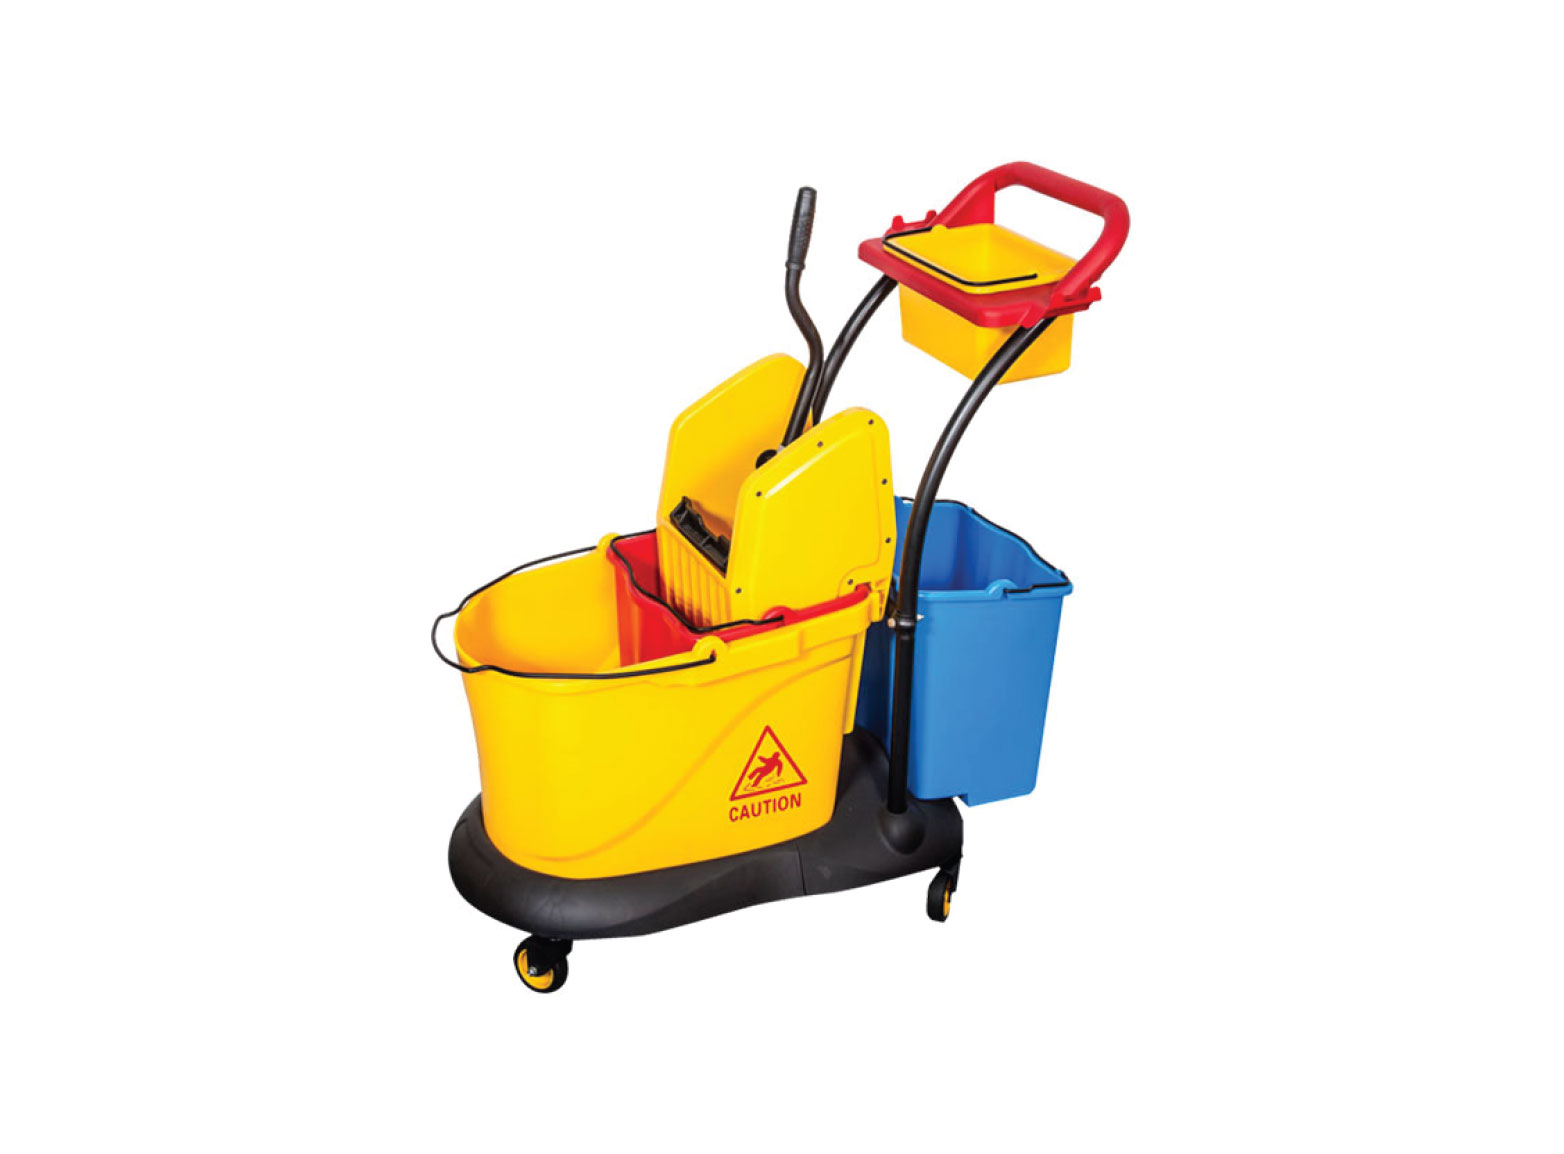
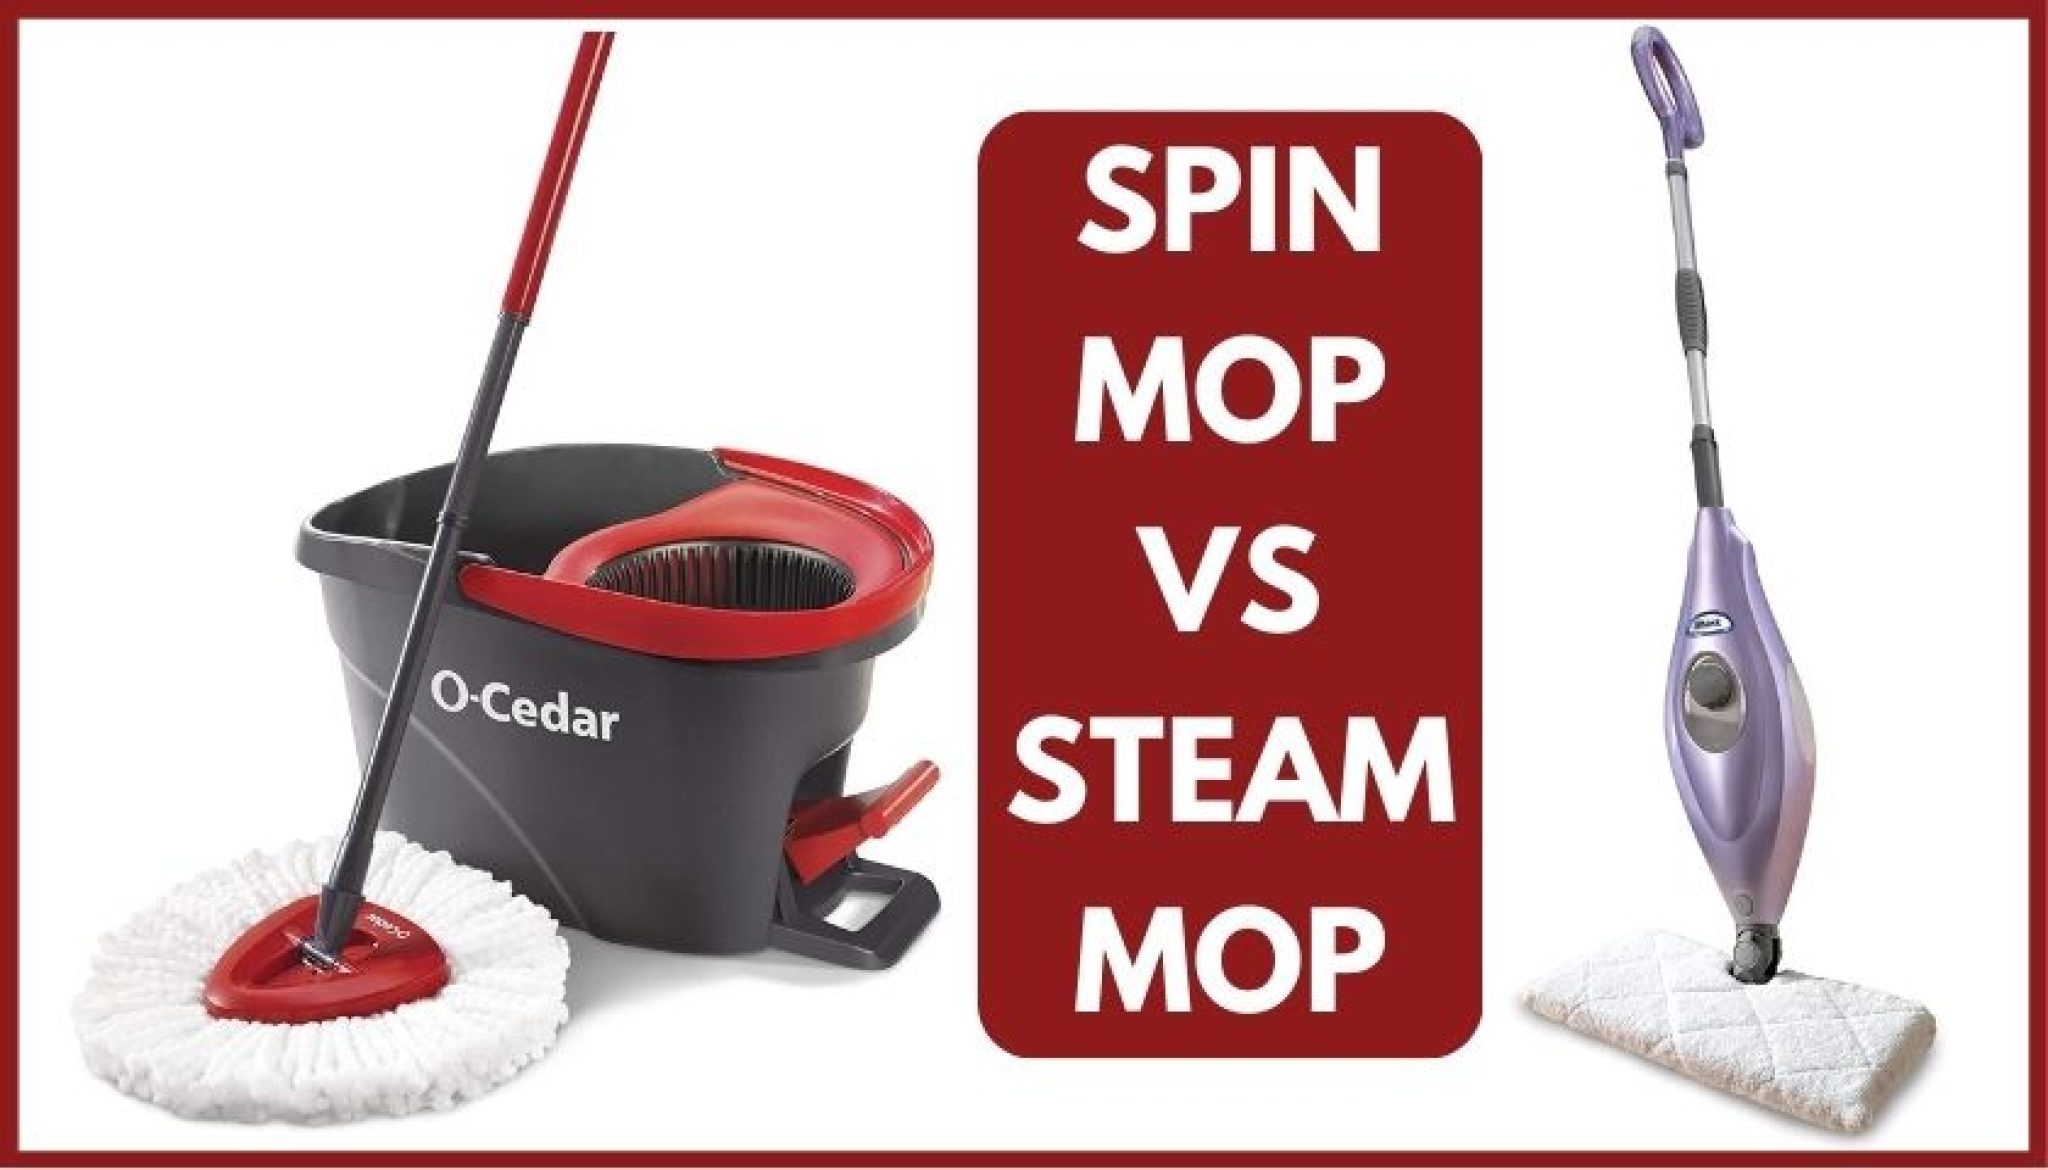
Both mop and bucket and steam mops have their advantages and disadvantages when it comes to cleaning kitchen floors and sinks. Here are some points to consider: Mop and Bucket: + Affordable and accessible + Deep cleans and removes tough stains - Requires more effort and time - Can spread bacteria if the water is not changed frequently Steam Mop: + Chemical-free and eco-friendly + Effortless and efficient - More expensive - May not be suitable for all types of flooring7. Mop and Bucket vs. Steam Mop for Kitchen Floors and Sinks
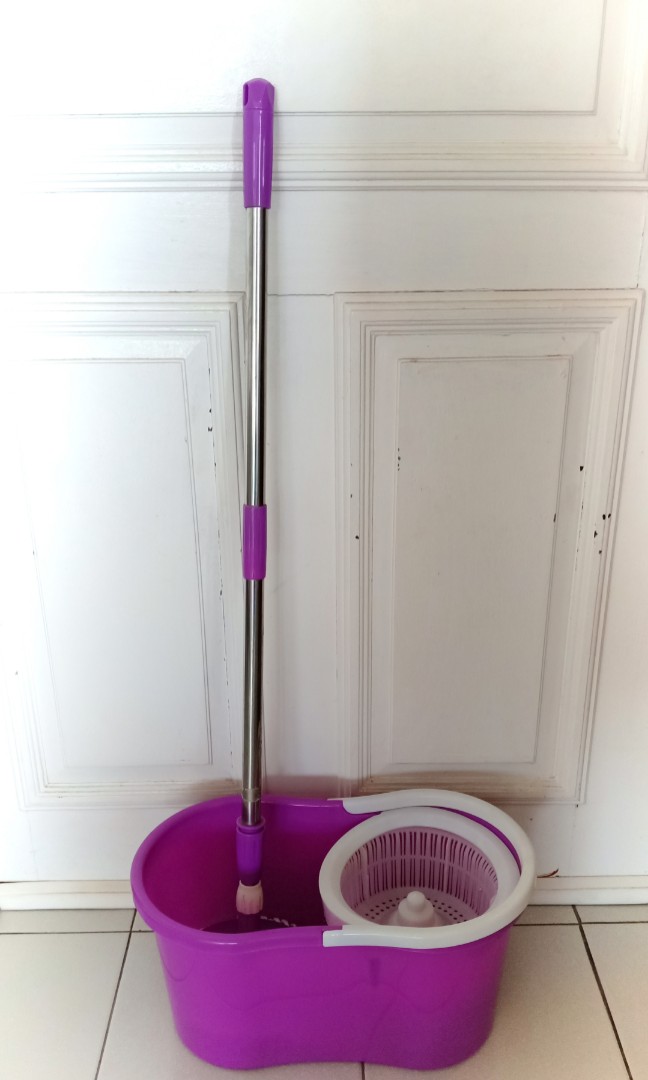


7. Mop and bucket vs. steam mop for kitchen floors and sinks


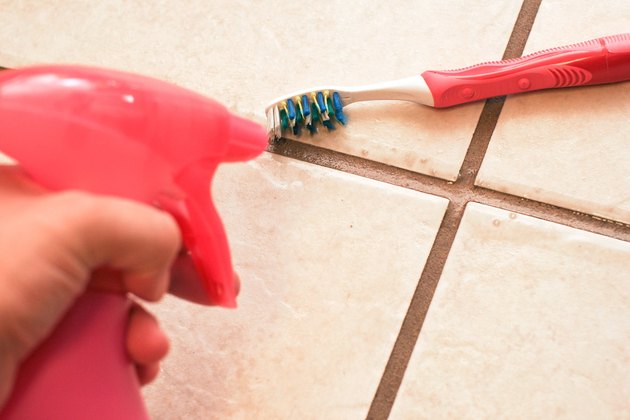
For a deeper clean, you can follow these additional steps to achieve a sparkling result: 1. Before mopping, sweep or vacuum the floor to remove any debris. 2. Use a scrub brush or sponge to tackle tough spots and stains before mopping. 3. After mopping, let the cleaner sit for a few minutes before rinsing with clean water and drying.8. How to Deep Clean a Kitchen Floor and Sink with a Mop


8. How to deep clean a kitchen floor and sink with a mop


Vinegar is a versatile and effective natural cleaning ingredient that can be used to clean various surfaces in your home, including kitchen floors and sinks. Ingredients: - ½ cup of white vinegar - 2 cups of warm water Instructions: 1. Mix the vinegar and water in a bucket. 2. Dip your mop into the solution and wring out any excess water. 3. Mop the floor and sink, and then rinse with clean water and dry.9. Mop and Vinegar Solution for Kitchen Floors and Sinks


9. Mop and vinegar solution for kitchen floors and sinks

Streaks on your kitchen floor and sink can be frustrating, and they can make your space look dirty even after mopping. Here are a few tips to prevent streaks: Use a Clean Mop: Make sure your mop is clean and free of any debris before starting. Don't Overuse Cleaning Solution: Using too much cleaning solution can leave a residue on your floor and sink, causing streaks. Use the recommended amount or less if you have a smaller area to clean. Dry the Surface: After mopping, use a towel or rag to dry the floor and sink thoroughly. This will prevent water spots and streaks from forming. With these tips and guidelines, you can easily achieve a clean and polished kitchen floor and sink with the help of a trusty mop. Incorporate these tips into your cleaning routine, and your kitchen will be sparkling in no time.10. How to Prevent Streaks When Mopping Kitchen Floors and Sinks


10. How to prevent streaks when mopping kitchen floors and sinks


Mop Your Kitchen Floor and Keep Your Sink Sparkling Clean

The Importance of Keeping Your Kitchen Clean
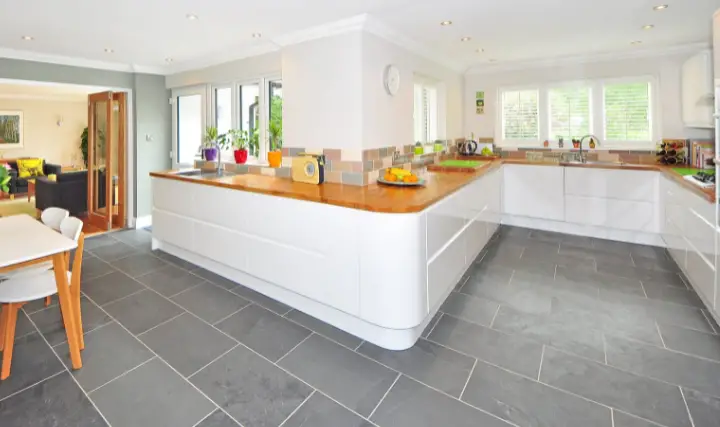
 When it comes to designing a house, the kitchen is often considered the heart of the home. It is where we cook, eat, and gather with family and friends. As such, it is important to keep this space clean and hygienic. Not only does a clean kitchen look aesthetically pleasing, but it also helps prevent the spread of germs and bacteria that can cause illness. One of the key areas in the kitchen that requires regular cleaning is the floor and sink. In this article, we will discuss the importance of regularly mopping your kitchen floor and keeping your sink sparkling clean.
The Benefits of Mopping Your Kitchen Floor
 The kitchen floor is one of the most heavily trafficked areas in the house, and it can easily accumulate dirt, spills, and food particles. Mopping your kitchen floor not only removes visible dirt and stains, but it also helps eliminate bacteria and germs that may be present. This is especially important in a household with young children or pets, as they are more susceptible to infections caused by bacteria. Regularly mopping your kitchen floor also helps maintain its quality and prevents any potential damage, keeping it looking new for longer.
Tip:
For stubborn stains, use a mixture of warm water and
vinegar
to clean your kitchen floor. The
acetic acid
in vinegar helps break down dirt and grime, leaving your floor spotless.
The kitchen floor is one of the most heavily trafficked areas in the house, and it can easily accumulate dirt, spills, and food particles. Mopping your kitchen floor not only removes visible dirt and stains, but it also helps eliminate bacteria and germs that may be present. This is especially important in a household with young children or pets, as they are more susceptible to infections caused by bacteria. Regularly mopping your kitchen floor also helps maintain its quality and prevents any potential damage, keeping it looking new for longer.
Tip:
For stubborn stains, use a mixture of warm water and
vinegar
to clean your kitchen floor. The
acetic acid
in vinegar helps break down dirt and grime, leaving your floor spotless.
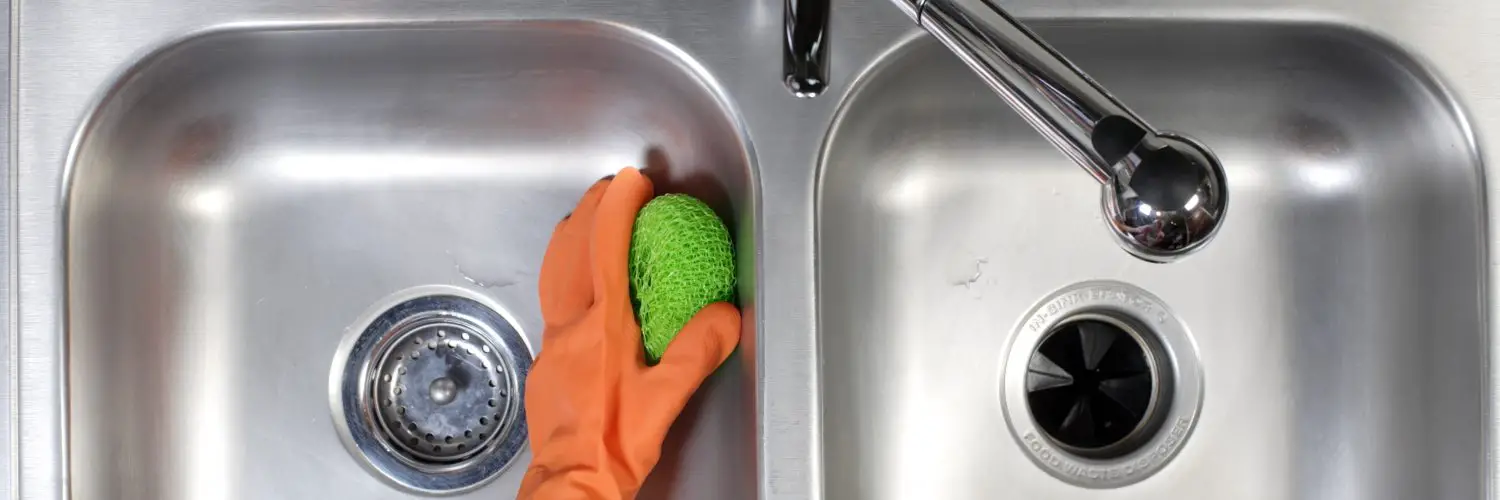
Keeping Your Sink Clean and Sanitized
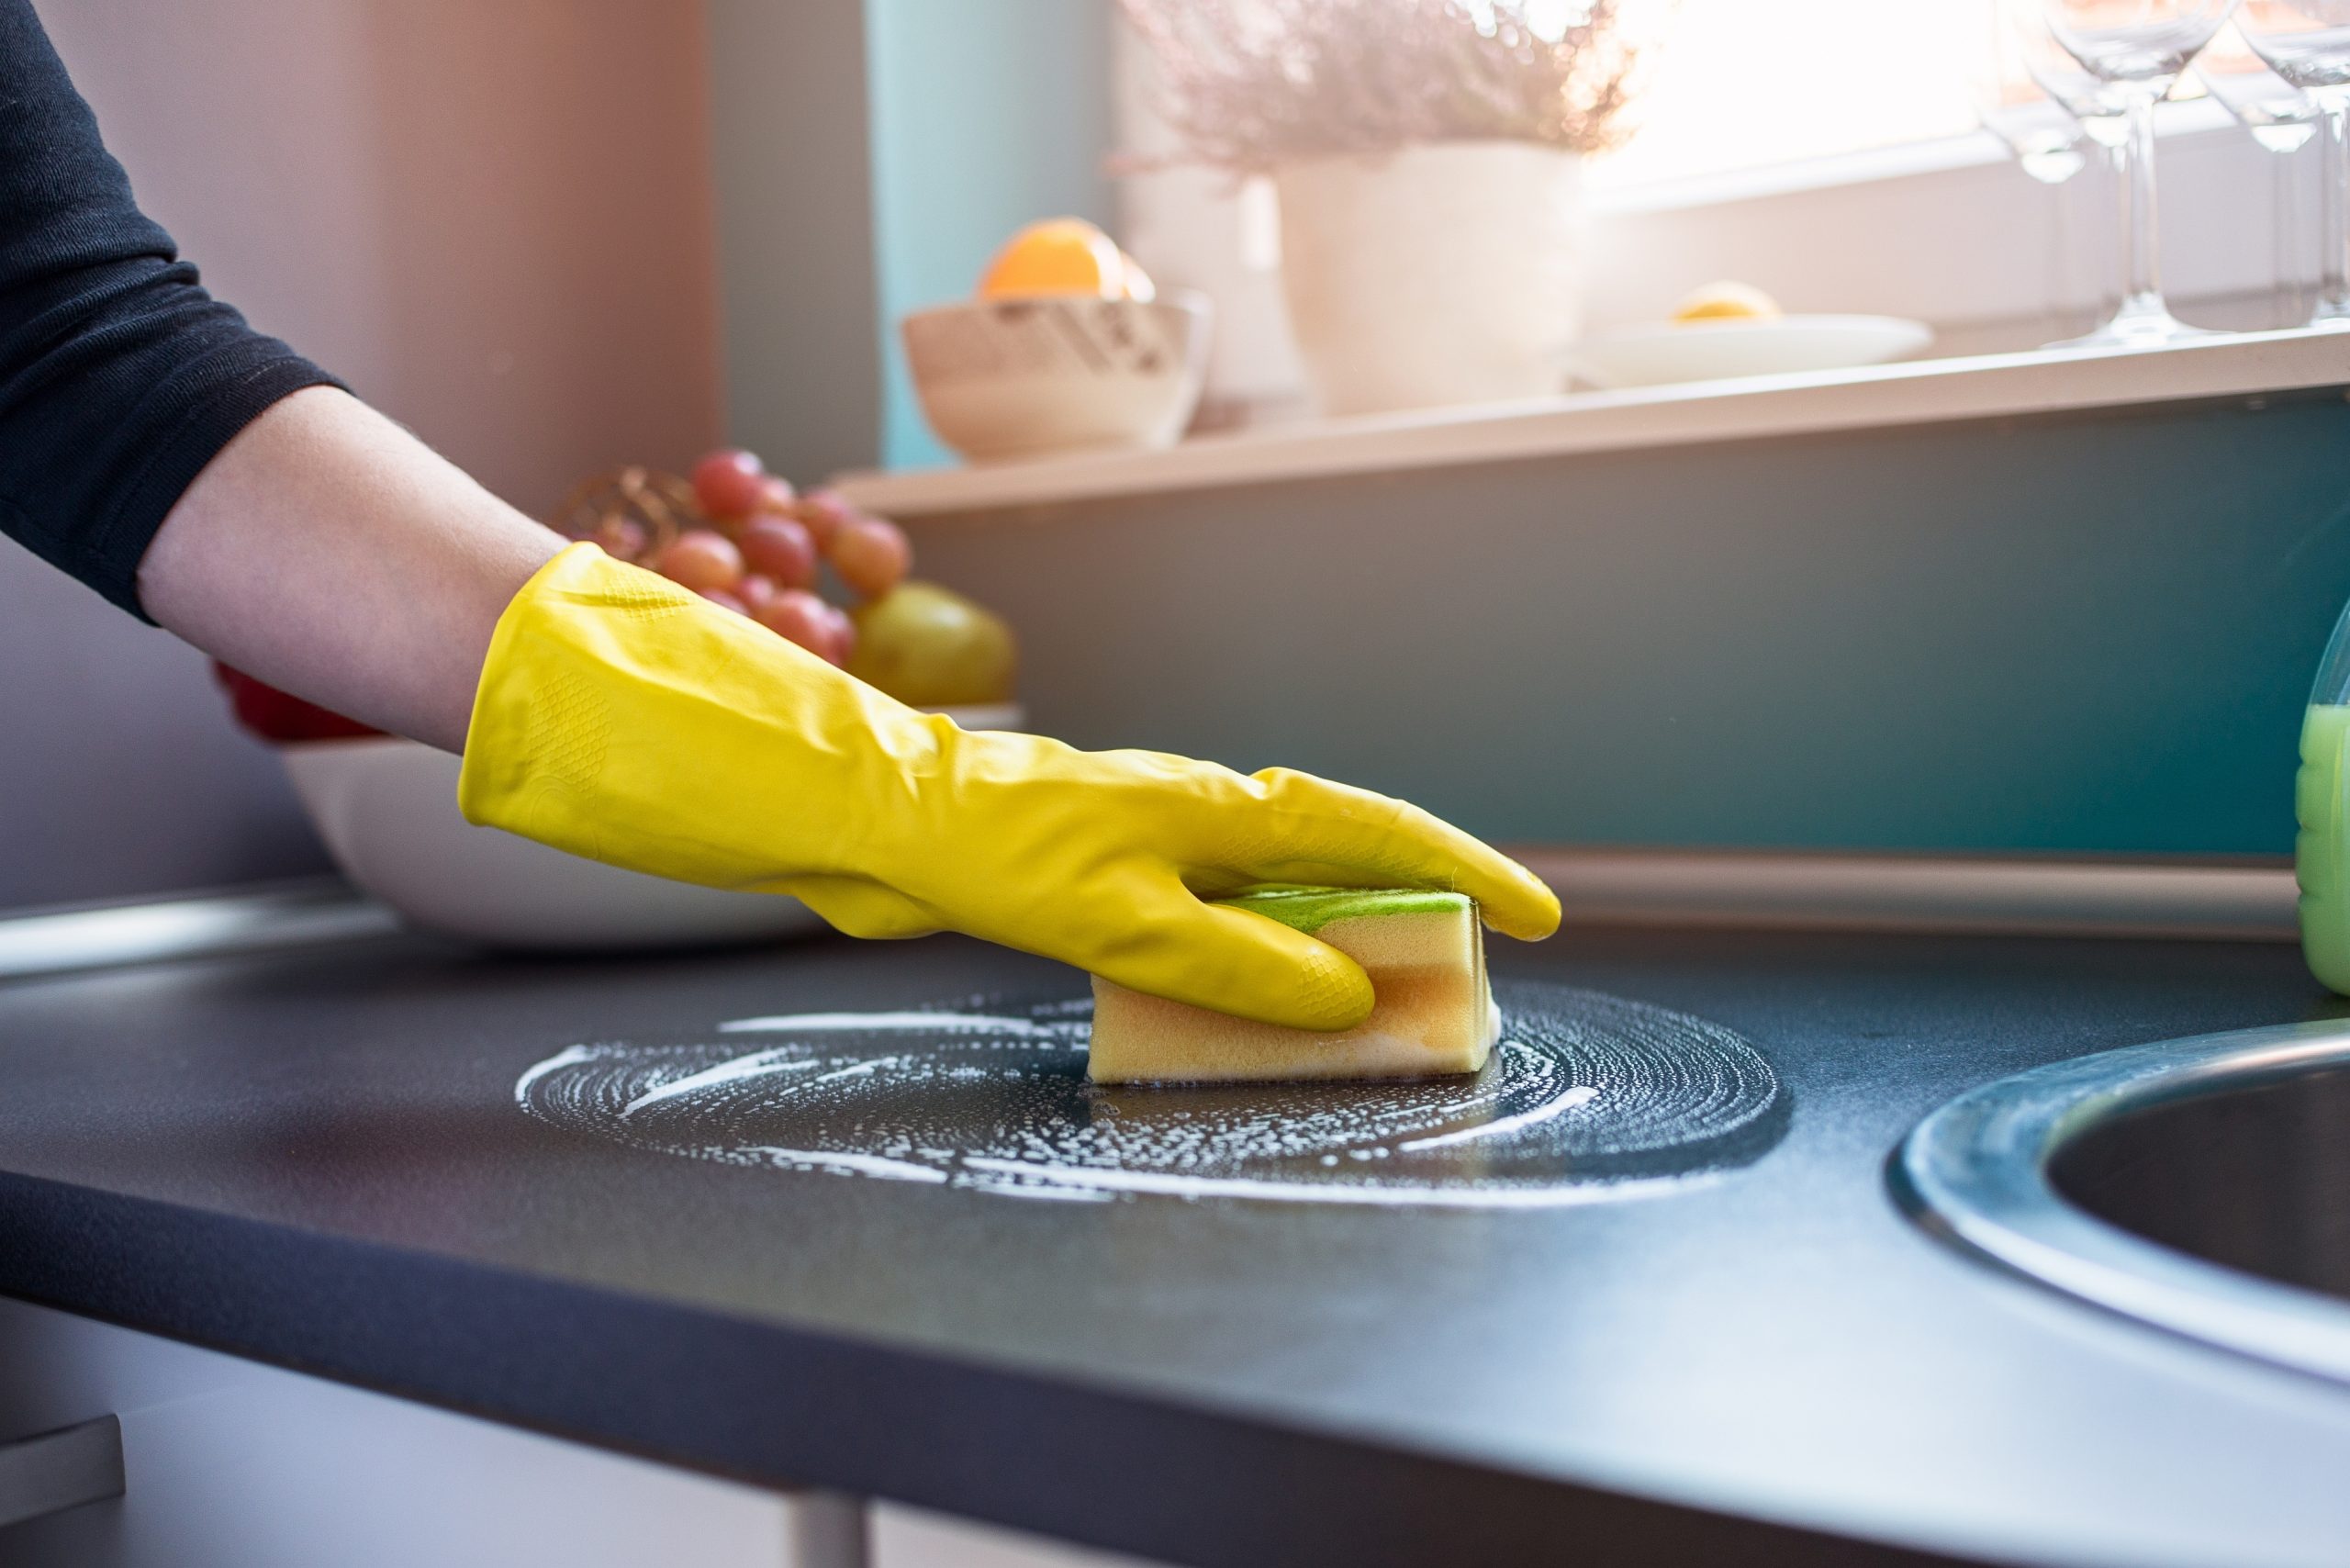
 The sink in your kitchen is another area that requires regular cleaning. It is where we wash our dishes, hands, and food, making it a prime breeding ground for bacteria. A dirty sink not only looks unsightly, but it can also spread germs and cause unpleasant odors. To keep your sink clean and sanitized, ensure that you rinse it with hot water after each use and regularly use a disinfectant cleaner. It is also important to regularly clean the drain and garbage disposal to prevent any buildup of food particles that can cause unpleasant smells.
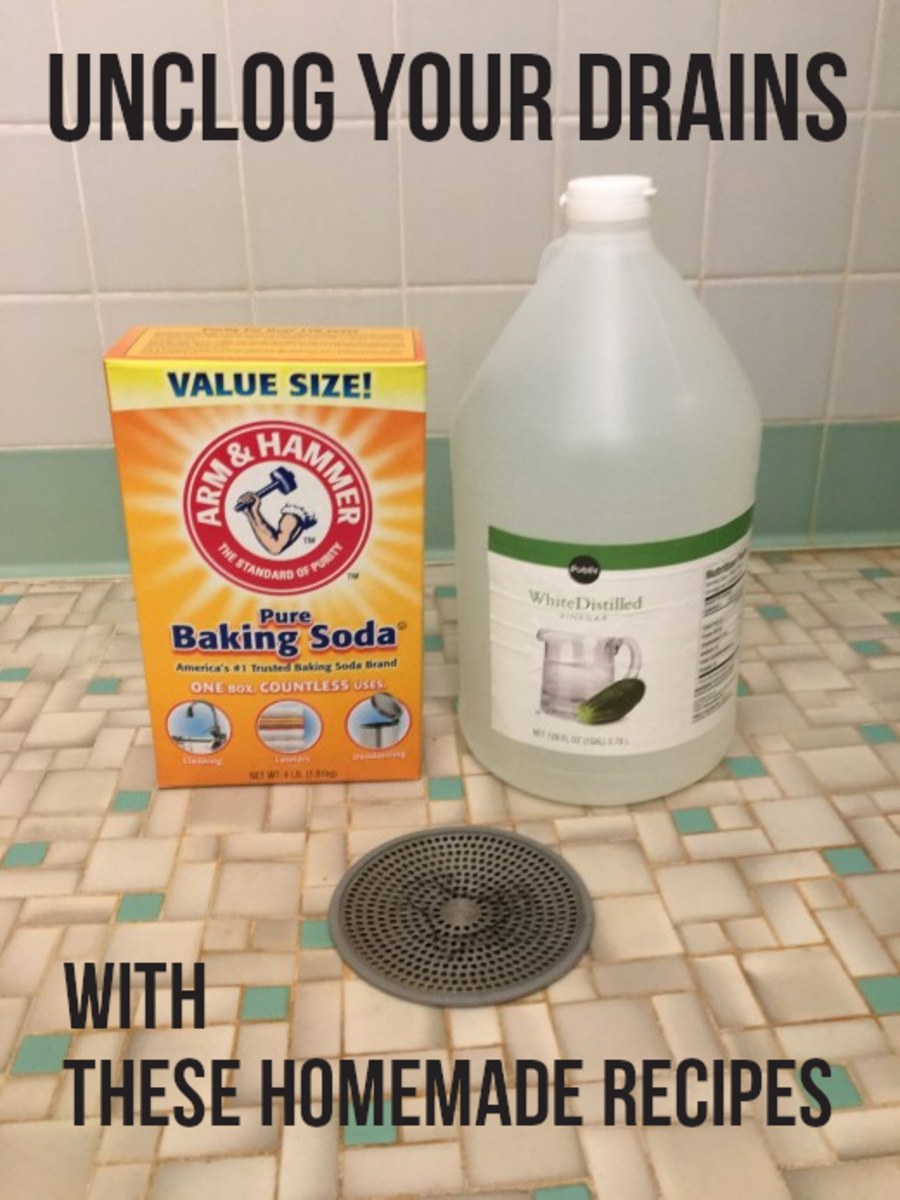
Tip:
To keep your sink smelling fresh, pour a cup of
baking soda
down the drain, followed by a cup of hot water. This helps eliminate any lingering odors and keeps your drain clean.
The sink in your kitchen is another area that requires regular cleaning. It is where we wash our dishes, hands, and food, making it a prime breeding ground for bacteria. A dirty sink not only looks unsightly, but it can also spread germs and cause unpleasant odors. To keep your sink clean and sanitized, ensure that you rinse it with hot water after each use and regularly use a disinfectant cleaner. It is also important to regularly clean the drain and garbage disposal to prevent any buildup of food particles that can cause unpleasant smells.
Tip:
To keep your sink smelling fresh, pour a cup of
baking soda
down the drain, followed by a cup of hot water. This helps eliminate any lingering odors and keeps your drain clean.
In Conclusion
 A clean kitchen is not only aesthetically pleasing but also essential for maintaining a healthy and hygienic home. Regularly mopping your kitchen floor and keeping your sink clean and sanitized are simple yet effective ways to achieve this. By following these tips and incorporating them into your cleaning routine, you can ensure that your kitchen remains a functional and inviting space for years to come.