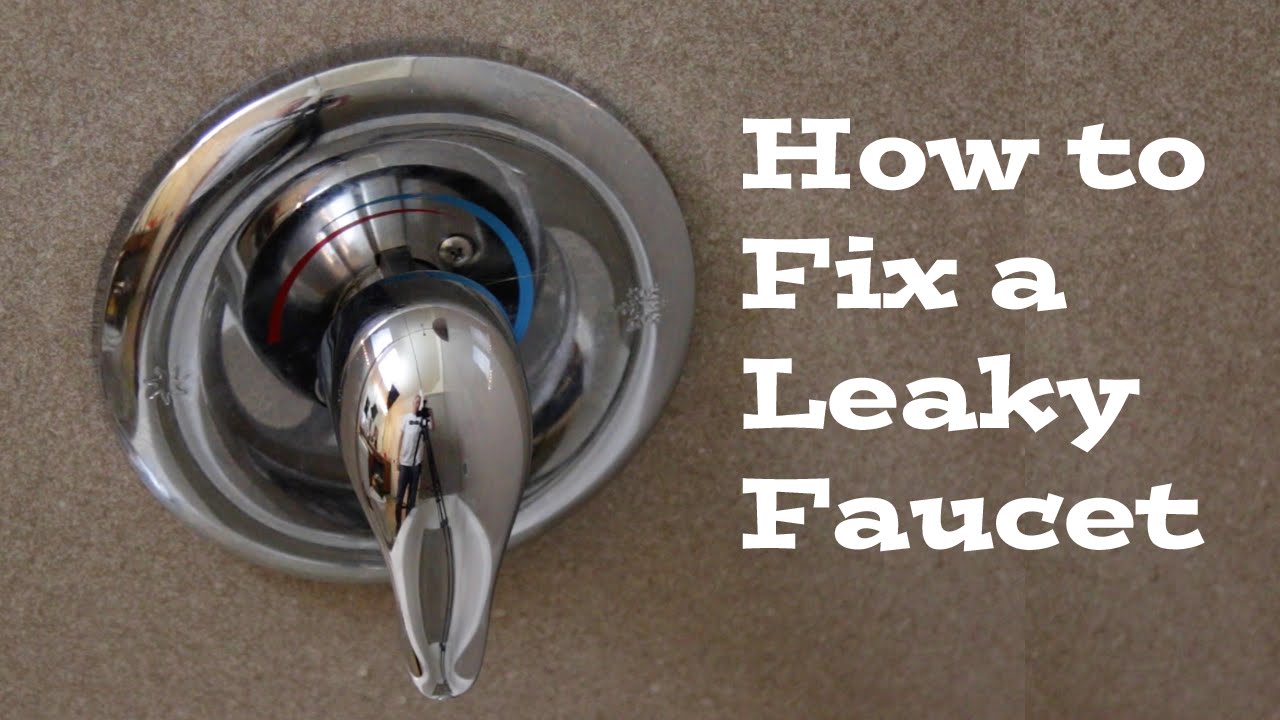
If you're experiencing issues with your Moen single handle bathroom sink faucet, don't worry – it's a common problem that can easily be fixed. With the right tools and knowledge, you can save yourself time and money by repairing it yourself. In this article, we'll provide step-by-step instructions on how to fix a leaky Moen bathroom faucet and troubleshoot other common issues. So, let's get started! Moen Faucet Repair: Single Handle Bathroom Sink


Moen Faucet Repair: Single Handle Bathroom Sink


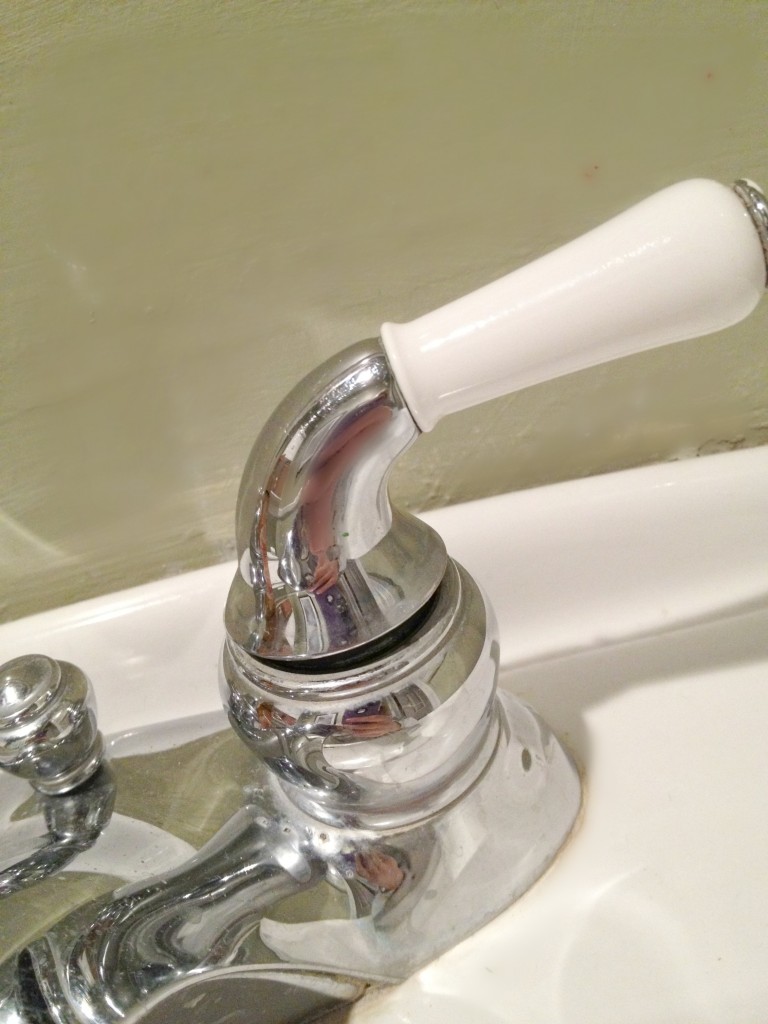
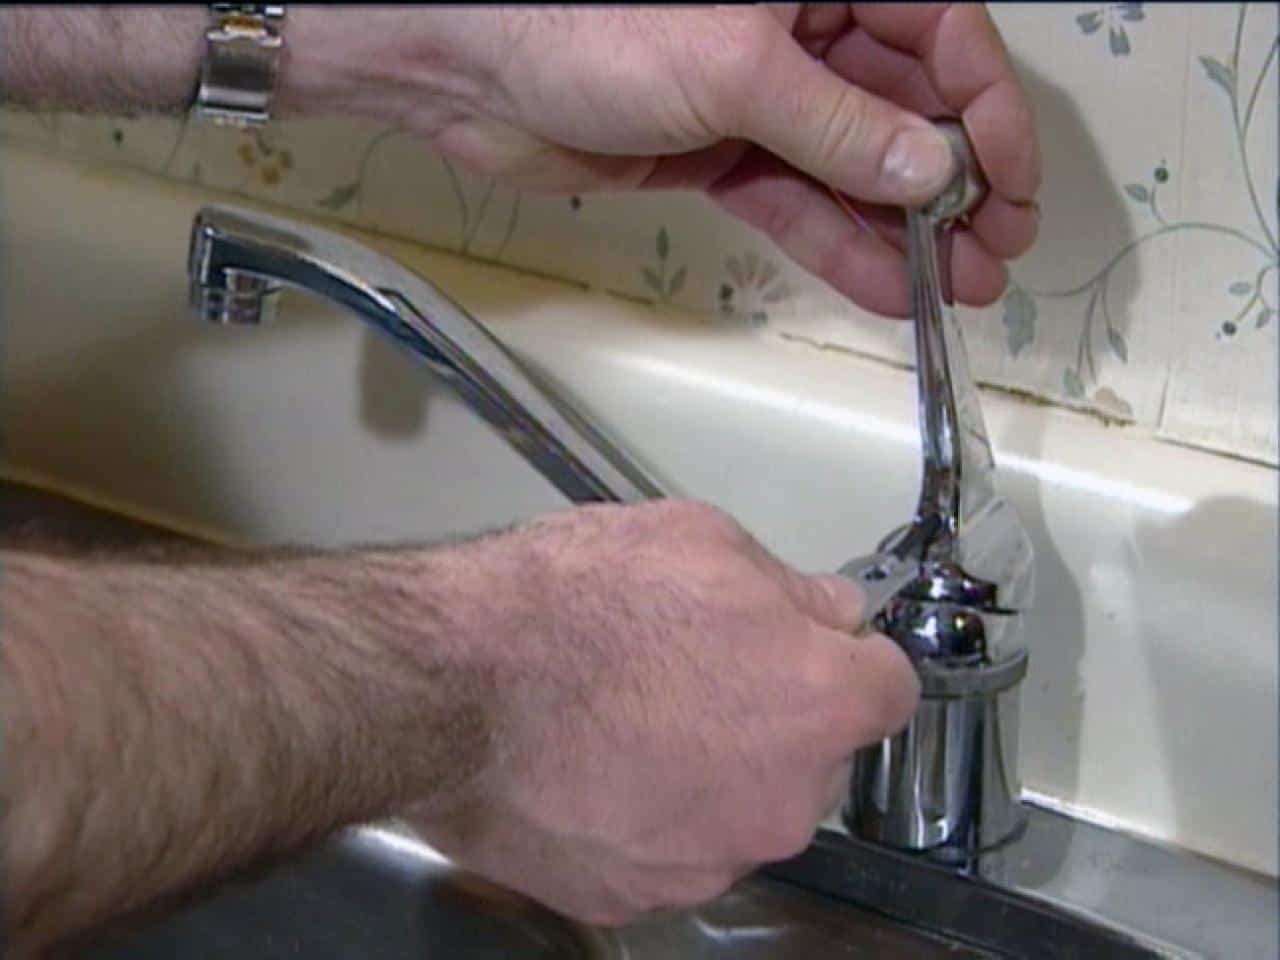
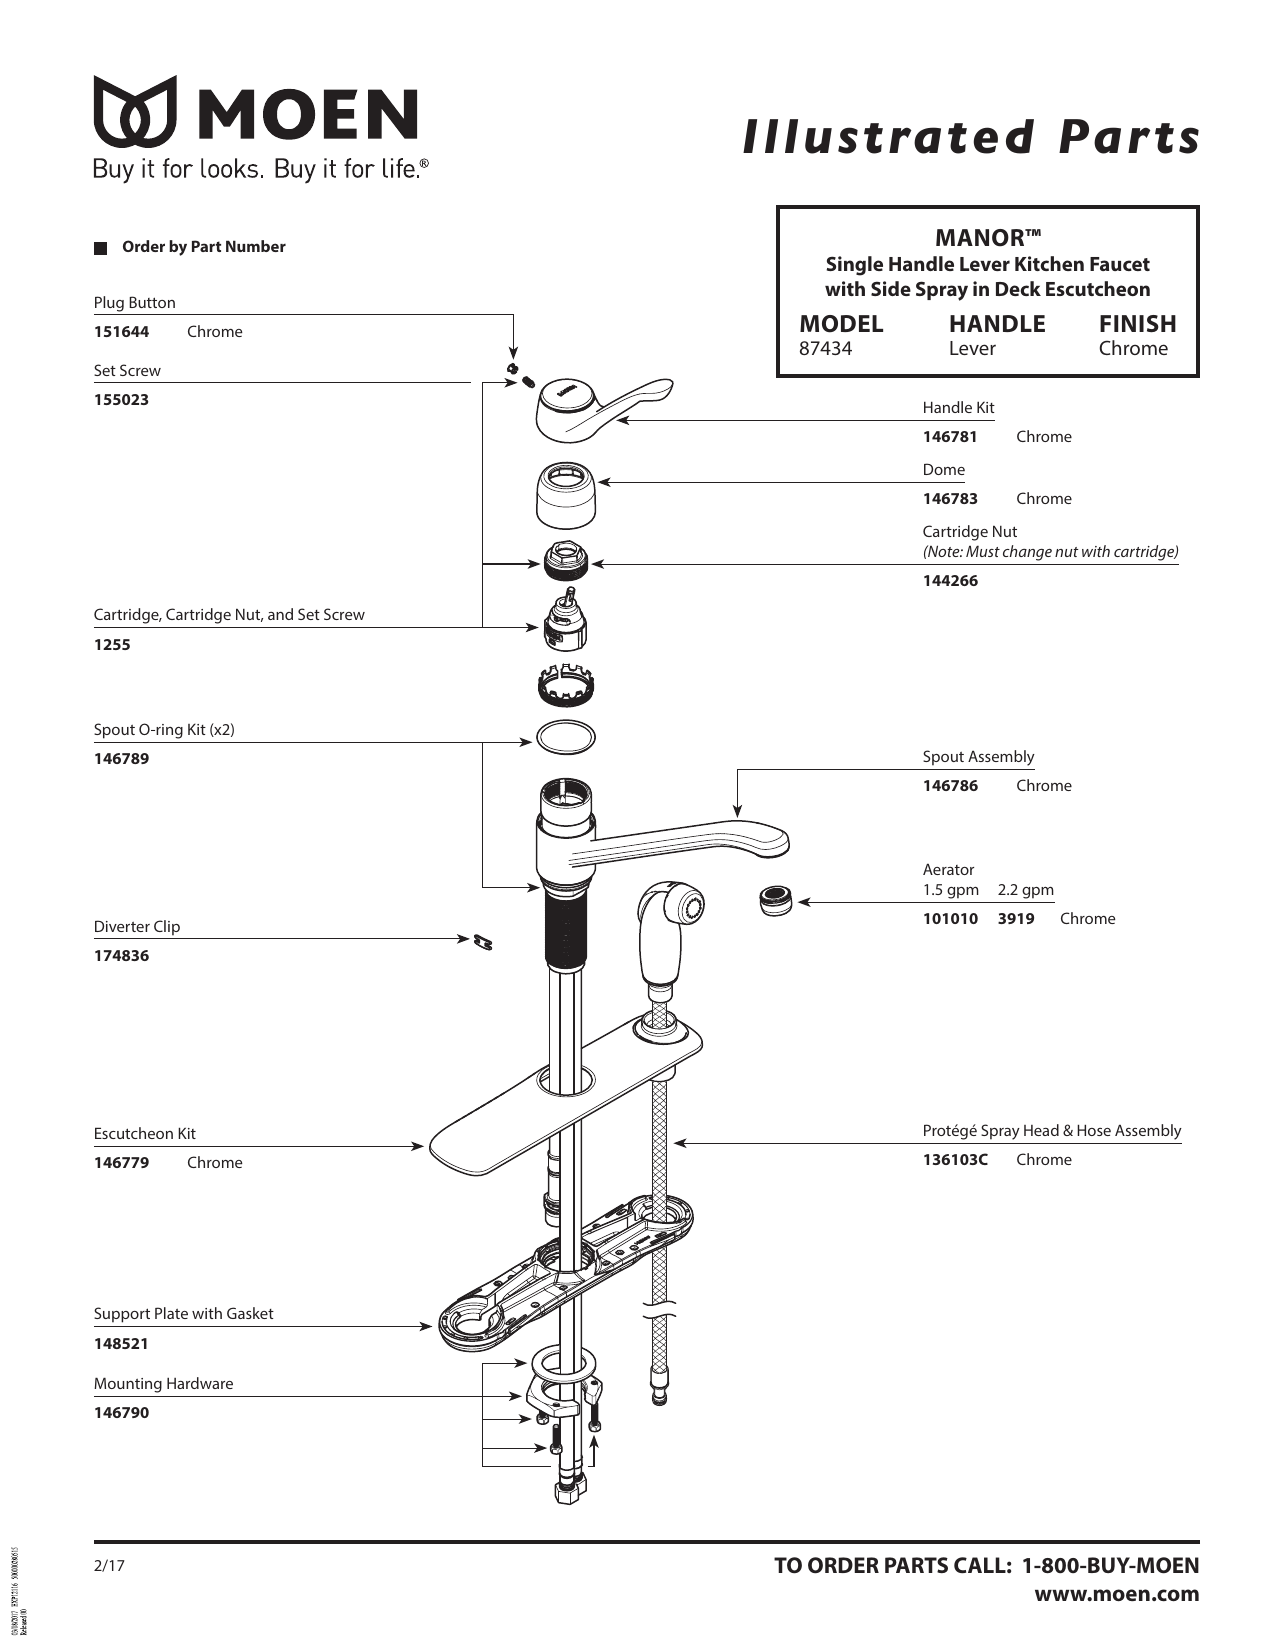
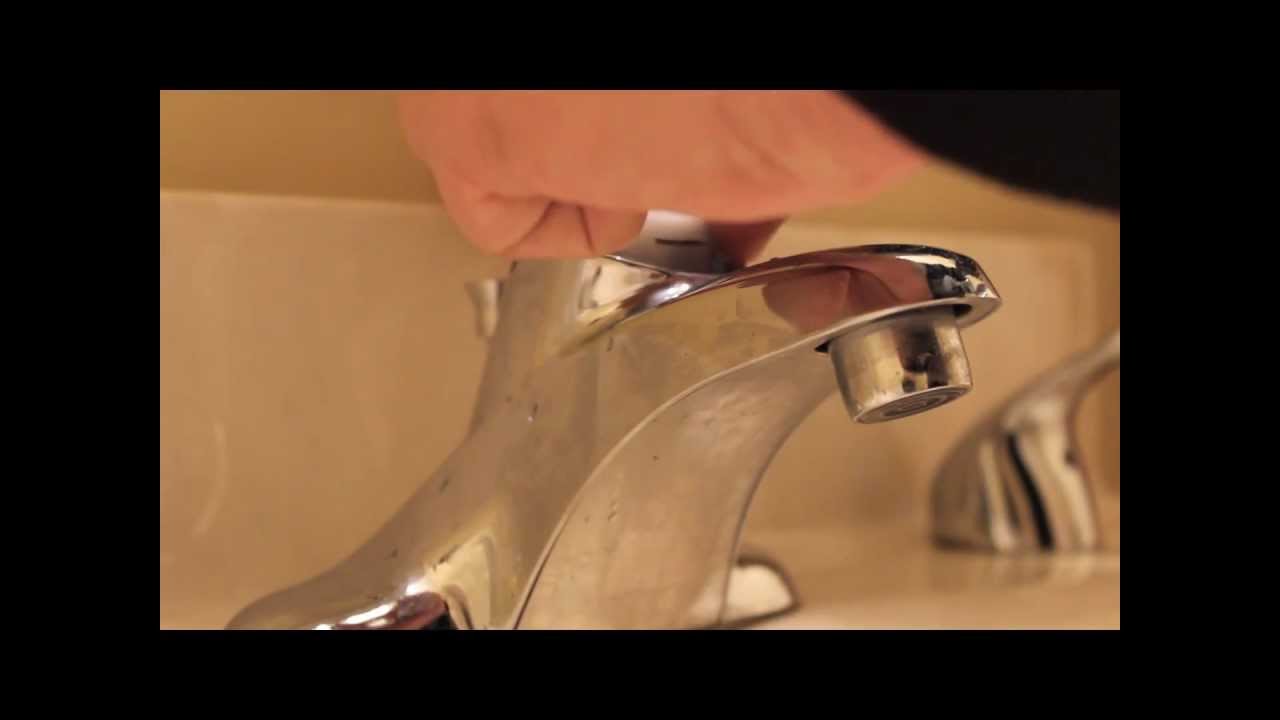
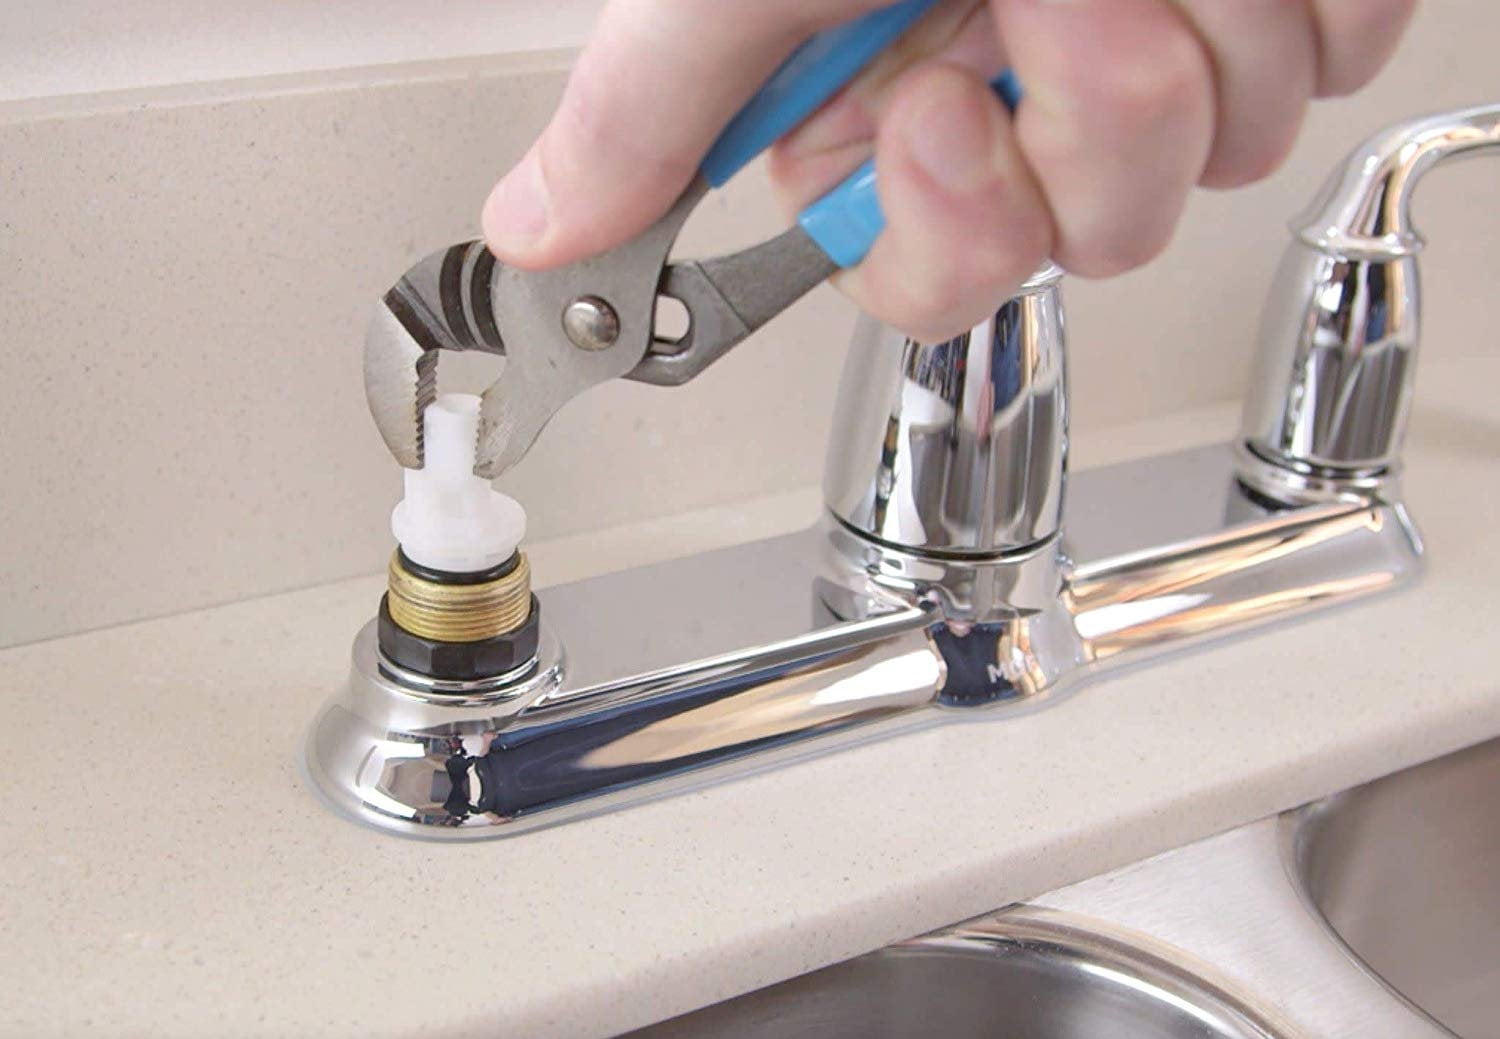
The most common issue with Moen faucets is a leak, which can be caused by a variety of factors. The first step in fixing a leak is to determine where it's coming from. Check the base of the faucet, the handle, and the spout for any signs of dripping water. Once you've located the source of the leak, you can follow these steps to fix it: Step 1: Turn off the water supply to the faucet by closing the shut-off valves under the sink. Step 2: Remove the handle of the faucet by unscrewing the screw on the top or the side of the handle. Use a screwdriver or an Allen wrench, depending on the model of your faucet. Step 3: Once the handle is removed, you'll see the cartridge. Use pliers to pull it out and replace it with a new one. Step 4: Reassemble the handle and turn the water supply back on. Test the faucet for leaks. How to Fix a Leaky Moen Bathroom Faucet

How to Fix a Leaky Moen Bathroom Faucet


If your Moen faucet is still leaking after replacing the cartridge, there may be an issue with the O-ring or the valve seat. Follow these instructions to replace them: Step 1: Turn off the water supply to the faucet. Step 2: Remove the handle and the cartridge as described in the previous section. Step 3: Use pliers to remove the valve seat, which is located at the bottom of the faucet body. Replace it with a new one. Step 4: Remove the O-ring from the cartridge and replace it with a new one. Step 5: Reassemble the faucet and turn the water supply back on. Test for leaks. Moen Single Handle Bathroom Faucet Repair Instructions
Moen Single Handle Bathroom Faucet Repair Instructions


Repairing a Moen faucet can be a simple process if you have the right tools and follow these steps: Step 1: Gather all necessary tools, including a screwdriver, pliers, and replacement parts. Step 2: Turn off the water supply to the faucet. Step 3: Remove the handle and cartridge as described in the previous sections. Step 4: Inspect all parts for any signs of damage or wear and replace as needed. Step 5: Reassemble the faucet and turn the water supply back on. Test for leaks. Step-by-Step Guide for Repairing a Moen Faucet


Step-by-Step Guide for Repairing a Moen Faucet


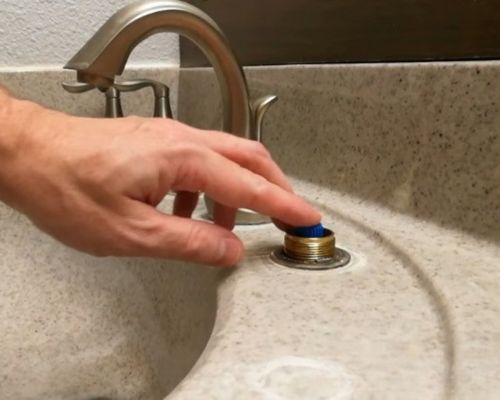
In addition to leaks, there are other common issues that may arise with Moen faucets. Here are some troubleshooting tips for these problems: Issue: Low water pressure. Check the aerator for any debris or buildup and clean or replace it if necessary. Issue: No hot water. This could indicate a problem with the hot water supply or the cartridge. Check the hot water supply and replace the cartridge if needed. Issue: Handle is difficult to turn. This is often caused by a buildup of mineral deposits. Clean the handle and the inside of the faucet with a solution of equal parts vinegar and water. Issue: Water is not shutting off completely. This can be caused by a damaged cartridge or O-ring. Check these parts and replace if necessary. Troubleshooting Common Issues with Moen Faucets


Troubleshooting Common Issues with Moen Faucets


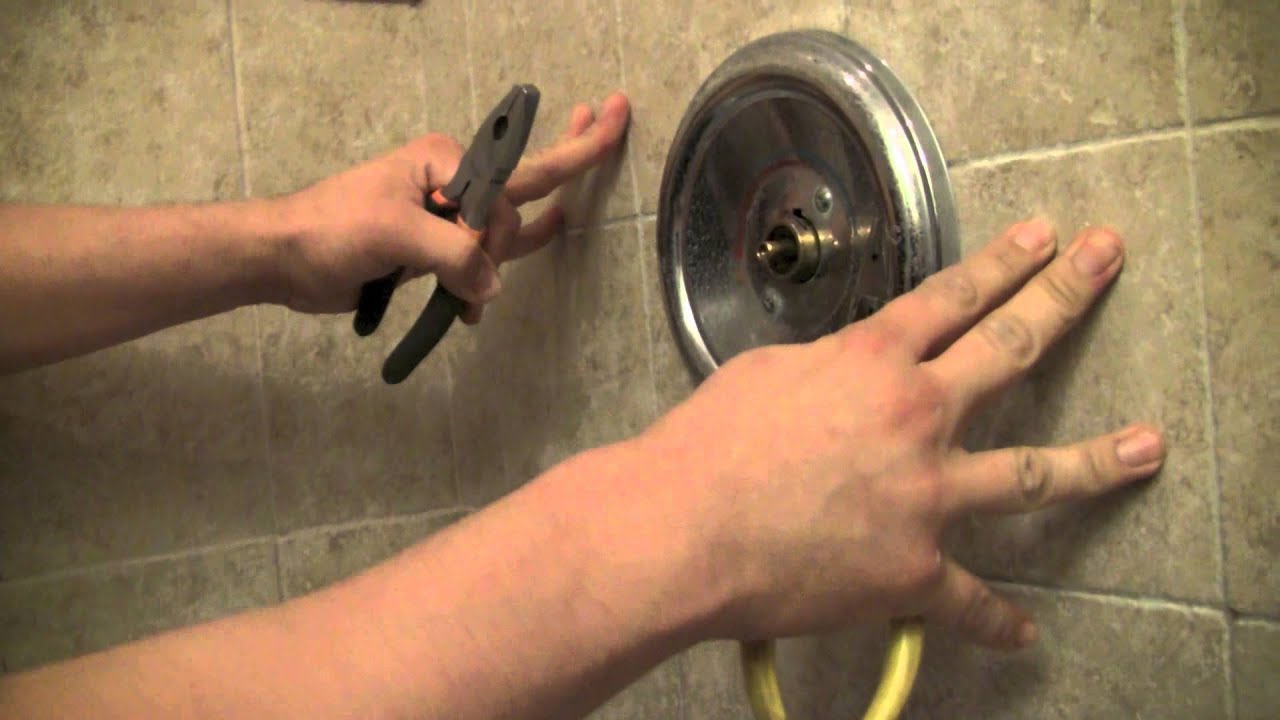
/repairing-moen-shower-pressure-balanced-valve-2718988-08-032f85faadd14bdf8cbc394a75f61948.jpg)


With the right tools and instructions, repairing a Moen faucet can be a simple DIY project. By fixing it yourself, you'll save money on hiring a plumber and gain valuable knowledge for future repairs. Remember to always turn off the water supply before beginning any repairs and refer to the manufacturer's instructions for your specific faucet model. DIY Moen Faucet Repair: Single Handle Bathroom Sink


DIY Moen Faucet Repair: Single Handle Bathroom Sink


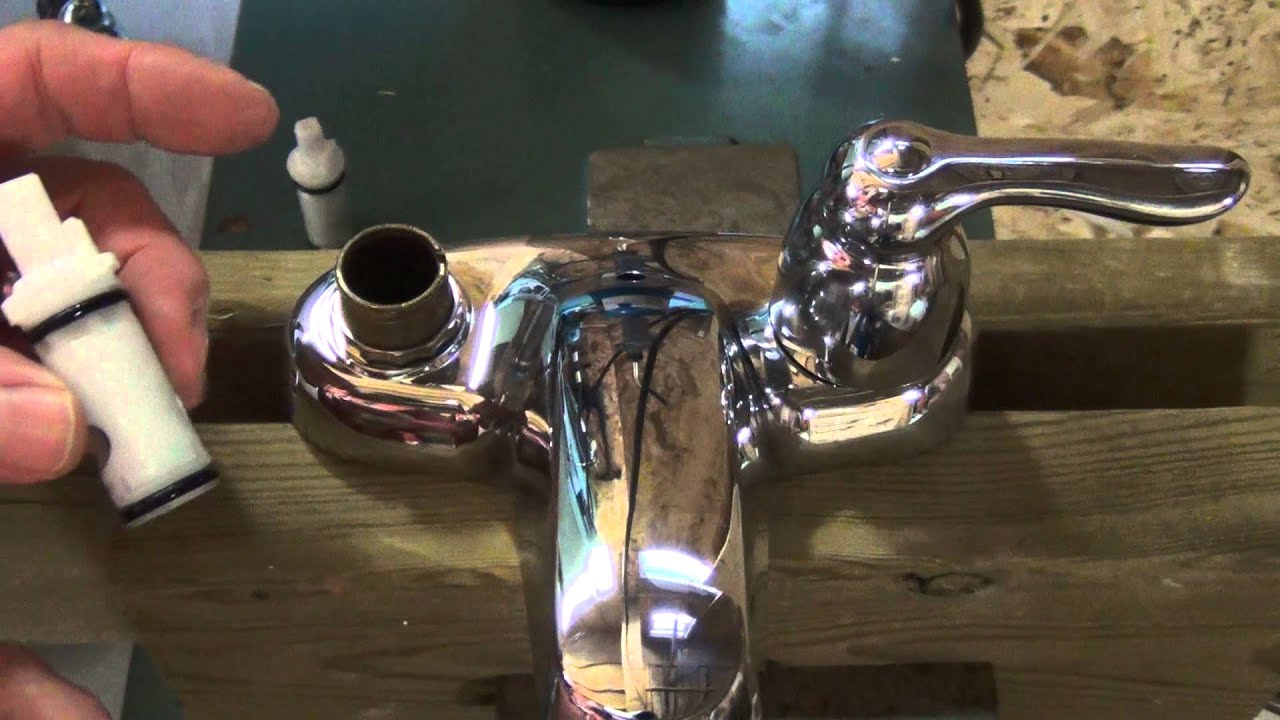
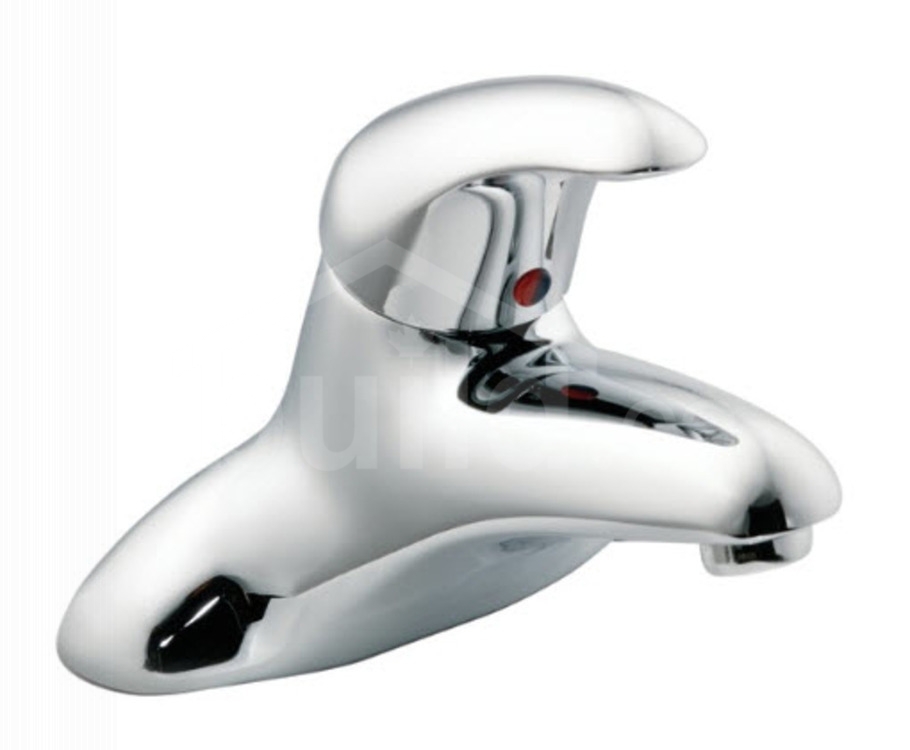
The cartridge is the heart of a Moen faucet and is responsible for controlling the flow of water. If your faucet is leaking or not functioning properly, replacing the cartridge may solve the problem. It's a simple process that can be done with basic tools and a new cartridge, which can be purchased at most hardware stores. Moen Bathroom Faucet Repair: Single Handle Cartridge Replacement


Moen Bathroom Faucet Repair: Single Handle Cartridge Replacement
If your Moen faucet is leaking, there are a few easy fixes you can try before replacing any parts. Tighten all connections, including the handle and the spout, and check for any worn or damaged parts. If these steps don't solve the problem, it may be time to replace the cartridge or other parts. Easy Fixes for Leaking Moen Faucets


Easy Fixes for Leaking Moen Faucets


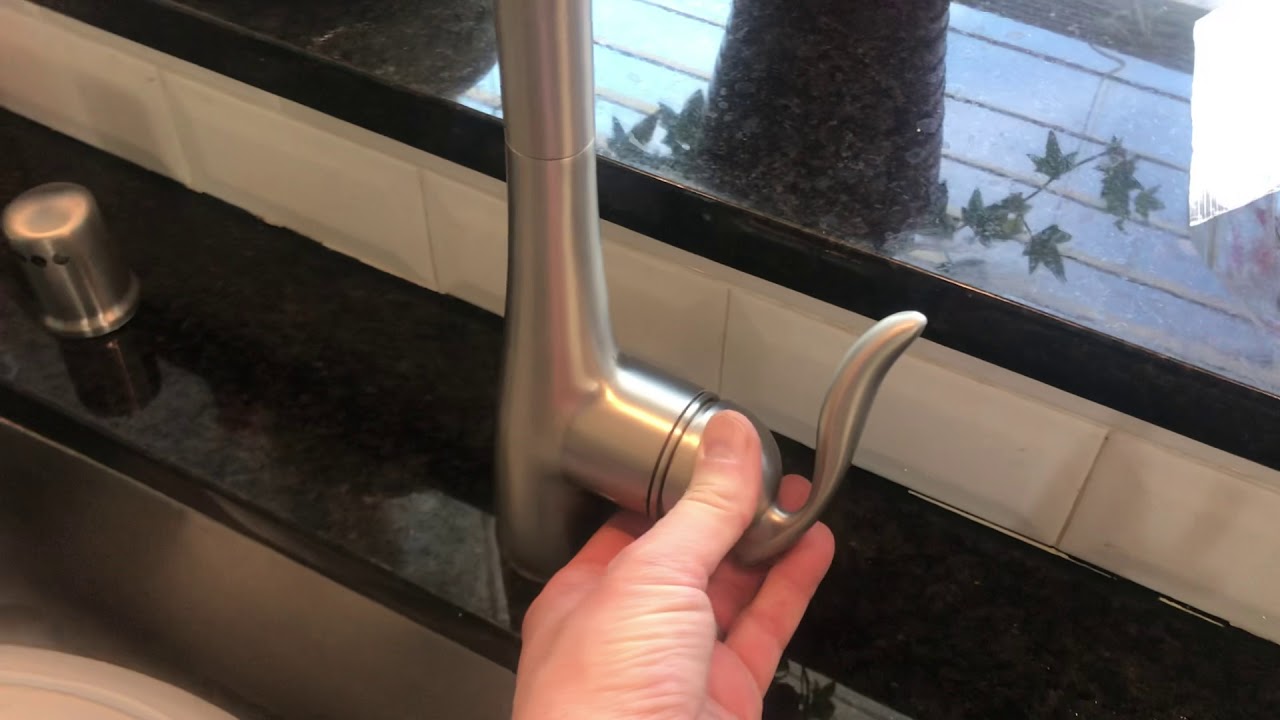
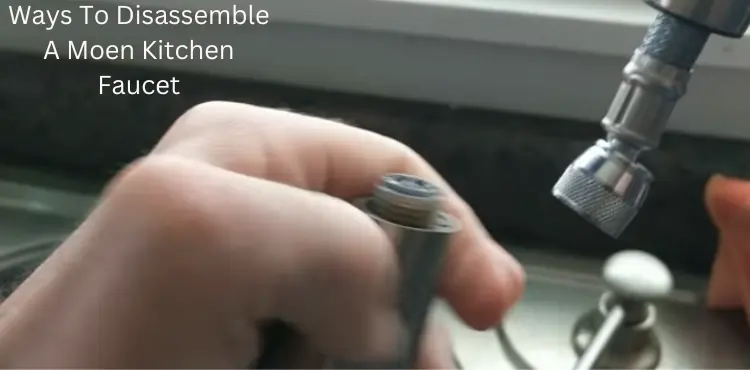
If you're attempting to fix your Moen faucet, it's important to know how to disassemble and reassemble it properly. This will ensure that you don't cause any damage and that all parts are placed correctly. Follow the manufacturer's instructions for your specific faucet model and use the right tools for the job. How to Disassemble and Reassemble a Moen Faucet

How to Disassemble and Reassemble a Moen Faucet


A dripping faucet can be annoying and wasteful, but luckily it can be easily fixed. Follow the steps outlined in this article to determine the cause of the leak and fix it. Remember to always turn off the water supply and refer to the manufacturer's instructions for your specific faucet model. In conclusion, repairing a Moen single handle bathroom sink faucet is a simple task that can save you time and money. By following these instructions and troubleshooting tips, you can easily fix any issues with your faucet and have it functioning like new again. Happy repairing! Moen Faucet Repair: Single Handle Bathroom Sink Dripping

Moen Faucet Repair: Single Handle Bathroom Sink Dripping
Maintaining a Stylish and Functional Bathroom with Moen Faucets Repair Instructions
Creating a Sleek Look with Moen Faucets
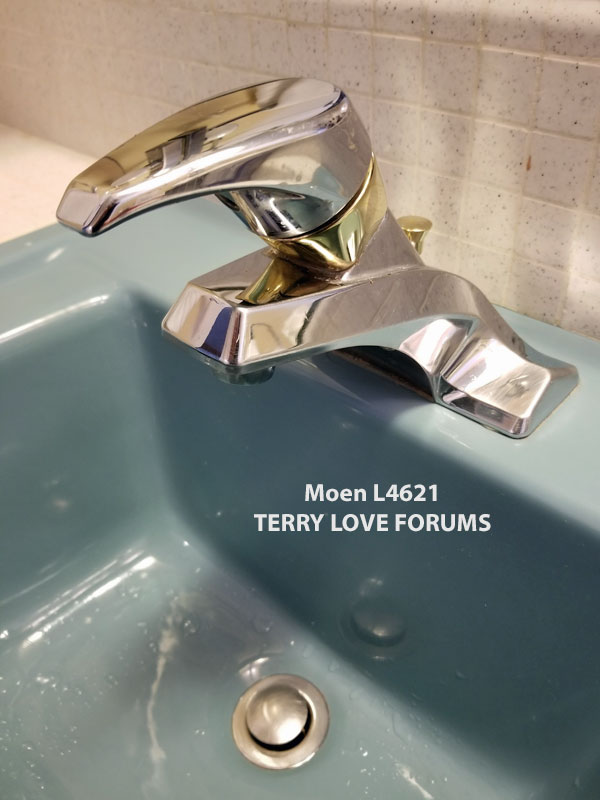
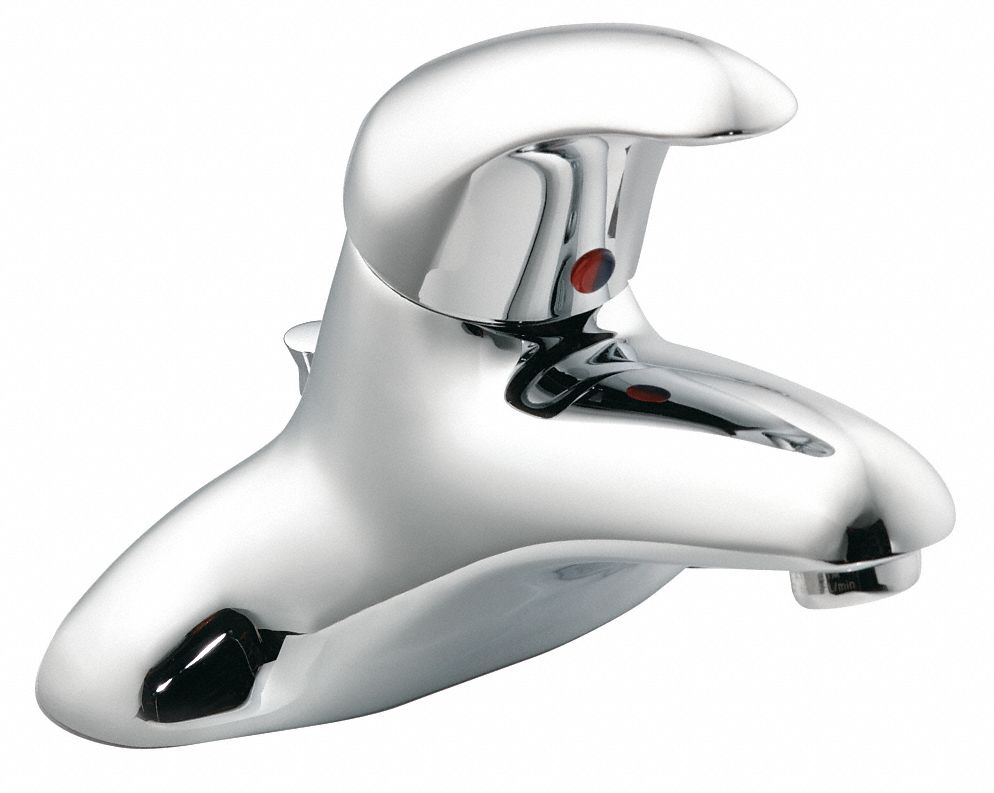
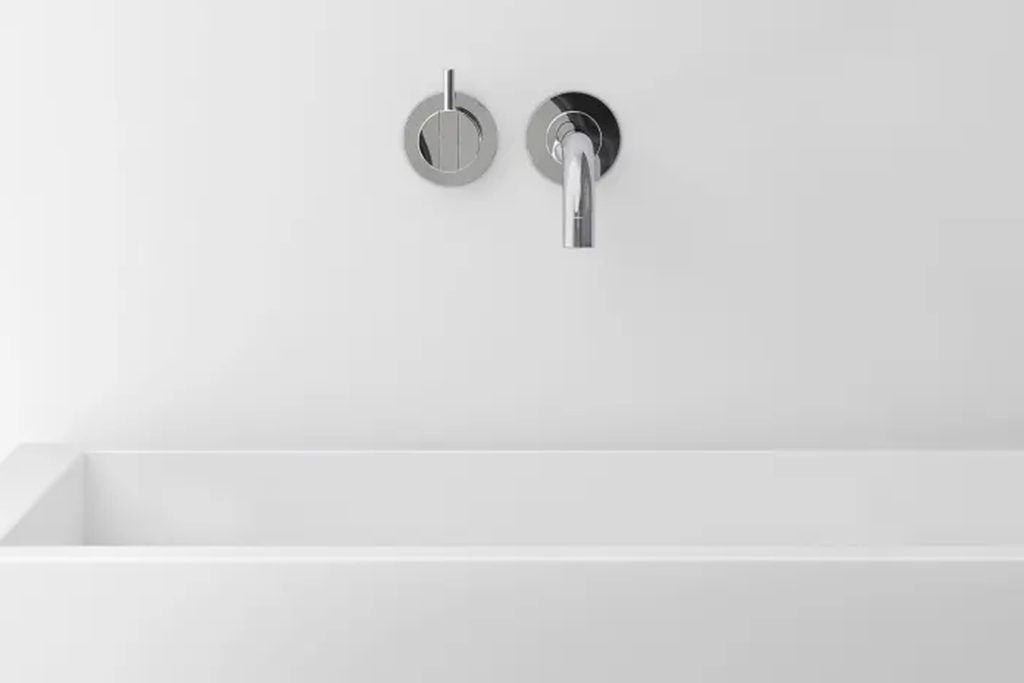
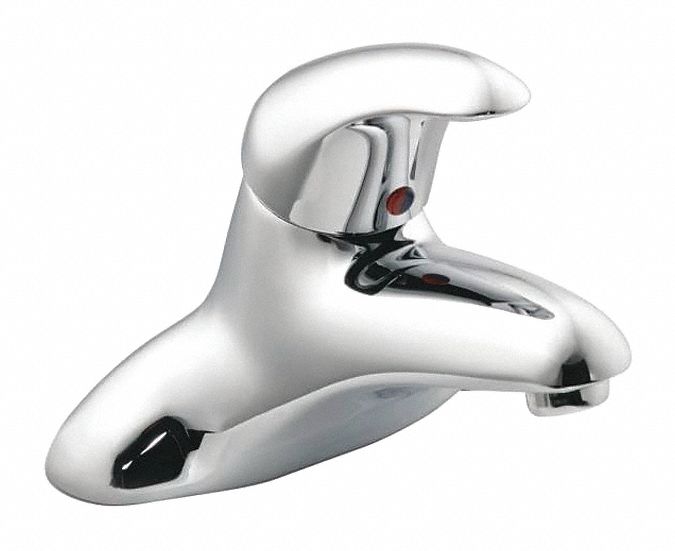
 Moen faucets are known for their sleek and modern design, making them a popular choice for bathroom sinks. With their single handle design, they provide a clean and streamlined look to any bathroom. However, like any other fixture in your home, they may need occasional repairs to keep them functioning properly. Fortunately, Moen faucets are easy to repair and maintain, even for those with limited plumbing experience.
Troubleshooting Common Issues
 The most common issue with Moen faucets is a leaky handle or spout. This can be caused by worn out O-rings, which can be easily replaced with
replacement O-ring kits
that can be found at most hardware stores. Another common issue is a clogged aerator, which can cause reduced water flow. In this case, simply unscrew the aerator and clean out any debris before reattaching it.
The most common issue with Moen faucets is a leaky handle or spout. This can be caused by worn out O-rings, which can be easily replaced with
replacement O-ring kits
that can be found at most hardware stores. Another common issue is a clogged aerator, which can cause reduced water flow. In this case, simply unscrew the aerator and clean out any debris before reattaching it.
Replacing a Cartridge
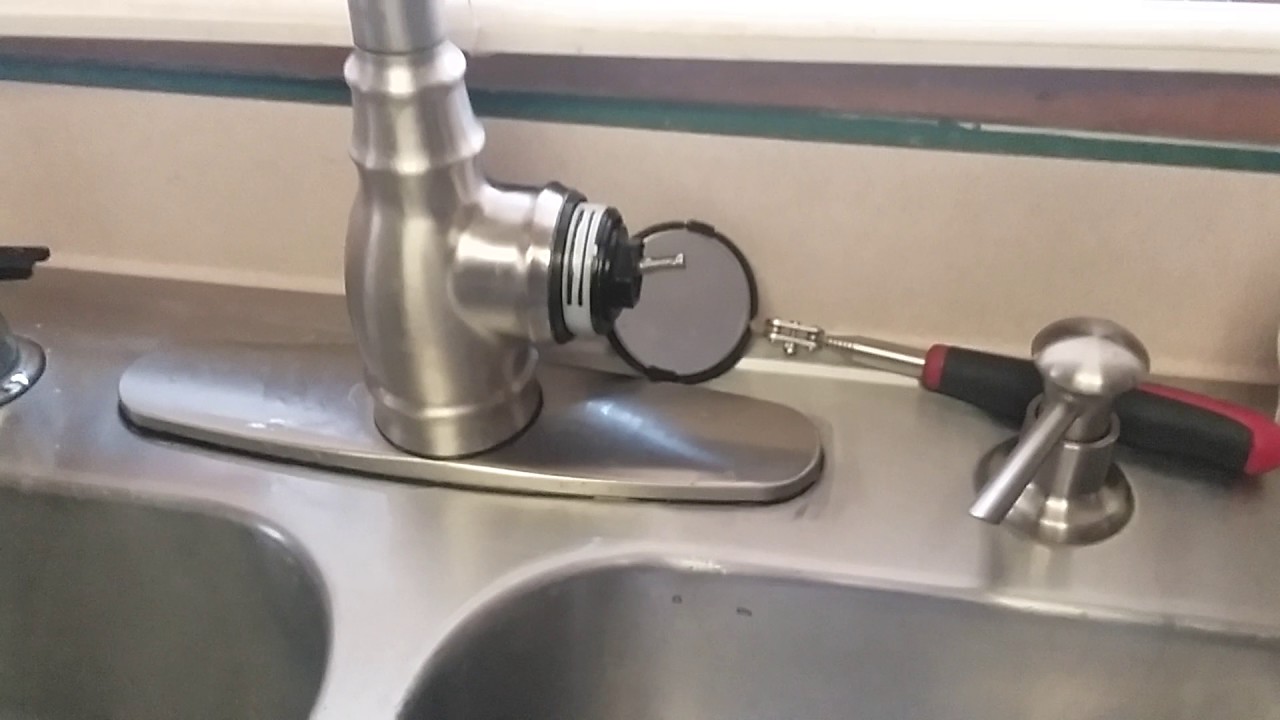
 If your Moen faucet is still leaking after replacing the O-rings, the next step is to replace the cartridge. This may seem like a daunting task, but with the right instructions and tools, it can be done easily. First, turn off the water supply to the faucet. Then, remove the handle and escutcheon plate to expose the cartridge. Using pliers, gently pull the cartridge out and replace it with a new one. Be sure to align the tabs on the cartridge with the notches in the valve body before reassembling the faucet.
Preventative Maintenance
 To keep your Moen faucet in top condition, it's important to perform regular preventative maintenance. This includes cleaning the faucet regularly with a mild soap and warm water, as well as checking for any loose or damaged parts. It's also a good idea to use a
silicone-based lubricant
on the handle and spout to prevent wear and tear.
To keep your Moen faucet in top condition, it's important to perform regular preventative maintenance. This includes cleaning the faucet regularly with a mild soap and warm water, as well as checking for any loose or damaged parts. It's also a good idea to use a
silicone-based lubricant
on the handle and spout to prevent wear and tear.
Final Thoughts
 With Moen faucets repair instructions, you can easily maintain a stylish and functional bathroom. By troubleshooting common issues and performing regular maintenance, you can keep your Moen faucet looking and functioning like new for years to come. Don't let a leaky faucet ruin the overall aesthetic of your bathroom – with a little bit of knowledge and effort, you can keep your Moen faucet in top condition.