How to Build a Kitchen Sink Cabinet
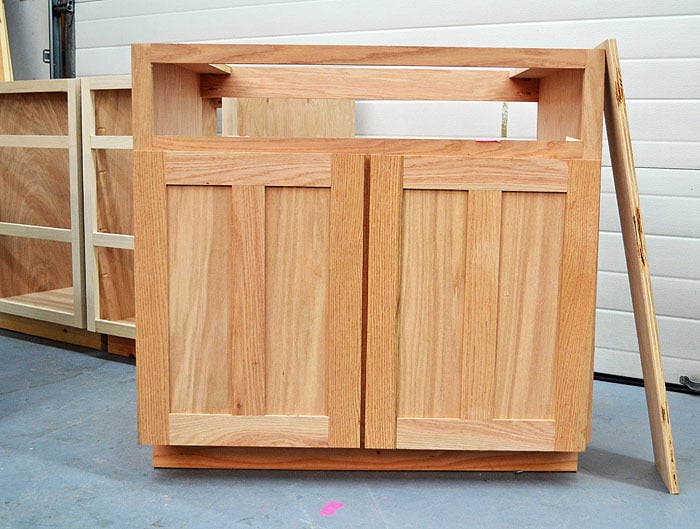
Building a kitchen sink cabinet from scratch can seem like a daunting task, but with the right tools and materials, it can be a satisfying and budget-friendly DIY project. Here's a step-by-step guide to help you create a beautiful and functional kitchen sink cabinet for your home.
DIY Kitchen Sink Cabinet Plans
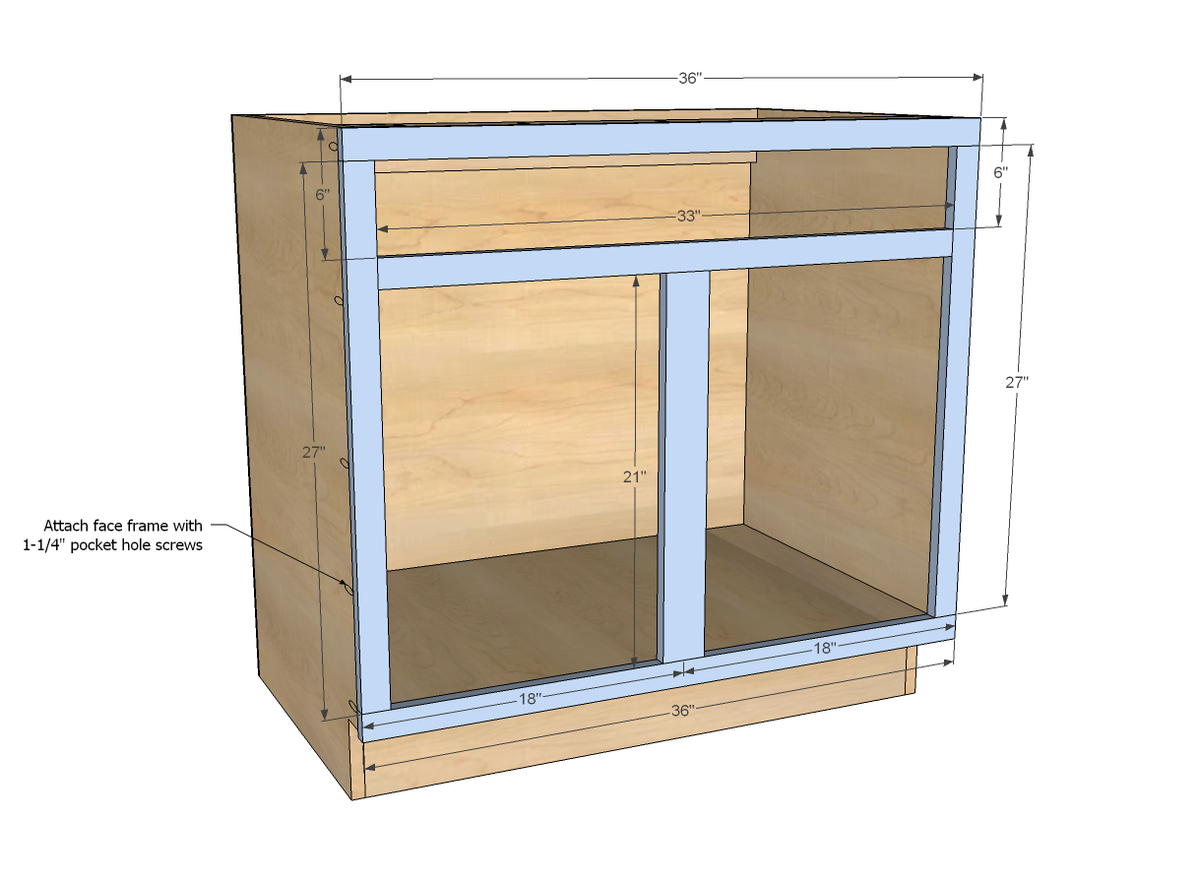
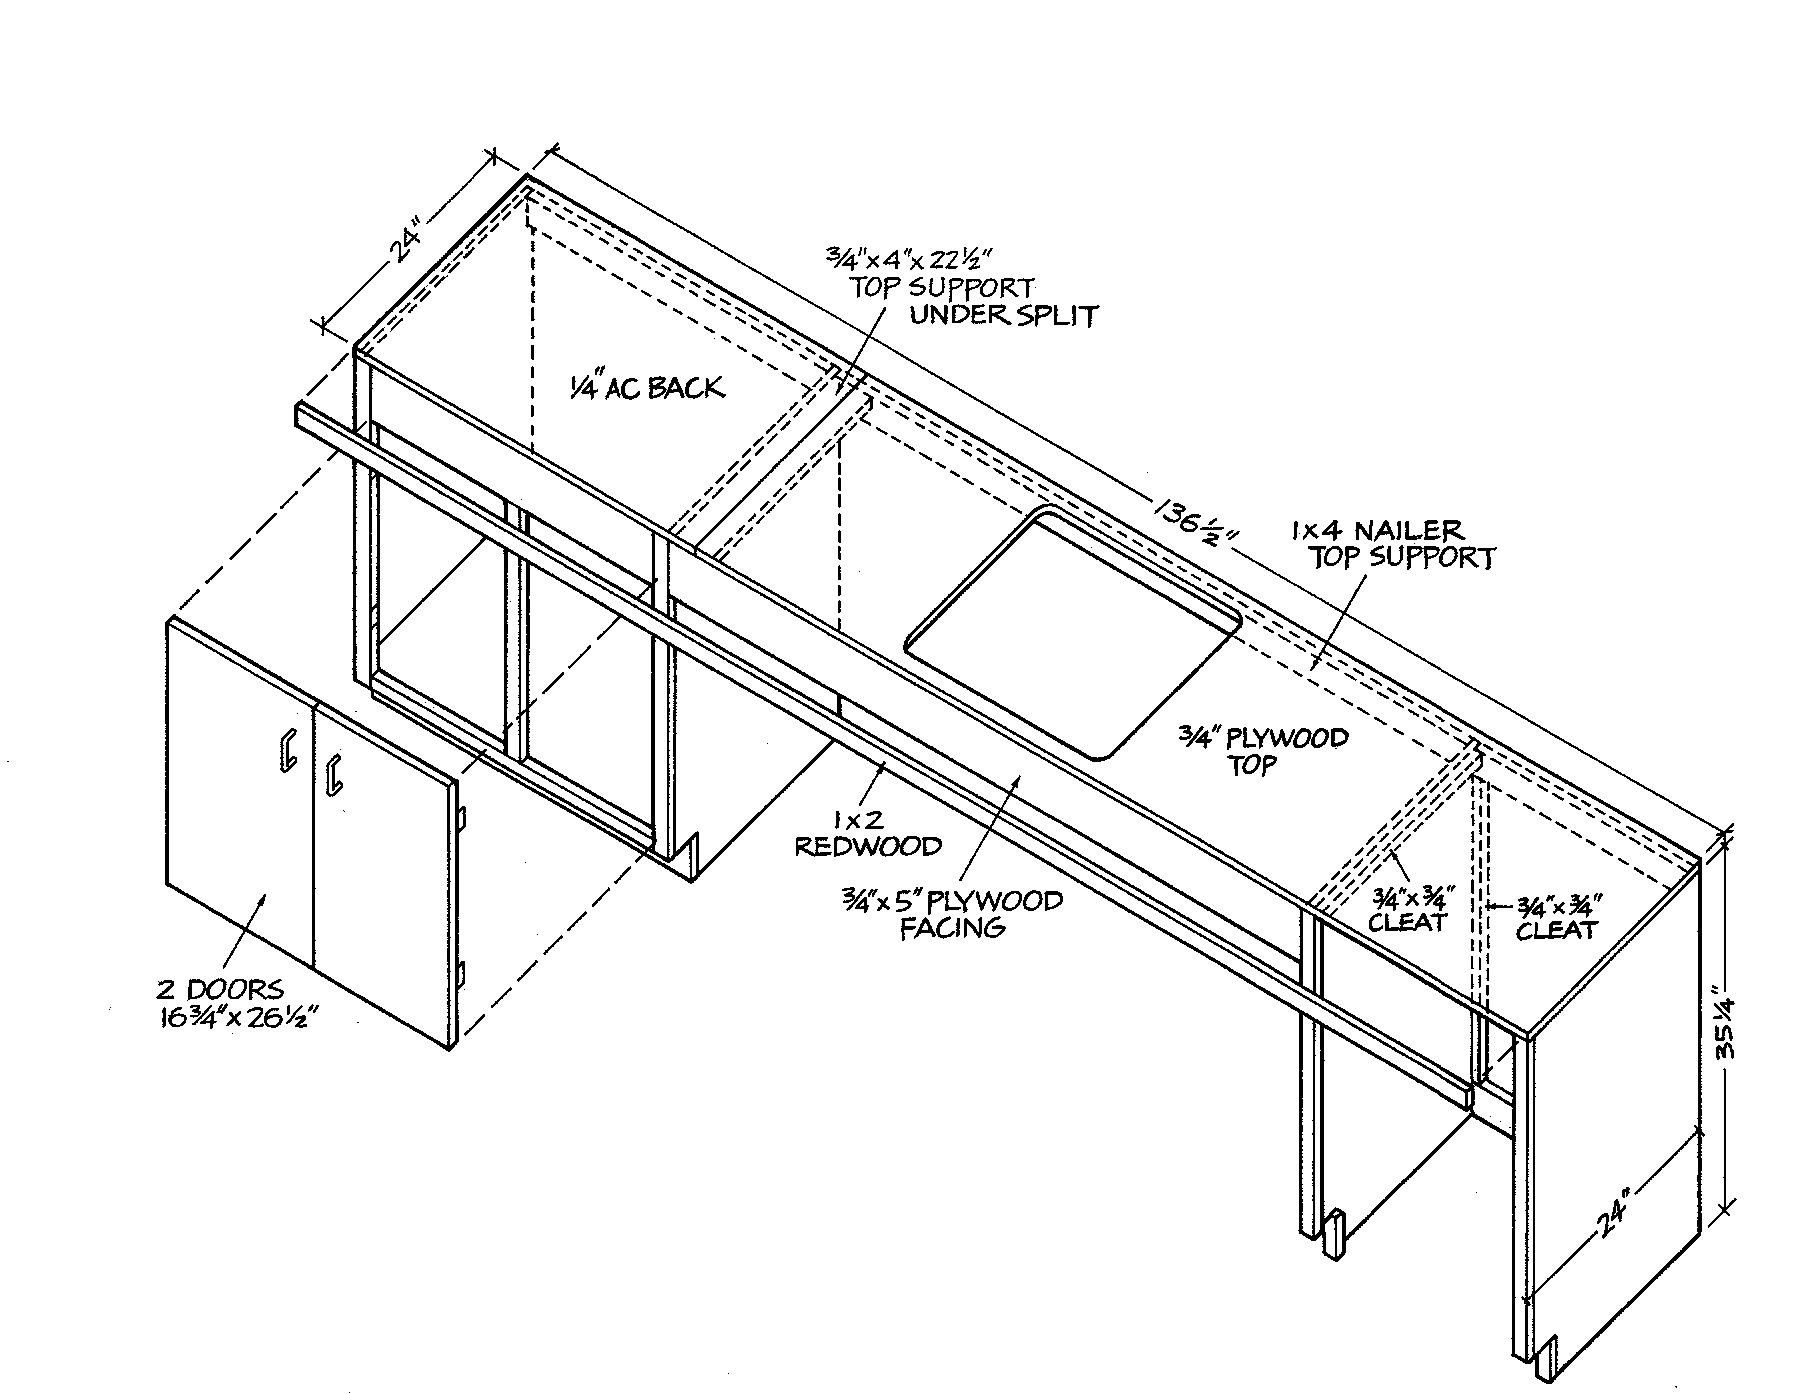
Before you begin, it's important to have a plan in place. This will help you determine the size, design, and materials needed for your kitchen sink cabinet. You can find plenty of free plans online or create your own custom design. Make sure to measure the space where the cabinet will go and consider any plumbing or electrical outlets that may impact the design.
Step-by-Step Guide for Making a Kitchen Sink Cabinet
Once you have your plans in place, it's time to start building your kitchen sink cabinet. Here's a general guide to follow:
Step 1: Gather all necessary materials and tools, including a saw, drill, screws, wood glue, and any other supplies specific to your design.
Step 2: Cut the pieces for the cabinet according to your plans. Make sure to double check your measurements to ensure accuracy.
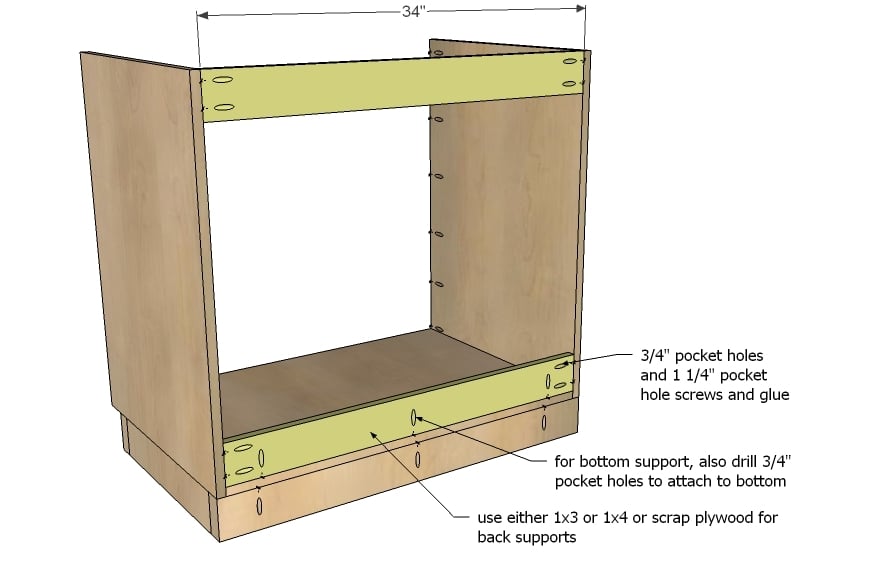
Step 3: Assemble the base of the cabinet using wood glue and screws. This will provide a solid foundation for the cabinet.
Step 4: Attach the sides, back, and top of the cabinet, making sure everything is level and secure.
Step 5: Install any shelves or dividers according to your design.
Step 6: Sand the cabinet to smooth out any rough edges and prepare it for painting or staining.
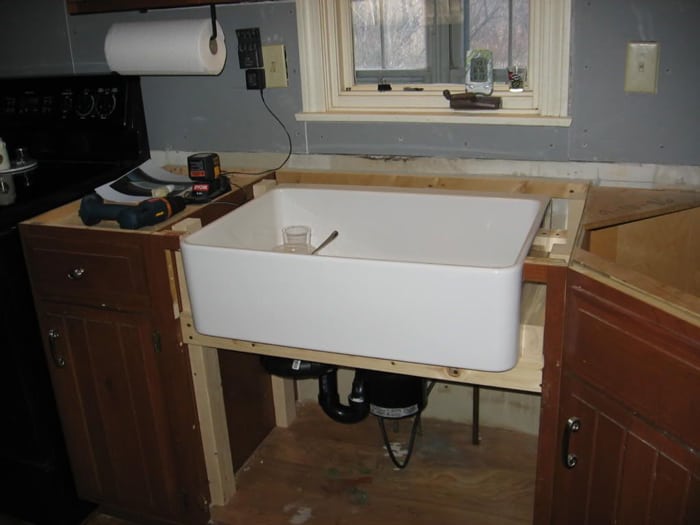
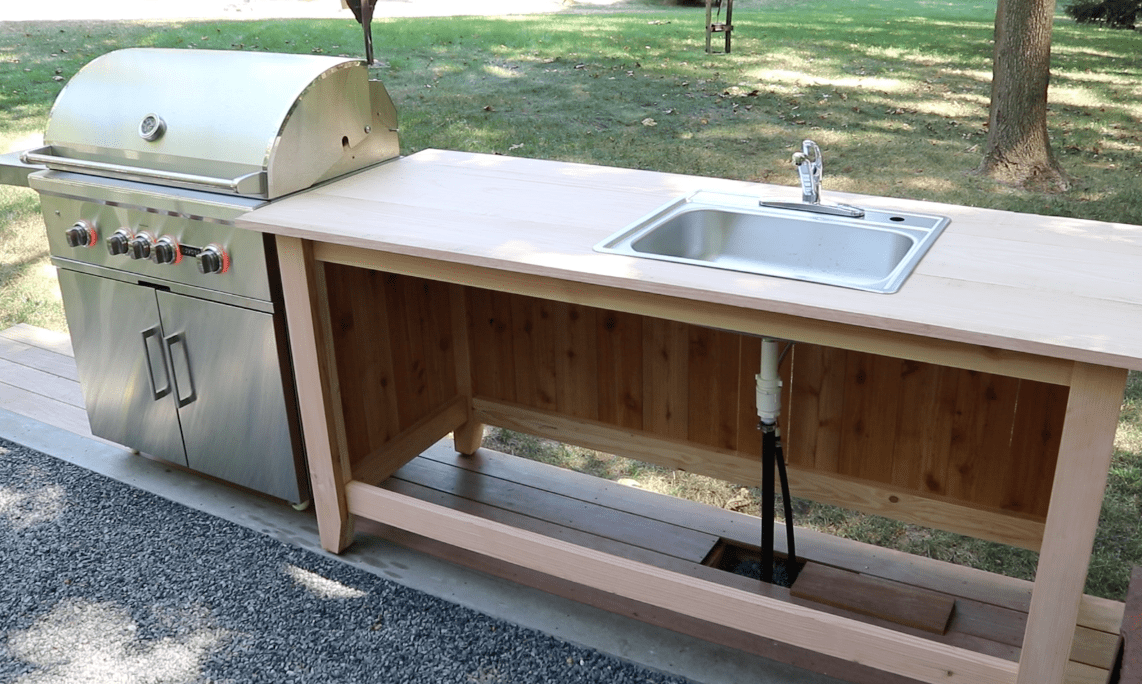
Step 7: Once the cabinet is dry, install the sink and any necessary plumbing.
Step 8: Finally, install the cabinet in its designated space and secure it to the wall and/or countertop.
Building a Custom Kitchen Sink Cabinet
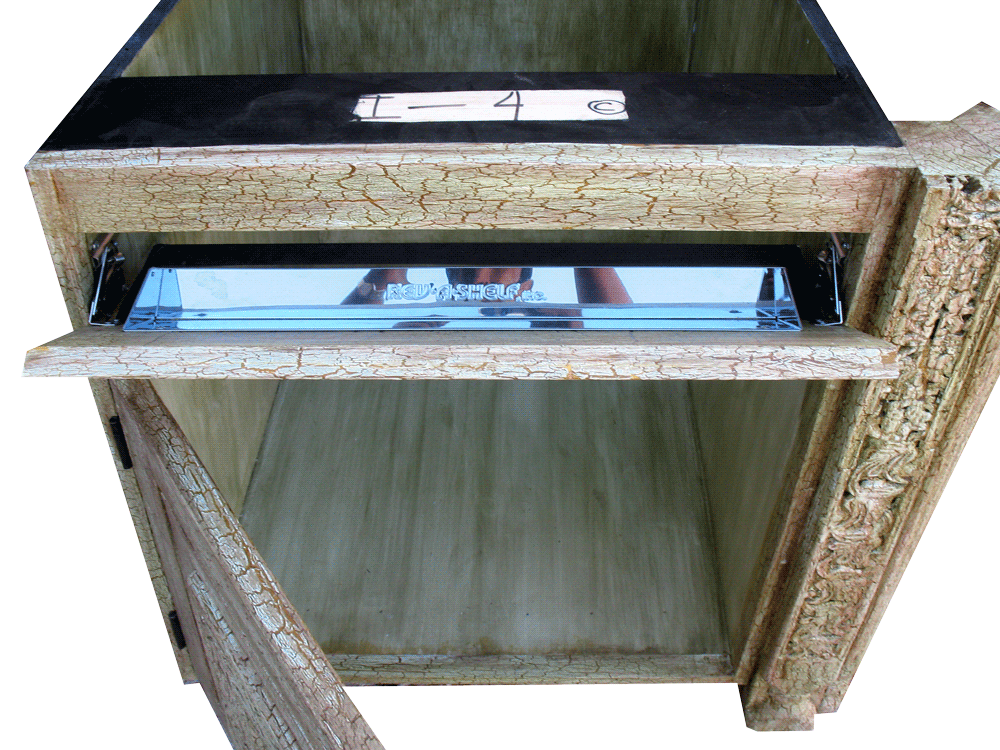
One of the great things about building your own kitchen sink cabinet is the ability to customize it to fit your specific needs and style. You can choose the type of wood, finish, and hardware to create a truly unique piece. Consider adding special features like pull-out shelves, built-in spice racks, or decorative details to make your cabinet stand out.
Tips for Constructing a Kitchen Sink Cabinet
Here are a few helpful tips to keep in mind while building your kitchen sink cabinet:
Tip 1: Use a level to ensure all pieces are straight and even.
Tip 2: Pre-drill holes before attaching screws to prevent splitting the wood.
Tip 3: Use wood glue in addition to screws for added stability.
Tip 4: Sand the cabinet between coats of paint or stain for a smooth finish.
Tip 5: Double check all measurements and cuts before assembling the cabinet.
Materials Needed for Making a Kitchen Sink Cabinet
The materials needed for your kitchen sink cabinet will depend on your specific design and size, but here are some general supplies to have on hand:
- Plywood or solid wood for the frame and shelves
- Screws, wood glue, and nails
- Saw and drill
- Sandpaper
- Paint or stain
- Sink and plumbing supplies
Design Ideas for a Kitchen Sink Cabinet
When it comes to design, the possibilities are endless for a kitchen sink cabinet. Here are a few ideas to inspire you:
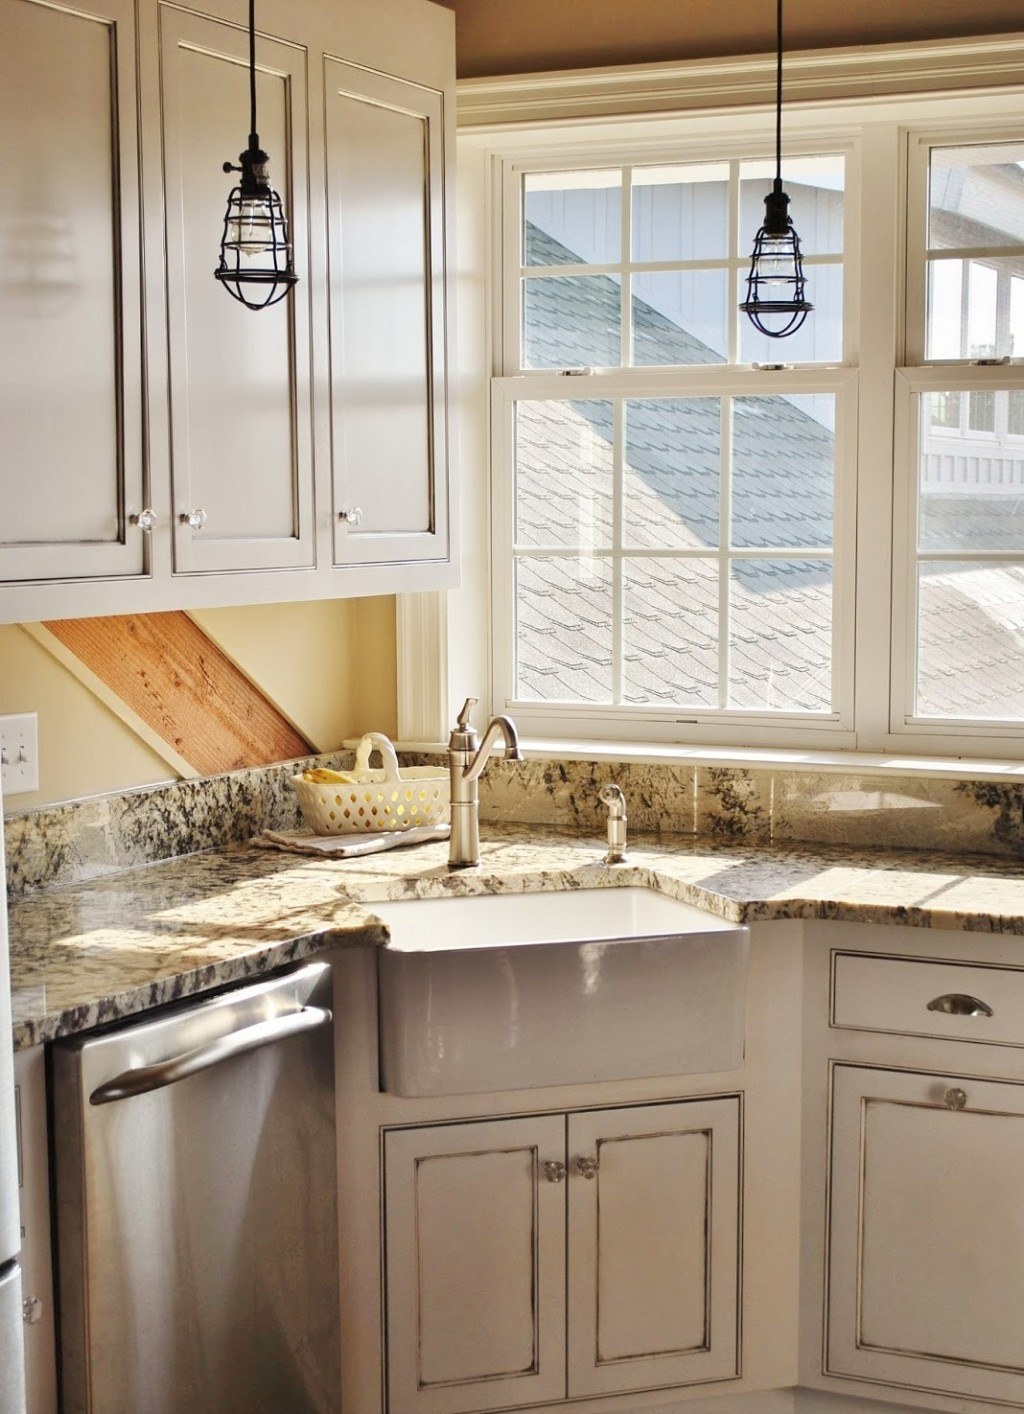
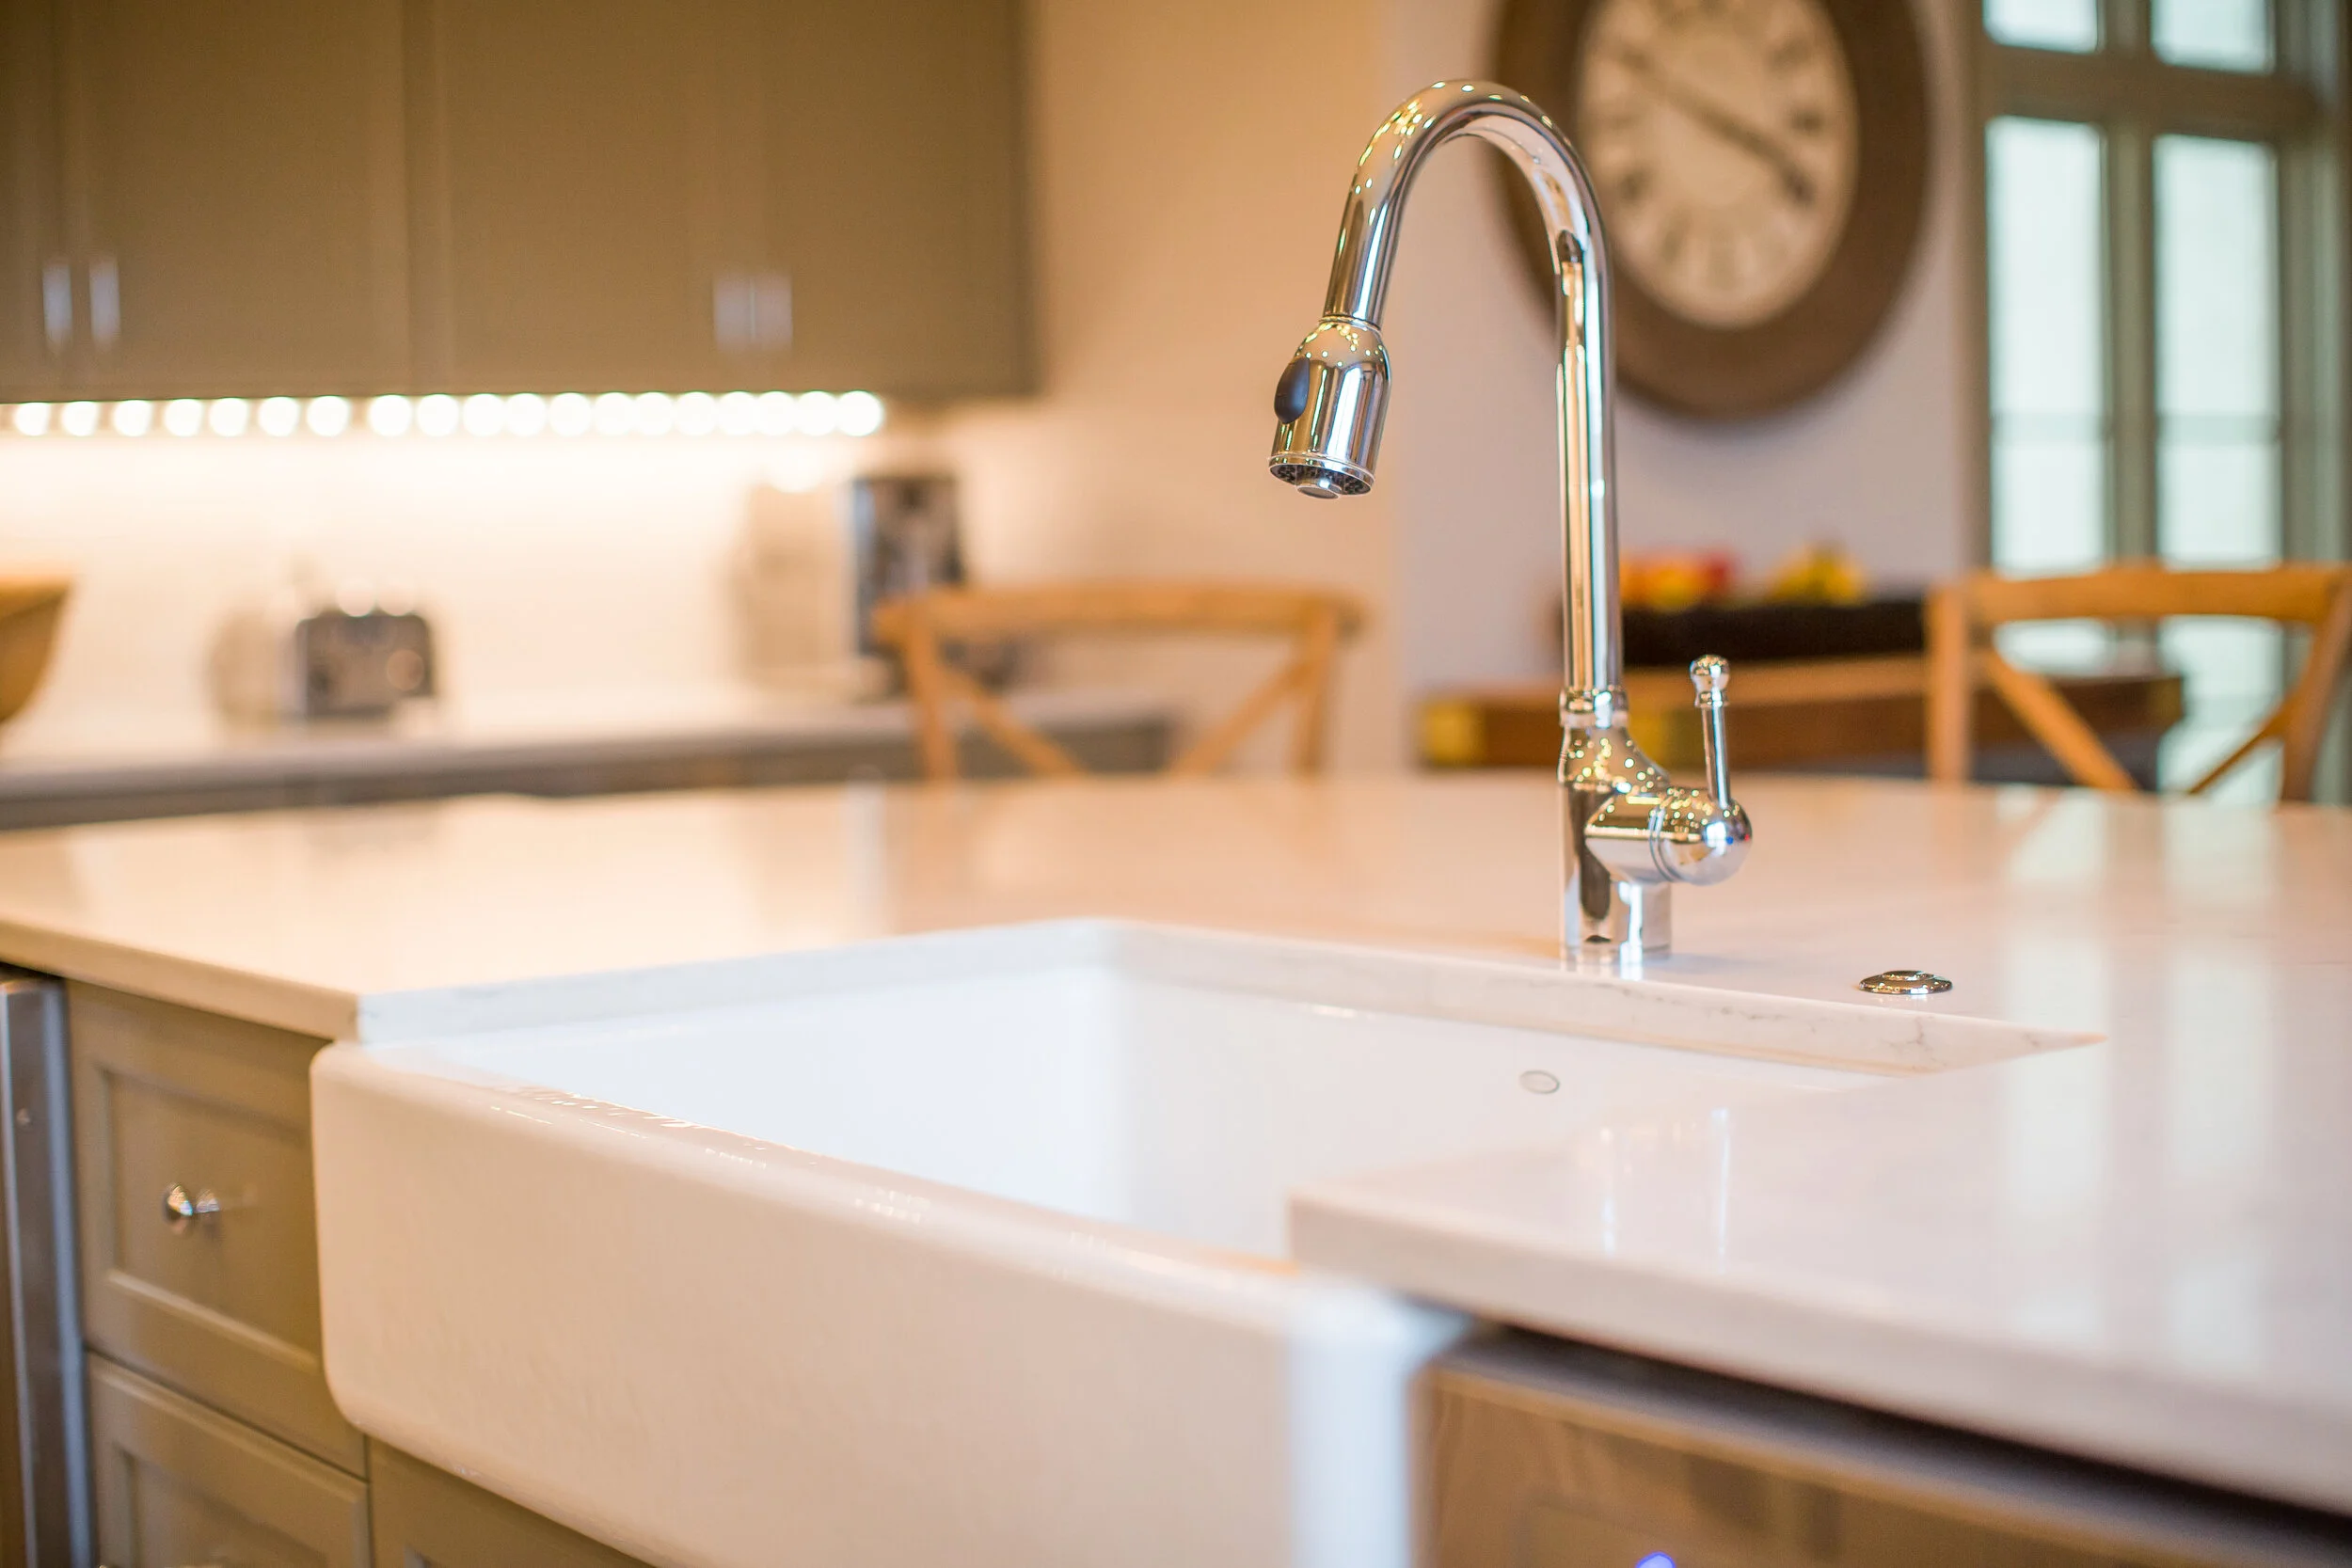
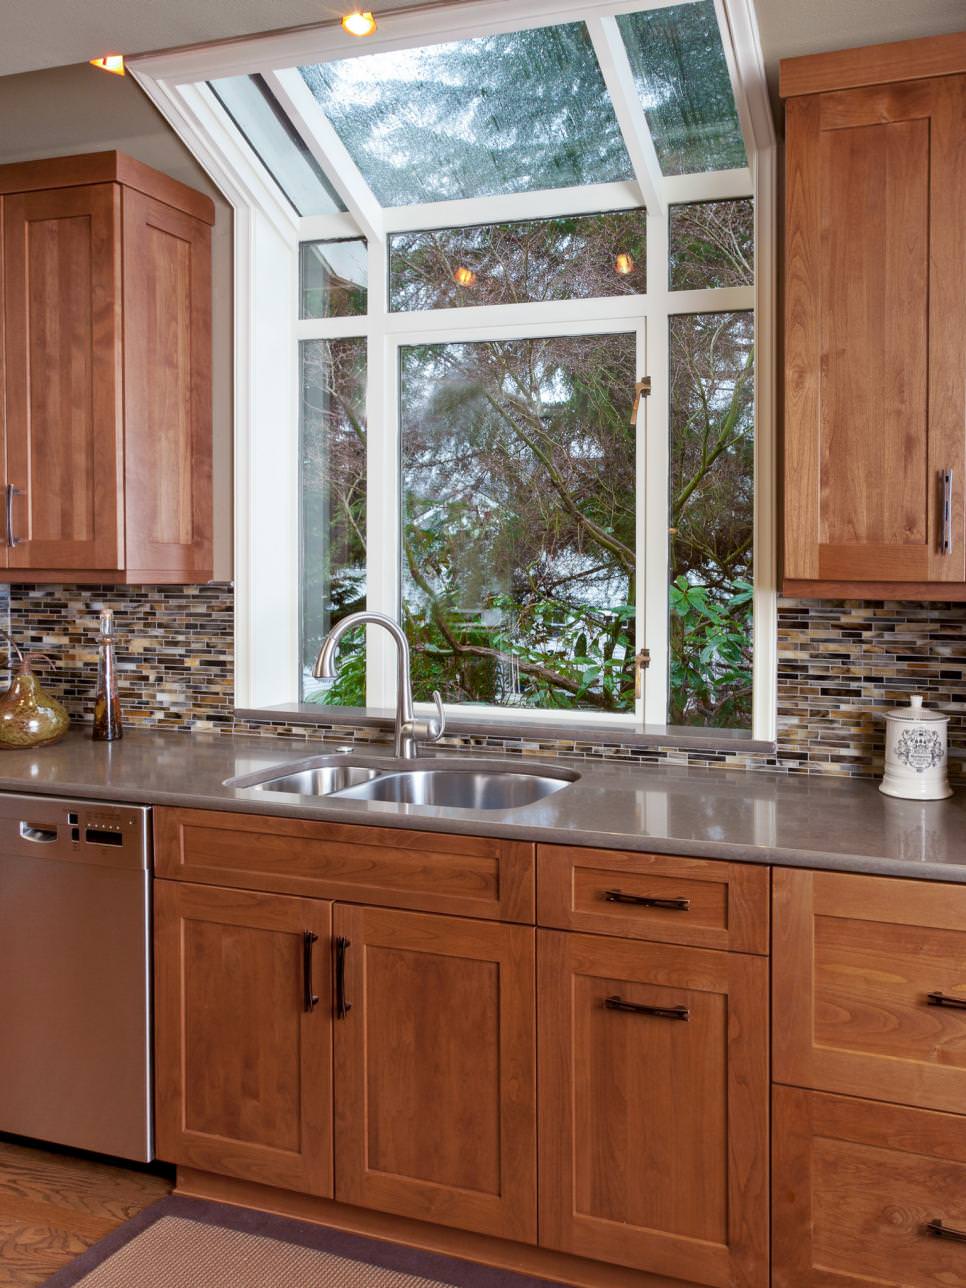
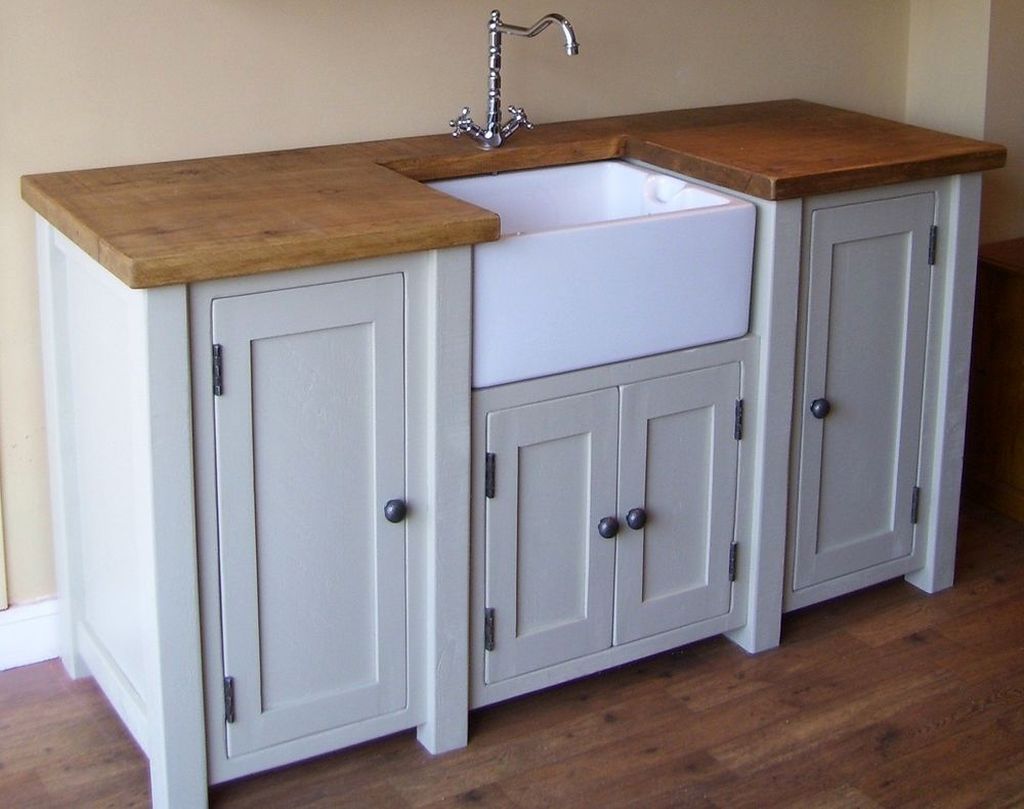
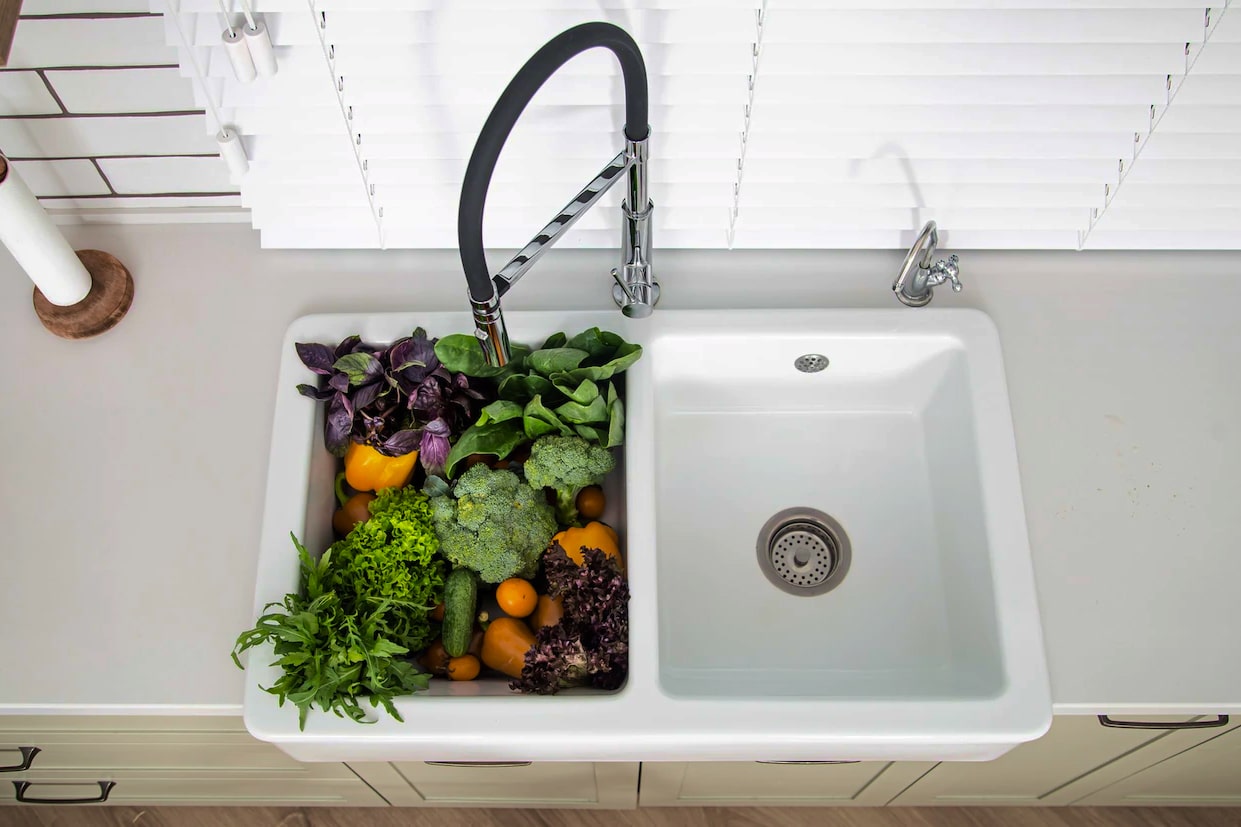
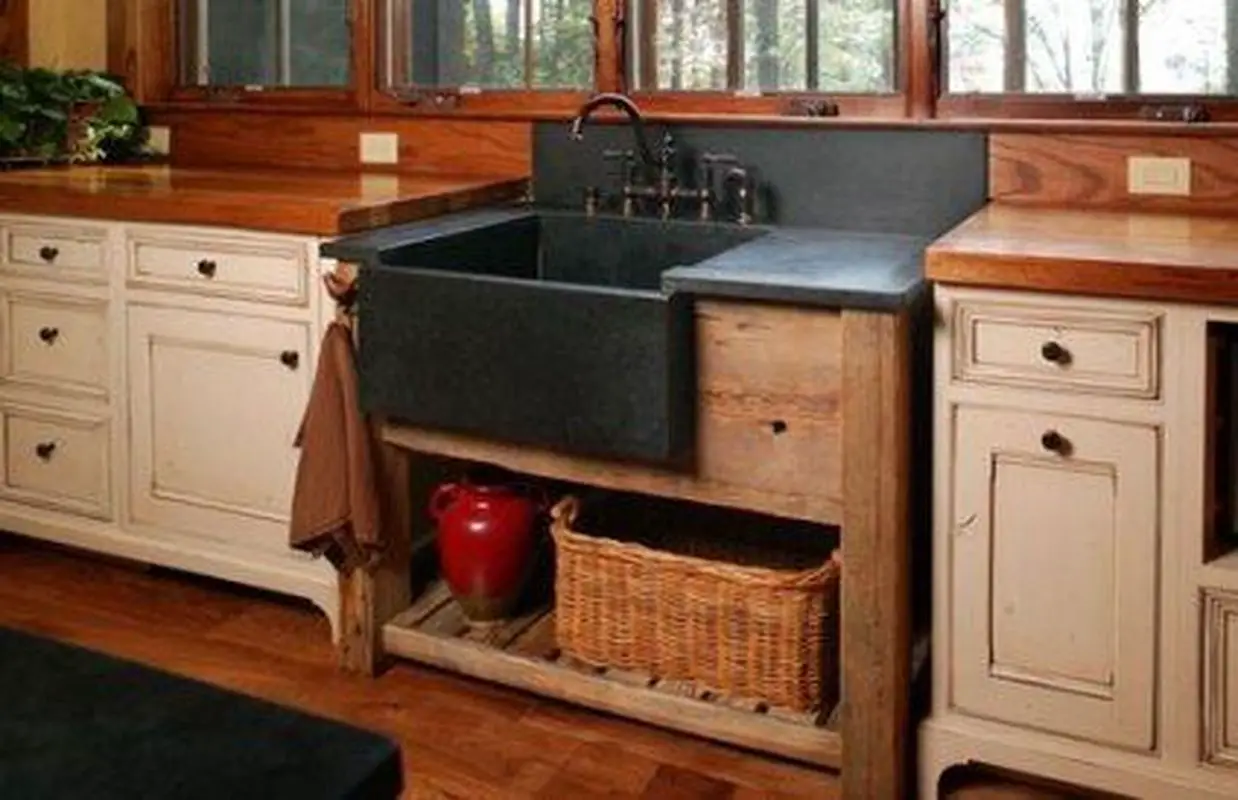
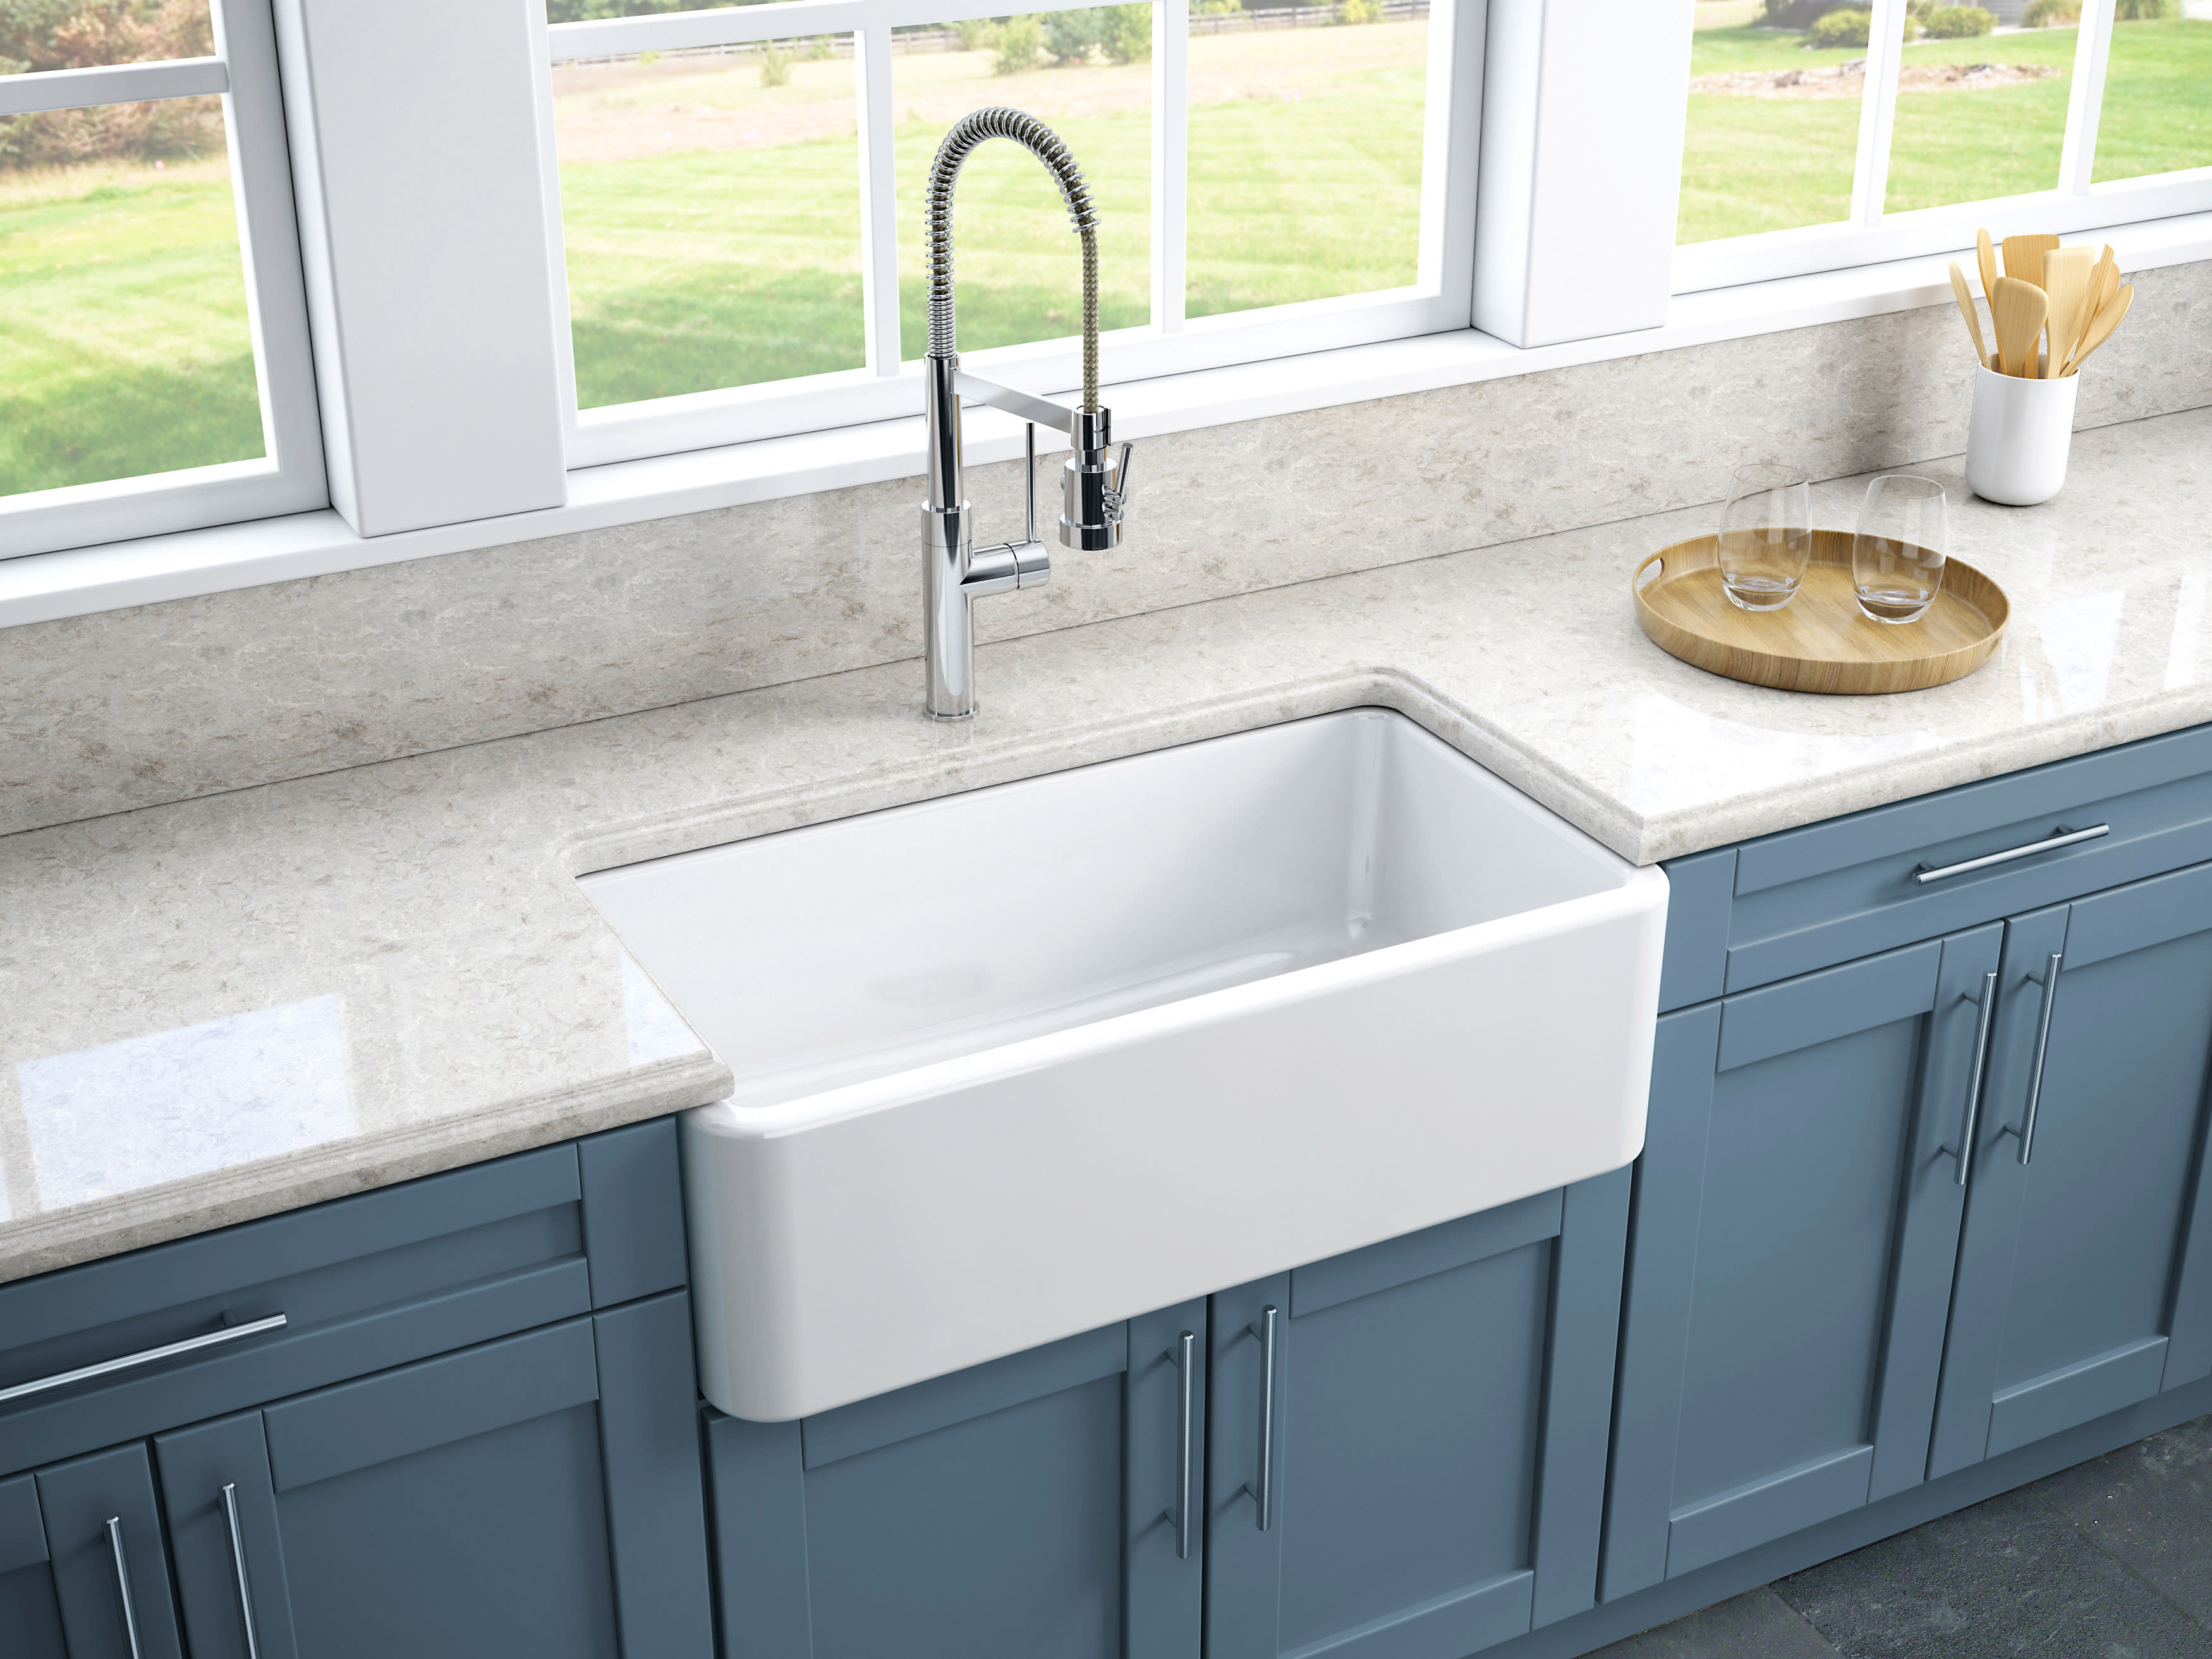
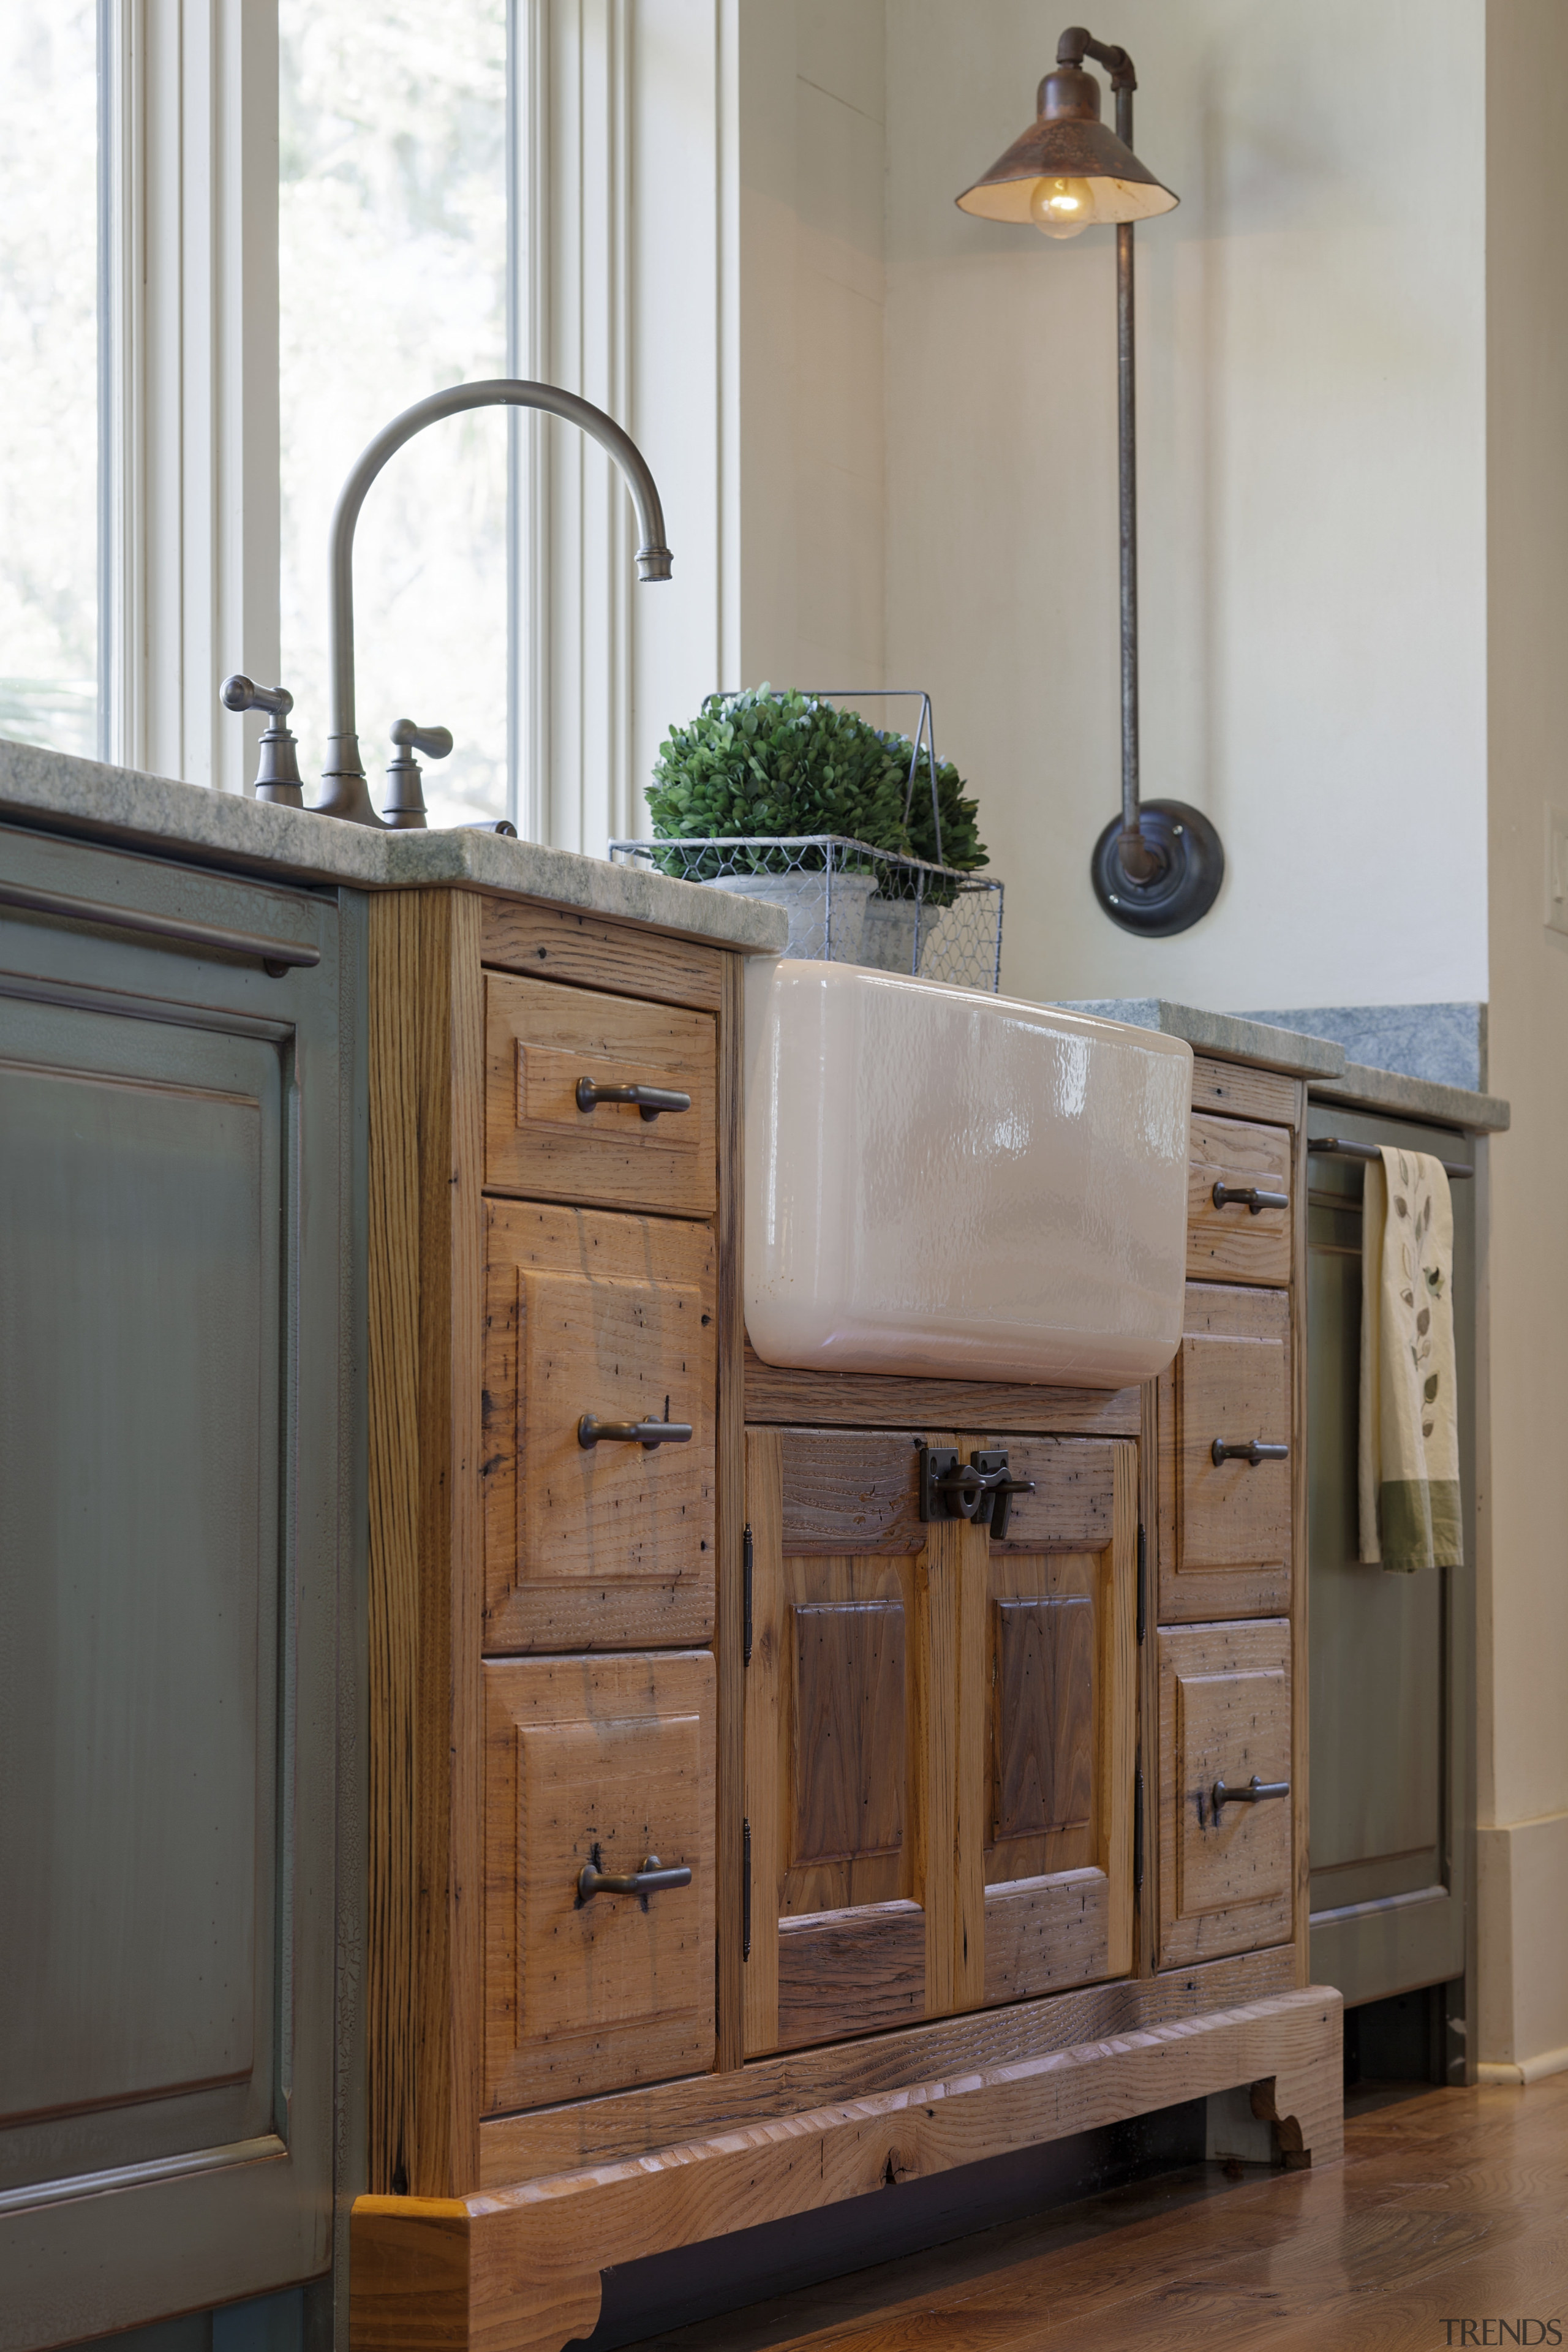
- Rustic farmhouse style with distressed wood and farmhouse sink
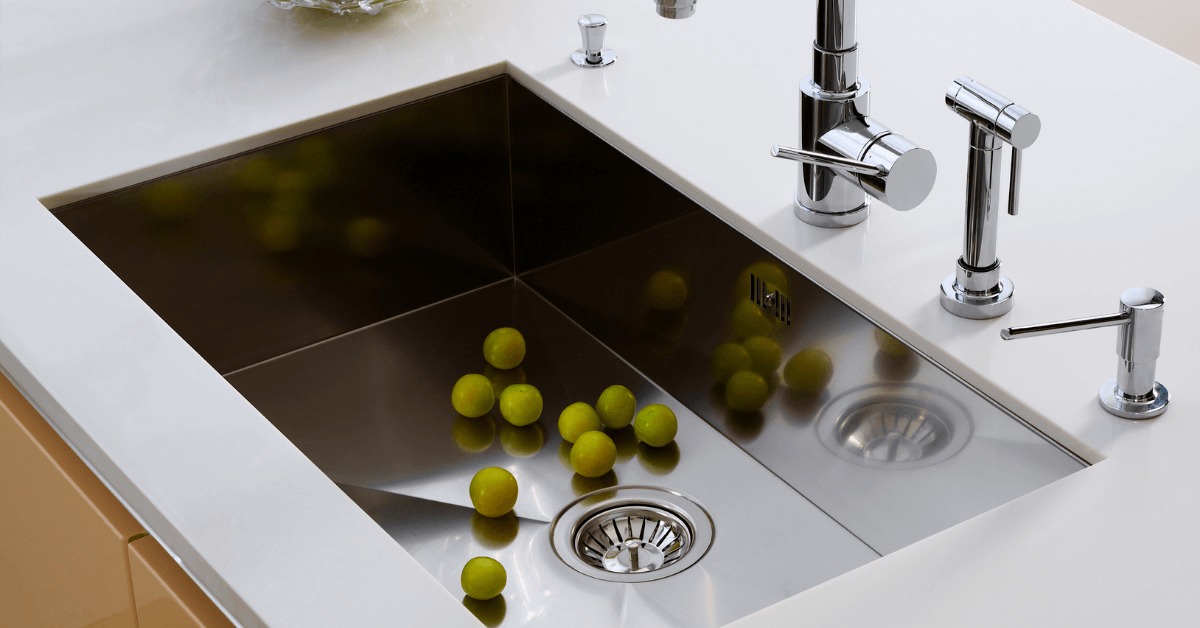
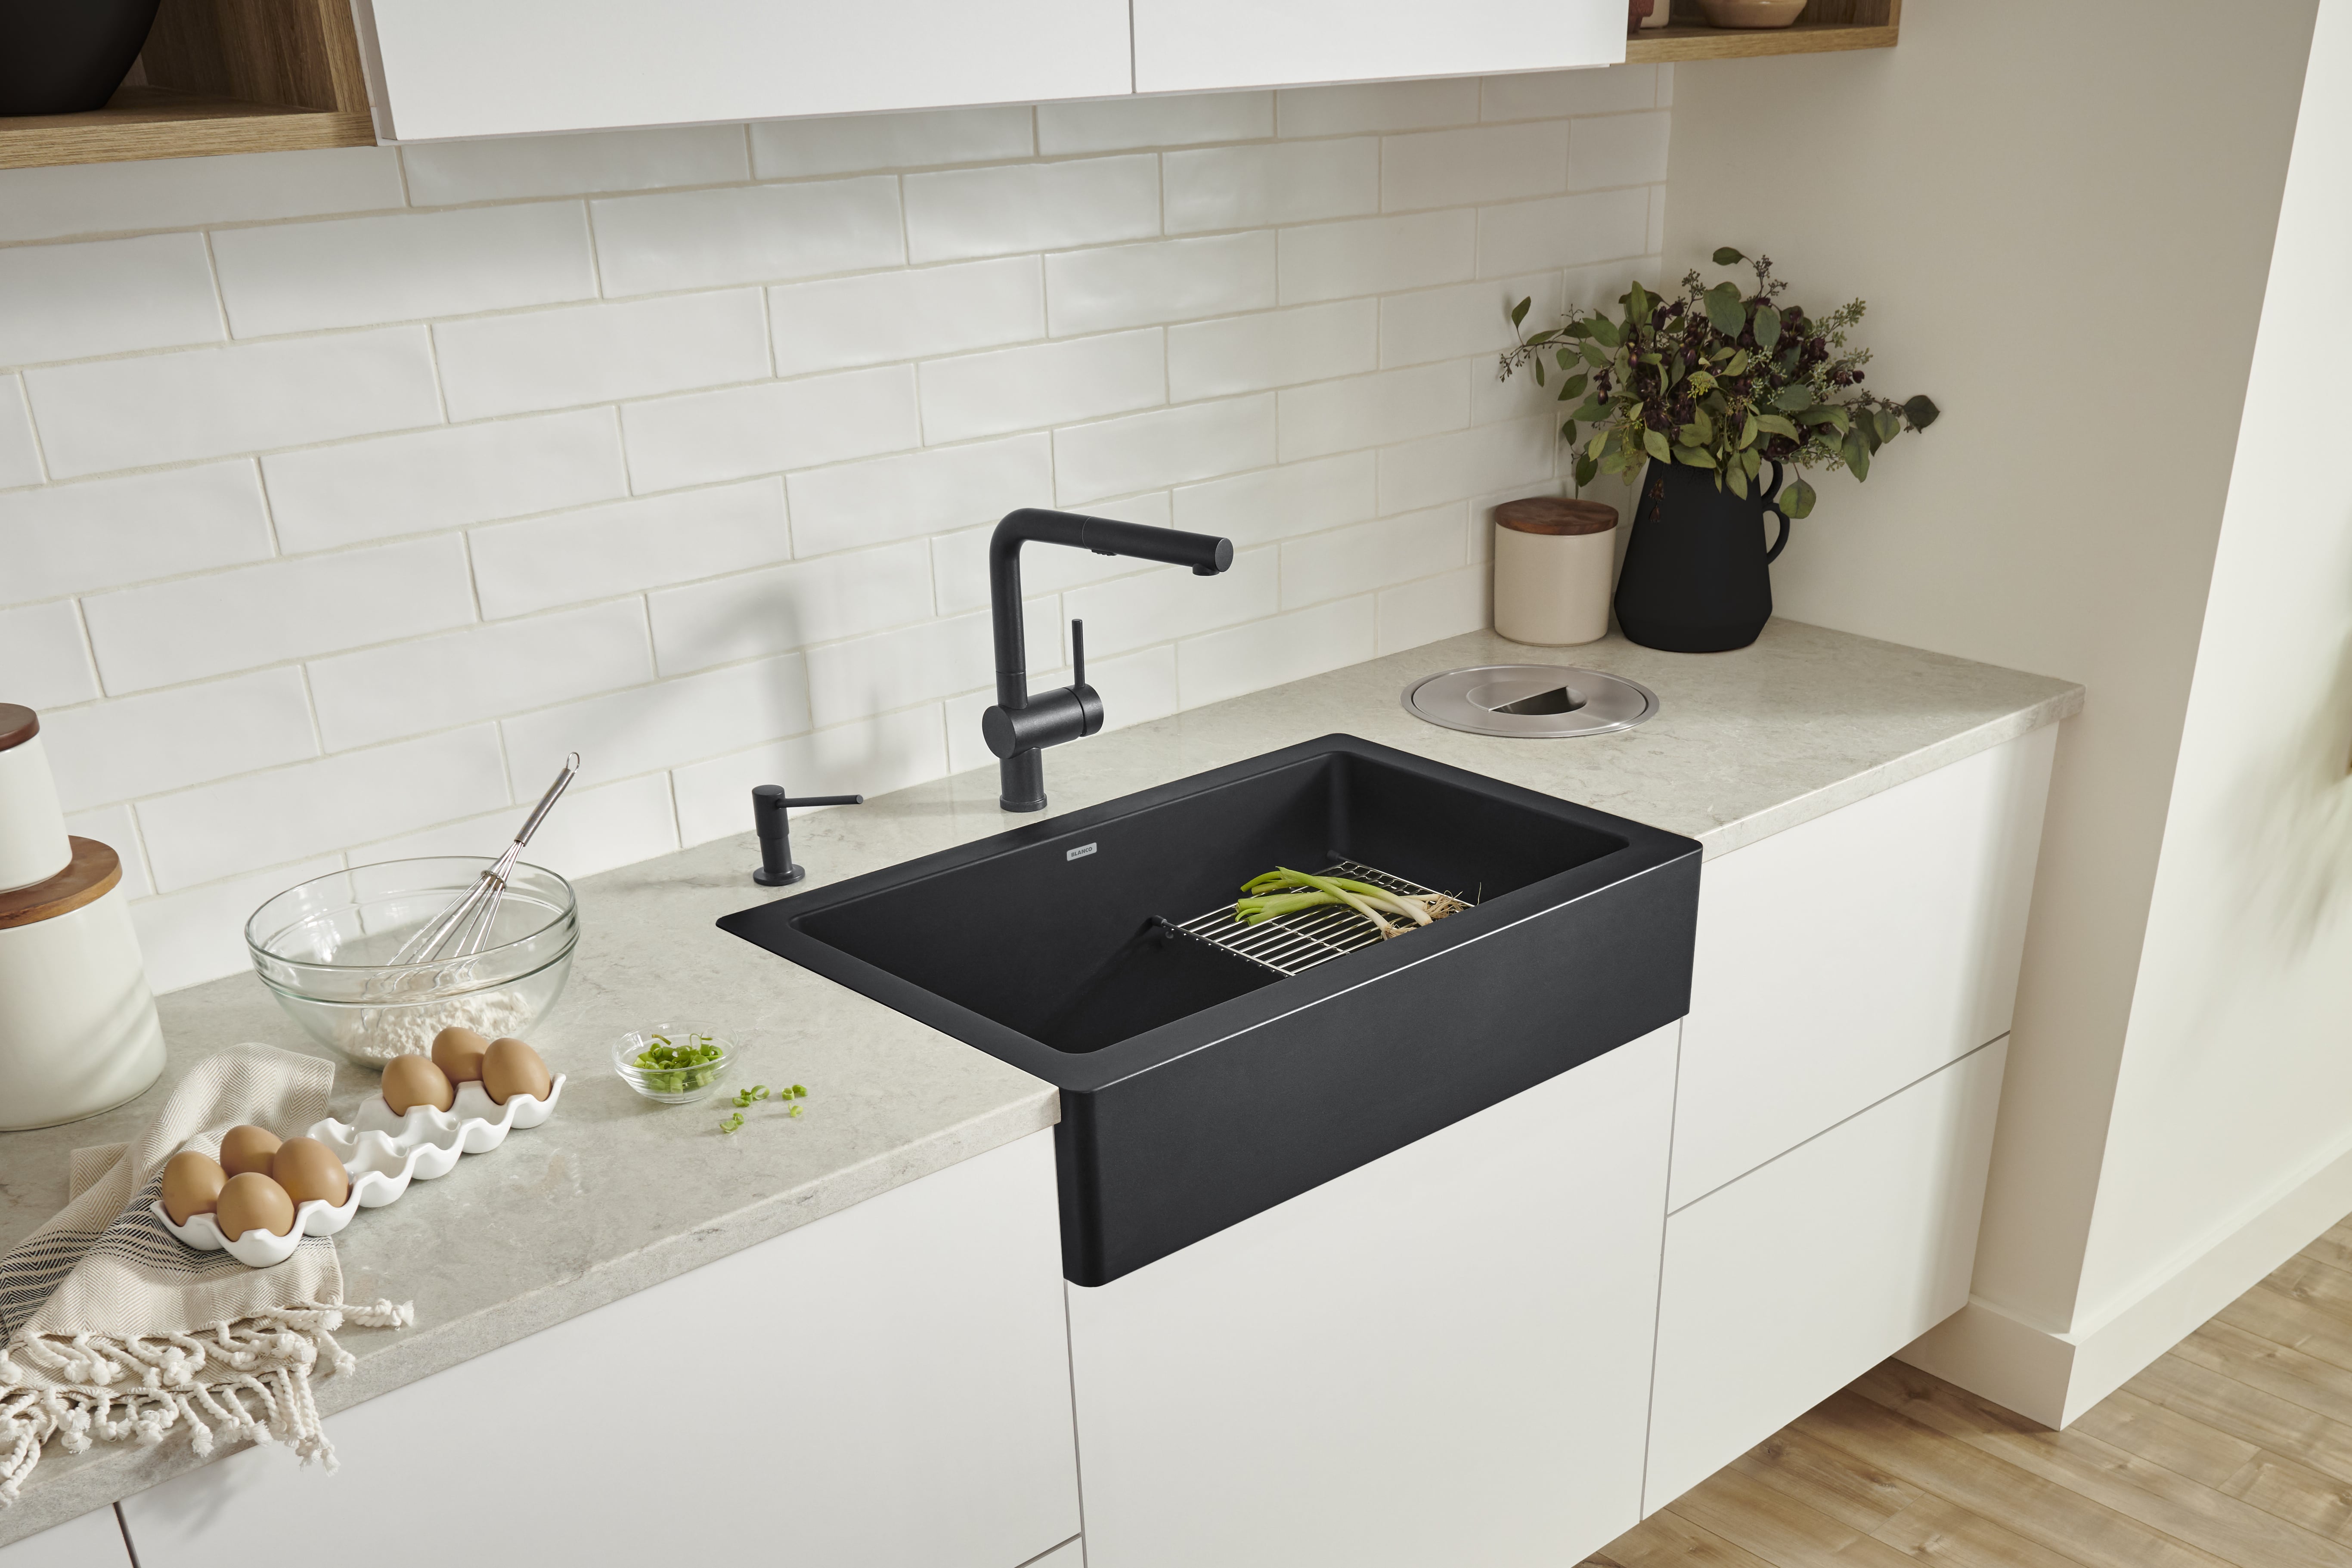
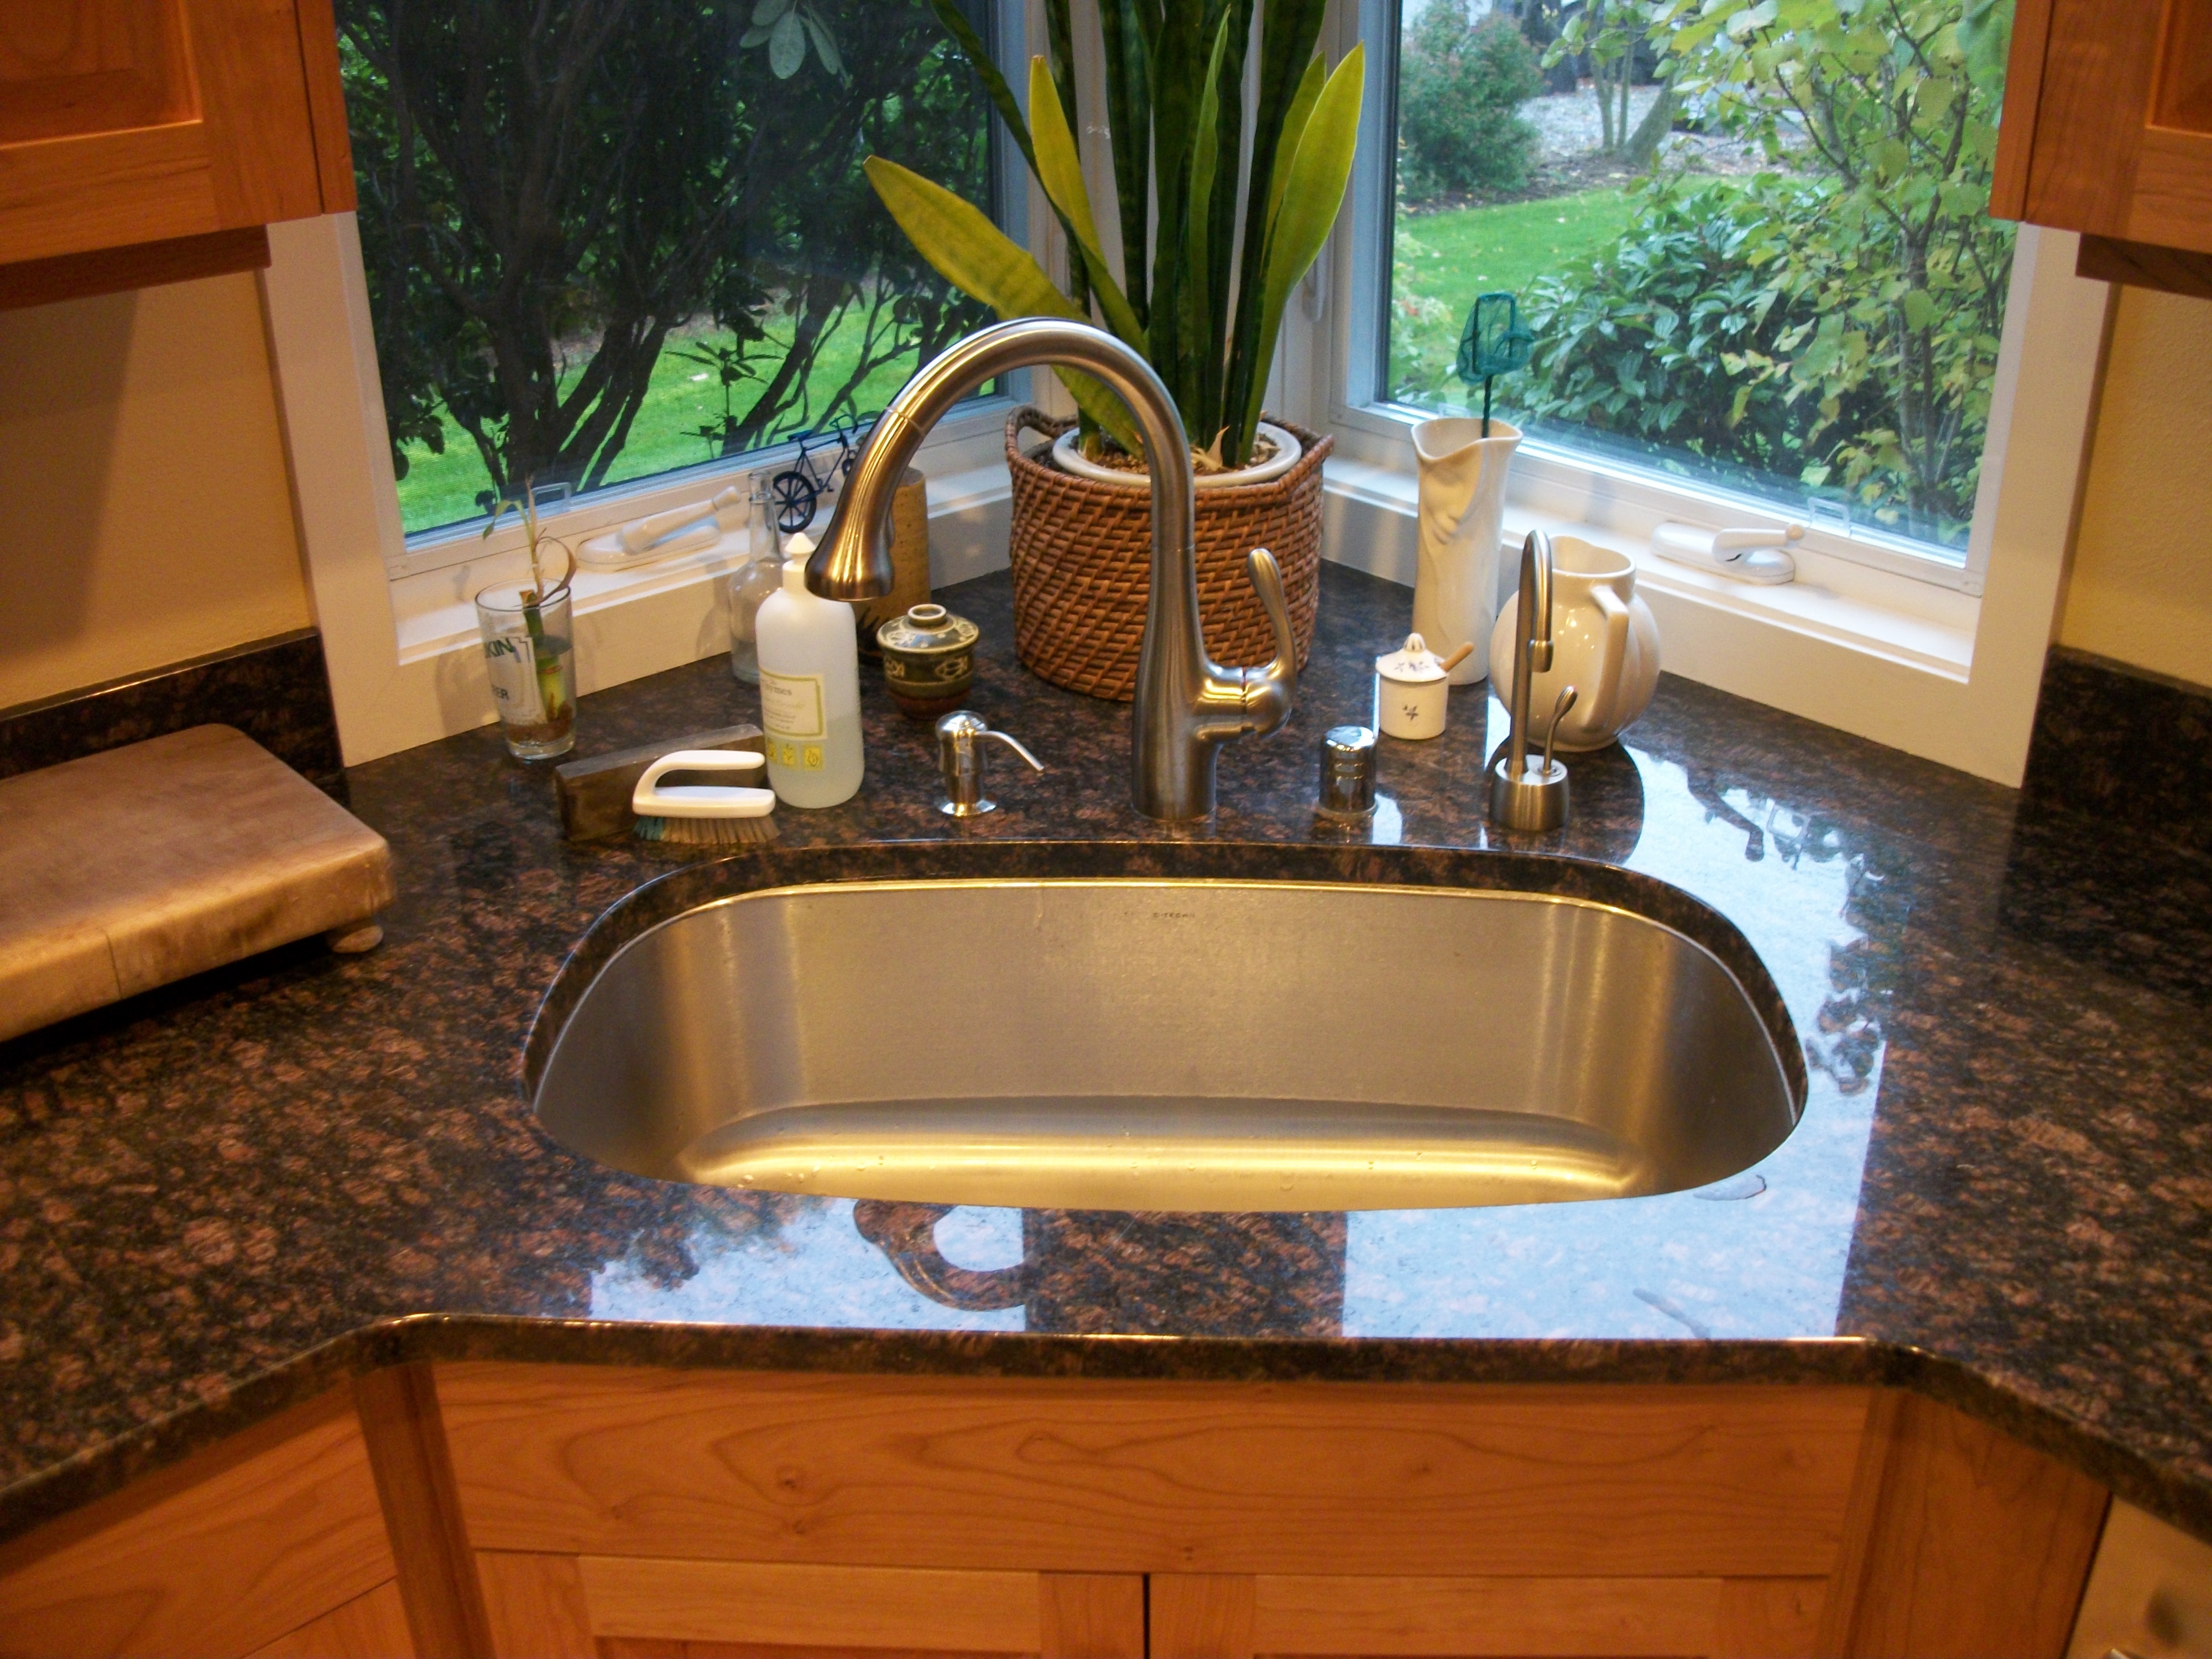
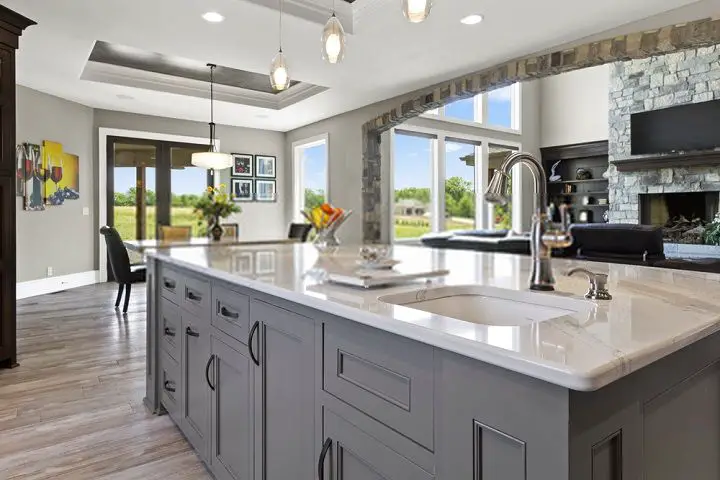
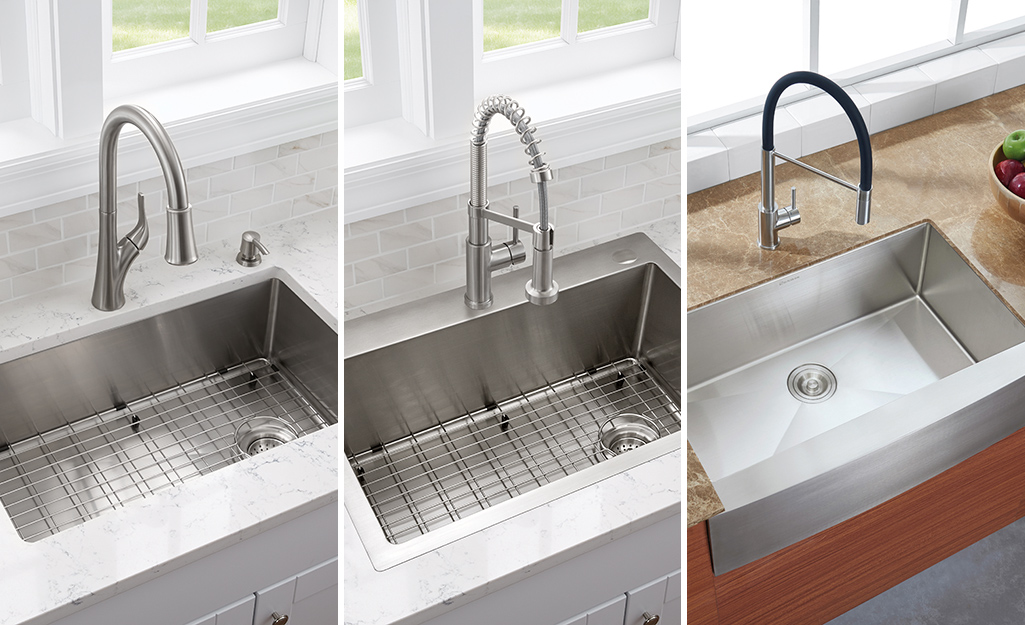
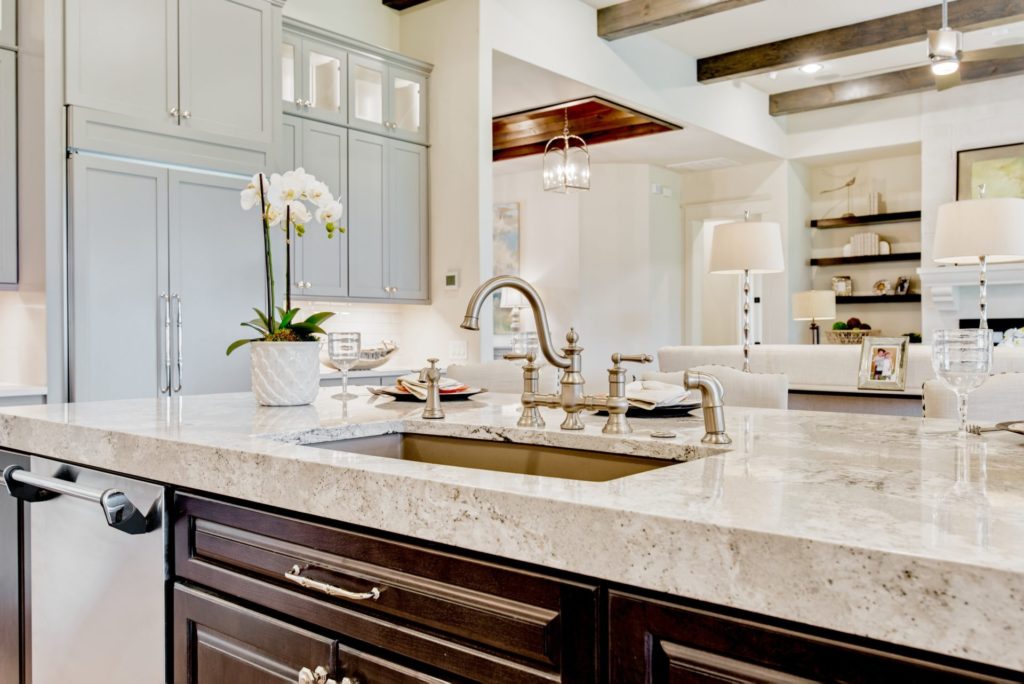
- Modern and sleek with a stainless steel sink and glossy white finish
- Coastal vibes with a distressed white finish and beachy hardware
- Bold and colorful with a bright paint color and unique hardware
Installing a Kitchen Sink in a Cabinet
If you're installing a new sink in your kitchen sink cabinet, it's important to follow the manufacturer's instructions and make sure everything is properly connected. Here are some general steps to follow:
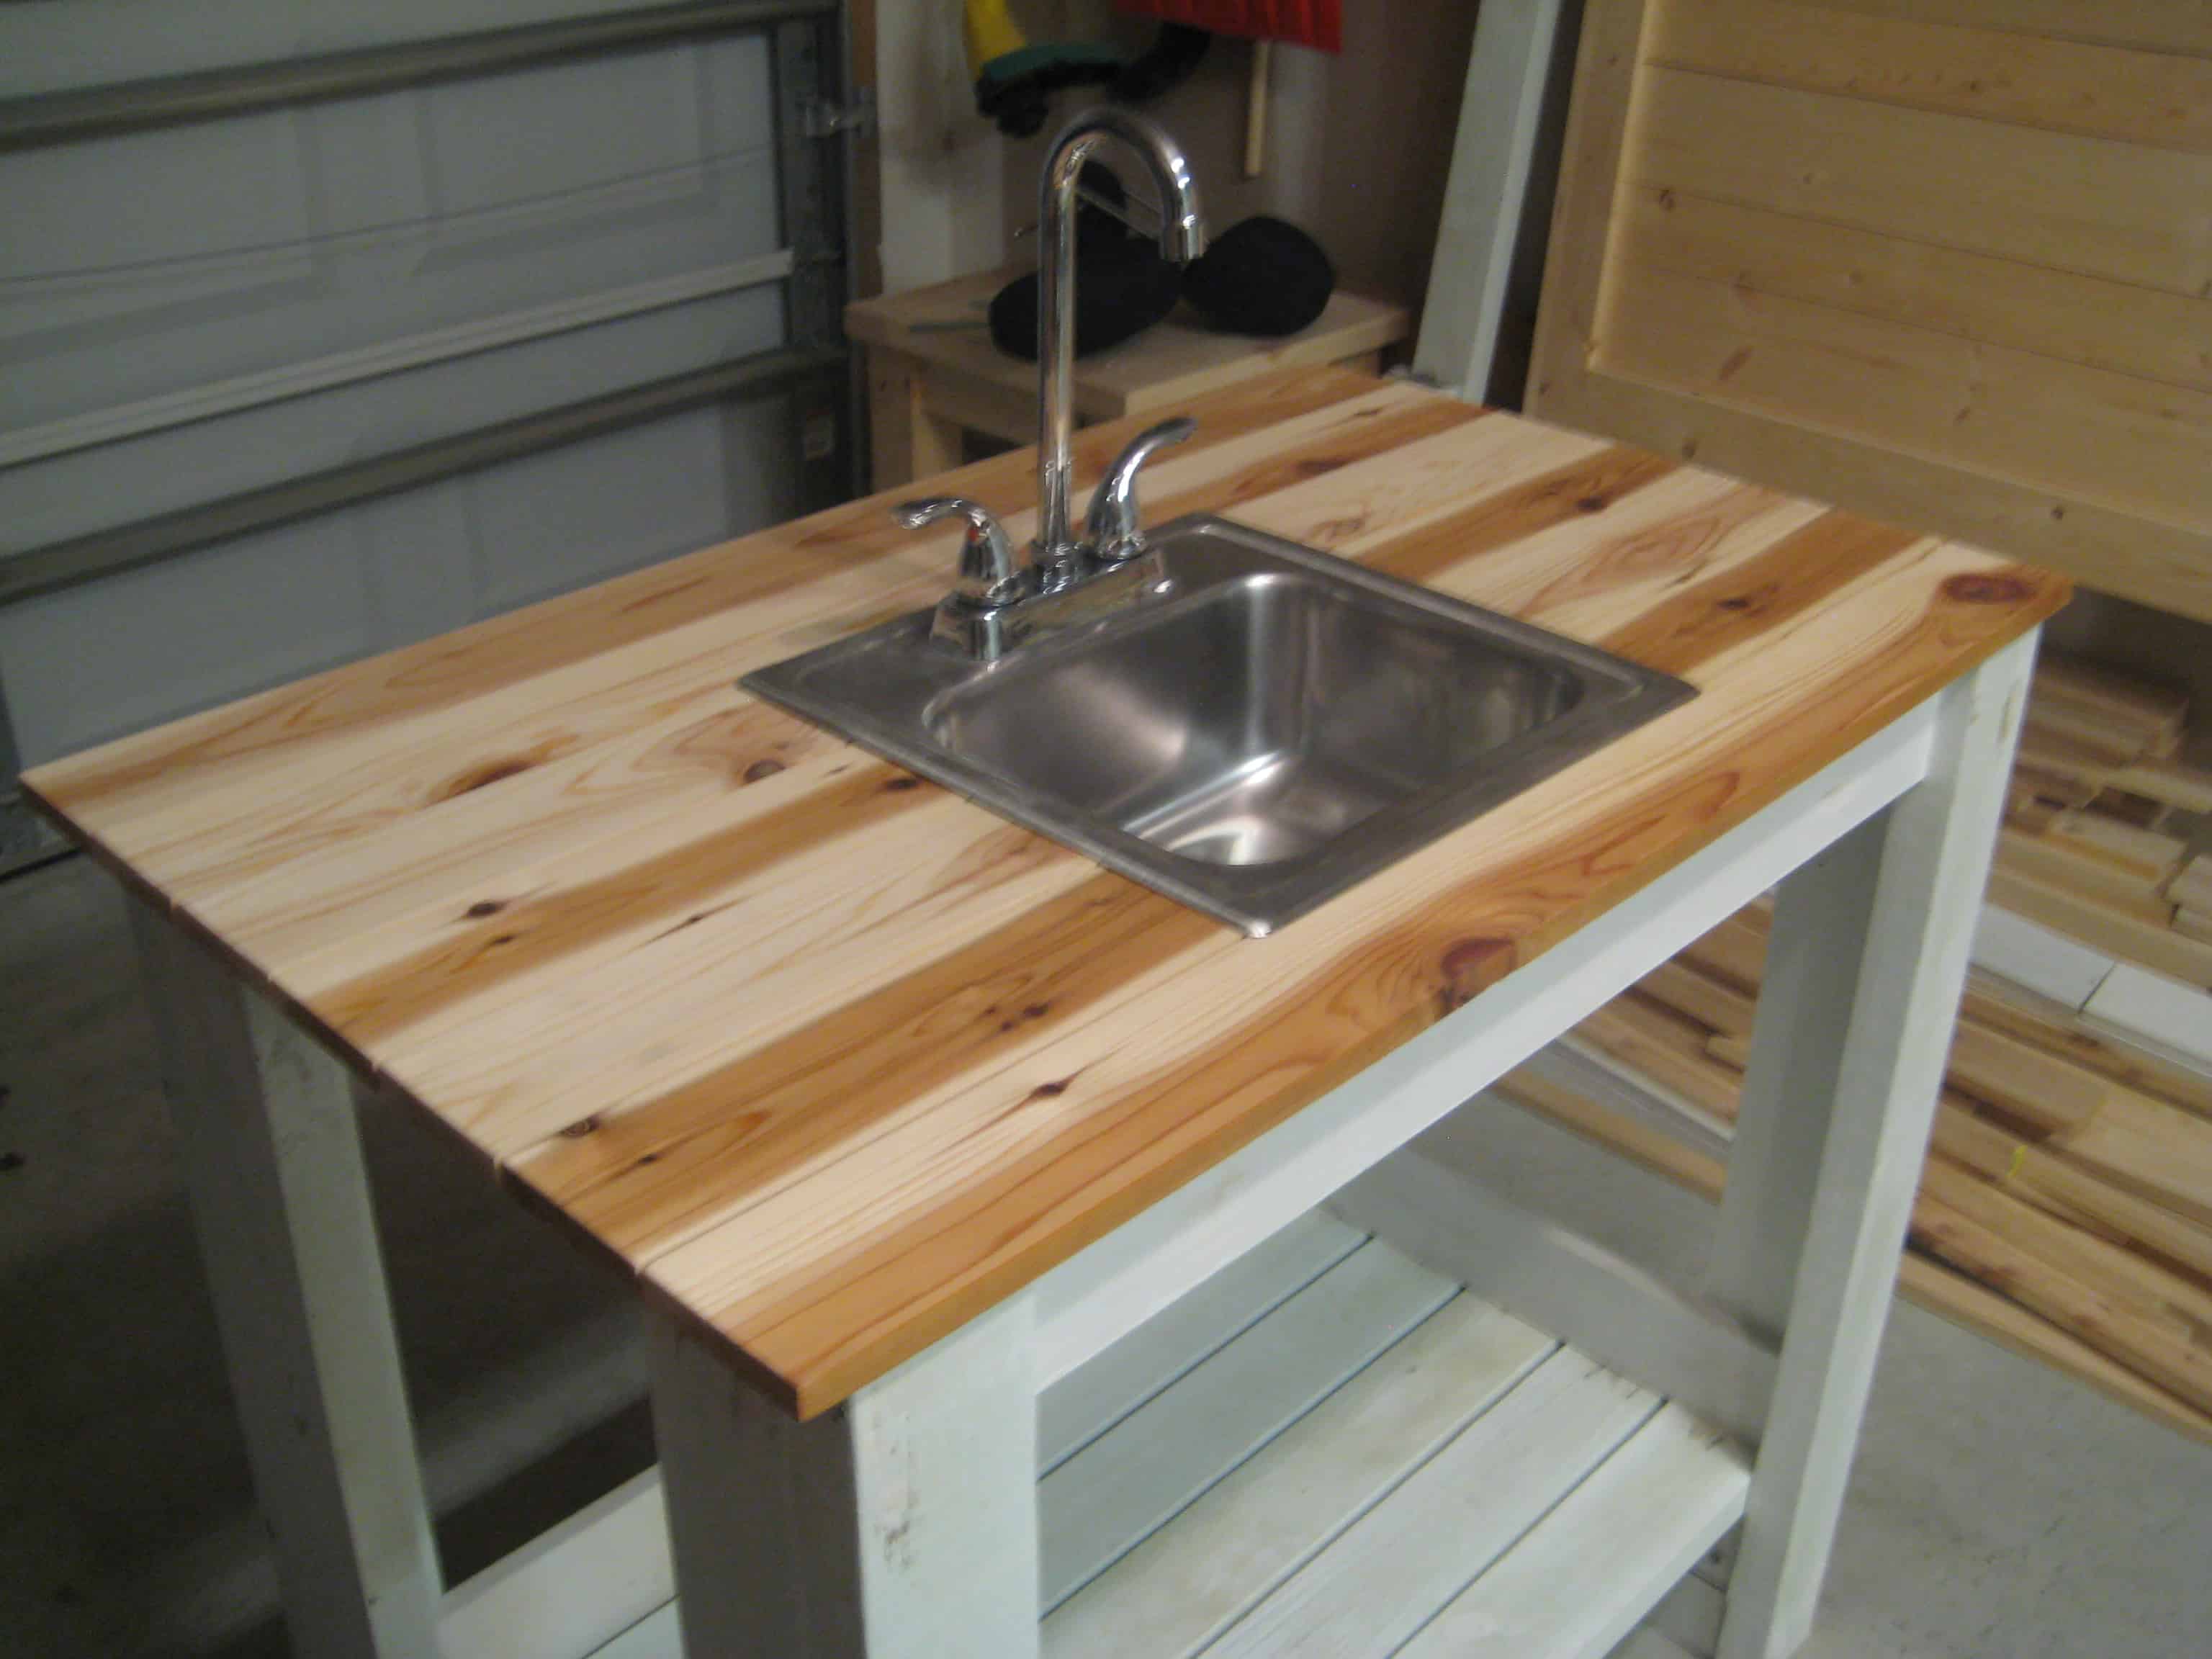
Step 1: Place the sink in the designated opening in the cabinet and trace around it with a pencil.
Step 2: Use a jigsaw to cut out the traced area, making sure to stay inside the lines.
Step 3: Install the sink according to the manufacturer's instructions, using silicone caulk to seal around the edges.
Step 4: Connect the plumbing and make sure everything is secure and leak-free.
How to Measure for a Kitchen Sink Cabinet
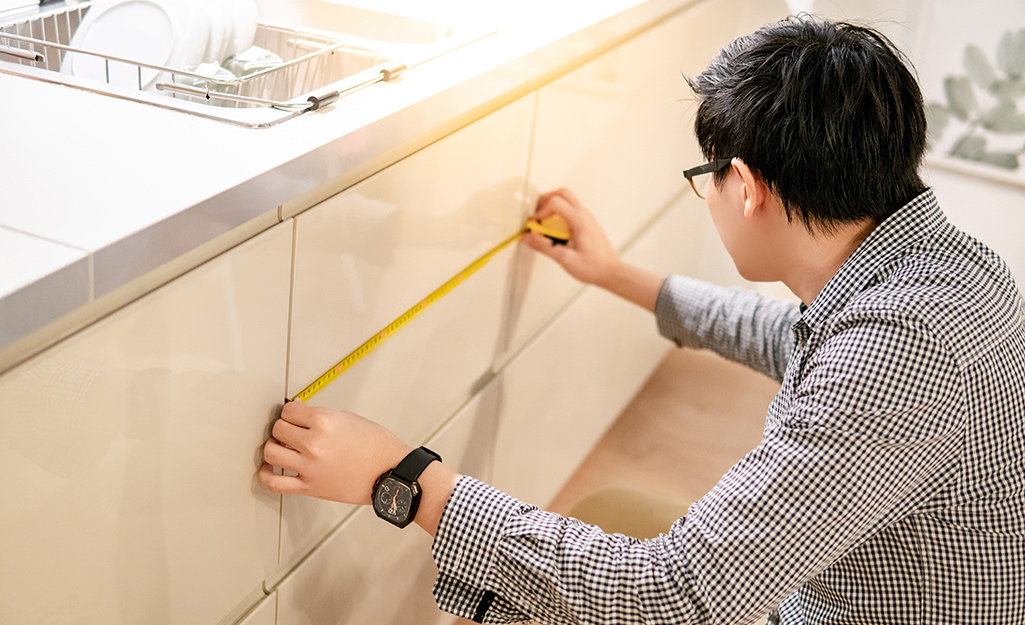
Before building your kitchen sink cabinet, it's important to accurately measure the space where it will go. Here are some tips for measuring:
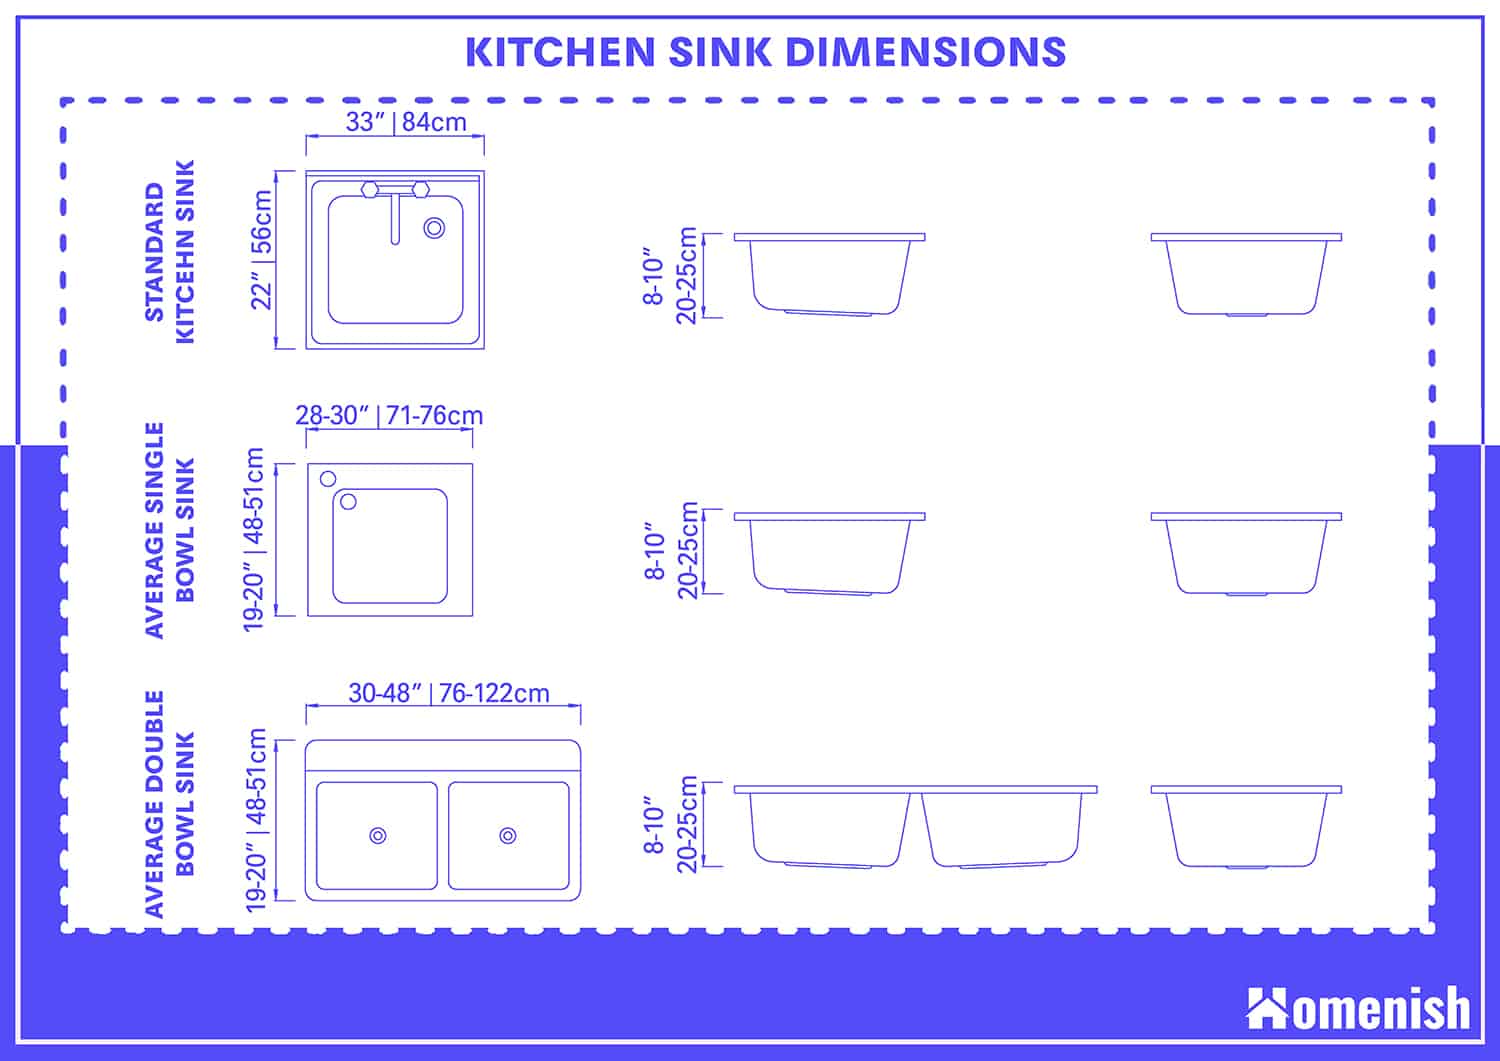
- Measure the width, depth, and height of the space
- Consider any existing plumbing or electrical outlets
- Leave enough room for the sink and any necessary clearance
- Double check all measurements before cutting any materials
Common Mistakes to Avoid When Making a Kitchen Sink Cabinet
While building your kitchen sink cabinet, it's important to avoid these common mistakes:
- Not measuring accurately or double checking measurements
- Using poor quality materials or not adequately securing pieces
- Rushing through the project and not taking the time to ensure everything is level and secure
With these tips and ideas in mind, you can confidently tackle the project of making a kitchen sink cabinet. Not only will you save money, but you'll also have a beautiful and functional piece of furniture that you can take pride in creating yourself.
Making a Kitchen Sink Cabinet: The Essential Guide

Introduction
 When designing a house, the kitchen is often considered the heart of the home. It is where we gather to cook, eat, and spend time with family and friends. Therefore, it is important to have a functional and well-designed kitchen. One of the key elements of a well-designed kitchen is a
kitchen sink cabinet
. Not only does it provide storage for all your kitchen essentials, but it also houses the sink, one of the most used fixtures in the kitchen. In this article, we will guide you through the process of making a kitchen sink cabinet that is both functional and aesthetically pleasing.
Planning and Measurements
 Before starting any DIY project, it is important to have a solid plan in place. Begin by measuring the space where you want to install the sink cabinet. Take into consideration the size and location of your sink, as well as any existing plumbing or electrical outlets. This will help determine the size and design of your cabinet.
Pro Tip:
It is always a good idea to add a few extra inches to your measurements to account for any discrepancies or adjustments that may need to be made during the building process.
Materials and Tools
 Next, gather all the necessary materials and tools for building your kitchen sink cabinet. This may include wood, screws, nails, a drill, saw, and other carpentry tools. Make sure to choose high-quality materials that can withstand the wear and tear of daily use.
Featured Keyword:
kitchen sink cabinet
Building the Cabinet
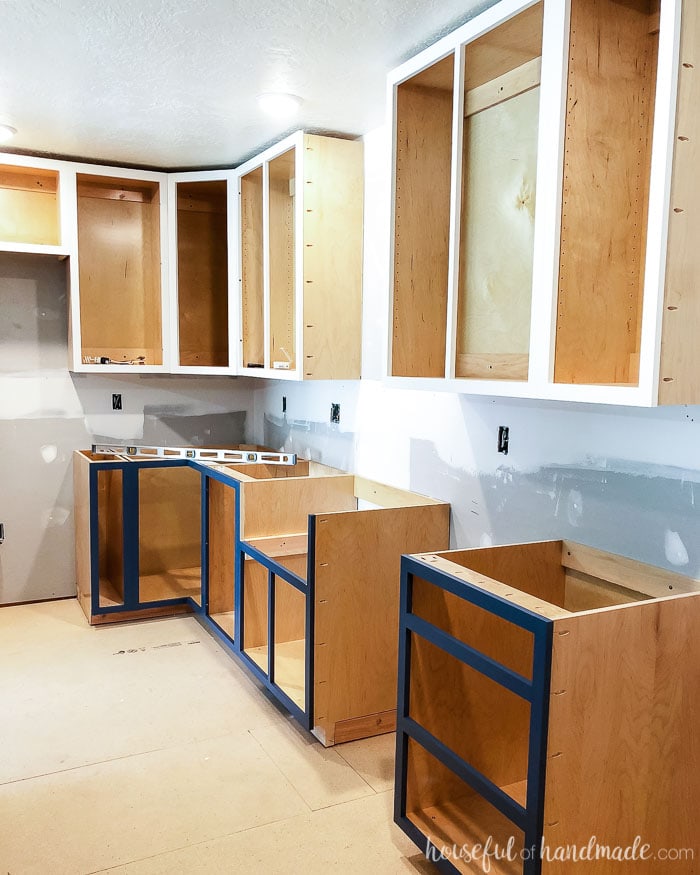
 Start by building the frame of the cabinet using the measurements and design you have planned. Use a level to ensure that the cabinet is straight and sturdy. Once the frame is built, add shelves and dividers to create storage space. Make sure to leave enough room for the sink and any plumbing fixtures.
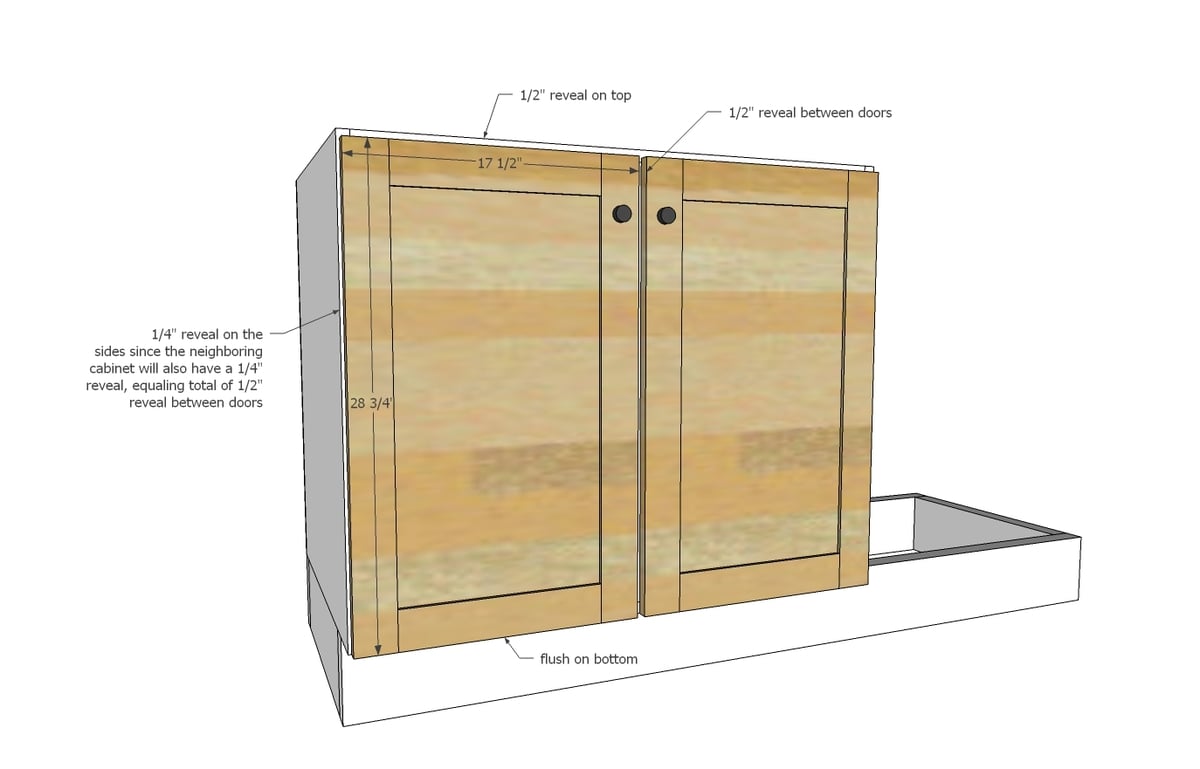
Next, attach the cabinet doors using hinges and install the sink into the designated space. This may require cutting a hole in the countertop for the sink to fit in. Once the sink is securely in place, attach the plumbing and make any necessary adjustments.
Main Keyword:
house design
Finishing Touches
 To give your kitchen sink cabinet a polished look, consider adding a coat of paint or stain. This will not only add aesthetic appeal but also protect the wood from any potential water damage. You can also add decorative hardware, such as knobs or handles, to the cabinet doors for a personal touch.
In Conclusion
 By following these steps, you can create a beautiful and functional kitchen sink cabinet that will enhance the overall design of your kitchen. Remember to plan carefully, use quality materials, and take your time to ensure a professional-looking finish. With a little effort and creativity, you can have a kitchen sink cabinet that meets all your needs and adds value to your home.
Related Main Keywords:
kitchen design, DIY, carpentry, storage, plumbing, electrical outlets.


/interiors-of-the-kitchen-126173645-5835288f5f9b58d5b1b96af2.jpg)
















/interiors-of-the-kitchen-126173645-5835288f5f9b58d5b1b96af2.jpg)


