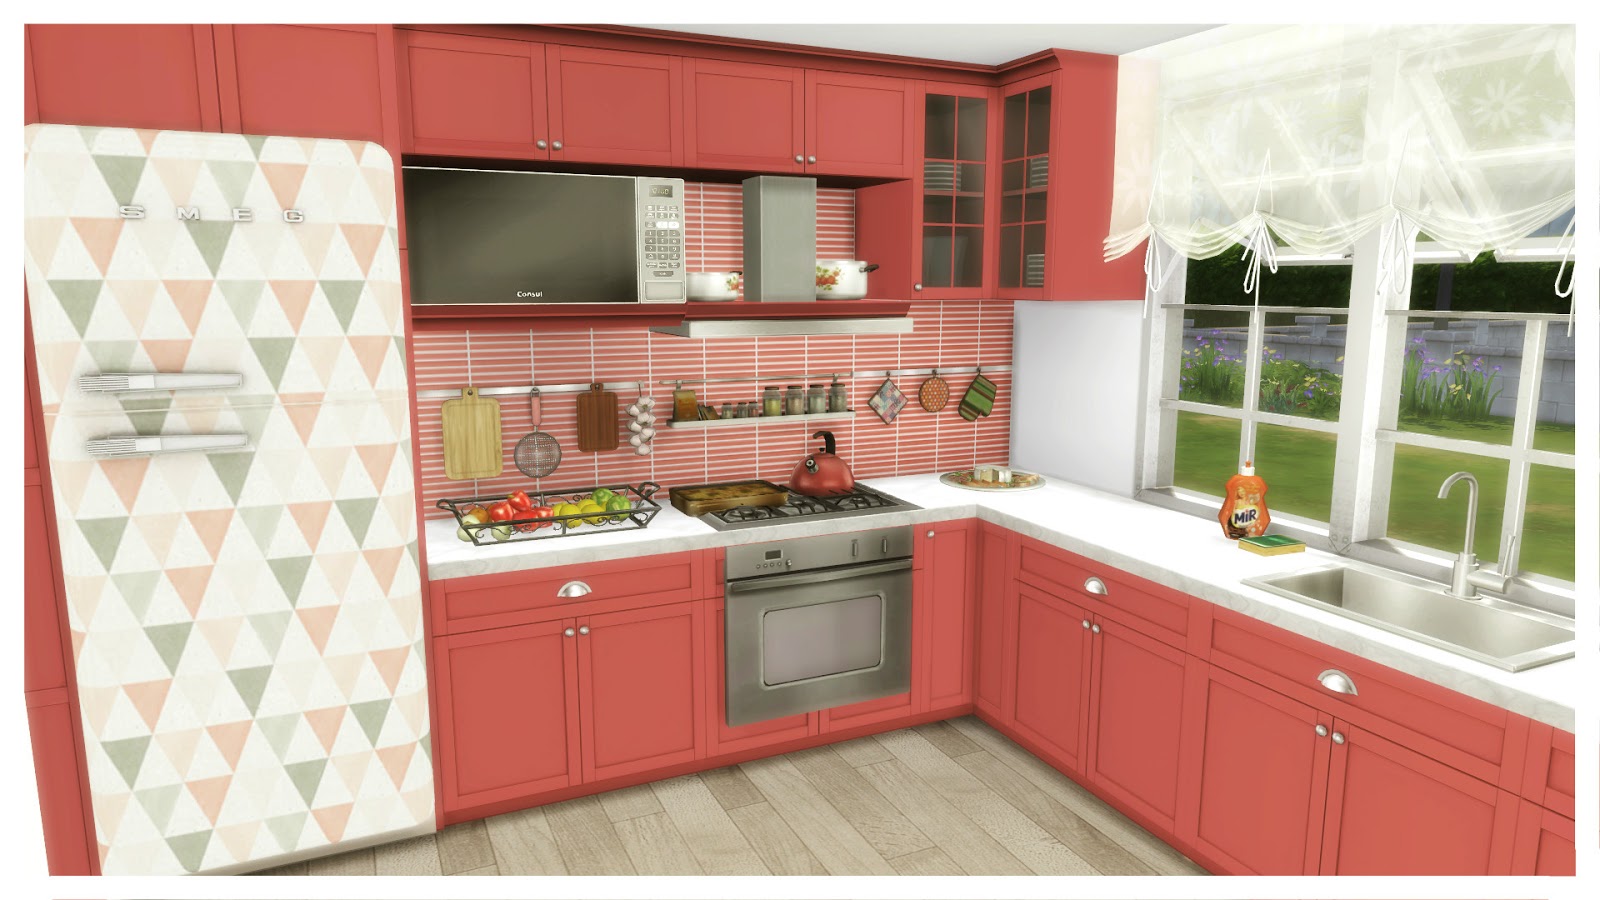
Are you tired of your outdated and cramped kitchen? Do you dream of having a more spacious and open floor plan? A simple solution might be to lower your kitchen bar. Not only will this give your kitchen a modern and updated look, but it can also create more space and functionality. Let's explore 10 inspiring ideas for lowering your kitchen bar before and after.Lowering Kitchen Bar Before and After: 10 Inspiring Ideas


Lowering Kitchen Bar Before and After: 10 Inspiring Ideas


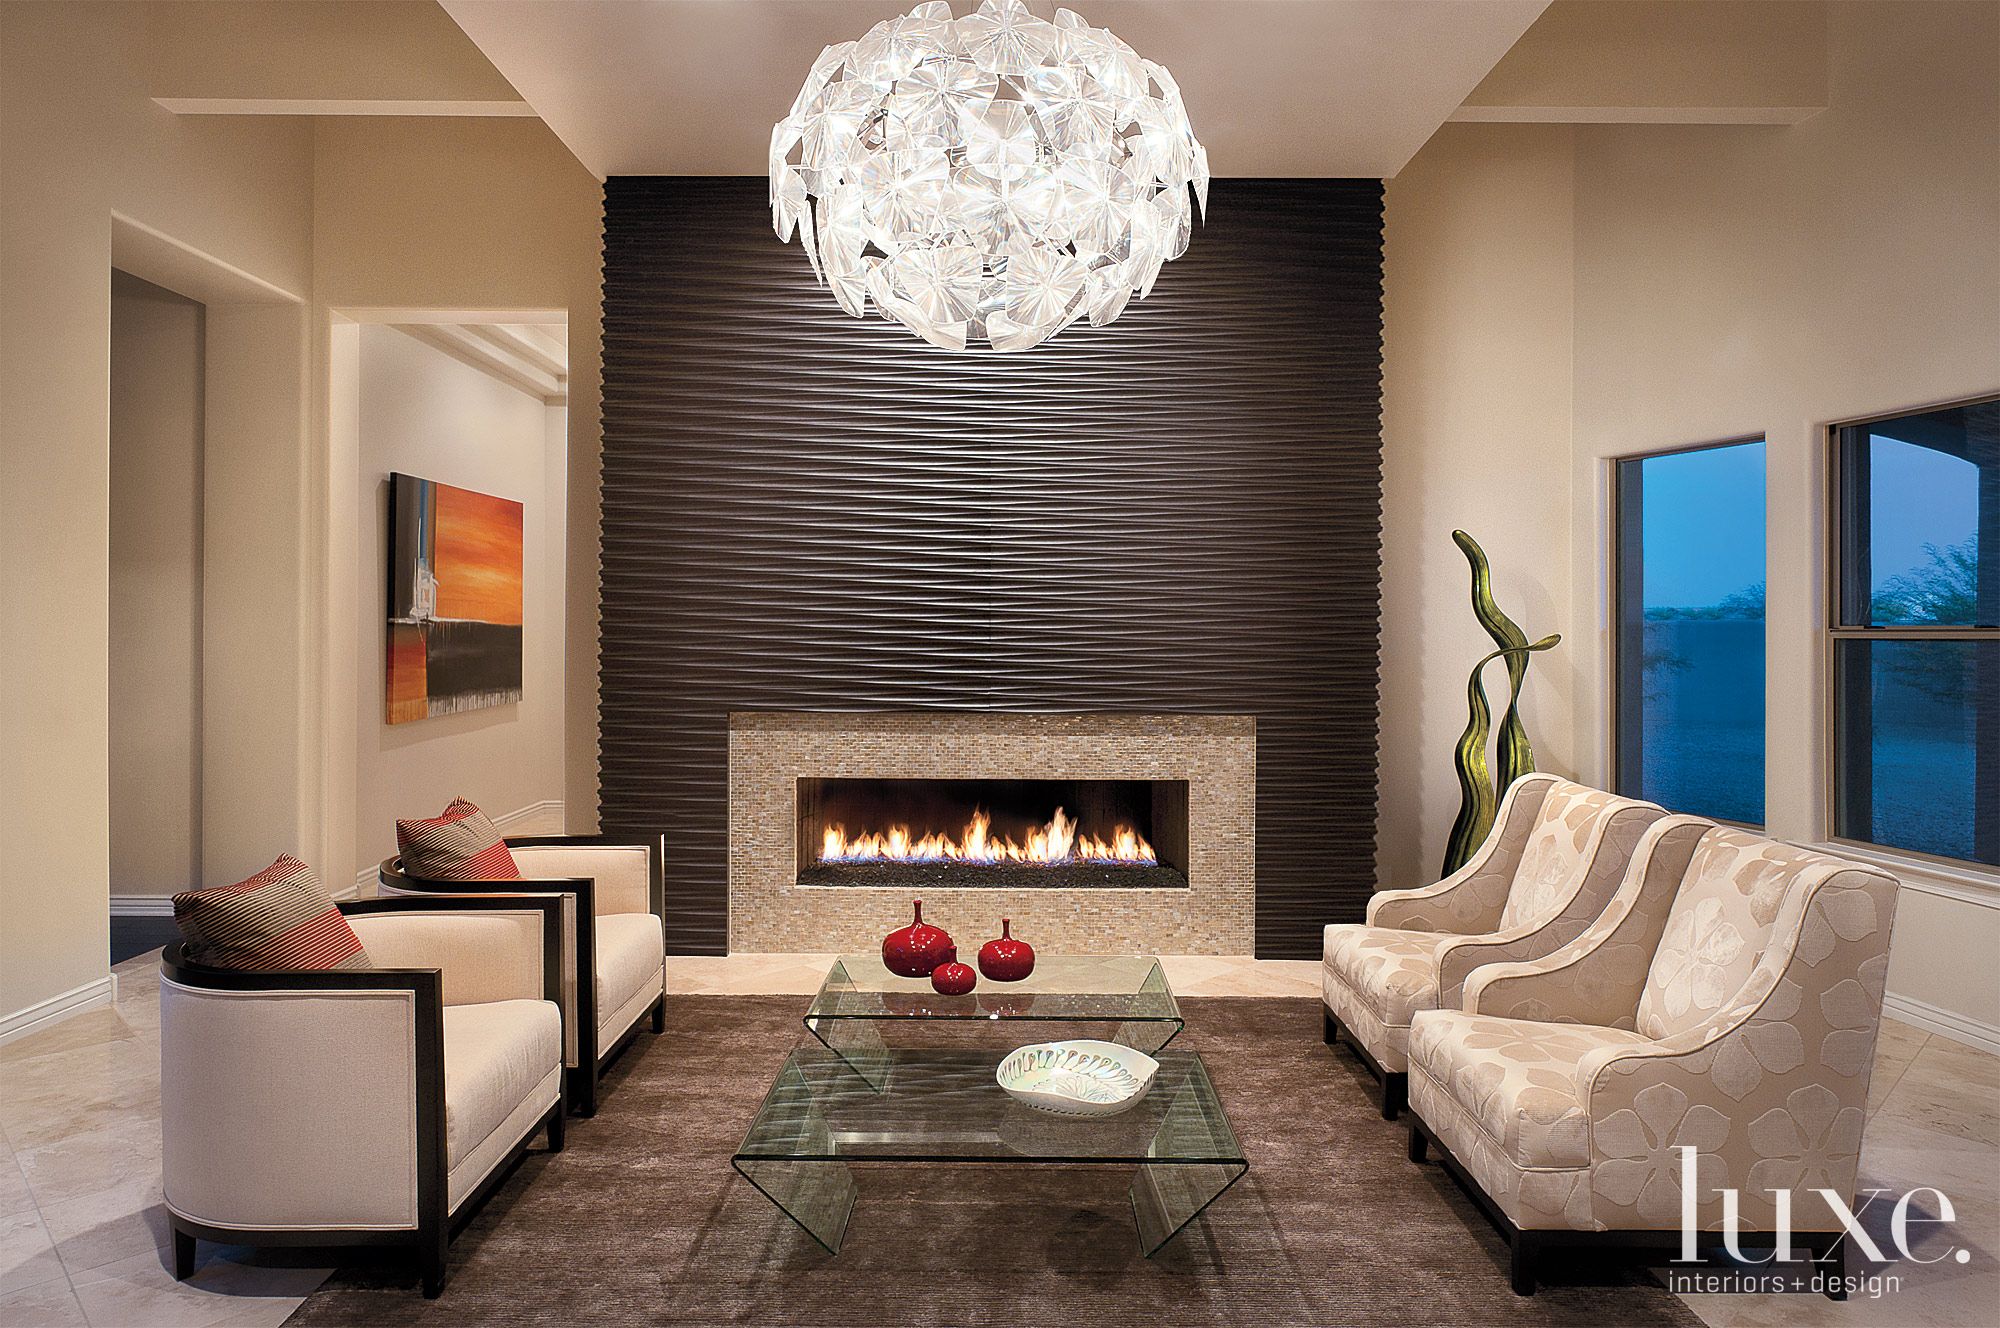
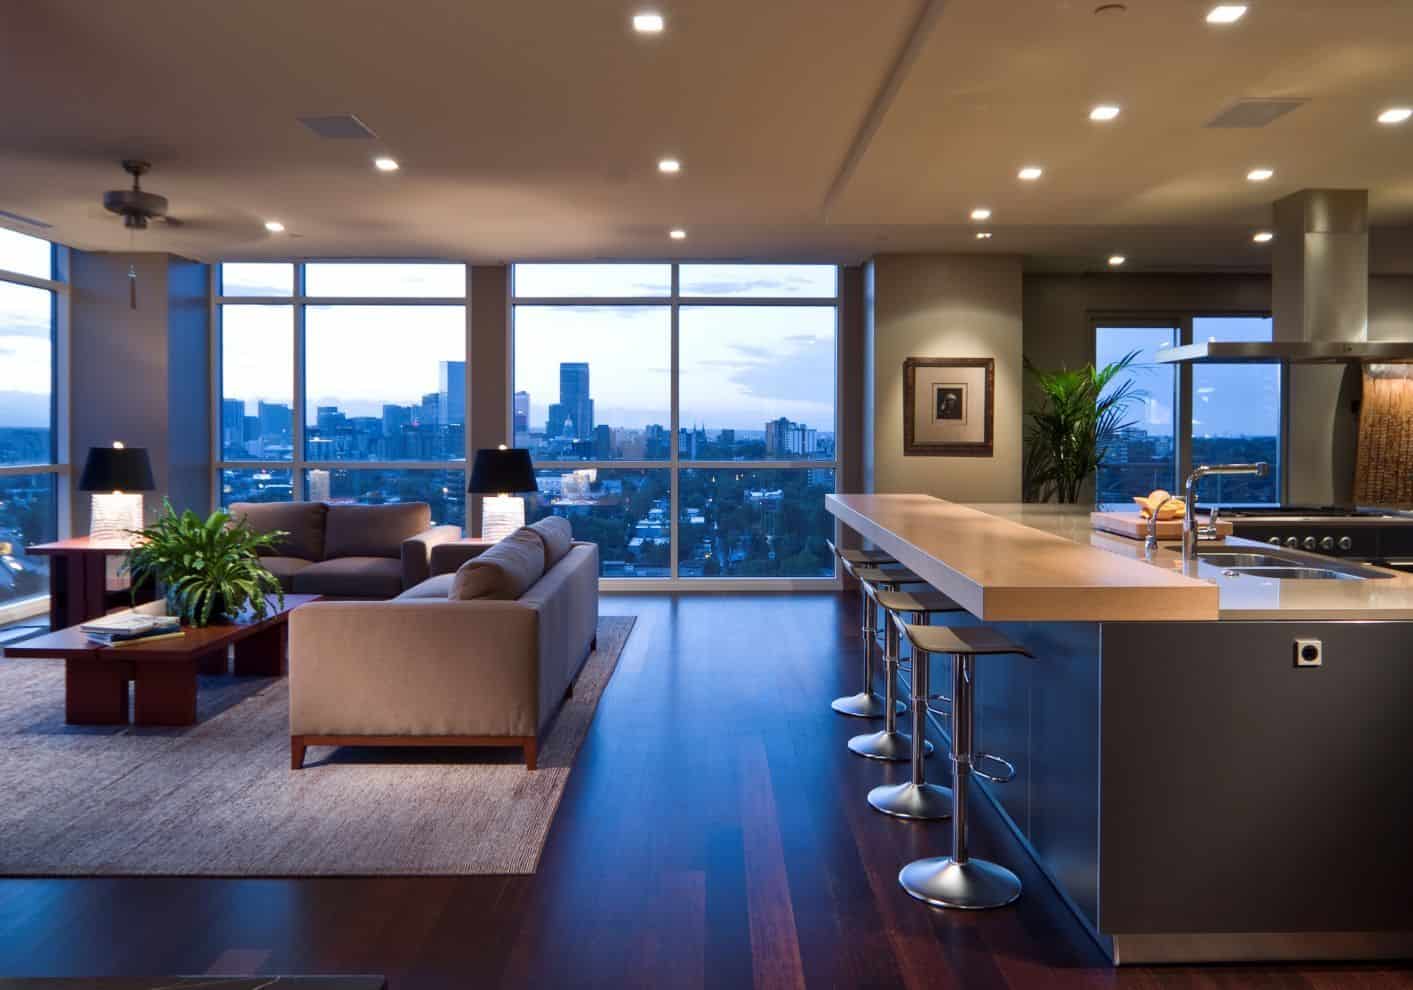
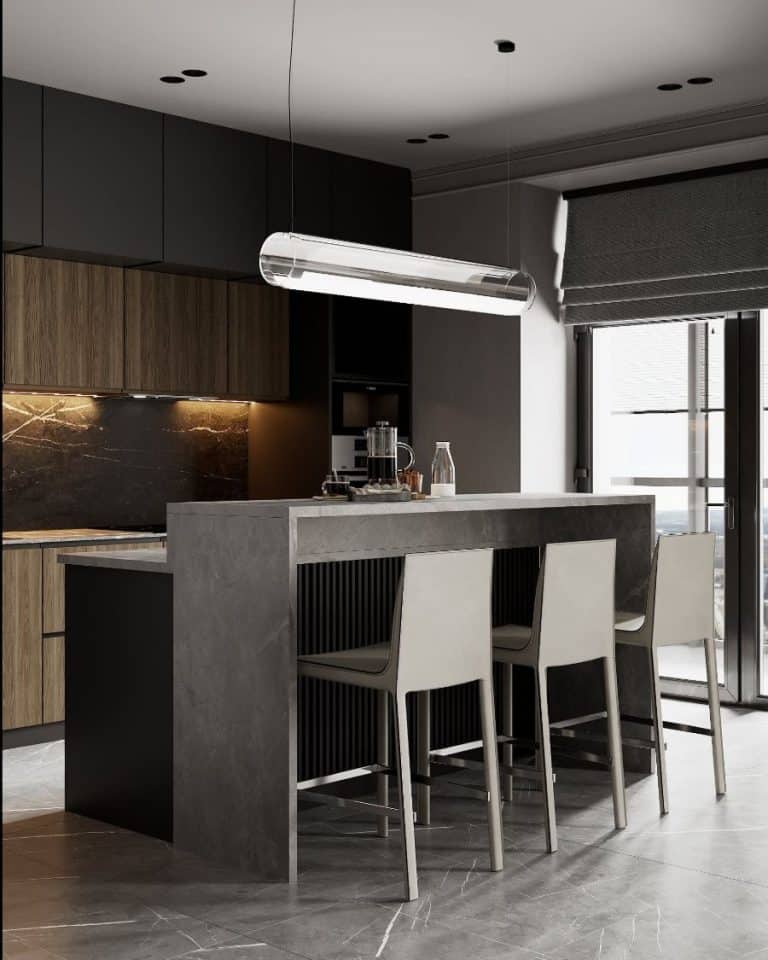
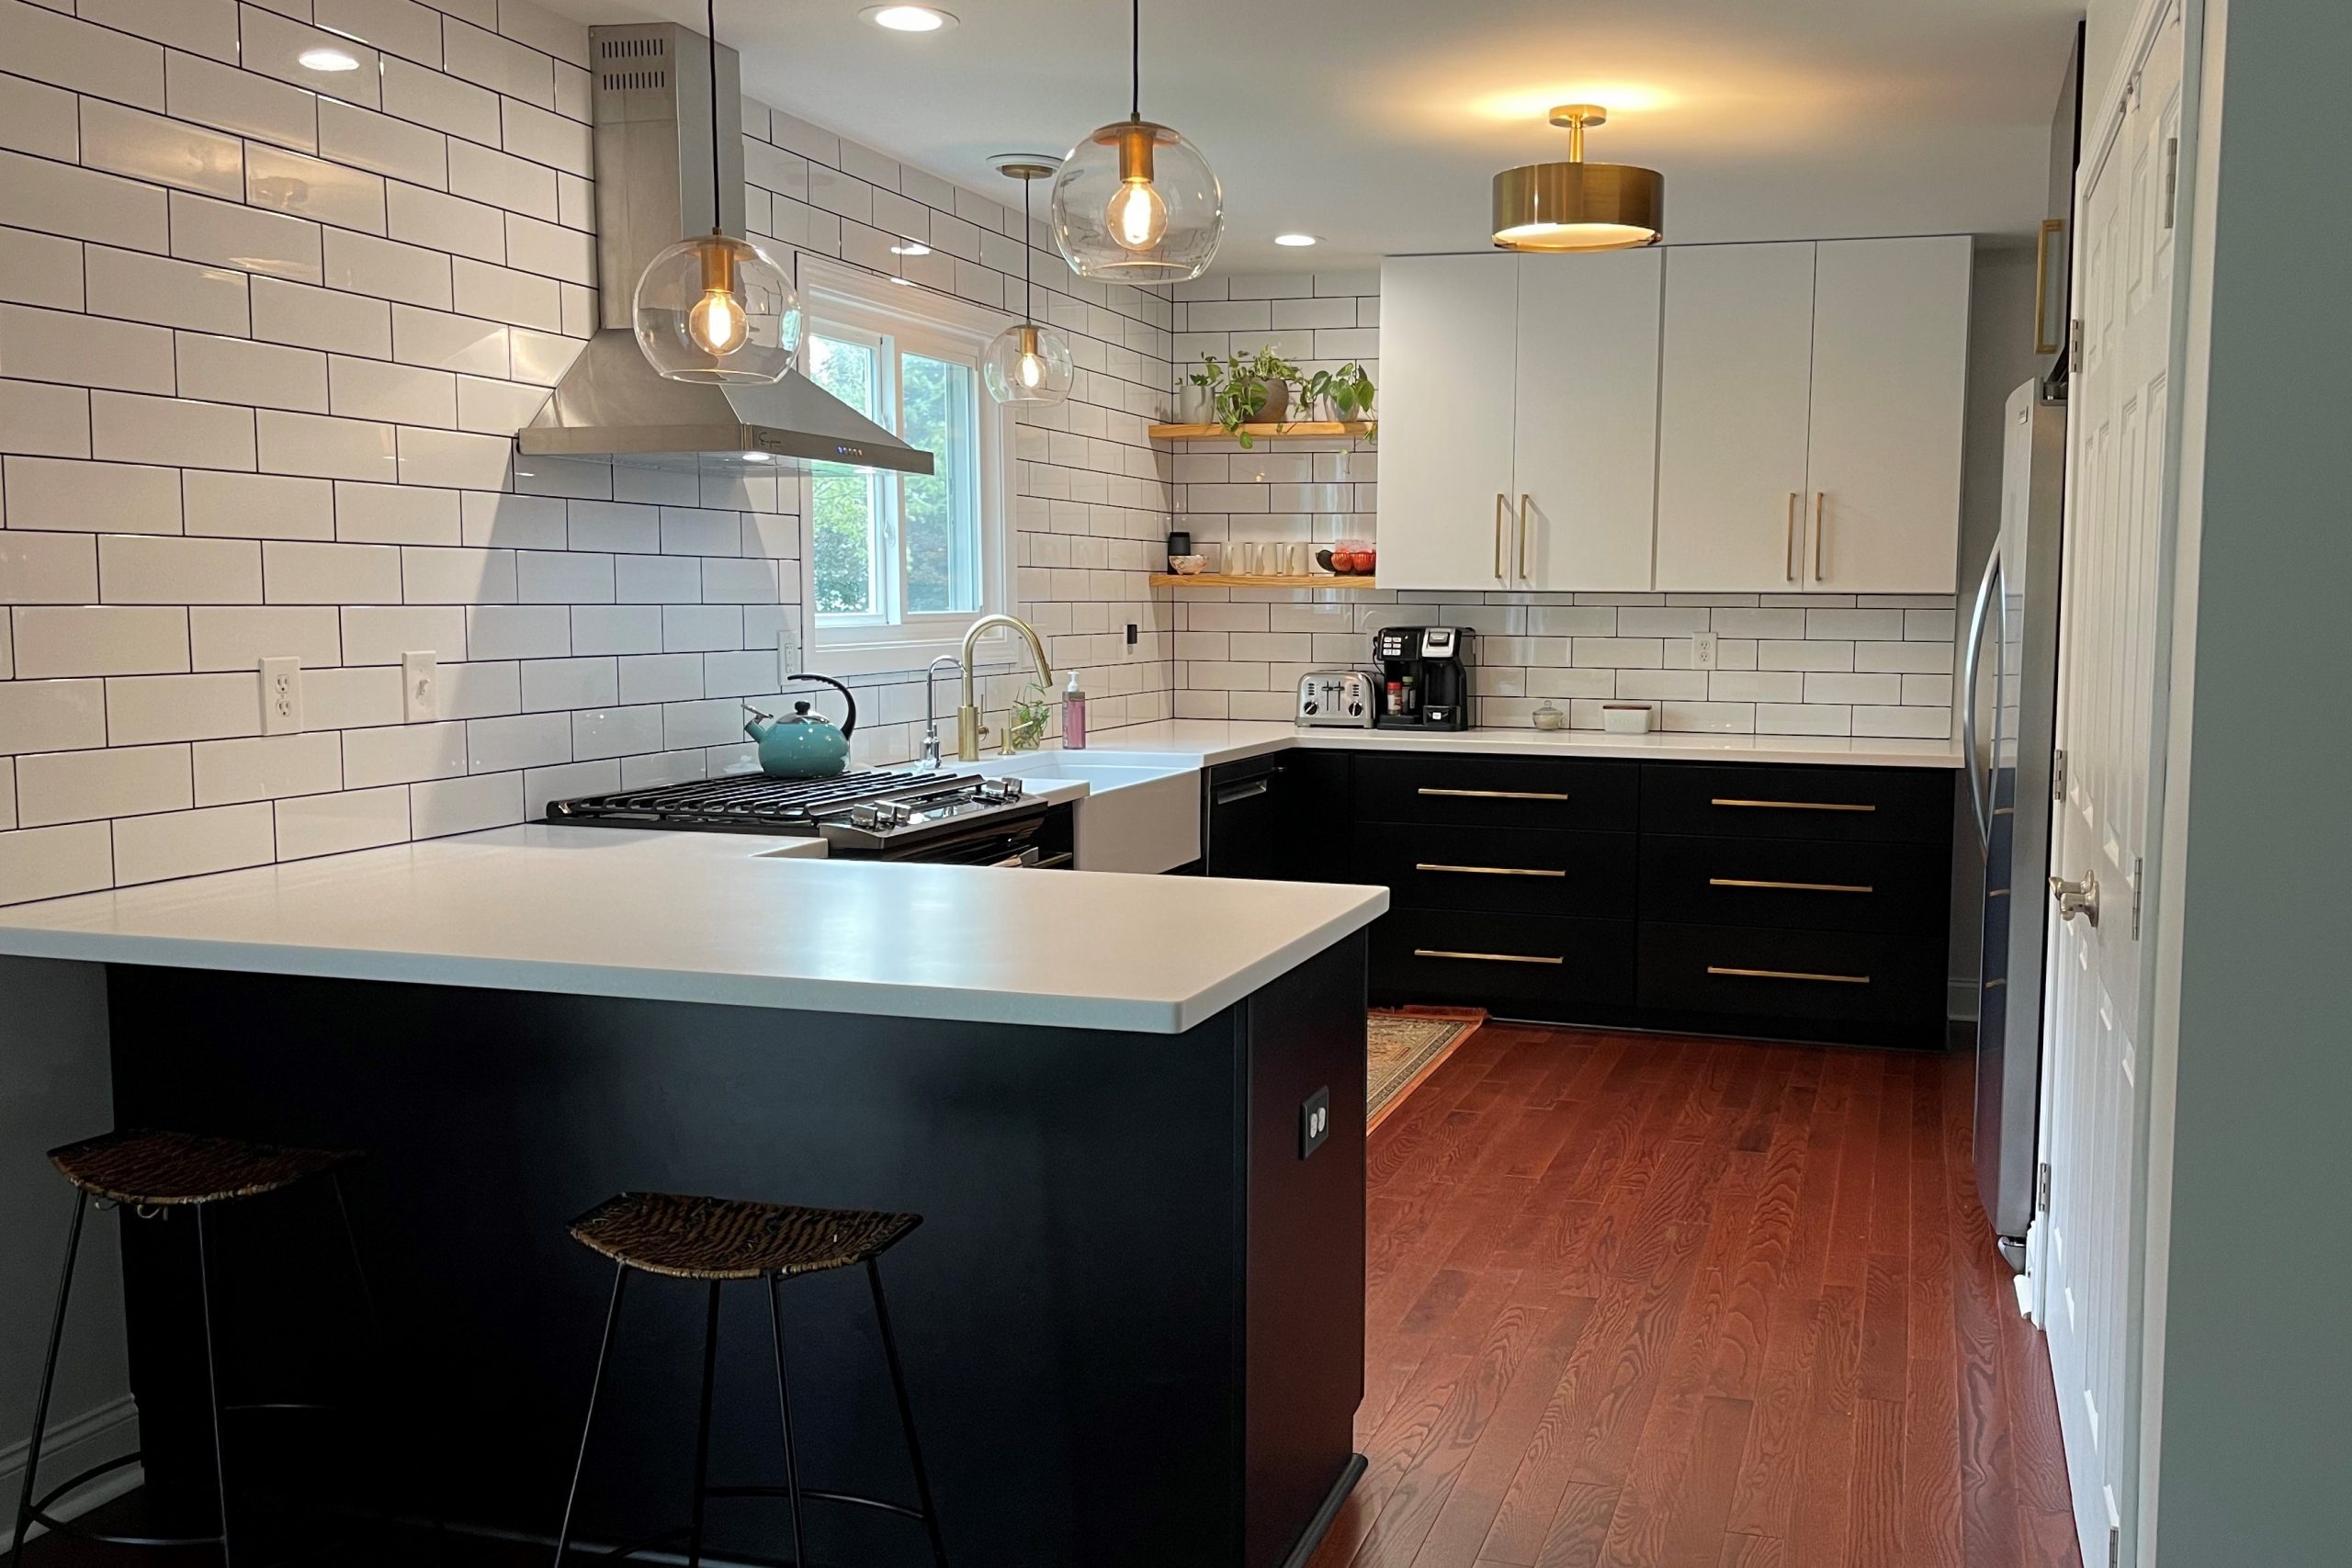
One of the primary benefits of lowering a kitchen bar is the creation of a more open floor plan. By removing the barrier of a high bar, you can seamlessly connect your kitchen to the rest of your living space. Your kitchen will feel larger and more inviting, making it the perfect spot for entertaining or spending time with your family.Before and After: Lowering a Kitchen Bar for a More Open Floor Plan


Before and After: Lowering a Kitchen Bar for a More Open Floor Plan


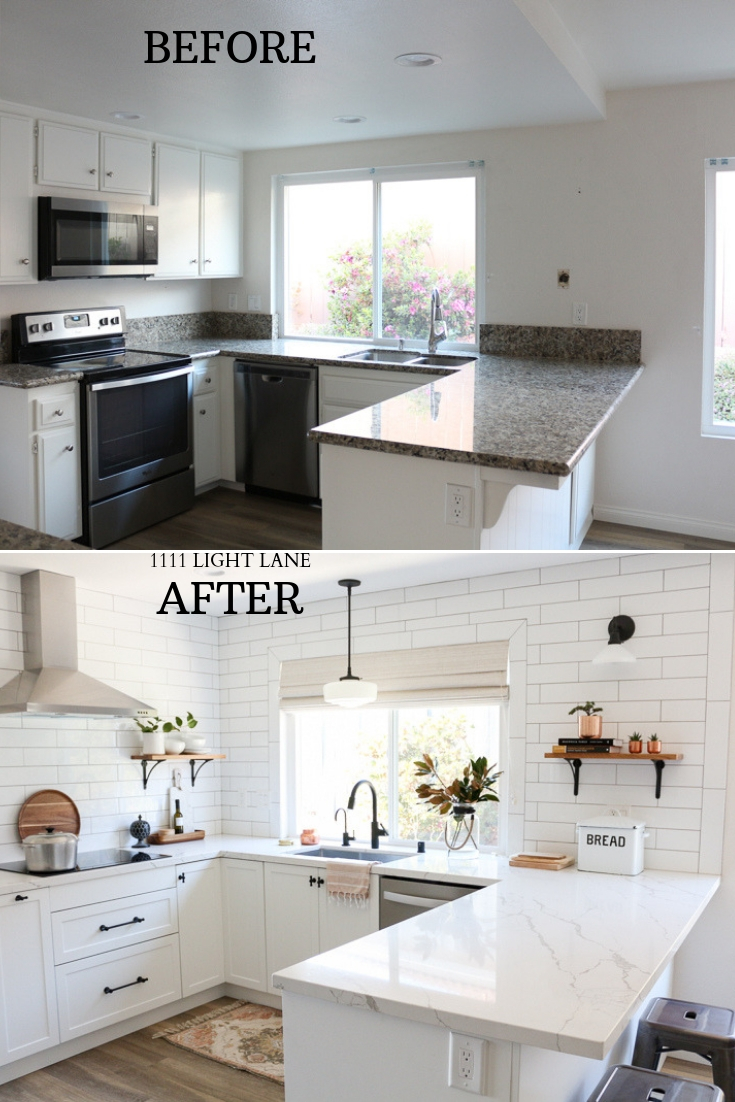
If you're unsure about how to go about lowering your kitchen bar, don't worry. There are plenty of resources available to help you with this project. Take a look at before and after photos of other homeowners who have successfully lowered their kitchen bar. You'll get a better idea of what to expect and can even use their designs as inspiration for your own kitchen.How to Lower a Kitchen Bar: Before and After Photos


How to Lower a Kitchen Bar: Before and After Photos

/light-blue-modern-kitchen-CWYoBOsD4ZBBskUnZQSE-l-97a7f42f4c16473a83cd8bc8a78b673a.jpg)

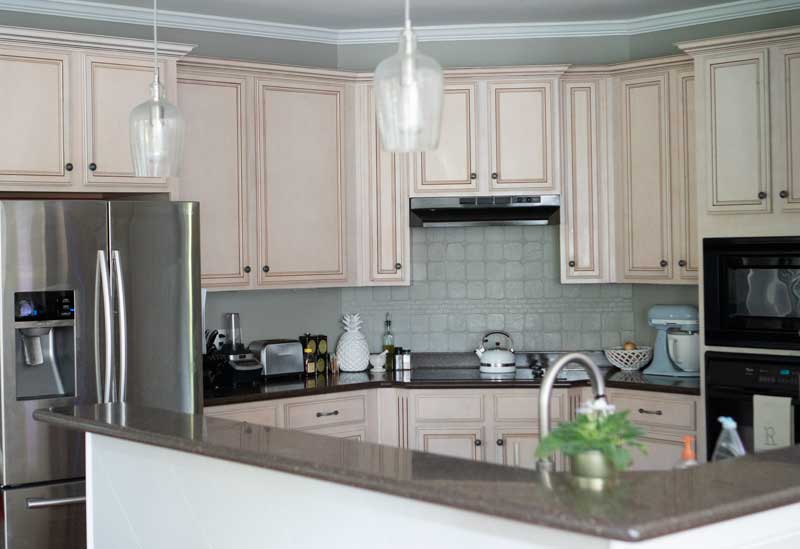
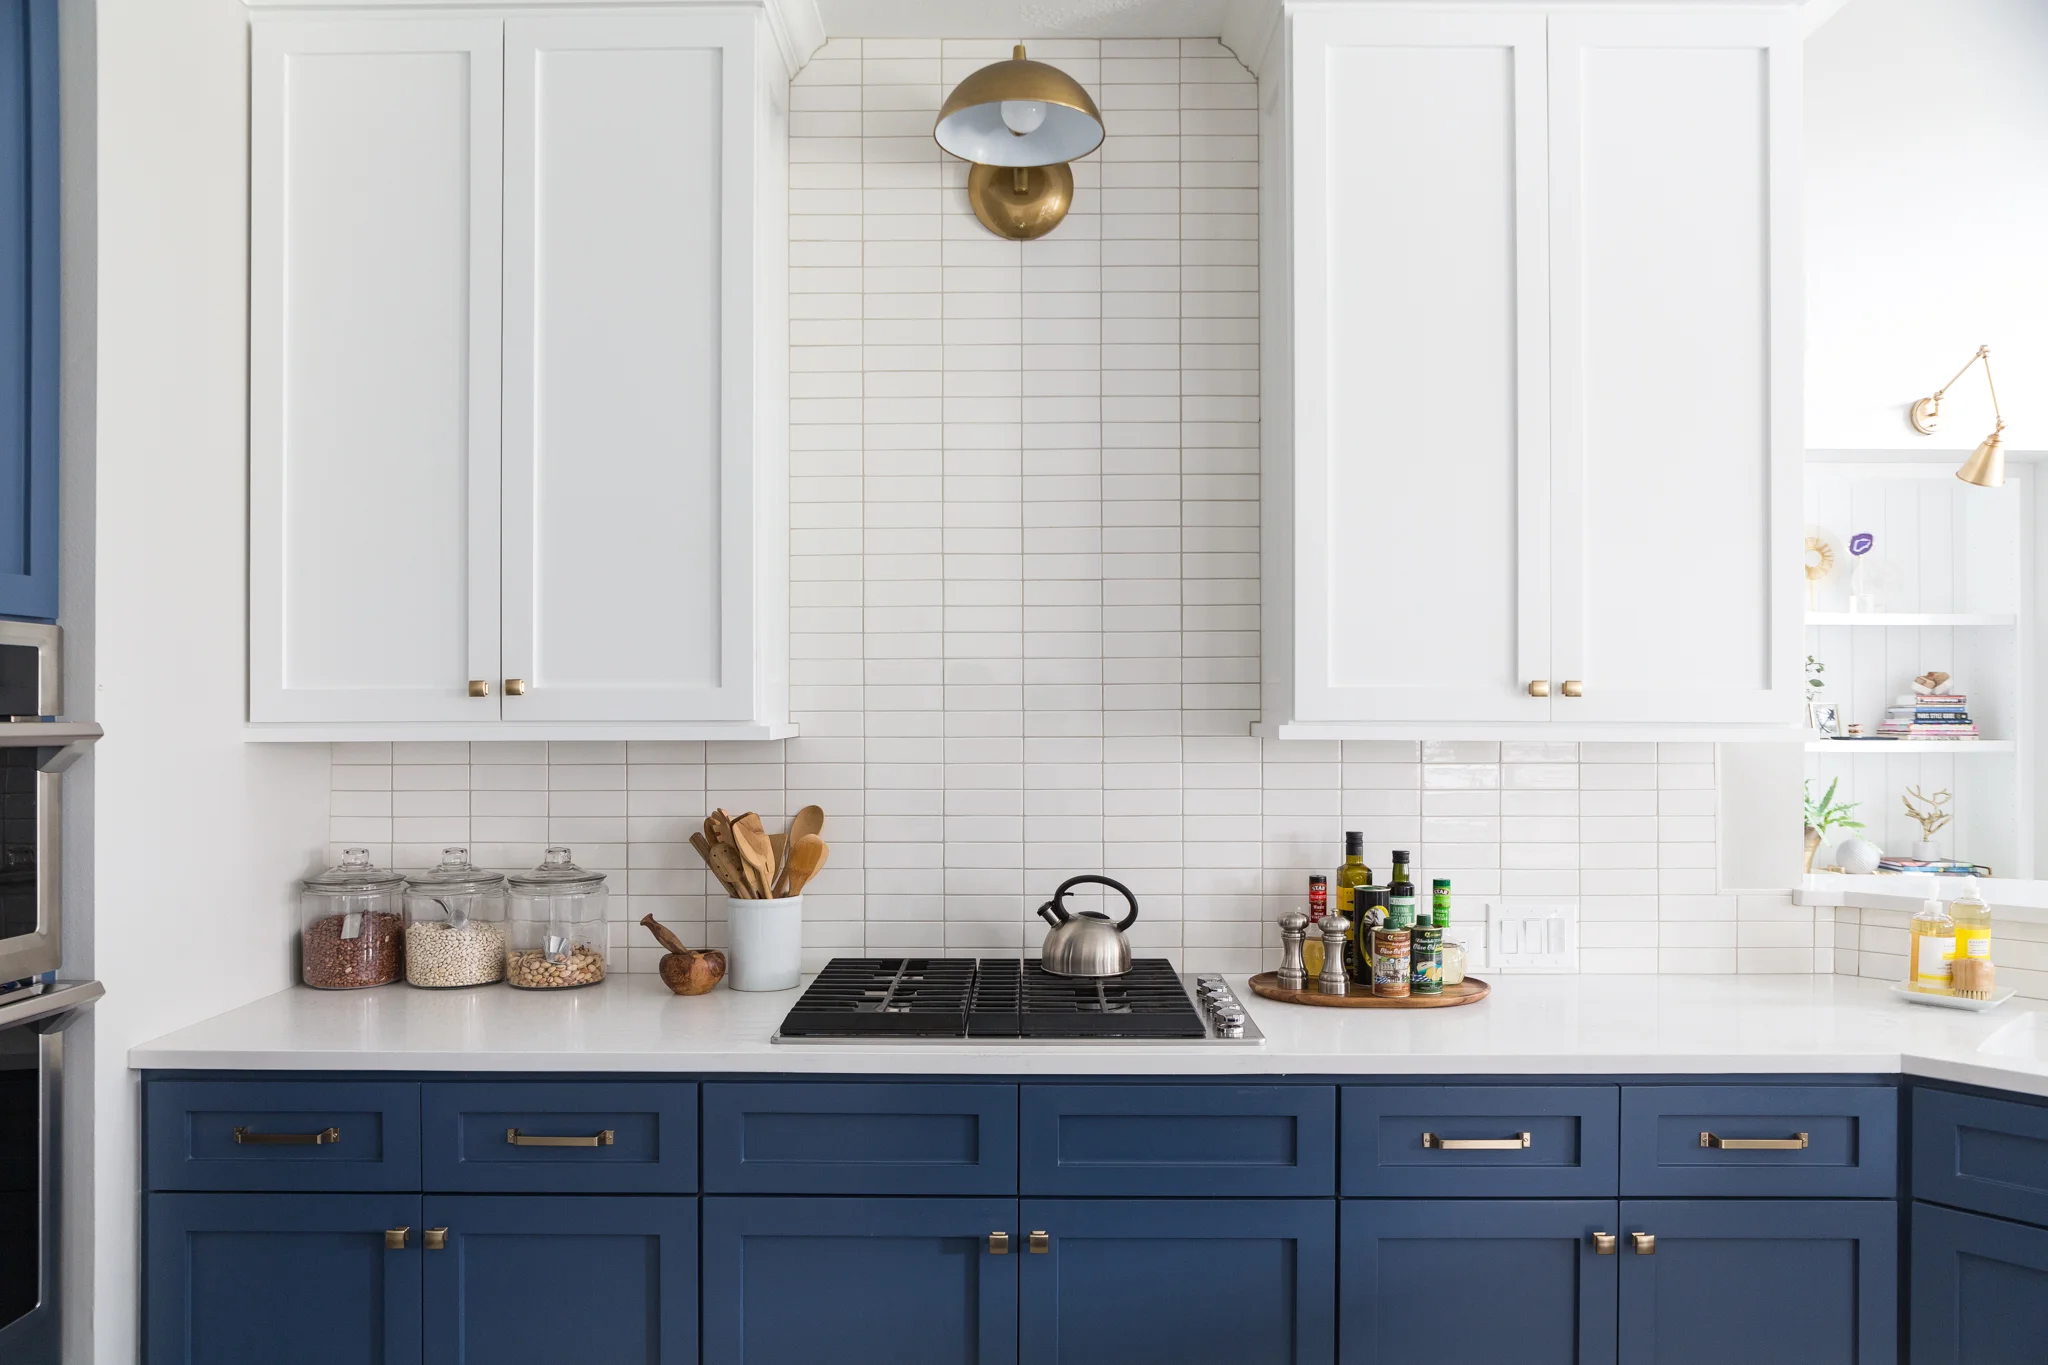
Renovations can be expensive, but lowering your kitchen bar doesn't have to break the bank. In fact, it can be a budget-friendly project that will still make a significant impact on the overall look and feel of your kitchen. With some careful planning and DIY techniques, you can achieve a stunning transformation without overspending.Lowering Kitchen Bar Before and After: A Budget-Friendly Renovation


Lowering Kitchen Bar Before and After: A Budget-Friendly Renovation

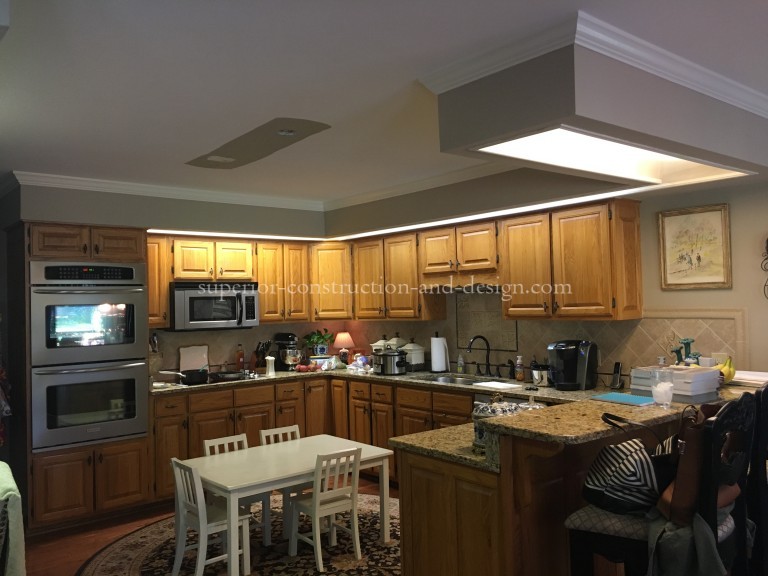
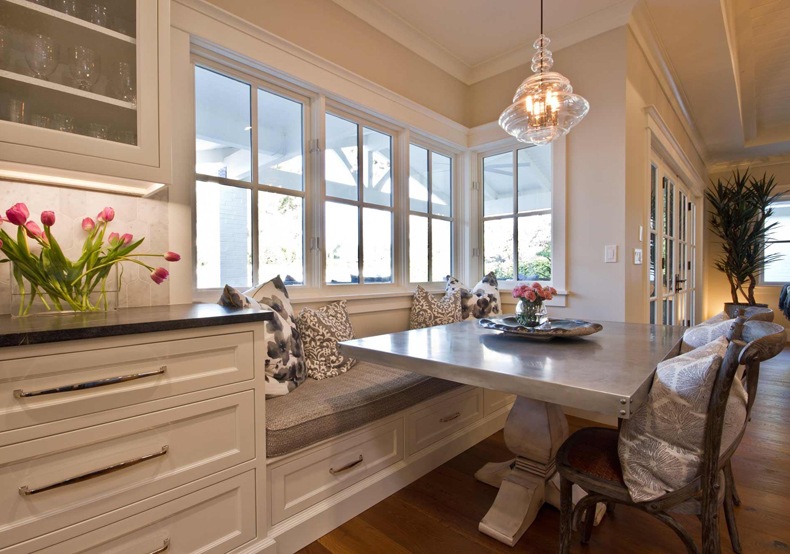
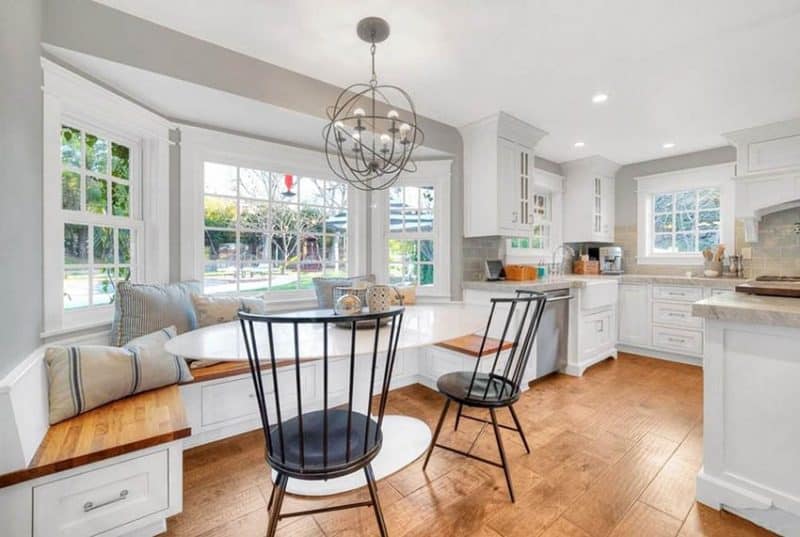
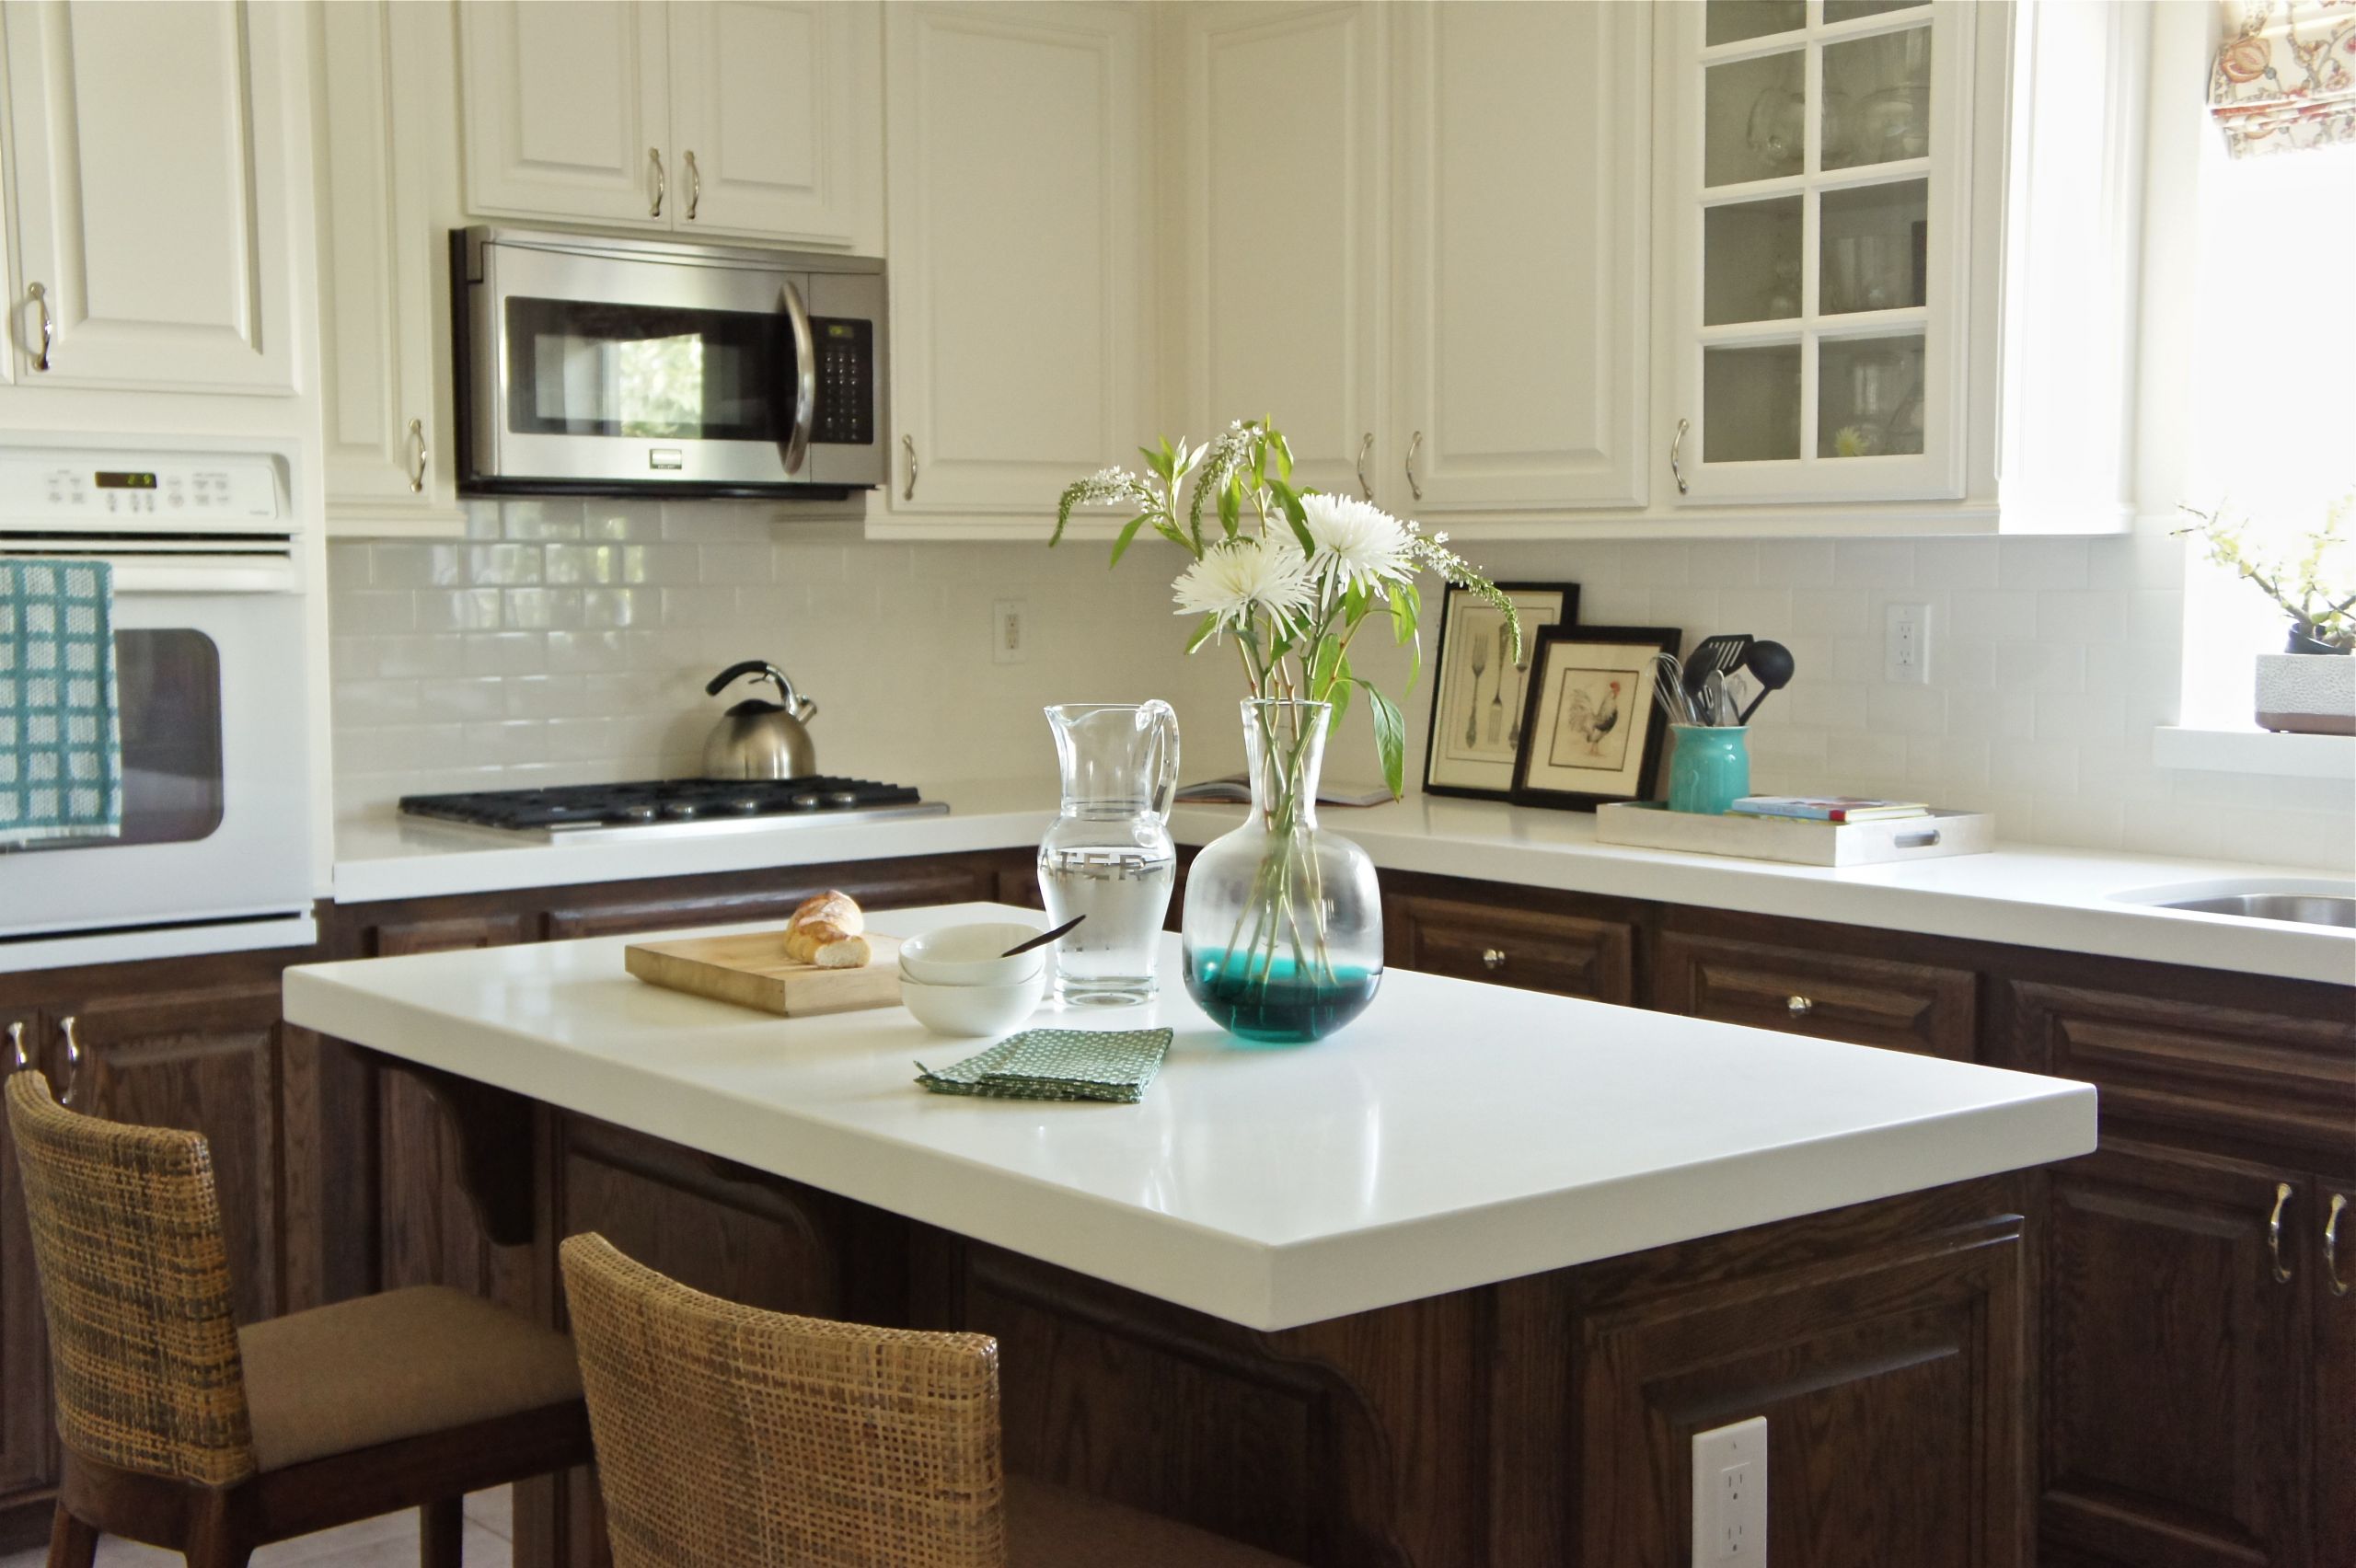
Do you dream of having a cozy breakfast nook in your kitchen? By lowering your kitchen bar, you can easily create a space for a small table and chairs. This will not only add character to your kitchen but also provide a convenient spot for enjoying your morning coffee or a quick meal.Before and After: Lowering a Kitchen Bar to Create a Breakfast Nook
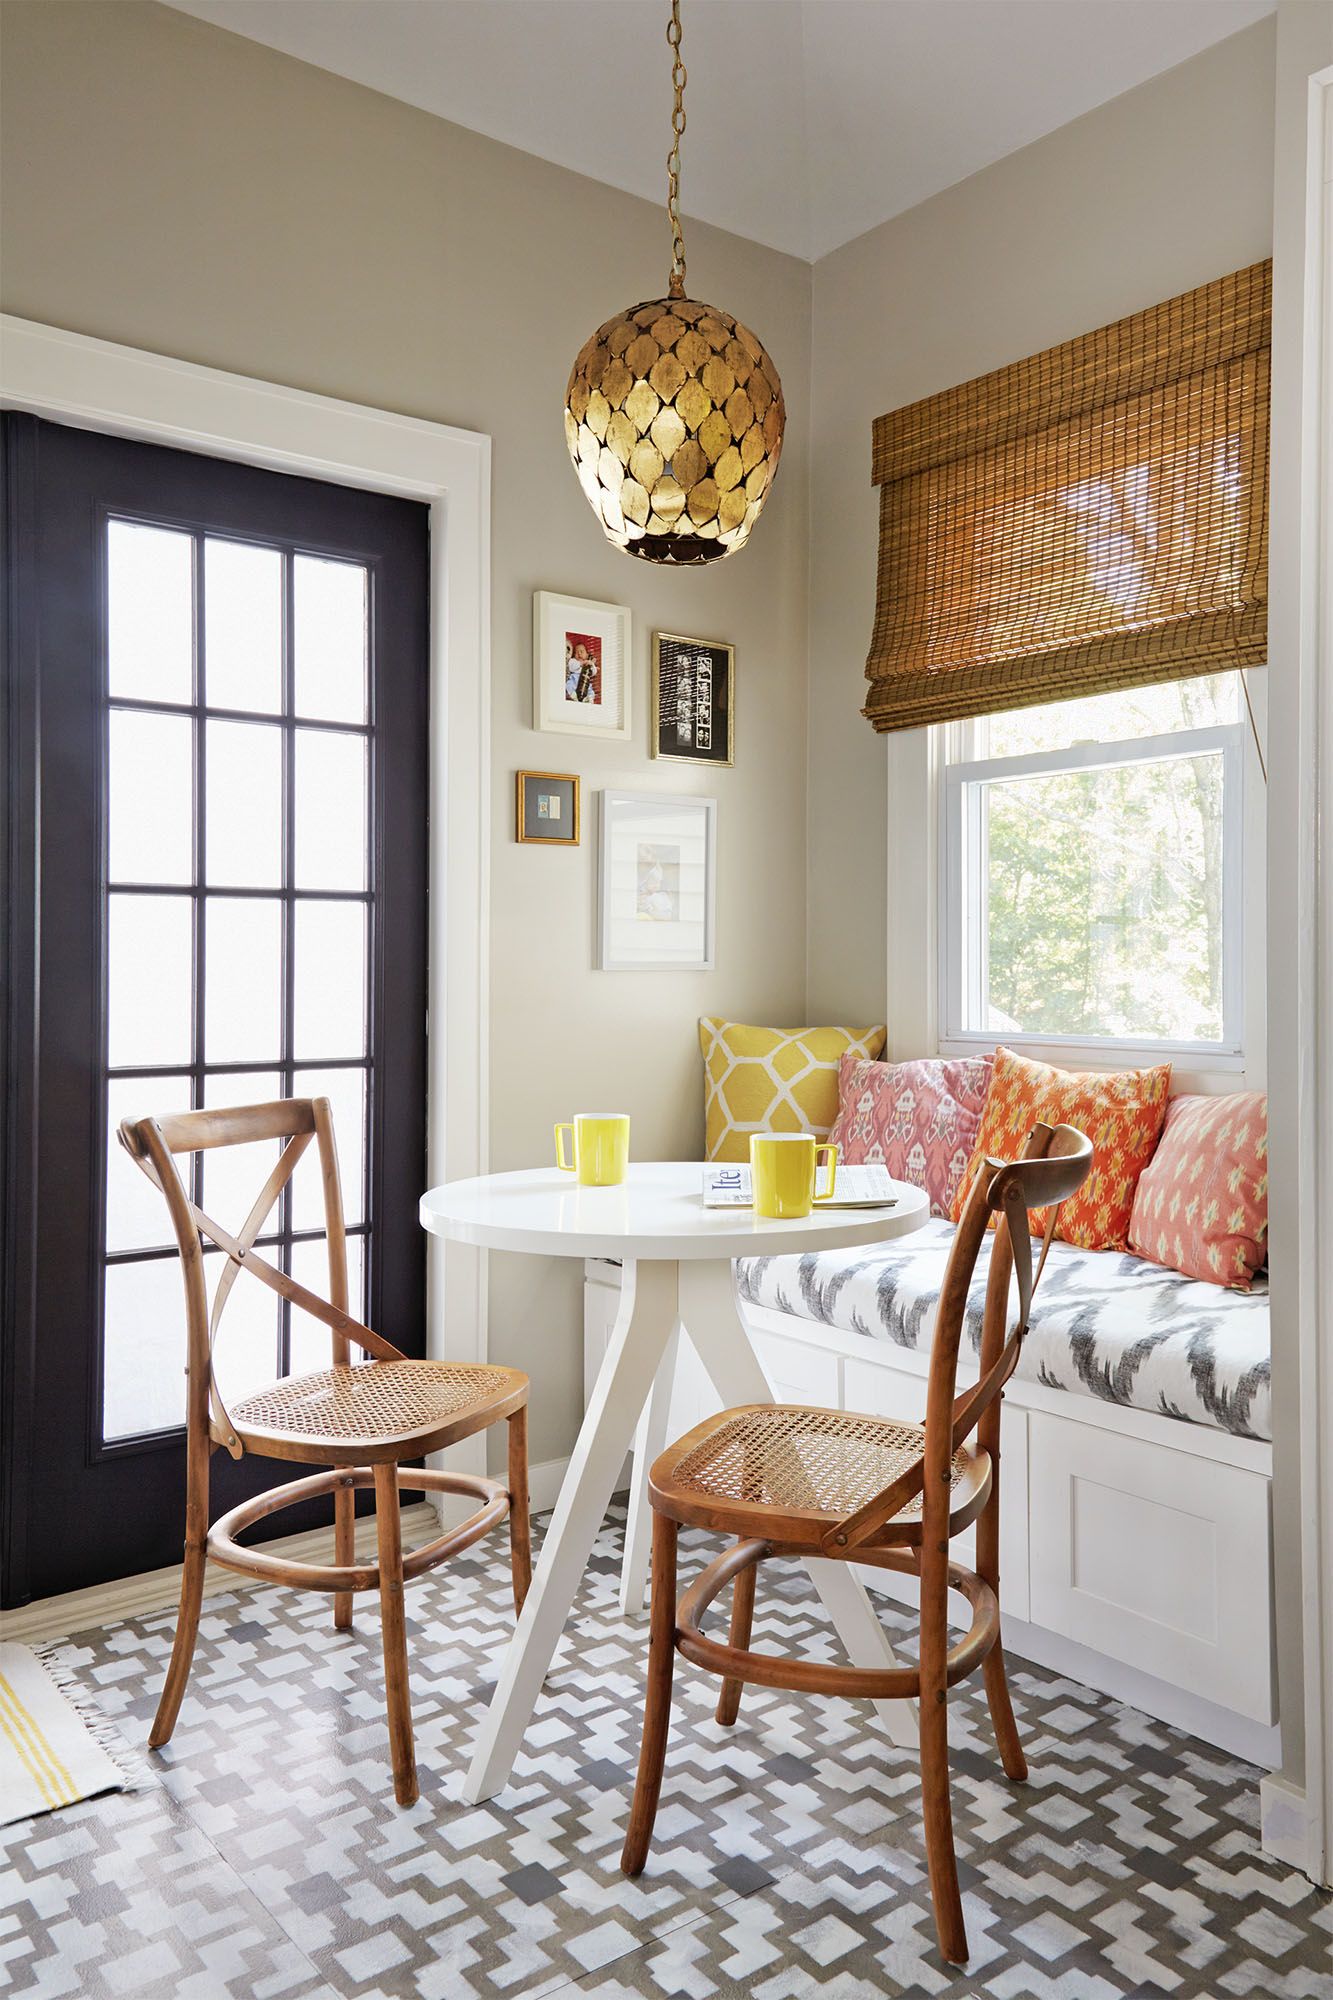


Before and After: Lowering a Kitchen Bar to Create a Breakfast Nook


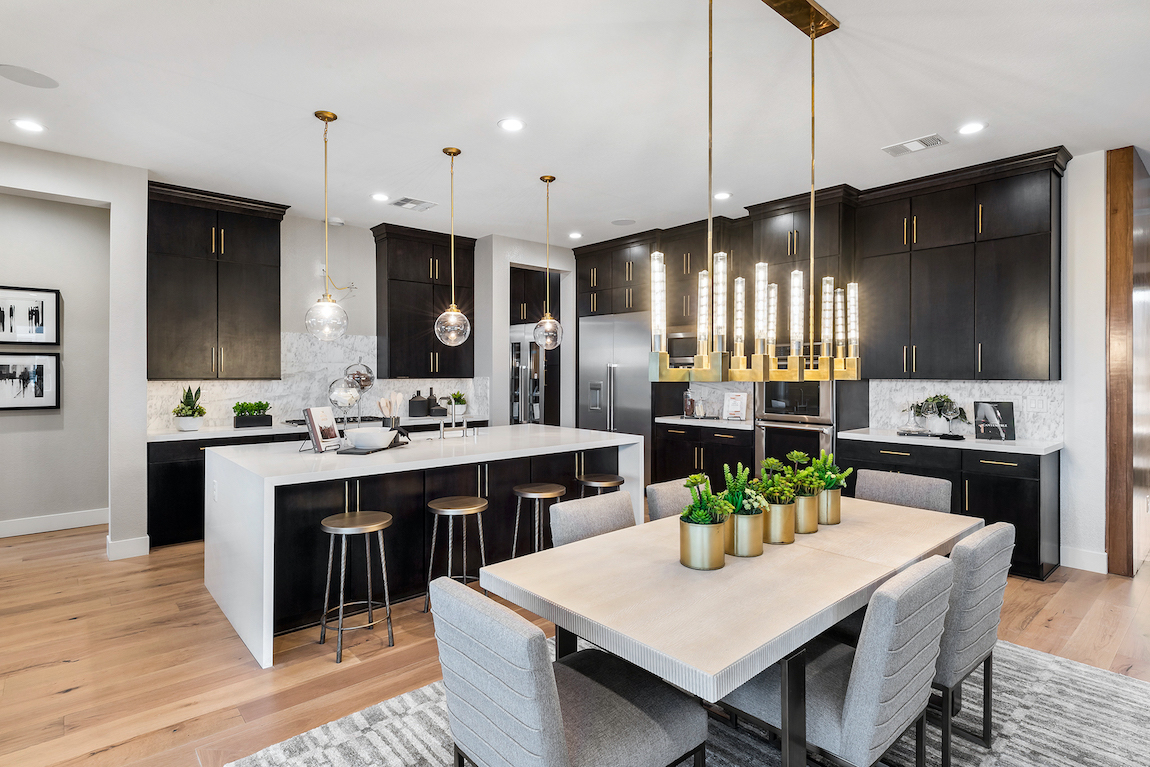
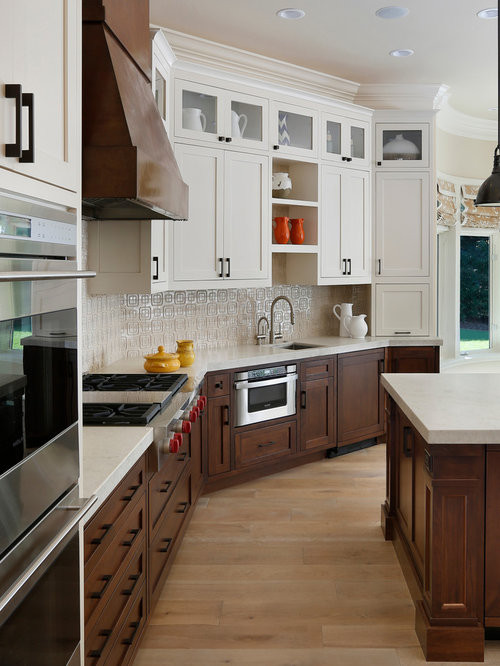
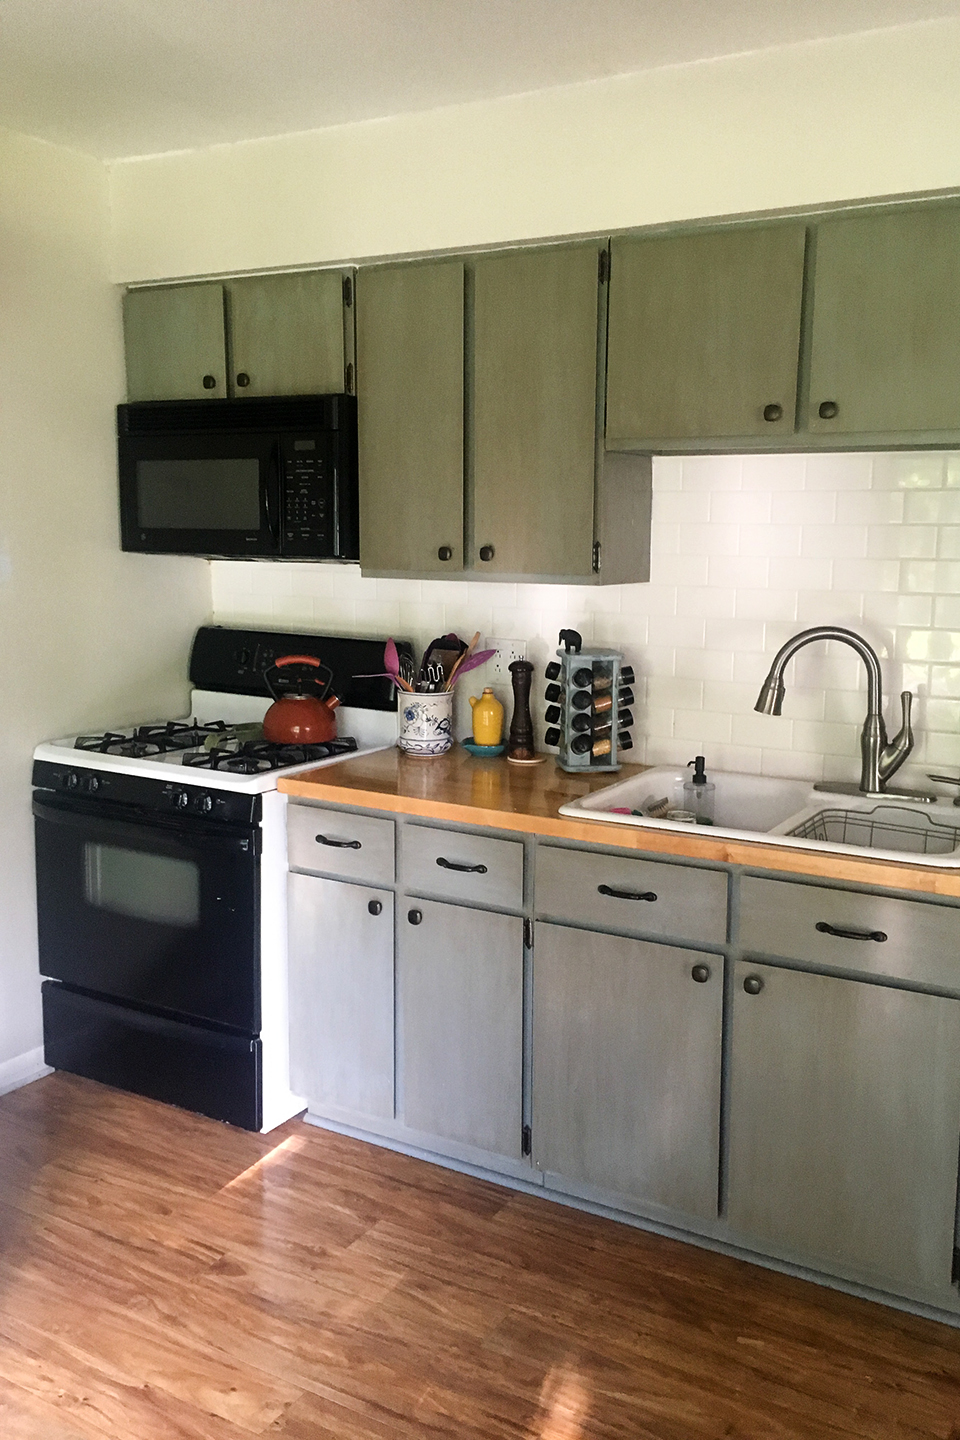
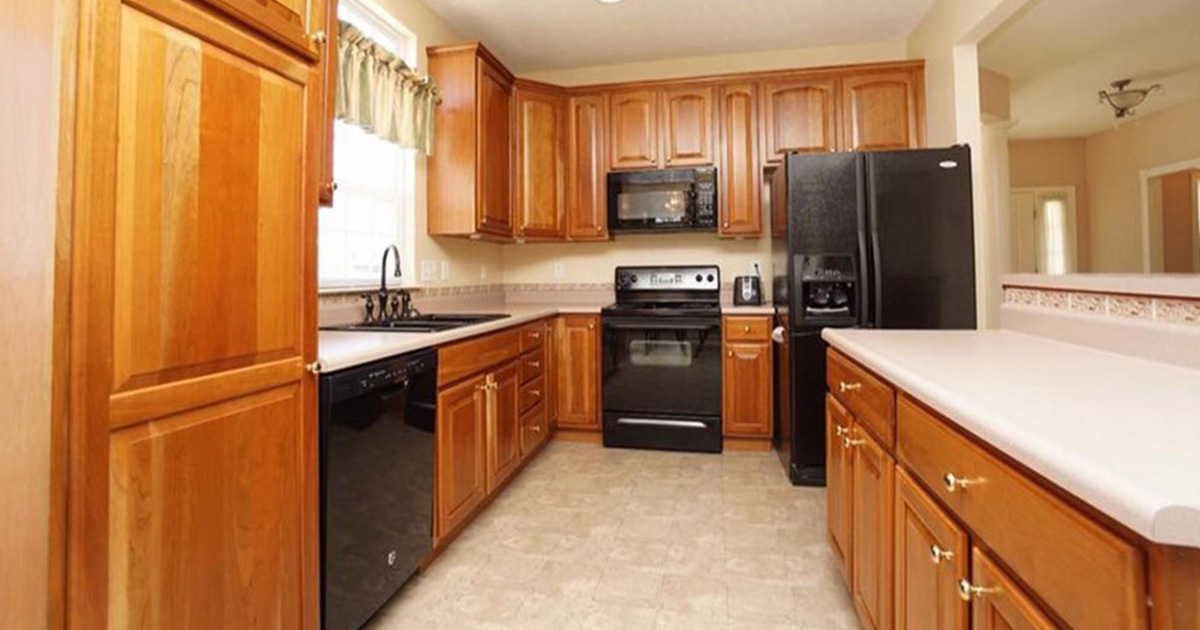
If your kitchen bar is a relic from the past, a simple update might be all it needs to transform it into a modern feature. By lowering the bar, you can give it a sleek and contemporary look. You can also incorporate other modern elements, such as pendant lights or a new countertop material, to complete the transformation.Lowering Kitchen Bar Before and After: From Dated to Modern

Lowering Kitchen Bar Before and After: From Dated to Modern

One of the biggest complaints about small kitchens is the lack of counter space. By lowering your kitchen bar, you can instantly add more usable counter space. This is especially beneficial for those who love to cook and need a larger workspace. You can even add additional cabinets or shelves underneath for even more storage options.Before and After: Lowering a Kitchen Bar to Increase Counter Space


Before and After: Lowering a Kitchen Bar to Increase Counter Space

Lowering a kitchen bar doesn't have to be a daunting task. With the right tools and a bit of DIY knowledge, you can take on this project yourself. Not only will it save you money, but it can also be a fun and rewarding experience. Just make sure to do your research and follow proper safety precautions.Lowering Kitchen Bar Before and After: A DIY Project
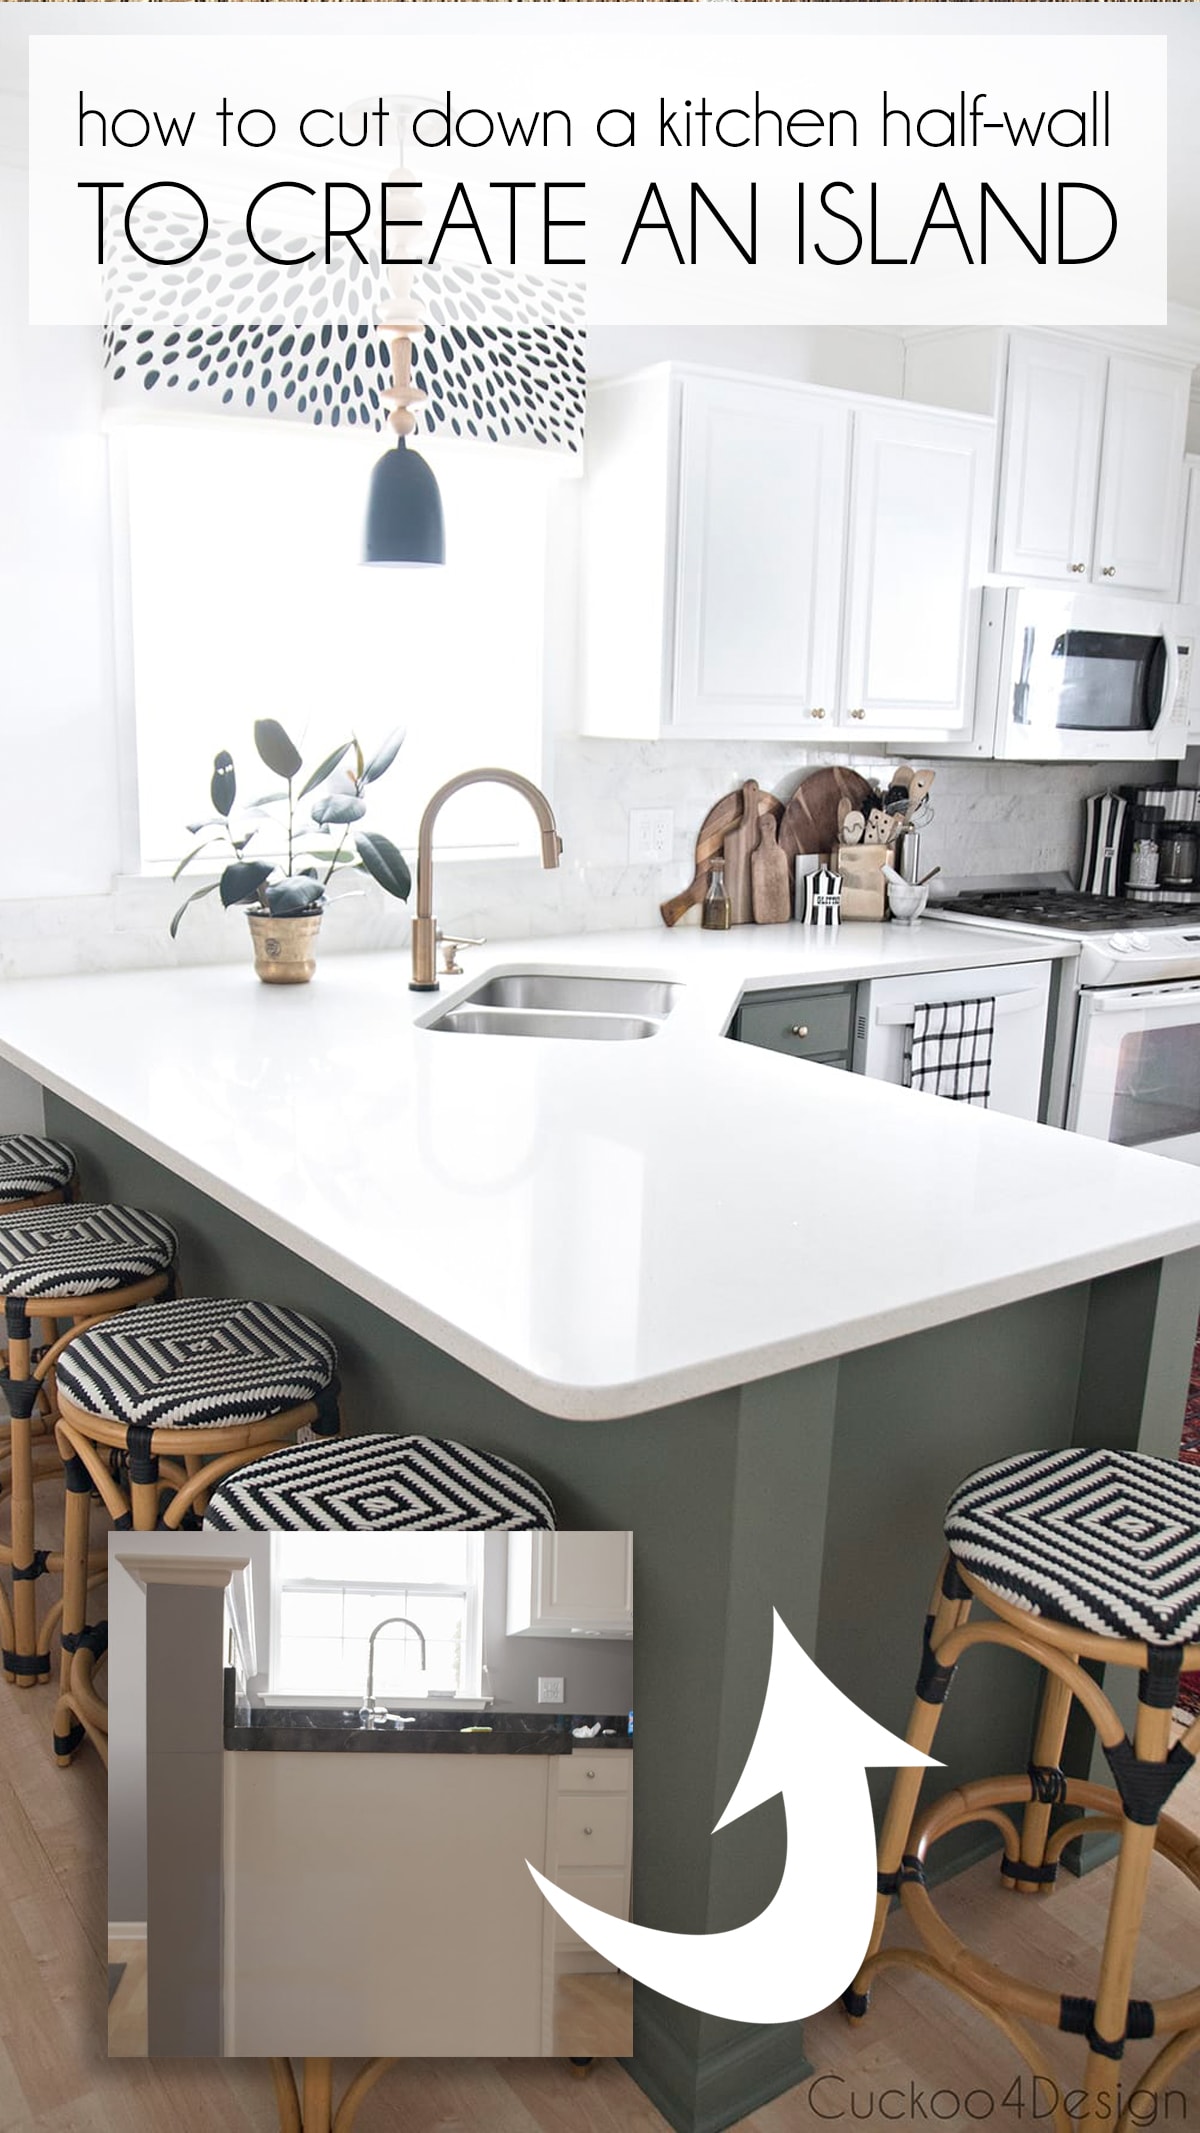


Lowering Kitchen Bar Before and After: A DIY Project

In addition to creating more counter space, lowering your kitchen bar can also serve other purposes. You can use the space underneath for additional storage, or even turn it into a mini home office. By incorporating a desk or shelves, you can create a multi-functional space that meets all your needs.Before and After: Lowering a Kitchen Bar to Create a Multi-Functional Space


Before and After: Lowering a Kitchen Bar to Create a Multi-Functional Space


If you have a small kitchen, lowering the bar can make a significant difference in the overall feel of the space. It can make your kitchen appear larger, more modern, and more functional. By utilizing the extra space created by lowering the bar, you can also declutter your kitchen and make it more organized.Lowering Kitchen Bar Before and After: A Small Kitchen Transformation


Lowering Kitchen Bar Before and After: A Small Kitchen Transformation

The Benefits of Lowering Your Kitchen Bar: Before and After
The Rise of Open Concept Living
 In recent years, the trend of open concept living has become increasingly popular in modern house design. This concept involves removing walls and barriers to create a more seamless flow between rooms, resulting in a more spacious and airy feel. One of the key areas that has seen a significant change through this trend is the kitchen. Traditionally, kitchens were kept separate from the rest of the house, but now, they are often open to the living and dining areas. However, this change in layout has brought about a new design challenge – how to incorporate a kitchen bar into the open concept space. This is where the idea of
lowering the kitchen bar
comes in.
In recent years, the trend of open concept living has become increasingly popular in modern house design. This concept involves removing walls and barriers to create a more seamless flow between rooms, resulting in a more spacious and airy feel. One of the key areas that has seen a significant change through this trend is the kitchen. Traditionally, kitchens were kept separate from the rest of the house, but now, they are often open to the living and dining areas. However, this change in layout has brought about a new design challenge – how to incorporate a kitchen bar into the open concept space. This is where the idea of
lowering the kitchen bar
comes in.
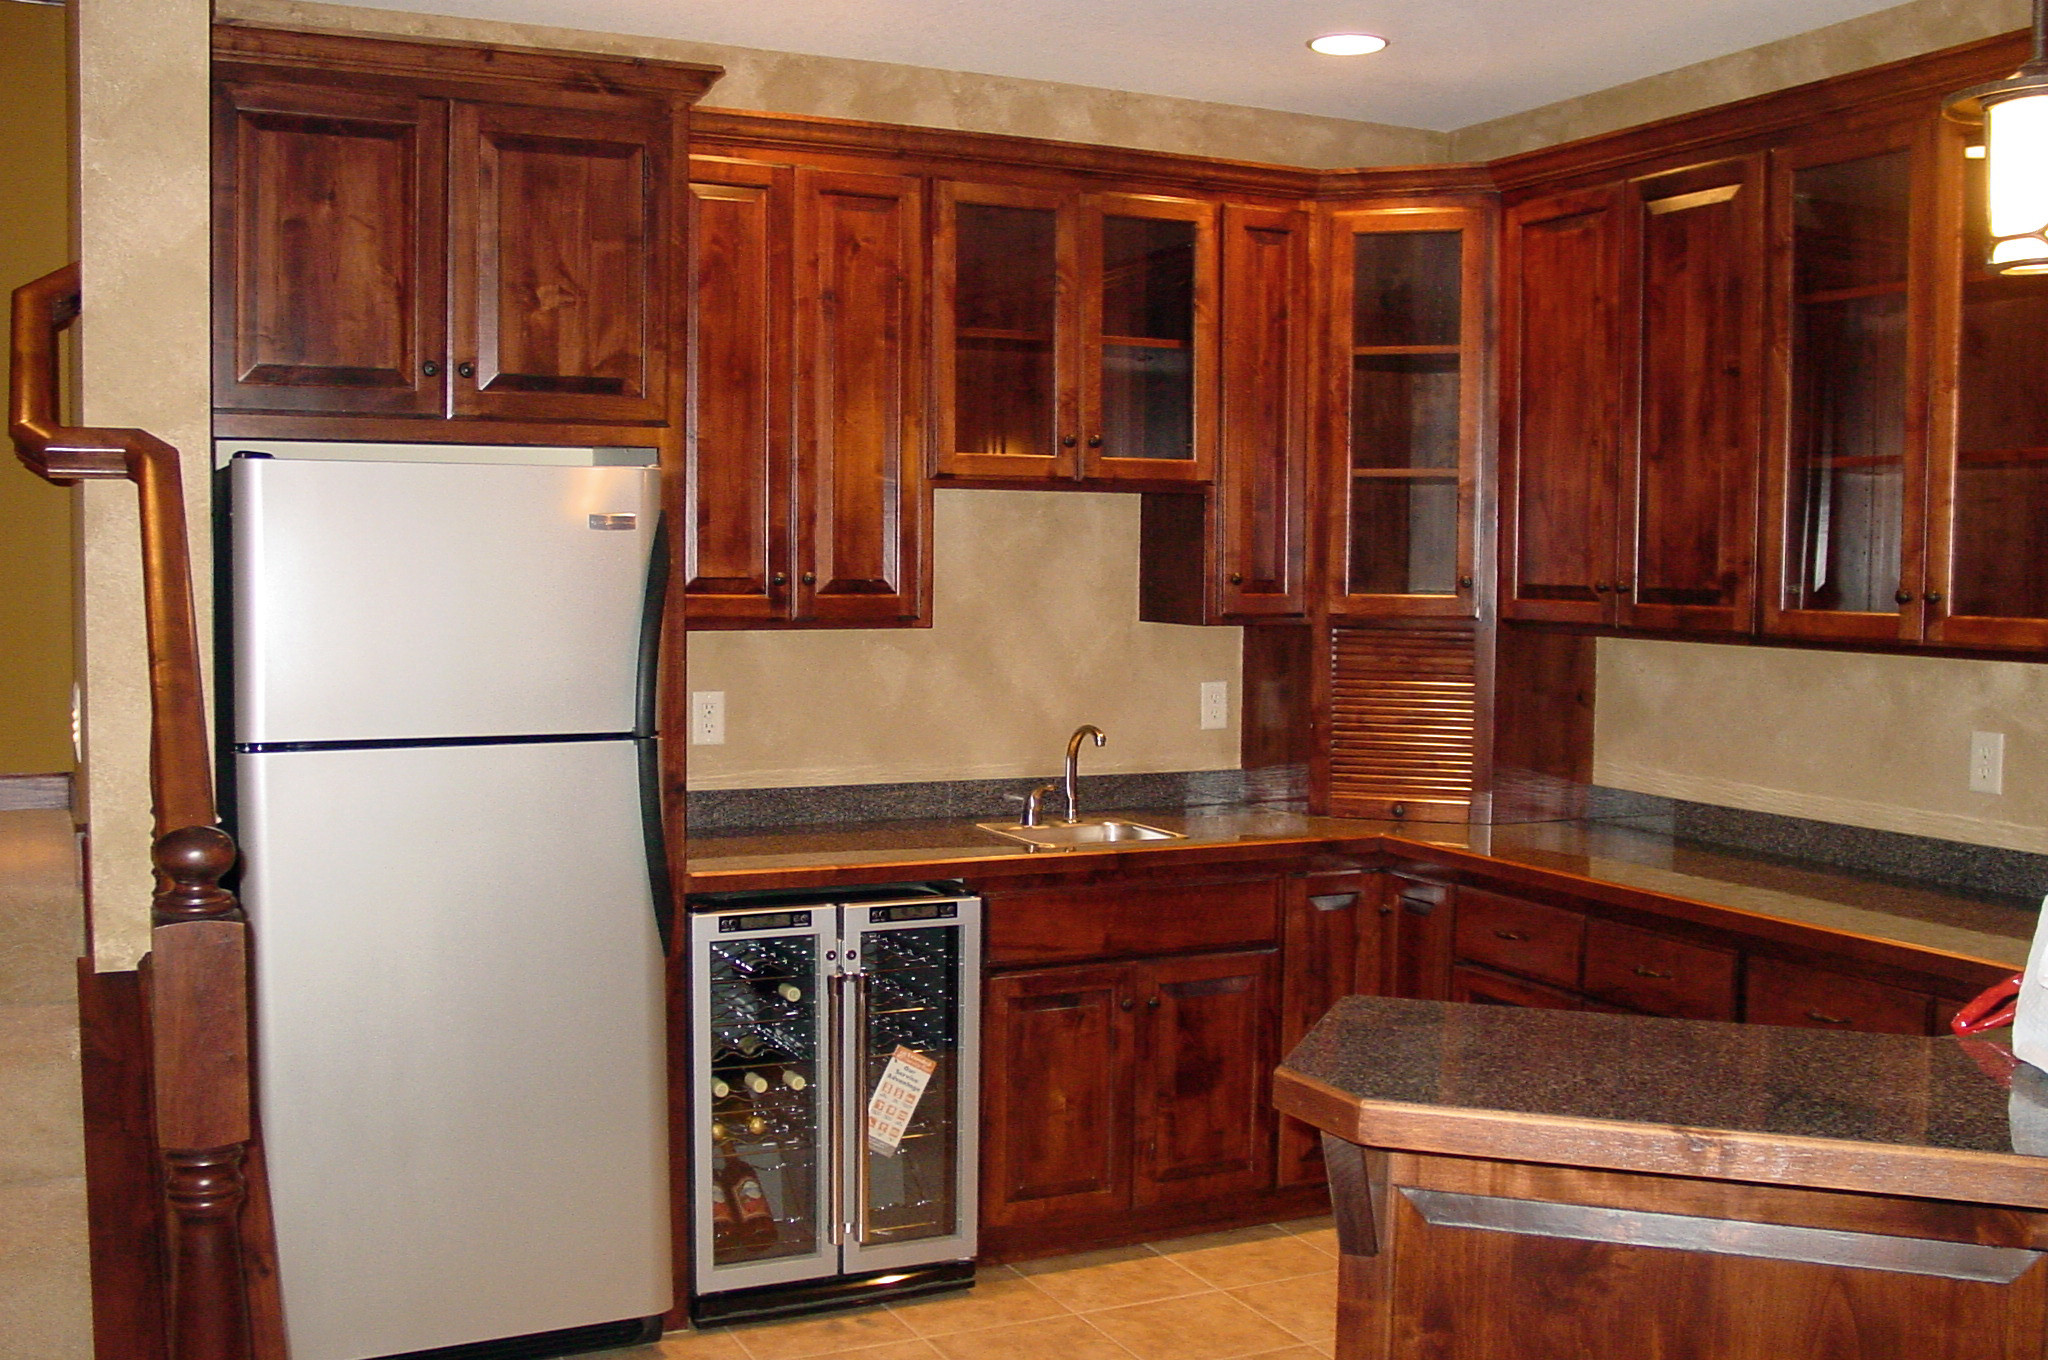
The Downsides of a Traditional Kitchen Bar
 In the past, kitchen bars were typically positioned at a standard countertop height, usually around 36 inches. This height was ideal for preparing food, but it also created a visual barrier between the kitchen and the rest of the living space. This can make the kitchen feel closed off and isolated, which goes against the open concept design. Additionally, the standard bar height can be uncomfortable for guests to sit at, especially for extended periods of time.
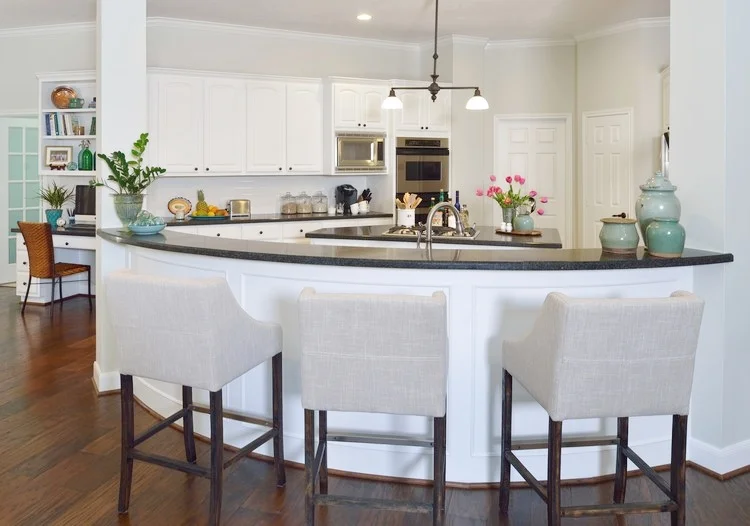
The Advantages of a Lowered Kitchen Bar
/renovated-kitchen-103284732-81caa4e475bf4dee9b1c85969815cd00.jpg) One solution to these issues is to
lower the kitchen bar
. By doing so, you can create a more cohesive flow between the kitchen and living area. Lowering the bar also makes it easier for guests to interact with those in the kitchen, as they are now at eye level. This not only encourages conversation but also makes the kitchen feel more inclusive and welcoming. Furthermore, a lowered bar can also serve as additional seating for larger gatherings, making it a functional and practical design choice.
One solution to these issues is to
lower the kitchen bar
. By doing so, you can create a more cohesive flow between the kitchen and living area. Lowering the bar also makes it easier for guests to interact with those in the kitchen, as they are now at eye level. This not only encourages conversation but also makes the kitchen feel more inclusive and welcoming. Furthermore, a lowered bar can also serve as additional seating for larger gatherings, making it a functional and practical design choice.
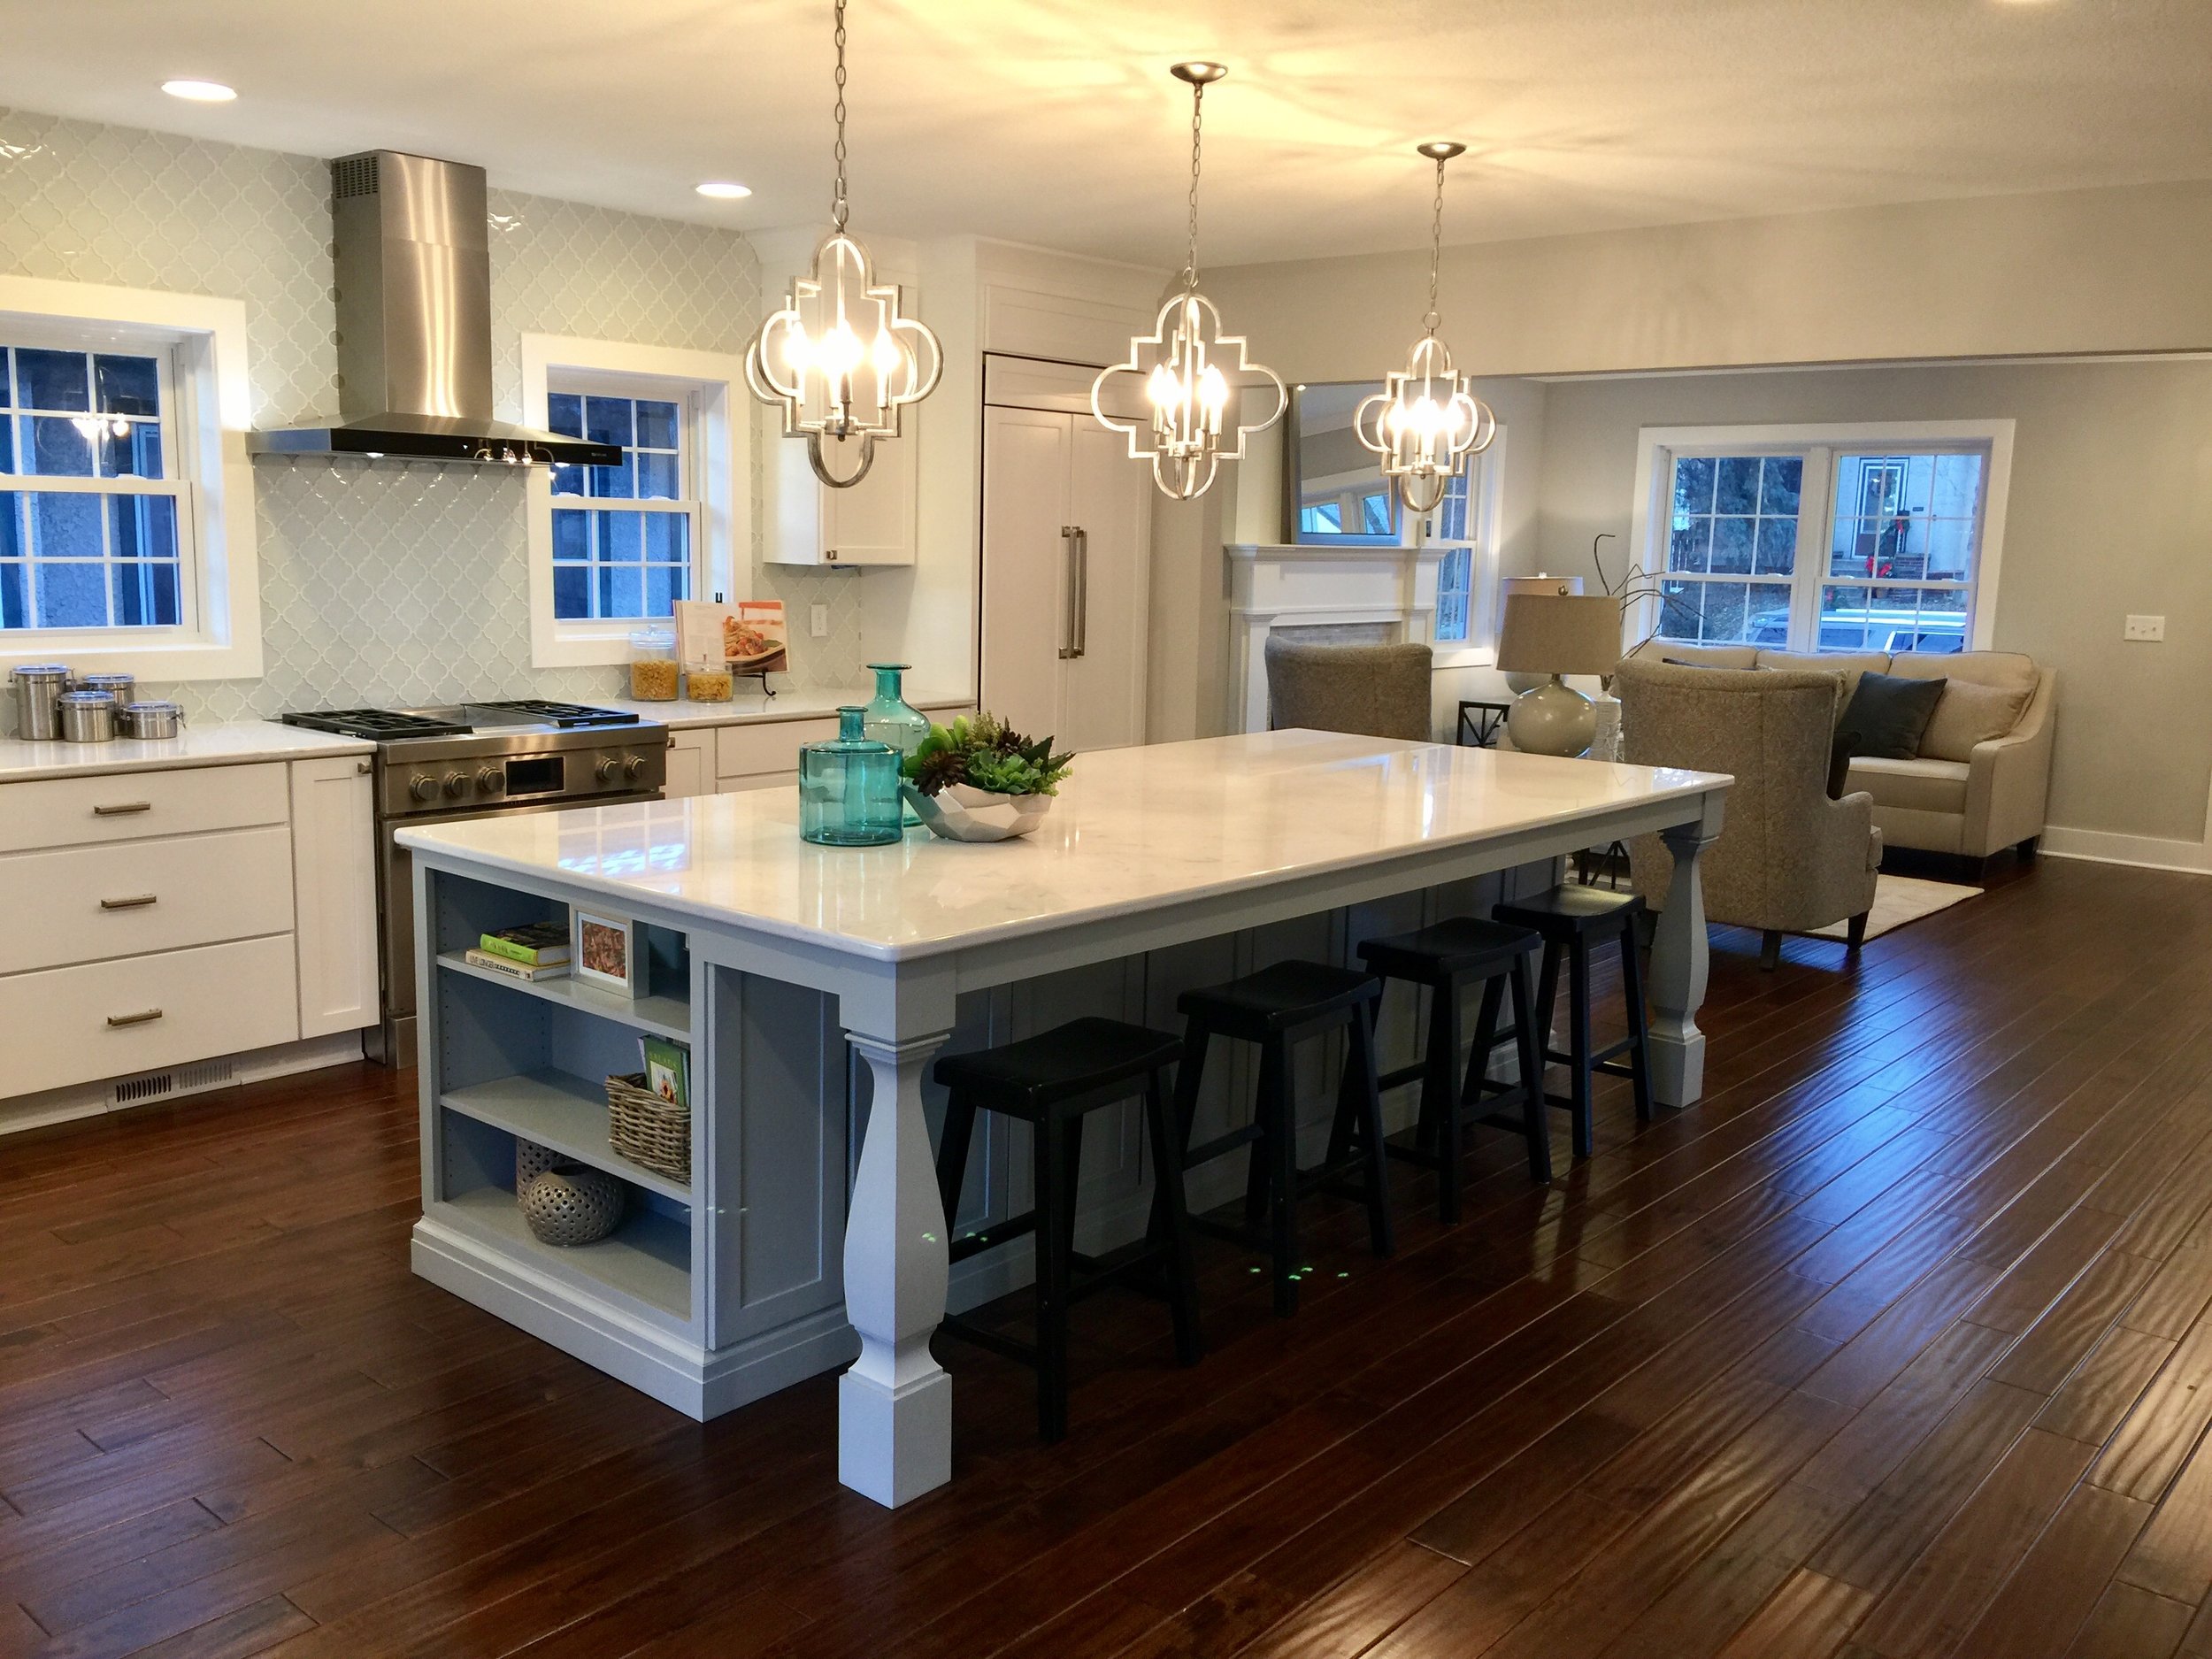
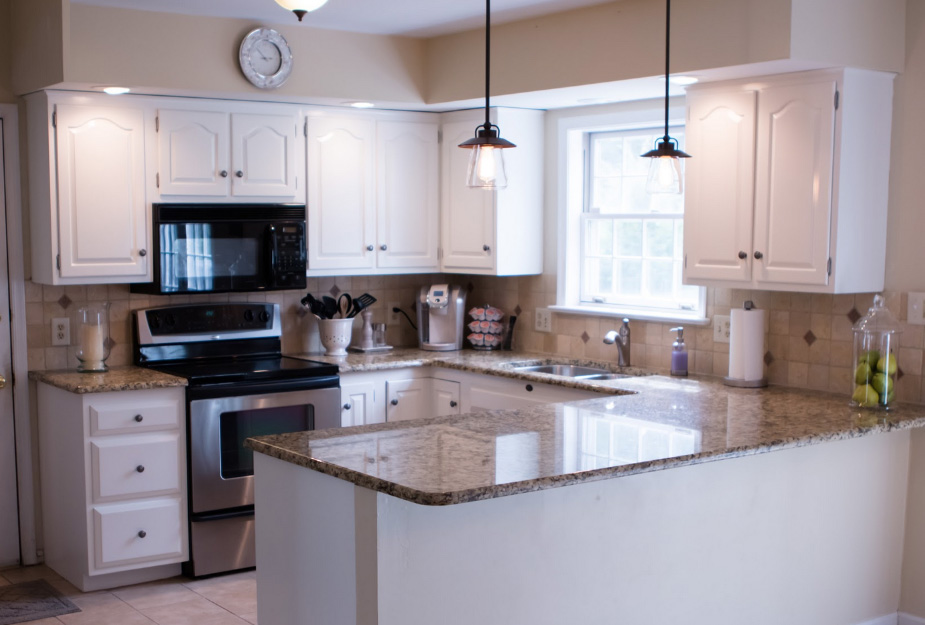
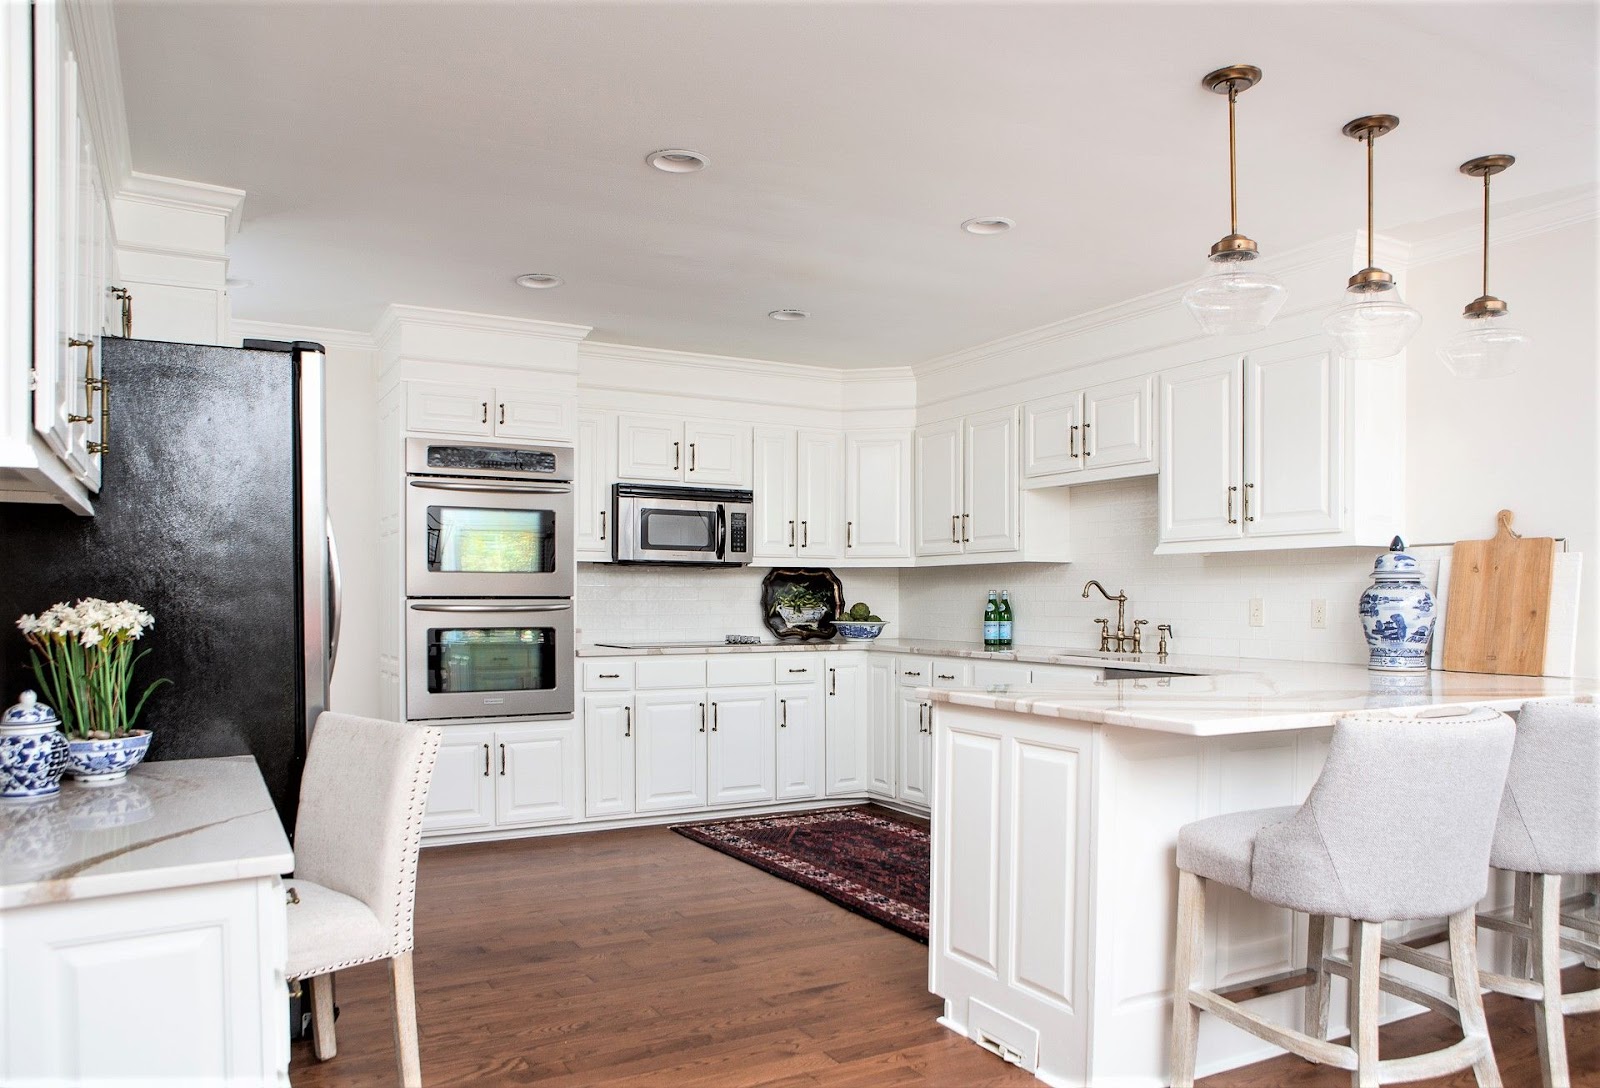
Before and After: A Visual Transformation
 If you are still unsure of the impact that lowering your kitchen bar can have, take a look at some before and after photos. The difference is astonishing – the kitchen appears more open and connected to the rest of the living space. The lowered bar also creates a more visually appealing and modern look. With the bar now at a more comfortable height, guests can relax and enjoy their time in the kitchen without feeling like they are in a separate room.
In conclusion,
lowering your kitchen bar
can have a significant impact on the overall design and functionality of your open concept living space. It creates a more cohesive and inviting atmosphere, making it a popular choice for modern house design. So, if you are considering incorporating a kitchen bar into your open concept kitchen, think about lowering it to truly achieve the best of both worlds – style and functionality.
If you are still unsure of the impact that lowering your kitchen bar can have, take a look at some before and after photos. The difference is astonishing – the kitchen appears more open and connected to the rest of the living space. The lowered bar also creates a more visually appealing and modern look. With the bar now at a more comfortable height, guests can relax and enjoy their time in the kitchen without feeling like they are in a separate room.
In conclusion,
lowering your kitchen bar
can have a significant impact on the overall design and functionality of your open concept living space. It creates a more cohesive and inviting atmosphere, making it a popular choice for modern house design. So, if you are considering incorporating a kitchen bar into your open concept kitchen, think about lowering it to truly achieve the best of both worlds – style and functionality.