How to Fix a Leaky Shut Off Valve Under Your Kitchen Sink
If you've noticed a constant dripping sound coming from under your kitchen sink, chances are you have a leaky shut off valve. This can be a frustrating and potentially costly issue, but fortunately, it's one that can be fixed with a few simple steps. In this guide, we'll walk you through the process of fixing a leaky shut off valve under your kitchen sink so you can get back to using your sink without any annoying leaks.


How to Fix a Leaky Shut Off Valve Under Your Kitchen Sink


:max_bytes(150000):strip_icc()/water-shut-off-valve-types-2718739-hero-fff0f5191aeb45d595492f8c9b4b4be2.jpg)
How to Replace a Leaky Shut Off Valve Under Your Kitchen Sink
If your shut off valve is beyond repair, you may need to replace it. This may sound like a daunting task, but with the right tools and approach, it can be a fairly simple process. In this section, we'll guide you through the steps of replacing a leaky shut off valve under your kitchen sink.

How to Replace a Leaky Shut Off Valve Under Your Kitchen Sink


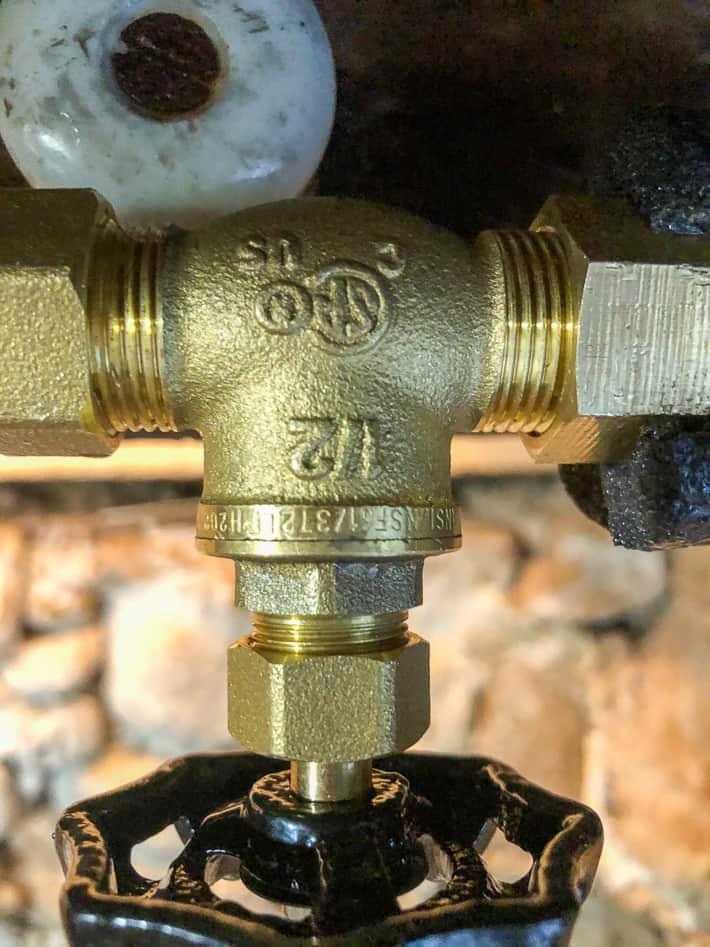
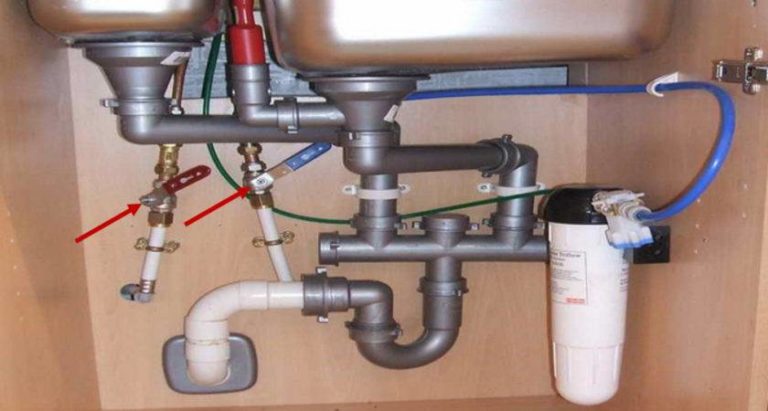
Common Causes of a Leaky Shut Off Valve Under Your Kitchen Sink
Before we dive into the steps of fixing a leaky shut off valve, it's important to understand what may have caused the leak in the first place. Some common causes of a leaky shut off valve under your kitchen sink include wear and tear, corrosion, and loose fittings. Identifying the cause will help you determine the best course of action for fixing the issue.

Common Causes of a Leaky Shut Off Valve Under Your Kitchen Sink
:max_bytes(150000):strip_icc()/under-sink-shut-off-valves-2718738-01-4584f904e3f84770bef0a44af58a73ac.jpg)
:max_bytes(150000):strip_icc()/sink-pipe-under-wash-basin-119001607-6f28aec4c66944efb7a9a38cb622ab8b.jpg)

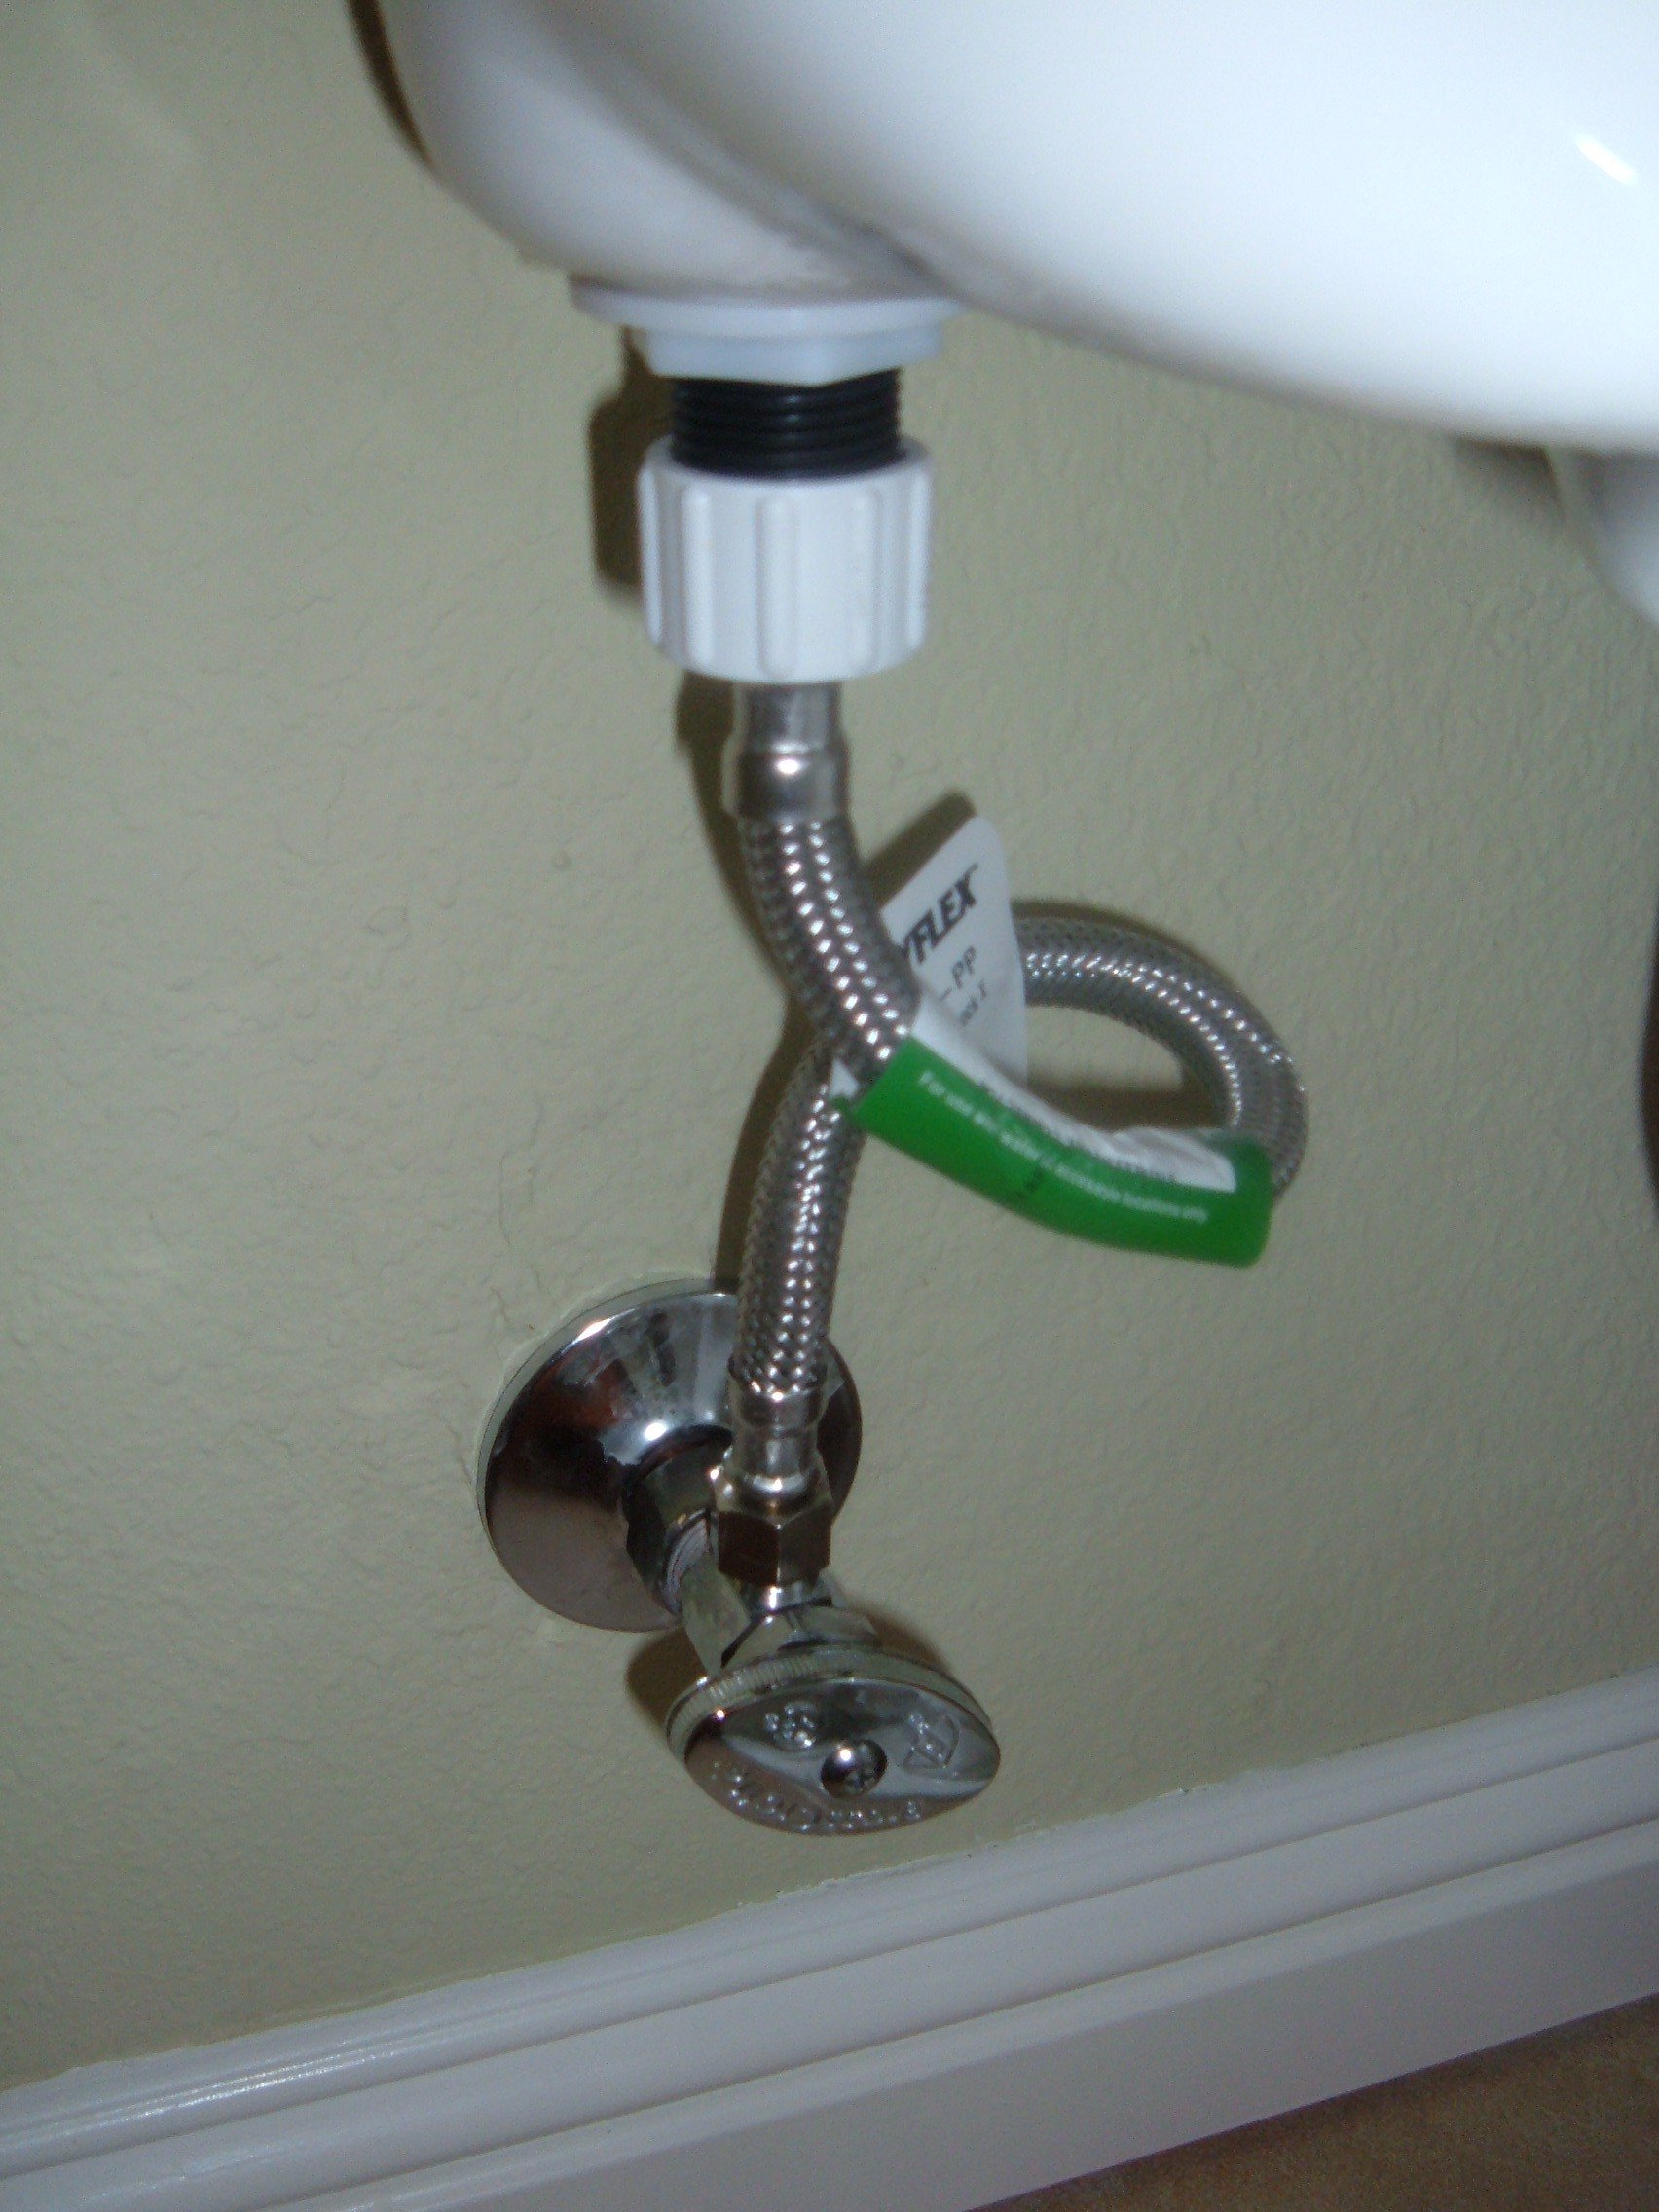
How to Identify a Leaky Shut Off Valve Under Your Kitchen Sink
Identifying a leaky shut off valve is fairly easy. The most obvious sign is a constant dripping sound, but you may also notice water pooling under your sink or dampness on the wall or floor. If you suspect a leak, it's important to address it as soon as possible to prevent further damage to your kitchen.


How to Identify a Leaky Shut Off Valve Under Your Kitchen Sink

Tools You Will Need to Fix a Leaky Shut Off Valve Under Your Kitchen Sink
Before you begin the process of fixing a leaky shut off valve, make sure you have the necessary tools on hand. These may include an adjustable wrench, pliers, Teflon tape, and a replacement valve if needed. Having these tools ready will make the process much smoother and easier.


Tools You Will Need to Fix a Leaky Shut Off Valve Under Your Kitchen Sink

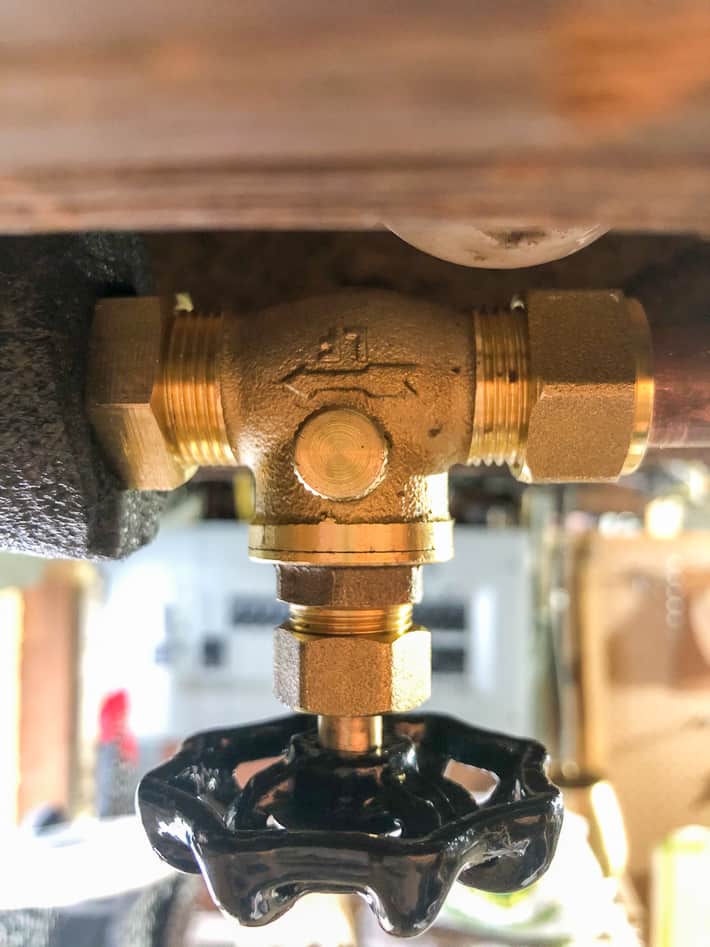
Step-by-Step Guide to Fixing a Leaky Shut Off Valve Under Your Kitchen Sink
Now that you have your tools ready, it's time to start fixing the leaky shut off valve. Follow these steps for a smooth and successful repair:
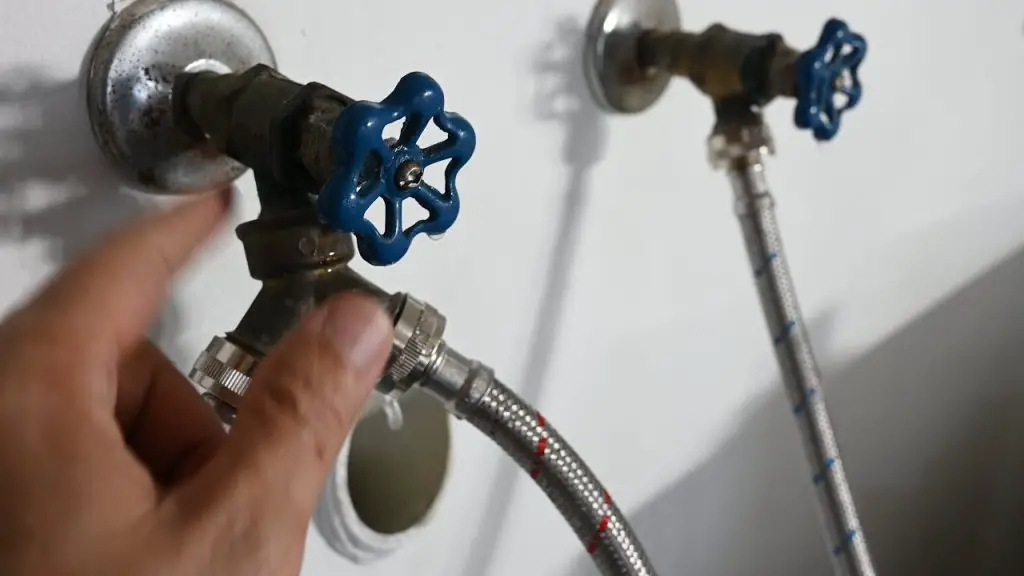
Step 1: Locate the shut off valve under your sink. It is usually located on the pipe leading to your faucet.
Step 2: Turn off the main water supply to your house. This is typically located near your water meter.
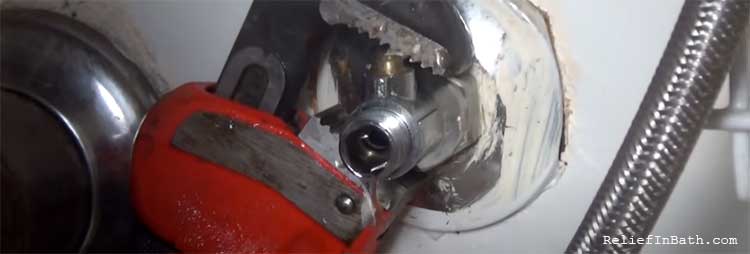
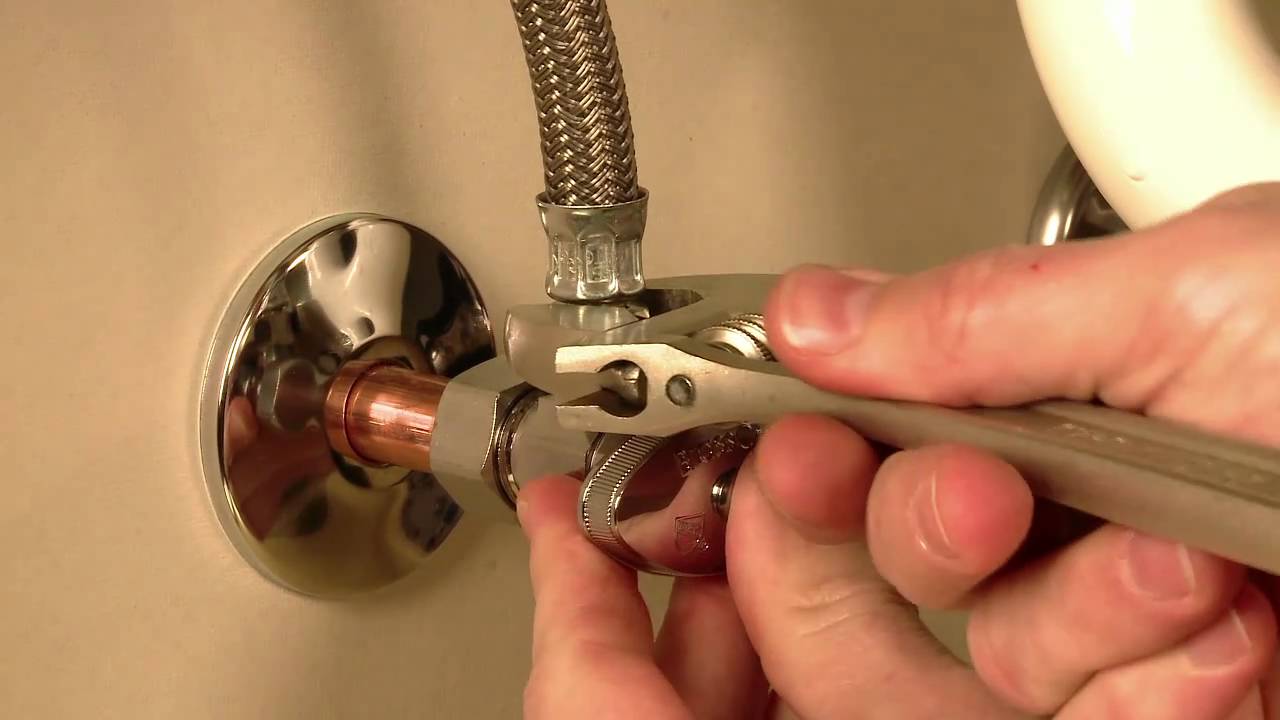
Step 3: Use an adjustable wrench to loosen the nut on the shut off valve. This will allow you to remove the valve from the pipe.
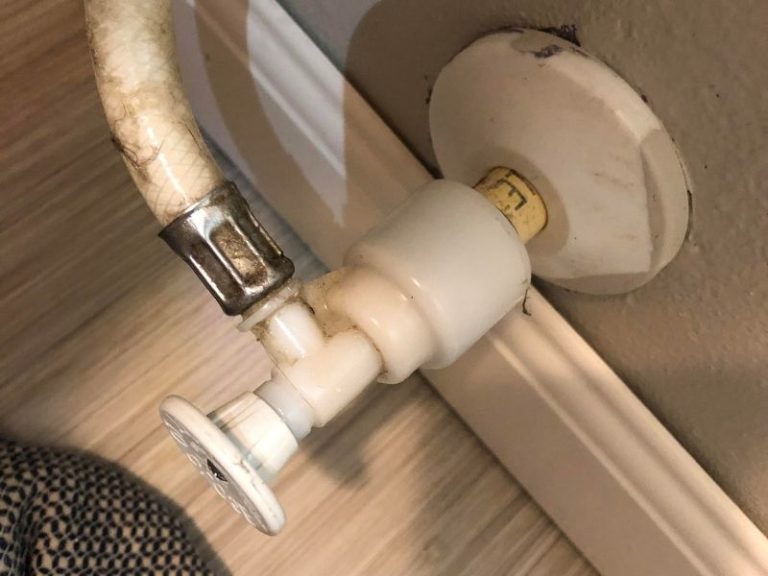
Step 4: Inspect the valve for any visible damage or corrosion. If it is damaged, you will need to replace it with a new one.
Step 5: If the valve is not damaged, clean it thoroughly with a cloth to remove any buildup or debris. Apply Teflon tape to the threads of the valve to create a tight seal.
Step 6: Reattach the valve to the pipe and use pliers to tighten the nut. Be careful not to over-tighten, as this can cause damage to the valve.
Step 7: Turn the main water supply back on and check for any leaks. If the valve is still leaking, you may need to replace it.


Step-by-Step Guide to Fixing a Leaky Shut Off Valve Under Your Kitchen Sink


Tips for Preventing a Leaky Shut Off Valve Under Your Kitchen Sink
Preventative maintenance can go a long way in avoiding a leaky shut off valve under your kitchen sink. Here are a few tips to keep in mind:
Tip 1: Regularly check your shut off valve for any signs of wear or damage.
Tip 2: If you live in an area with hard water, consider installing a water softener to reduce the likelihood of corrosion.
Tip 3: Avoid using excessive force when turning the shut off valve on and off.
Tips for Preventing a Leaky Shut Off Valve Under Your Kitchen Sink
When to Call a Professional for a Leaky Shut Off Valve Under Your Kitchen Sink
If you're not comfortable fixing the leaky shut off valve yourself, it's always best to call a professional plumber. They have the knowledge and expertise to quickly and effectively fix the issue without causing further damage to your kitchen.
When to Call a Professional for a Leaky Shut Off Valve Under Your Kitchen Sink
How to Replace a Leaky Shut Off Valve with a Ball Valve Under Your Kitchen Sink
If your shut off valve is damaged and needs to be replaced, you may want to consider upgrading to a ball valve. These valves are more durable and have a longer lifespan compared to traditional shut off valves. The process of replacing a shut off valve with a ball valve is similar to the steps outlined above, but be sure to follow the instructions provided with your specific ball valve for proper installation.

How to Replace a Leaky Shut Off Valve with a Ball Valve Under Your Kitchen Sink


How to Fix a Leaky Compression Valve Under Your Kitchen Sink
Finally, if you have a compression valve that is leaking, the process of fixing it is slightly different. Here's what you'll need to do:
Step 1: Turn off the main water supply and open the faucet to release any remaining water pressure.
Step 2: Use pliers to loosen the compression nut and remove the valve from the pipe.
Step 3: Inspect the valve and replace any damaged parts.
Step 4: Clean the valve and pipe threads, then apply Teflon tape to create a tight seal.
Step 5: Reattach the valve and tighten the compression nut with pliers.
Step 6: Turn the main water supply back on and check for leaks.


How to Fix a Leaky Compression Valve Under Your Kitchen Sink


The Importance of Fixing a Leaky Shut Off Valve Under Your Kitchen Sink

Don't Ignore a Leaky Shut Off Valve
 Having a leaky shut off valve under your kitchen sink may seem like a minor inconvenience, but it can actually cause significant damage to your home if left unfixed. This small valve controls the flow of water to your sink, and if it is leaking, it can lead to wasted water, higher water bills, and even water damage to your cabinets and floors. Ignoring this issue can also lead to the need for expensive repairs in the future. Therefore, it is important to address a leaky shut off valve as soon as it is discovered.
The Causes of a Leaky Shut Off Valve
 There are several reasons why a shut off valve may start to leak. Over time, the valve can become worn or corroded, causing it to malfunction. It may also have been installed improperly or have a faulty seal. Additionally, changes in water pressure or temperature can also cause the valve to leak. Whatever the cause may be, it is essential to fix the issue promptly to prevent further damage to your home.
How to Fix a Leaky Shut Off Valve
 First, it is important to locate the shut off valve under your kitchen sink. It is usually located near the base of the sink, either on the wall or on the supply line. Once you have located the valve, turn off the water supply to your sink by twisting the valve clockwise. Next, use a wrench to loosen the nut that connects the valve to the water supply line. You may need to use a penetrating oil to loosen the nut if it is stuck. Once the nut is loosened, remove the valve and inspect it for any signs of damage. If the valve is worn or corroded, it will need to be replaced. If it has a faulty seal, you can try replacing the seal or replacing the entire valve. Once the valve is fixed or replaced, reattach it to the water supply line and turn the water supply back on. Be sure to check for any leaks before using your sink again.
In conclusion
, a leaky shut off valve under your kitchen sink is not a problem that should be ignored. It can lead to wasted water, higher water bills, and even damage to your home. By promptly addressing this issue and fixing or replacing the valve, you can save yourself from future headaches and expenses. Remember to regularly check your shut off valve for any signs of wear and tear and address any issues as soon as they arise.
First, it is important to locate the shut off valve under your kitchen sink. It is usually located near the base of the sink, either on the wall or on the supply line. Once you have located the valve, turn off the water supply to your sink by twisting the valve clockwise. Next, use a wrench to loosen the nut that connects the valve to the water supply line. You may need to use a penetrating oil to loosen the nut if it is stuck. Once the nut is loosened, remove the valve and inspect it for any signs of damage. If the valve is worn or corroded, it will need to be replaced. If it has a faulty seal, you can try replacing the seal or replacing the entire valve. Once the valve is fixed or replaced, reattach it to the water supply line and turn the water supply back on. Be sure to check for any leaks before using your sink again.
In conclusion
, a leaky shut off valve under your kitchen sink is not a problem that should be ignored. It can lead to wasted water, higher water bills, and even damage to your home. By promptly addressing this issue and fixing or replacing the valve, you can save yourself from future headaches and expenses. Remember to regularly check your shut off valve for any signs of wear and tear and address any issues as soon as they arise.