If you're looking to update your bathroom's flooring, laying vinyl planks is a great option. Not only are they affordable and easy to install, but they are also waterproof, making them perfect for high moisture areas like the bathroom. Before you begin the installation process, it's important to properly prepare the space. Start by removing any existing flooring and thoroughly clean the area around the bathroom sink. This will ensure a smooth and even surface for your new vinyl planks.1. Preparing the Space for Installation


lay vinyl planks


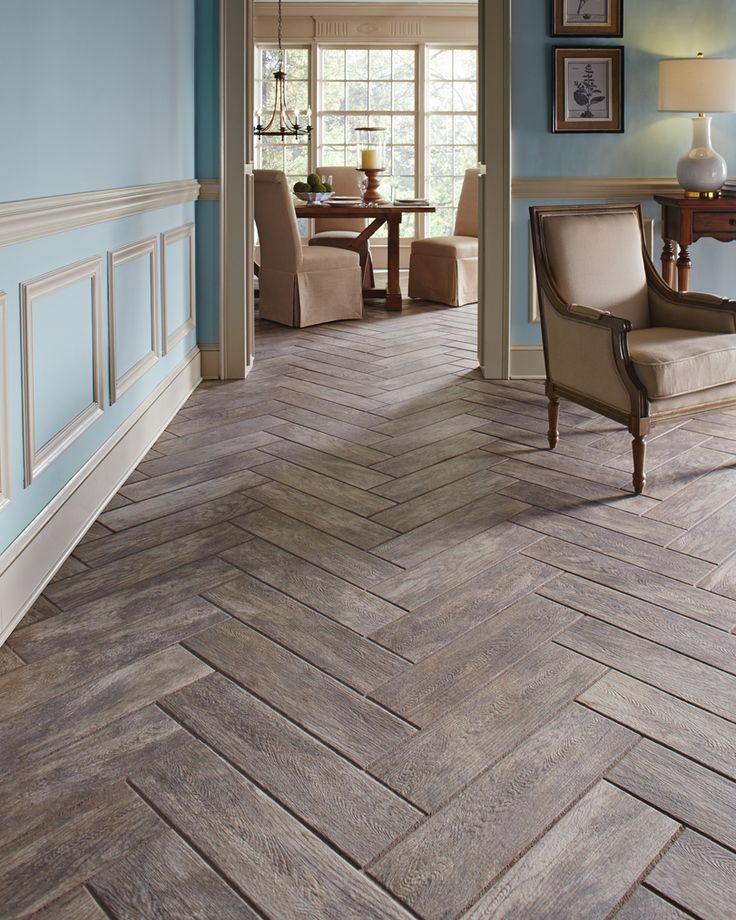
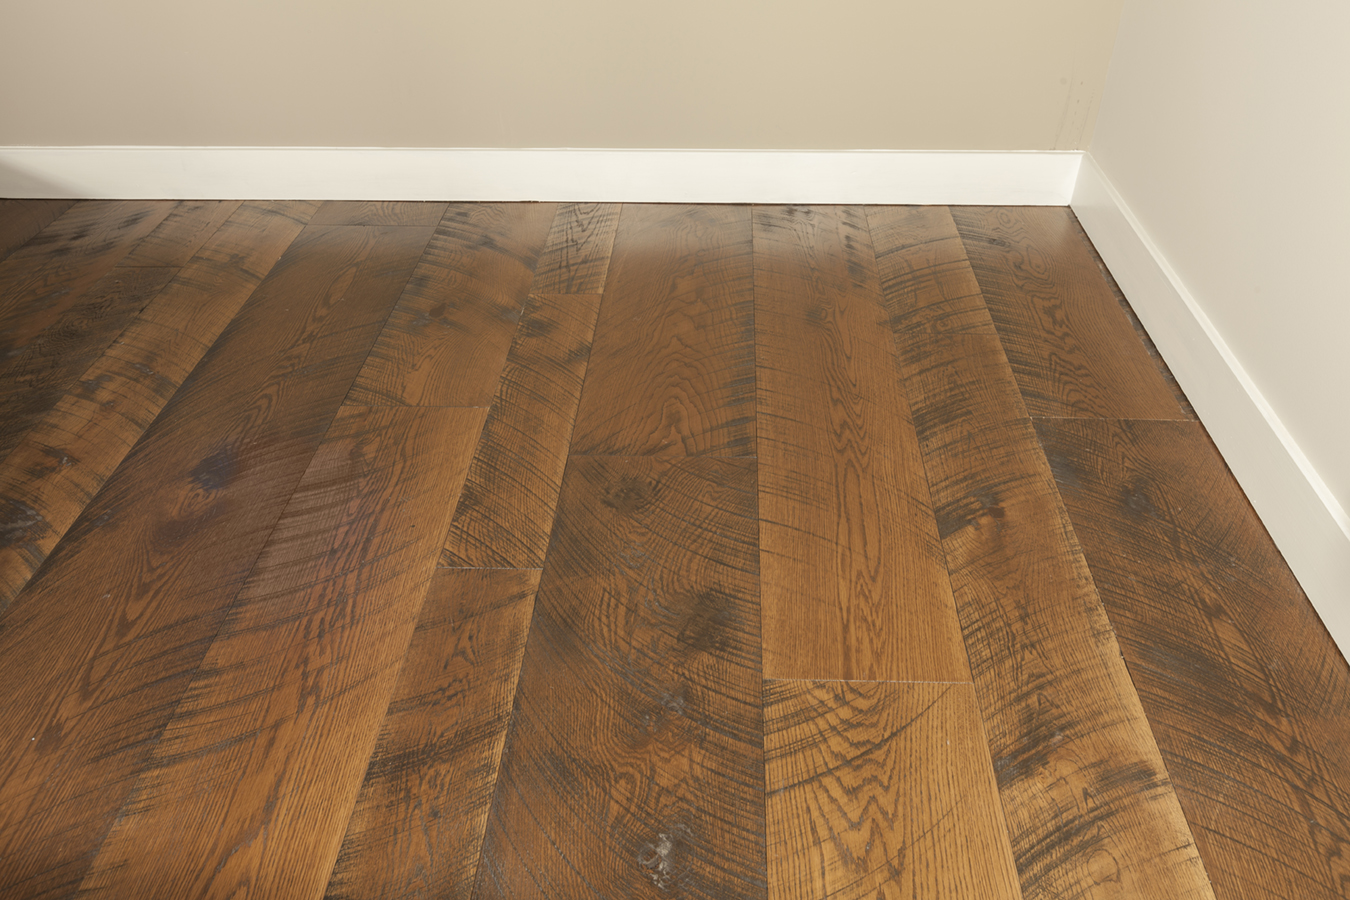
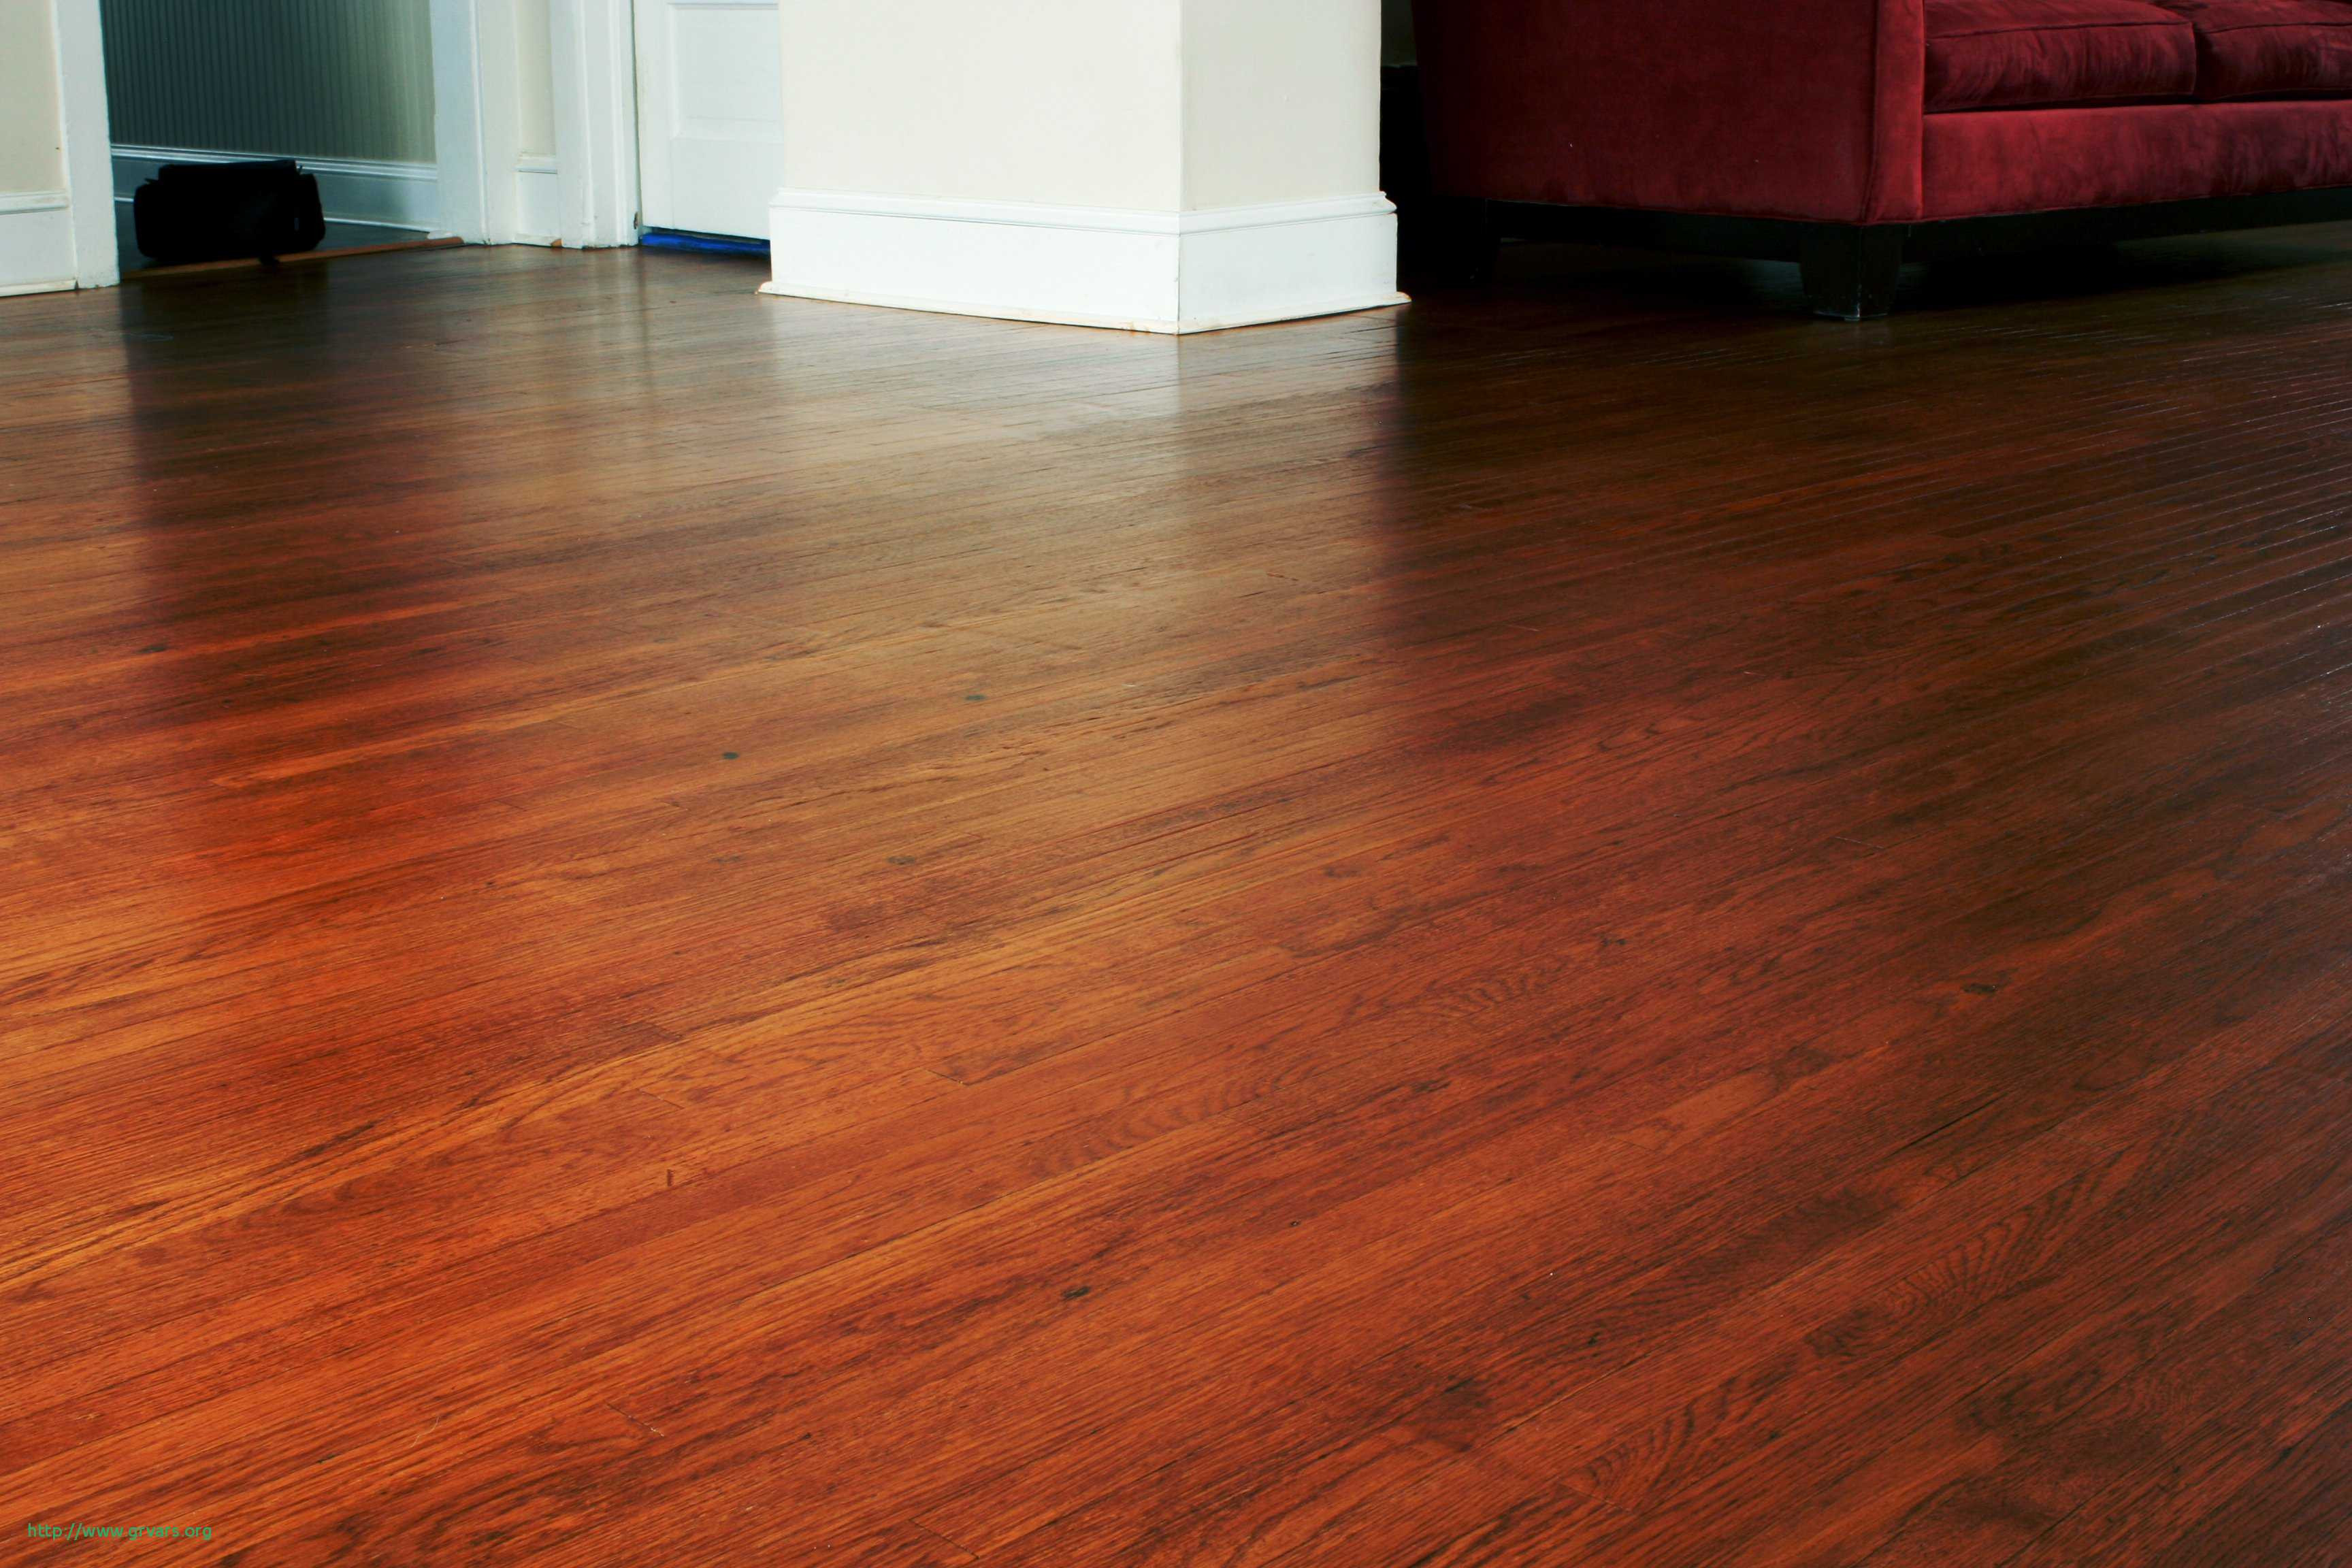
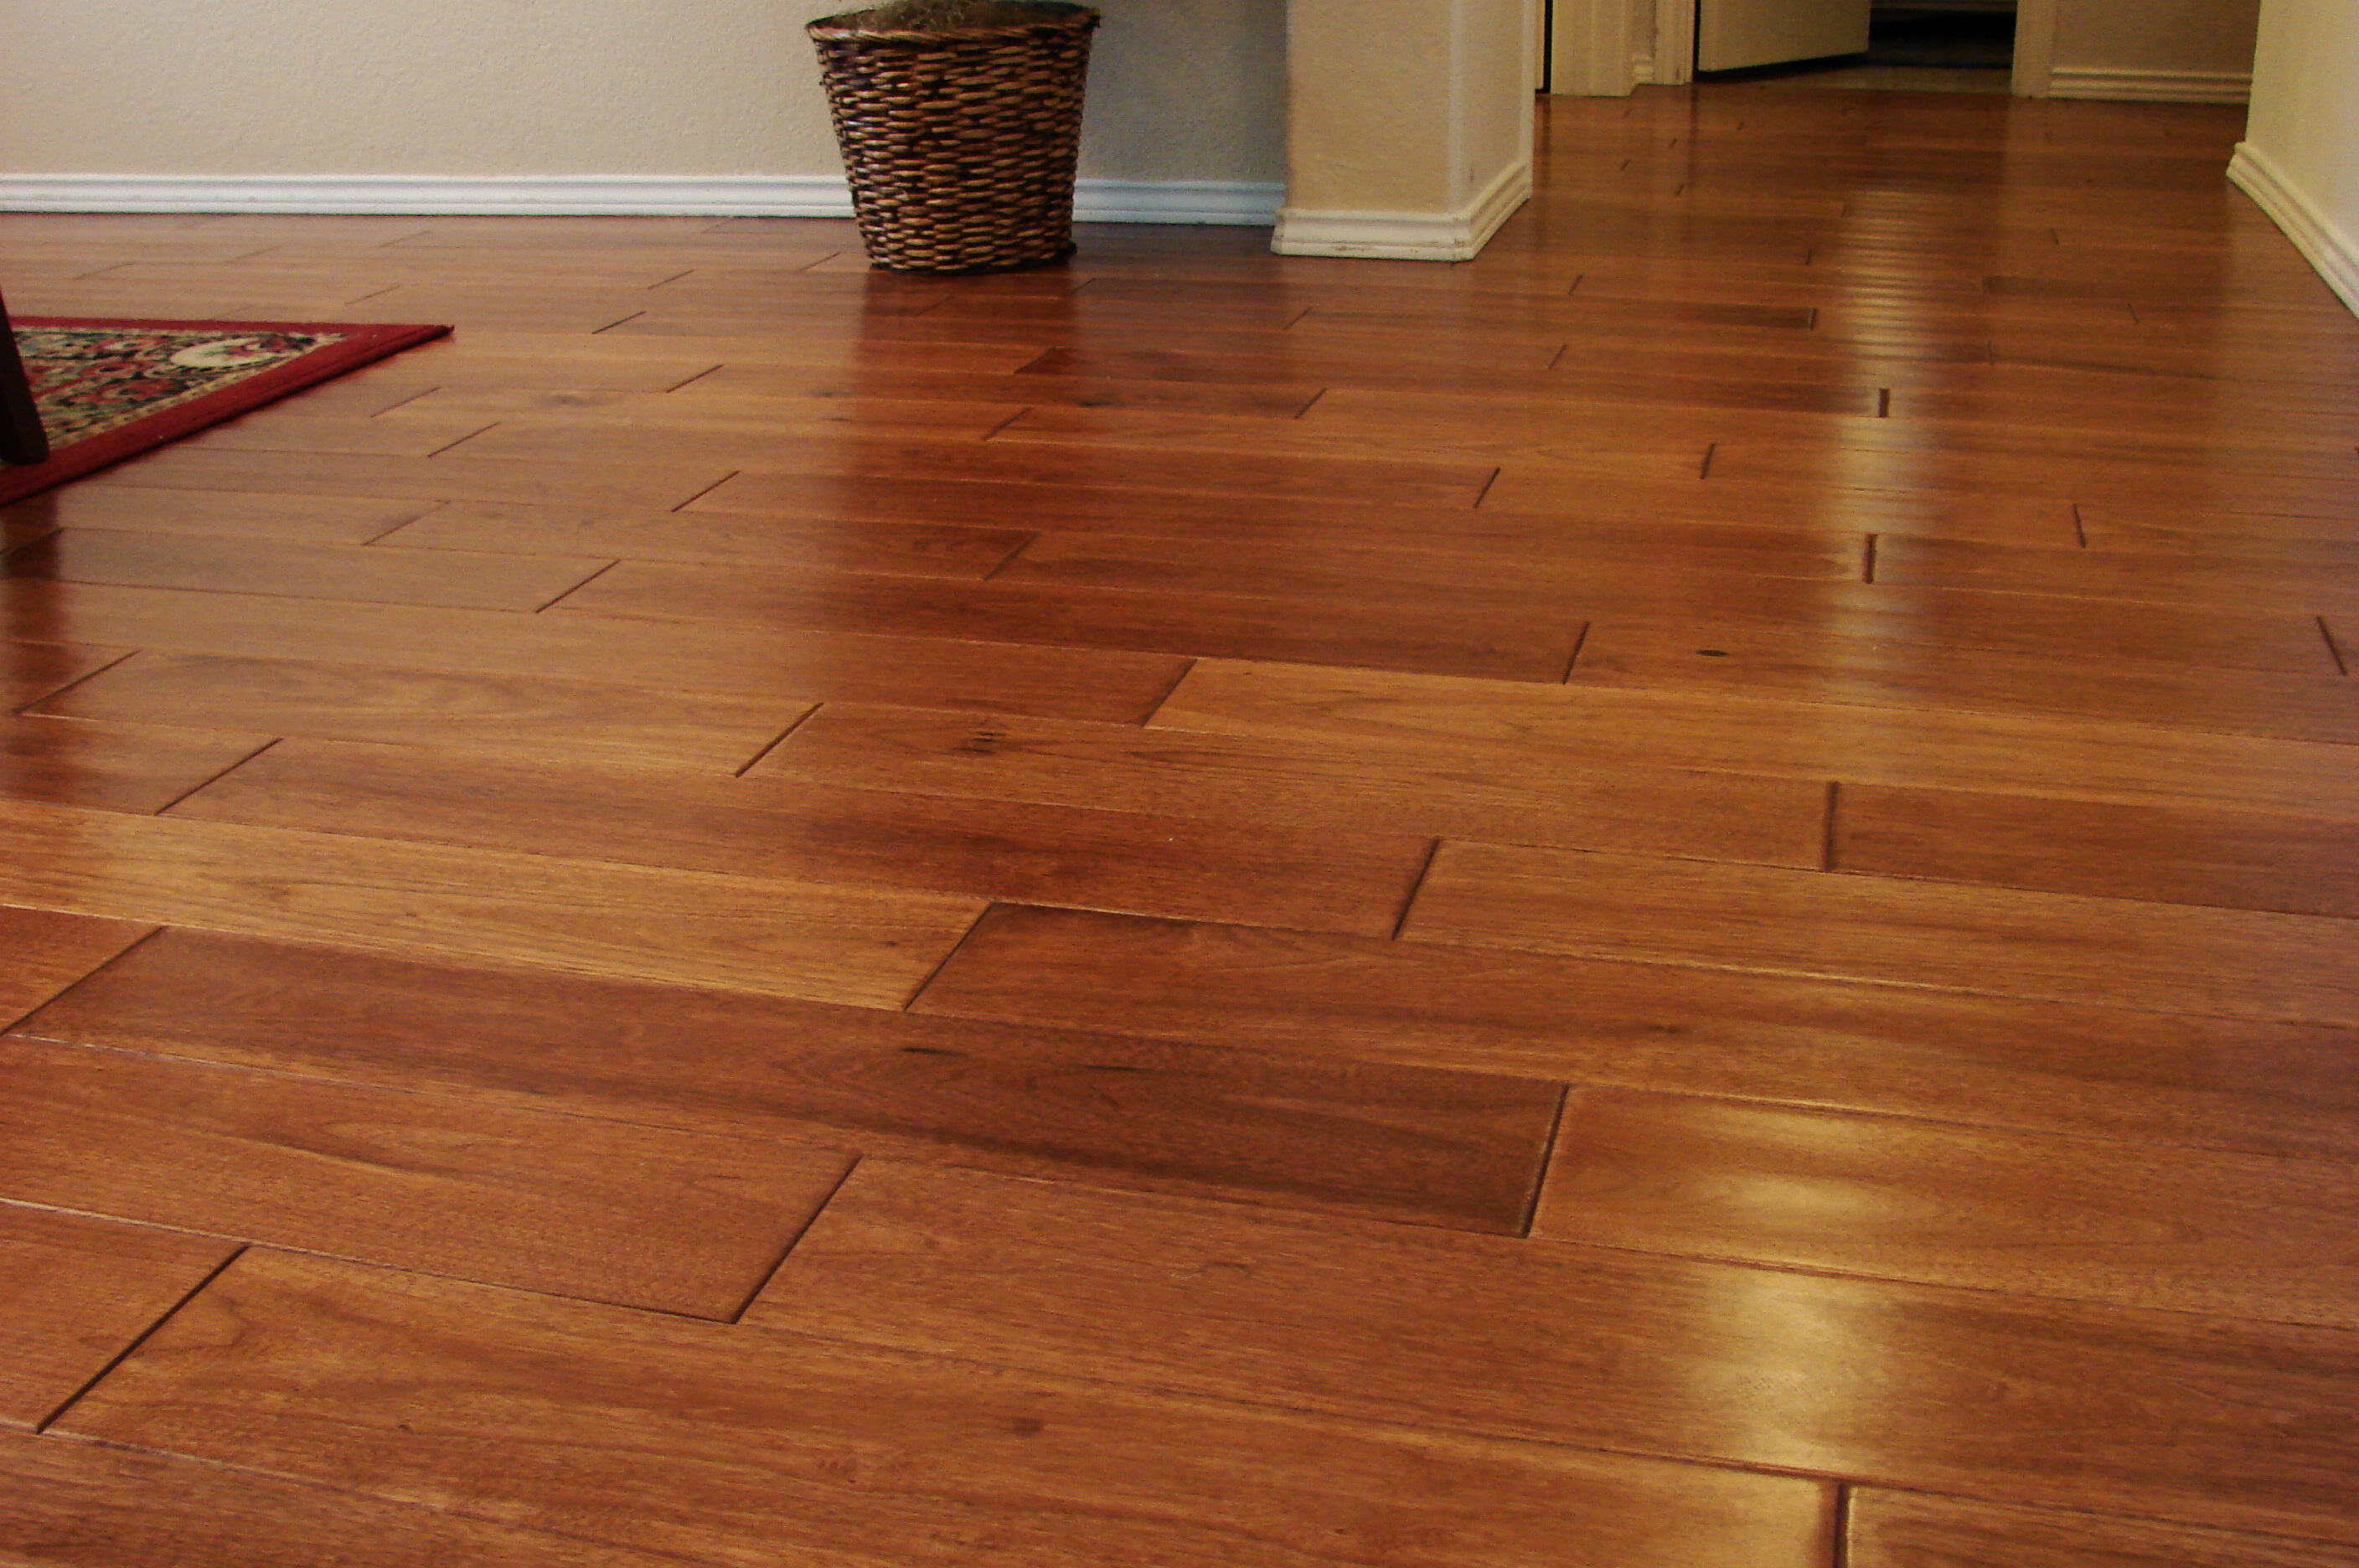
When it comes to choosing vinyl planks for your bathroom, there are a few things to consider. First, make sure the planks are specifically designed for bathroom use with a waterproof or water-resistant sealant. You'll also want to consider the color and style of the planks to match the overall aesthetic of your bathroom. Additionally, look for planks with a textured surface to prevent slips and falls on wet floors.2. Choosing the Right Vinyl Planks


bathroom sink


Before you begin the installation process, make sure you have all the necessary tools. This includes a measuring tape, utility knife, adhesive, underlayment, and a straight edge. You may also need a hammer and nails for any trim installation. Having all your tools ready beforehand will make the installation process smoother and more efficient.3. Gathering the Necessary Tools


flooring


/new-floor-installation-185270632-582b722c3df78c6f6af0a8ab.jpg)
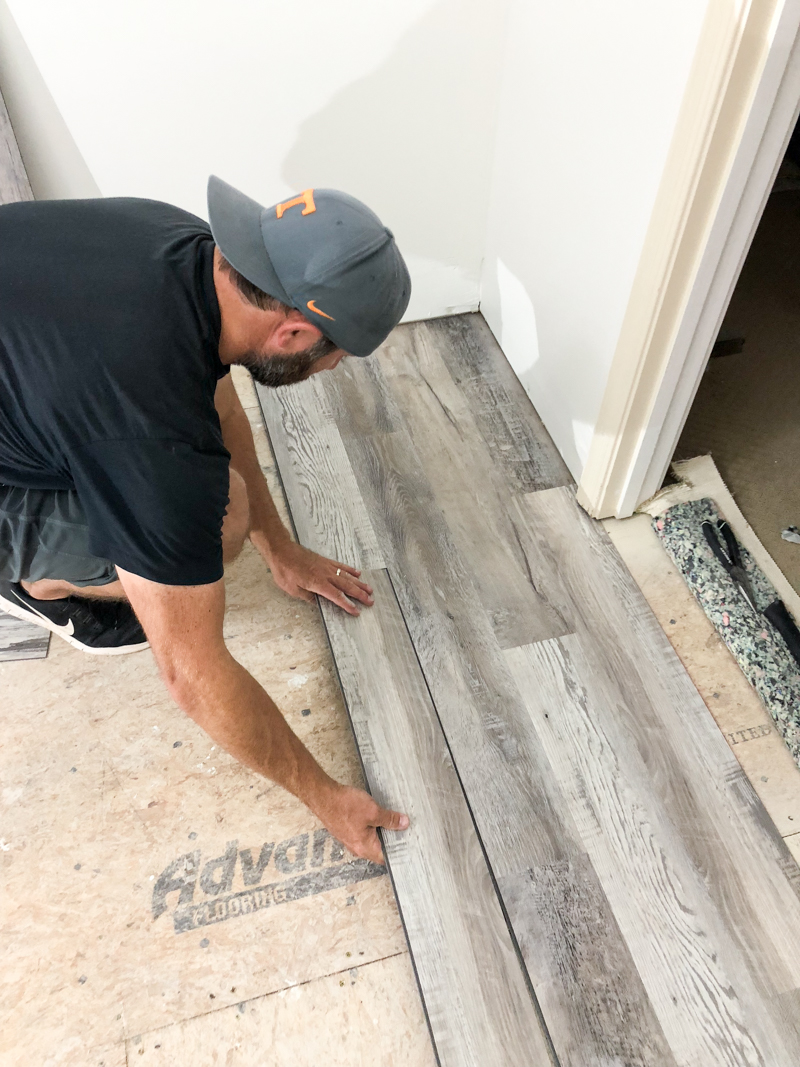
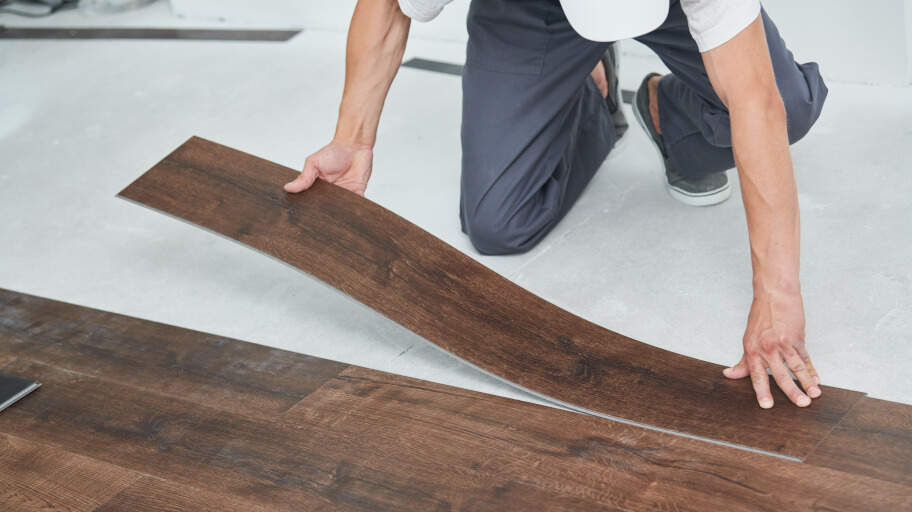
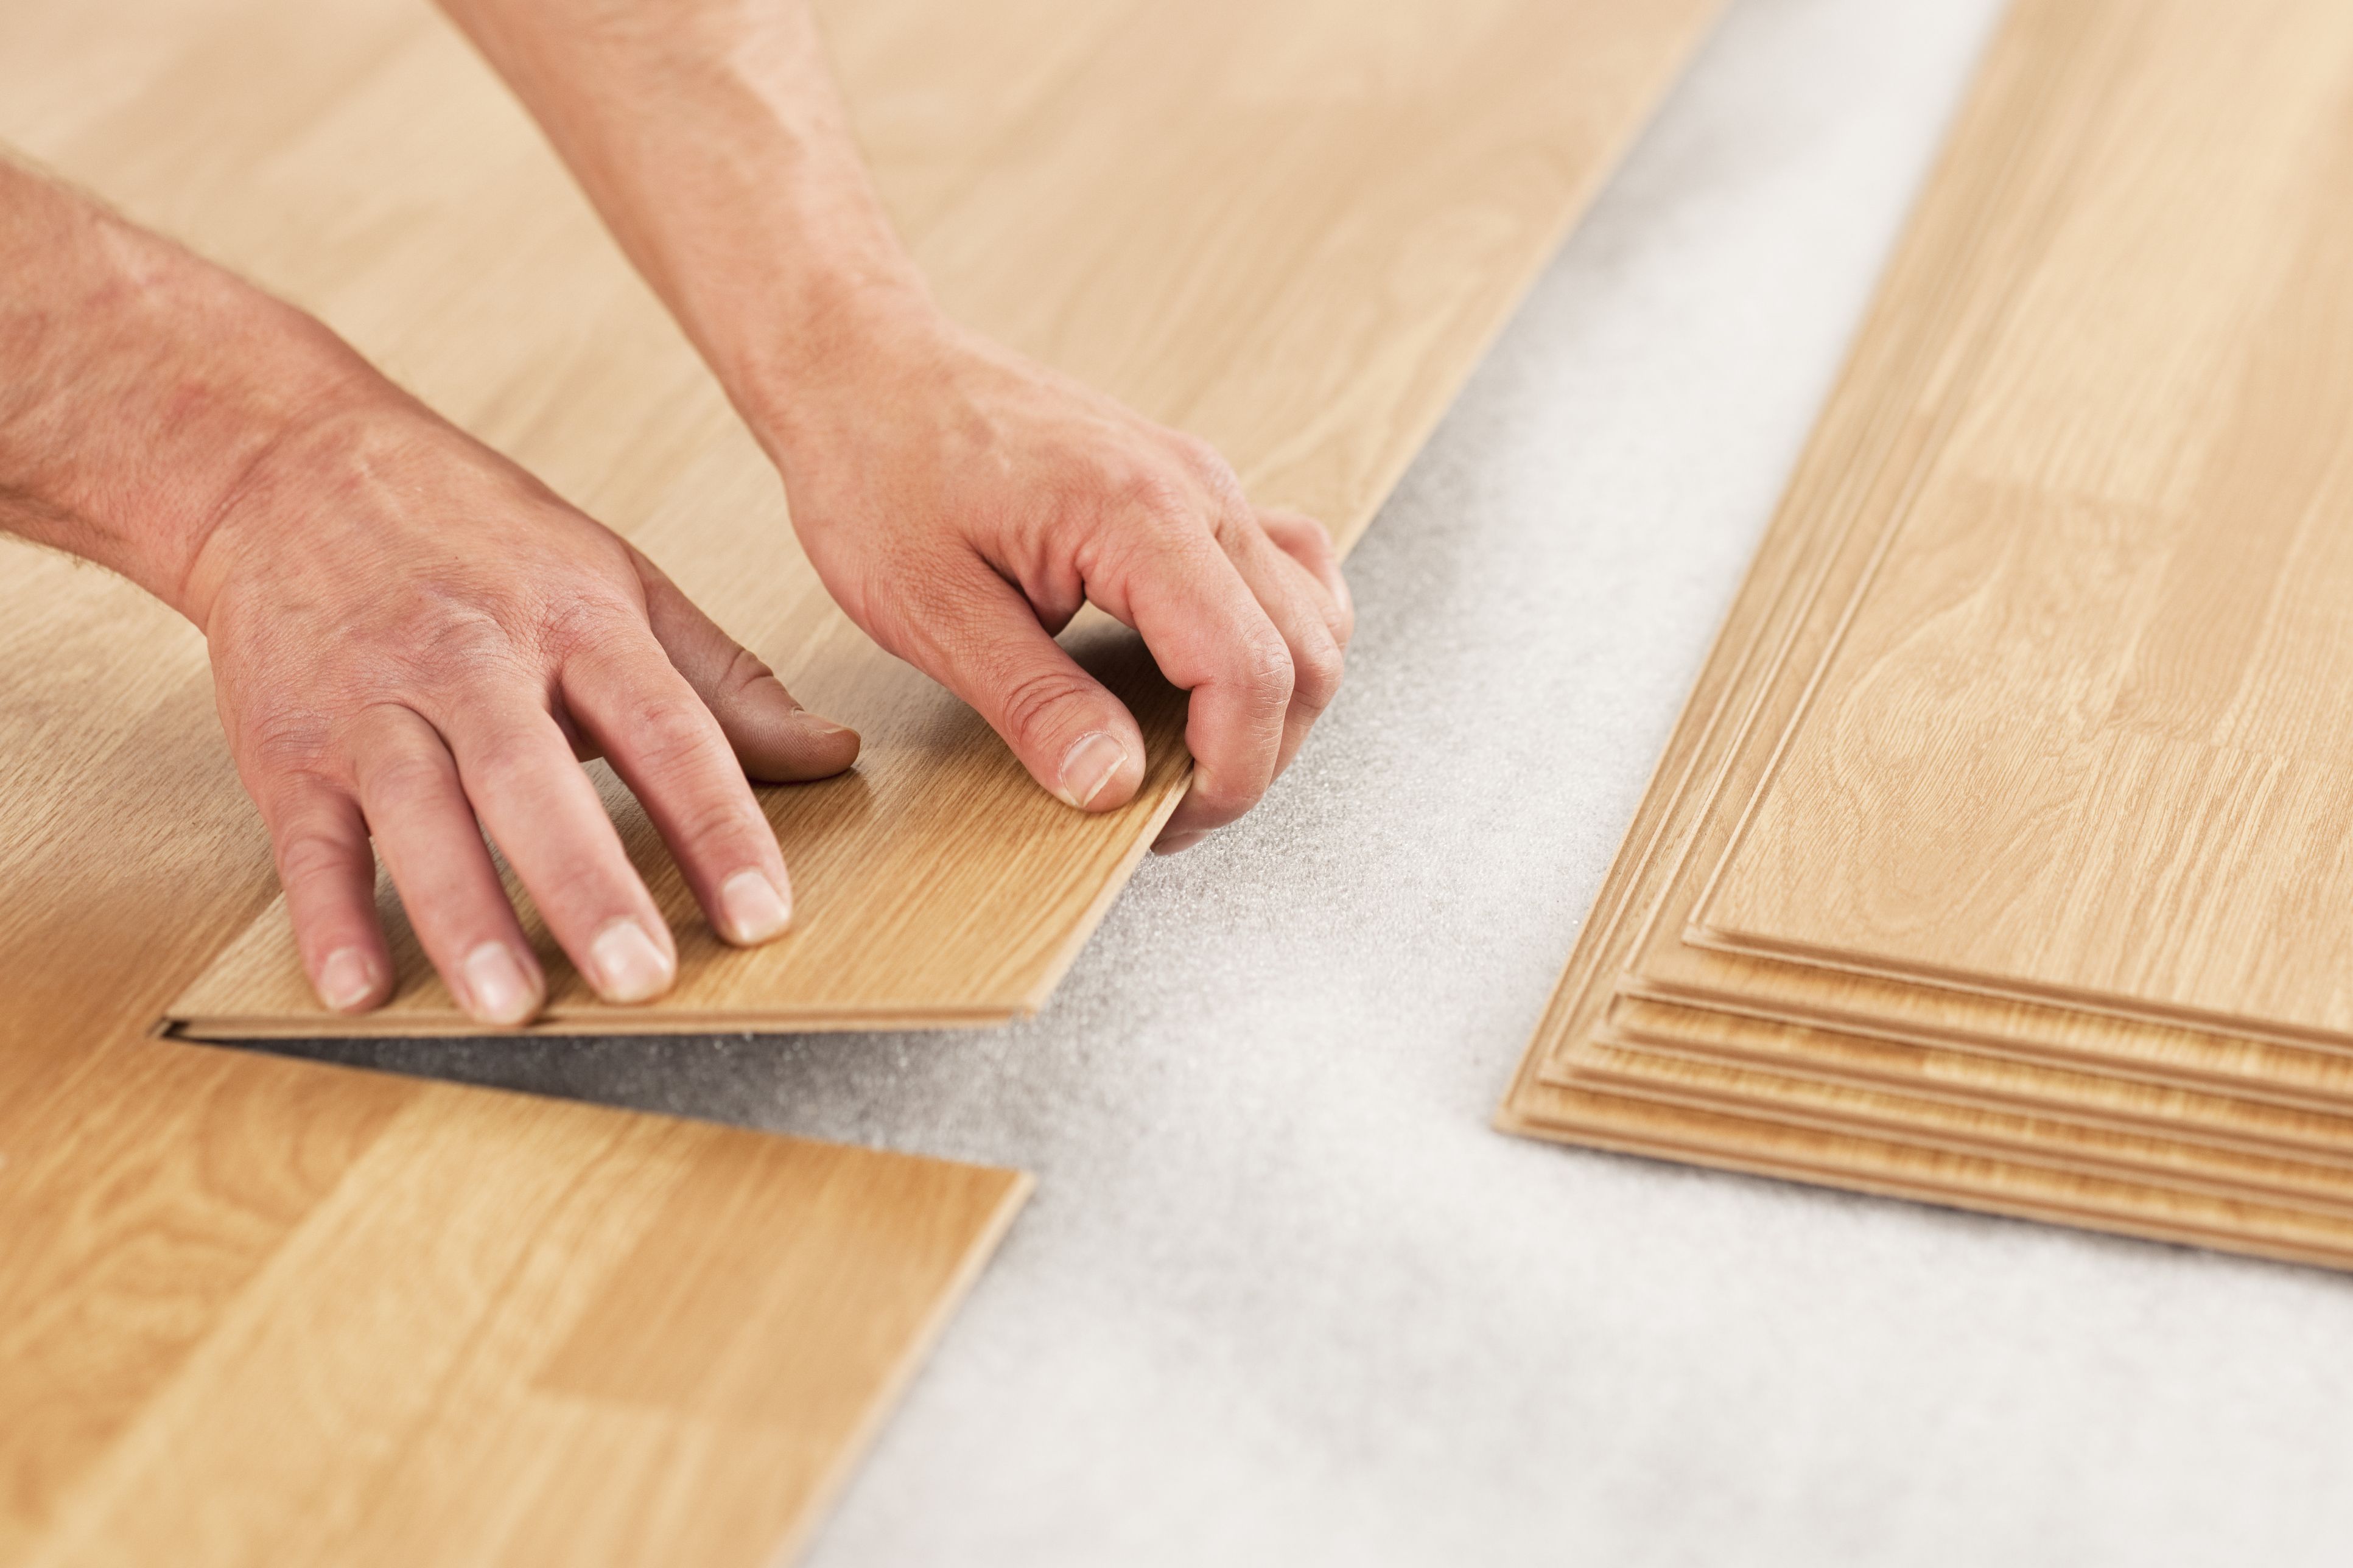
Once you have your vinyl planks and tools ready, it's time to prepare the planks for installation. Most vinyl planks come with adhesive backing, but if yours do not, you will need to apply adhesive to the back of each plank before laying them down. You can also cut the planks to fit the space using a utility knife and a straight edge for precise measurements.4. Preparing the Vinyl Planks


installation


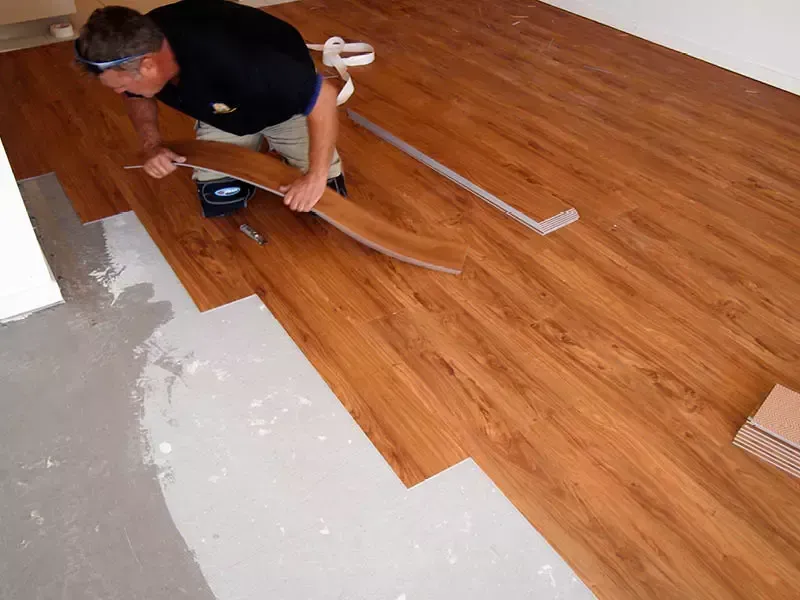
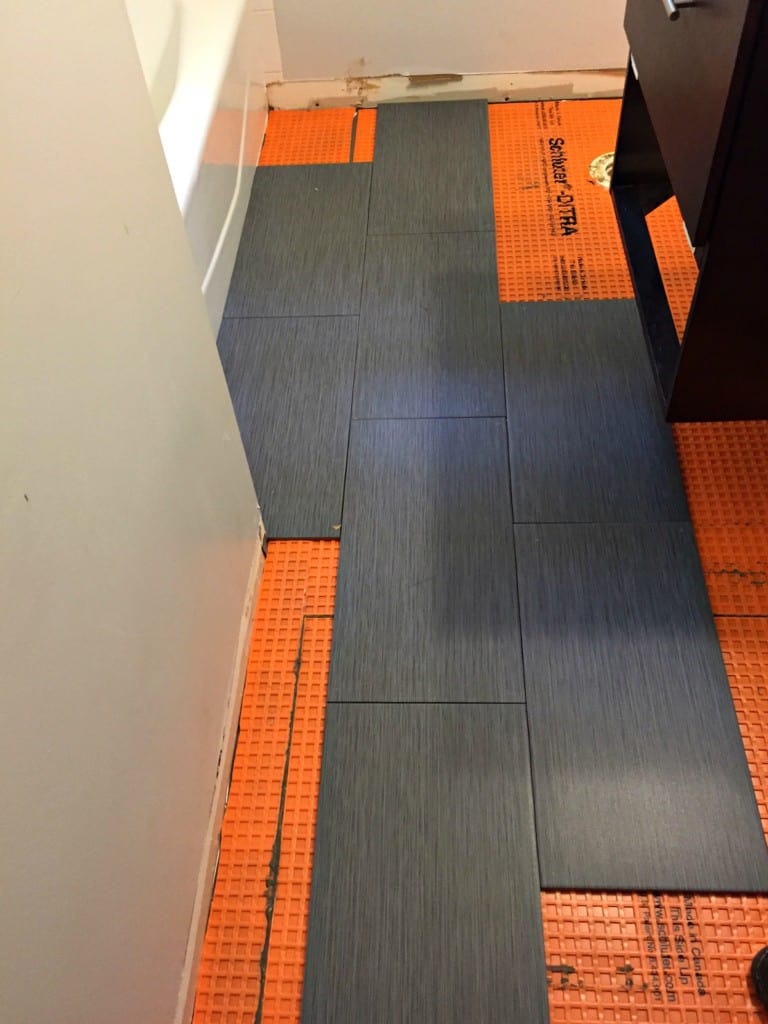
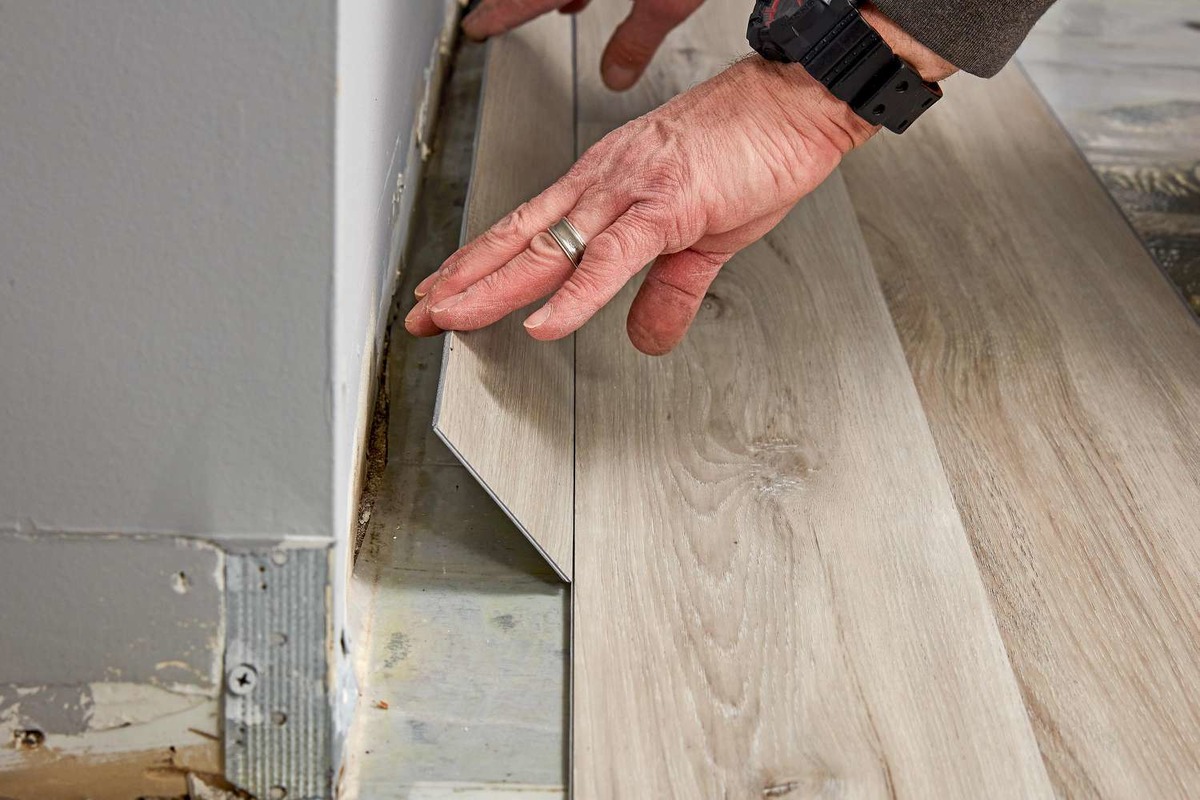
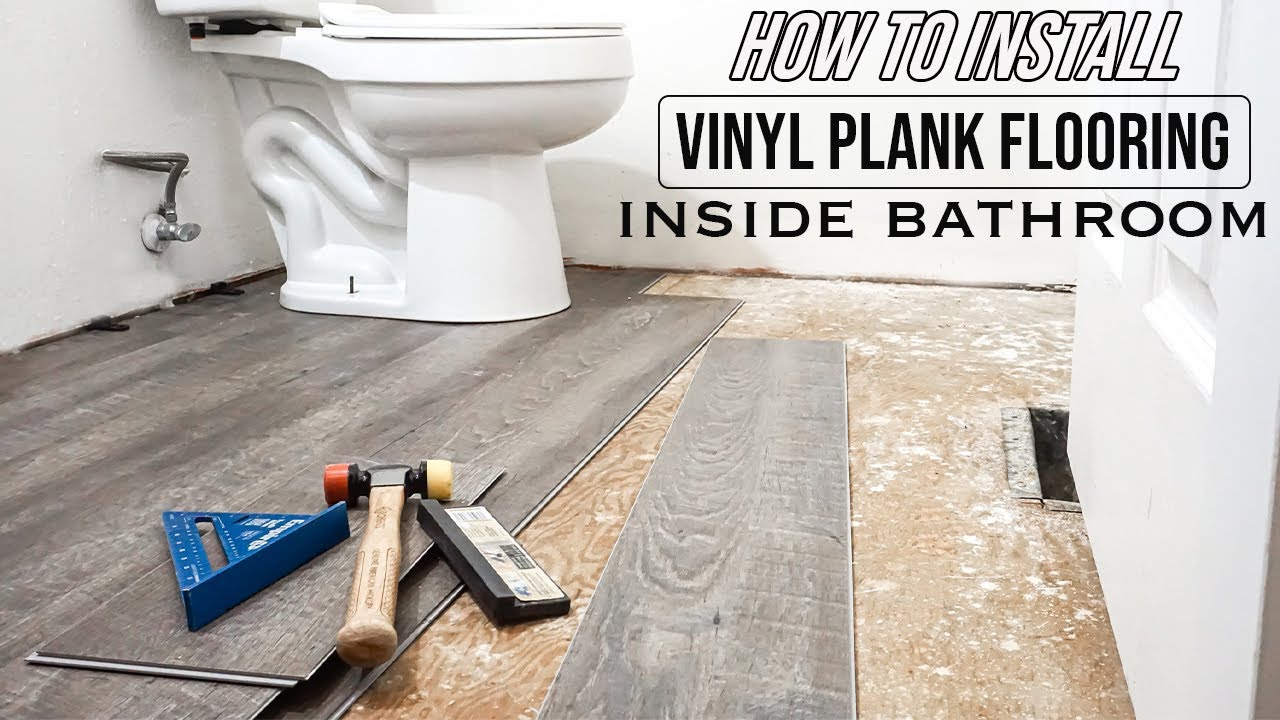
Now it's time to start laying the vinyl planks. Start at one end of the bathroom sink and work your way outwards. Make sure to leave a small gap between the planks and the walls to allow for expansion. Use a straight edge to make sure the planks are properly aligned and use a rolling pin to ensure the planks are securely in place.5. Laying the Planks


DIY
/Epoxy-DIY-Countertops-Via-Smallspaces.about.com-56d33a003df78cfb37d23f47.jpg)


The area around the bathroom sink can be tricky to navigate when laying vinyl planks. If you have a pedestal sink, you may need to cut the planks to fit around the base. For vanities, consider removing them temporarily to lay the planks underneath and then reinstalling them afterwards. This will give your bathroom a more seamless look.6. Dealing with Tricky Areas


waterproof


While not always necessary, adding underlayment can provide extra protection for your vinyl planks. Underlayment helps to prevent moisture from seeping through and can also provide a cushioning effect, making the floor more comfortable to walk on. If you choose to use underlayment, make sure to lay it down before installing the vinyl planks.7. Adding Underlayment for Extra Protection
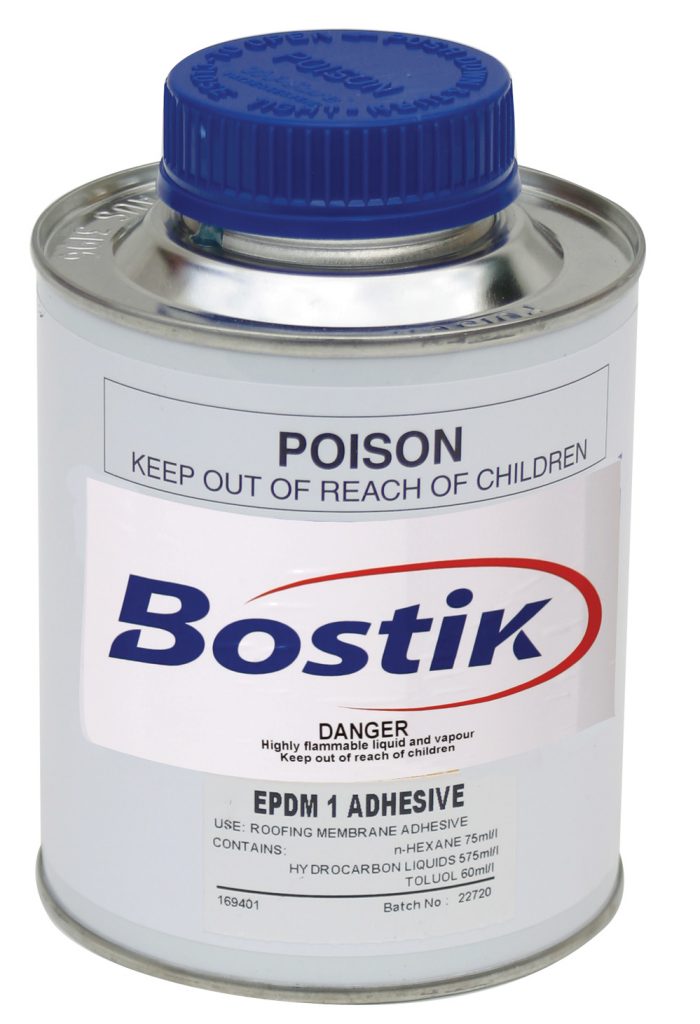


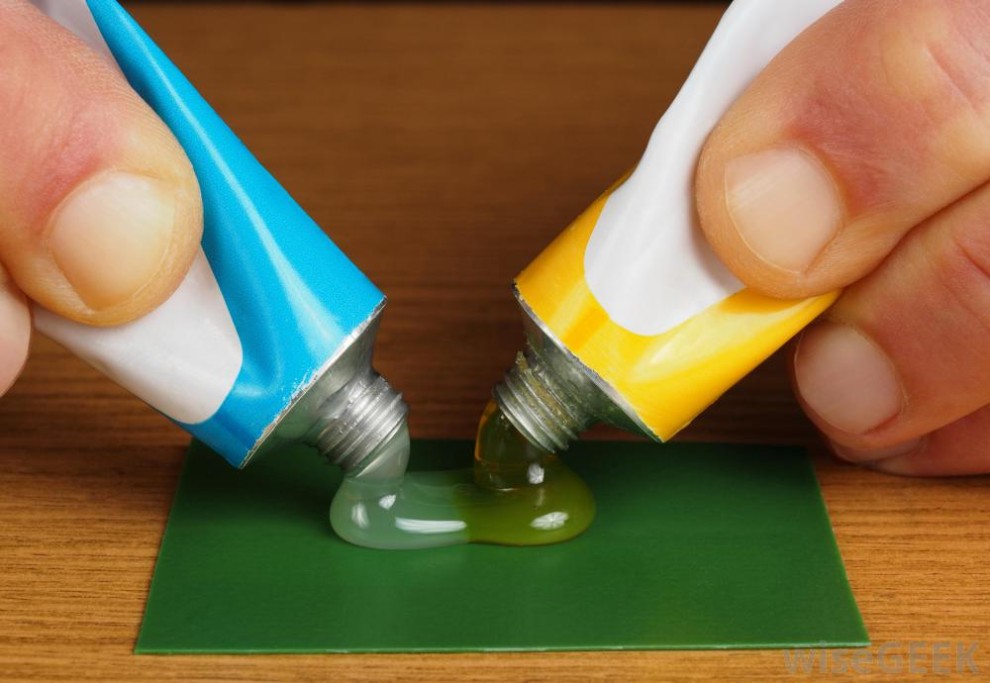
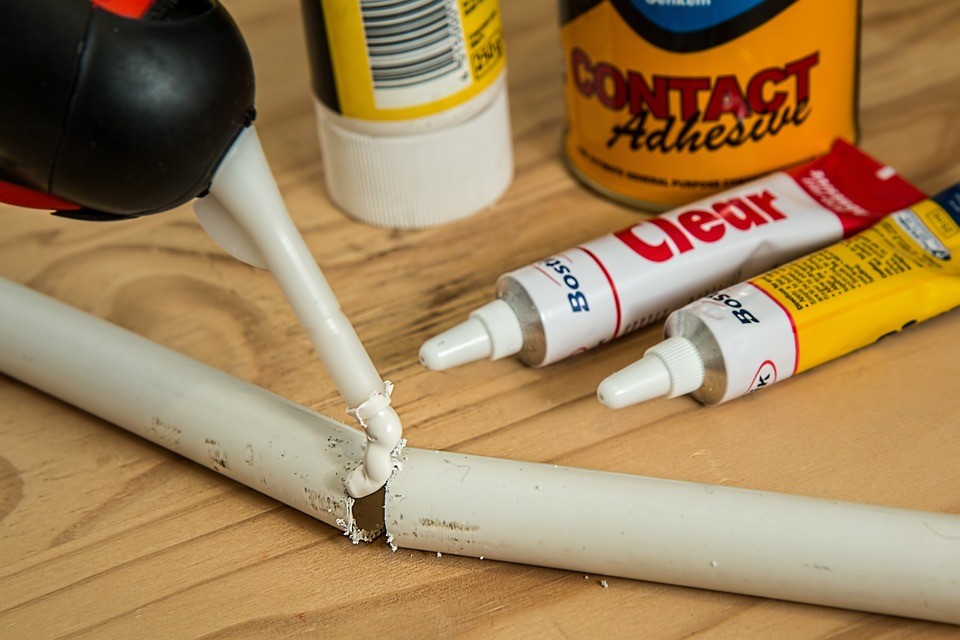
adhesive


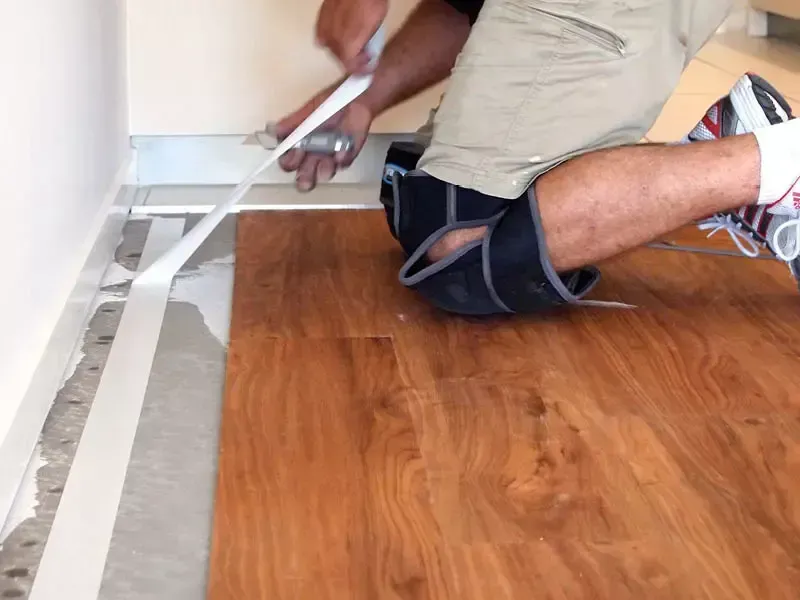
As you reach the edges of the bathroom sink, you may need to cut and trim the vinyl planks to fit perfectly. Use a utility knife and a straight edge for precise cuts. For areas where the planks meet the walls, you may need to add trim for a finished look. Measure and cut the trim to fit and then use adhesive to secure it in place.8. Cutting and Trimming


cutting


While laying vinyl planks around a bathroom sink can be a DIY project, it may be worth considering hiring a professional for a flawless and efficient installation. Professionals have the necessary tools and experience to ensure the planks are laid properly and can handle any tricky areas with ease. However, if you're feeling confident in your DIY skills, go ahead and tackle the project yourself!9. DIY or Hiring a Professional?


underlayment


/PlywoodUnderlaymentUnderWoodFlooring-5ac24fbcae9ab8003781af25.jpg)


After all the hard work, it's time to sit back and enjoy your newly installed vinyl plank flooring around the bathroom sink. Not only does it add a fresh and updated look to your space, but it's also easy to maintain and keep clean. With proper installation and maintenance, your vinyl planks can last for years to come, making it a worthwhile investment for your bathroom.10. Enjoy Your New Bathroom Flooring
trim


Why Lay Vinyl Planks Around Your Bathroom Sink?
Enhance the Look and Feel of Your Bathroom
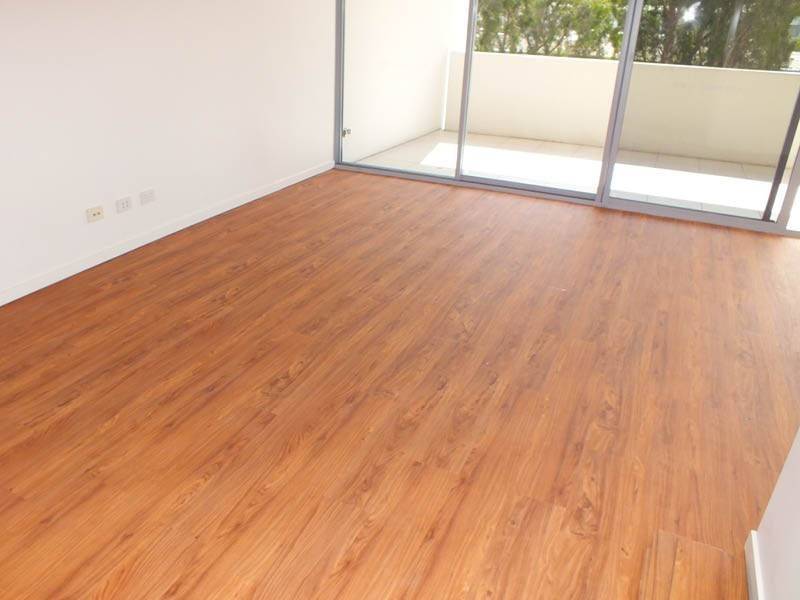
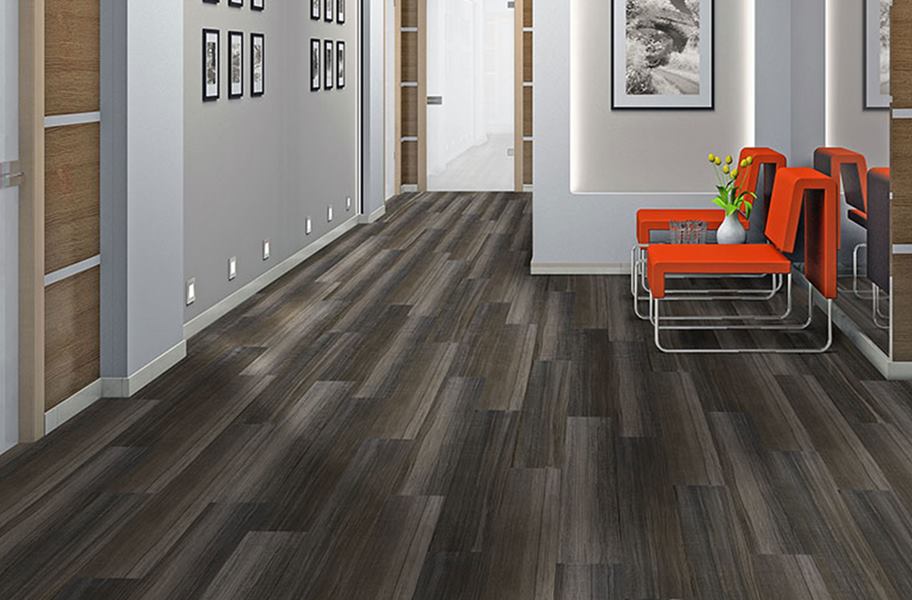
 Laying vinyl planks around your bathroom sink is a simple yet effective way to upgrade the overall look and feel of your bathroom. These planks come in a variety of styles and designs, making it easy to find one that fits your personal aesthetic. Whether you prefer a modern, sleek look or a more traditional and cozy vibe, there is a vinyl plank option that will suit your taste. With its realistic wood or stone appearance, vinyl planks can add a touch of elegance and sophistication to your bathroom.
Vinyl planks are a budget-friendly alternative to other flooring options, such as ceramic tiles or hardwood, making it a popular choice for homeowners looking to renovate on a budget.
Not only are they cost-effective, but they are also durable and easy to maintain. This makes them a practical choice for high-moisture areas like bathrooms, where spills and water damage are common.
Laying vinyl planks around your bathroom sink is a simple yet effective way to upgrade the overall look and feel of your bathroom. These planks come in a variety of styles and designs, making it easy to find one that fits your personal aesthetic. Whether you prefer a modern, sleek look or a more traditional and cozy vibe, there is a vinyl plank option that will suit your taste. With its realistic wood or stone appearance, vinyl planks can add a touch of elegance and sophistication to your bathroom.
Vinyl planks are a budget-friendly alternative to other flooring options, such as ceramic tiles or hardwood, making it a popular choice for homeowners looking to renovate on a budget.
Not only are they cost-effective, but they are also durable and easy to maintain. This makes them a practical choice for high-moisture areas like bathrooms, where spills and water damage are common.
Protect Your Bathroom from Water Damage
 One of the main benefits of laying vinyl planks around your bathroom sink is its water-resistant properties. Unlike other flooring options, vinyl planks are designed to withstand moisture, making it the perfect choice for areas prone to water exposure. With its seamless installation, vinyl planks create a barrier around your sink, protecting the underlying floor from water damage. This not only helps to maintain the longevity of your bathroom flooring but also prevents the growth of mold and mildew, ensuring a healthier living environment.
Additionally, vinyl planks are easy to clean and maintain, making it a practical choice for busy households. Simply sweep and mop regularly to keep your bathroom looking pristine.
One of the main benefits of laying vinyl planks around your bathroom sink is its water-resistant properties. Unlike other flooring options, vinyl planks are designed to withstand moisture, making it the perfect choice for areas prone to water exposure. With its seamless installation, vinyl planks create a barrier around your sink, protecting the underlying floor from water damage. This not only helps to maintain the longevity of your bathroom flooring but also prevents the growth of mold and mildew, ensuring a healthier living environment.
Additionally, vinyl planks are easy to clean and maintain, making it a practical choice for busy households. Simply sweep and mop regularly to keep your bathroom looking pristine.
Easy Installation Process
 Installing vinyl planks around your bathroom sink is a straightforward process that can be done by homeowners with basic DIY skills. Unlike other flooring options that may require professional installation, vinyl planks often come with a click-and-lock system, making it easy to install without the need for adhesives. This not only saves you time and money but also allows you to easily replace any damaged planks in the future.
Moreover, vinyl planks can be installed over existing flooring, making it a hassle-free option for those looking to update their bathroom without the need for extensive renovation.
In conclusion, laying vinyl planks around your bathroom sink is a practical and budget-friendly way to enhance the look and feel of your bathroom. With its water-resistant properties, easy installation process, and low maintenance, it is a perfect choice for busy households. So why wait? Head to your nearest home improvement store and start transforming your bathroom with vinyl planks today!
Installing vinyl planks around your bathroom sink is a straightforward process that can be done by homeowners with basic DIY skills. Unlike other flooring options that may require professional installation, vinyl planks often come with a click-and-lock system, making it easy to install without the need for adhesives. This not only saves you time and money but also allows you to easily replace any damaged planks in the future.
Moreover, vinyl planks can be installed over existing flooring, making it a hassle-free option for those looking to update their bathroom without the need for extensive renovation.
In conclusion, laying vinyl planks around your bathroom sink is a practical and budget-friendly way to enhance the look and feel of your bathroom. With its water-resistant properties, easy installation process, and low maintenance, it is a perfect choice for busy households. So why wait? Head to your nearest home improvement store and start transforming your bathroom with vinyl planks today!