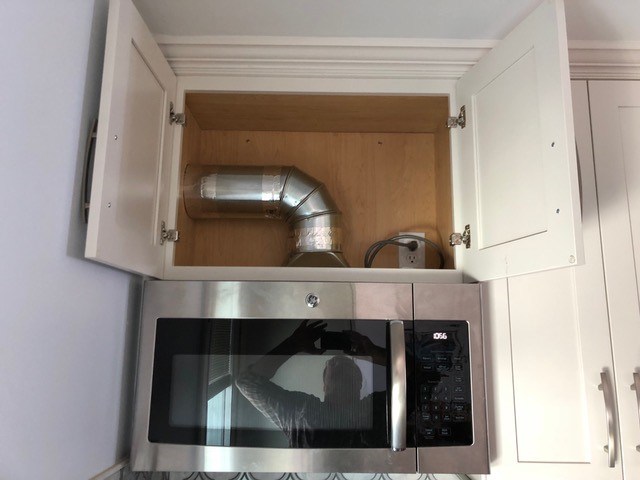
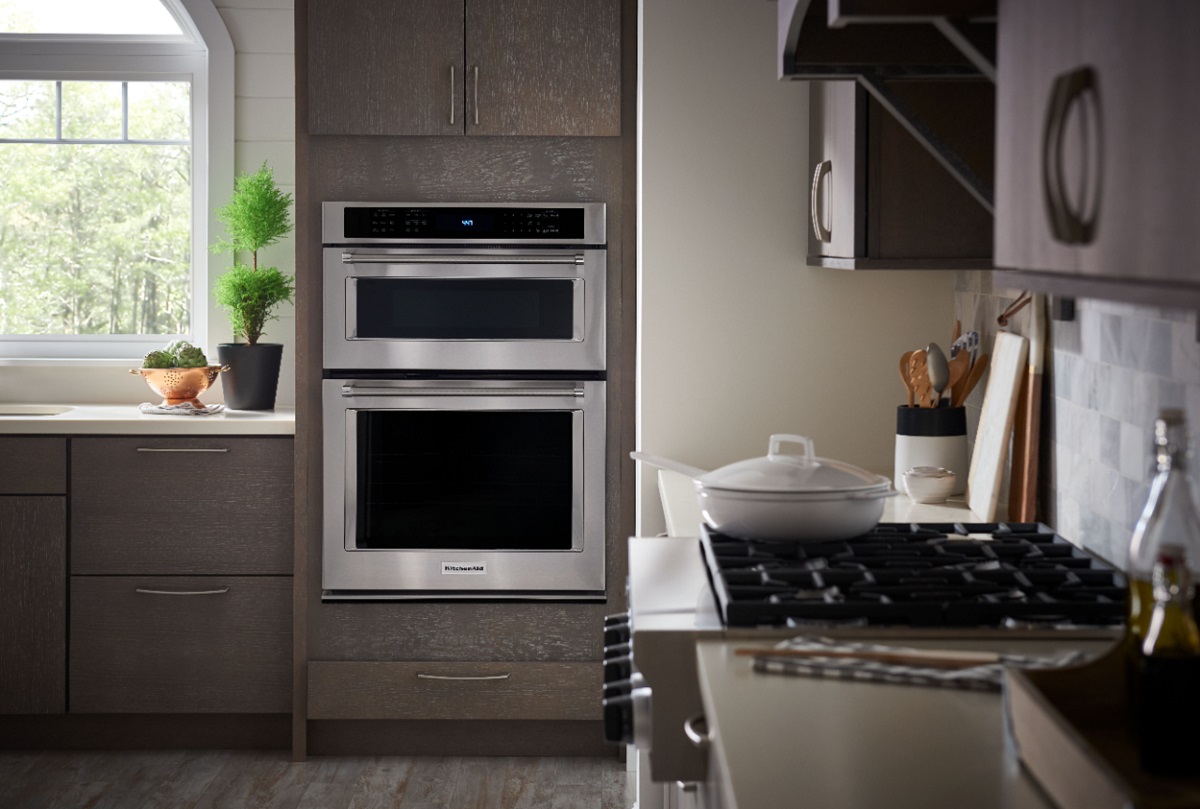
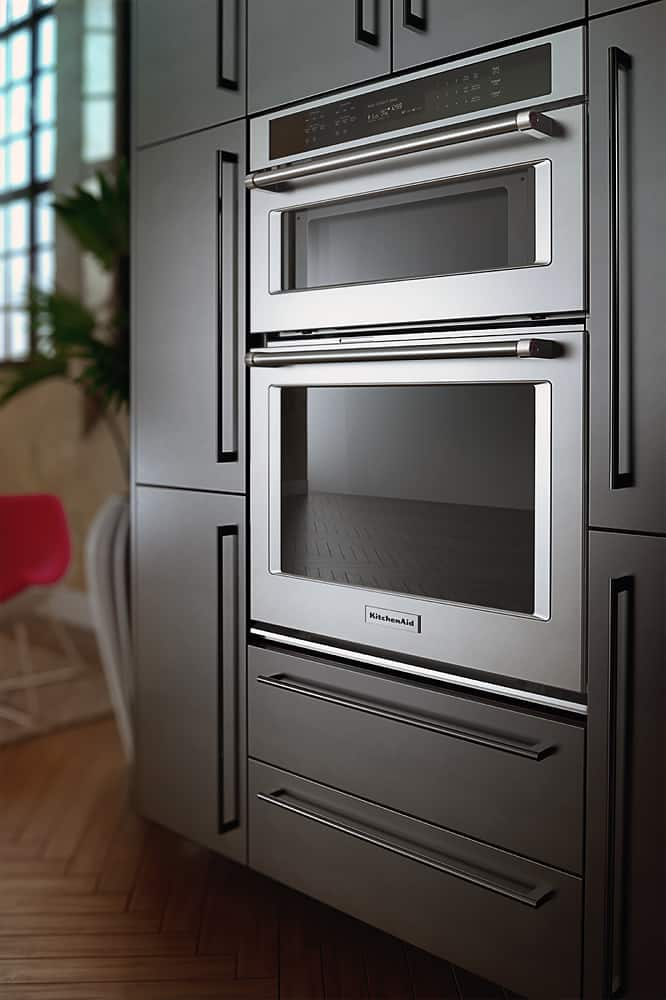
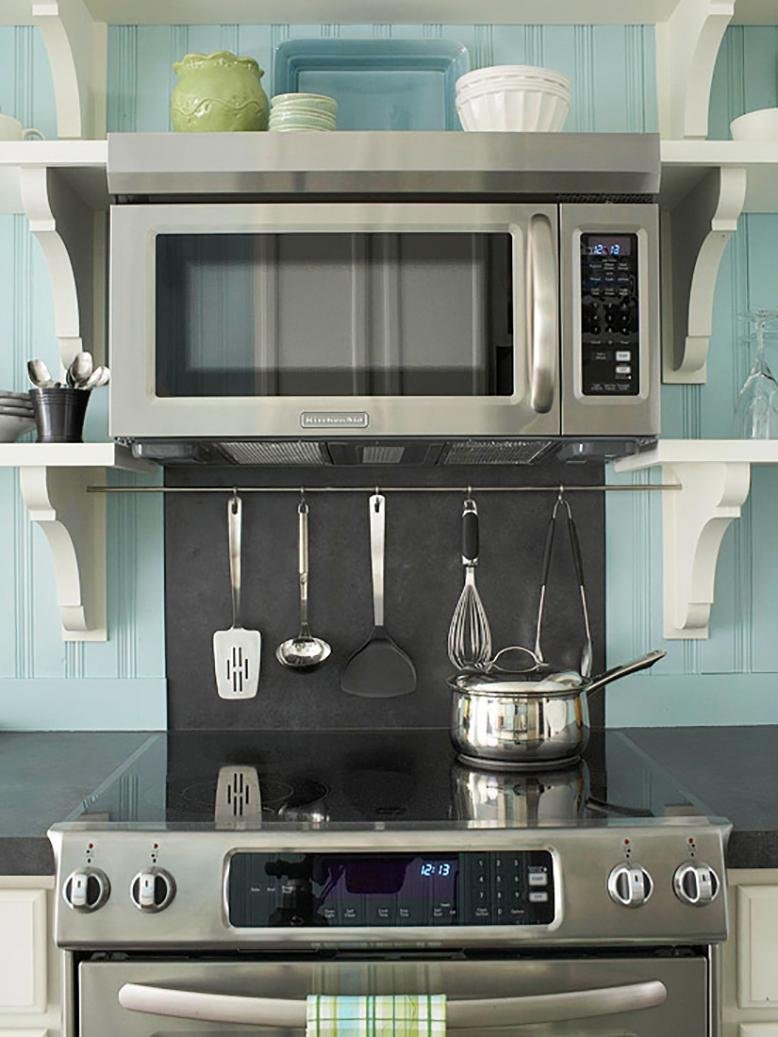
Installing a microwave above a wall oven can not only save space in your kitchen, but it can also provide a sleek and modern look. The process may seem daunting, but with the right tools and techniques, it can be a simple and straightforward task. In this article, we will guide you through the steps of installing a microwave above a wall oven. How to Install a Microwave Above a Wall Oven
The first step in installing a microwave above a wall oven is to measure the space where you want to install it. Make sure to take accurate measurements of the width, depth, and height of the area. Also, consider the weight of the microwave and the weight limit of the wall oven to ensure it can support the weight of the microwave. Once you have all the measurements, plan out the layout and placement of the microwave above the wall oven.1. Measure and Plan
Before installing the microwave, make sure to check the electrical requirements. The microwave will need its own dedicated circuit and outlet. If the wall oven is already installed, check if there is an extra outlet available for the microwave. If not, you may need to hire an electrician to install a new outlet.2. Check the Electrical Requirements
Next, gather all the necessary tools and materials for the installation. You will need a drill, level, measuring tape, screws, and a mounting template that usually comes with the microwave. Make sure to have someone to help you with the installation. The microwave can be heavy and difficult to maneuver on your own.3. Gather Tools and Materials
Most microwaves come with a wall bracket that needs to be installed first. Follow the instructions provided by the manufacturer to properly install the wall bracket. Use a drill to secure the bracket onto the wall. Make sure the bracket is level and securely attached to the wall.4. Install the Wall Bracket
The mounting plate will be attached to the back of the microwave. Carefully read the instructions provided by the manufacturer to properly install the mounting plate. Use the mounting template to mark the placement of the screws on the microwave. Use a drill to secure the mounting plate onto the microwave.5. Install the Mounting Plate
With the help of another person, carefully lift the microwave and place it onto the wall bracket. Make sure the mounting plate is securely attached to the wall bracket. Use the level to ensure the microwave is straight and adjust if needed. Once the microwave is in the correct position, use screws to secure it onto the wall bracket.6. Mount the Microwave
Follow the instructions provided by the manufacturer to properly connect the electrical wires. Make sure to turn off the power before connecting any wires. Once the wires are connected, turn the power back on and test the microwave to ensure it is working properly.7. Connect the Electrical Wires
If you want to give your microwave a more built-in look, you can install a trim kit. The trim kit will cover any gaps between the microwave and the wall oven. Follow the instructions provided by the manufacturer to properly install the trim kit.8. Install the Trim Kit (Optional)
After the installation is complete, test the microwave to ensure it is working properly. If it is not level or if there are any gaps, adjust the position of the microwave and tighten the screws if needed.9. Test and Adjust
The Benefits of Having a Kitchen with a Microwave Above the Wall Oven

The Perfect Combination of Convenience and Aesthetics
 Having a kitchen with a
microwave above the wall oven
may seem like a small detail in house design, but it can make a big impact on the functionality and appearance of your kitchen. Not only does it save counter space, but it also creates a streamlined and cohesive look in your kitchen. This
convenient setup
has become increasingly popular in modern kitchen designs, and for good reason.
Efficient Use of Space
 In today's fast-paced world, time is money. Having a
microwave above the wall oven
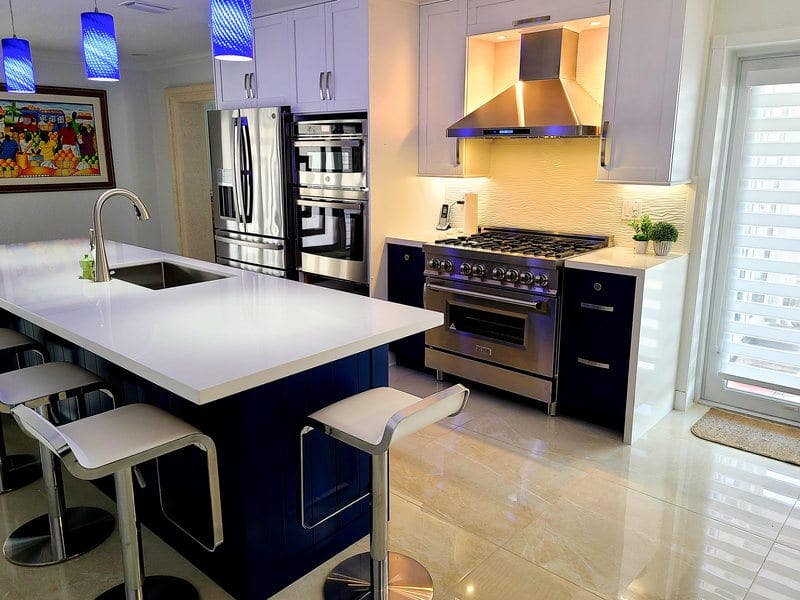
allows for a more efficient use of space in your kitchen. Instead of having two separate appliances taking up valuable counter space, they are stacked on top of each other, leaving more room for prep work and cooking. This is especially beneficial for smaller kitchens, where every inch counts.
Improved Accessibility
 For those with limited mobility or reach, having a
microwave above the wall oven
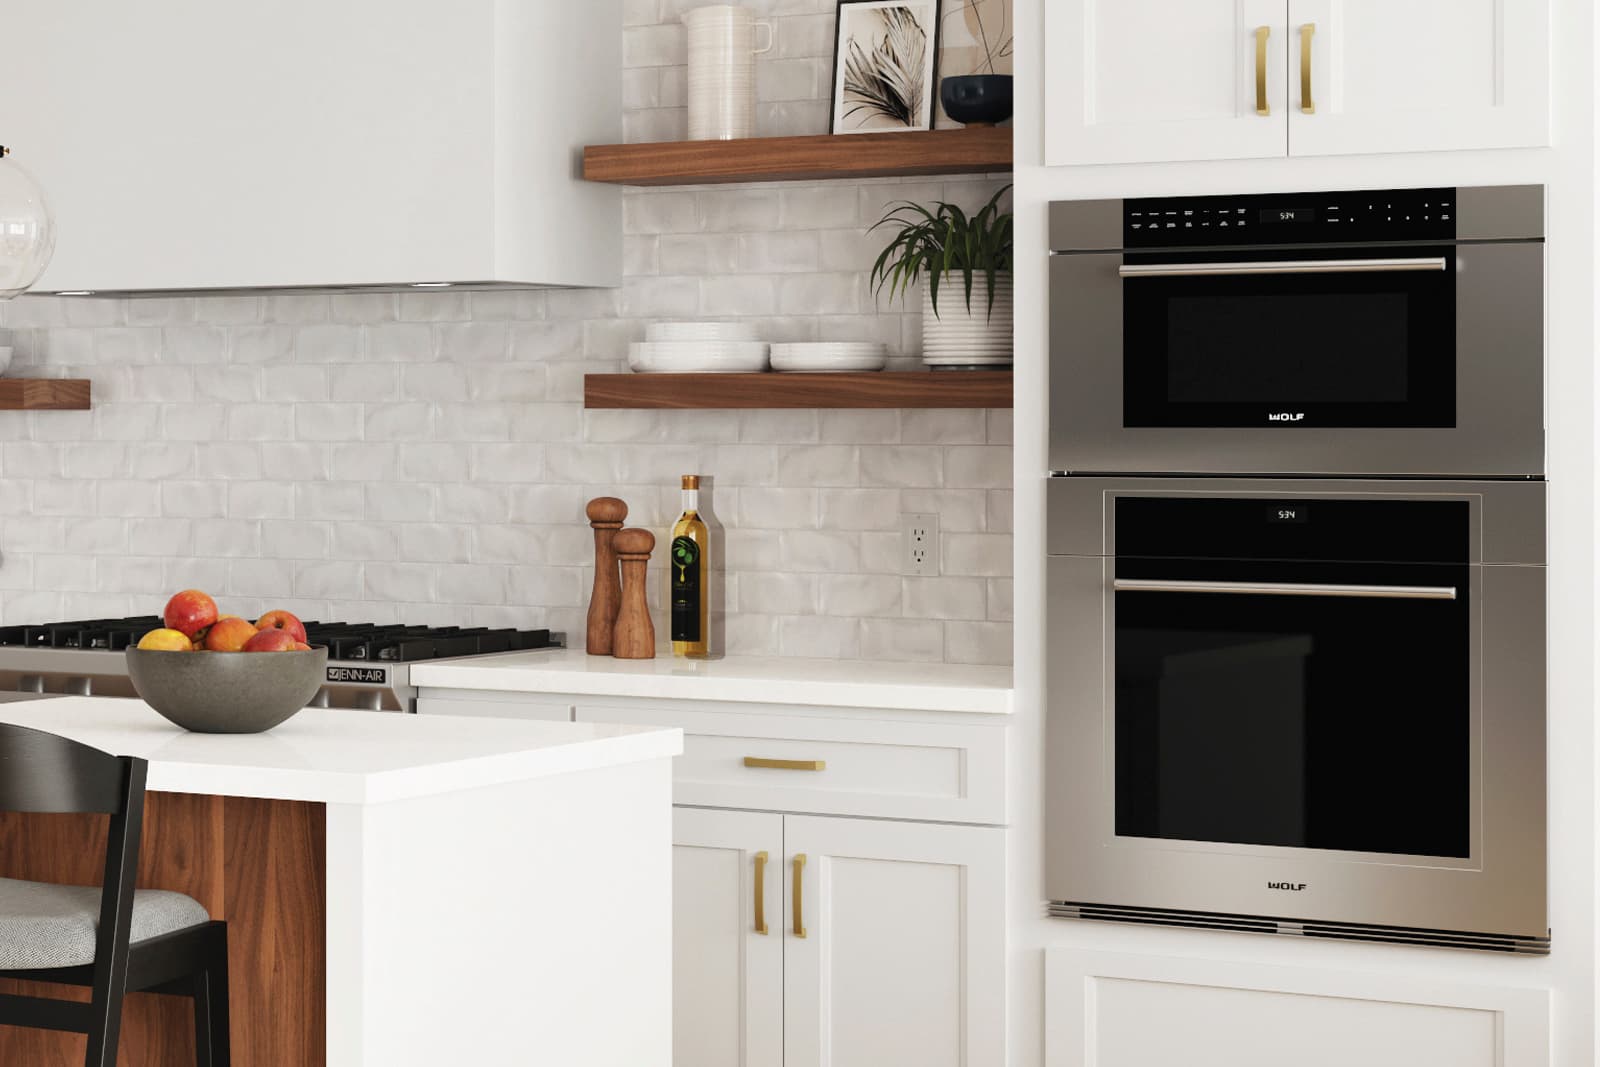
can make a world of difference. No more bending down or reaching over hot dishes to use the microwave. Having it at eye level not only makes it easier to use, but also reduces the risk of accidents and injuries in the kitchen.
Seamless Design
 The
microwave above wall oven
combination also adds a touch of elegance and sophistication to your kitchen. By having them stacked on top of each other, it creates a seamless and cohesive design. This is especially beneficial for open concept kitchens where the kitchen is visible from other parts of the house. It adds to the overall aesthetic of the space and can even increase the value of your home.
Final Thoughts
 A
kitchen with a microwave above the wall oven
is not only a practical choice, but also a stylish one. It saves space, improves accessibility, and adds to the overall design of your kitchen. Consider this option when designing or renovating your kitchen for a functional and visually appealing space.


/150208994-56a49f463df78cf772834ea2.jpg)

