One of the first things to check when your kitchen sink sprayer is not working is the water supply. Make sure that the water supply to your sink is turned on and that there are no issues with the water pressure. If the water supply is turned off or there is low water pressure, this could be the reason why your sprayer is not functioning properly. Make sure to check the shut-off valves under the sink to ensure they are fully open.Check the water supply
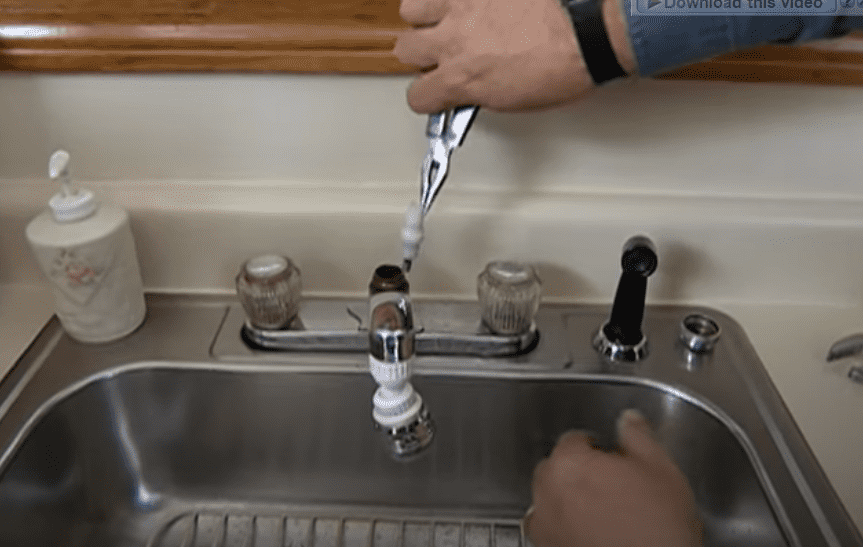
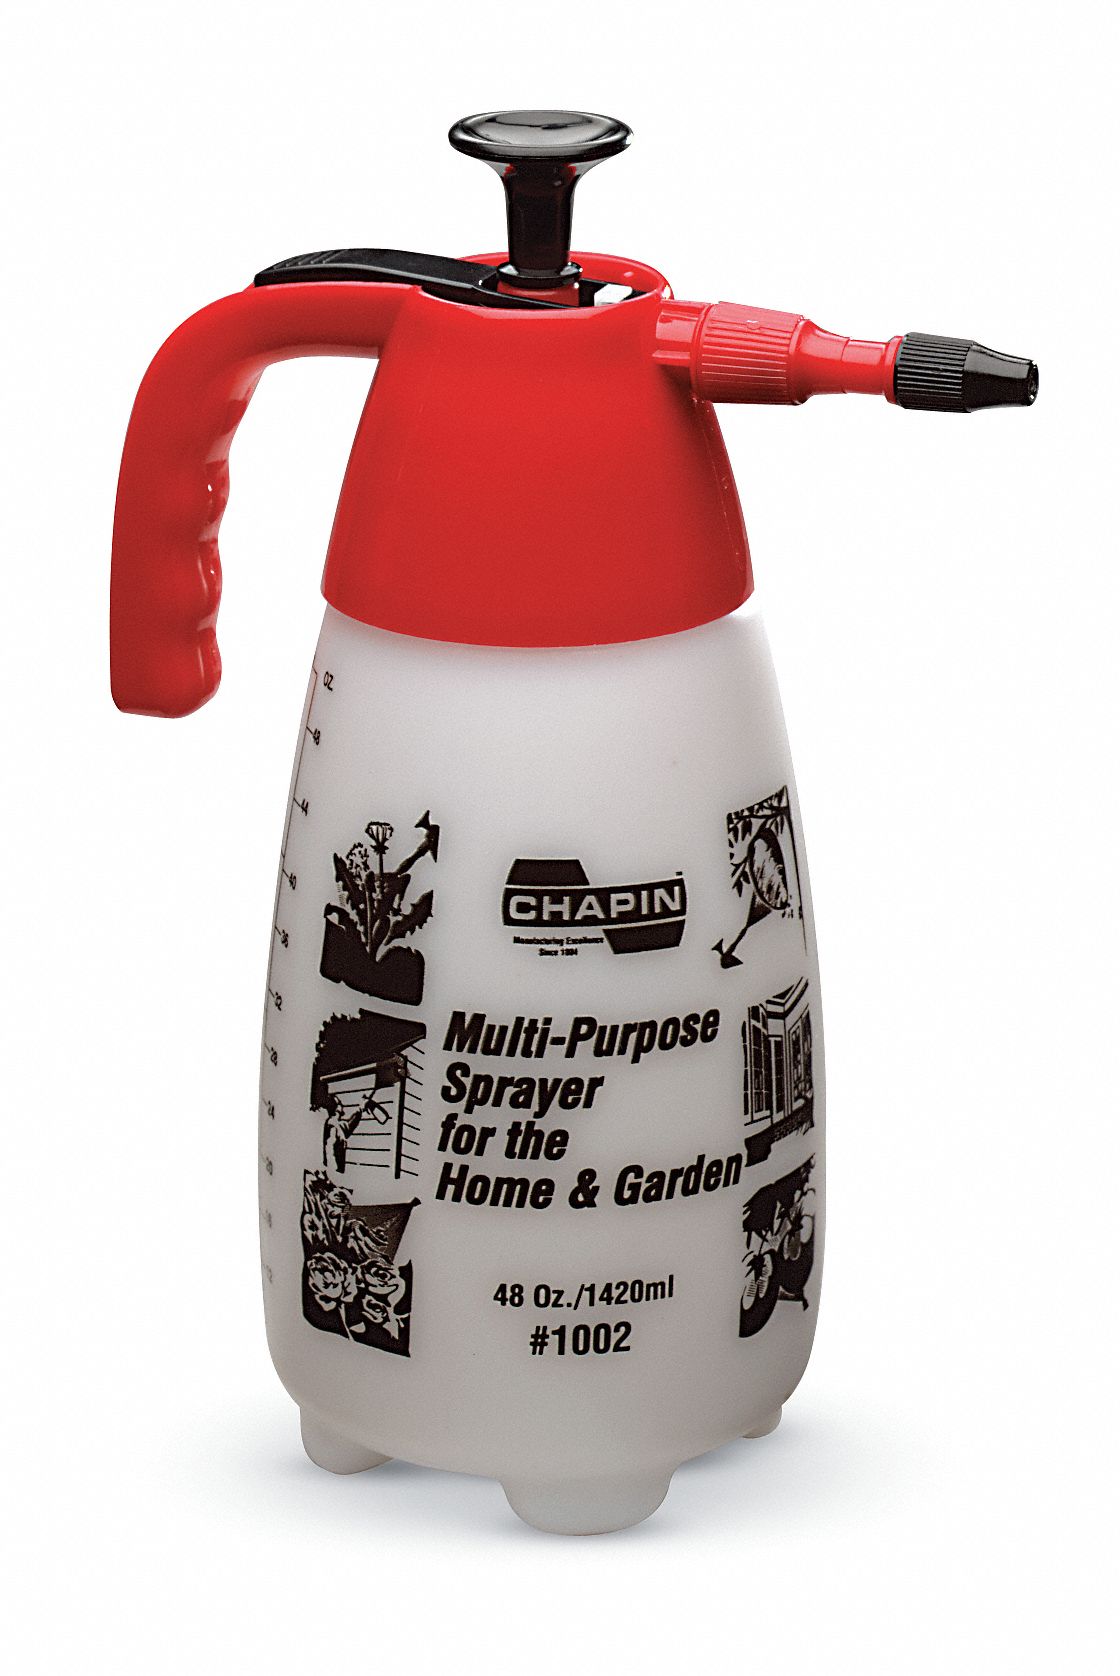
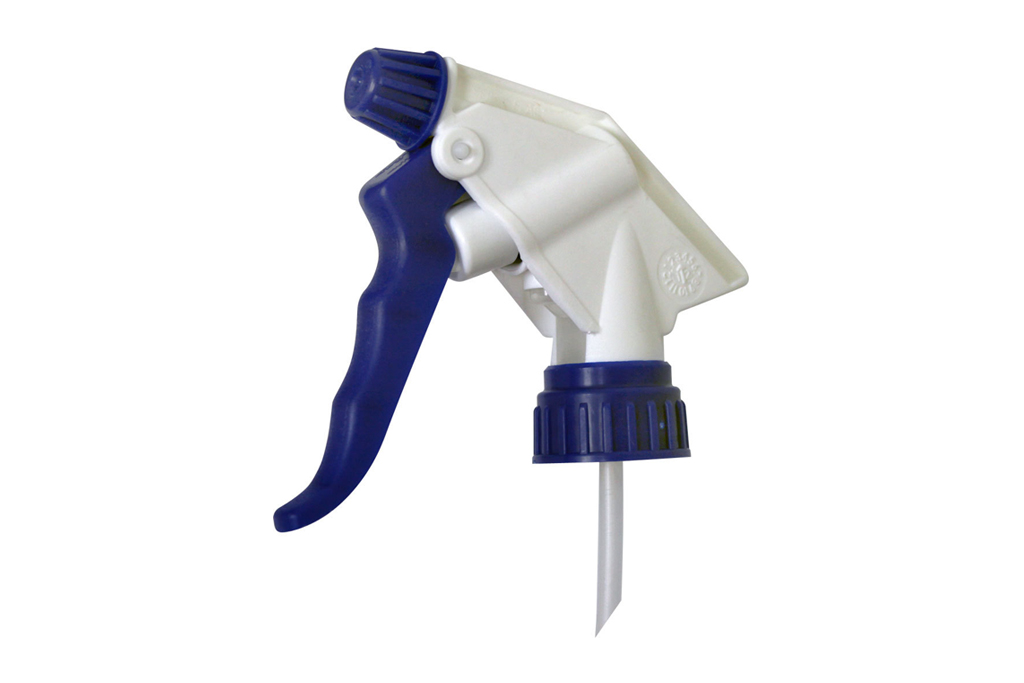
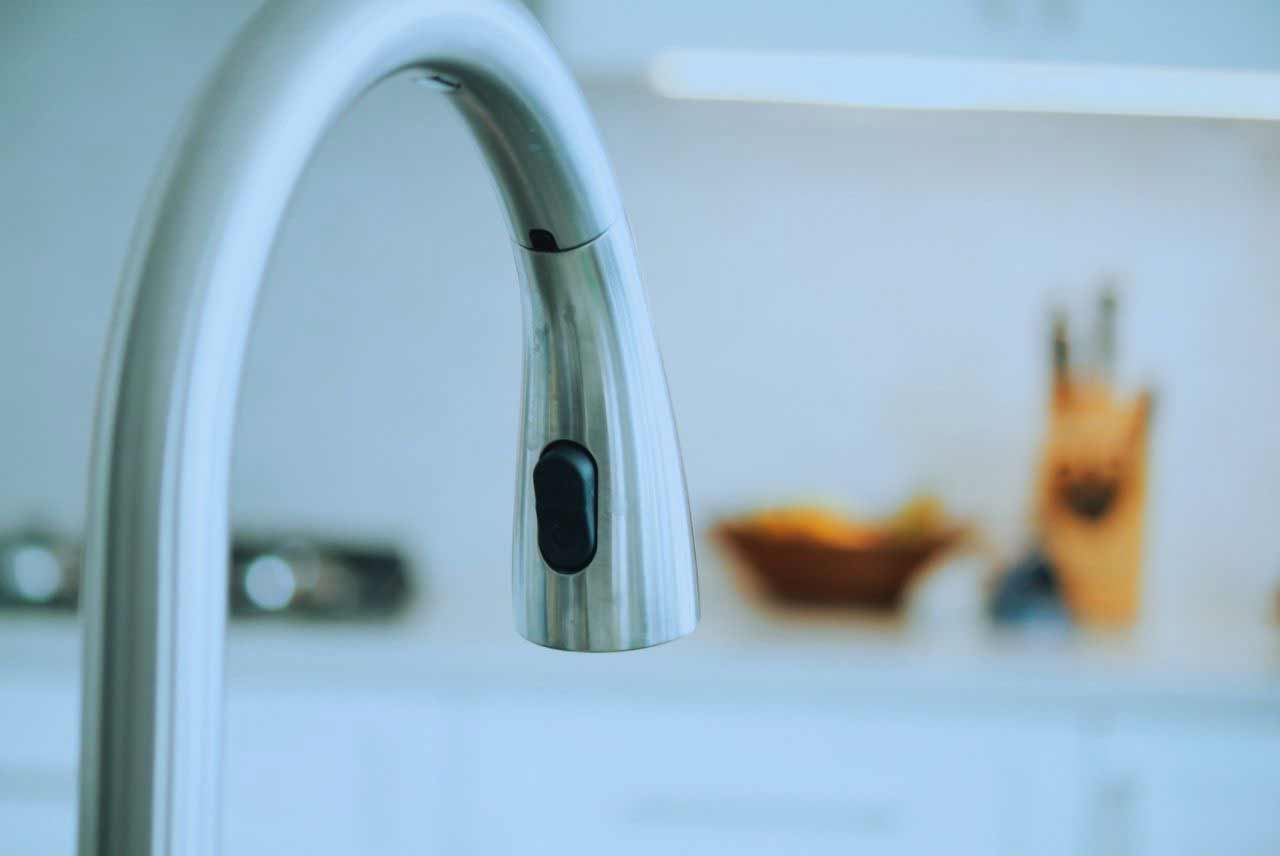
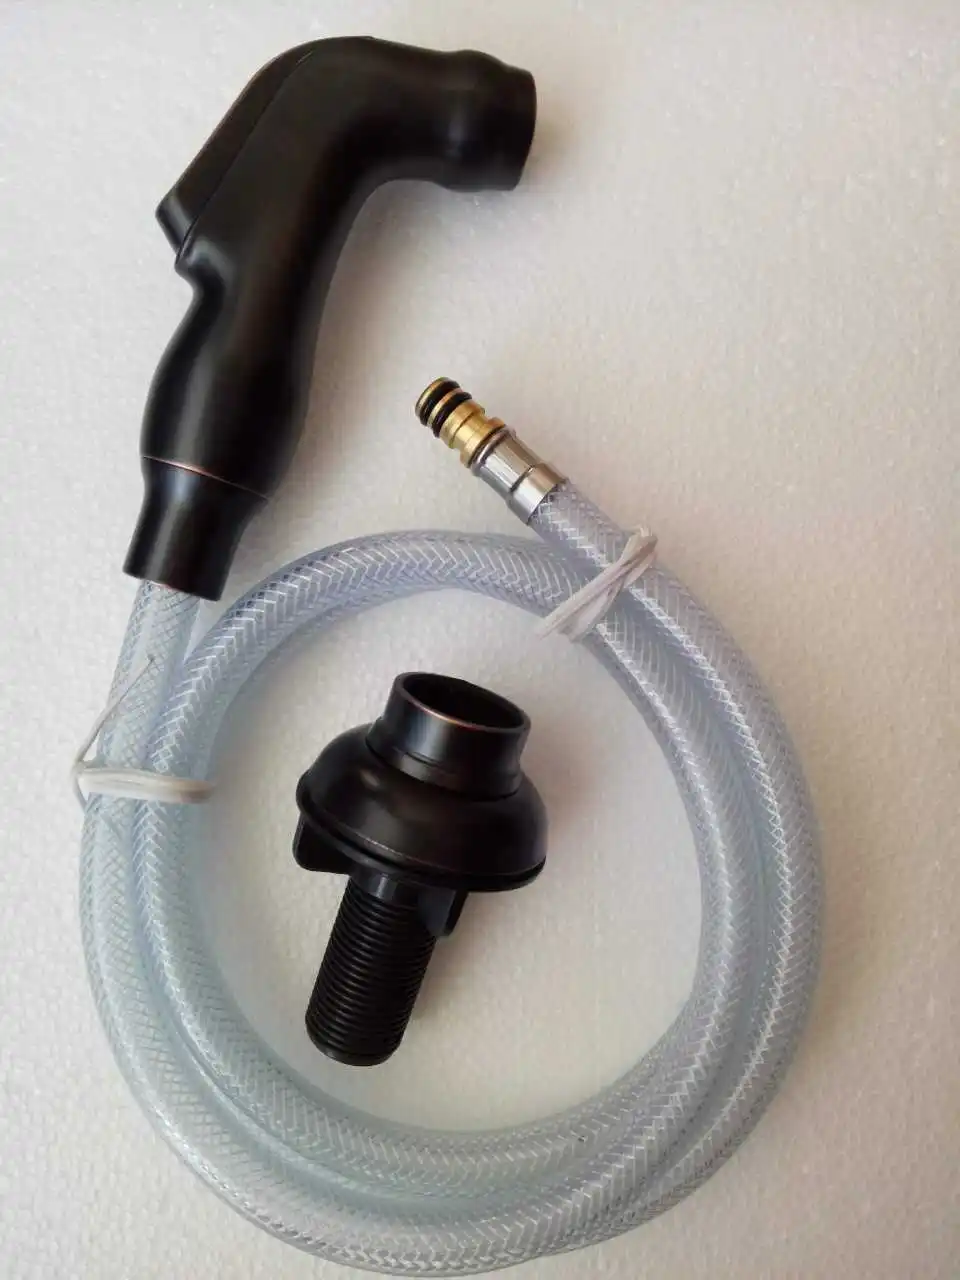
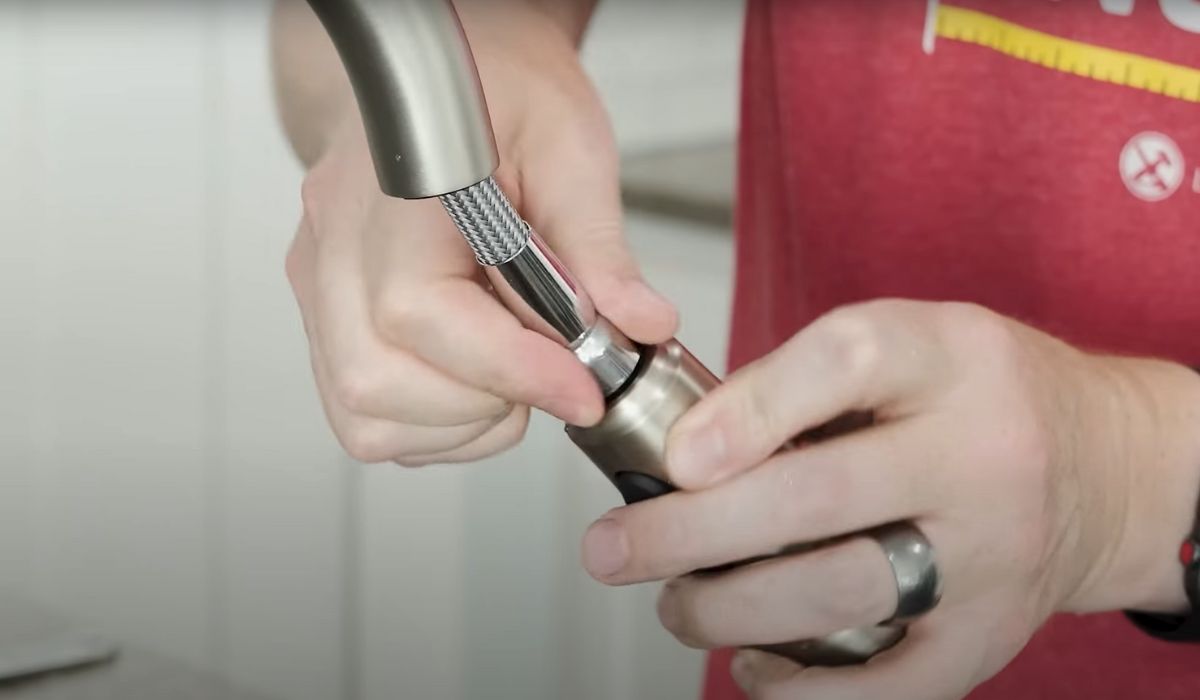
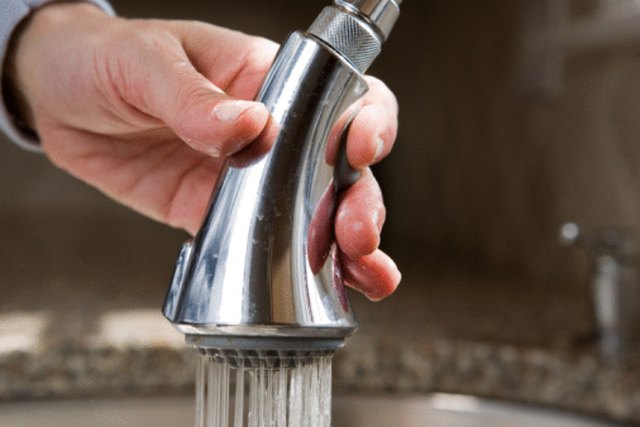
The next step is to take a closer look at the sprayer head itself. Over time, debris and mineral deposits can build up in the sprayer head and cause it to clog. Remove the sprayer head from the hose by twisting it counterclockwise, and then check for any visible blockages. If you see any debris, clean it out with a small brush or toothpick. You can also try soaking the sprayer head in a mixture of equal parts water and vinegar to dissolve any mineral deposits.Inspect the sprayer head
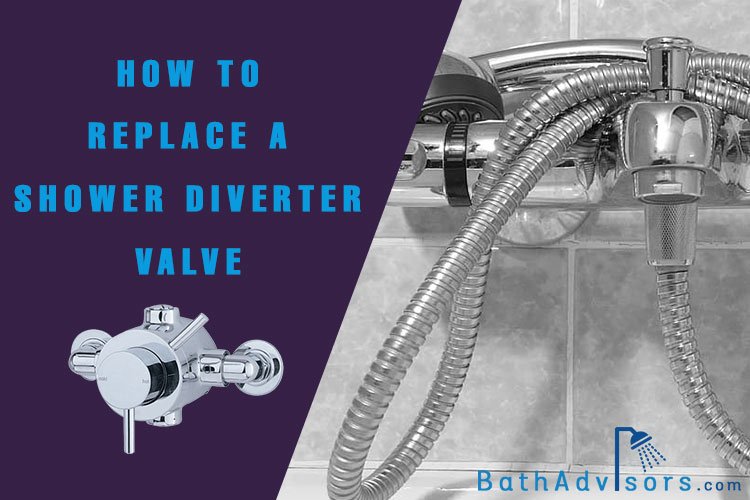
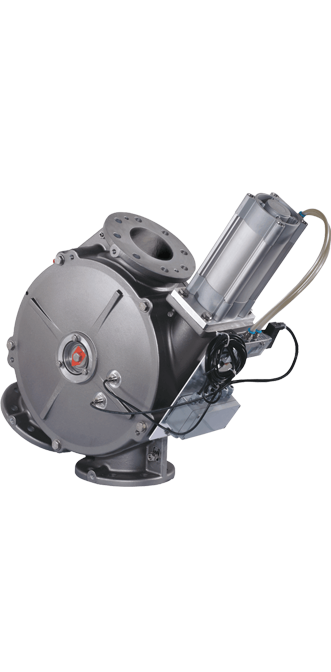
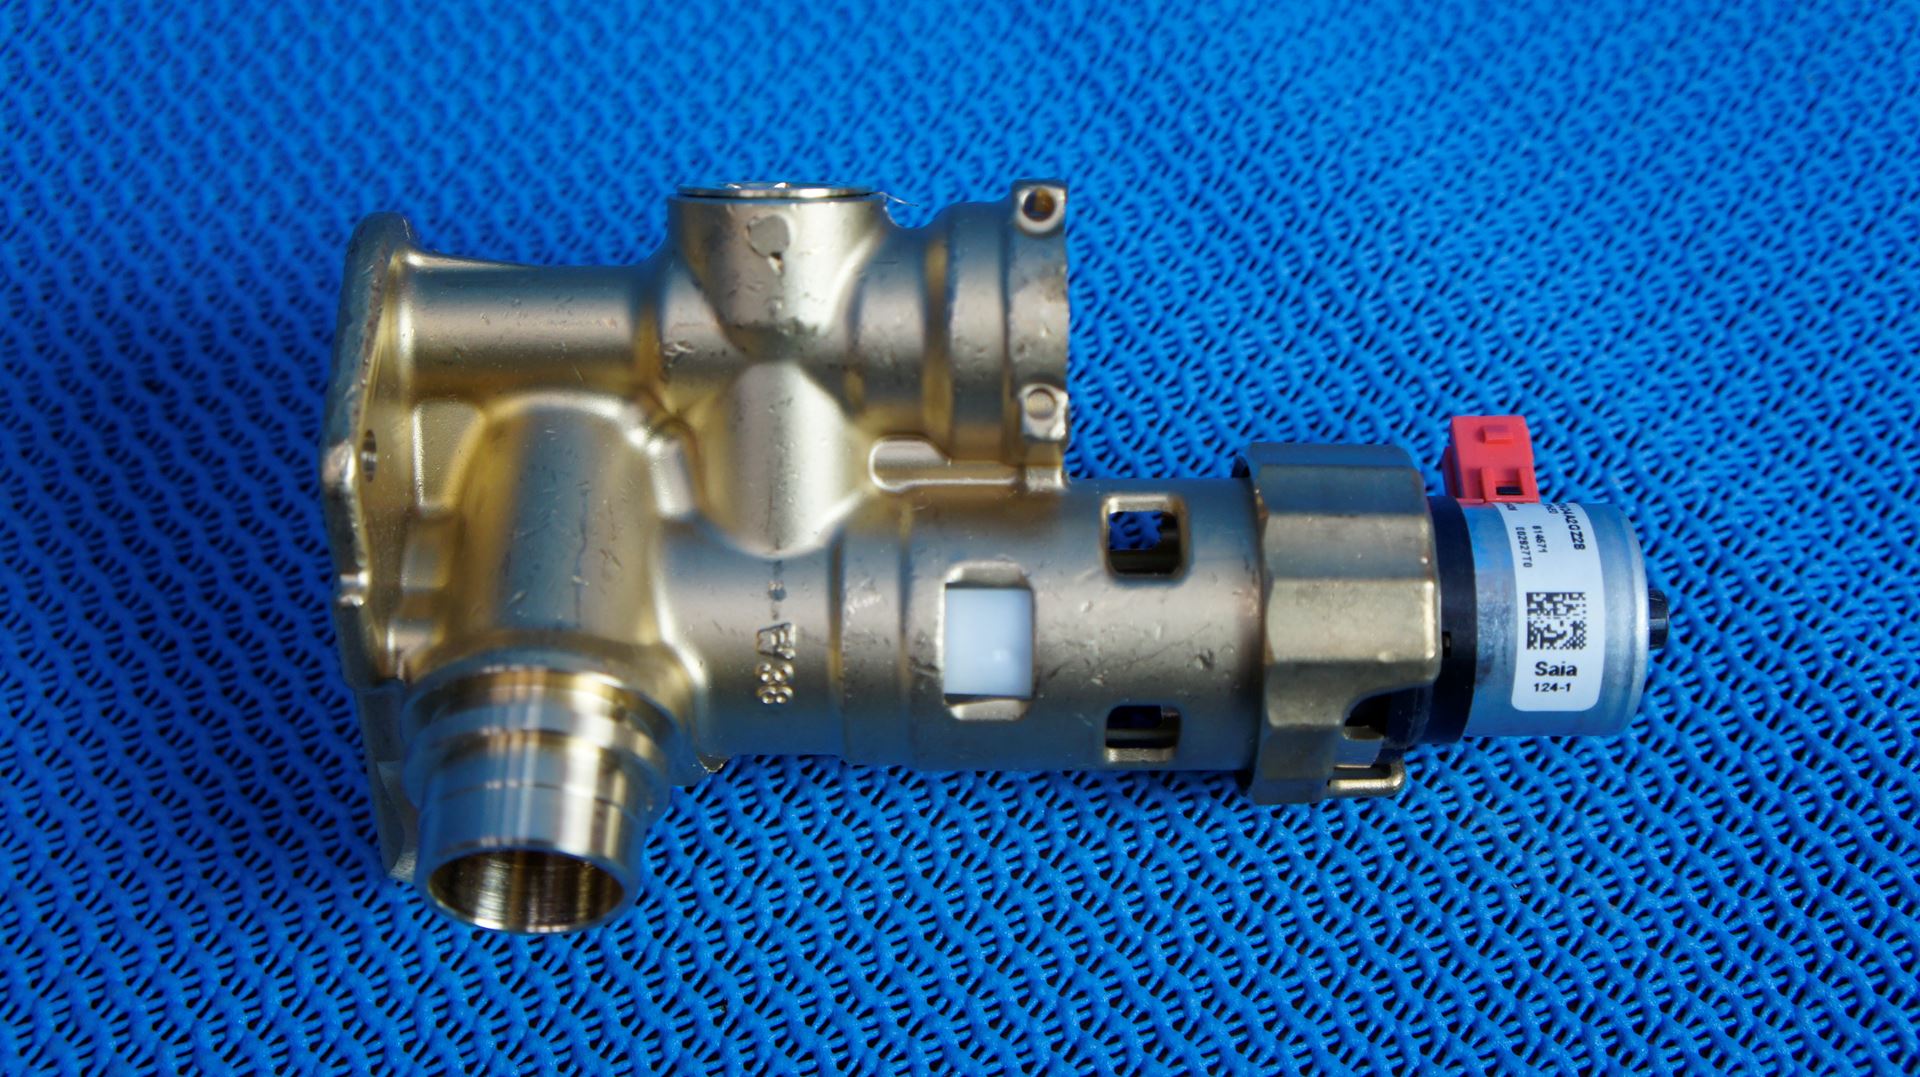
The diverter valve is responsible for directing water to either the faucet or the sprayer. If this valve is not functioning properly, it could be the reason why your sprayer is not working. Locate the diverter valve under the sink and make sure it is in the correct position. Sometimes, the valve can become stuck or clogged, so try cleaning it out with a small brush or toothpick. If the valve is damaged, you may need to replace it to get your sprayer working again.Check the diverter valve
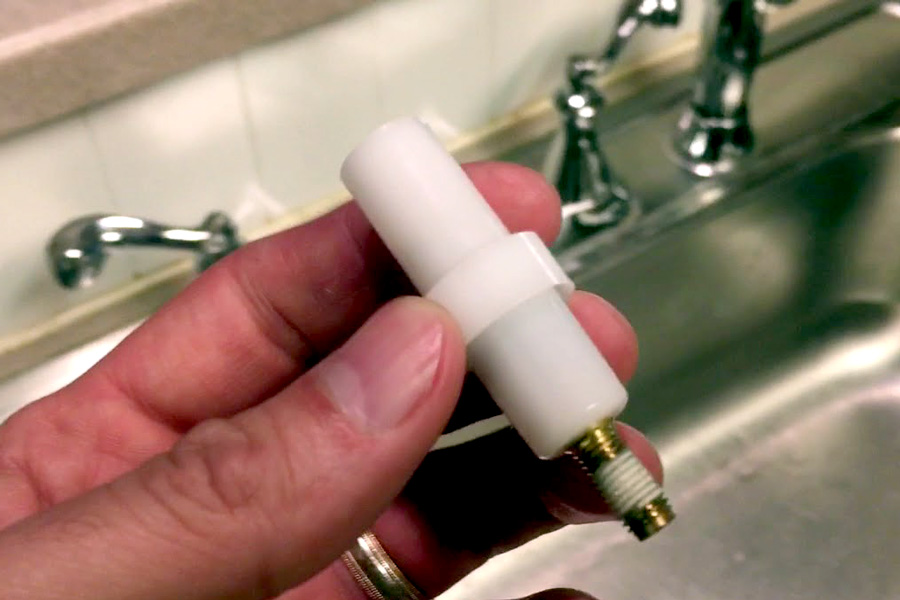
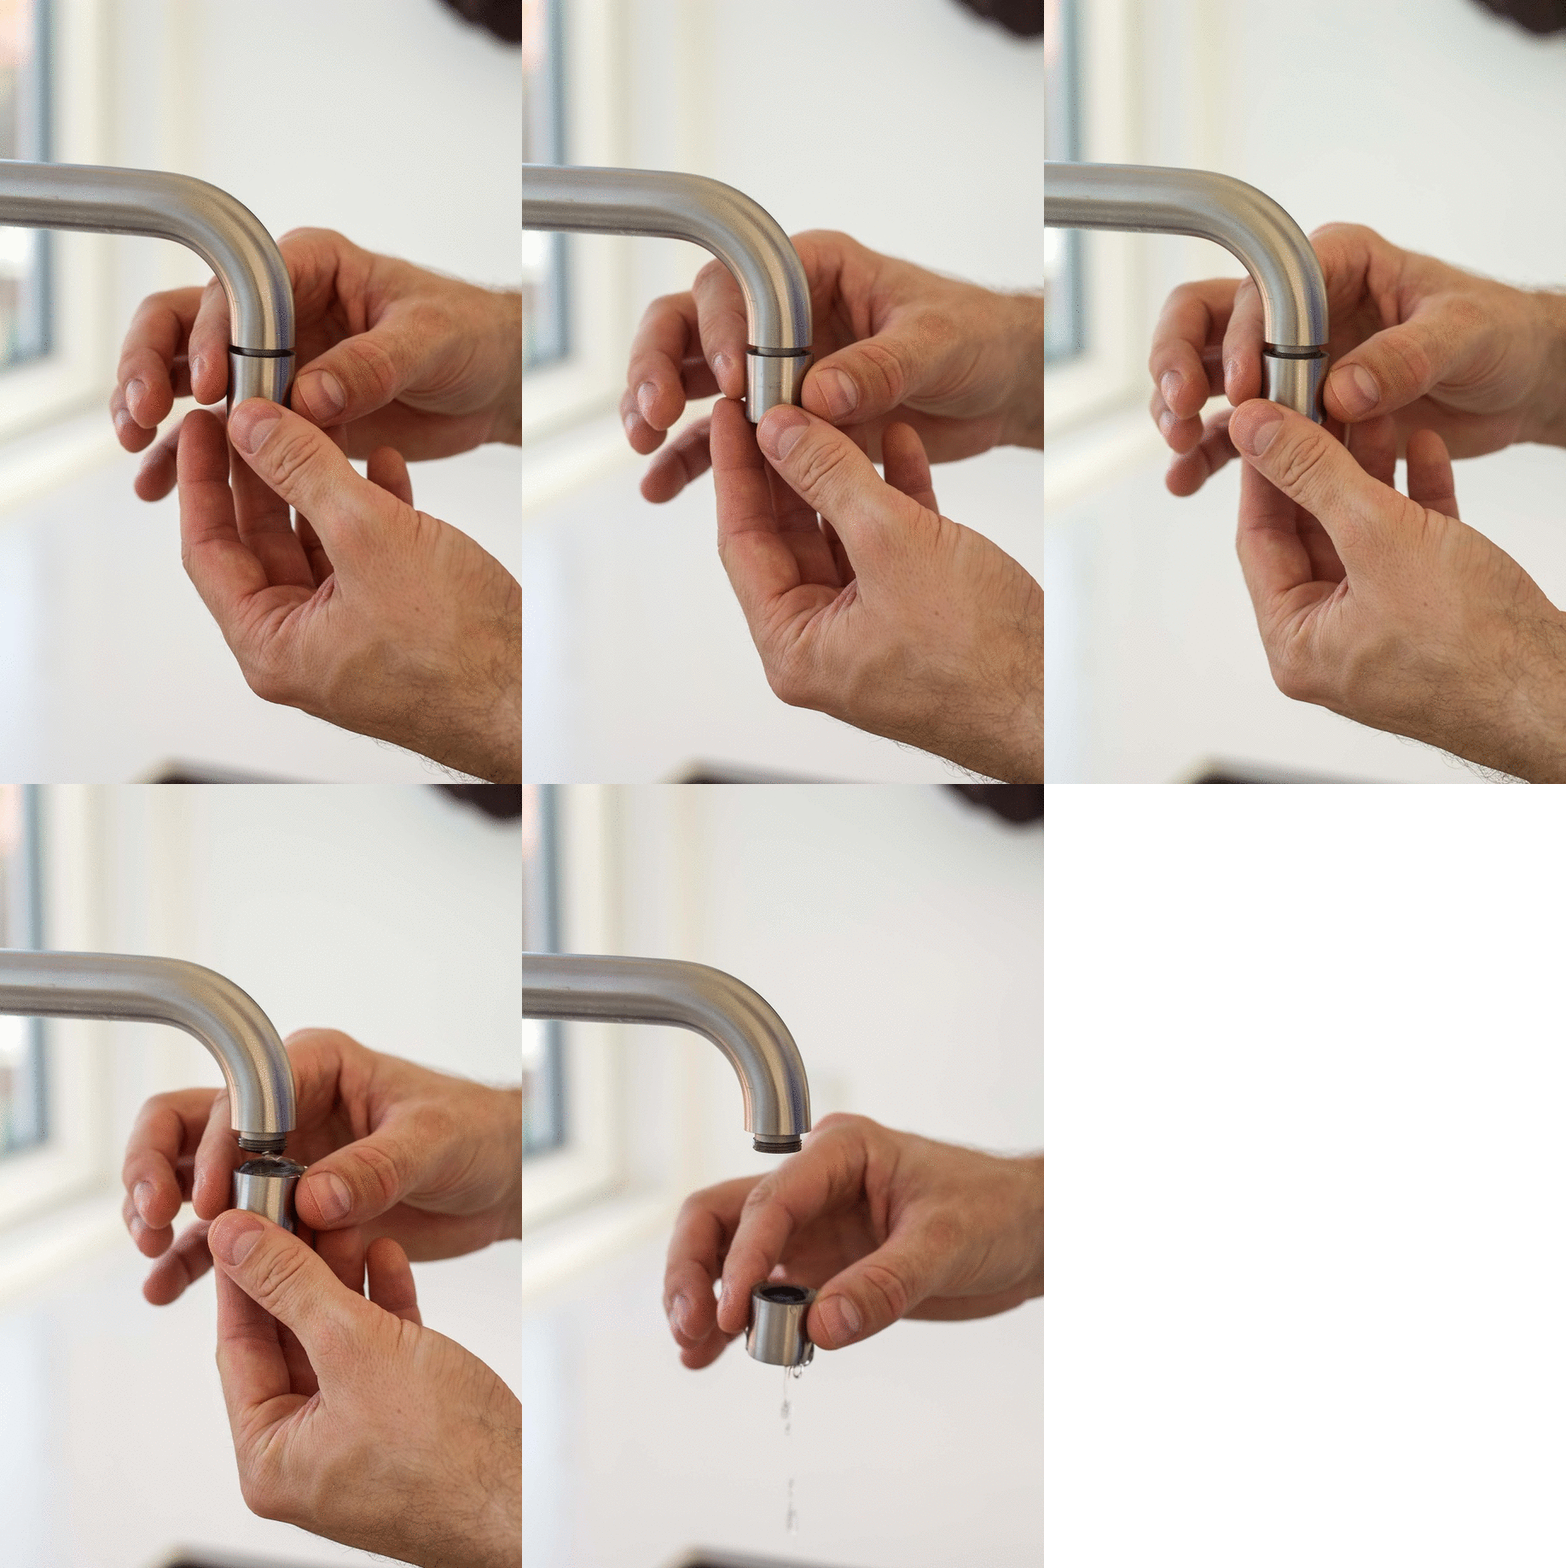
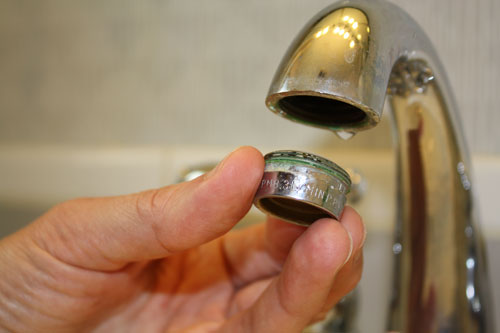
The aerator is a small mesh screen that is attached to the end of the faucet. It helps to regulate the water flow and can also become clogged with debris or mineral deposits. Remove the aerator from the faucet and clean it thoroughly with a brush or toothpick. If it is damaged or too clogged to clean, you can easily replace it with a new one from your local hardware store.Clean or replace the aerator
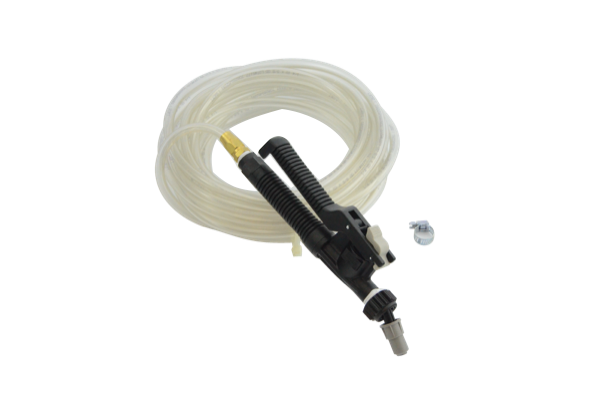
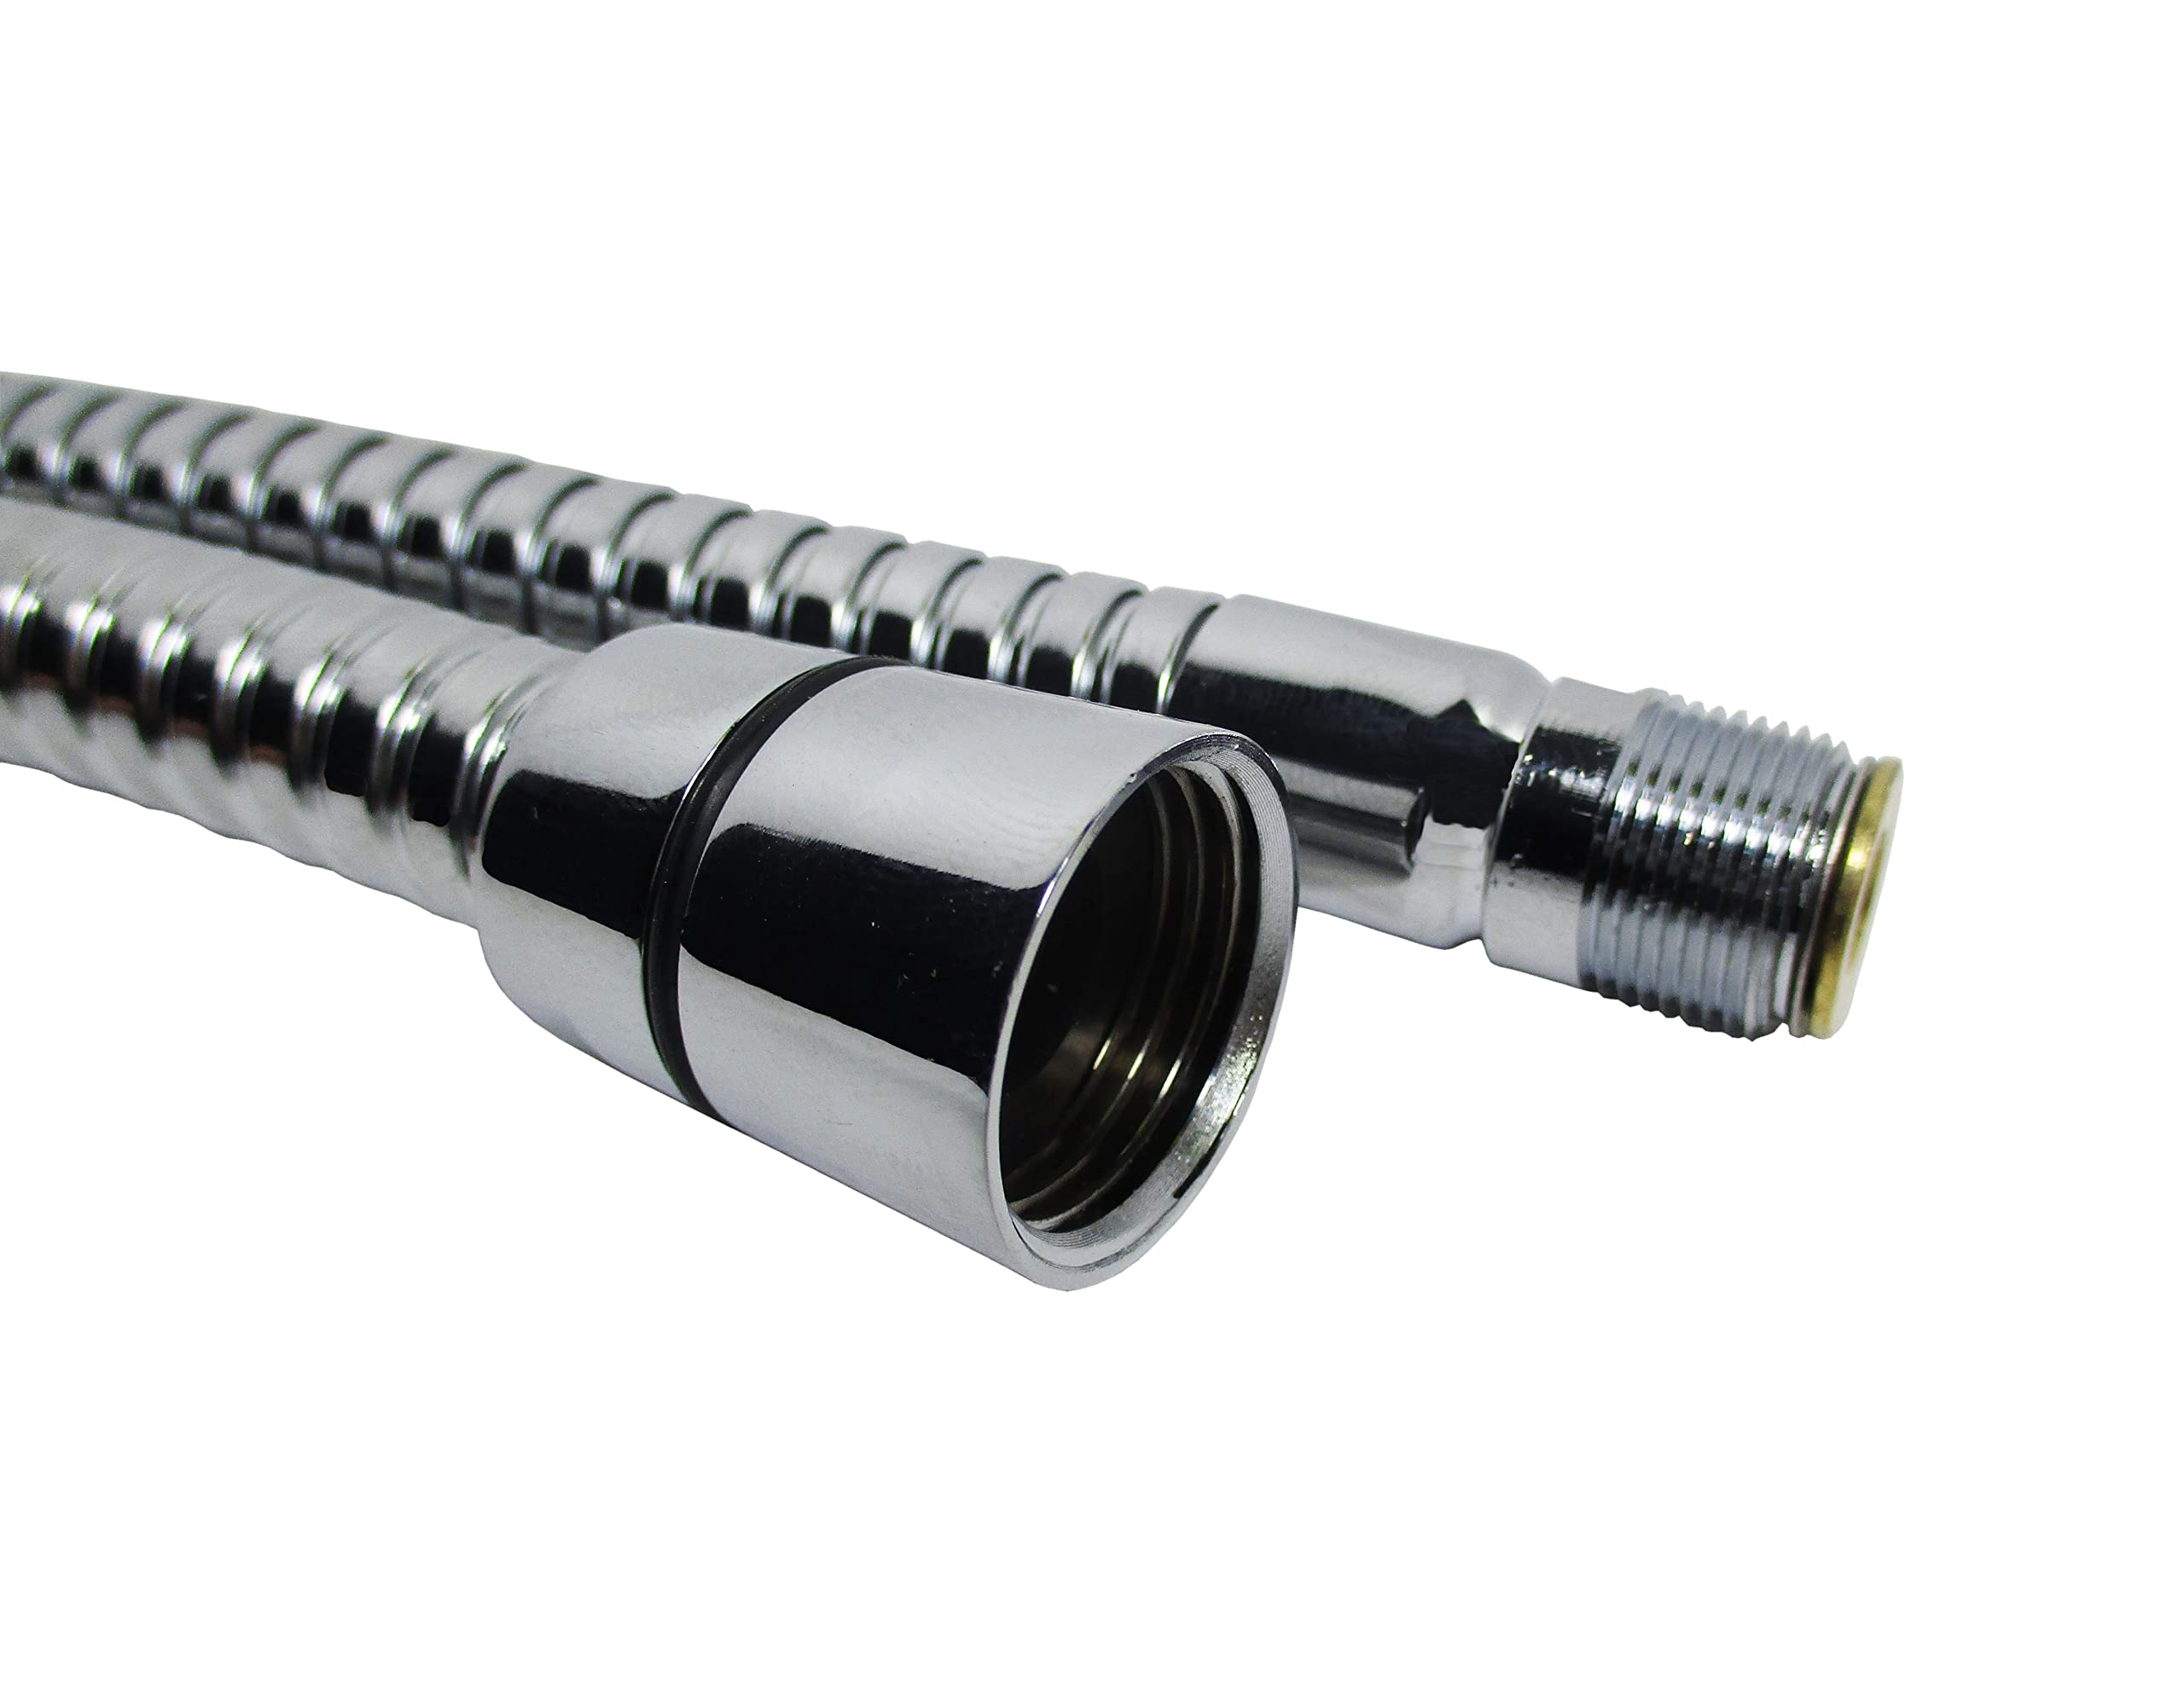
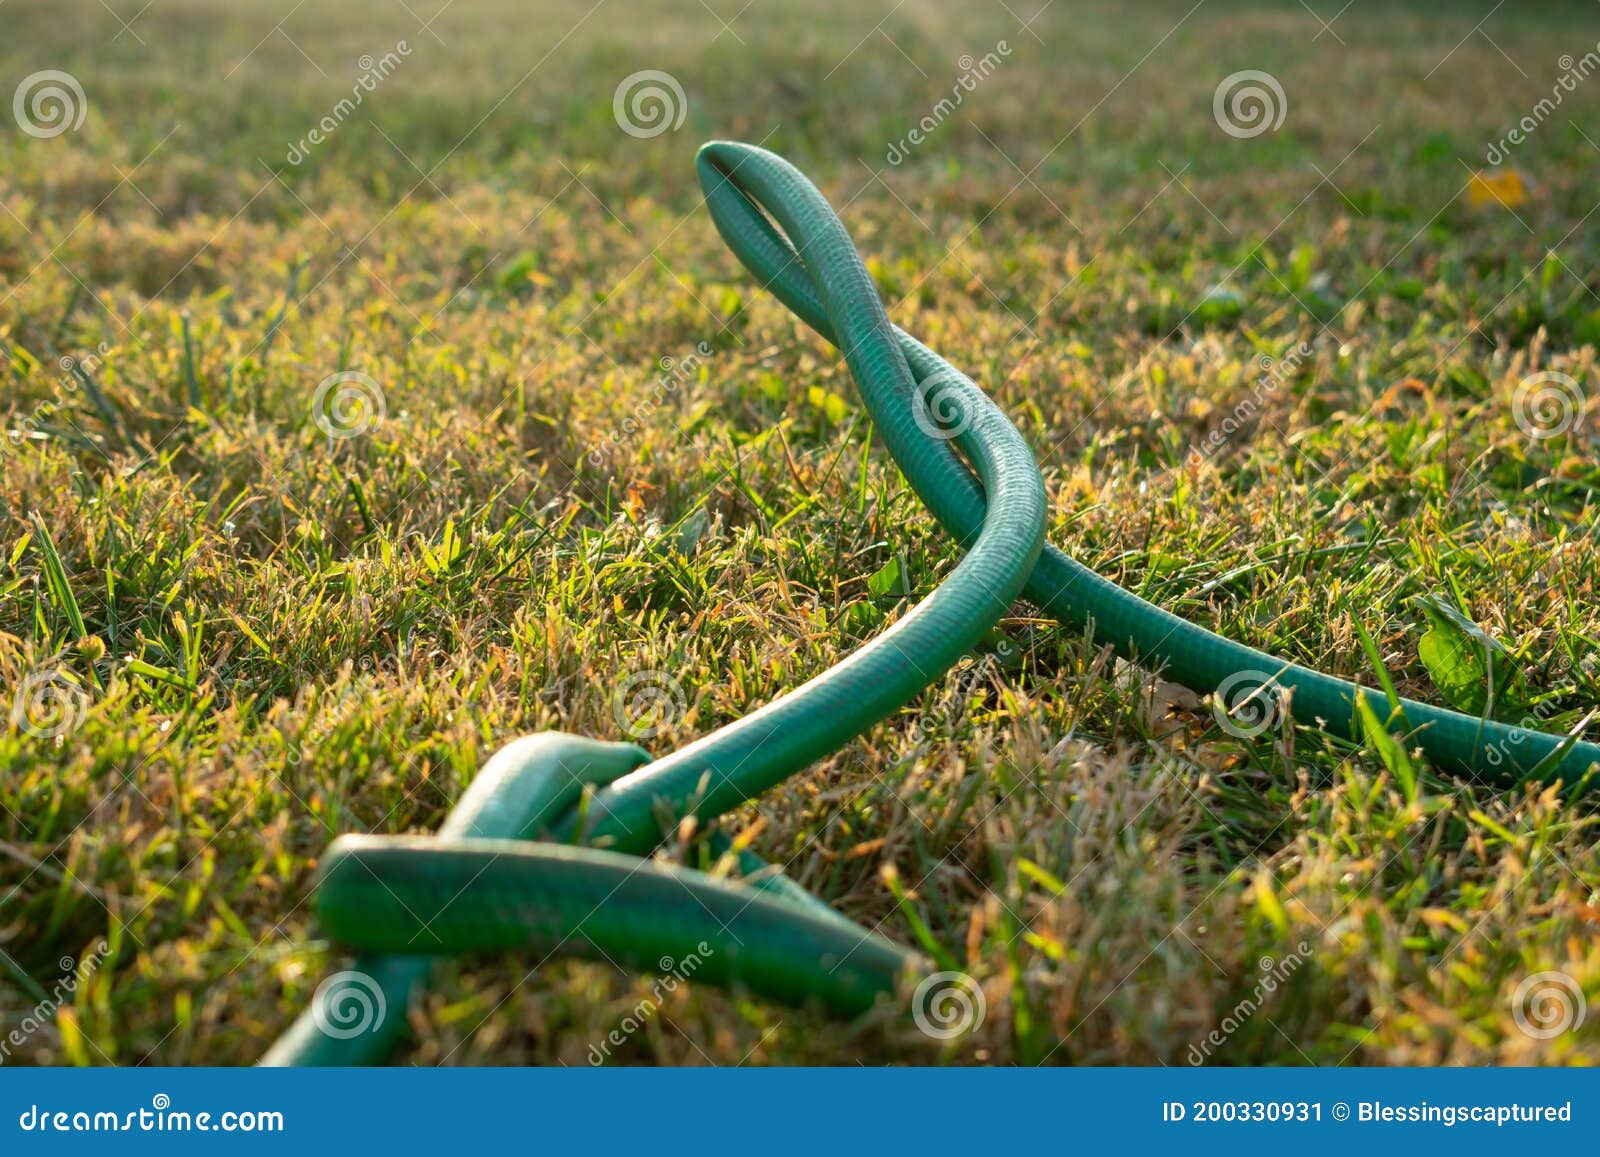
If your sprayer is still not functioning properly, the issue may lie in the hose itself. Inspect the hose for any kinks or blockages that may be restricting water flow. If you find any, try to straighten the hose or clear any debris that may be causing the blockage. If the hose is damaged, you will need to replace it to get your sprayer working again.Check the hose for kinks or blockages
If none of the previous steps have solved the issue, the problem may be with the sprayer head itself. Over time, the internal components of the sprayer head can wear out and fail, causing it to stop working. Replace the sprayer head with a new one and make sure to properly attach it to the hose using a wrench. This should solve the issue and get your sprayer working again.Replace the sprayer head
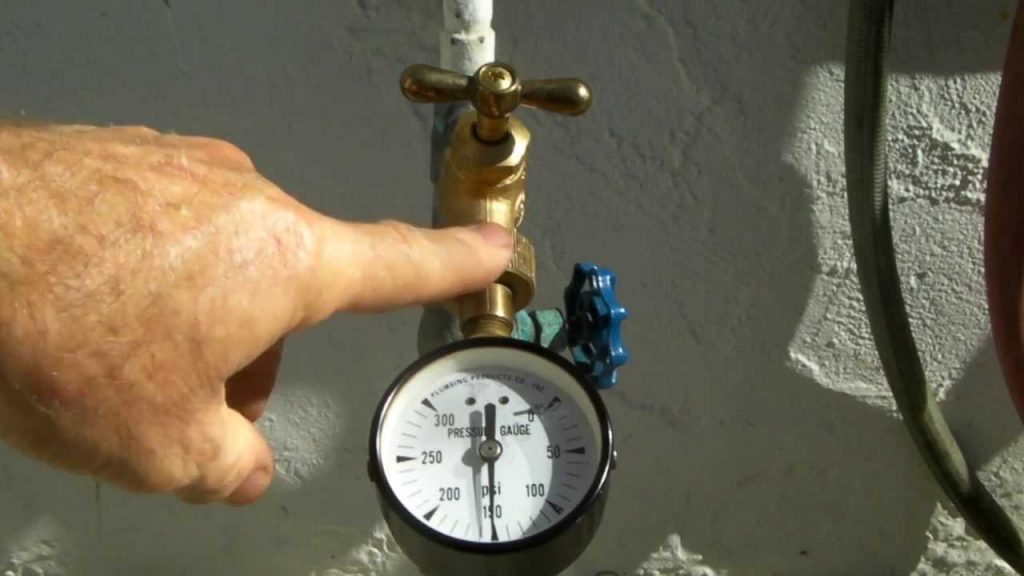
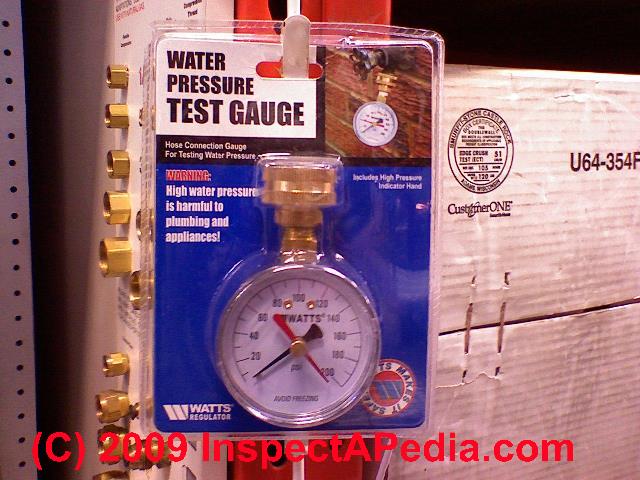
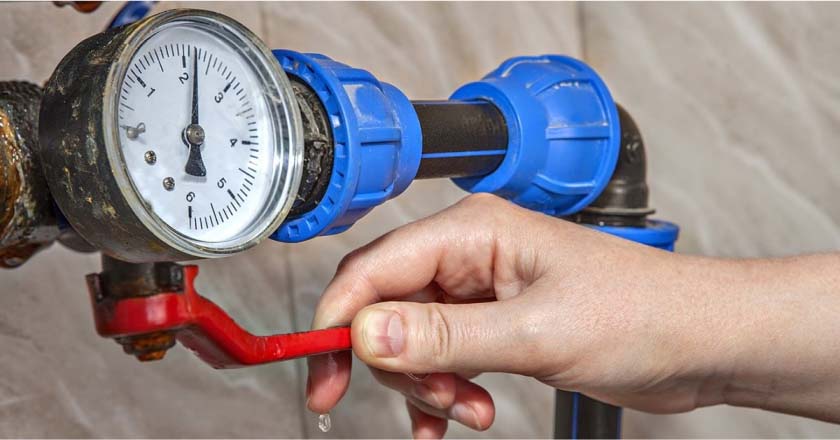
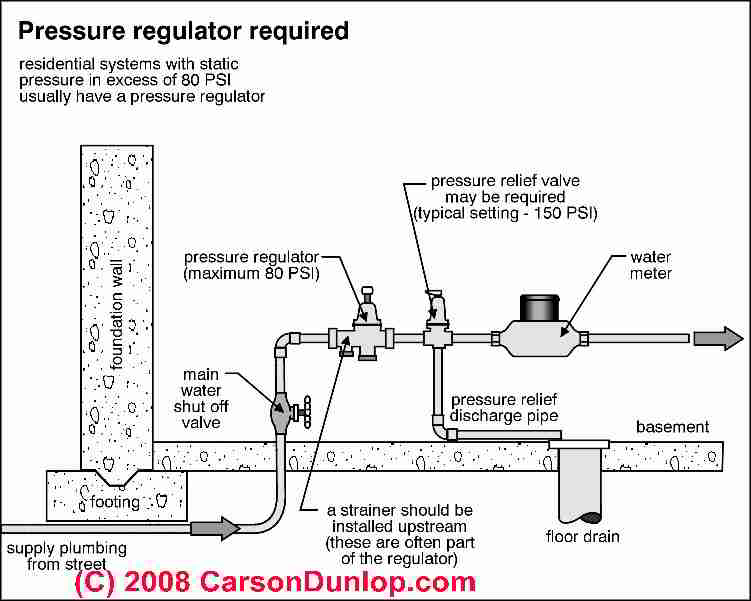
In some cases, the issue may not be with the sprayer itself, but with the water pressure in your home. If you have low water pressure, it may not be strong enough to power the sprayer. Check the water pressure in your home and make sure it is within the recommended range for your plumbing system. If it is too low, you may need to contact a plumber to address the issue.Check the water pressure
If you have checked all the other components and your sprayer is still not working, it may be time to replace the diverter valve. This can be a more complex task and may require the help of a professional plumber. The diverter valve is responsible for directing water to either the faucet or the sprayer, so if it is not working properly, it could be the reason for your sprayer's malfunction.Replace the diverter valve
If you notice any water leaking from the spray hose, this could be the reason why your sprayer is not working. Inspect the hose for any cracks or holes that may be causing the leak. If you find any, you will need to replace the hose to prevent further leaks and get your sprayer working again.Check the spray hose for leaks
If all else fails, it may be necessary to replace the entire spray hose. Over time, the hose can become worn or damaged and may need to be replaced. Make sure to purchase a hose that is compatible with your faucet and attach it properly to get your sprayer working again.Replace the spray hose
Troubleshooting a Kitchen Sink Sprayer Not Working

Common Causes of a Non-Functioning Kitchen Sink Sprayer
 If you have ever experienced the frustration of a kitchen sink sprayer not working, you know how inconvenient it can be. Not only does it make cleaning dishes more difficult, but it also disrupts the overall flow of your kitchen. There are a few common causes for a malfunctioning kitchen sink sprayer, including a clogged sprayer head, low water pressure, and a faulty diverter valve.
Clogged Sprayer Head
 One of the most common reasons for a kitchen sink sprayer not working is a clogged sprayer head. Over time, mineral deposits and debris can build up in the sprayer head, causing it to become clogged and unable to spray properly. To fix this issue, you can try soaking the sprayer head in a solution of equal parts water and vinegar for about an hour. After soaking, use a toothbrush to scrub away any remaining debris and rinse the sprayer head thoroughly.
Low Water Pressure
 Another possible cause of a non-functioning kitchen sink sprayer is low water pressure. This can be caused by a variety of factors, such as a clogged aerator, a faulty water supply line, or a problem with your home's water pressure. To troubleshoot this issue, start by checking the aerator on your sink faucet. If it is clogged, clean it out or replace it. If the water supply line is damaged, it may need to be replaced. If these solutions do not fix the problem, it may be necessary to call a professional plumber to assess and fix the issue.
Faulty Diverter Valve
 The diverter valve is responsible for redirecting water flow from the faucet to the sprayer. If this valve is faulty or damaged, it can cause the sprayer to stop working. To check if this is the issue, turn on your sink faucet and try to use the sprayer. If no water comes out of the sprayer, the diverter valve may be the culprit. This is a more complex issue that may require the help of a professional plumber to fix.
In conclusion
, a kitchen sink sprayer not working can be a nuisance, but with a little troubleshooting, it can often be fixed without the need for professional help. By checking for a clogged sprayer head, low water pressure, and a faulty diverter valve, you can determine the cause of the problem and take the necessary steps to resolve it. However, if the issue is more complex, it is always best to seek the help of a professional plumber to ensure a proper and safe repair.

















/RemovingAeratorAssembly-99881d30169b43cebc3fe72f6d4b25b9.jpg)


:max_bytes(150000):strip_icc()/cleaning-the-aerator-from-deposits--the-girl-hand-washes-a-dirty-limestone-aerator-with-water-1126244919-72868100964f42d5aa564a928371fea5.jpg)

:max_bytes(150000):strip_icc()/removing-a-faucet-aerator-2718836-hero-01d87b8d7dd942ce8a8eee99f555781f.jpg)









/93097679-56a73c295f9b58b7d0e81657.jpg)
/testing-water-pressure-in-your-home-2718692-hero-98f45508ca5d44b6b551034ac5cedab5.jpg)
:max_bytes(150000):strip_icc()/testing-water-pressure-in-your-home-2718692-04-c37ab3236d0d4b61b87079ebf9ef823e-c1e1ef0104fb44778a287bd9bb5ec140.jpeg)

:max_bytes(150000):strip_icc()/the-men-s-hand-opens-the-ball-valve-on-the-collector-1006810456-5c5fc73fc9e77c000159c4af.jpg)

