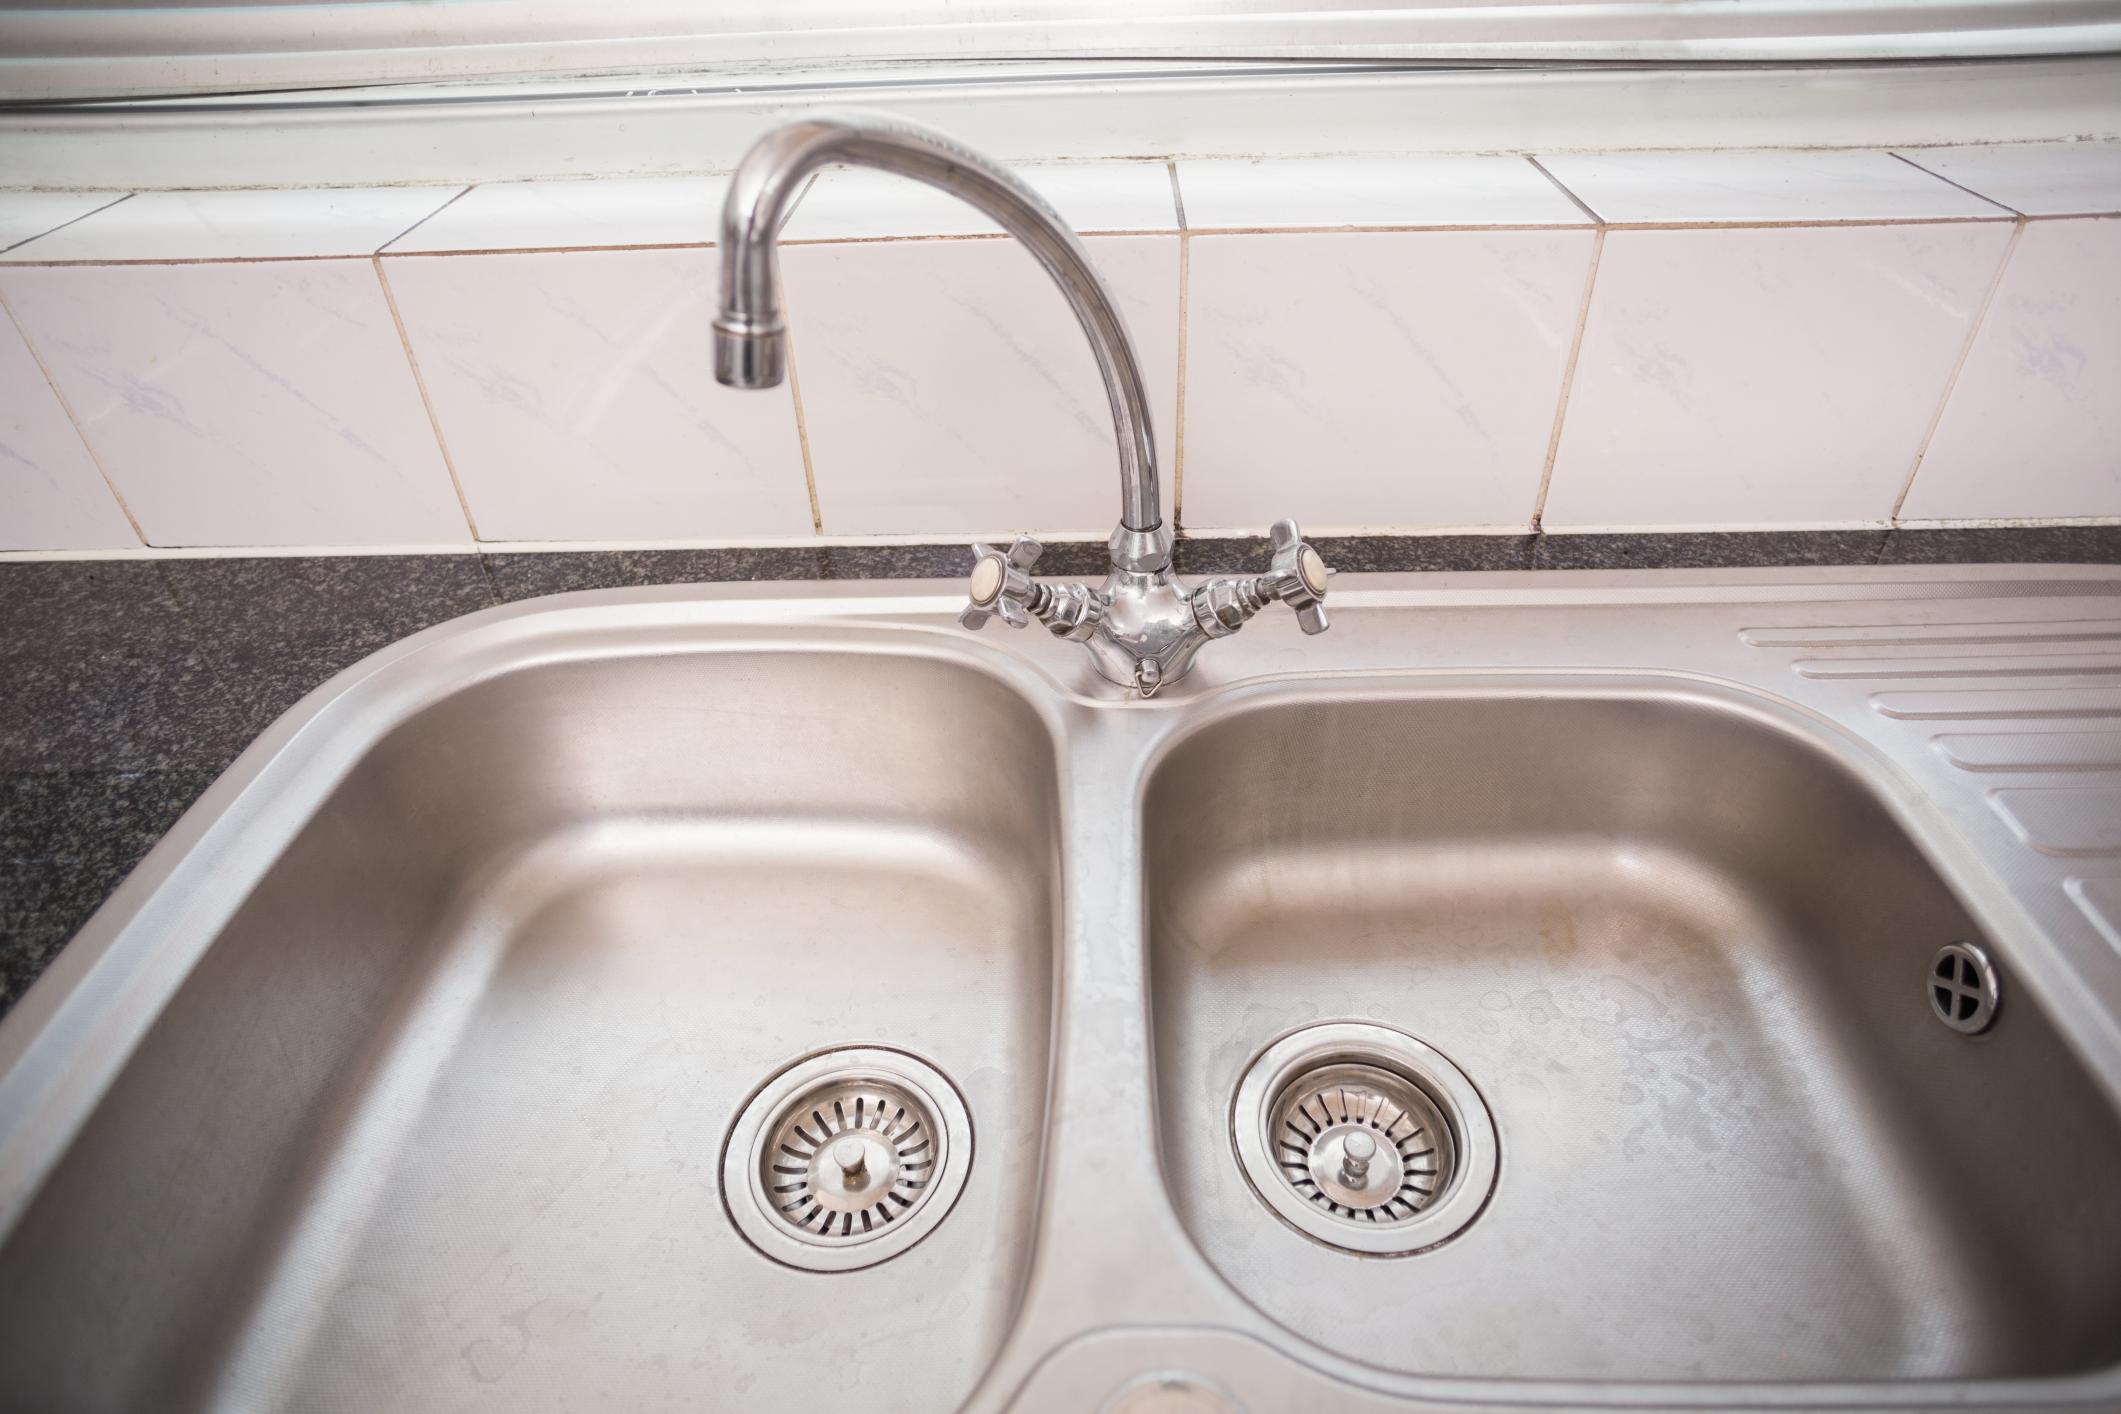
If your kitchen sink spray head is not functioning properly, it can be a frustrating and messy experience. However, with a little DIY know-how, you can easily repair your spray head and have it working like new. Here are some simple steps to follow for kitchen sink spray head repair.How to Repair a Kitchen Sink Spray Head


How to Repair a Kitchen Sink Spray Head


A common issue with kitchen sink spray heads is leaks. This can be caused by wear and tear, or a buildup of mineral deposits. To fix a leaky spray head, start by turning off the water supply to your sink. Then, unscrew the spray head from the hose and clean both the head and the hose with a mixture of vinegar and water. Rinse and dry thoroughly before reattaching the spray head. If the leak persists, it may be time to replace the spray head altogether.How to Fix a Leaky Kitchen Sink Spray Head


How to Fix a Leaky Kitchen Sink Spray Head


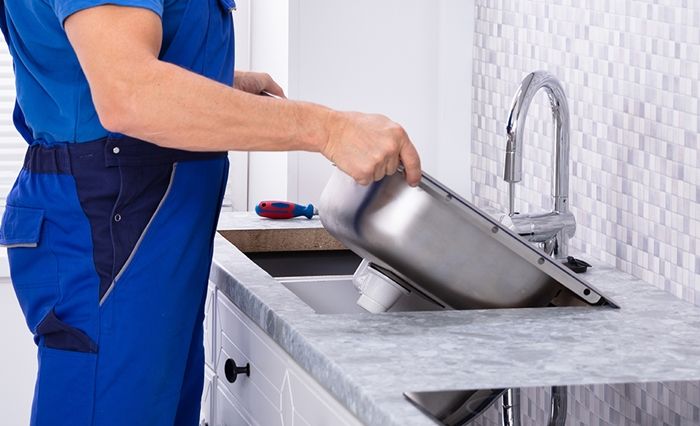
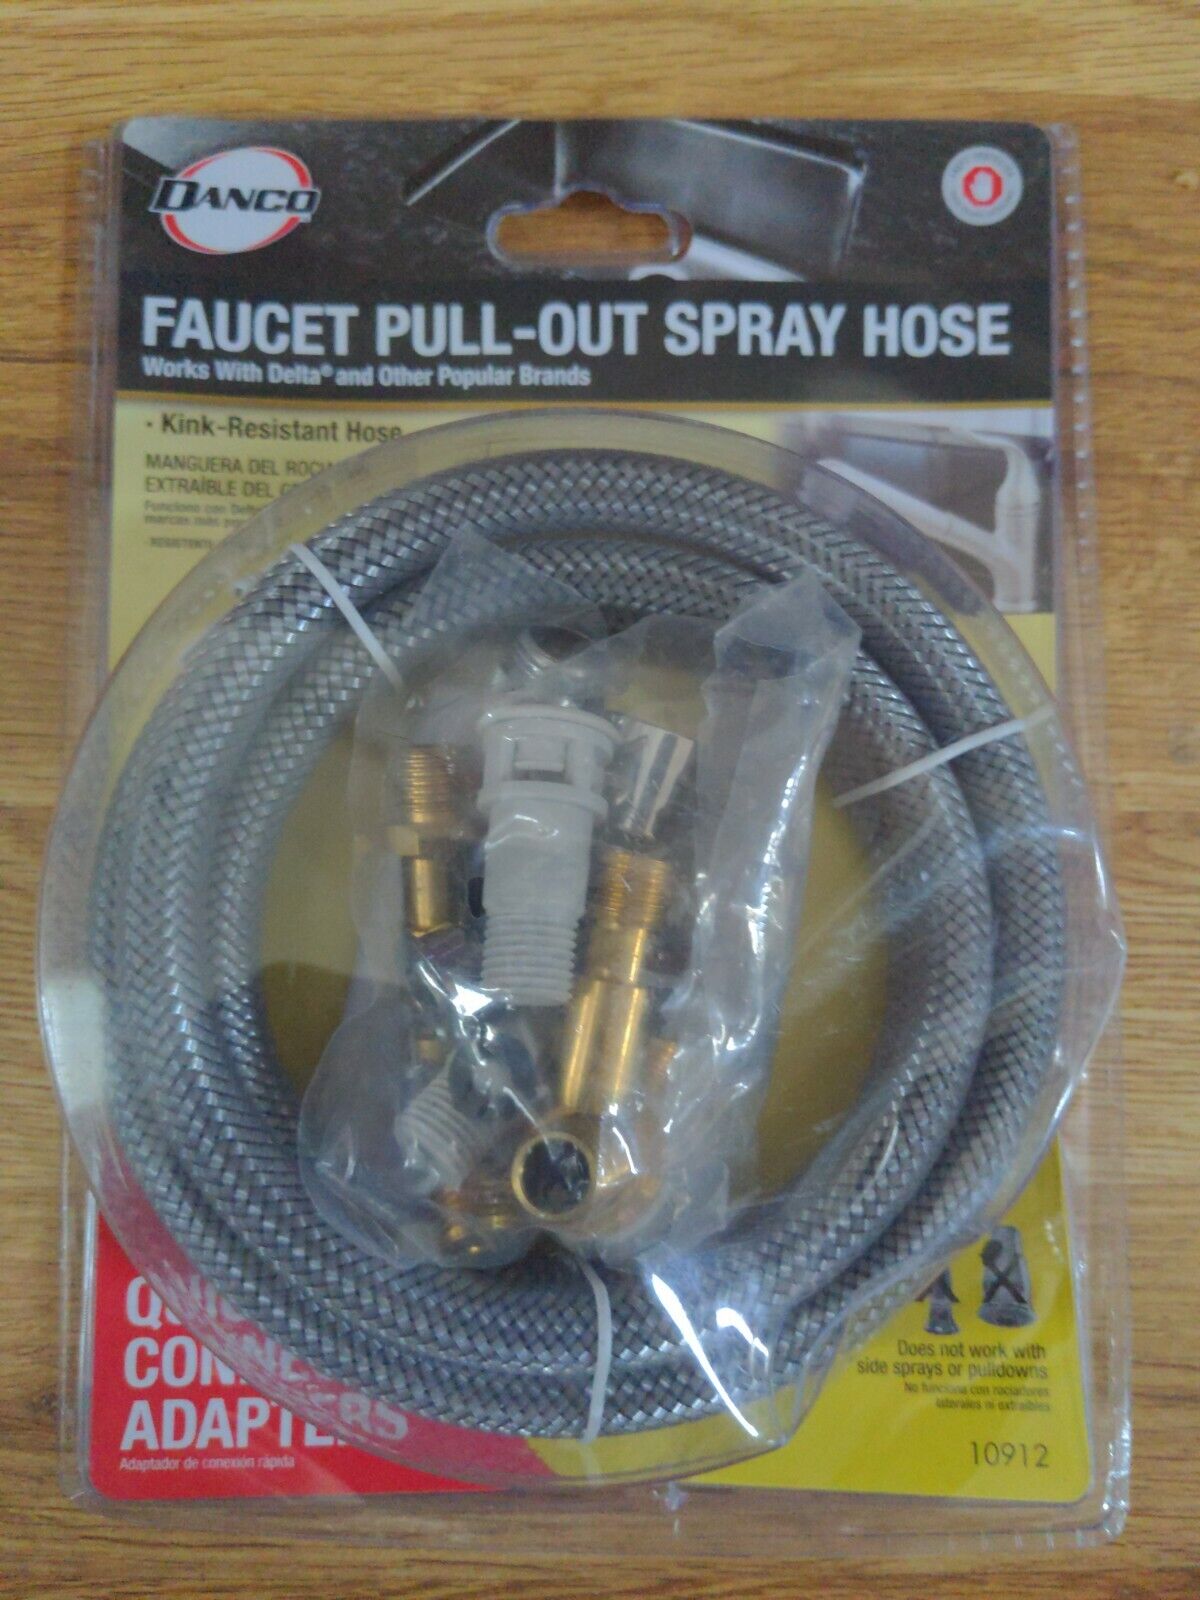
If your spray head is beyond repair, you may need to replace it. This is a simple process that can be done in a few easy steps. Start by turning off the water supply and unscrewing the old spray head from the hose. Then, attach the new spray head and turn the water supply back on. Test the new spray head to ensure it is working properly.Replacing a Kitchen Sink Spray Head


Replacing a Kitchen Sink Spray Head


Repairing your kitchen sink spray head yourself can save you time and money. With just a few tools and some basic knowledge, you can easily fix any issues with your spray head. Be sure to follow instructions carefully and use caution when working with plumbing.DIY Kitchen Sink Spray Head Repair


DIY Kitchen Sink Spray Head Repair


If your spray head is not working as it should, there are a few things you can check before attempting to repair or replace it. Make sure the water supply to your sink is turned on, and that the hose is not kinked or tangled. You can also check the aerator for any clogs or buildup that may be affecting the water pressure.Troubleshooting Kitchen Sink Spray Head Issues


Troubleshooting Kitchen Sink Spray Head Issues


Some of the most common issues with kitchen sink spray heads include leaks, low water pressure, and clogs. These problems can be caused by a variety of factors such as wear and tear, mineral buildup, or faulty parts. Regular maintenance and cleaning can help prevent these issues from occurring.Common Problems with Kitchen Sink Spray Heads


Common Problems with Kitchen Sink Spray Heads


Repairing your kitchen sink spray head may seem like a daunting task, but with the right tools and a step-by-step guide, it can be a simple process. Start by gathering all necessary tools and materials, then follow each step carefully to ensure a successful repair.Step-by-Step Guide for Kitchen Sink Spray Head Repair


Step-by-Step Guide for Kitchen Sink Spray Head Repair


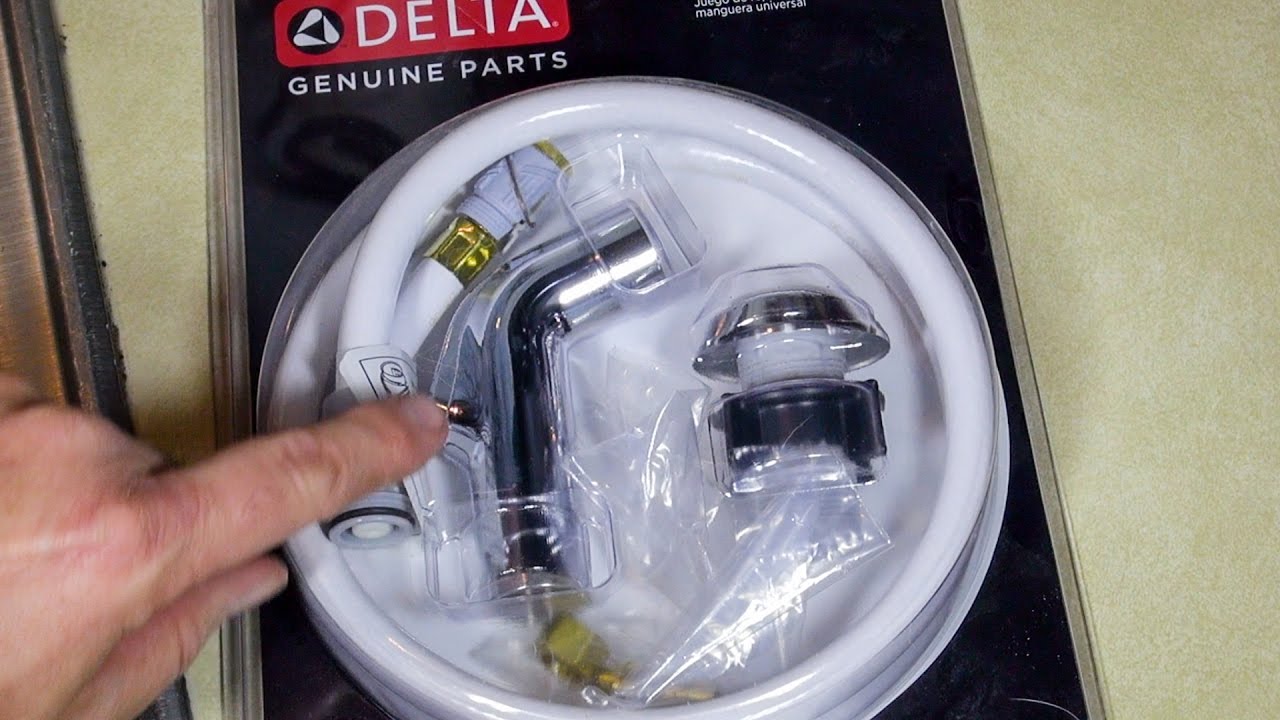
Before attempting any repairs, make sure you have all the necessary tools and materials on hand. These may include an adjustable wrench, pliers, cleaning solution, and a new spray head if needed. Having everything ready before starting the repair process can save you time and frustration.Tools and Materials Needed for Kitchen Sink Spray Head Repair


Tools and Materials Needed for Kitchen Sink Spray Head Repair


Regular maintenance is key to keeping your kitchen sink spray head in good working condition. This includes cleaning the head and hose regularly to prevent mineral buildup and checking for any leaks or clogs. It is also important to use caution when handling and using the spray head to avoid causing any damage.Tips for Maintaining Your Kitchen Sink Spray Head


Tips for Maintaining Your Kitchen Sink Spray Head


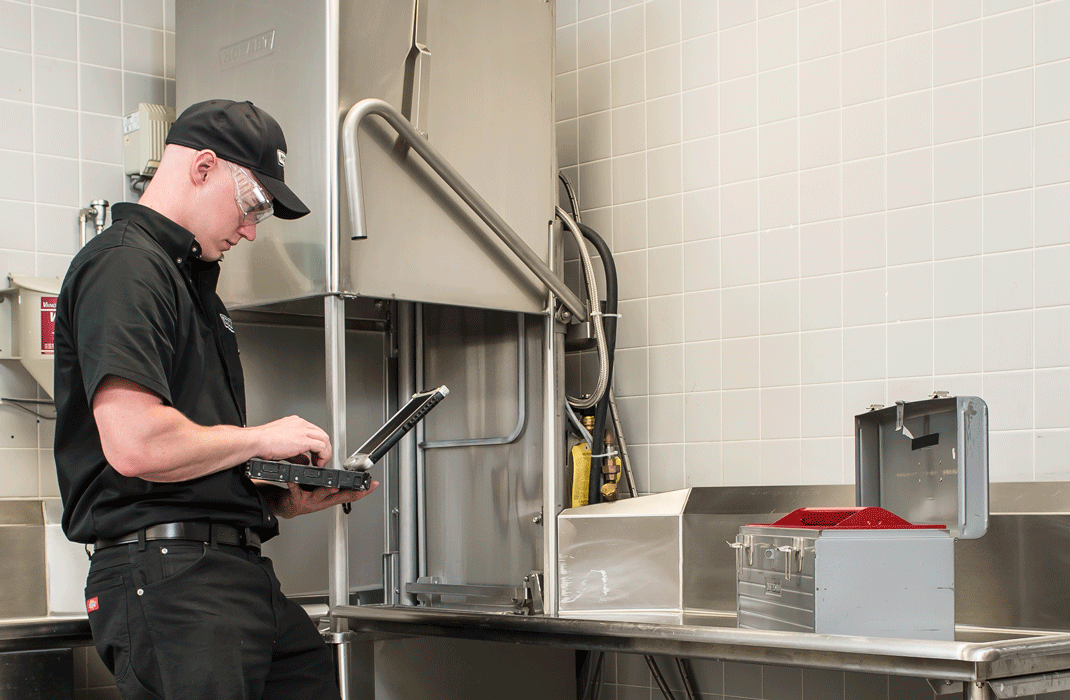
If you are not comfortable attempting to repair your kitchen sink spray head yourself, or if the issue is beyond your DIY capabilities, it may be time to call in a professional. A plumber or handyman can quickly and efficiently repair or replace your spray head, ensuring it is functioning properly for years to come.Professional Kitchen Sink Spray Head Repair Services


Professional Kitchen Sink Spray Head Repair Services


How to Repair a Kitchen Sink Spray Head

Maintaining Your Kitchen's Functionality
 One of the most used and essential fixtures in a kitchen is the sink. It sees a lot of action, from washing dishes to filling up pots with water. And the kitchen sink spray head is the unsung hero in making these tasks more manageable. However, like any other fixture in the house, the spray head can also encounter problems and affect the functionality of your kitchen. But don't worry, with a few simple steps, you can easily repair your kitchen sink spray head and keep your kitchen running smoothly.
Identifying the Problem
 Before diving into any repair work, it is crucial to identify the problem first. Some common issues with the kitchen sink spray head include low water pressure, inconsistent spray, and leaks. Low water pressure can be caused by a clogged aerator, while an inconsistent spray can be due to a loose connection or a faulty diverter valve. Leaks, on the other hand, can be caused by worn out seals or damaged parts.
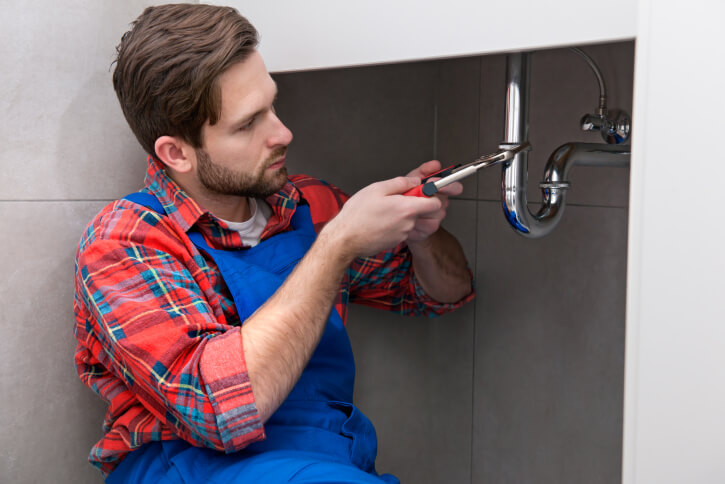
Tools You Will Need
 To repair your kitchen sink spray head, you will need a few tools that are easily accessible and can be found in any hardware store. These include an adjustable wrench, pliers, and a screwdriver. It is also advisable to have a towel or a small bucket to catch any water that may come out during the repair process.
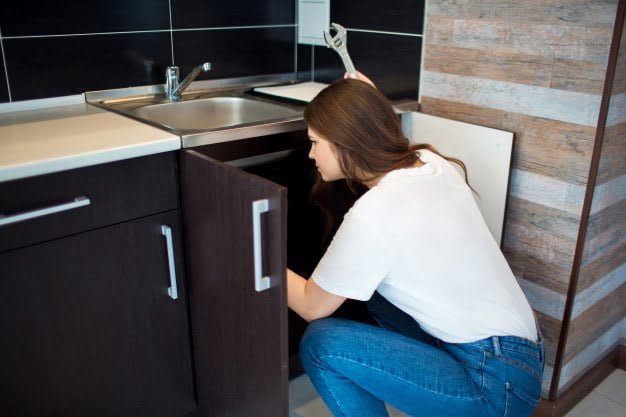
Steps to Repairing a Kitchen Sink Spray Head
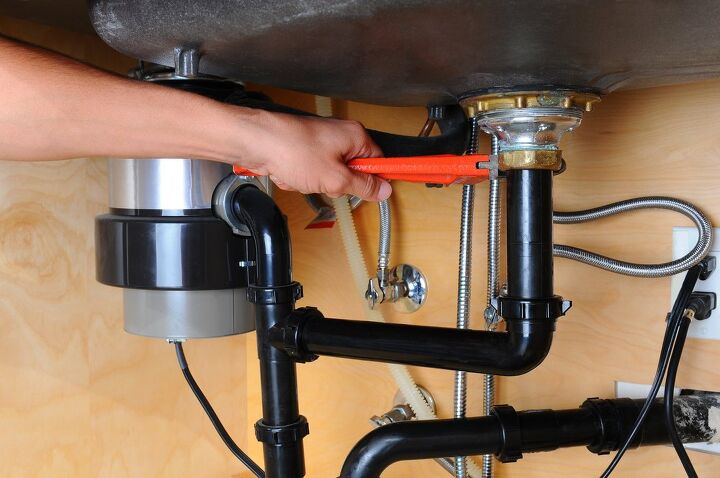
/25089301983_c5145fe85d_o-58418ef15f9b5851e5f392b5.jpg) 1. Start by turning off the water supply to the sink by either closing the shut-off valves under the sink or the main water supply valve.
2. Next, detach the spray head carefully from the hose by twisting it counterclockwise using your hands.
3. If you are dealing with low water pressure, remove the aerator from the spray head and clean it by soaking it in a mixture of water and vinegar for a few minutes. Rinse it with water and reattach it to the spray head.
4. If the spray is inconsistent, check the connection between the hose and the spray head. Tighten any loose connections using pliers.
5. For leaks, inspect the seals and O-rings on the spray head and replace them if necessary.
6. If the diverter valve is causing the problem, remove it from the spray head using a screwdriver and replace it with a new one.
7. Once the repairs are done, reattach the spray head to the hose and turn on the water supply to test if the issues have been resolved.
1. Start by turning off the water supply to the sink by either closing the shut-off valves under the sink or the main water supply valve.
2. Next, detach the spray head carefully from the hose by twisting it counterclockwise using your hands.
3. If you are dealing with low water pressure, remove the aerator from the spray head and clean it by soaking it in a mixture of water and vinegar for a few minutes. Rinse it with water and reattach it to the spray head.
4. If the spray is inconsistent, check the connection between the hose and the spray head. Tighten any loose connections using pliers.
5. For leaks, inspect the seals and O-rings on the spray head and replace them if necessary.
6. If the diverter valve is causing the problem, remove it from the spray head using a screwdriver and replace it with a new one.
7. Once the repairs are done, reattach the spray head to the hose and turn on the water supply to test if the issues have been resolved.
Maintaining Your Kitchen Sink Spray Head
 To avoid any future problems with your kitchen sink spray head, it is essential to maintain it regularly. Clean the spray head and aerator every few months to prevent clogs and ensure a consistent spray. Check for any leaks and replace worn out parts promptly. And if you notice any issues with the water pressure or spray, address them immediately before they turn into bigger problems.
In conclusion, a kitchen sink spray head is a small but crucial component of your kitchen. By following these simple steps, you can easily repair any issues and keep your kitchen running smoothly. Regular maintenance is also vital in ensuring the longevity of your spray head. Remember to stay vigilant and address any problems as soon as they arise to avoid any inconvenience.
To avoid any future problems with your kitchen sink spray head, it is essential to maintain it regularly. Clean the spray head and aerator every few months to prevent clogs and ensure a consistent spray. Check for any leaks and replace worn out parts promptly. And if you notice any issues with the water pressure or spray, address them immediately before they turn into bigger problems.
In conclusion, a kitchen sink spray head is a small but crucial component of your kitchen. By following these simple steps, you can easily repair any issues and keep your kitchen running smoothly. Regular maintenance is also vital in ensuring the longevity of your spray head. Remember to stay vigilant and address any problems as soon as they arise to avoid any inconvenience.