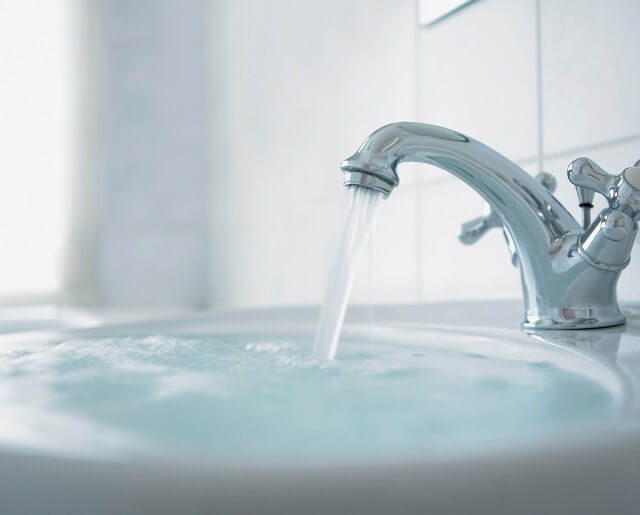
Is your kitchen sink mixer not working properly? Are you experiencing leaks or a decrease in water pressure? It may be time to replace your kitchen sink mixer cartridge. This small but essential component is responsible for controlling the flow and temperature of water in your sink. In this guide, we will walk you through the steps of replacing a kitchen sink mixer cartridge so you can get your sink back in working order.How to Replace a Kitchen Sink Mixer Cartridge
If you have a traditional kitchen sink tap, the process of replacing the cartridge may seem intimidating. However, with the right tools and a little know-how, it can be a simple and straightforward DIY project. Follow these steps to replace your kitchen sink mixer tap cartridge:How to Replace a Kitchen Sink Mixer Tap Cartridge
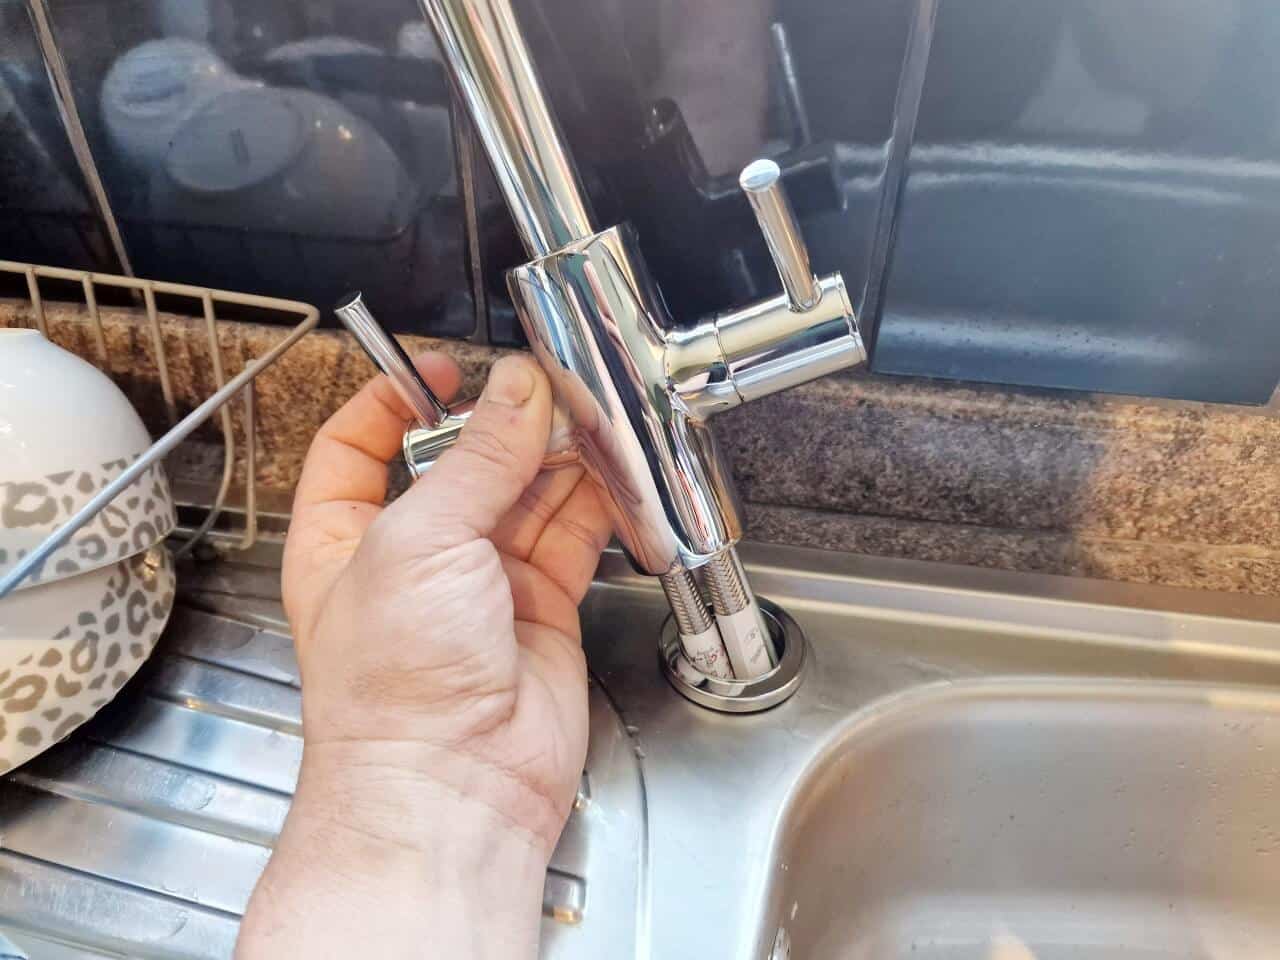
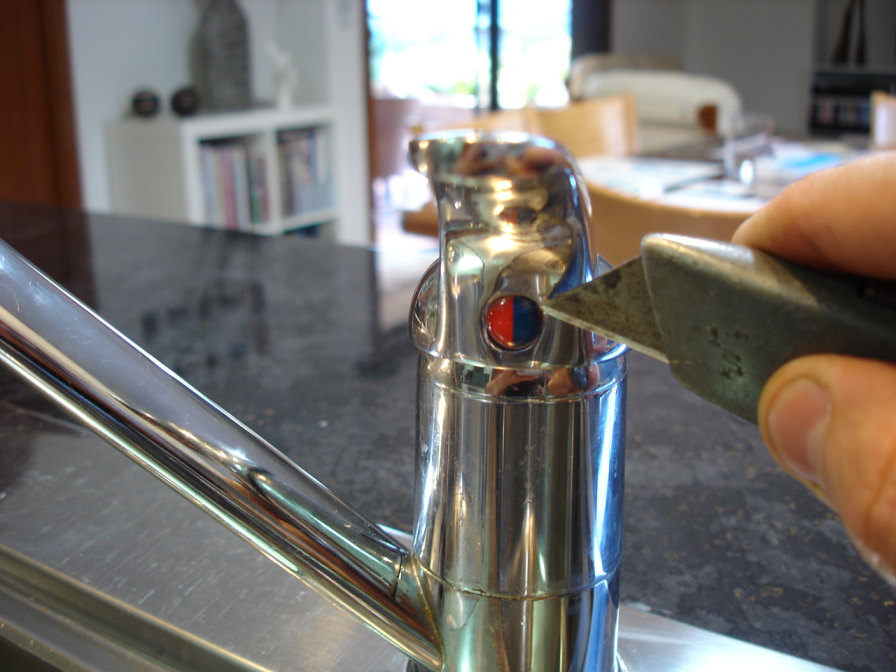
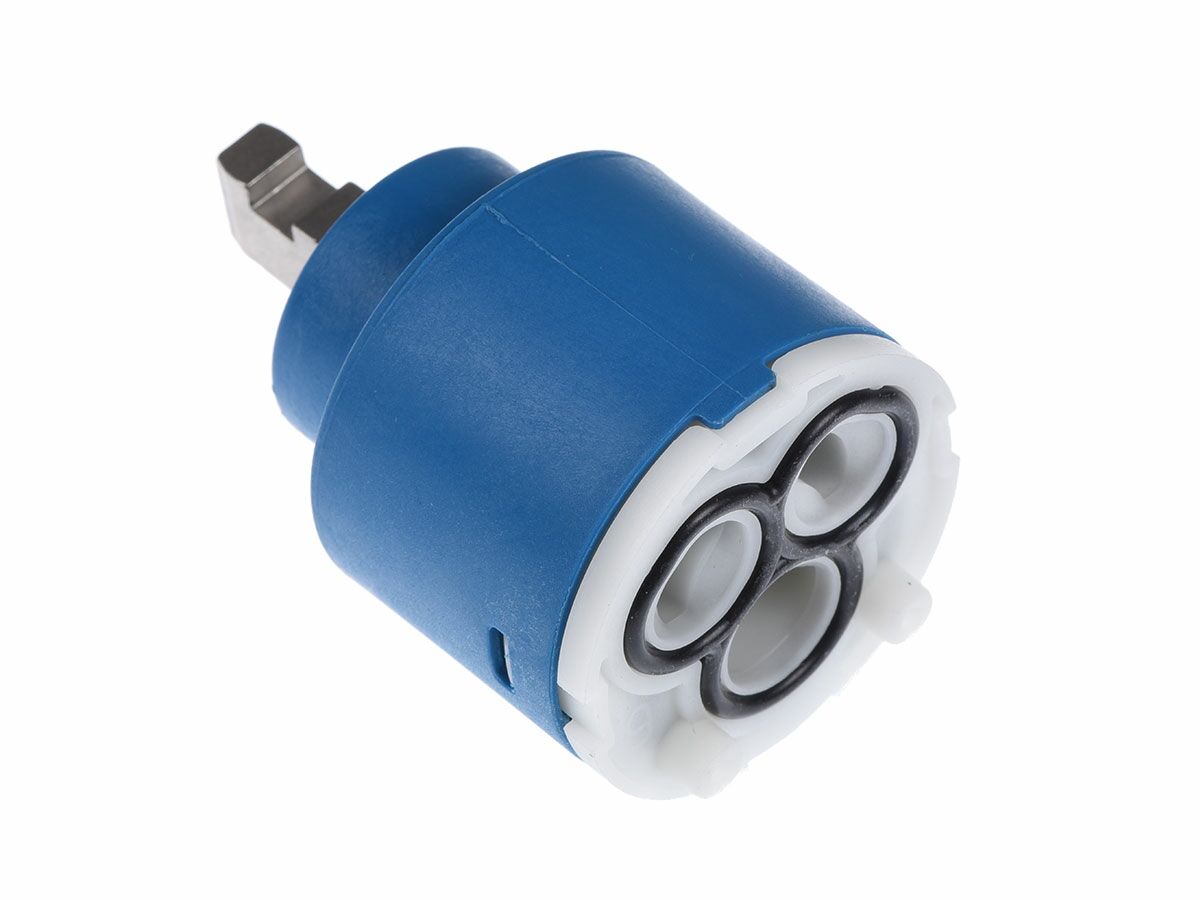
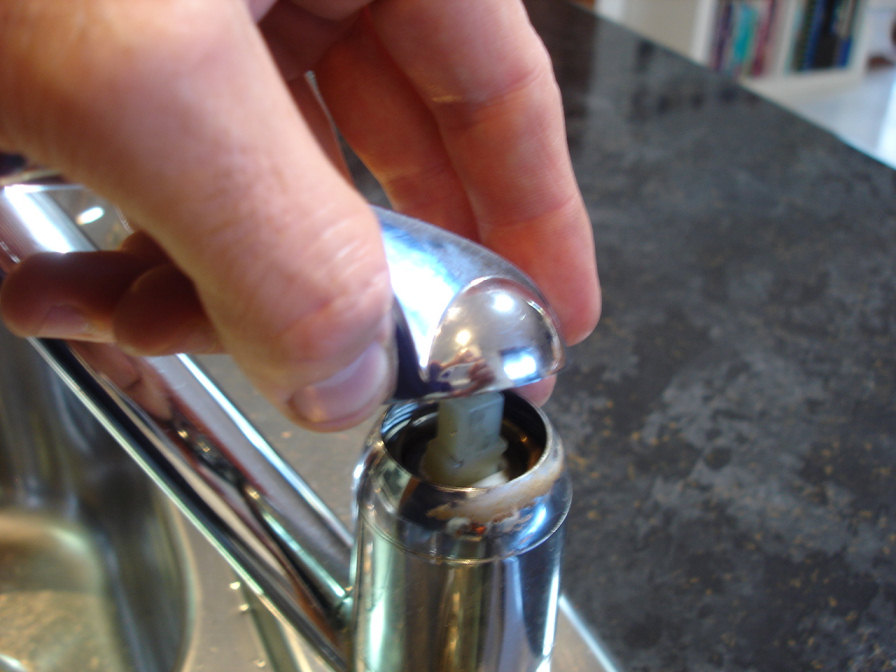
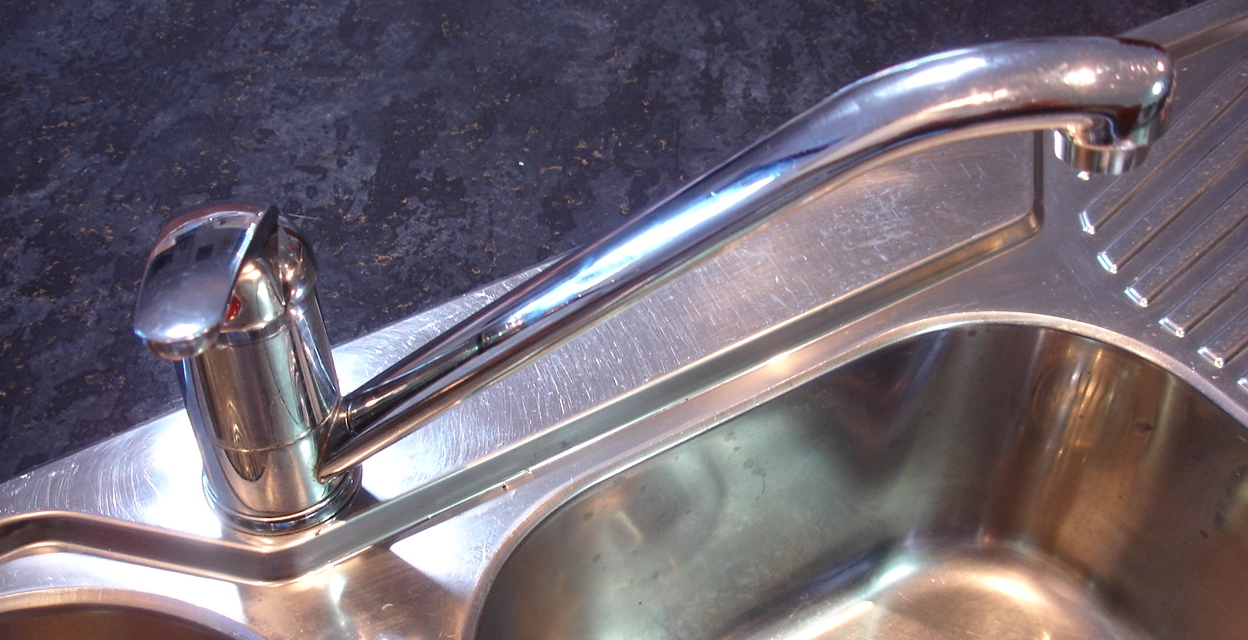
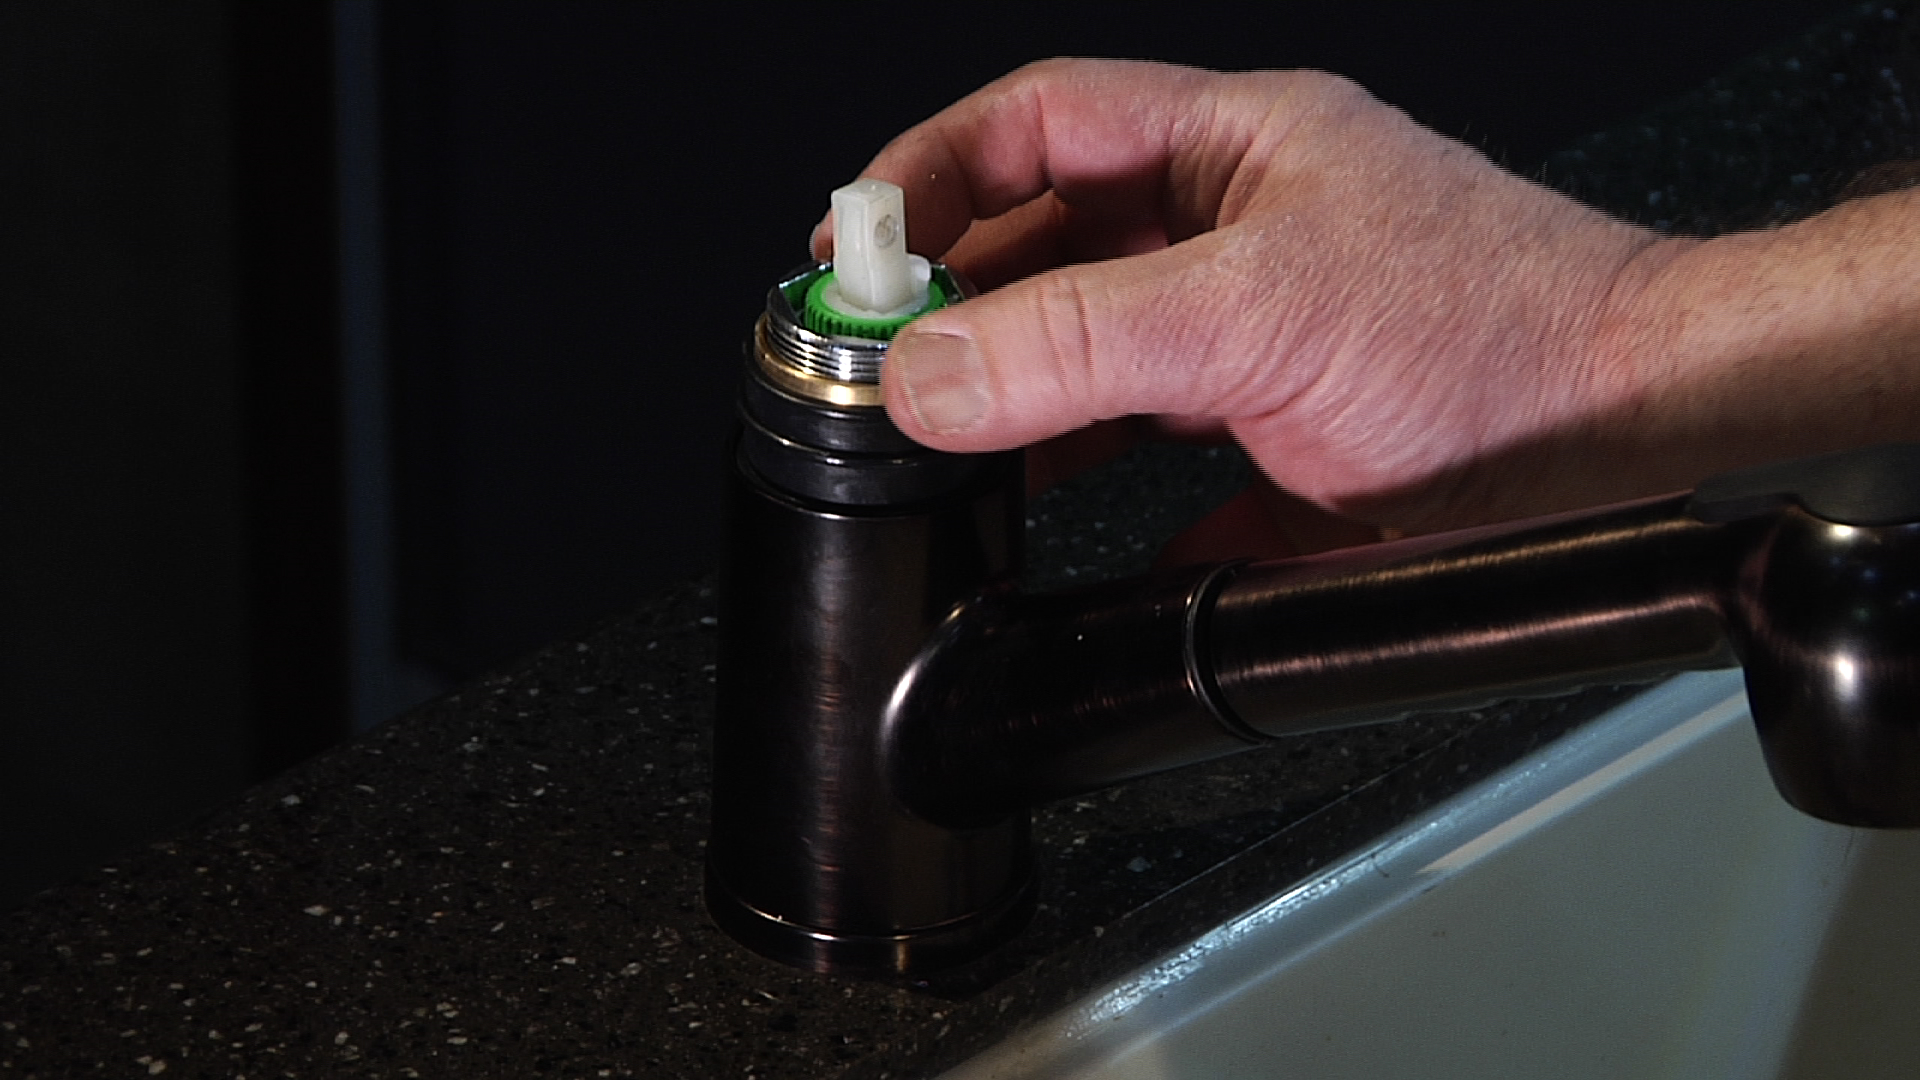
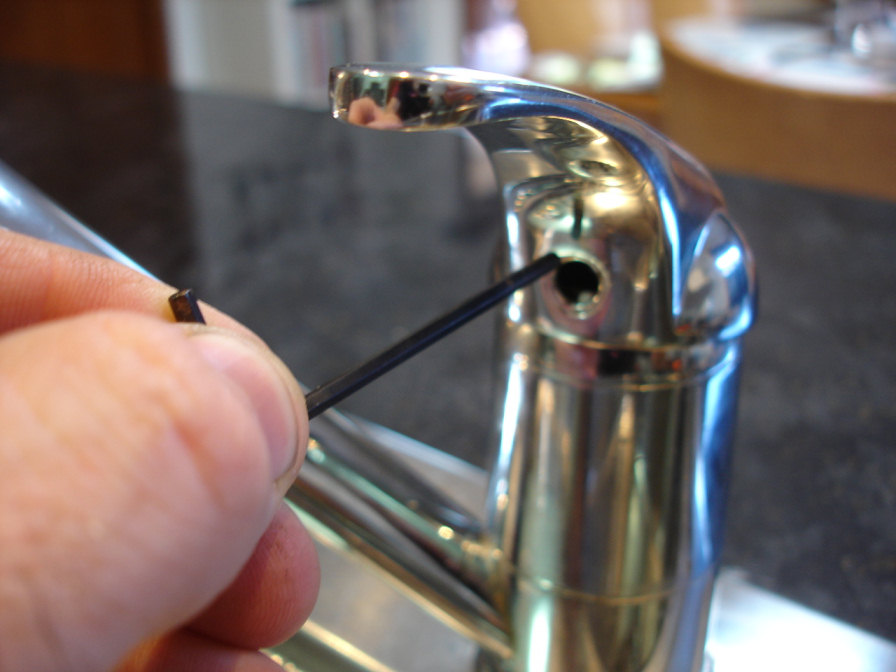
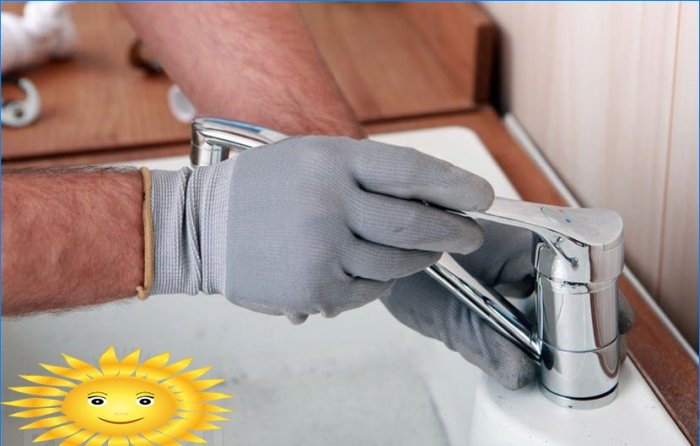
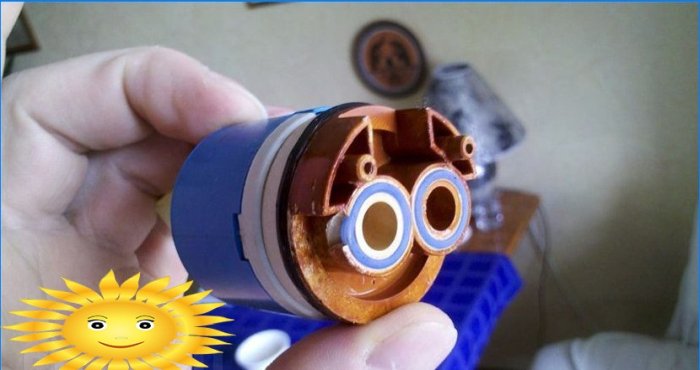
Before you begin, make sure to turn off the water supply to your sink. This can usually be done by turning off the shut-off valves located under the sink. Once the water is turned off, follow these steps: Step 1: Remove the handle of your kitchen sink mixer tap. This can usually be done by unscrewing a small screw on the bottom of the handle or by prying off a cap and unscrewing a bolt. Step 2: Using pliers or a wrench, loosen and remove the retaining nut that holds the cartridge in place. Step 3: Gently pull out the old cartridge and discard it. Step 4: Insert the new cartridge in the same position as the old one, making sure it is securely in place. Step 5: Replace the retaining nut and tighten it with pliers or a wrench. Step 6: Replace the handle and tighten the screw or bolt. Step 7: Turn the water supply back on and test your new cartridge by turning on the tap. If there are no leaks and the water pressure is back to normal, you have successfully replaced your kitchen sink mixer cartridge!Replacing a Kitchen Sink Mixer Cartridge: A Step-by-Step Guide
Replacing a kitchen sink mixer cartridge can save you time and money compared to hiring a professional plumber. With a few tools and a bit of patience, you can easily replace the cartridge yourself. However, if you are unsure or uncomfortable with DIY projects, it is always best to hire a professional to avoid any potential damages.DIY: Replacing a Kitchen Sink Mixer Cartridge
Here are a few tips and tricks to keep in mind when replacing your kitchen sink mixer cartridge: Tip 1: Before beginning the replacement process, it is a good idea to take a picture of the inside of your tap so you can refer to it if needed. Tip 2: If your cartridge is stuck, use a lubricant such as WD-40 to help loosen it. Tip 3: Clean the inside of your tap before installing the new cartridge to prevent any debris from causing issues.Replacing a Kitchen Sink Mixer Cartridge: Tips and Tricks
If you prefer a more visual guide, here is a step-by-step video tutorial on how to replace a kitchen sink mixer cartridge:Step-by-Step Guide to Replacing a Kitchen Sink Mixer Cartridge
While replacing a kitchen sink mixer cartridge may seem like a simple task, there are a few common mistakes that can be easily avoided: Mistake 1: Not turning off the water supply before beginning the replacement process. Mistake 2: Forgetting to clean the inside of the tap before installing the new cartridge. Mistake 3: Not properly securing the cartridge with the retaining nut, resulting in leaks.Replacing a Kitchen Sink Mixer Cartridge: Common Mistakes to Avoid
To complete the replacement process, you will need the following tools and materials: Tools: pliers or wrench, screwdriver Materials: new kitchen sink mixer cartridge, lubricant (if needed)How to Replace a Kitchen Sink Mixer Cartridge: Tools and Materials Needed
If you have successfully replaced your kitchen sink mixer cartridge but are still experiencing issues, here are a few troubleshooting tips: Issue 1: Water pressure is still low after replacing the cartridge. Solution: Check for any clogs or debris in the tap and clean as needed. Issue 2: The tap is leaking even after replacing the cartridge. Solution: Make sure the cartridge is securely in place and the retaining nut is tight. If the issue persists, it may be a sign of a larger plumbing issue and it is best to consult a professional.Replacing a Kitchen Sink Mixer Cartridge: Troubleshooting Common Issues
As mentioned before, replacing a kitchen sink mixer cartridge can be a simple DIY project. However, if you are unsure or uncomfortable with DIY tasks or if the issue persists after replacing the cartridge, it is best to hire a professional plumber. They have the knowledge and experience to properly diagnose and fix any plumbing issues. Now that you know how to replace a kitchen sink mixer cartridge, you can tackle this DIY project with confidence. Remember to always turn off the water supply and take your time to ensure a successful replacement. Happy fixing!Replacing a Kitchen Sink Mixer Cartridge: Professional vs. DIY
The Importance of Proper Maintenance and Replacement of Kitchen Sink Mixer Cartridges in House Design

Understanding the Role of Kitchen Sink Mixer Cartridges in House Design
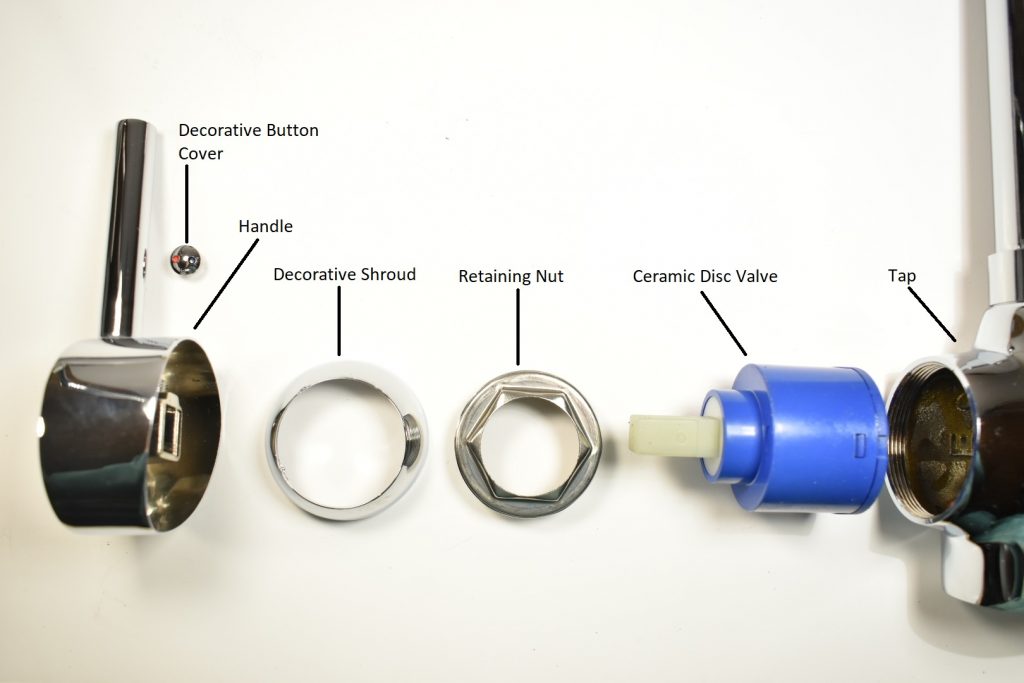 The kitchen sink is one of the most frequently used areas in a house, making it an essential element of house design. This is why it is crucial to have a functional and efficient kitchen sink that can withstand the daily wear and tear. One of the key components of a kitchen sink is the
mixer cartridge
, which controls the flow of water and temperature. It is responsible for providing a smooth and consistent water flow, making it an essential part of any kitchen sink.
Why Replacing Kitchen Sink Mixer Cartridges is Necessary
 Over time, kitchen sink mixer cartridges can wear out and become damaged due to constant use. This can result in leaks, inconsistent water flow, and even damage to other parts of the sink. Ignoring these issues can lead to more significant problems and costly repairs in the future. Therefore, it is crucial to
replace
the
mixer cartridge
as soon as it starts showing signs of wear and tear.
The Benefits of Replacing Kitchen Sink Mixer Cartridges
 Replacing a worn-out kitchen sink mixer cartridge is not only necessary for the proper functioning of your sink but also has many benefits for your house design. Firstly, it ensures a
consistent water flow
and
temperature
, making your daily tasks in the kitchen more efficient. It also prevents water wastage and potential damage to other parts of the sink. Additionally, replacing the mixer cartridge can
improve the overall aesthetic
of your kitchen by eliminating any leaks or drips.
Conclusion
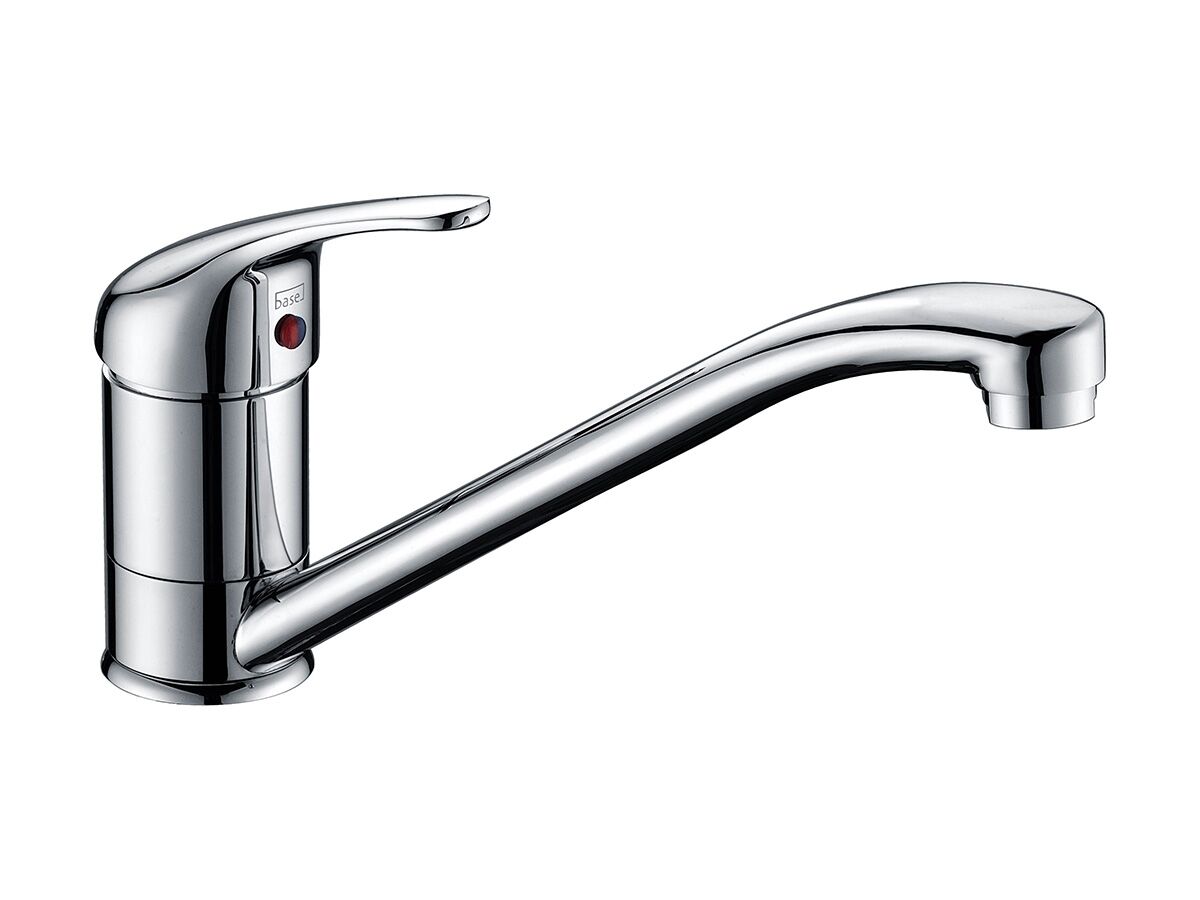 In conclusion, a kitchen sink mixer cartridge plays a crucial role in maintaining the functionality and design of your house. Regular maintenance and timely replacement of the cartridge can save you from future headaches and expenses. So, if you notice any issues with your kitchen sink, it is essential to address them promptly and
replace the mixer cartridge
if necessary. Don't neglect this small yet significant component of your kitchen sink, as it can make a big difference in the long run.










:no_upscale()/cdn.vox-cdn.com/uploads/chorus_asset/file/19495086/drain_0.jpg)














:max_bytes(150000):strip_icc()/helfordln-35-58e07f2960b8494cbbe1d63b9e513f59.jpeg)
