How to Install a Kitchen Sink Basket
Installing a kitchen sink basket is a simple DIY project that can save you a lot of money. Instead of hiring a professional plumber, you can easily install a kitchen sink basket yourself with just a few tools and some basic knowledge. In this article, we will guide you through the process of installing a kitchen sink basket in 10 easy steps.
How to Install a Kitchen Sink Basket Strainer
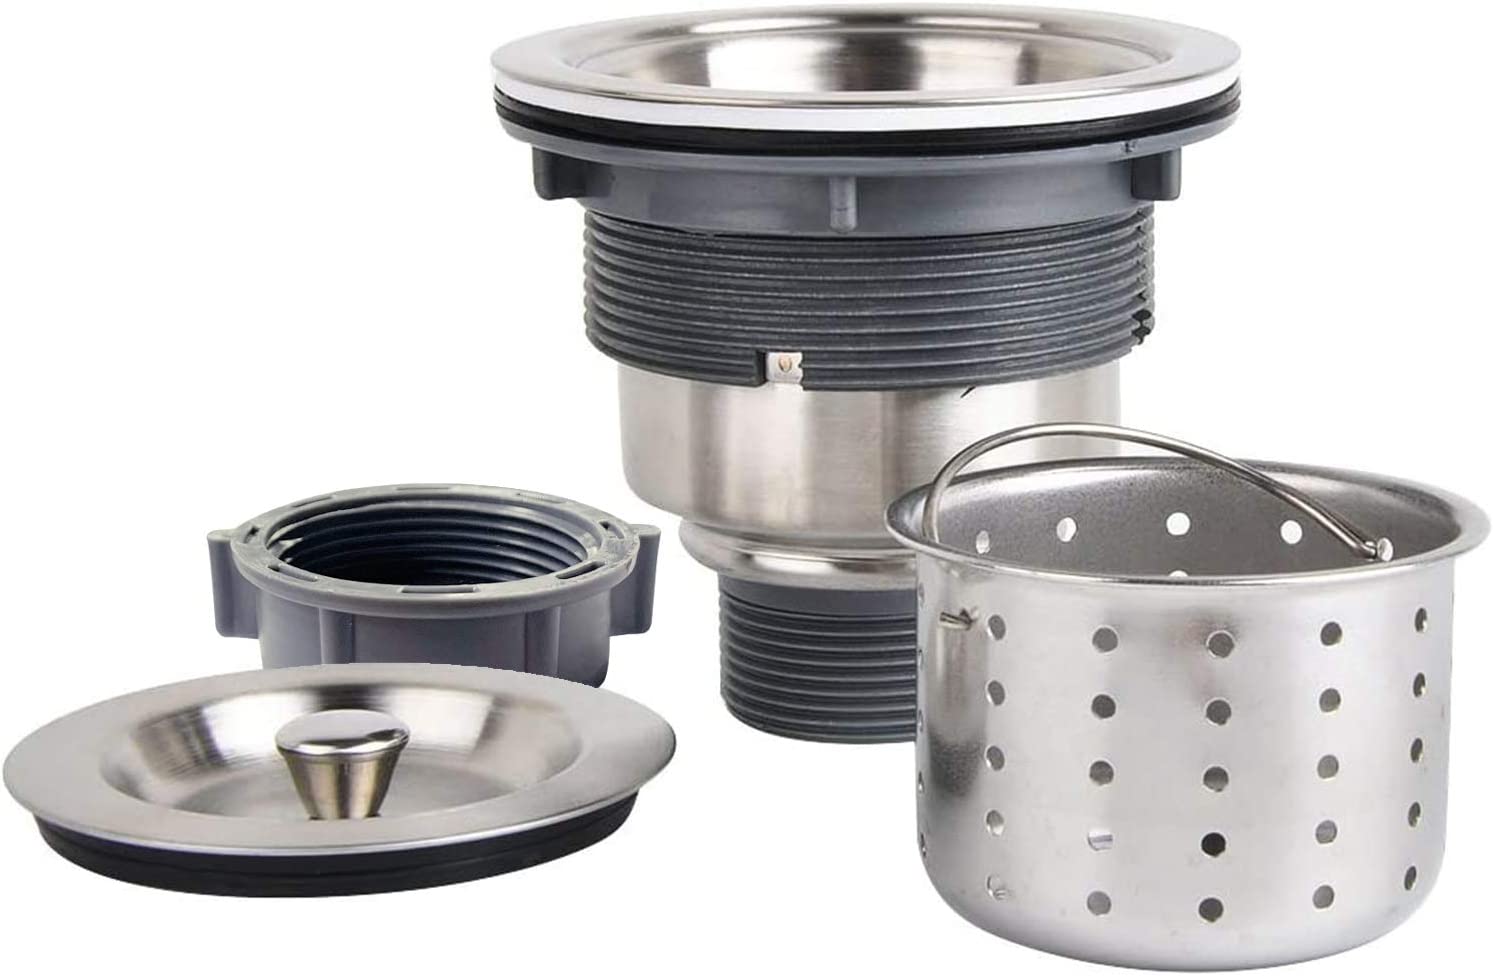
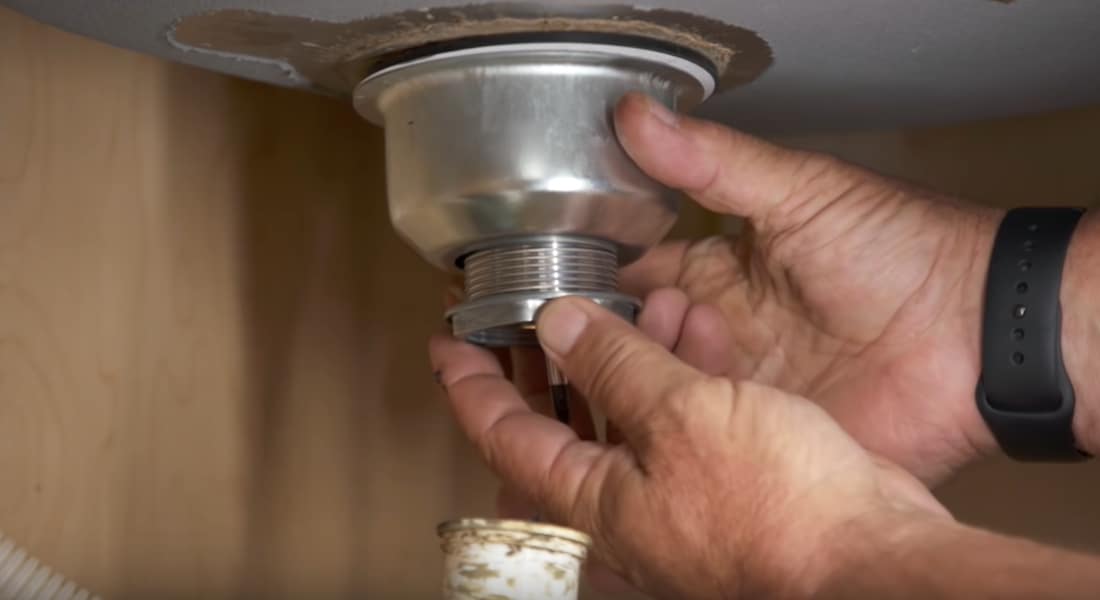
The first step to installing a kitchen sink basket is to understand the different parts involved. The kitchen sink basket strainer is the removable portion of the drain that sits in the sink and collects food debris. It is connected to the sink by a threaded shaft and secured with a locknut underneath. Understanding the anatomy of a kitchen sink basket strainer will make the installation process much easier.
DIY Kitchen Sink Basket Installation
If you're feeling confident in your DIY skills, you can save even more money by installing the kitchen sink basket yourself. The process is fairly straightforward and can be completed in just a few hours. All you need are some basic tools and a little bit of patience.
Step-by-Step Guide for Installing a Kitchen Sink Basket
Step 1: Gather all necessary tools and materials. You will need a sink basket strainer, a locknut, plumber's putty, a rubber gasket, a screwdriver, and a pair of pliers.
Step 2: Prepare the sink by cleaning the area around the drain and removing any old putty or debris.
Step 3: Roll a small amount of plumber's putty into a thin, snake-like shape and wrap it around the underside of the sink basket strainer.
Step 4: Carefully place the sink basket strainer into the sink drain and press down firmly to create a seal with the putty.
Step 5: Place the rubber gasket over the sink basket strainer and secure it with the locknut underneath the sink.
Step 6: Use a screwdriver to tighten the locknut until the sink basket strainer is firmly in place.
Step 7: Wipe away any excess putty that may have squeezed out from under the sink basket strainer.
Step 8: Connect the drain pipes to the sink basket strainer, making sure they are securely tightened.
Step 9: Test the sink basket strainer by running water through it and checking for any leaks.
Step 10: Enjoy your newly installed kitchen sink basket!
Tools Needed for Installing a Kitchen Sink Basket
Installing a kitchen sink basket requires a few basic tools that you may already have in your toolbox. These include a screwdriver, pliers, and plumber's putty. If you don't have these tools, they can easily be purchased at your local hardware store for a reasonable price.
Tips for Installing a Kitchen Sink Basket
Here are a few tips to keep in mind when installing a kitchen sink basket:
1. Use plenty of plumber's putty: This will ensure a tight seal and prevent any leaks.
2. Don't over-tighten the locknut: This can cause the sink basket strainer to crack or break.
3. Clean the area around the drain thoroughly: This will help the plumber's putty adhere better and create a stronger seal.
4. Test for leaks: After installation, run water through the sink basket strainer to check for any leaks. If you notice a leak, tighten the connections or add more plumber's putty as needed.
Common Mistakes to Avoid When Installing a Kitchen Sink Basket
While installing a kitchen sink basket is a relatively simple task, there are a few common mistakes that should be avoided:
1. Using too little plumber's putty: This can cause leaks and require you to redo the installation.
2. Over-tightening the locknut: This can cause damage to the sink basket strainer and result in a faulty seal.
3. Not cleaning the area properly: Any debris or old putty left on the sink can interfere with the seal and cause leaks.
Video Tutorial: Installing a Kitchen Sink Basket
If you prefer a visual guide, there are many helpful video tutorials available online that can walk you through the process of installing a kitchen sink basket step-by-step. These can be a great resource for beginners or those who prefer a more hands-on approach.
Professional Kitchen Sink Basket Installation Services
If you're not confident in your DIY skills or simply don't have the time to install a kitchen sink basket yourself, you can always hire a professional. Many plumbing companies offer installation services for a reasonable price. This can save you the hassle of doing it yourself and ensure that the job is done correctly.
Cost of Installing a Kitchen Sink Basket
The cost of installing a kitchen sink basket will vary depending on whether you choose to do it yourself or hire a professional, as well as the cost of materials. On average, DIY installation can cost around $20-$30 for a basic sink basket strainer and plumber's putty. Professional installation can range from $100-$200, depending on the company and the complexity of the job.
In conclusion, installing a kitchen sink basket is a simple and cost-effective way to keep your sink clean and free of food debris. With the right tools and a little bit of know-how, you can easily complete this DIY project in just a few hours. Remember to follow these tips and avoid common mistakes to ensure a successful installation. Happy plumbing!
The Importance of Kitchen Sink Basket Installation in House Design

Maximizing Space and Functionality
 When it comes to designing a house, every detail matters. This includes even the smallest and often overlooked component – the kitchen sink basket. While it may seem like a minor addition,
kitchen sink basket installation
can greatly contribute to the overall functionality and organization of your kitchen. By incorporating this small yet essential element, you can efficiently maximize the space in your kitchen and make your daily tasks easier and more efficient.
Efficient Waste Disposal
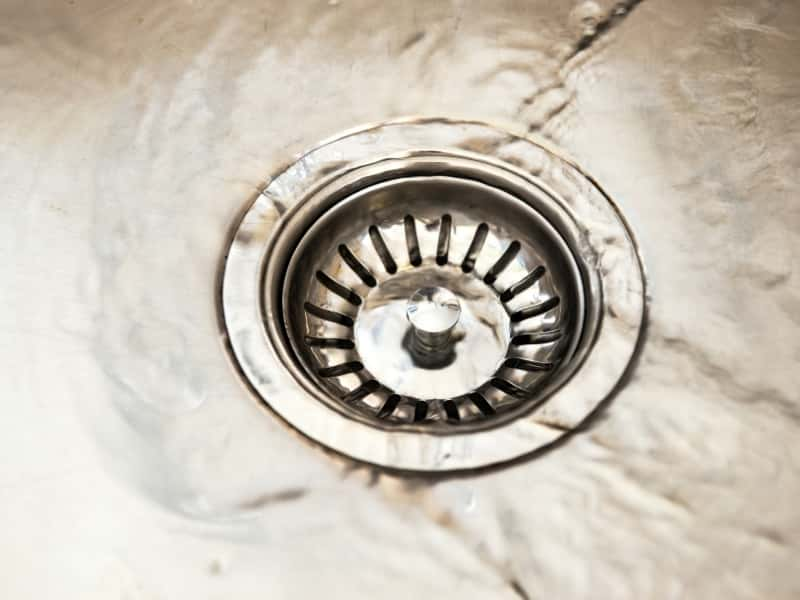 One of the primary functions of a kitchen sink basket is to serve as a waste disposal system. It allows you to easily dispose of food scraps and other debris while washing dishes, without clogging your drain. This not only saves you from the hassle of dealing with clogged pipes but also helps in maintaining the overall cleanliness and hygiene of your kitchen.
Kitchen sink basket installation
also prevents larger food particles from entering your plumbing system, which can cause more serious and expensive issues in the long run.
Aesthetically Pleasing Design
 Apart from its practical functions, a kitchen sink basket can also add to the overall aesthetic appeal of your kitchen. With a wide range of designs and materials to choose from, you can easily find one that complements your kitchen's design and adds a touch of elegance to your space. Whether you prefer a classic stainless steel basket or a more modern and sleek one,
kitchen sink basket installation
can enhance the look of your kitchen and make it more visually appealing.
Easy Installation and Maintenance
 Another great advantage of
kitchen sink basket installation
is its easy installation and maintenance. With just a few simple steps, you can easily install a kitchen sink basket yourself or with the help of a professional. Most baskets also come with removable parts, making it easier to clean and maintain. With proper care and maintenance, a kitchen sink basket can last for years, making it a cost-effective addition to your kitchen.
In conclusion,
kitchen sink basket installation
is an essential element in house design that offers both practical and aesthetic benefits. Its ability to maximize space, efficient waste disposal, and easy installation and maintenance make it a must-have in any modern kitchen. So, if you want to elevate the functionality and design of your kitchen, consider adding a kitchen sink basket to your list of house design essentials.







:no_upscale()/cdn.vox-cdn.com/uploads/chorus_asset/file/19495086/drain_0.jpg)


/how-to-install-a-sink-drain-2718789-hero-b5b99f72b5a24bb2ae8364e60539cece.jpg)


