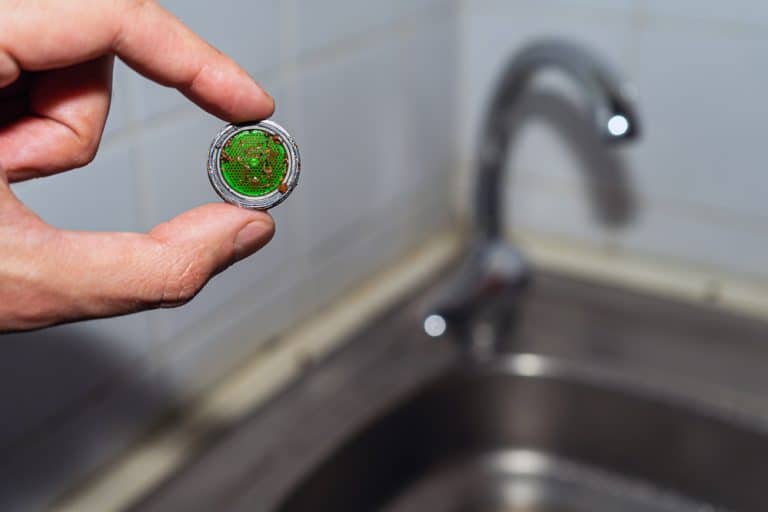
If you've noticed reduced water flow or strange noises coming from your kitchen sink faucet, it might be time to clean or replace your aerator. The aerator is the small mesh screen at the end of your faucet that helps to conserve water by mixing it with air. Over time, it can become clogged with mineral deposits and debris, affecting the water flow and quality. Here's a step-by-step guide on how to remove a kitchen sink aerator and keep your faucet running smoothly.How to Remove a Kitchen Sink Aerator
If cleaning your aerator doesn't improve the water flow, it may be time to replace it. This is a simple and cost-effective solution that can improve the overall performance of your faucet. Follow the steps below to replace your kitchen sink aerator.How to Replace a Kitchen Sink Aerator
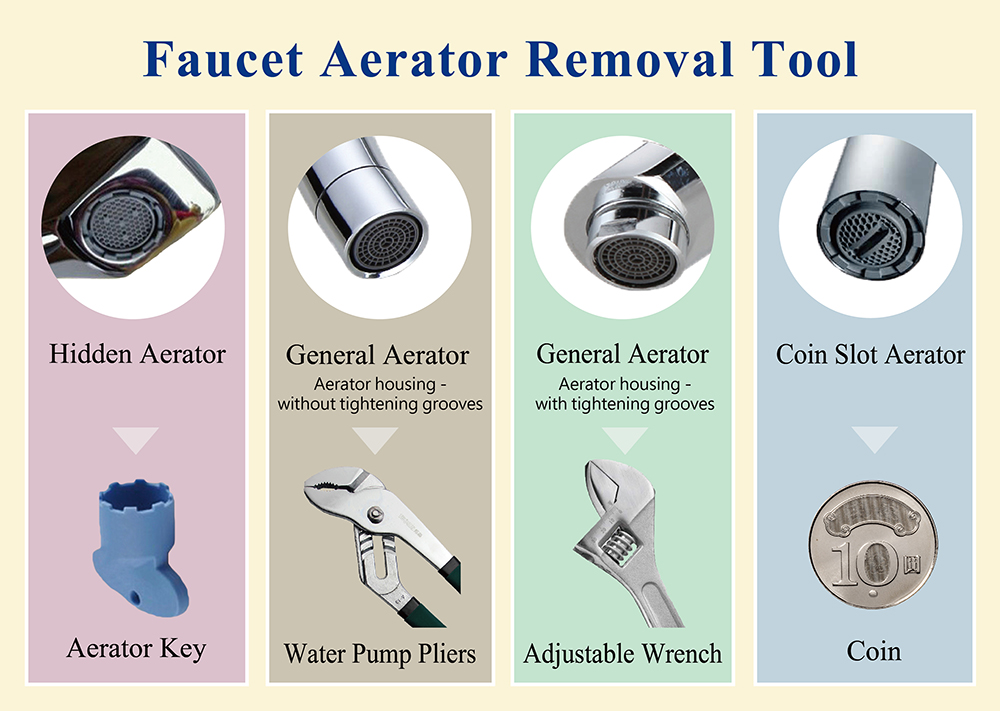
Step 1: Turn off the water supply to your faucet by closing the shut-off valves under the sink. Step 2: Place a towel or bucket under the faucet to catch any water that may come out. Step 3: Use pliers or an adjustable wrench to grip the aerator on the end of your faucet. Turn it counterclockwise to loosen and remove it. Step 4: If the aerator is stuck, try using a pair of pliers wrapped in a cloth to prevent scratching the finish. You can also use a vinegar solution to loosen any mineral deposits that may be causing it to stick. Step 5: Once the aerator is removed, clean it with a brush and vinegar solution to remove any buildup. Rinse it thoroughly and reinstall it on the faucet.Removing a Kitchen Sink Aerator: Step-by-Step Guide
If you're feeling handy, you can remove your kitchen sink aerator on your own without the help of a professional. With the right tools and techniques, it can be a straightforward and cost-effective process. Here are some tips for a DIY kitchen sink aerator removal: Tools Needed: Pliers or adjustable wrench, vinegar solution, cloth or towel. Step 1: Turn off the water supply to your faucet. Step 2: Prepare your tools and materials. Step 3: Protect your sink and countertop by placing a towel or bucket underneath the faucet. Step 4: Use pliers or a wrench to grip and loosen the aerator. If it's stuck, try using a vinegar solution to loosen it. Step 5: Once removed, clean the aerator with a brush and vinegar solution. Step 6: Rinse the aerator and reinstall it on the faucet.DIY Kitchen Sink Aerator Removal
If you're short on time and need to remove your kitchen sink aerator quickly, here are some tips to make the process easier: Tools Needed: Pliers or adjustable wrench, vinegar solution, cloth or towel. Step 1: Turn off the water supply to your faucet. Step 2: Prepare your tools and materials. Step 3: Protect your sink and countertop by placing a towel or bucket underneath the faucet. Step 4: Use pliers or a wrench to grip and loosen the aerator. Step 5: If it's stuck, try using a vinegar solution to loosen it. Step 6: Once removed, clean the aerator with a brush and vinegar solution. Step 7: Rinse the aerator and reinstall it on the faucet.Quick and Easy Kitchen Sink Aerator Removal
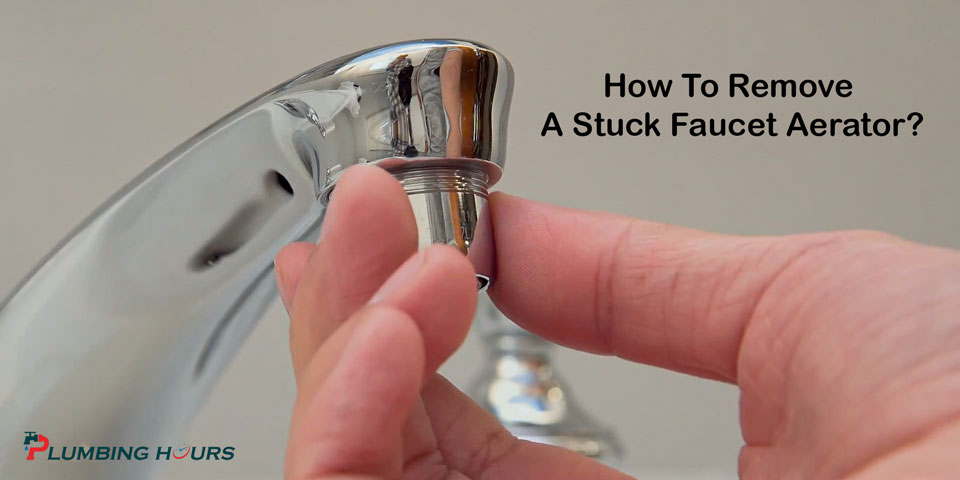
If your kitchen sink aerator is stuck and won't budge, don't panic. There are a few tricks you can try to loosen it and remove it without causing damage: Vinegar Solution: Soak a cloth or paper towel in a vinegar solution and wrap it around the aerator. Let it sit for a few minutes to loosen any mineral deposits, then try removing it again. Heat: Use a hairdryer to gently heat the aerator, which can help to expand the metal and loosen it. WD-40: If the aerator is still stuck, try spraying it with WD-40 and letting it sit for a few minutes before attempting to remove it again.Removing a Stuck Kitchen Sink Aerator
If you plan on removing your kitchen sink aerator on your own, here are the essential tools you'll need: Pliers or Adjustable Wrench: These tools will help you grip and loosen the aerator from the faucet. Vinegar Solution: This common household item can help to loosen mineral deposits and make it easier to remove the aerator. Cloth or Towel: Use a cloth or towel to protect your sink and countertop from scratches and to grip the aerator if it's stuck. Brush: A small brush, such as a toothbrush, can help to clean the aerator and remove any buildup.Tools Needed for Kitchen Sink Aerator Removal
When removing your kitchen sink aerator, it's essential to be gentle and avoid causing any damage. Here are some tips to keep in mind: Use Tools Carefully: When using pliers or a wrench to remove the aerator, be careful not to scratch or damage the finish of your faucet. Use a Vinegar Solution: Instead of using force to remove a stuck aerator, try using a vinegar solution to loosen it first. Protect Your Sink: Place a towel or bucket under the faucet to catch any water or debris that may come out during the removal process. Be Patient: If your aerator is stuck, take your time and try different methods, such as heating or using WD-40, to loosen it before attempting to remove it.Tips for Removing a Kitchen Sink Aerator Without Damaging It
While removing a kitchen sink aerator is typically a straightforward process, there are a few common problems that you may encounter: Aerator is Stuck: As mentioned, if your aerator is stuck, try using a vinegar solution, heat, or WD-40 to loosen it before attempting to remove it. Aerator is Damaged: If your aerator is damaged and cannot be cleaned or reinstalled, it will need to be replaced. Aerator Threads are Stripped: If the threads on your aerator or faucet are stripped, you may need to replace the entire faucet or aerator. Water Leaks After Reinstalling Aerator: If you notice water leaking after reinstalling the aerator, check for any loose or damaged parts and make sure it is installed correctly.Common Problems with Kitchen Sink Aerator Removal and How to Solve Them
If you're not comfortable or experienced in removing your kitchen sink aerator, it's best to leave it to the professionals. A licensed plumber can quickly and safely remove and replace your aerator, ensuring that everything is installed correctly and in proper working order. In conclusion, removing and replacing a kitchen sink aerator is a simple and cost-effective way to improve the performance of your faucet. With the right tools and techniques, you can easily clean or replace your aerator on your own. If you encounter any problems or are unsure of how to proceed, don't hesitate to seek the help of a professional plumber.Professional Kitchen Sink Aerator Removal Services
Importance of Kitchen Sink Aerator Removal in House Design
:max_bytes(150000):strip_icc()/cleaning-the-aerator-from-deposits--the-girl-hand-washes-a-dirty-limestone-aerator-with-water-1126244919-72868100964f42d5aa564a928371fea5.jpg)
What is a Kitchen Sink Aerator?
 When it comes to house design, the kitchen is often considered the heart of the home. It is where meals are prepared, memories are made, and families come together. However, with regular use, kitchen fixtures can become worn out and inefficient. One such fixture is the kitchen sink aerator.
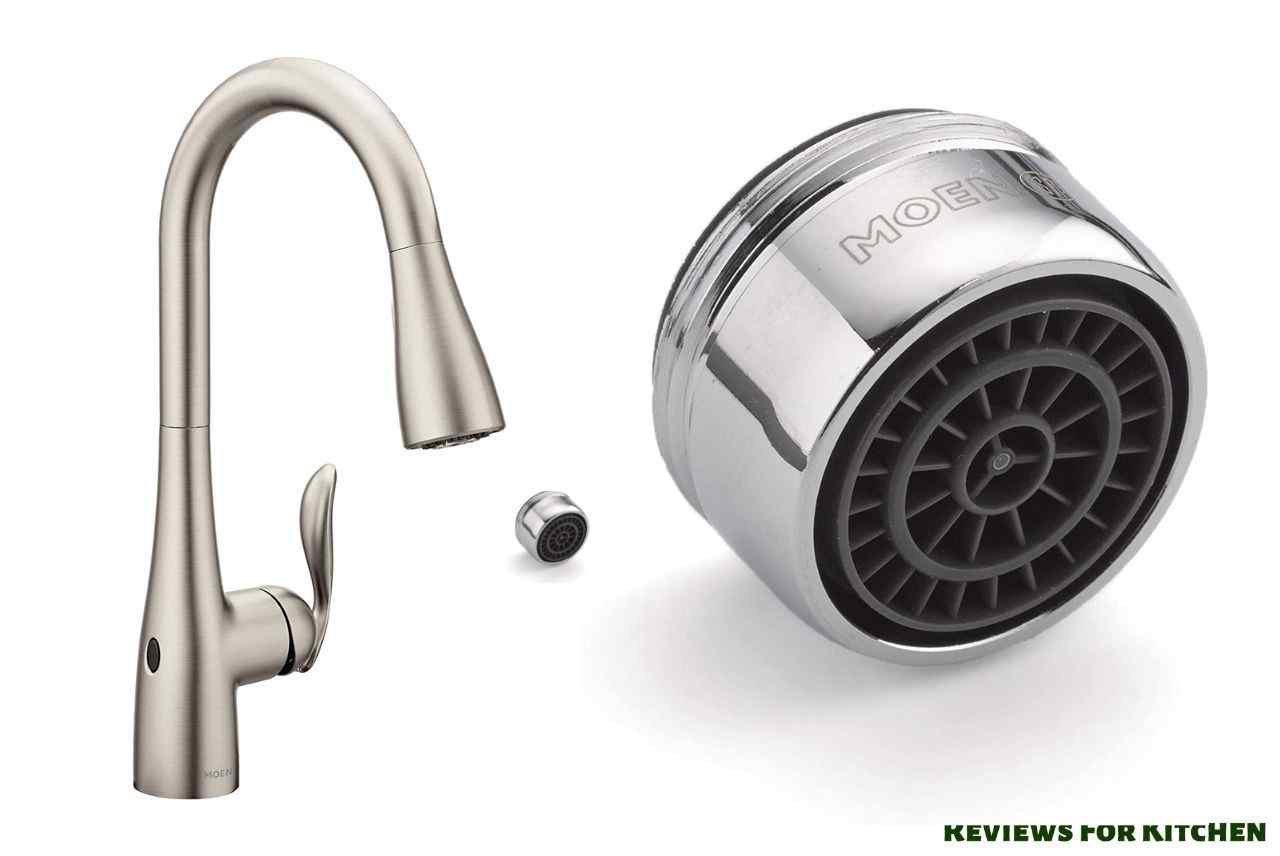
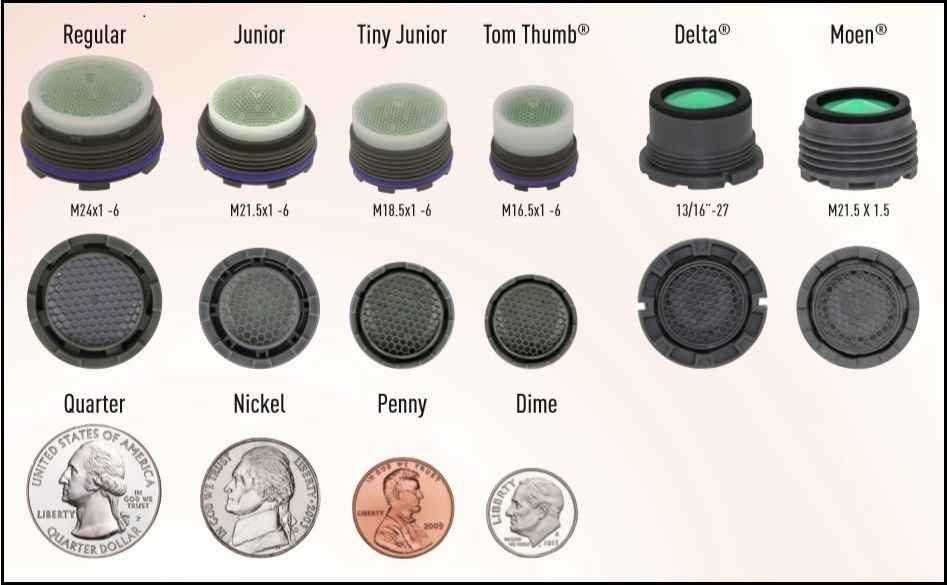
A kitchen sink aerator is a small device that screws onto the end of a faucet. Its purpose is to add air to the water flow, reducing the amount of water used without sacrificing the pressure. This not only conserves water but also saves on utility costs.
Why Should You Remove Your Kitchen Sink Aerator?
 At first glance, the kitchen sink aerator may seem like a small and insignificant part of your kitchen. However, it plays a crucial role in the overall efficiency of your home. Over time, mineral deposits, dirt, and debris can build up in the aerator, causing it to become clogged. This can result in reduced water flow and an uneven spray.
Moreover, a clogged aerator can also lead to a higher water bill. As the aerator becomes clogged, water is forced to flow through smaller openings, increasing the pressure and thus using more water. By removing and cleaning your kitchen sink aerator, you can improve water flow and save on utility costs.
How to Remove Your Kitchen Sink Aerator
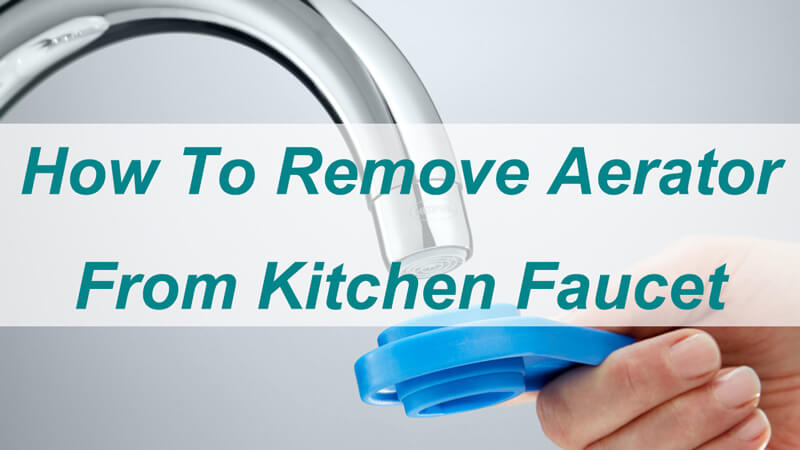
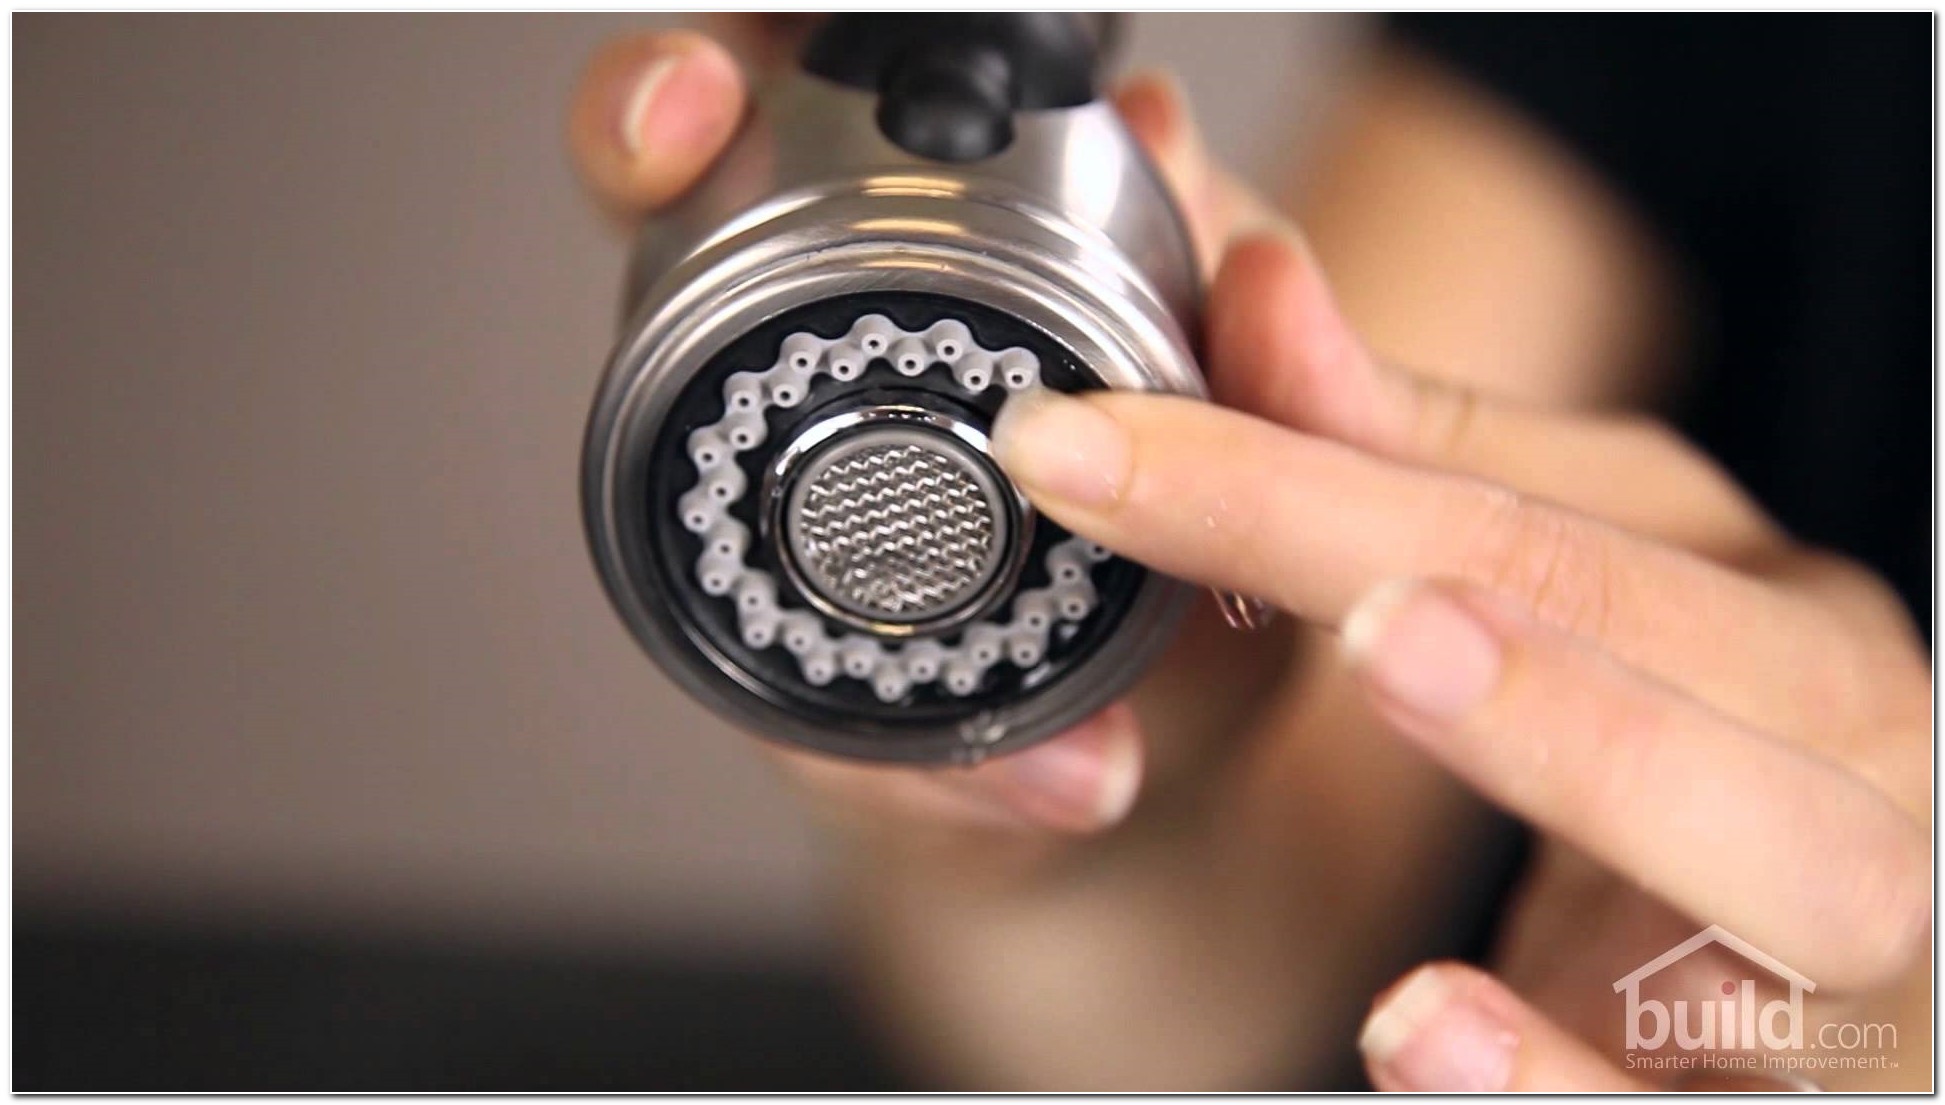 Removing your kitchen sink aerator is a simple process that can be done in a few easy steps. First, turn off the water supply to your sink. Then, using a pair of pliers, grip the aerator firmly and turn it counterclockwise to unscrew it. If the aerator is stuck, try using some WD-40 or soaking it in vinegar to loosen any buildup. Once removed, clean the aerator by soaking it in vinegar or scrubbing it with a toothbrush. Rinse it thoroughly and screw it back onto the faucet.
Conclusion
 In conclusion, the kitchen sink aerator may seem like a small and insignificant part of your kitchen, but it plays a crucial role in the overall efficiency of your home. By regularly removing and cleaning your kitchen sink aerator, you can improve water flow, save on utility costs, and contribute to a more sustainable household. So, don't overlook this small but important aspect of house design and make sure to add kitchen sink aerator removal to your regular maintenance routine.


/cleaning-the-aerator-from-deposits--the-girl-hand-washes-a-dirty-limestone-aerator-with-water-1126244919-72868100964f42d5aa564a928371fea5.jpg)


/RemovingAeratorAssembly-99881d30169b43cebc3fe72f6d4b25b9.jpg)





:max_bytes(150000):strip_icc()/clearing-a-blocked-faucet-aerator-2718807-07-b5a90554991f4bb69efb45a472df7f23.jpg)



:max_bytes(150000):strip_icc()/removing-a-faucet-aerator-2718836-02-9280a2c1a07f448c9d4f1f1511f84446.jpg)
/cleaning-the-aerator-from-deposits--the-girl-hand-washes-a-dirty-limestone-aerator-with-water-1126244919-72868100964f42d5aa564a928371fea5.jpg)
