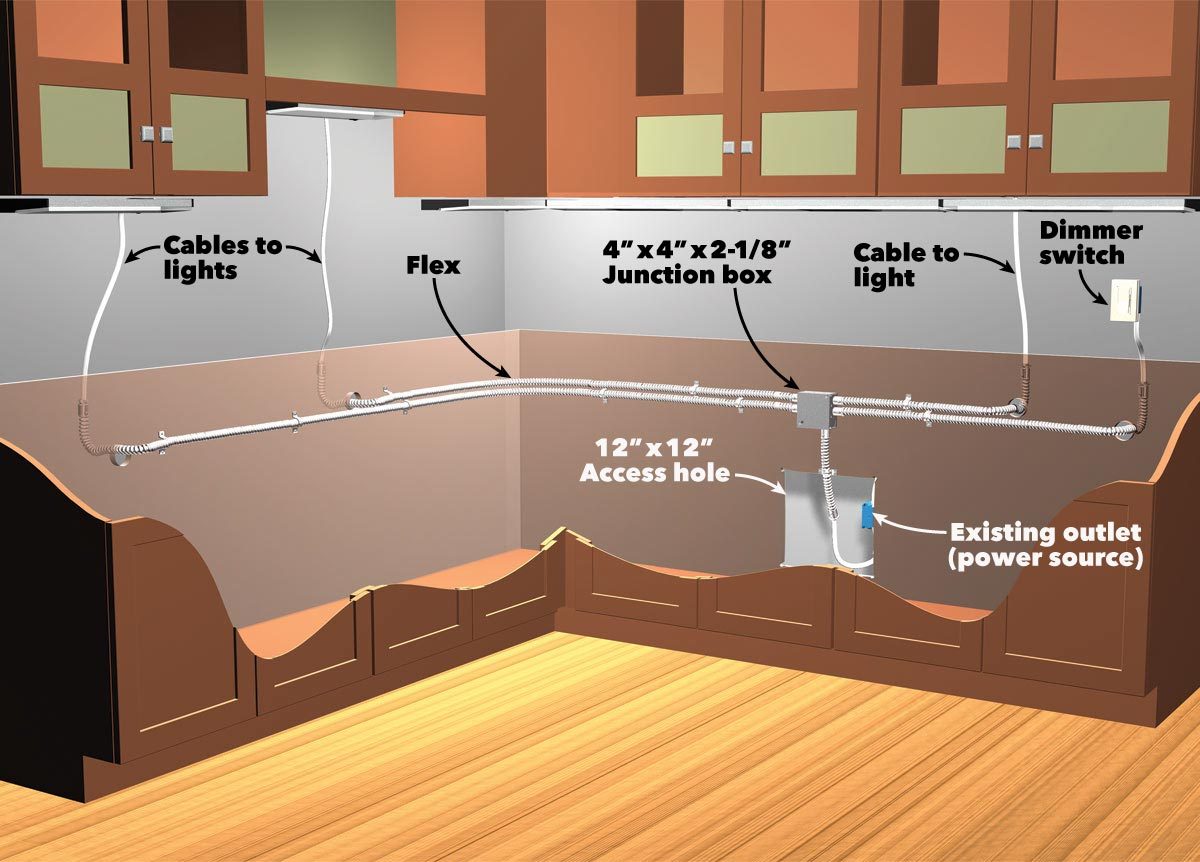
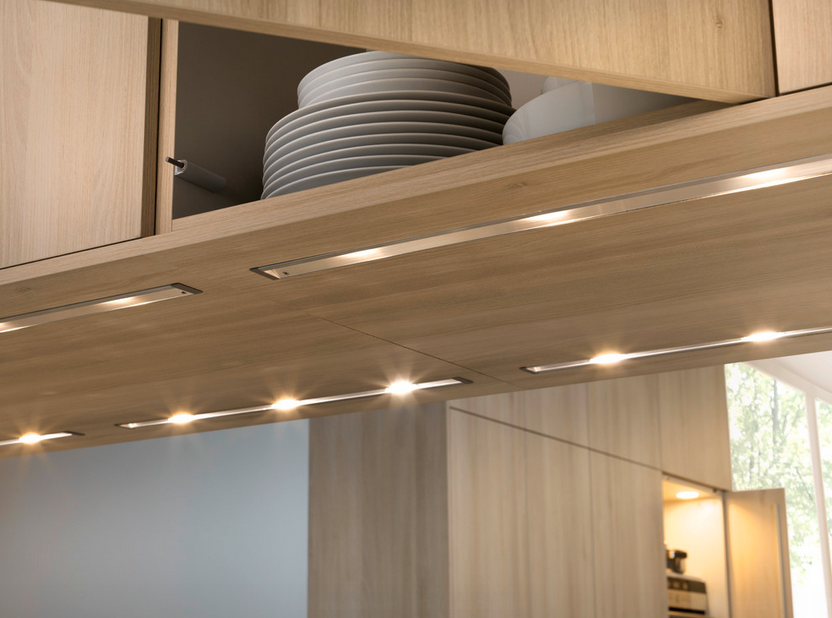
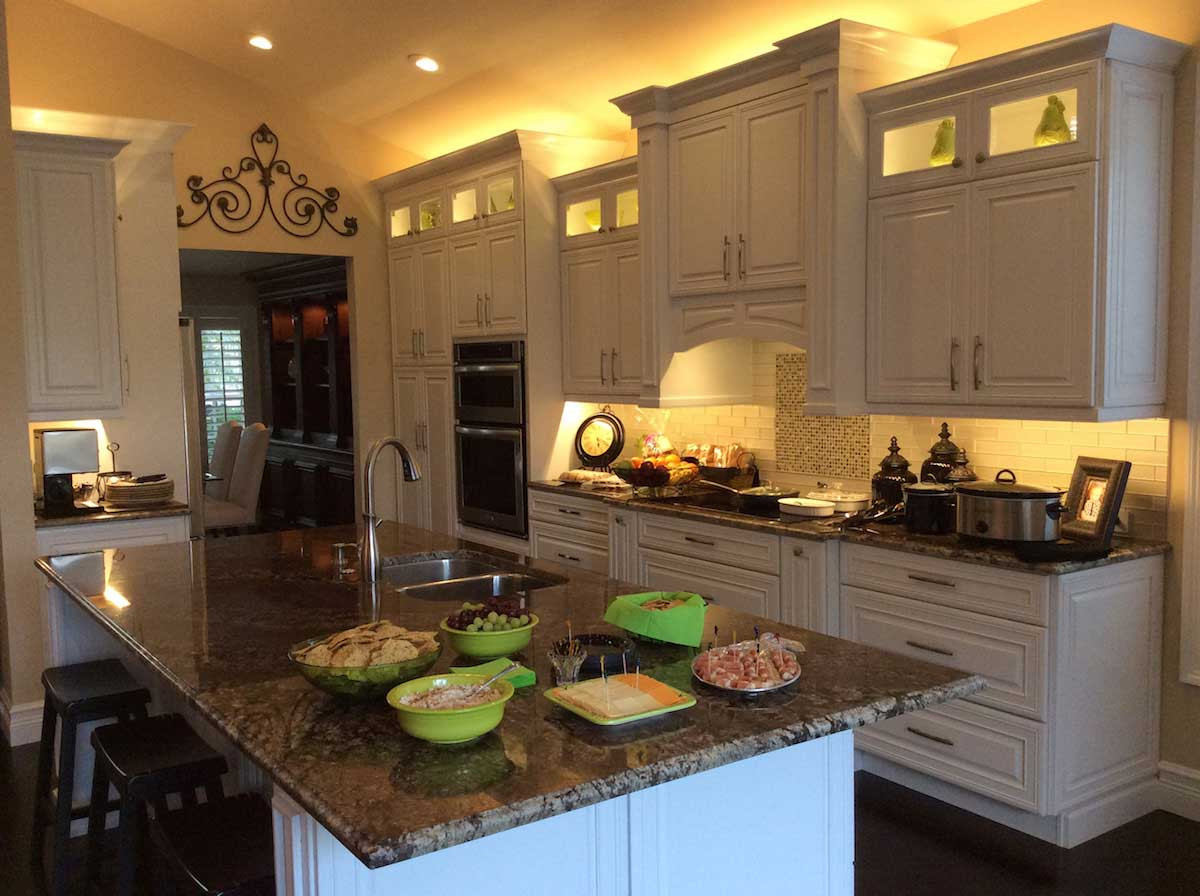
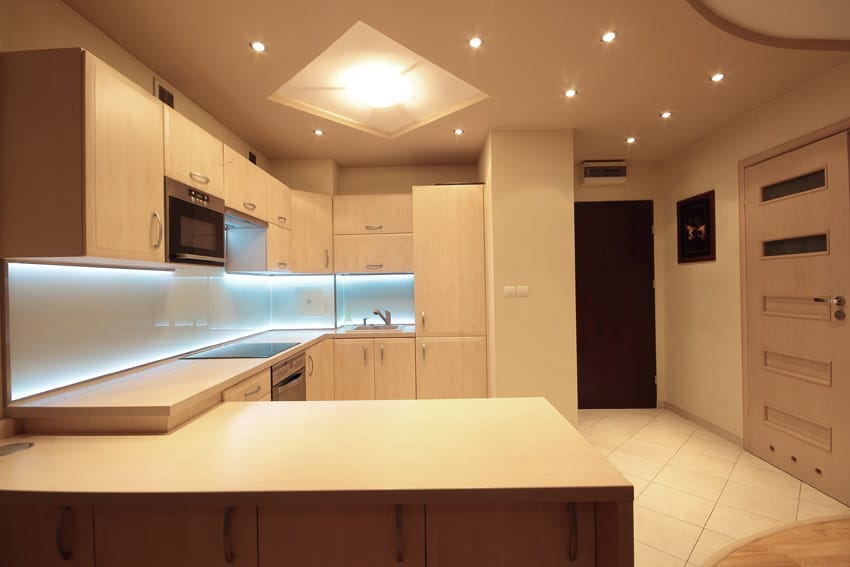
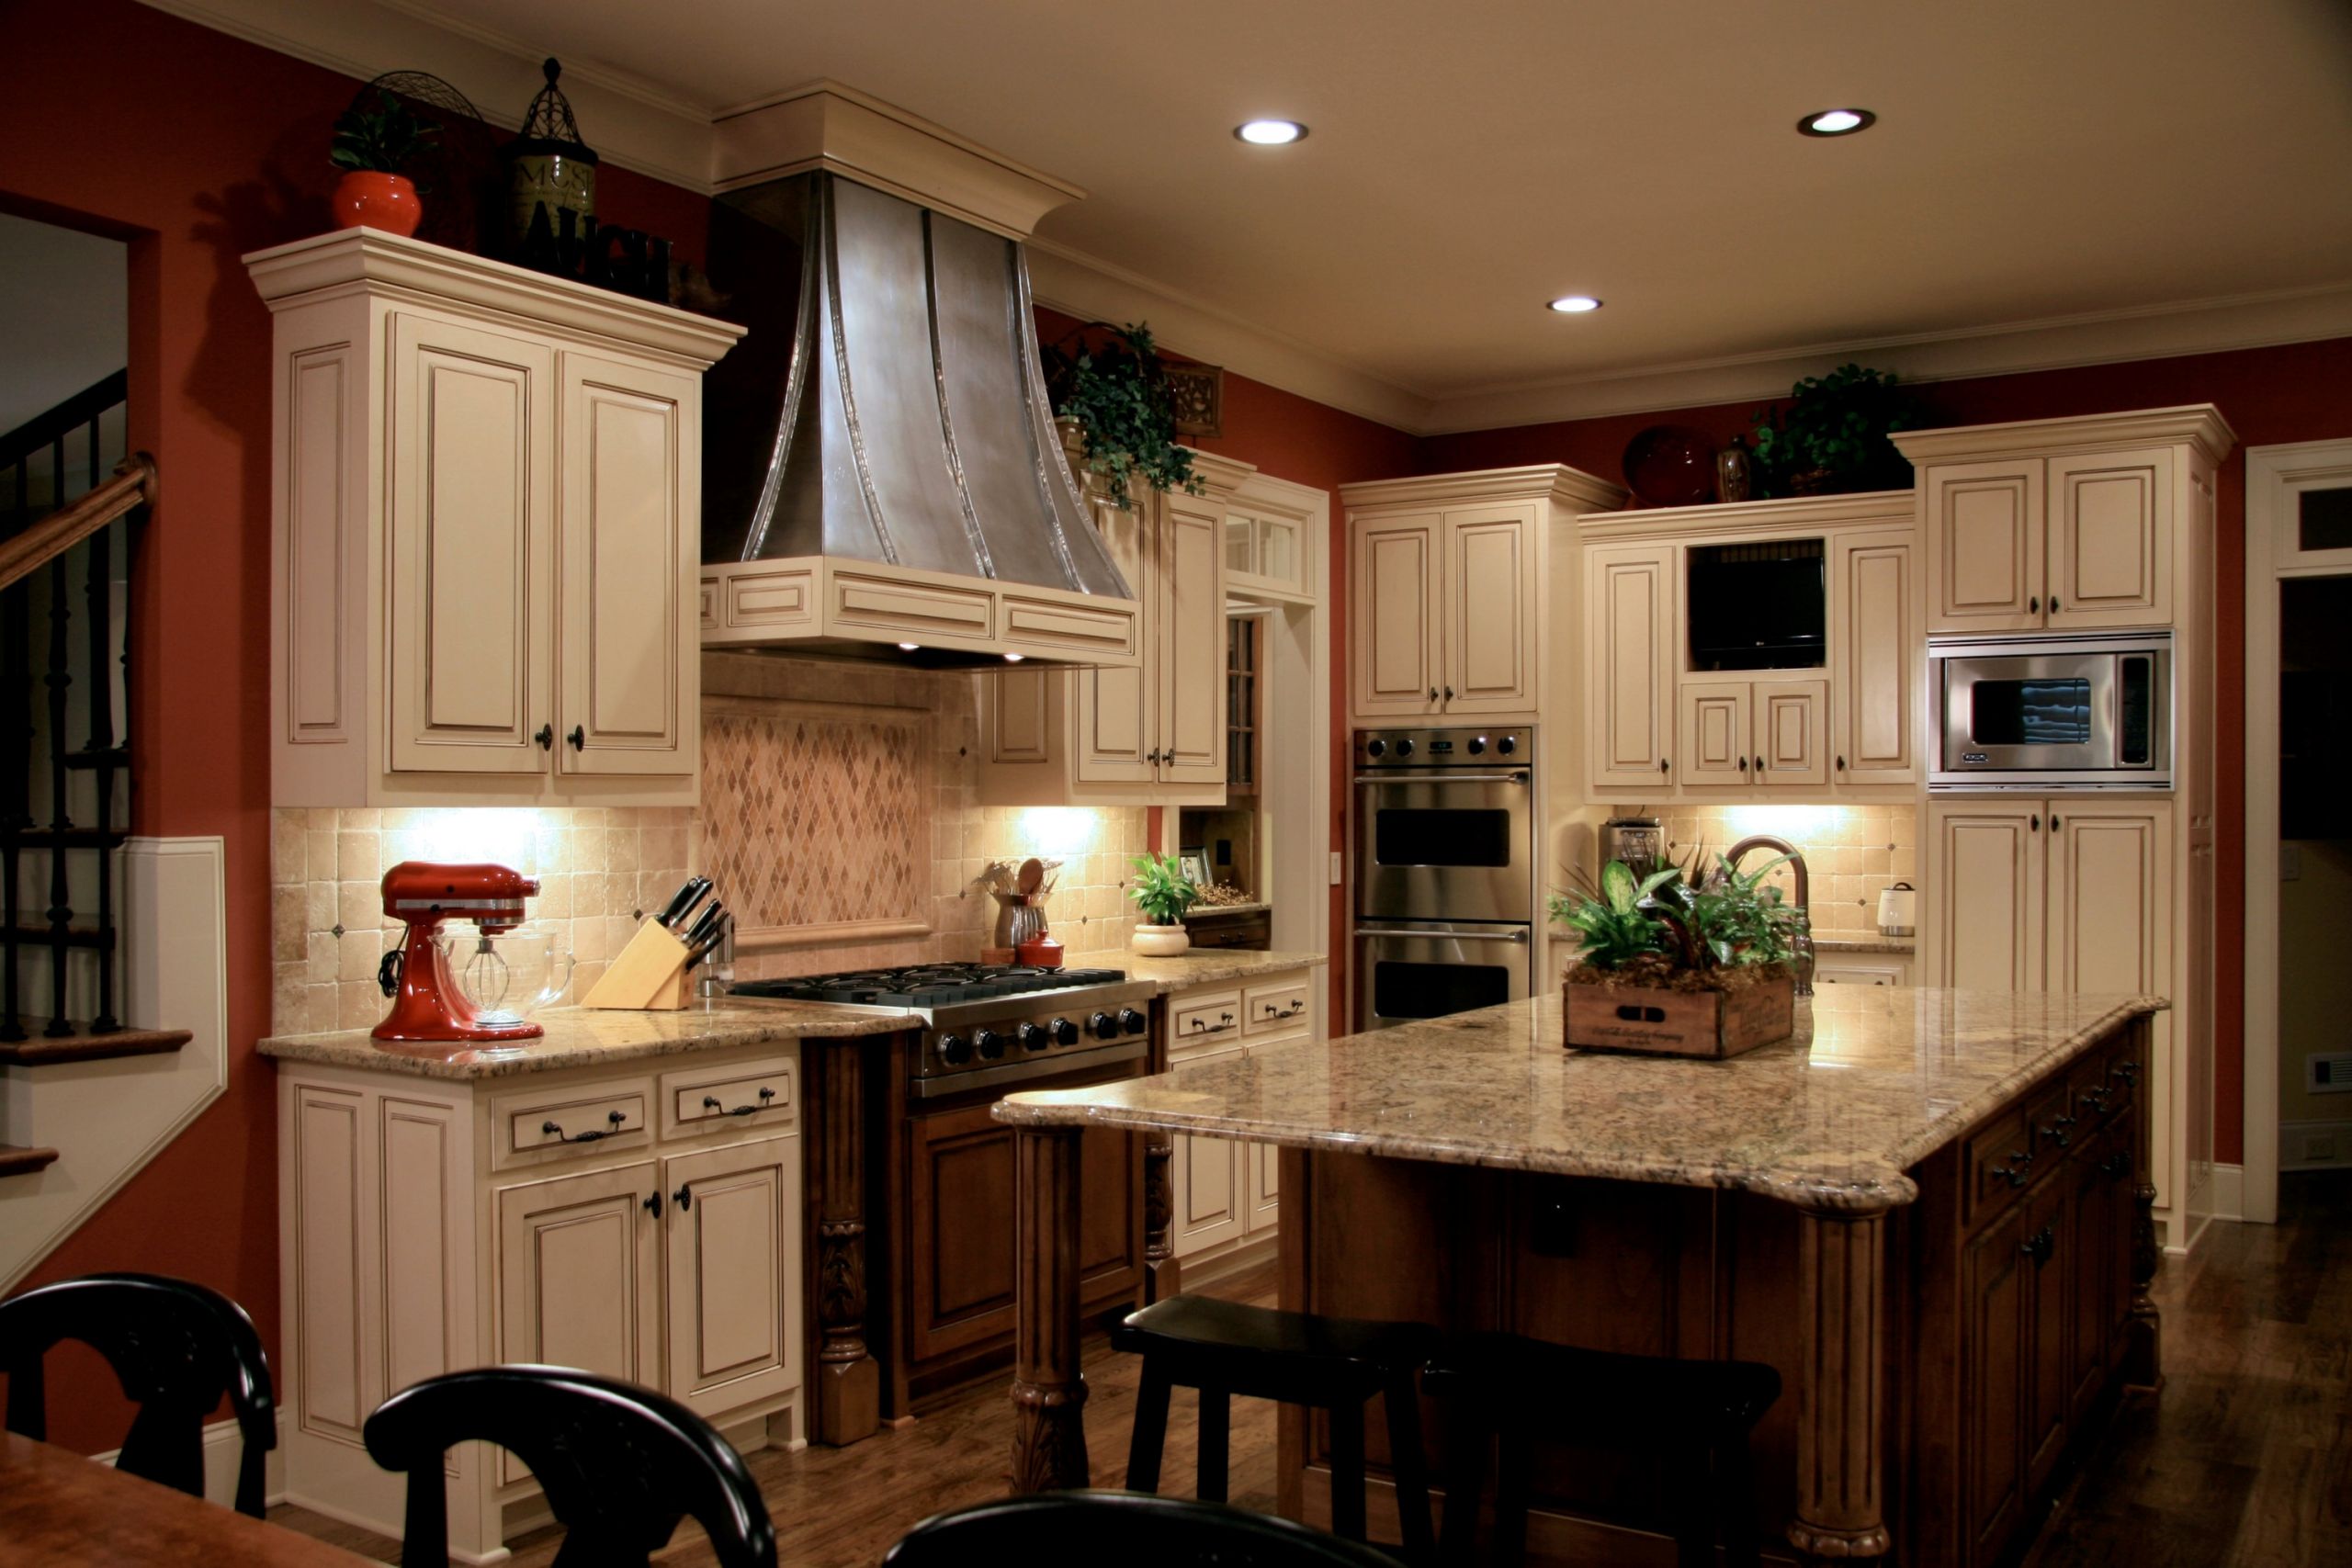
If you're looking to brighten up your kitchen, adding under cabinet lighting is a great way to do it. Not only does it provide extra light for tasks such as cooking and food prep, but it also adds a beautiful ambiance to the space. Here's a step-by-step guide on how to install under cabinet lighting in your kitchen. Step 1: Plan and Measure Before you begin, it's important to plan out where you want your under cabinet lighting to go and measure the length of your cabinets. This will help you determine how many light strips you will need and where to place them. Step 2: Choose Your Lighting There are various types of under cabinet lighting available, such as LED strips, puck lights, and linear lights. Consider the size and layout of your kitchen, as well as your budget, to choose the best option for you. Step 3: Prepare Your Tools You will need a few tools for this project, including a drill, screws, wire cutters, and a screwdriver. Make sure to have all your tools handy before you start the installation process. Step 4: Install the Light Strips Most light strips come with adhesive backing, making them easy to install. Simply peel off the backing and stick the strips to the underside of your cabinets, following your planned layout. Use screws for extra support if needed. Step 5: Connect the Wires Using wire cutters, strip the ends of the wires on your light strips and connect them to the wires on your power supply. Make sure to follow the manufacturer's instructions for proper wiring. Step 6: Conceal the Wires To keep your installation looking clean and professional, you can use cable clips or wire channels to conceal the wires. This will also help prevent any accidents or tripping hazards. Step 7: Test Your Lights Before securing the lights completely, test them to make sure they are working properly. If everything is in order, go ahead and secure the lights in place. Pro tip: If you want to control the brightness and color of your under cabinet lighting, consider using a smart lighting system that can be controlled with your phone or a voice assistant.How to Install Under Cabinet Lighting in Your Kitchen
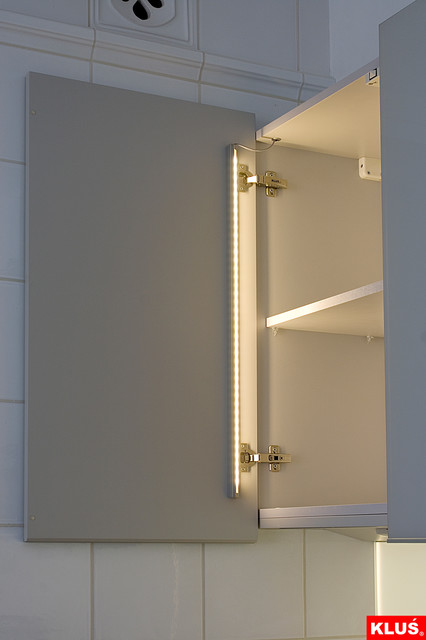
In addition to under cabinet lighting, adding lighting inside your kitchen cabinets can add a beautiful touch to your kitchen design. Here's how to install kitchen cabinet lighting. Step 1: Choose Your Lighting Similar to under cabinet lighting, there are various options for cabinet lighting such as puck lights, linear lights, and tape lights. Consider the size and layout of your cabinets to choose the best option. Step 2: Measure and Plan Measure the length and width of your cabinets and plan out where you want the lights to go. Keep in mind that you may need more than one light per cabinet depending on the size. Step 3: Install the Lights Most cabinet lights come with adhesive backing, making them easy to install. Simply peel off the backing and stick the lights to the inside of your cabinets. Make sure to follow your planned layout. Step 4: Connect the Wires Using wire cutters, strip the ends of the wires on your lights and connect them to the wires on your power supply. Again, follow the manufacturer's instructions for proper wiring. Step 5: Conceal the Wires Just like with under cabinet lighting, it's important to conceal the wires to keep your installation looking clean and safe. Step 6: Test and Secure Test the lights to make sure they are working correctly before securing them in place. Adjust as needed and then secure the lights with screws or adhesive. Pro tip: Consider installing motion sensor lights inside your cabinets for added convenience and energy efficiency.How to Install Kitchen Cabinet Lighting
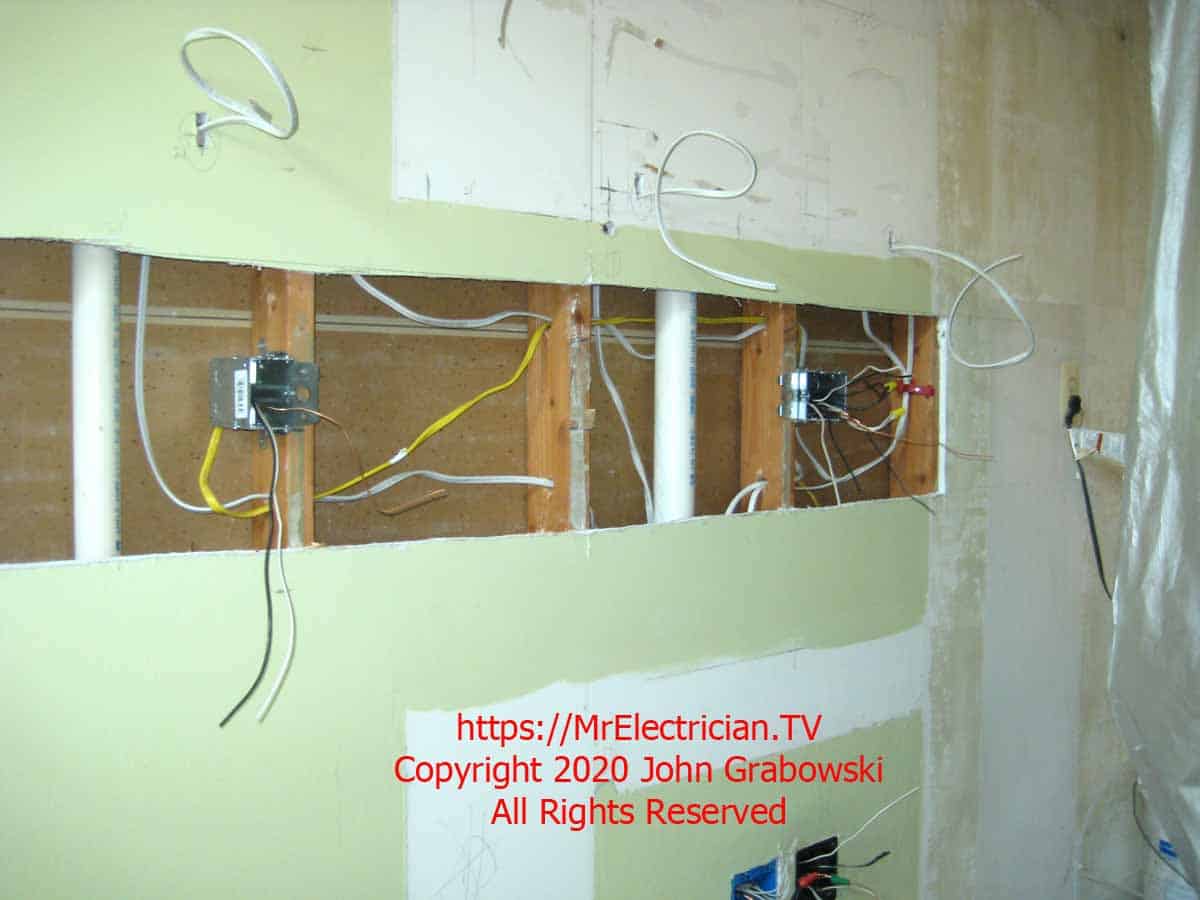
If you're installing new lighting in your kitchen, it's important to know how to properly wire it. Here's a step-by-step guide on how to wire kitchen lighting. Step 1: Turn Off Power Before starting any wiring, make sure to turn off the power to your kitchen at the circuit breaker to avoid any accidents. Step 2: Plan and Measure Just like with installation, it's important to plan out where your lighting will go and measure the length of wire needed. Step 3: Gather Tools and Materials You will need wire cutters, a wire stripper, wire connectors, and electrical tape to wire your kitchen lighting. Step 4: Connect the Wires Using your wire cutters, strip the ends of the wires on your light fixtures and connect them to the corresponding wires on your power supply. Use wire connectors to secure the connections and wrap with electrical tape for added safety. Step 5: Test and Adjust Once everything is wired, turn the power back on and test your lights. Adjust as needed to ensure they are working properly. Step 6: Cover and Secure Wires Make sure to properly cover and secure all wires to keep your installation safe and looking neat. Use wire channels or clips for added support and safety. Pro tip: Label your wires as you go to make future maintenance or repairs easier.How to Wire Kitchen Lighting
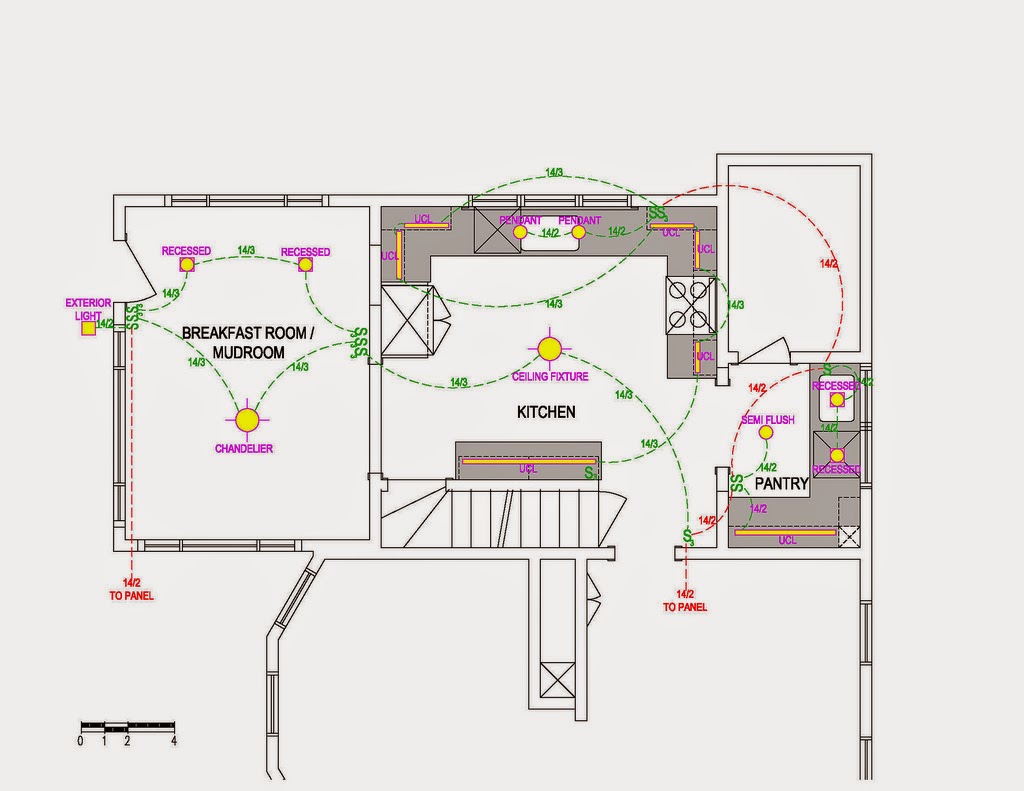
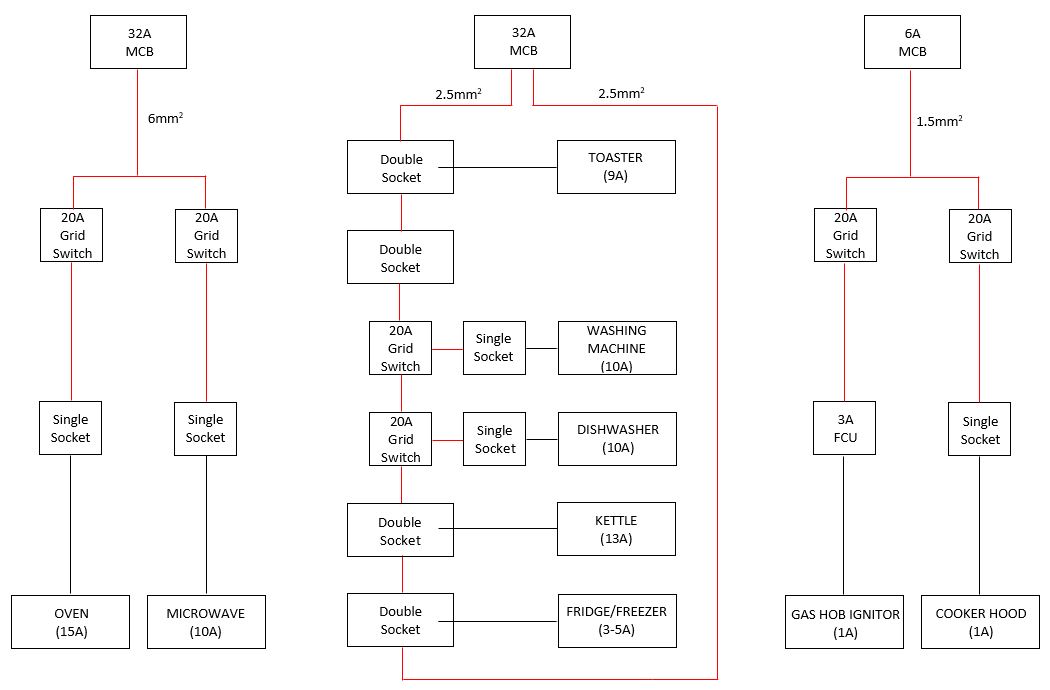
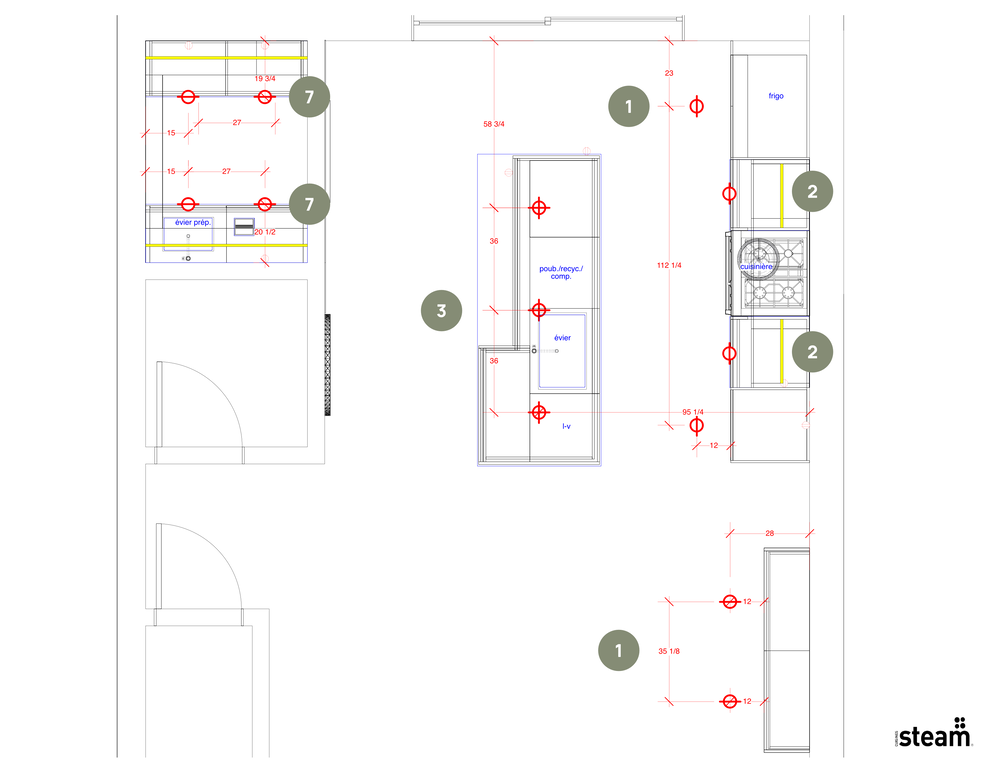
For visual learners, having a wiring diagram can be helpful when installing kitchen lighting. Here's a simple diagram to guide you through the process.Kitchen Lighting Wiring Diagram
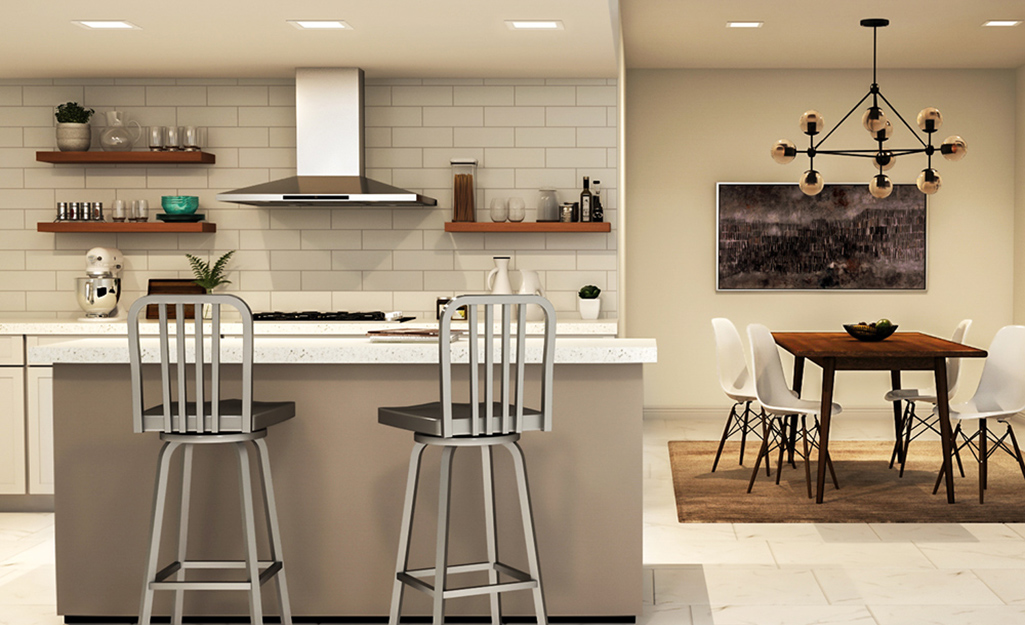
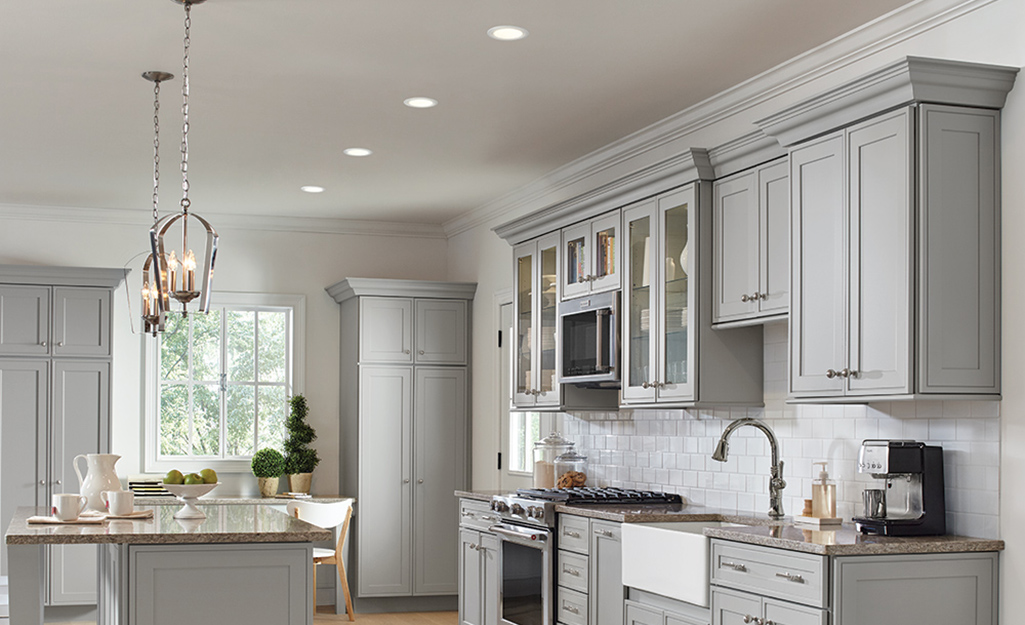
Recessed lighting, also known as can lights, is a popular choice for kitchens as it provides even and ambient lighting. Here's how to install recessed lighting in your kitchen. Step 1: Plan and Measure Decide where you want your recessed lights to go and measure the distance between each light. Most recessed lights come in standard sizes, so keep that in mind when planning your layout. Step 2: Cut Holes Using a hole saw, cut holes in the ceiling for each light. Make sure to follow the manufacturer's instructions for the correct size and placement of the holes. Step 3: Install the Lights Insert the recessed lights into the holes and use the attached clips to secure them in place. Step 4: Connect the Wires Using wire connectors, connect the wires from the lights to the wires from your power supply. Step 5: Test and Adjust Turn the power back on and test your lights. Adjust as needed to ensure they are evenly spaced and working properly. Step 6: Install Trim Attach the trim pieces to the lights for a finished look. Pro tip: Consider using dimmable LED recessed lights to control the brightness and create a more versatile lighting setup.How to Install Recessed Lighting in a Kitchen
When it comes to electrical work, it's important to follow all regulations and safety guidelines. Here are some key regulations to keep in mind when wiring kitchen lighting. 1. Electrical Codes Make sure to follow all local and national electrical codes when wiring kitchen lighting. These codes are in place to ensure the safety of your home and those living in it. 2. Switch Placement All switches should be placed at least 1 meter away from any sink or other water source. 3. Grounding All light switches and fixtures must be grounded to prevent any potential electrical hazards. 4. Distance from Water Sources Light fixtures must be installed at least 1 meter away from any water sources such as sinks, dishwashers, and refrigerators. 5. Proper Wiring Make sure to properly wire all light fixtures and switches to avoid any potential electrical hazards. Pro tip: If you are unsure about any regulations or safety guidelines, it's best to consult a licensed electrician.Kitchen Lighting Wiring Regulations
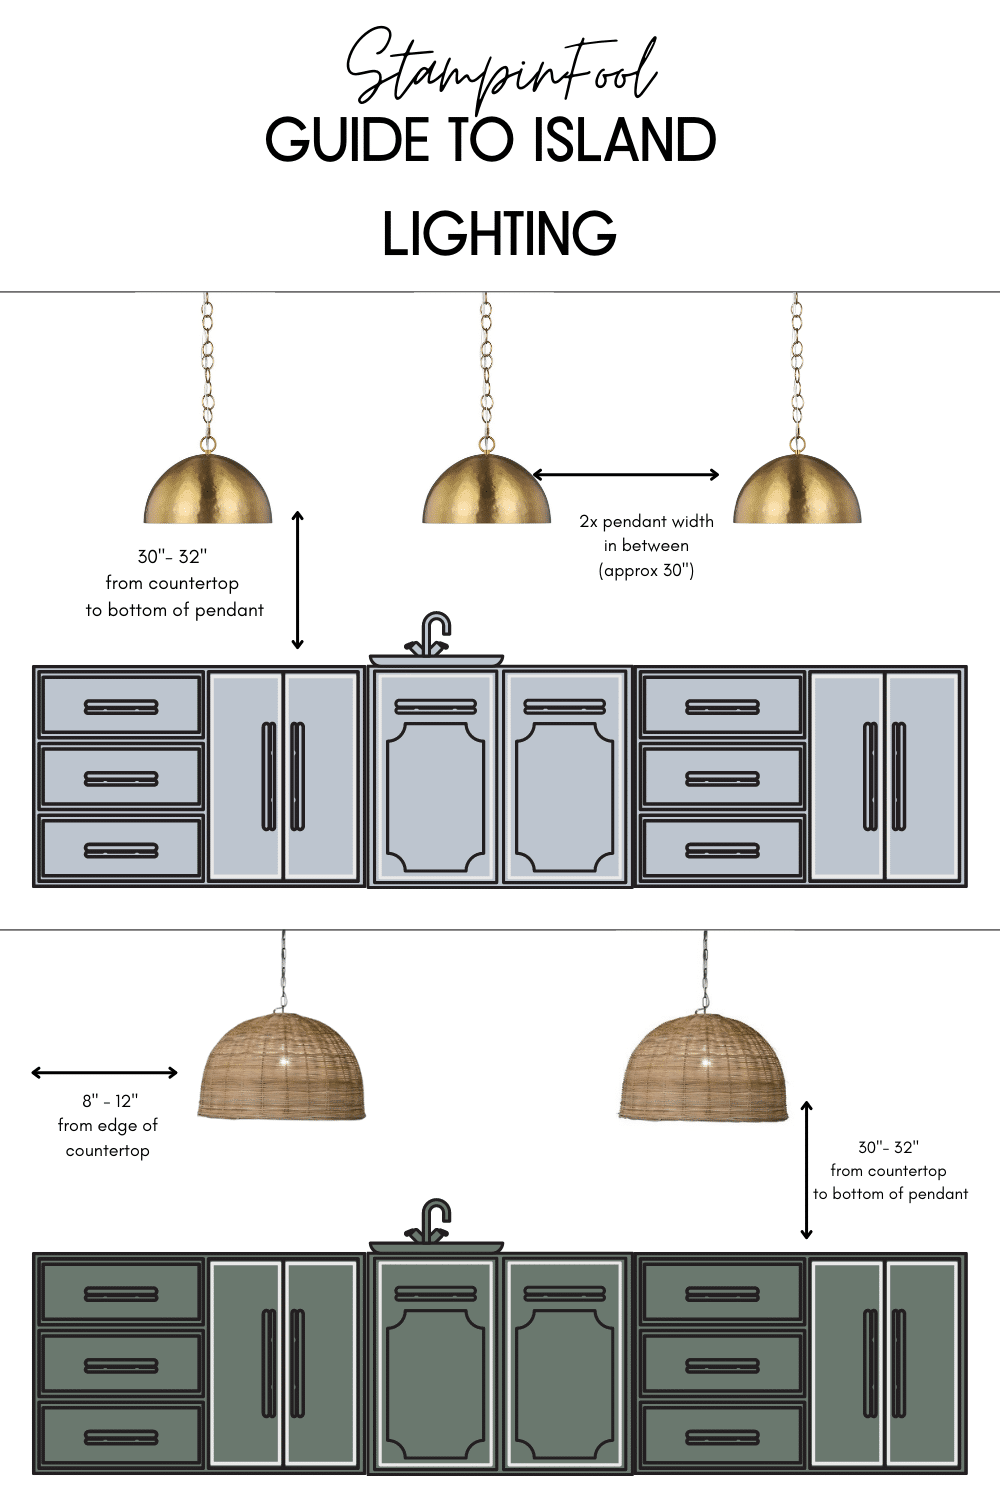
Pendant lighting is a beautiful and functional addition to any kitchen. Here's how to install pendant lighting in your kitchen. Step 1: Plan and Measure Decide where you want your pendant lights to go and measure the distance between each light. Make sure to also consider the hanging length and adjust accordingly. Step 2: Install a Junction Box If you don't have a junction box in place, you will need to install one for each pendant light. This will provide a safe and secure base for the light to hang from. Step 3: Connect the Wires Using wire connectors, connect the wires from the light fixture to the wires from your power supply. Make sure to follow the manufacturer's instructions for proper wiring. Step 4: Adjust Hanging Length Most pendant lights come with adjustable hanging lengths. Adjust as needed to achieve your desired look. Step 5: Test and Secure Turn the power back on and test your lights. Adjust as needed and then secure the lights in place using screws or hooks. Pro tip: Install a dimmer switch for your pendant lights to create a more versatile and customizable lighting setup.How to Install Pendant Lighting in Your Kitchen
Still feeling a bit overwhelmed by the wiring process? Here's a quick guide to help you wire your kitchen lighting like a pro. Step 1: Plan and Measure Plan out where you want your lights to go and measure the length of wire needed. Step 2: Turn Off Power Make sure to turn off the power to your kitchen at the circuit breaker before starting any wiring. Step 3: Gather Tools and Materials You will need wire cutters, a wire stripper, wire connectors, and electrical tape for the wiring process. Step 4: Connect the Wires Using wire connectors, connect the wires from your light fixtures to the wires from your power supply. Step 5: Test and Adjust Turn the power back on and test your lights. Adjust as needed to ensure they are working properly. Step 6: Cover and Secure Wires Properly cover and secure all wires using wire channels or clips to keep your installation safe and looking neat. Pro tip: Don't be afraid to consult a licensed electrician for help or advice if needed.Kitchen Lighting Wiring Guide
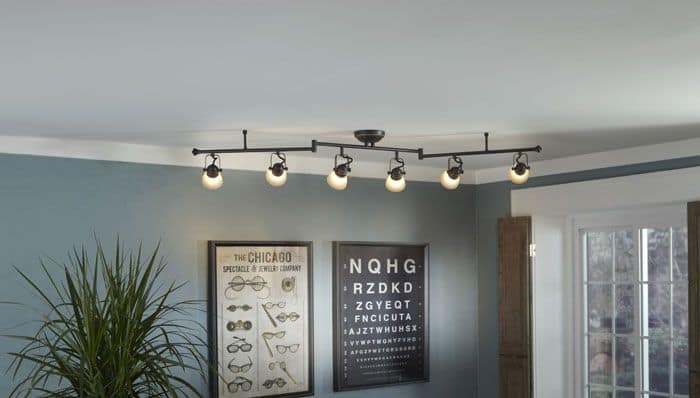
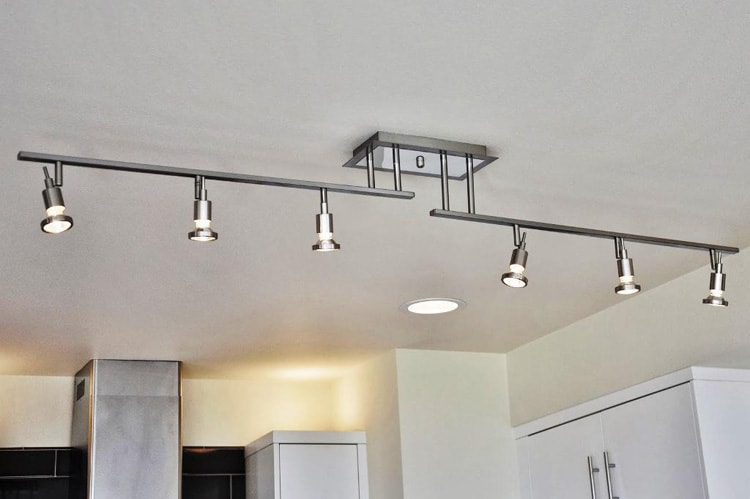
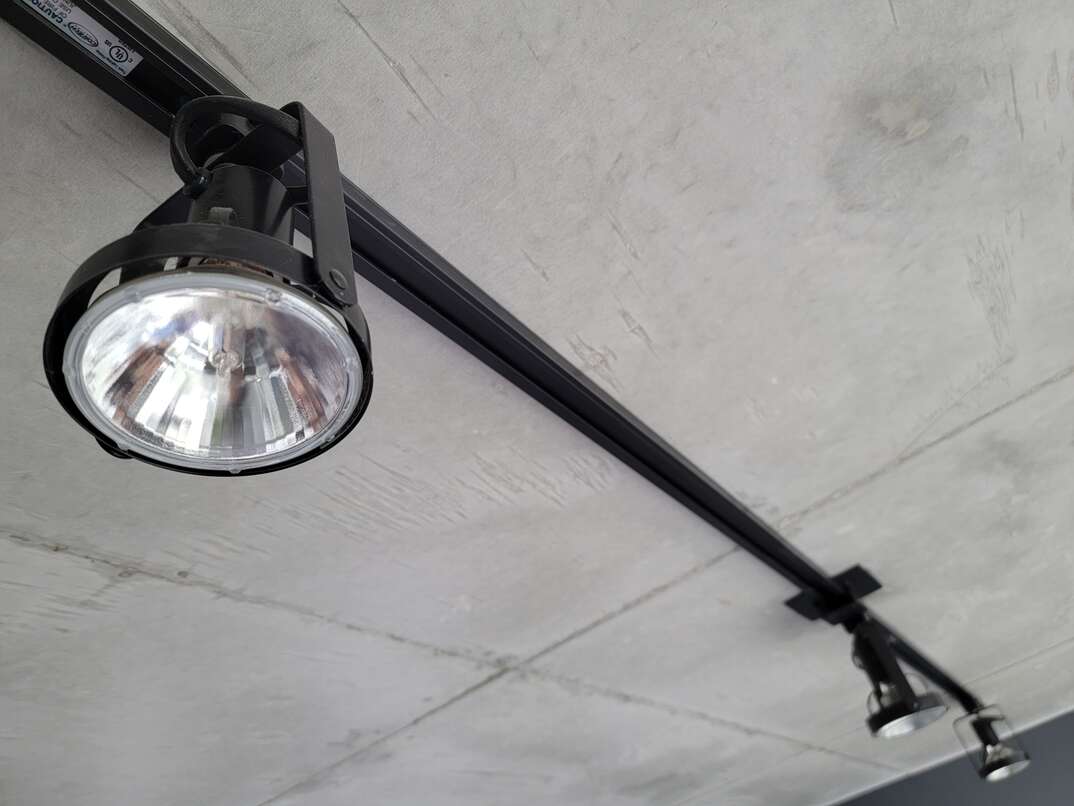
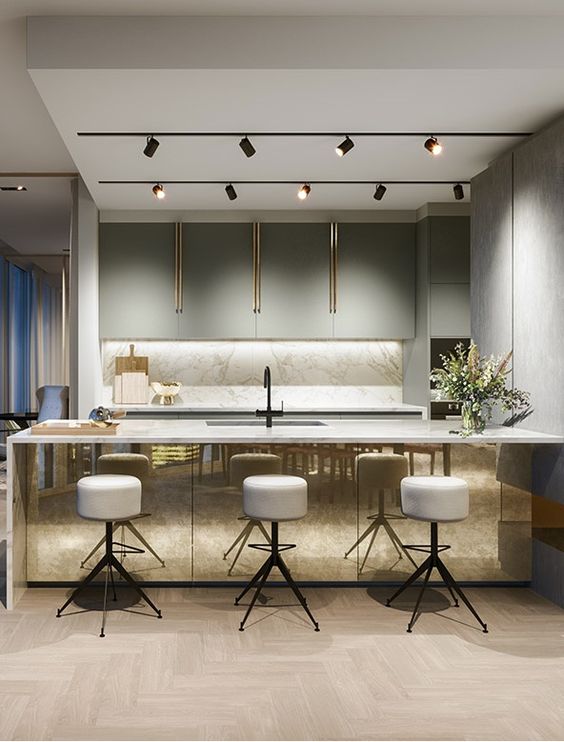
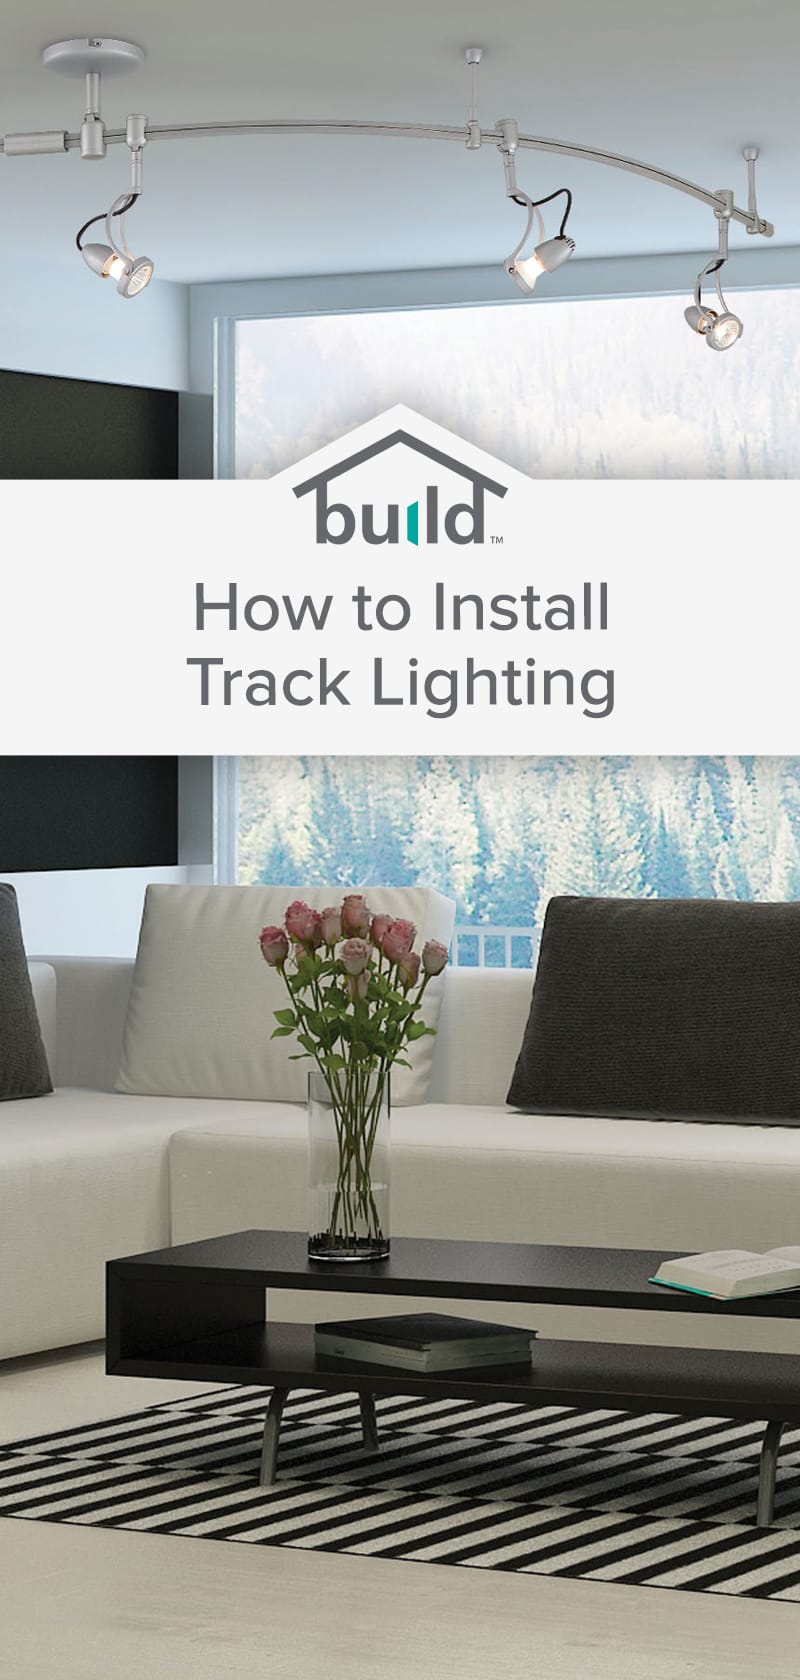
Track lighting is a versatile and stylish option for kitchen lighting. Here's how to install track lighting in your kitchen. Step 1: Plan and Measure Decide where you want your track lighting to go and measure the length of track needed. Step 2: Install the Track Using screws, install the track onto the ceiling. Make sure to use a level to ensure it is straight. Step 3: Connect the Wires Using wire connectors, connect the wires from the track to the wires from your power supply. Step 4: Install the Lights Attach the light fixtures to the track following the manufacturer's instructions. Step 5: Test and Adjust Turn the power back on and test your lights. Adjust as needed to ensure they are evenly spaced and working properly. Step 6: Secure and Adjust Once everything is in place, use screws to secure the track to the ceiling. Adjust the lights as needed for your desired look. Pro tip: Use adjustable track lighting to create a customizable and versatile lighting setup in your kitchen.How to Install Track Lighting in Your Kitchen
When wiring kitchen lighting, it's important to follow the proper code to ensure the safety and functionality of your lights. Here are some key codes to keep in mind.Kitchen Lighting Wiring Code
Enhance Your Kitchen Design with Proper Lighting Wiring in the UK
The Importance of Kitchen Lighting
 Kitchen lighting
is often overlooked when it comes to
house design
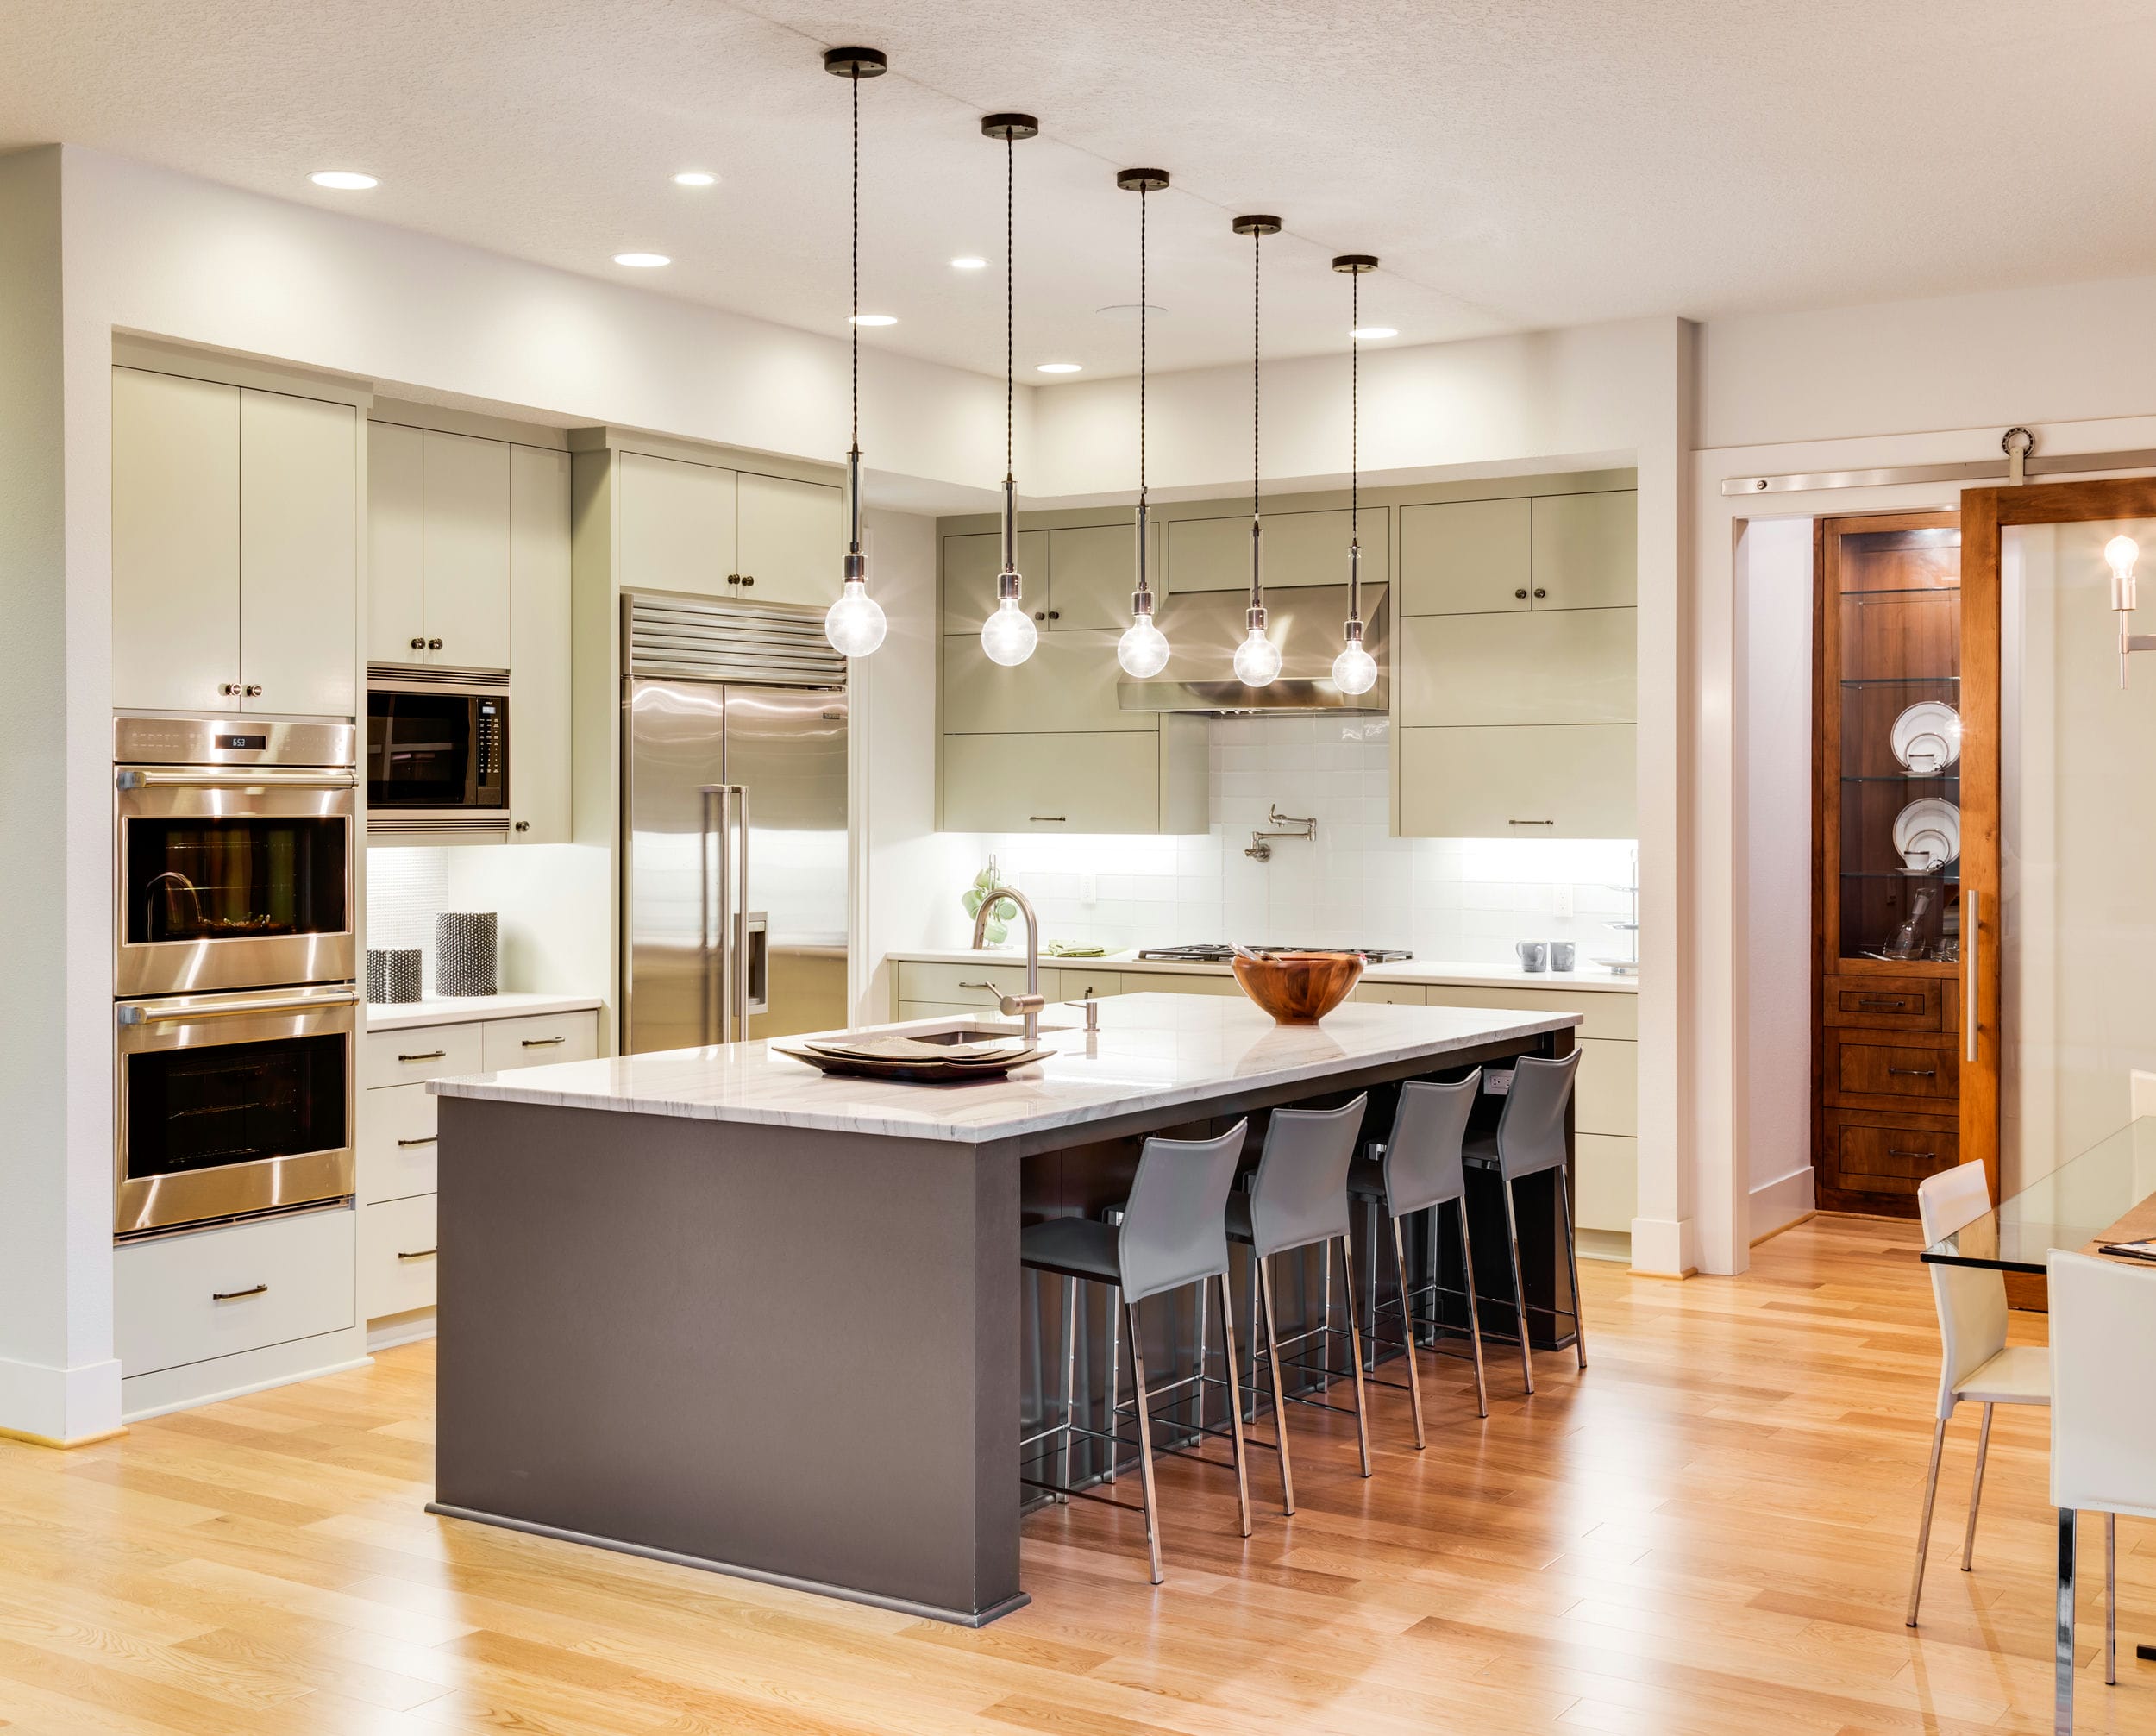
, but it plays a crucial role in not only the overall aesthetic but also the functionality of your kitchen. Proper lighting can make all the difference in creating a warm and inviting space for cooking and entertaining. Without the right lighting, your kitchen can feel dull and uninviting, making it difficult to prepare meals and enjoy time with family and friends.
Types of Kitchen Lighting
 There are three main types of
kitchen lighting
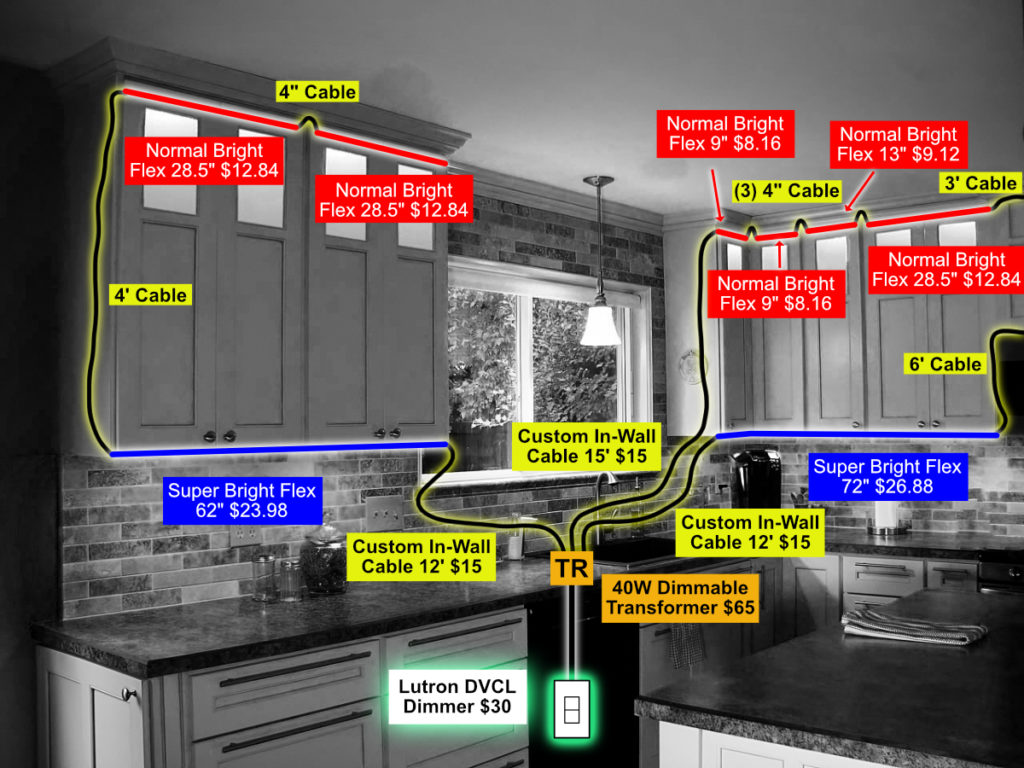
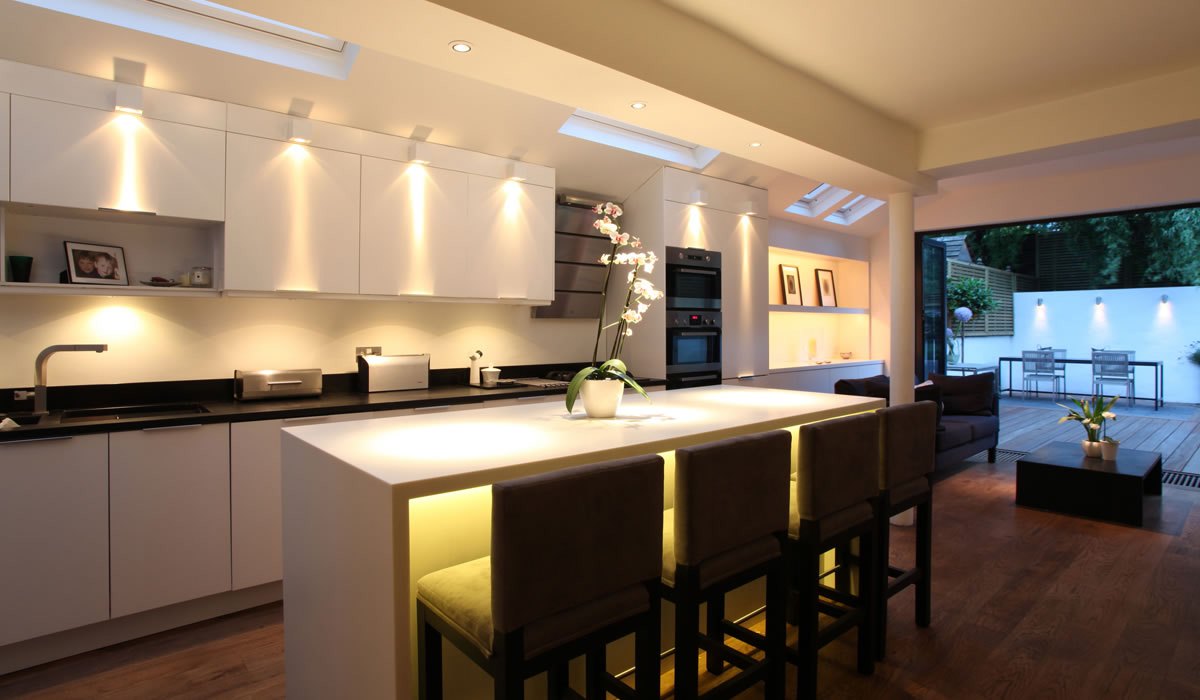
that should be considered when designing your kitchen: ambient, task, and accent lighting. Ambient lighting is your general overhead lighting that illuminates the entire space. Task lighting is more focused and directs light to specific areas where you need it most, such as over the stove or sink. Lastly, accent lighting adds a decorative touch and highlights specific features or areas in your kitchen, such as artwork or a kitchen island.
Wiring Considerations
 Proper
wiring
is essential for all types of kitchen lighting. When it comes to
kitchen lighting wiring
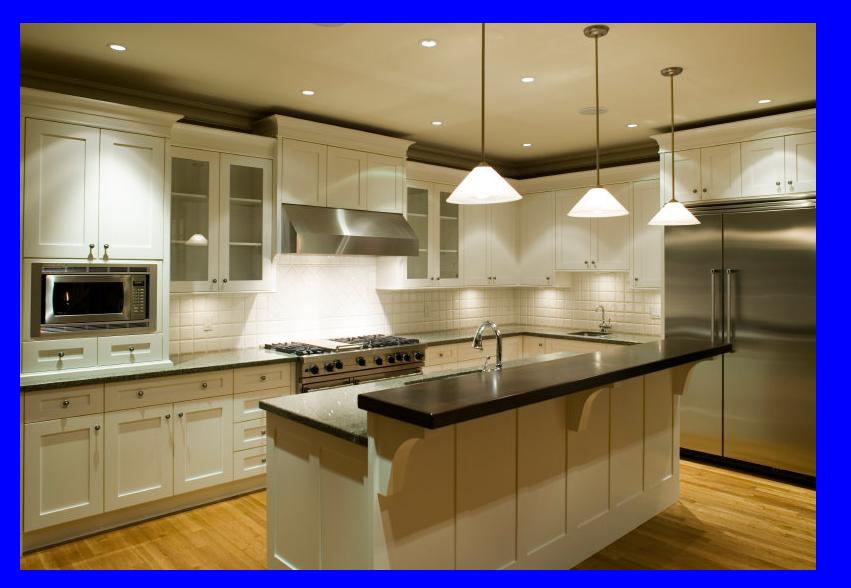
in the UK, it is crucial to follow safety regulations and hire a professional electrician. They will ensure that your lighting is installed correctly and that all wiring is up to code. It is also important to consider the placement of outlets and switches to ensure easy access and convenience for using your kitchen appliances and turning on and off your lights.
Designing Your Kitchen Lighting
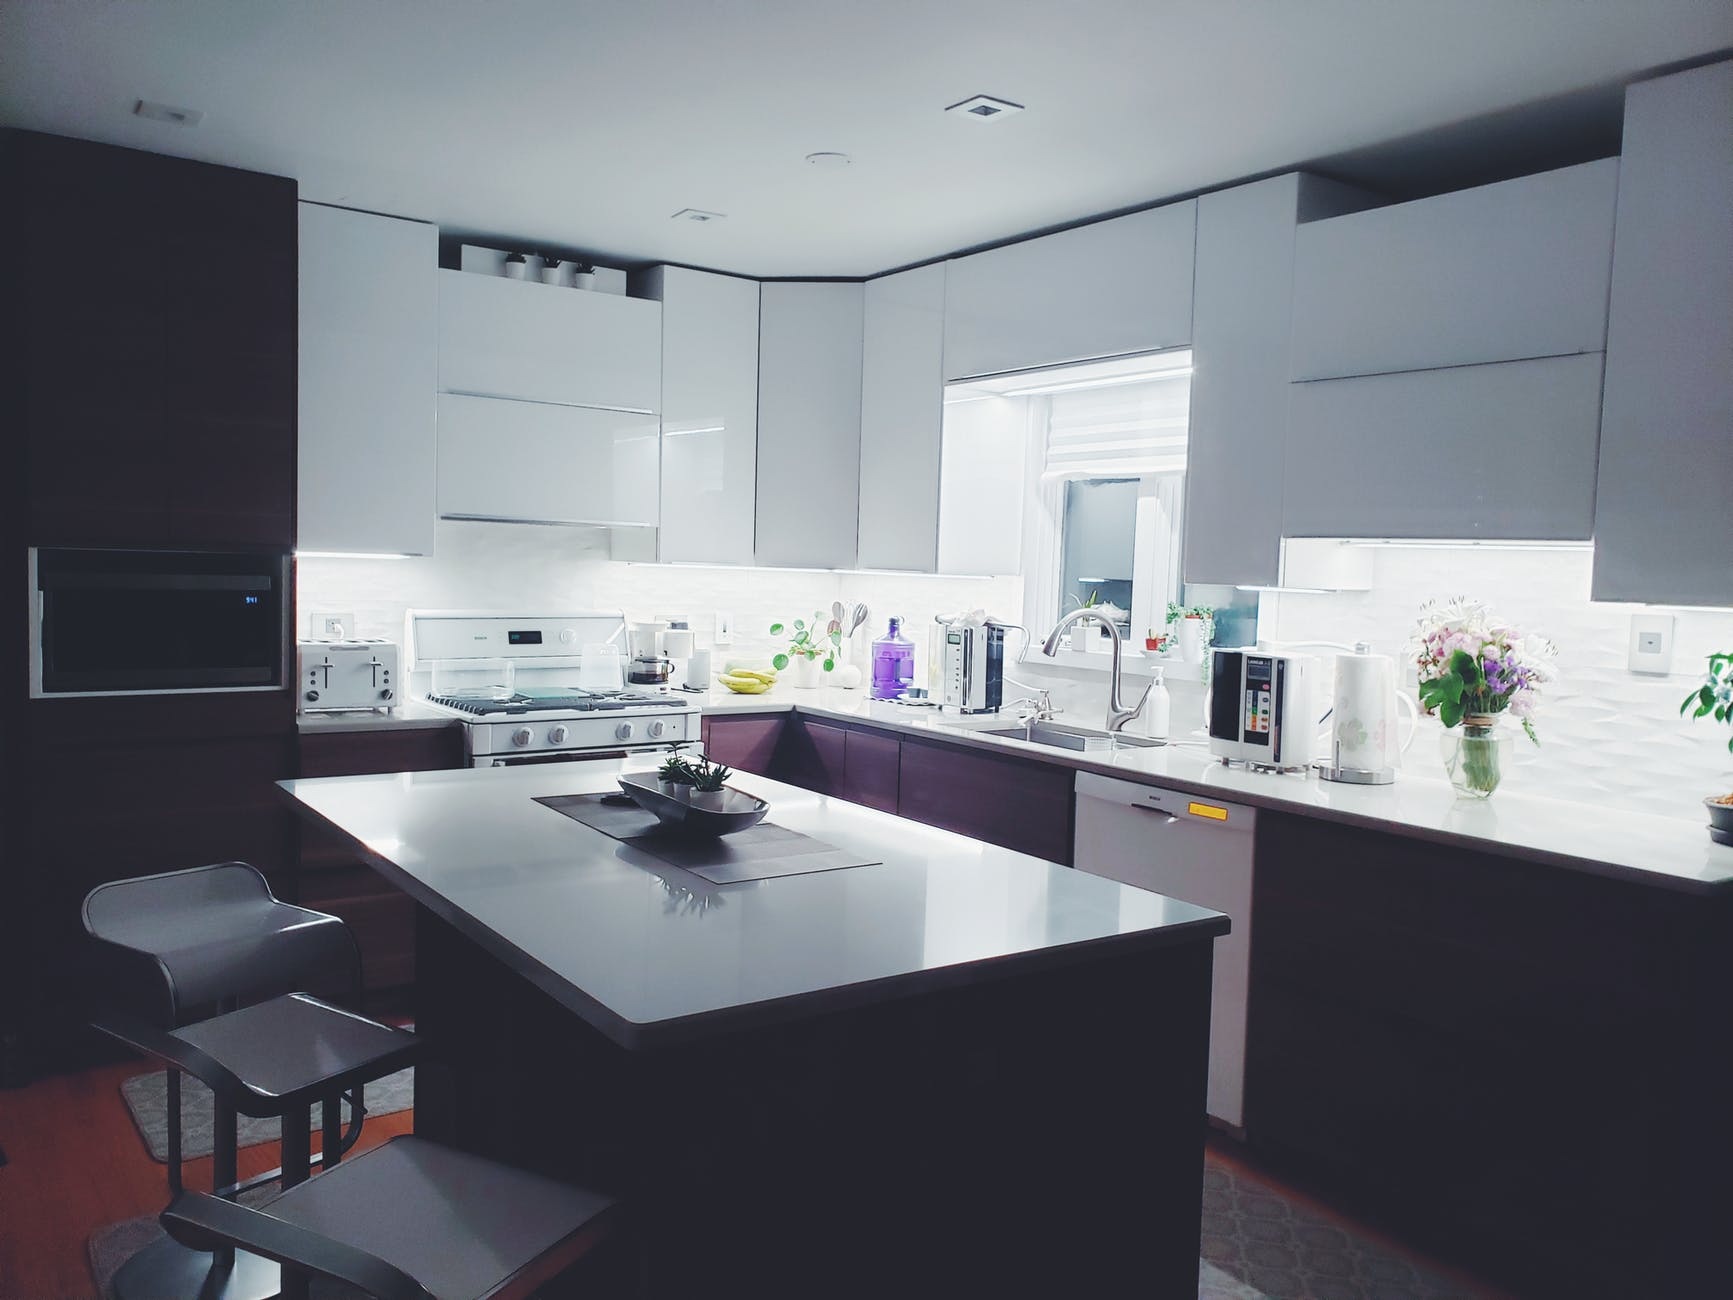
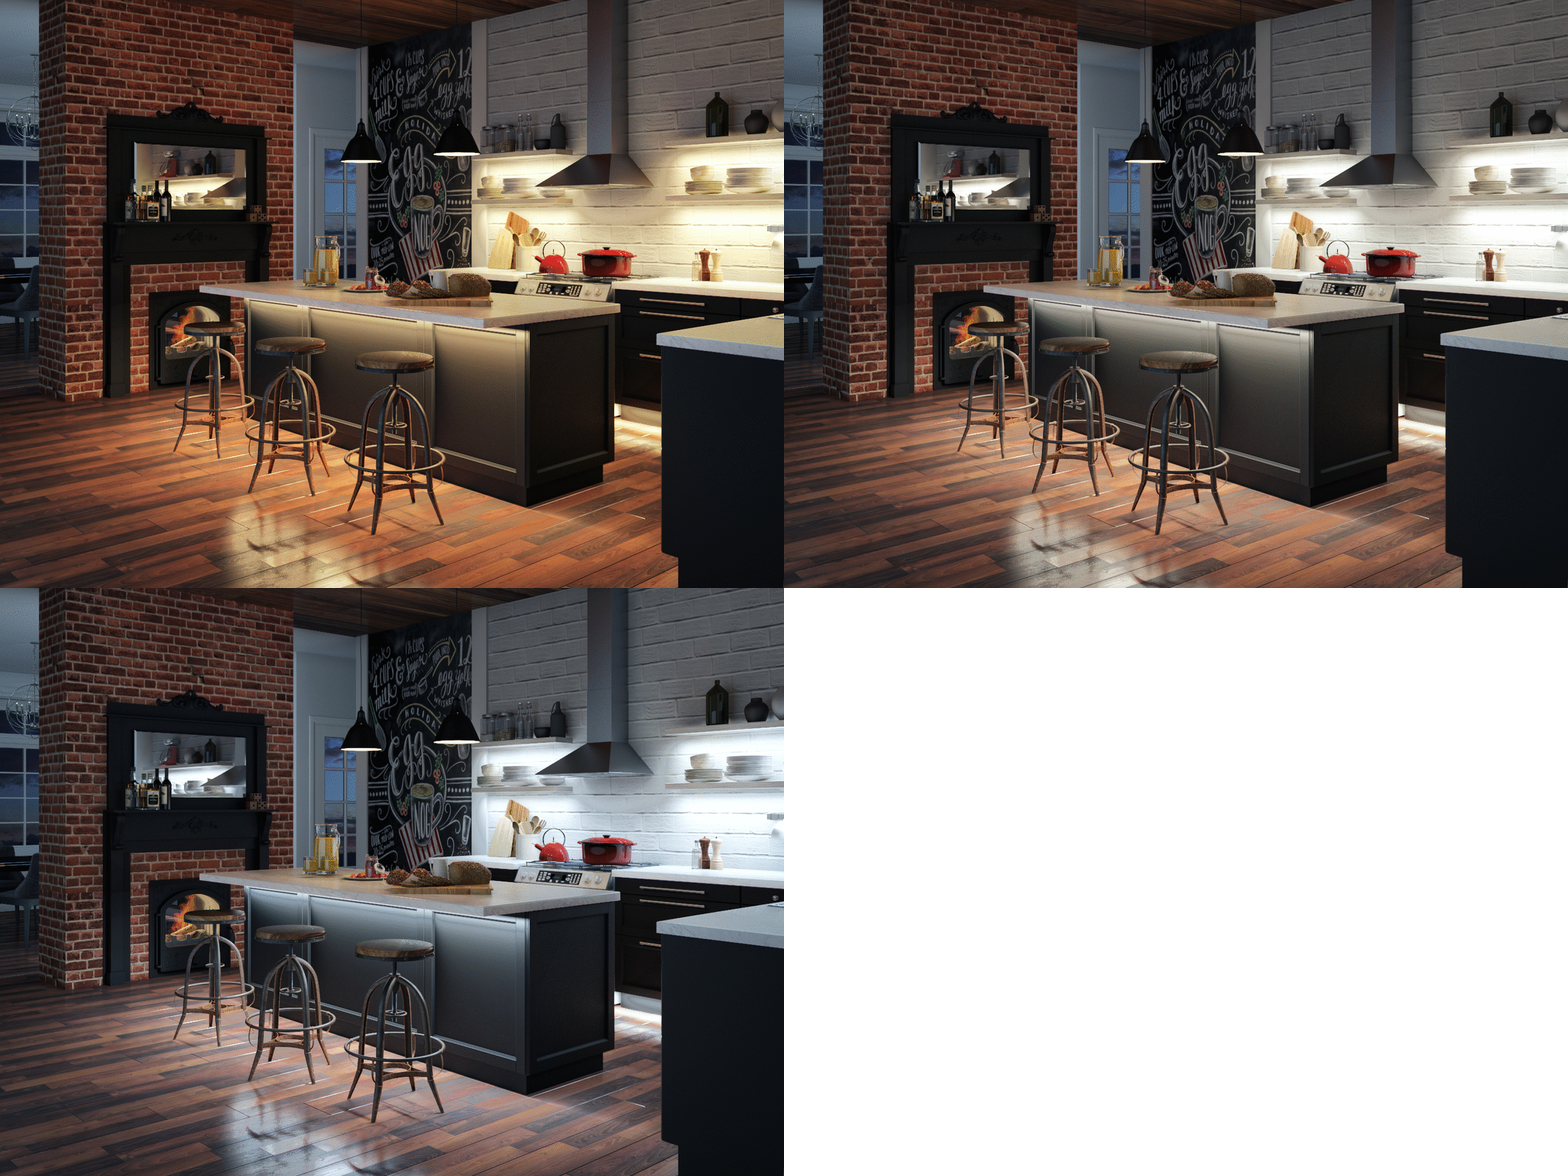 When designing your kitchen lighting, it is essential to consider the layout and function of your kitchen. For example, task lighting should be placed in areas where you will be preparing food, such as above the stove or sink. Ambient lighting can be achieved through overhead fixtures or recessed lighting. Accent lighting can be added through under-cabinet lighting or decorative fixtures.
The Benefits of Proper Kitchen Lighting
 Not only does proper
kitchen lighting
enhance the overall design of your kitchen, but it also has numerous practical benefits. Adequate lighting can improve visibility and reduce the risk of accidents, such as burns or cuts while preparing food. It can also make your kitchen feel more spacious and inviting, making it a more enjoyable space to cook and entertain in.
In conclusion,
kitchen lighting wiring
in the UK is an essential aspect of
house design
that should not be overlooked. It not only enhances the aesthetic of your kitchen but also improves functionality and safety. By considering the different types of lighting and hiring a professional electrician, you can create a well-lit and inviting space that you and your family will love.






























:max_bytes(150000):strip_icc()/how-to-install-track-lighting-5213879-07-b0ed887db6c544168b0ae2a262d7d26b.jpg)
/how-to-install-track-lighting-5213879-hero-bee5b69d68f349ccabaed8b058066385.jpg)
:max_bytes(150000):strip_icc()/how-to-install-track-lighting-5213879-09-5cfc91e5559e4675b86ae195ab12e510.jpg)

