Are you looking to add a touch of rustic charm to your kitchen? Look no further than this DIY reclaimed wood table project featured on Kitchen Crashers. With just a few simple materials and some basic woodworking skills, you can create a stunning centerpiece for your kitchen that will impress your guests and add character to your home.DIY Reclaimed Wood Table | Kitchen Crashers | DIY


DIY Reclaimed Wood Table


If you're a fan of the popular DIY Network show Kitchen Crashers, then you've probably seen the amazing transformations they make in people's homes. One of their most popular projects is the reclaimed wood table, which adds a unique and eco-friendly element to any kitchen. In this article, we'll show you how to create your own reclaimed wood table with step-by-step instructions and tips from the experts at Kitchen Crashers.Reclaimed Wood Table | Kitchen Crashers | DIY Network


Kitchen Crashers


Building a reclaimed wood dining table may seem like a daunting task, but with the right tools and know-how, it can be a fun and rewarding project. The experts at Kitchen Crashers have put together a detailed guide on how to build your own reclaimed wood dining table, complete with diagrams and helpful tips. Follow along and you'll have a beautiful, one-of-a-kind table in no time.How to Build a Reclaimed Wood Dining Table | how-tos | DIY Network

DIY


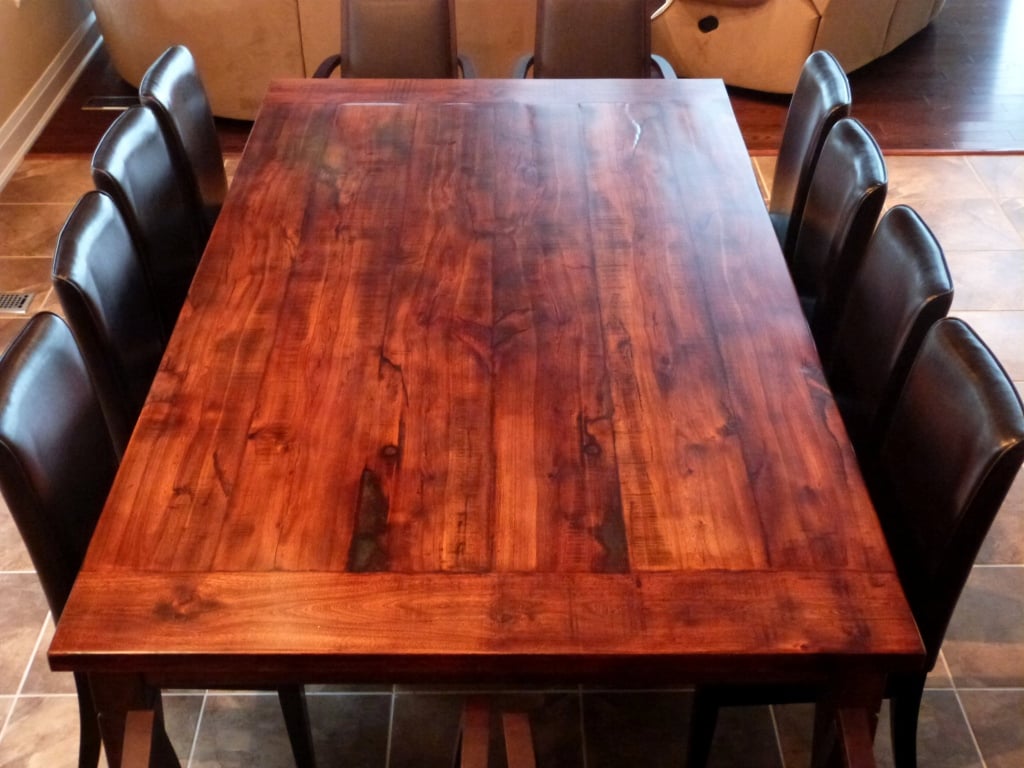
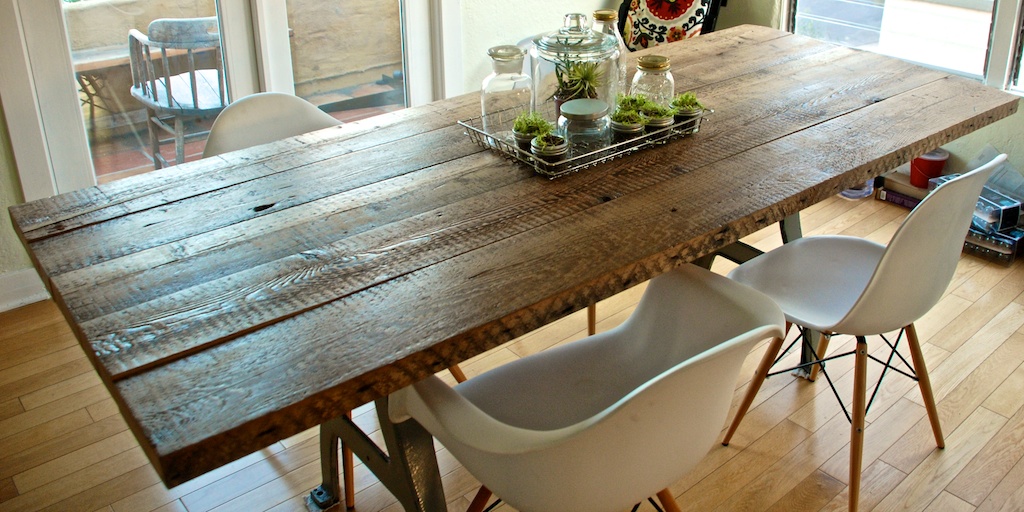
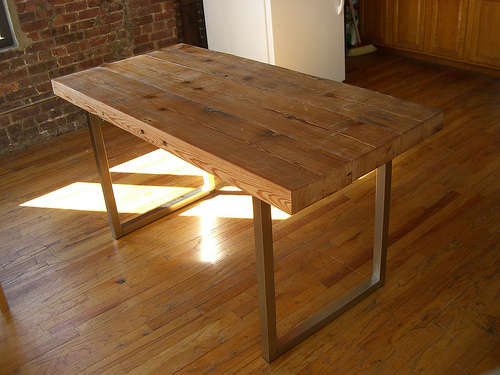
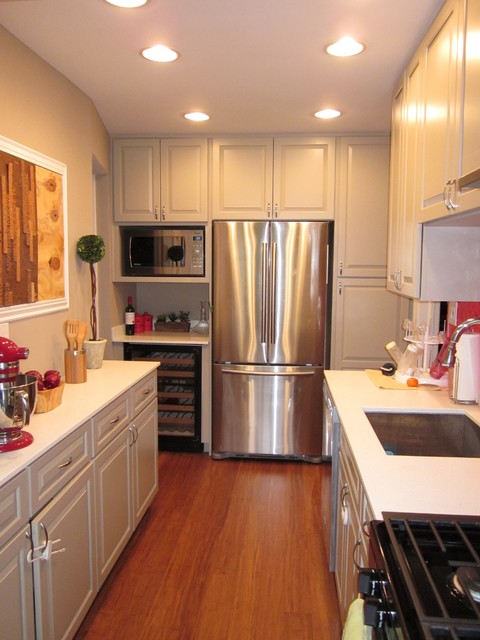
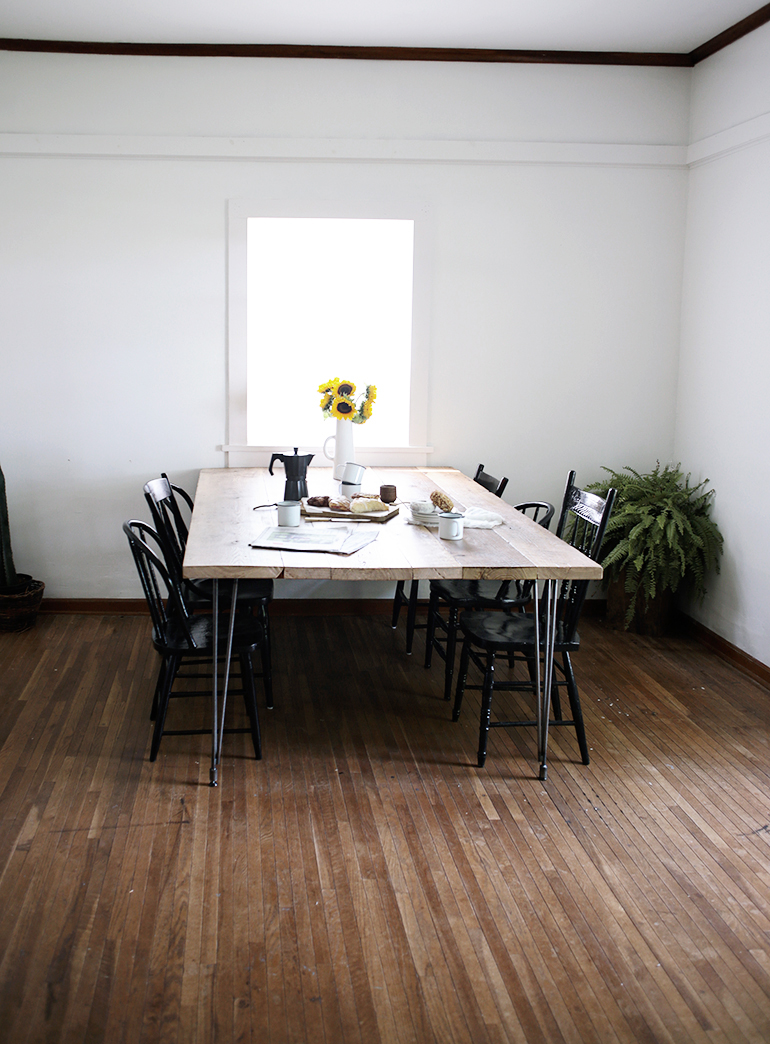
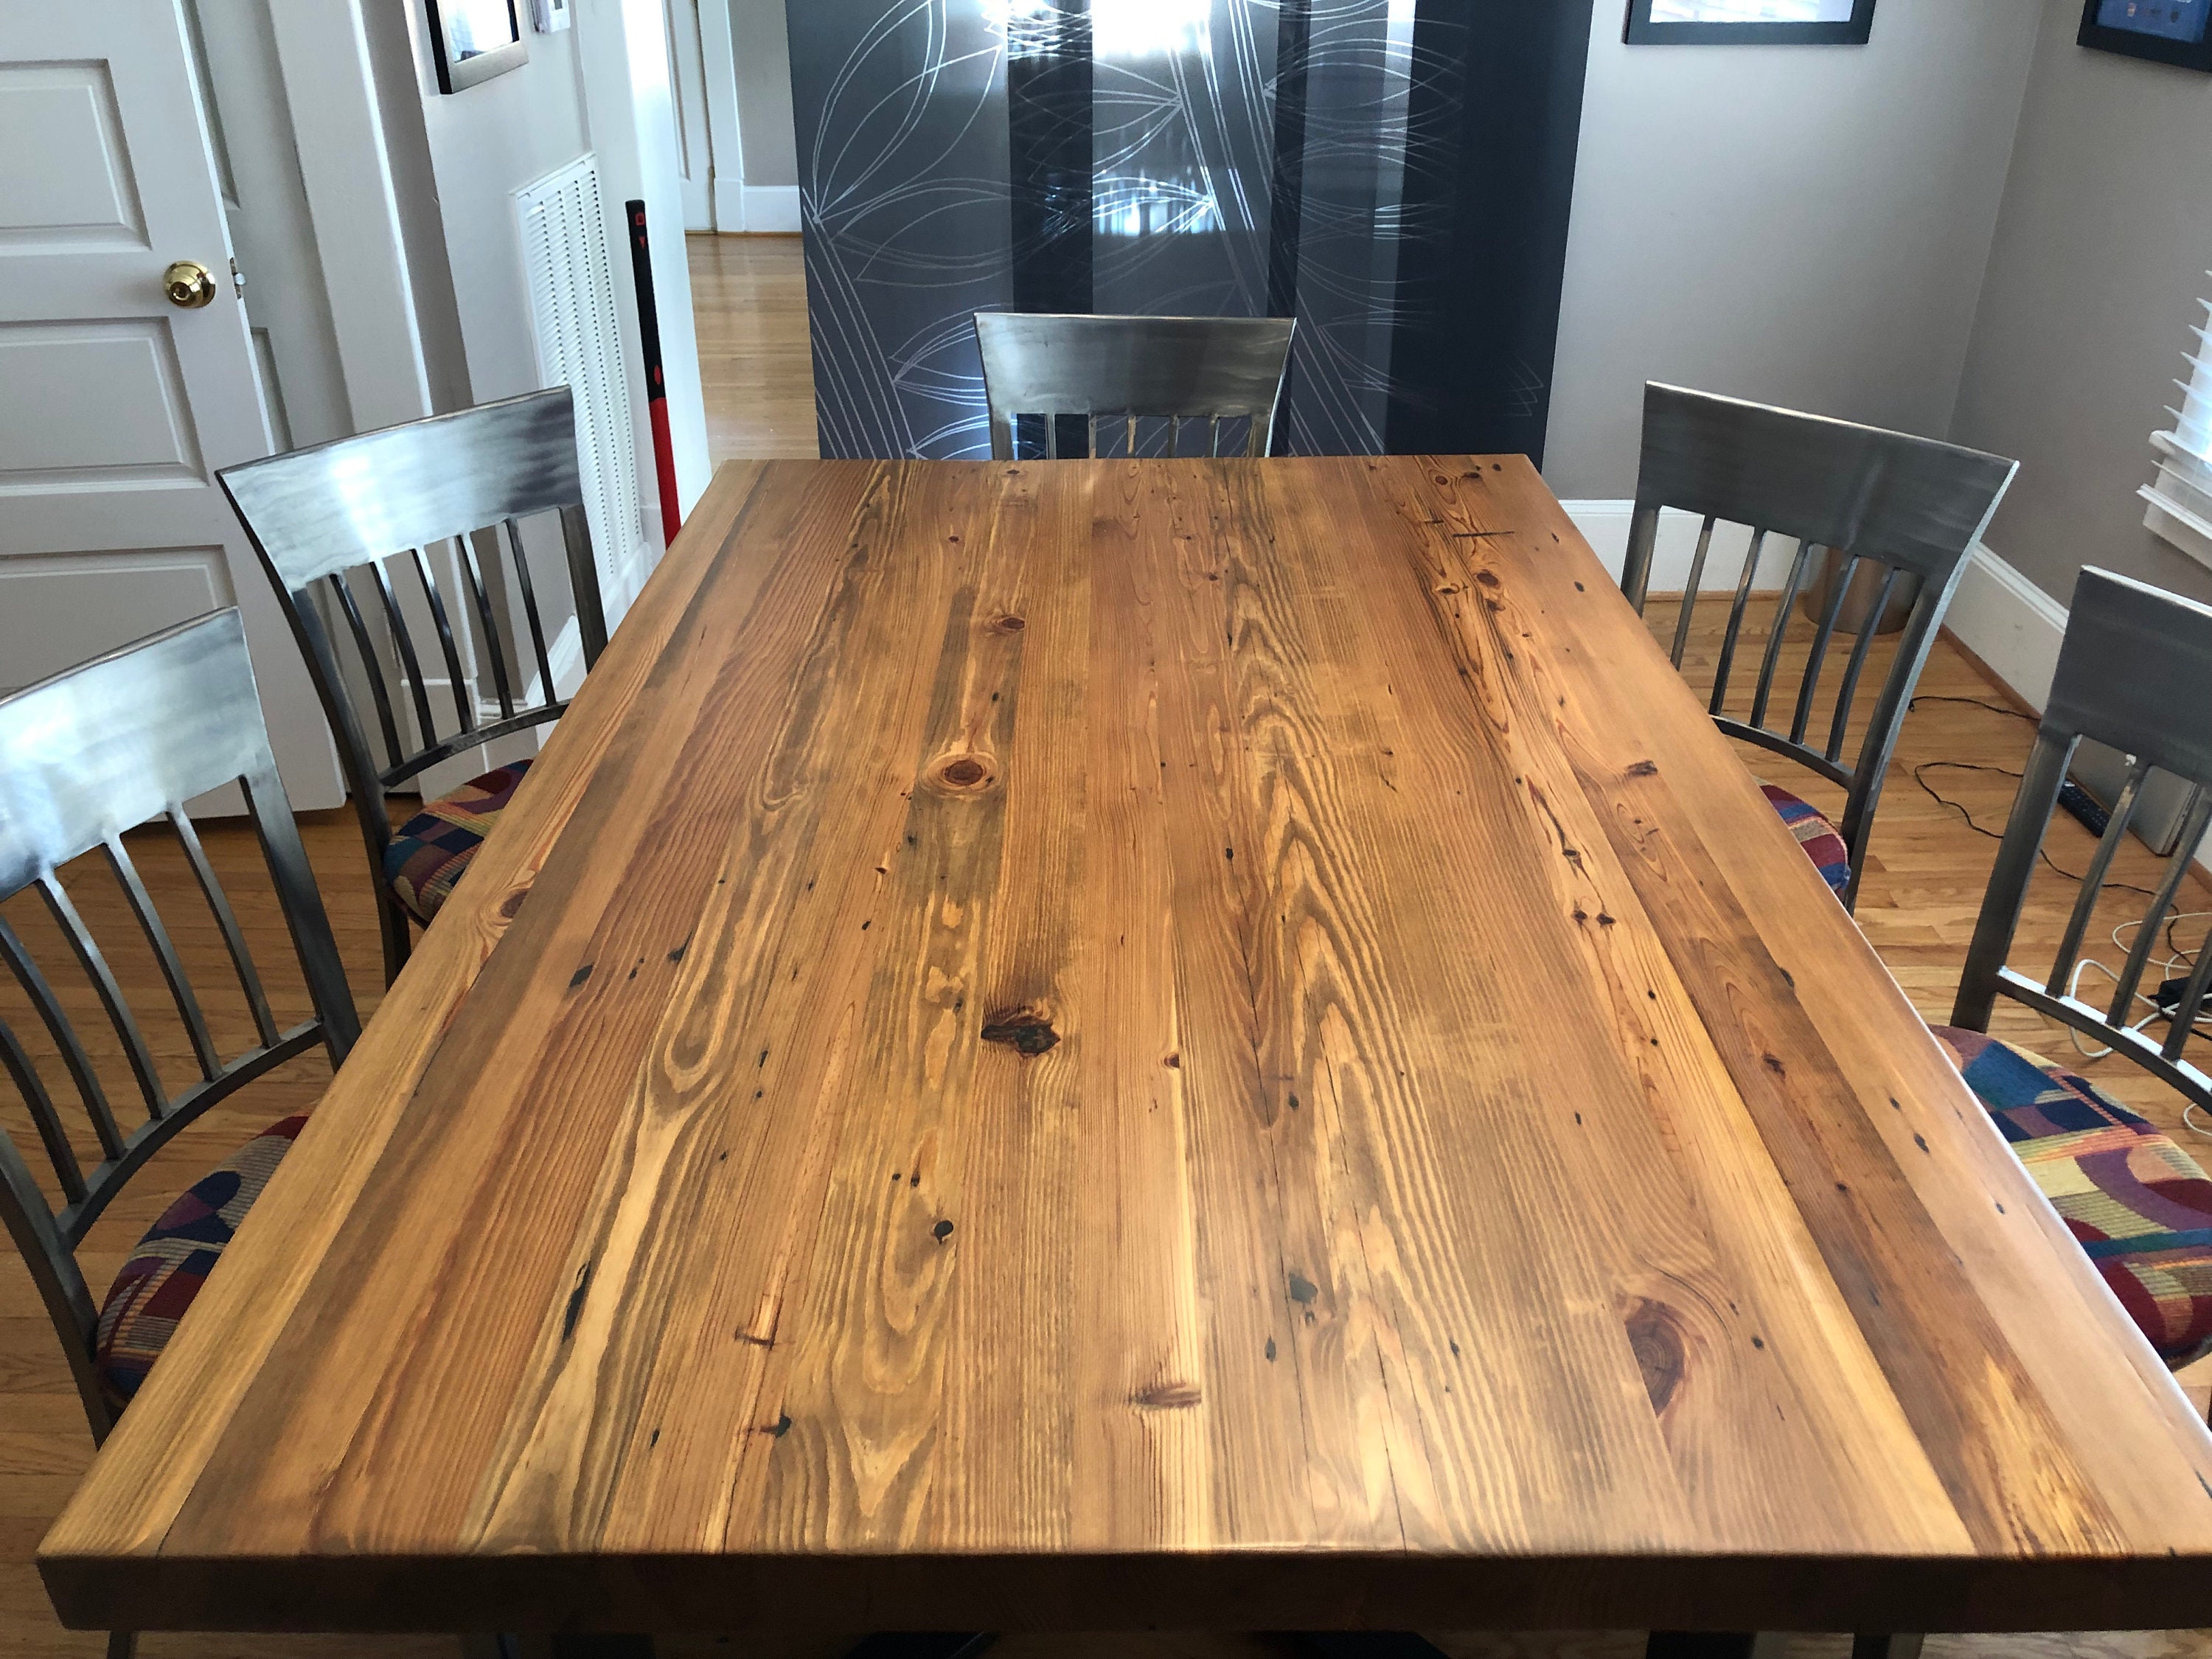
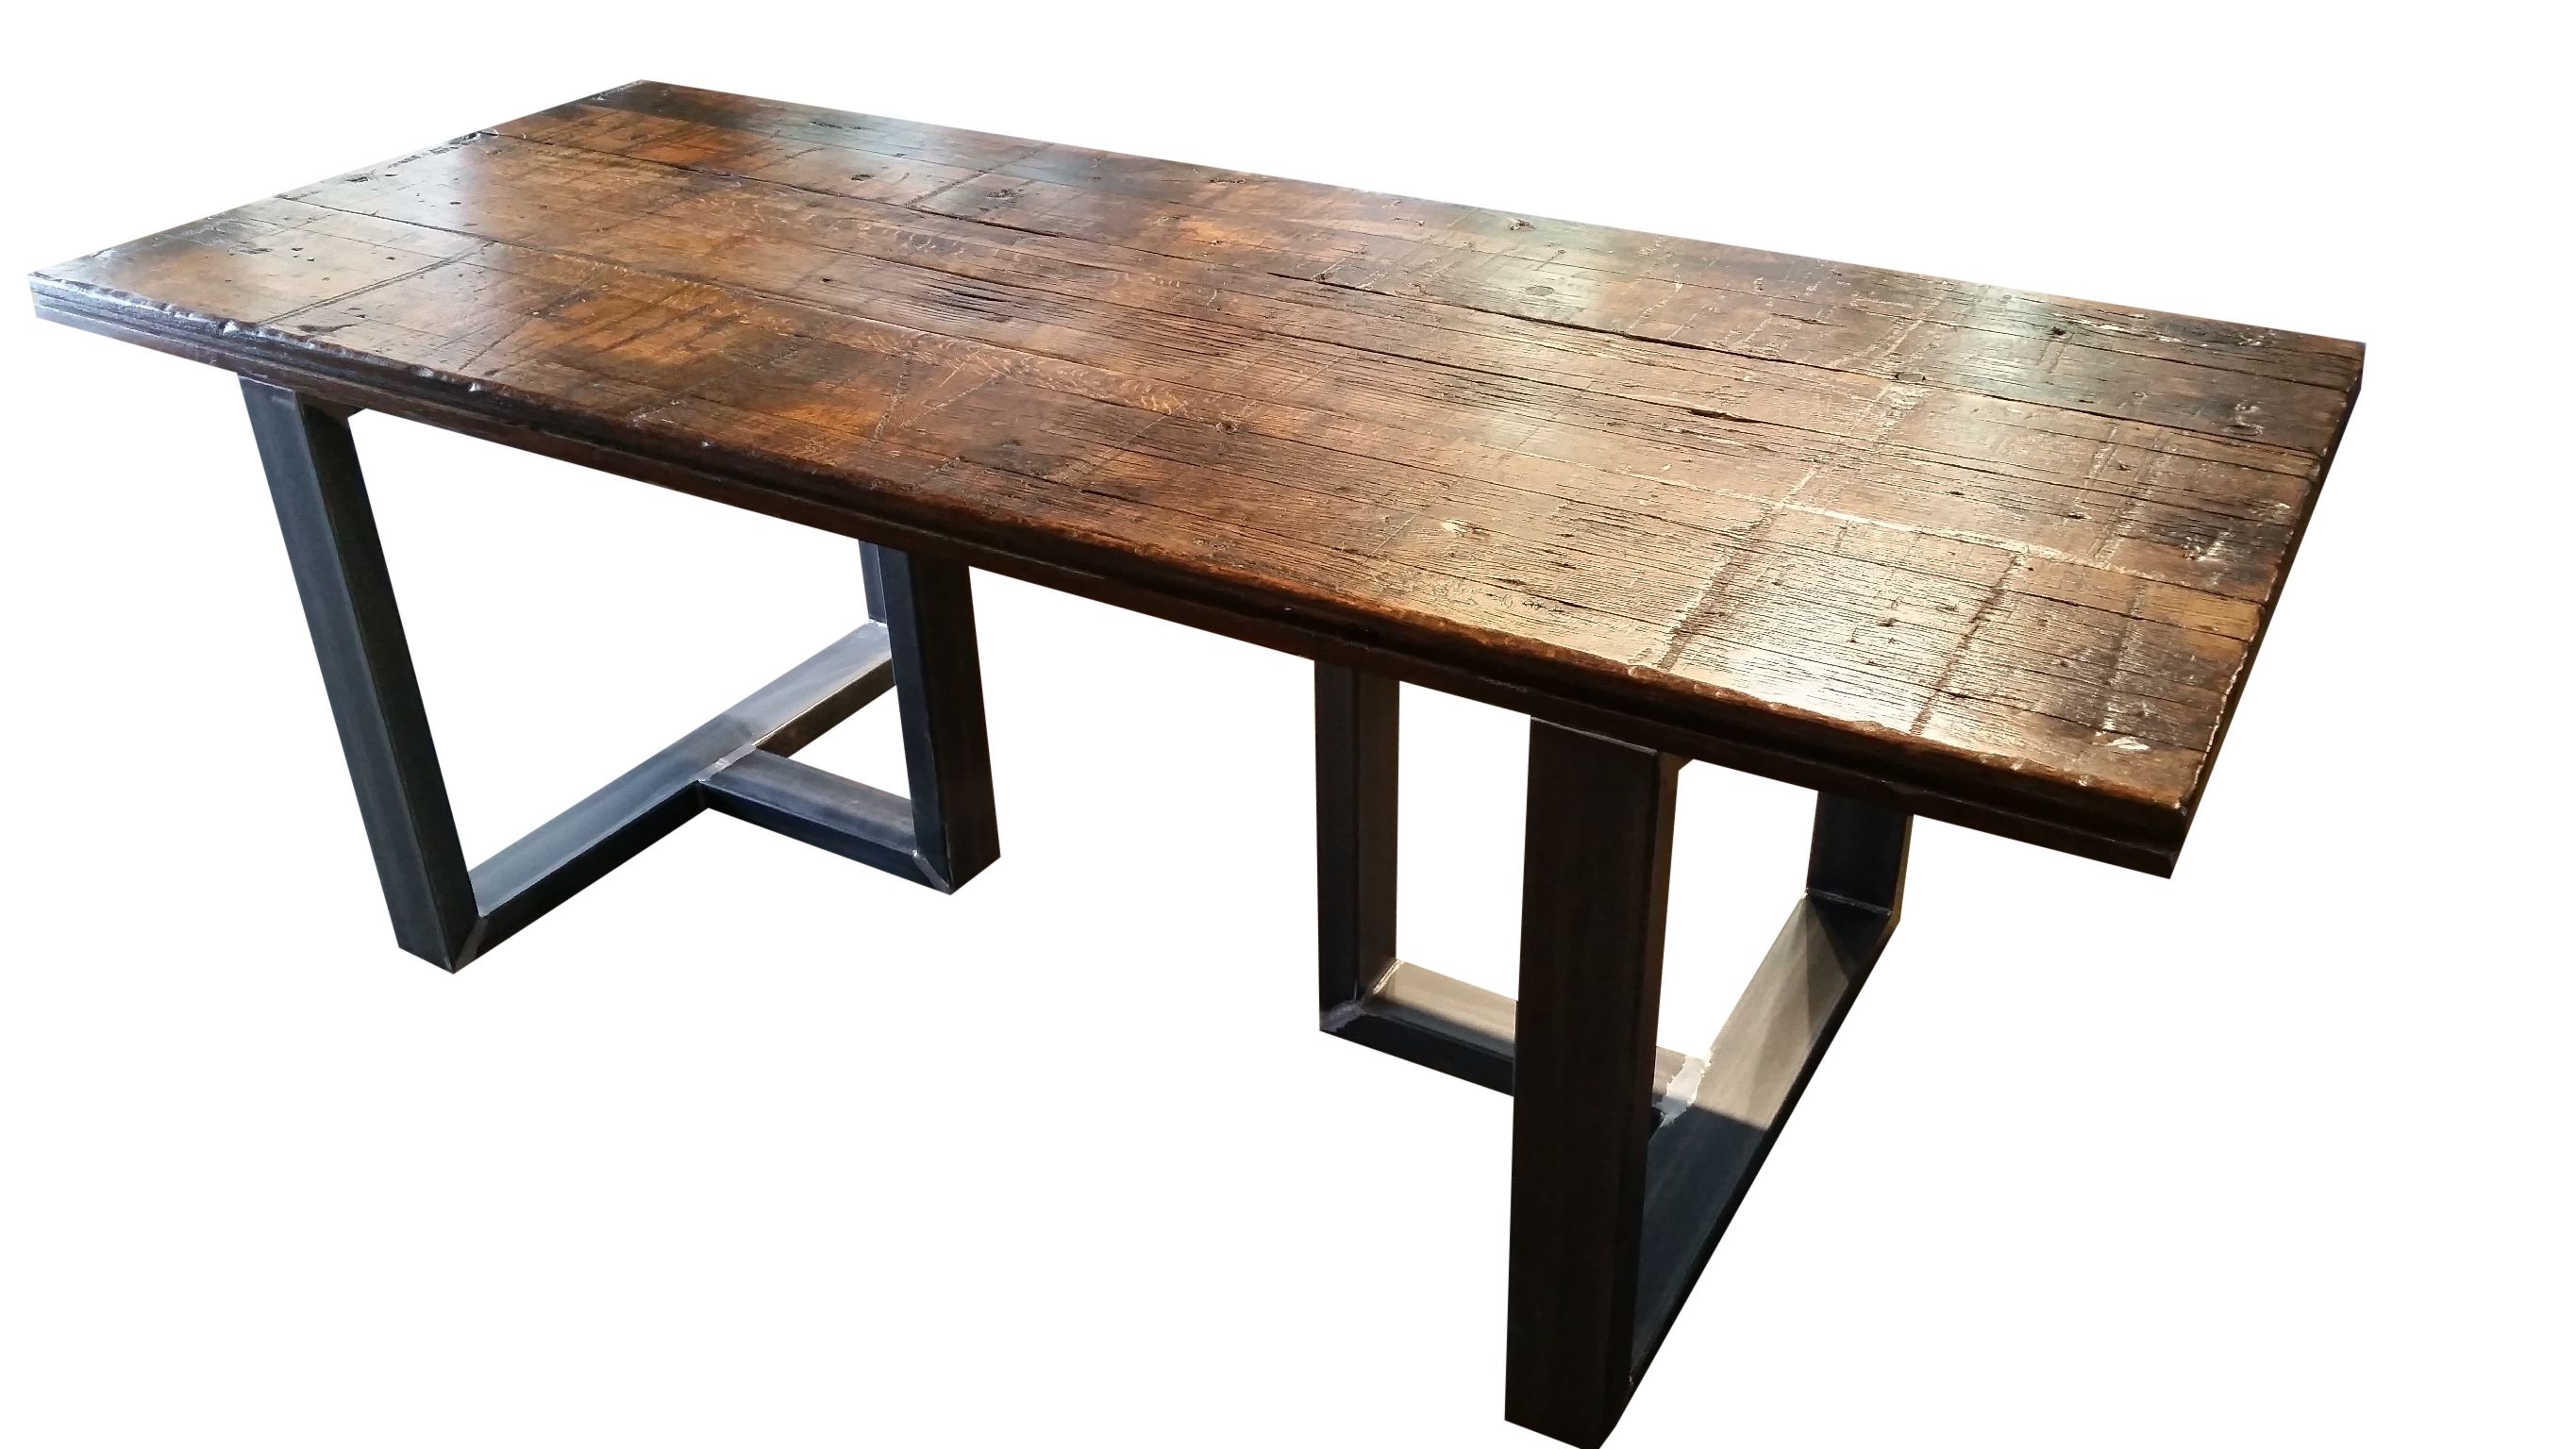
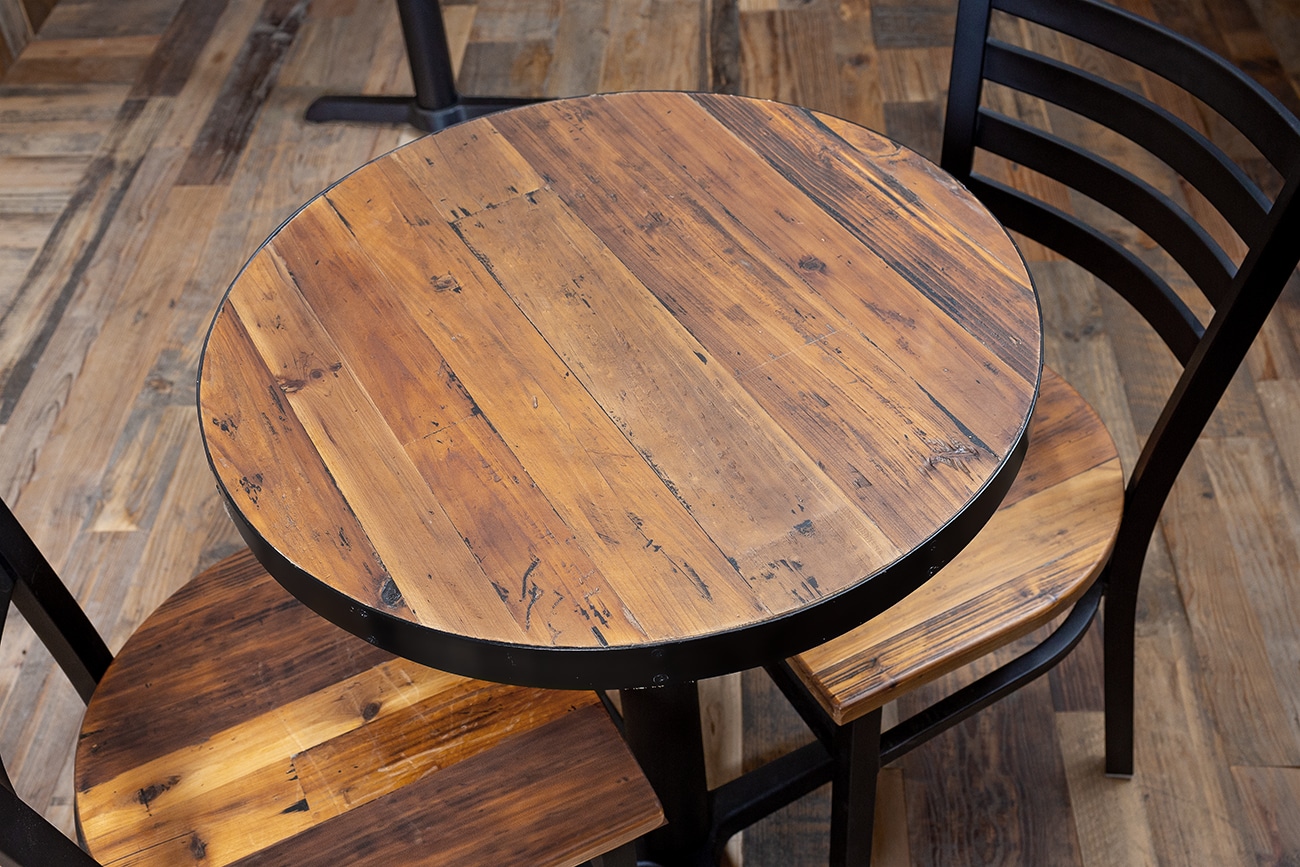
When it comes to building a reclaimed wood table, the first step is choosing the right wood. You'll want to look for wood that has character and a history, such as old barn wood or salvaged wood from a demolition project. These types of wood will have knots, cracks, and other imperfections that add to the charm of a reclaimed wood table. Main keywords: reclaimed wood table, Kitchen CrashersChoosing the Right Wood

.jpg)
Reclaimed Wood Table
Once you have your wood selected, it's time to gather your materials. You'll need a circular saw, a miter saw, a table saw, a drill, wood screws, and wood glue. You may also want to invest in a Kreg jig, which will make the process of joining the wood much easier. You can find all of these tools at your local hardware store or online.Gather Your Materials


Kitchen Crashers

Before you start cutting your wood, make sure to properly prep it. This includes removing any nails or screws and sanding down any rough edges. Once your wood is prepped, you'll need to cut it to the desired size for your table. This will vary depending on the size and shape of your table, so make sure to measure carefully and double-check your measurements before cutting.Prep and Cut Your Wood


DIY Network


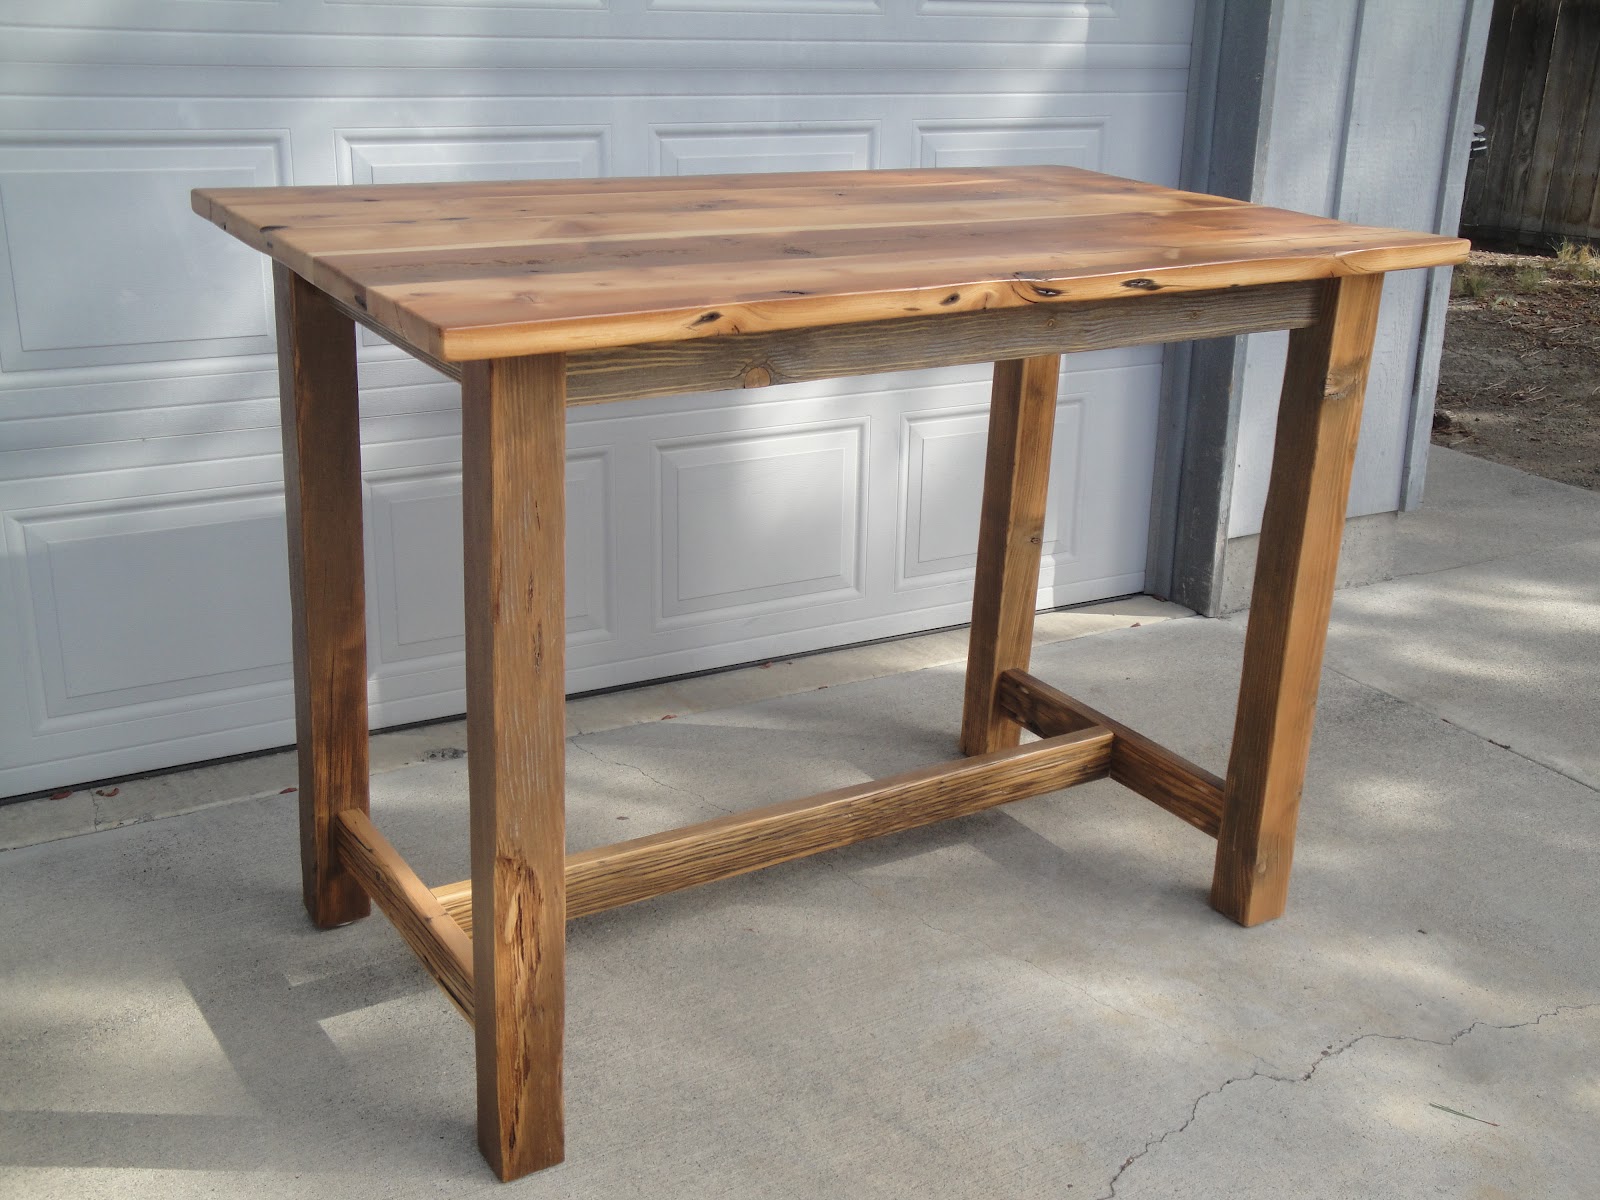
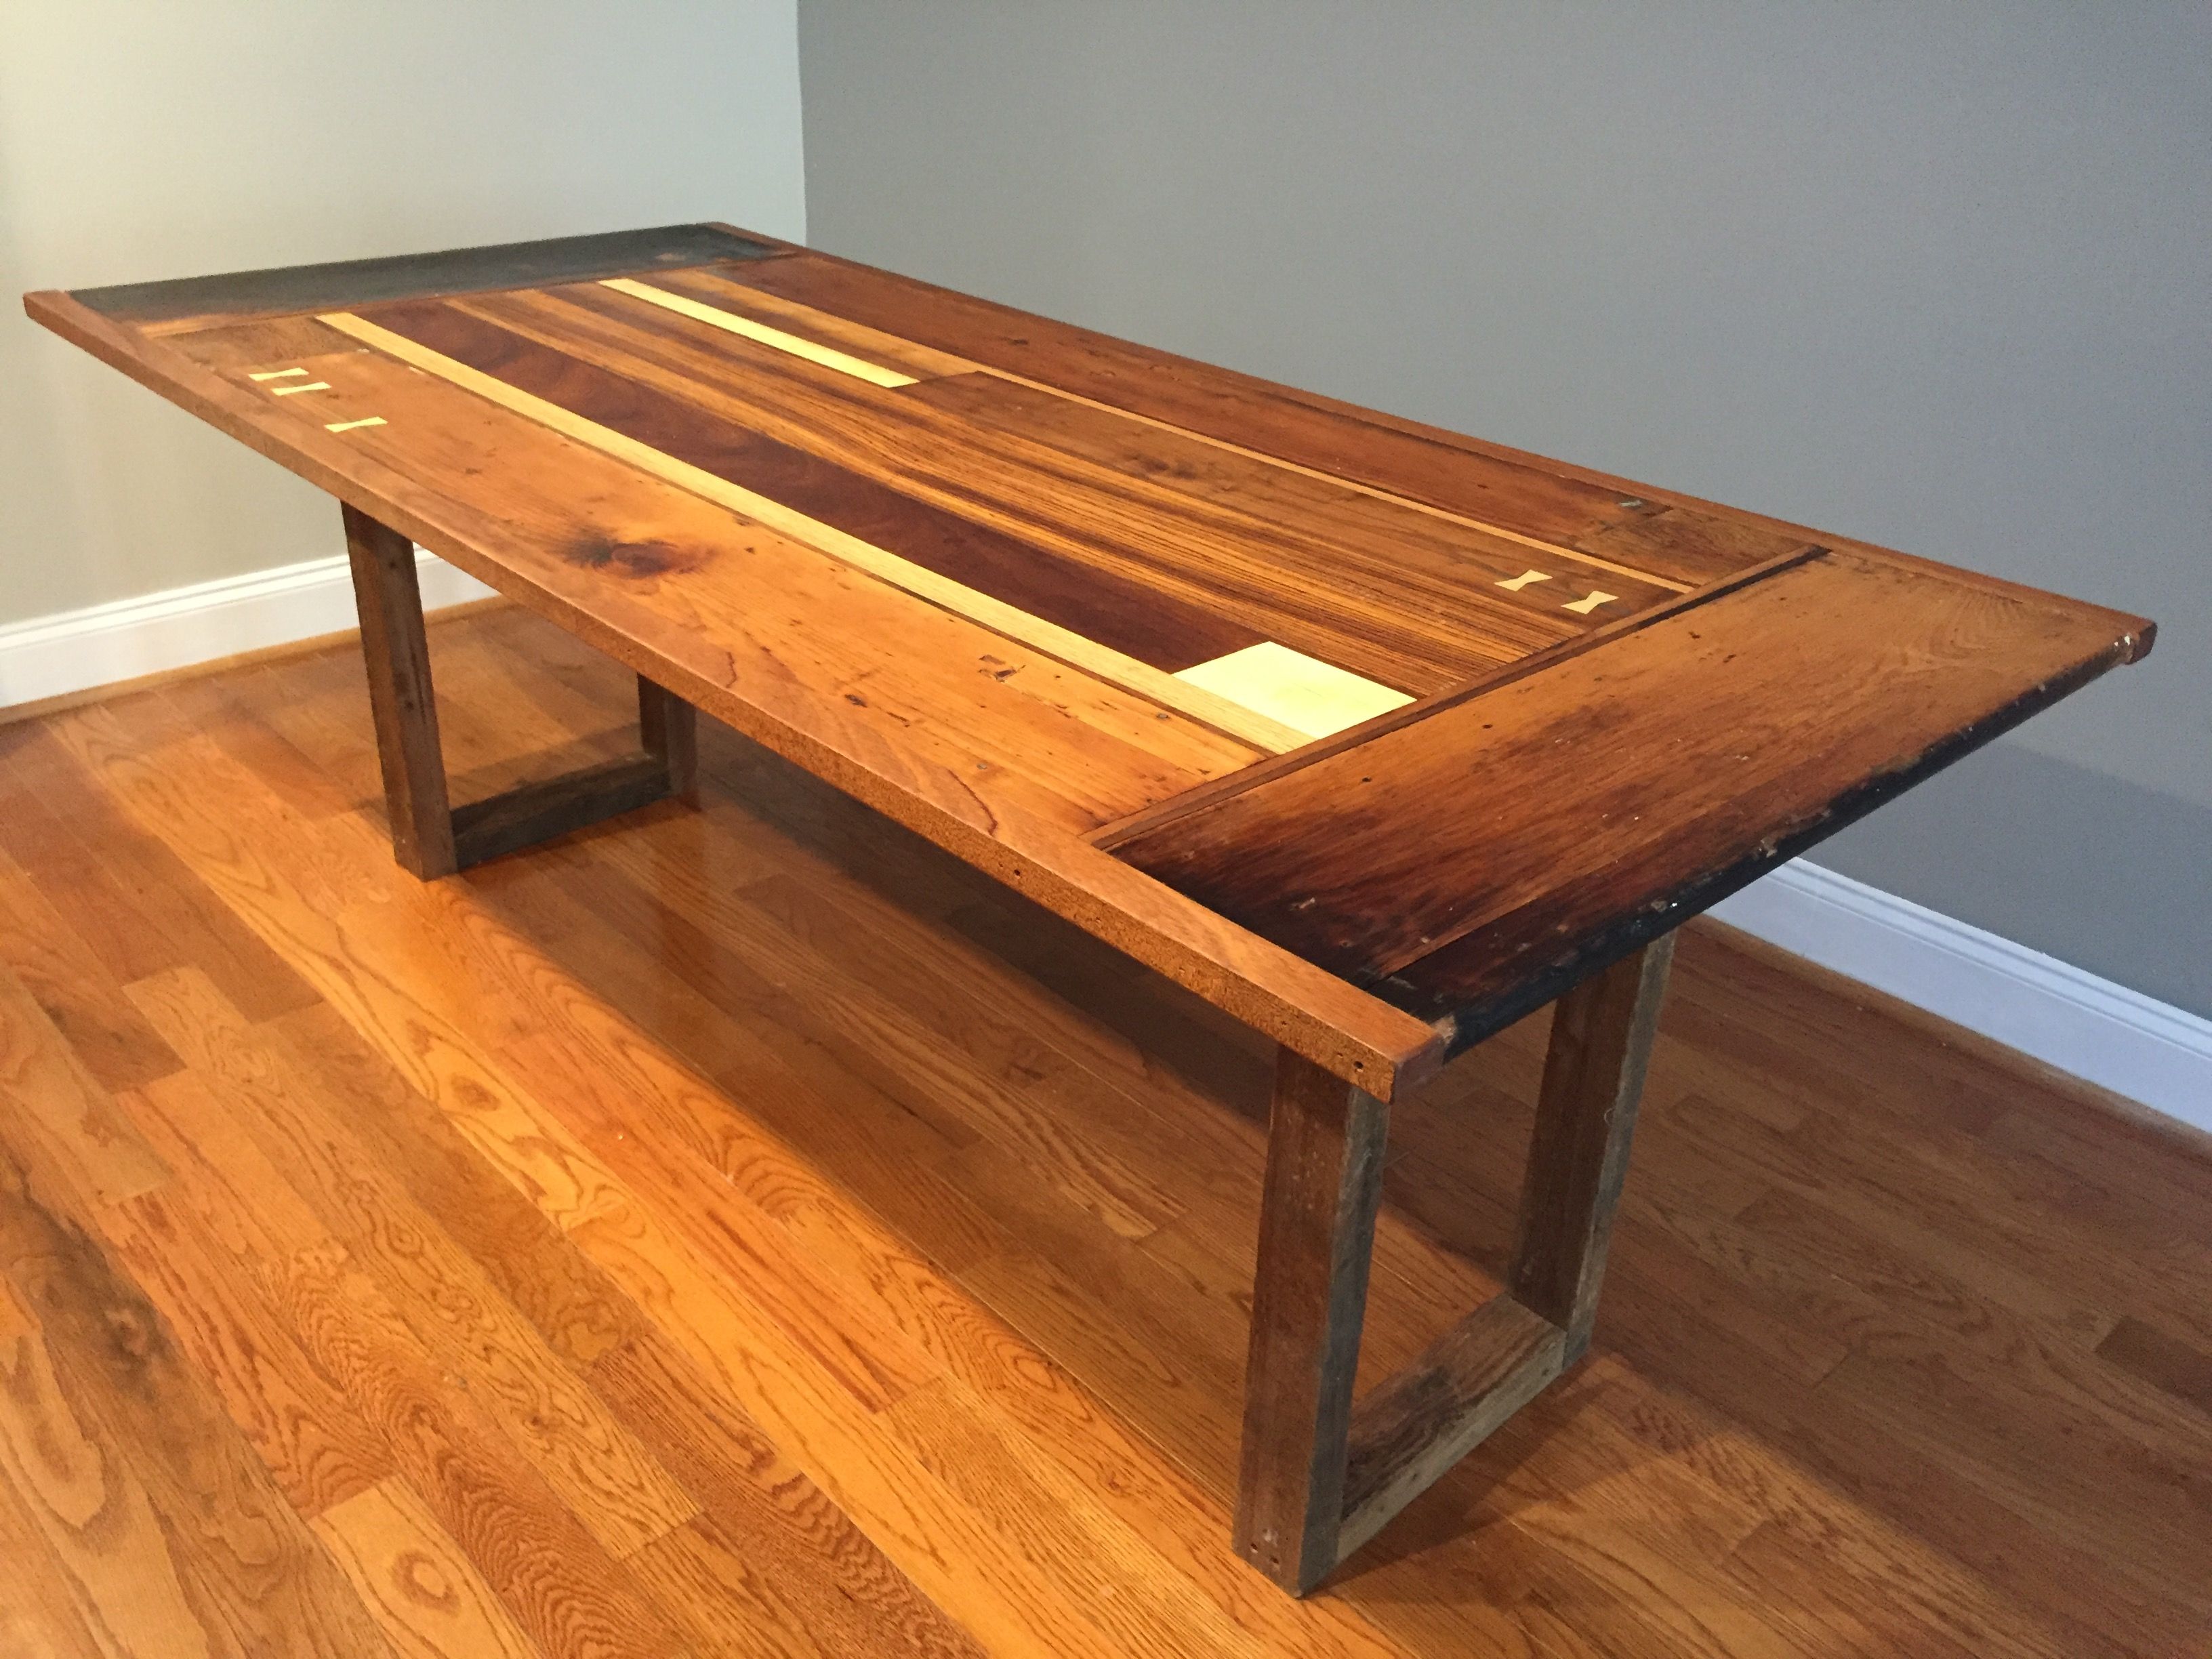
Now it's time to put your table together. This is where the Kreg jig comes in handy. It will allow you to join the pieces of wood together without any visible screws or nails. Follow the instructions on the Kreg jig carefully and make sure to use wood glue as well for added stability. Once your table is assembled, let it dry overnight.Assemble Your Table


How to Build a Reclaimed Wood Dining Table


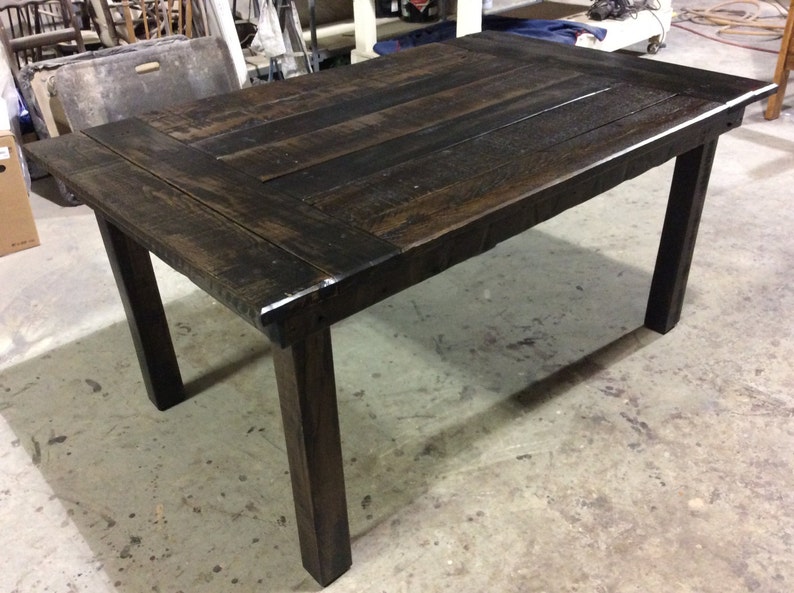
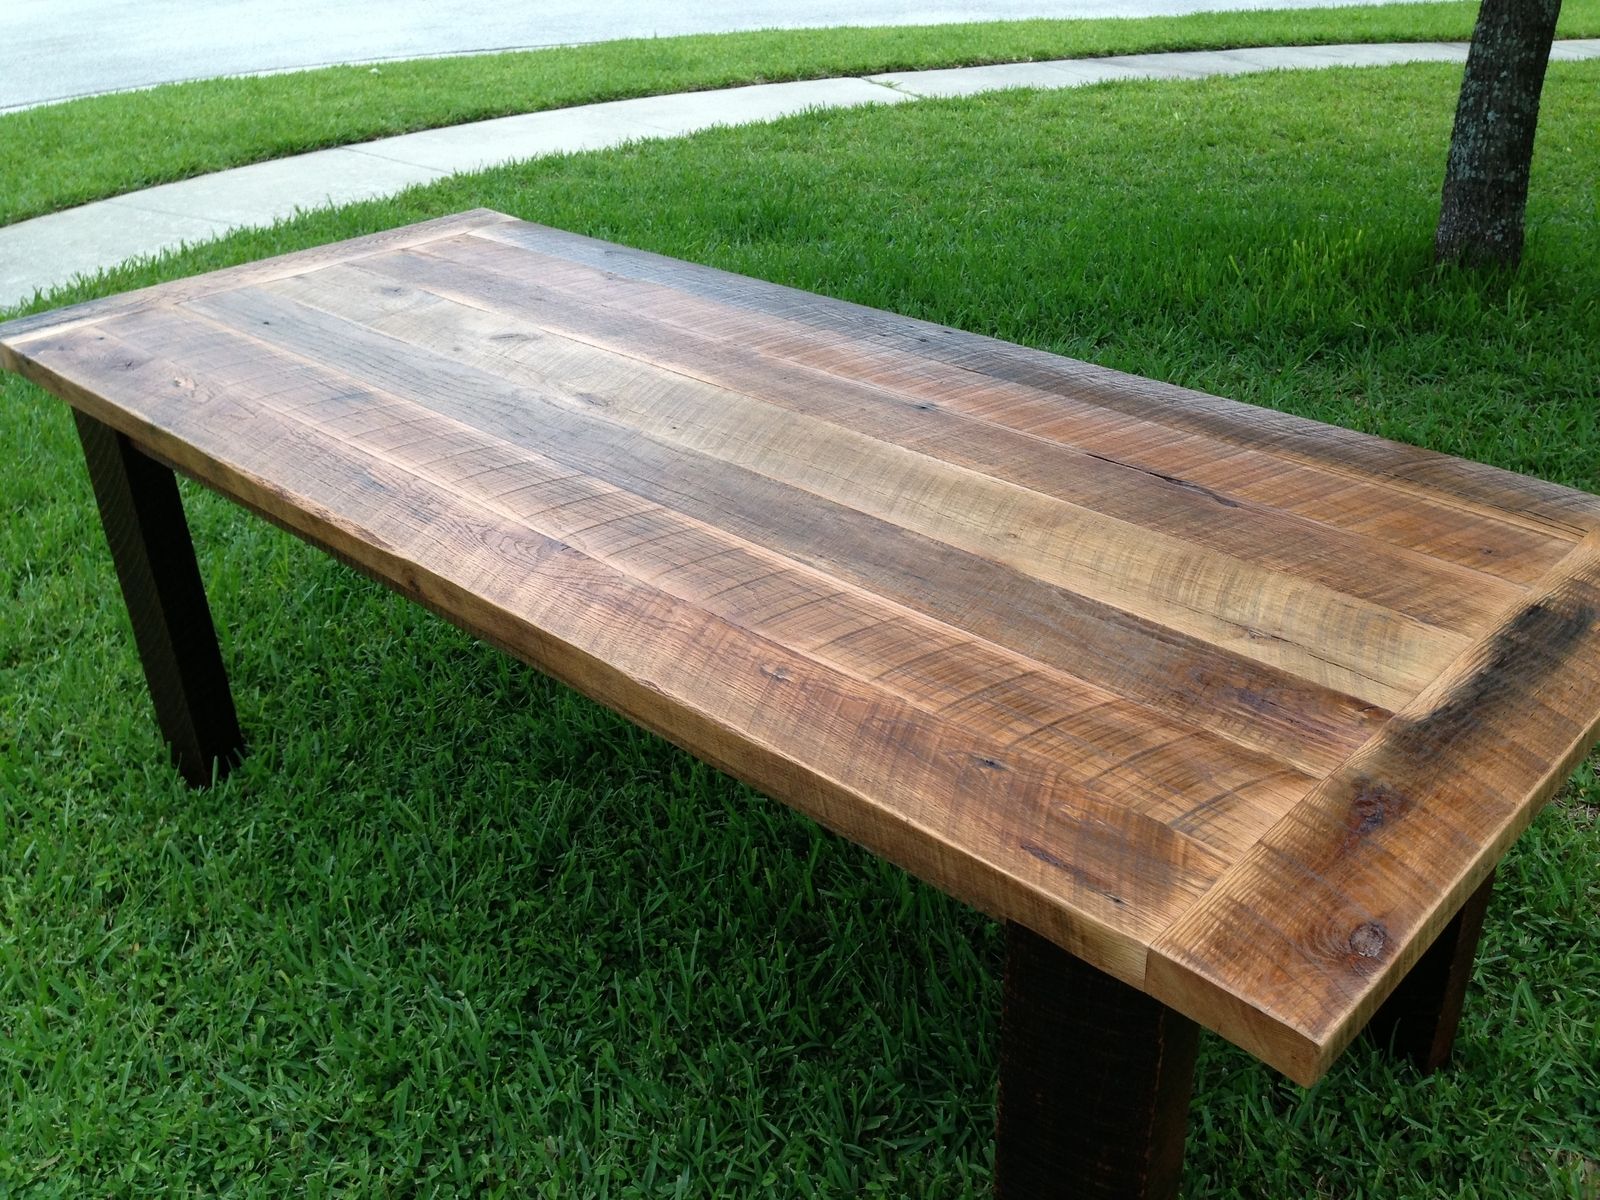

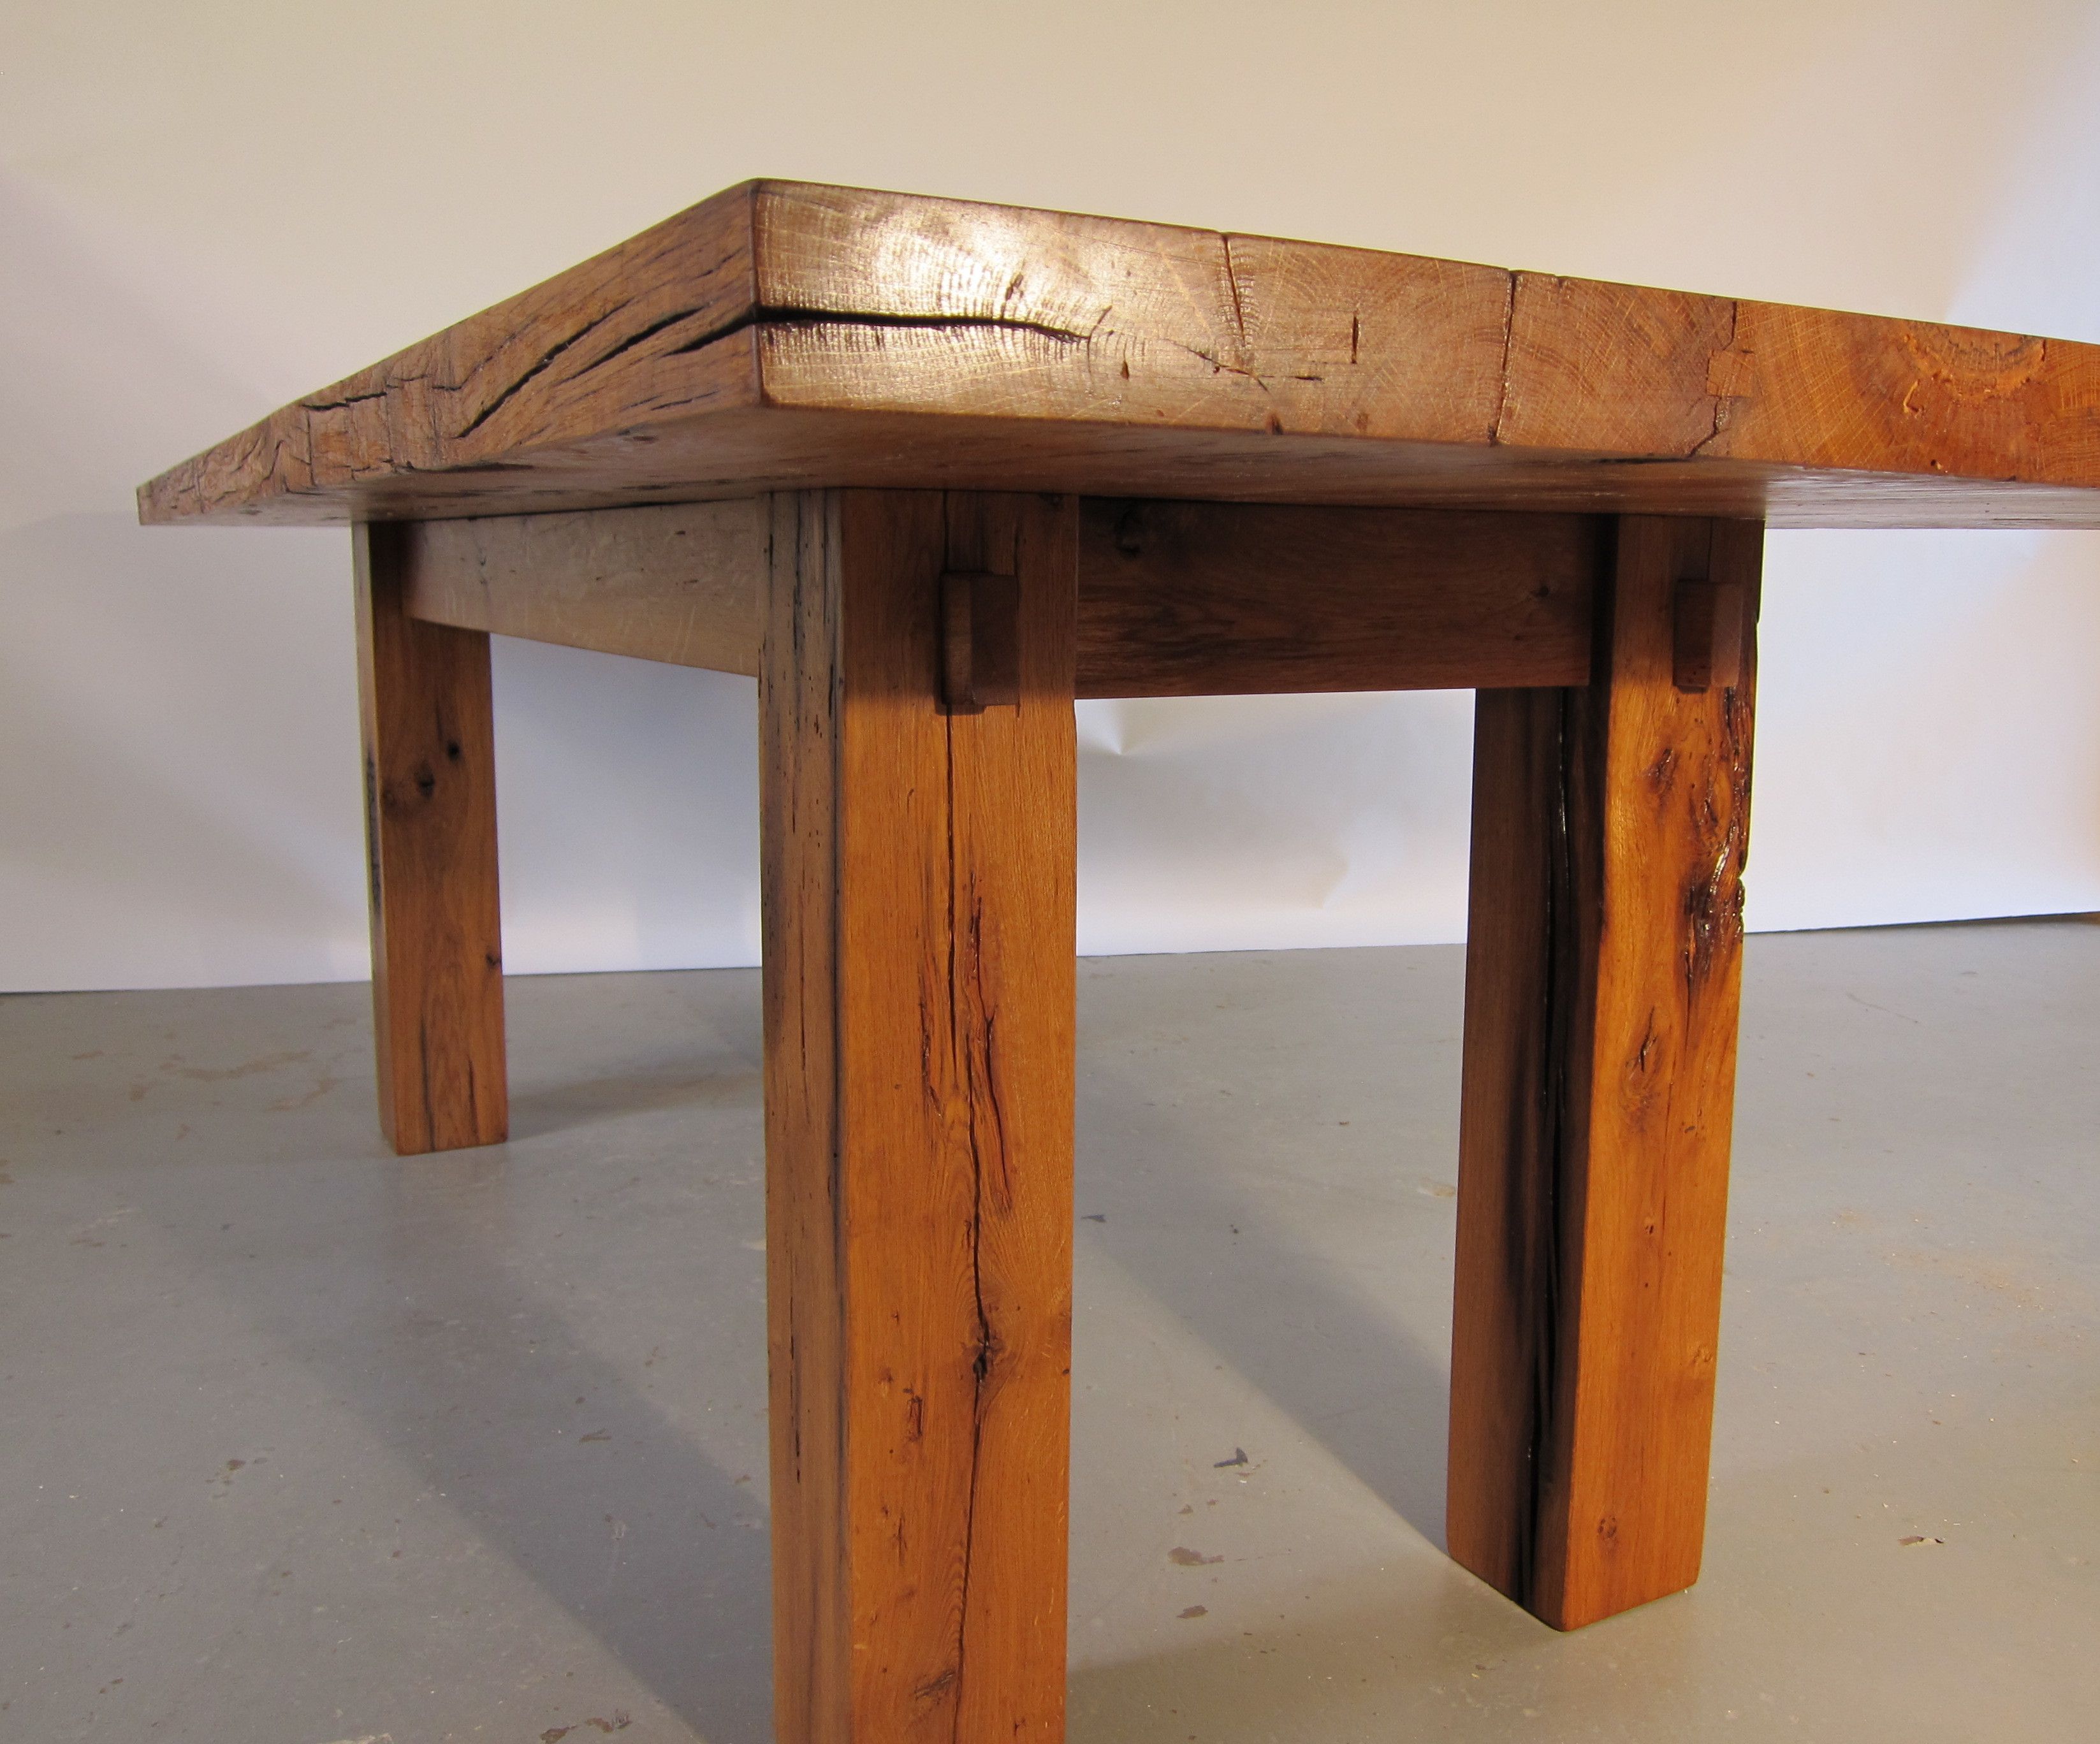
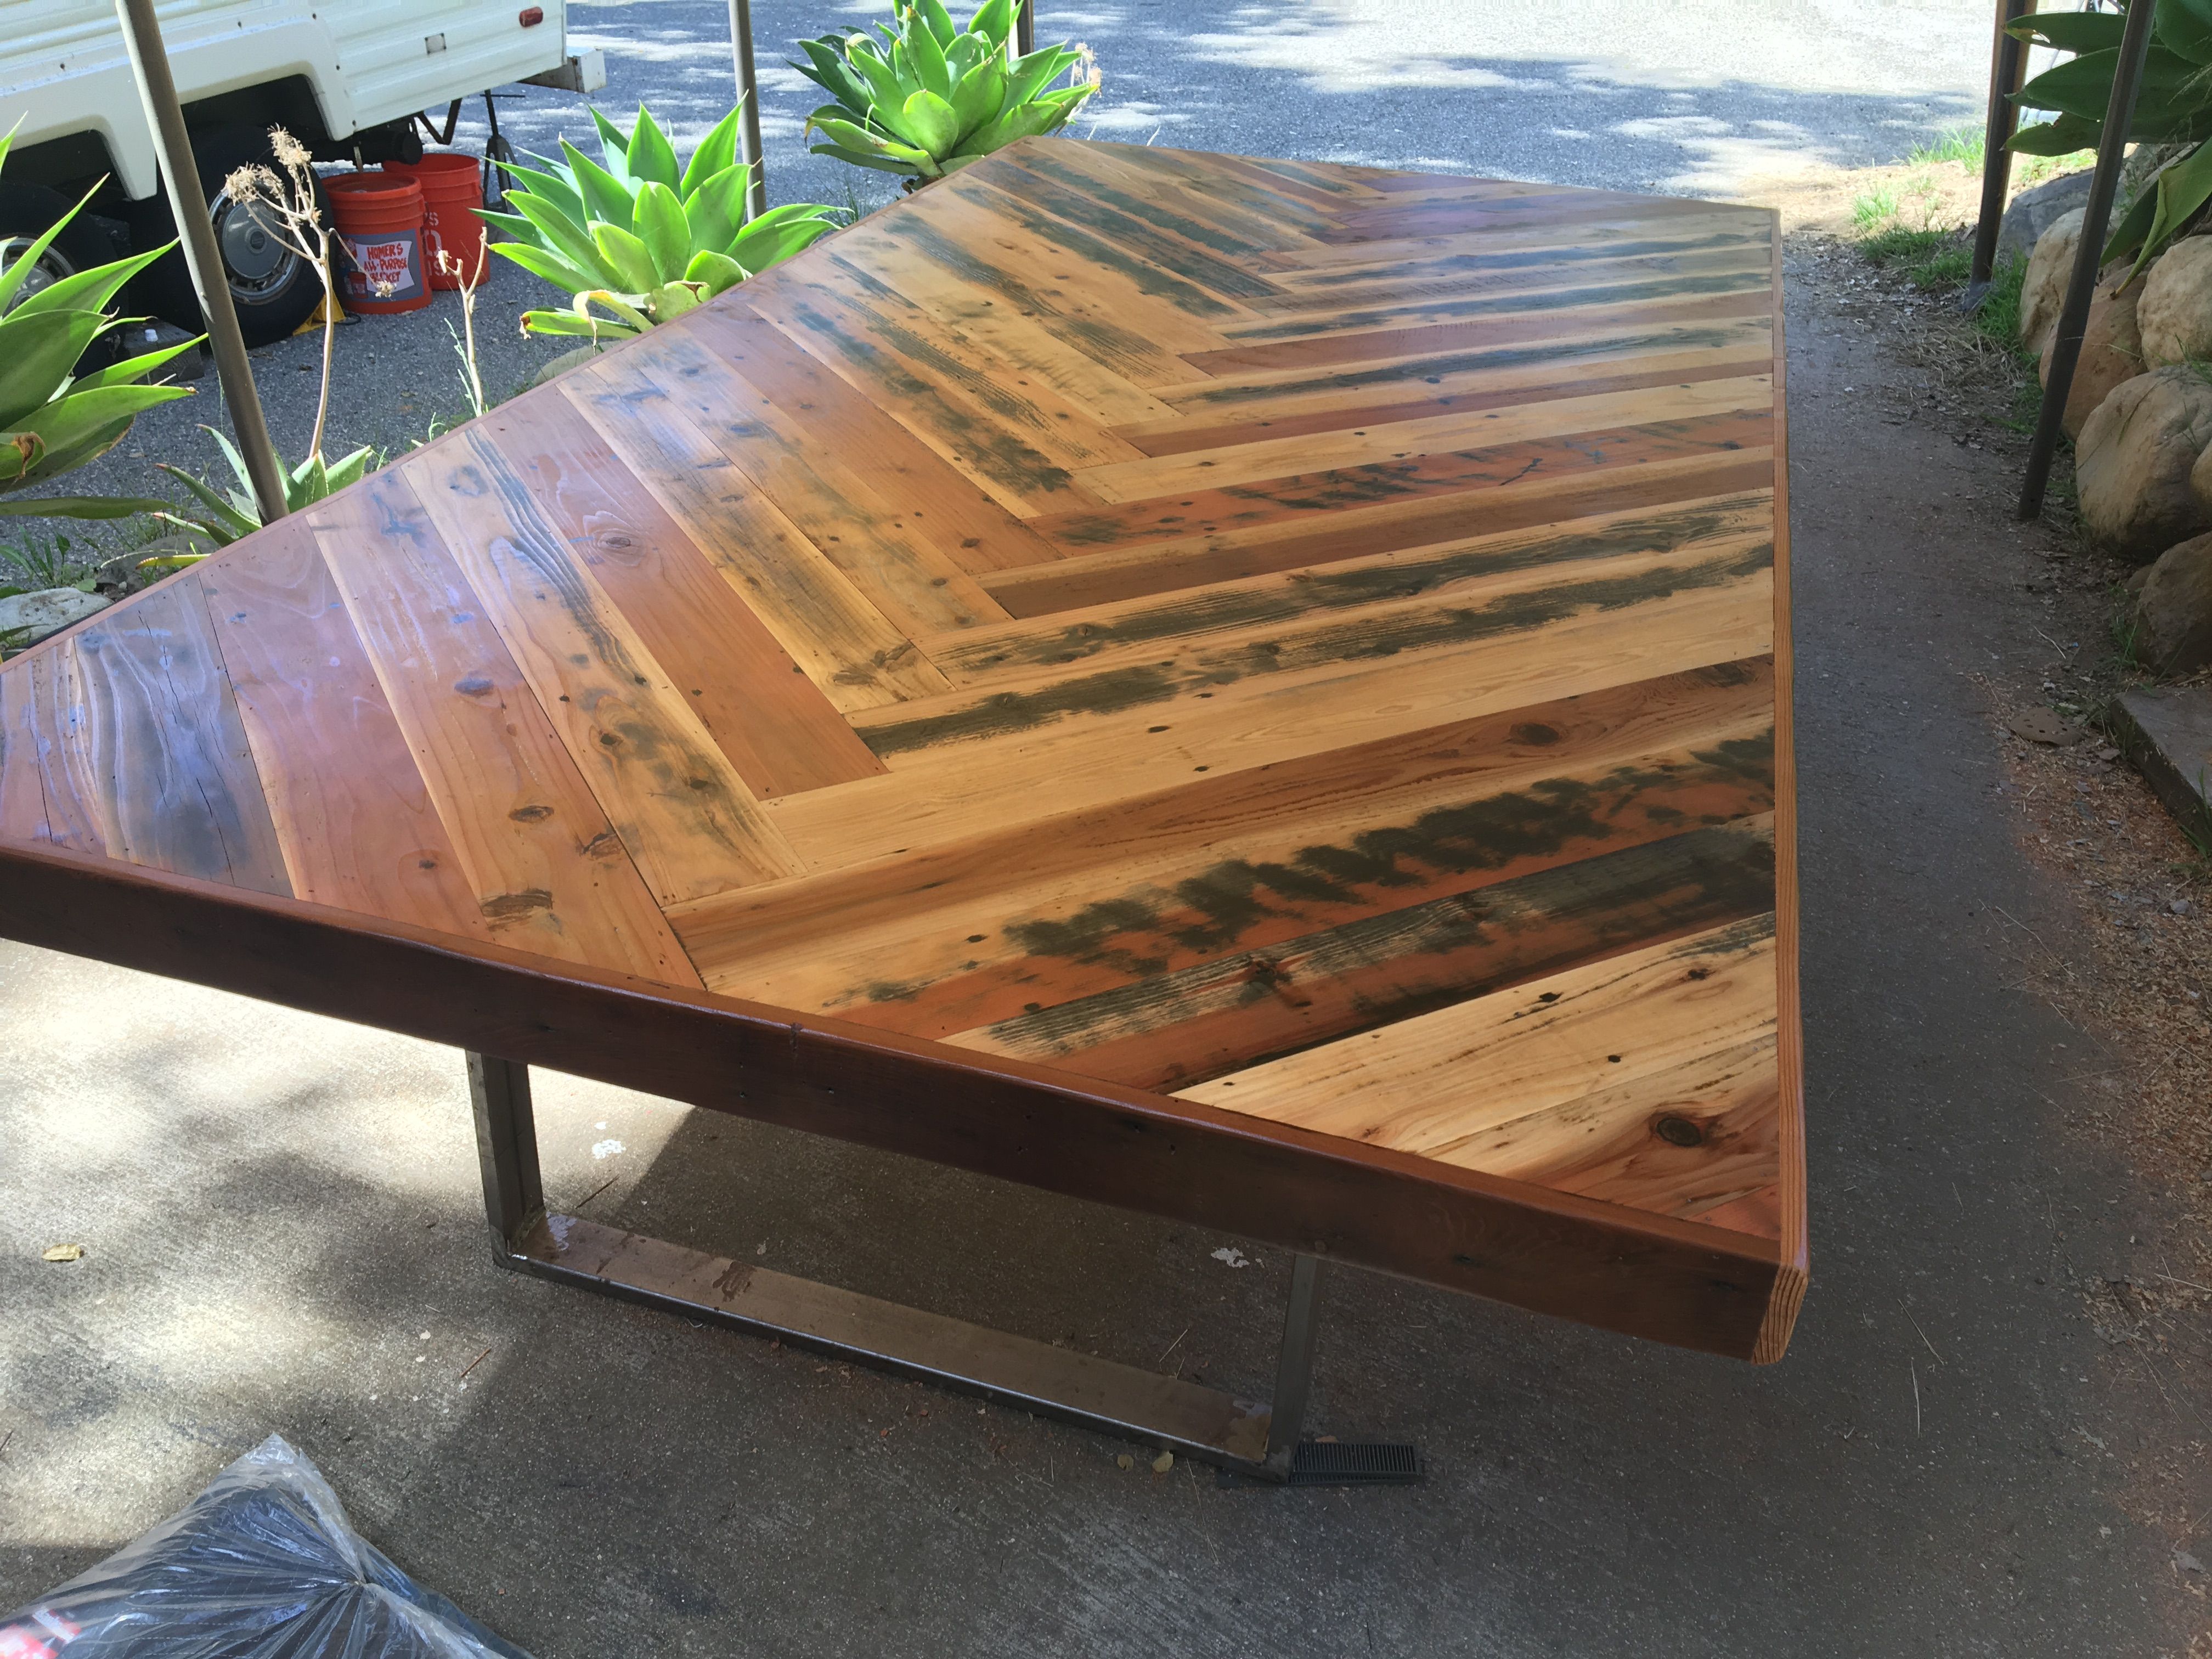
After your table has dried, you can add any finishing touches you desire. This can include staining or painting the wood, adding a protective coat, or distressing the wood for a more rustic look. You can also add legs or a base to your table if desired. Get creative and make your reclaimed wood table truly unique.Finishing Touches


how-tos


A reclaimed wood table is not only a beautiful addition to any kitchen, but it's also a great way to repurpose old and forgotten wood. With the help of Kitchen Crashers and their DIY guide, you can create a stunning table that will be the envy of all your friends. So grab your tools and get ready to impress with your new DIY reclaimed wood table. Main keywords: reclaimed wood table, DIY, Kitchen CrashersFinal Thoughts

DIY Network


We hope this DIY reclaimed wood table guide has inspired you to add a touch of rustic charm to your kitchen. Remember to choose the right wood, gather your materials, and follow the steps carefully to create a beautiful table that will be the focal point of your kitchen. And don't forget to tune into Kitchen Crashers for more amazing DIY projects and inspiration.In Conclusion
Reclaimed Wood Table

Why Reclaimed Wood Tables are the Perfect Addition to Your Kitchen

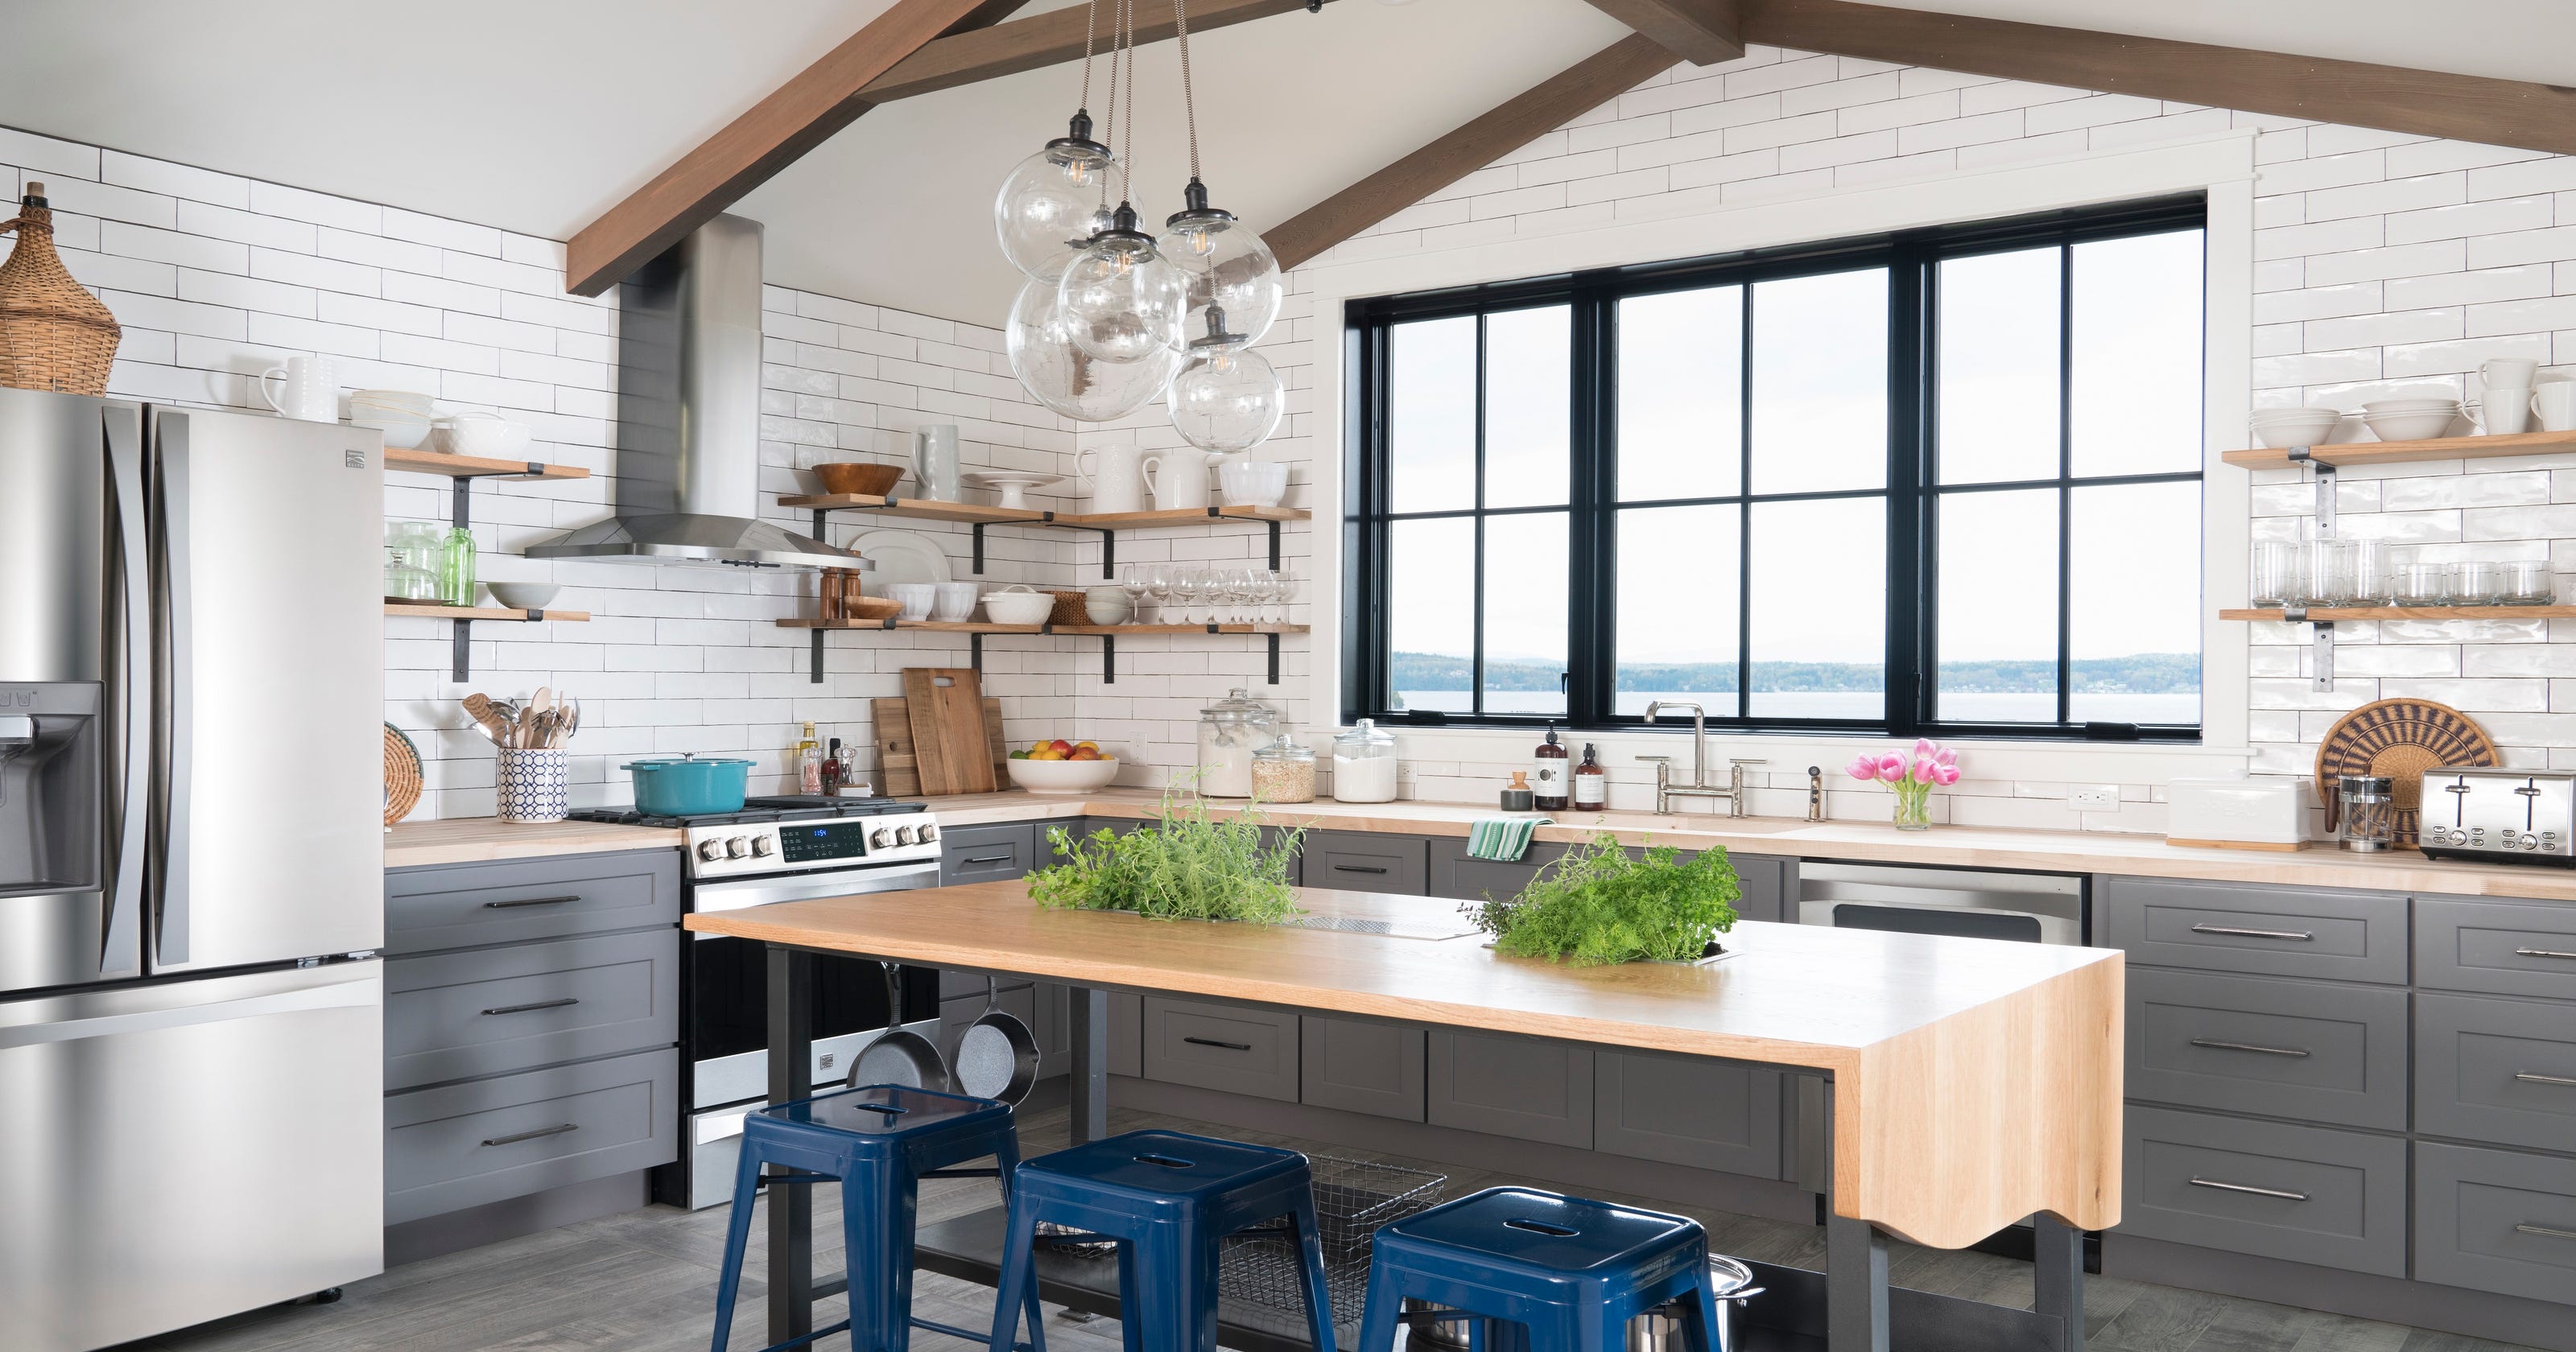
Transform Your Kitchen with the Timeless Charm of Reclaimed Wood
 Reclaimed wood has become a popular choice for homeowners looking to add a touch of rustic elegance to their homes. And what better place to showcase this timeless charm than in the heart of your home - the kitchen. A
kitchen crashers reclaimed wood table
is the perfect addition to any kitchen, bringing both functionality and style to your space. Here's why you should consider adding one to your kitchen design.
Reclaimed wood has become a popular choice for homeowners looking to add a touch of rustic elegance to their homes. And what better place to showcase this timeless charm than in the heart of your home - the kitchen. A
kitchen crashers reclaimed wood table
is the perfect addition to any kitchen, bringing both functionality and style to your space. Here's why you should consider adding one to your kitchen design.
Unique and Eco-Friendly
 One of the biggest draws of reclaimed wood is its uniqueness. Each piece of wood has its own story to tell, with distinct knots, grains, and imperfections that give it character and charm. No two
reclaimed wood tables
are the same, making it a truly one-of-a-kind addition to your kitchen. Additionally, using reclaimed wood is an eco-friendly choice as it gives new life to old materials and reduces the demand for new lumber.
One of the biggest draws of reclaimed wood is its uniqueness. Each piece of wood has its own story to tell, with distinct knots, grains, and imperfections that give it character and charm. No two
reclaimed wood tables
are the same, making it a truly one-of-a-kind addition to your kitchen. Additionally, using reclaimed wood is an eco-friendly choice as it gives new life to old materials and reduces the demand for new lumber.
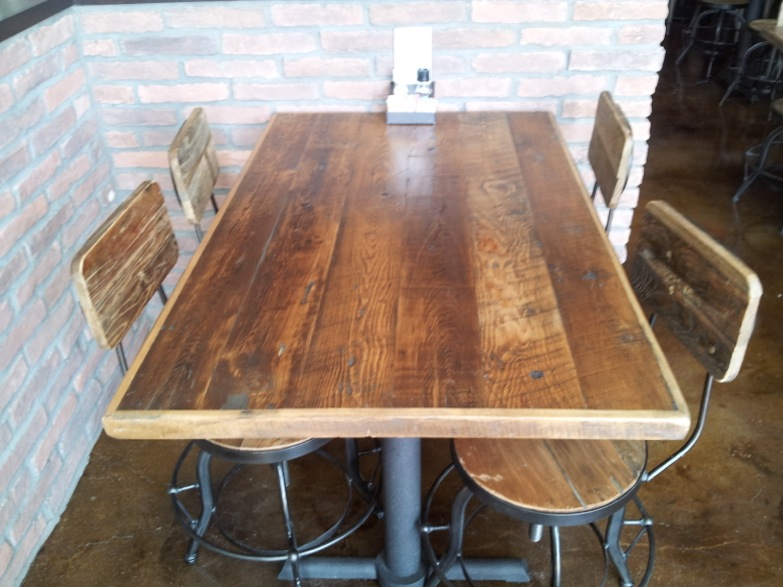
Timeless and Durable
 Reclaimed wood has stood the test of time, making it a durable and long-lasting option for your kitchen table. These tables have already weathered years of use, making them more resistant to scratches and dents. They also have a natural patina that adds to their charm and makes them a perfect fit for any kitchen style, whether it be farmhouse, modern, or industrial.
Versatile and Functional
 A
reclaimed wood table
is not just a statement piece, it's also highly functional. With its sturdy construction, it's perfect for everyday use, whether it's for meal prep, family dinners, or hosting gatherings with friends. The natural warmth of the wood also adds a cozy and inviting feel to your kitchen, making it the perfect spot for family gatherings and conversations.
A
reclaimed wood table
is not just a statement piece, it's also highly functional. With its sturdy construction, it's perfect for everyday use, whether it's for meal prep, family dinners, or hosting gatherings with friends. The natural warmth of the wood also adds a cozy and inviting feel to your kitchen, making it the perfect spot for family gatherings and conversations.
Easy to Maintain
 Contrary to popular belief, reclaimed wood is actually quite easy to maintain. A simple wipe down with a damp cloth is all it takes to clean up any spills or messes. If your table starts to show signs of wear and tear over time, you can easily sand and refinish it to bring back its original beauty.
Final Thoughts
 A
kitchen crashers reclaimed wood table
is more than just a piece of furniture - it's a statement of style and a symbol of sustainability. Its unique and timeless charm, durability, and functionality make it the perfect addition to any kitchen design. So why not consider adding one to your kitchen and transform it into a warm and inviting space that your family and friends will love?
A
kitchen crashers reclaimed wood table
is more than just a piece of furniture - it's a statement of style and a symbol of sustainability. Its unique and timeless charm, durability, and functionality make it the perfect addition to any kitchen design. So why not consider adding one to your kitchen and transform it into a warm and inviting space that your family and friends will love?