When it comes to kitchen cabinet maintenance, one of the most common issues is a damaged cabinet bottom under the sink. Over time, the constant exposure to water and moisture can cause the wood to deteriorate and become weak. If you're experiencing this problem, don't worry – replacing the wood under your kitchen sink is a relatively simple and affordable DIY project. In this article, we'll guide you through the steps on how to replace the wood under your kitchen sink and get your cabinets looking as good as new.Replacing Wood Under a Kitchen Sink


Replacing Wood Under a Kitchen Sink
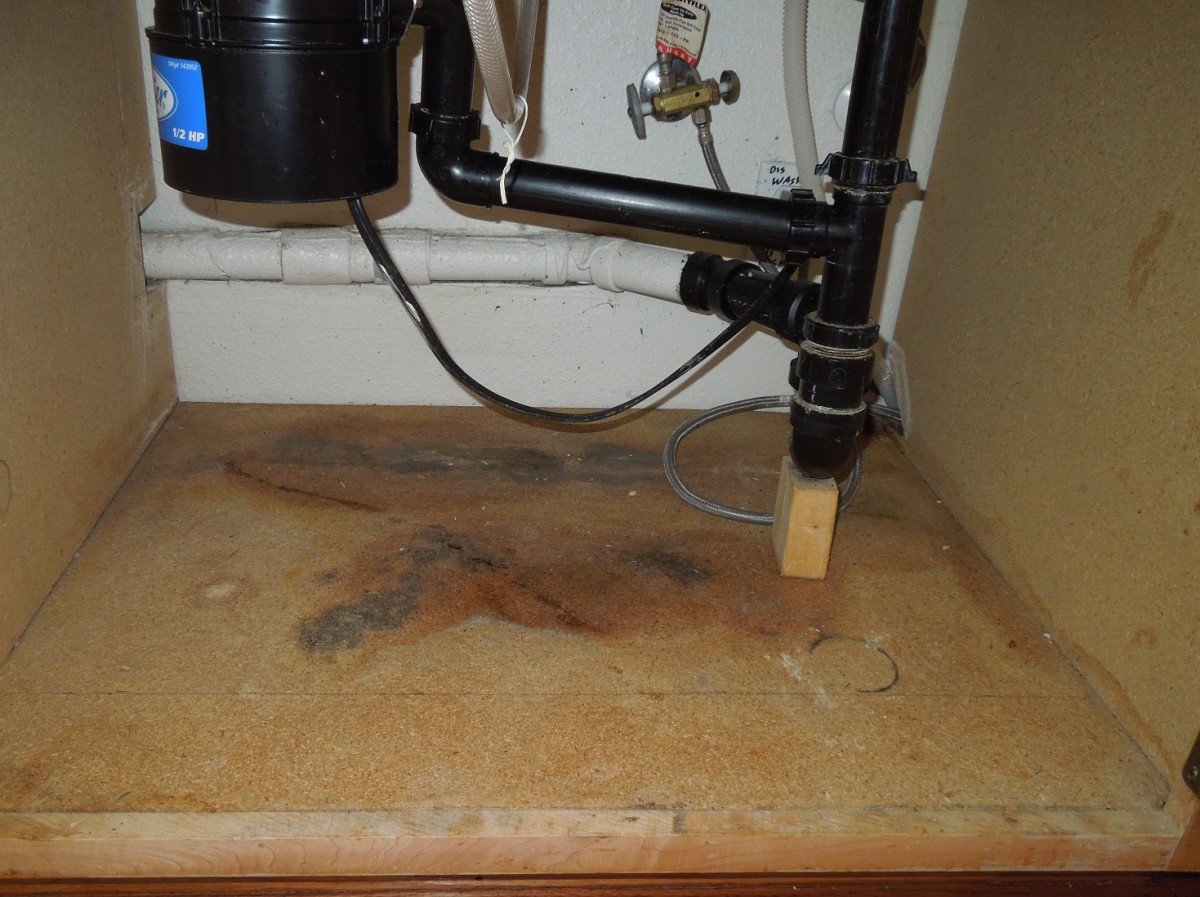


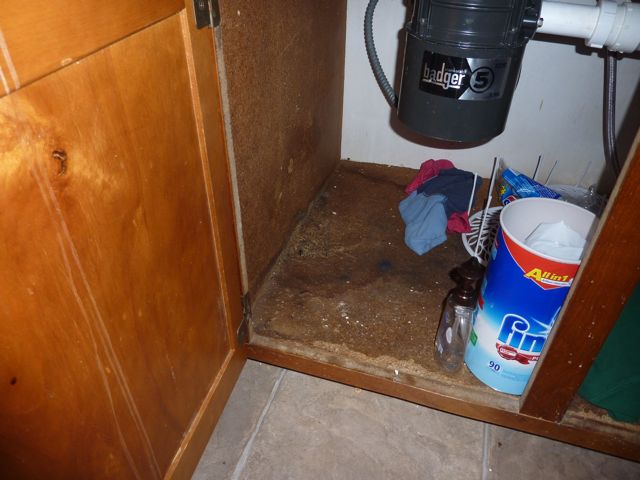
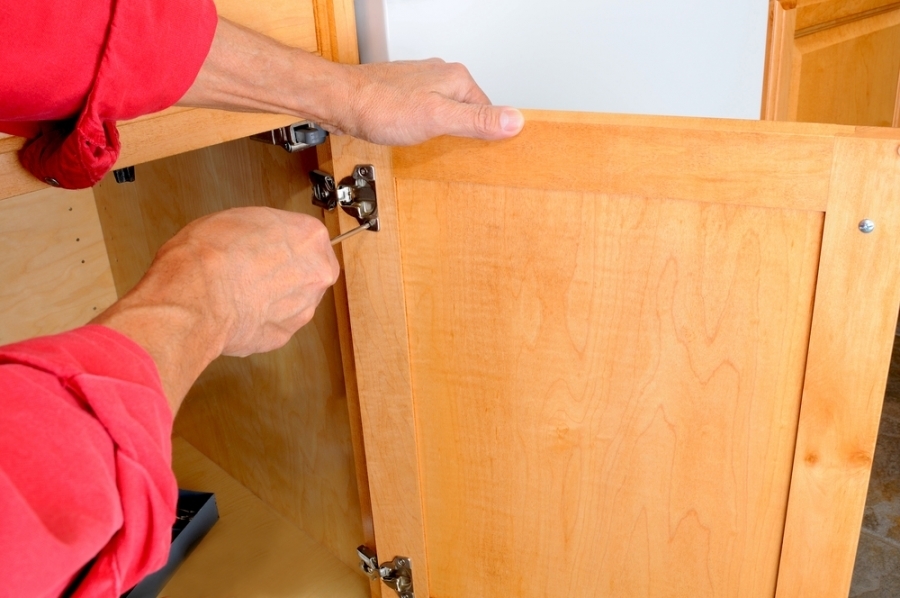
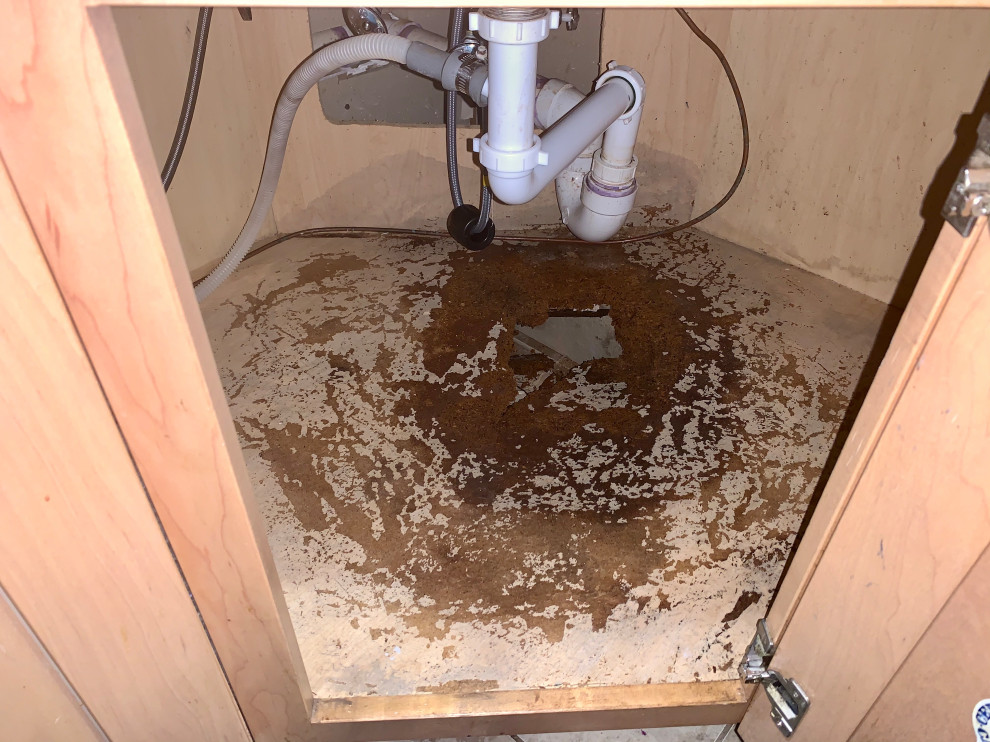
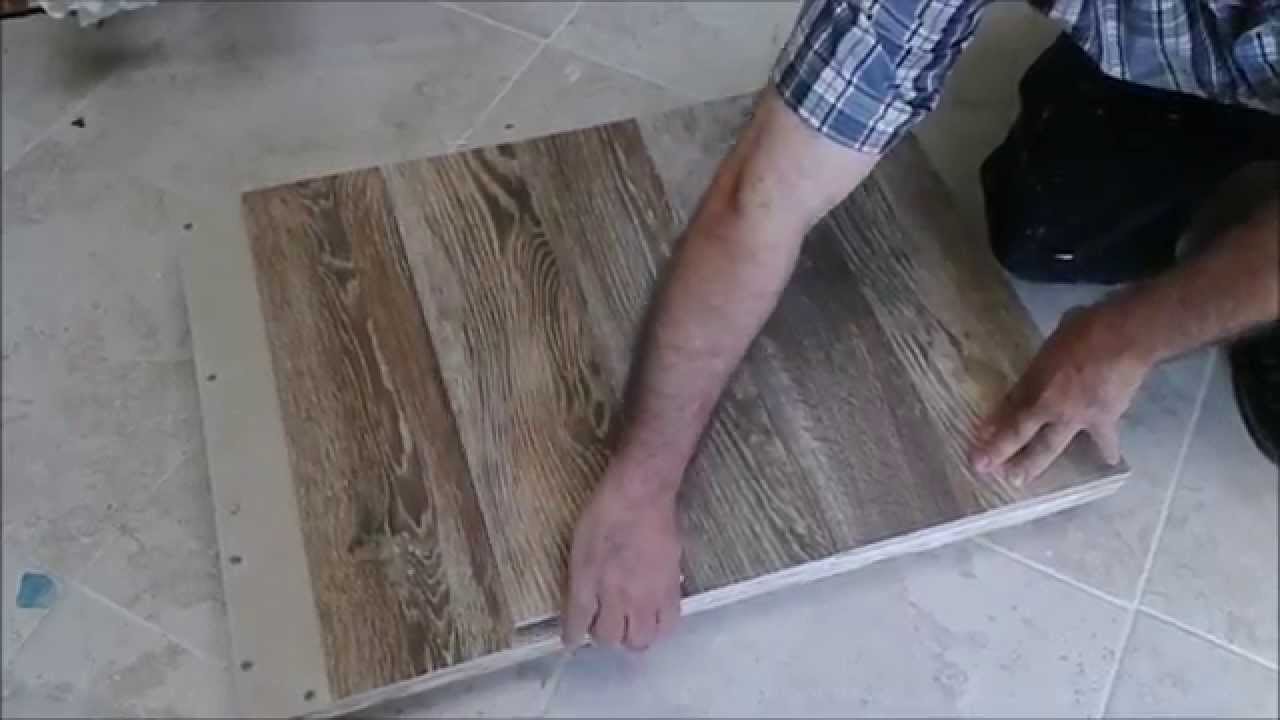
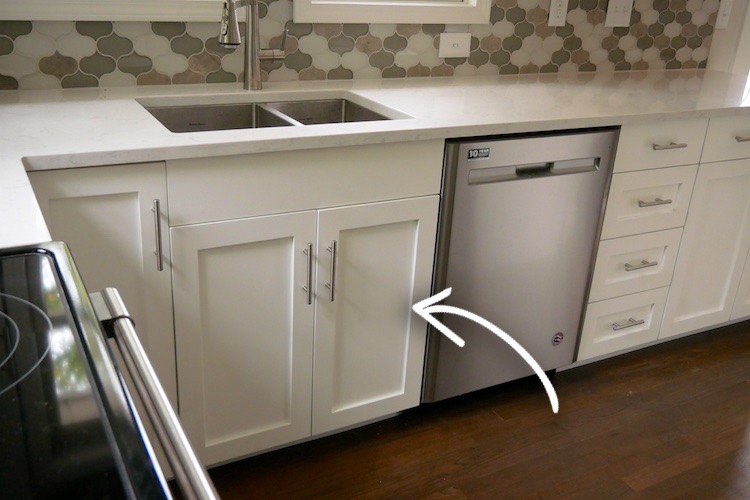
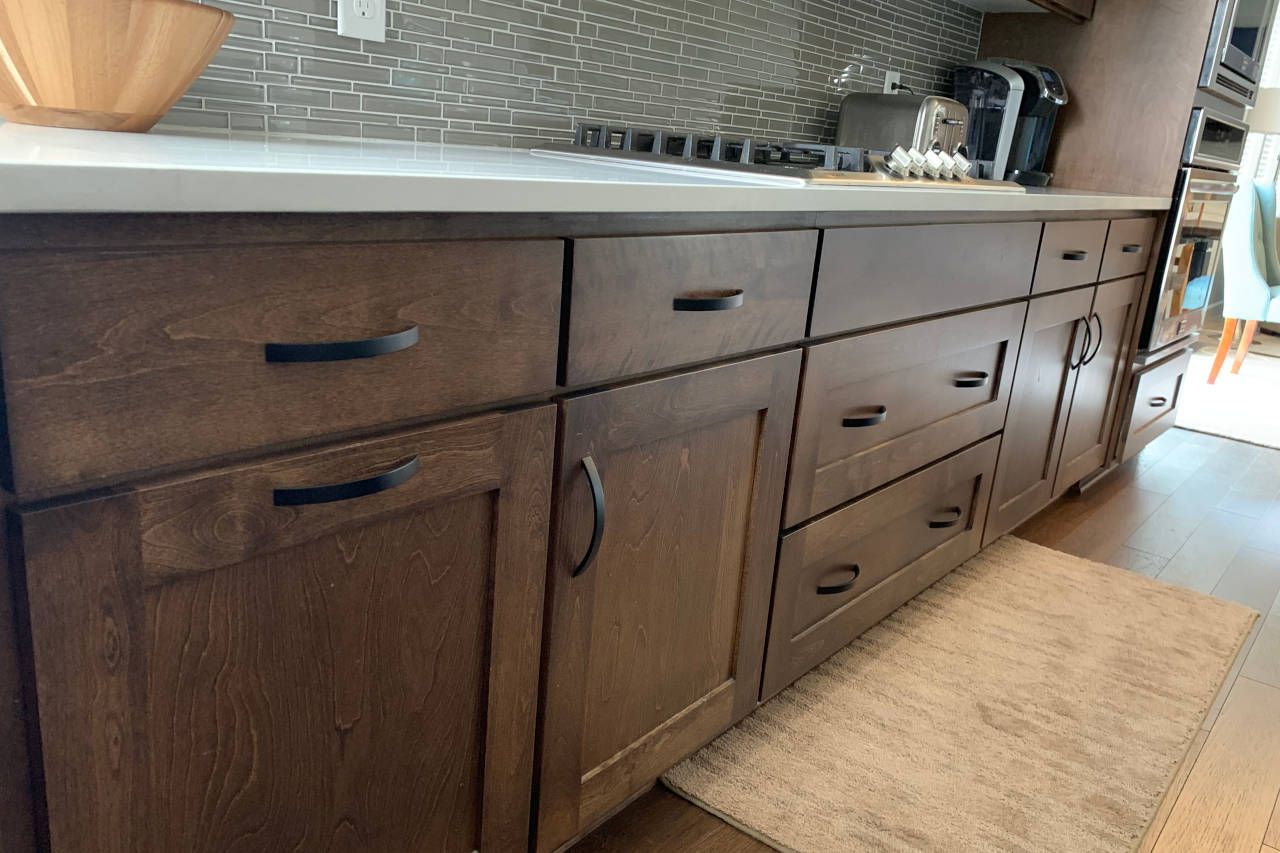
The first step in replacing the wood under your kitchen sink is to remove the damaged cabinet bottom. Start by emptying out the cabinet and removing any drawers or shelves inside. Use a screwdriver to remove the screws holding the bottom in place. If the wood is severely damaged, you may need to use a pry bar to gently lift it out of place.How to Replace a Kitchen Sink Cabinet Bottom


How to Replace a Kitchen Sink Cabinet Bottom


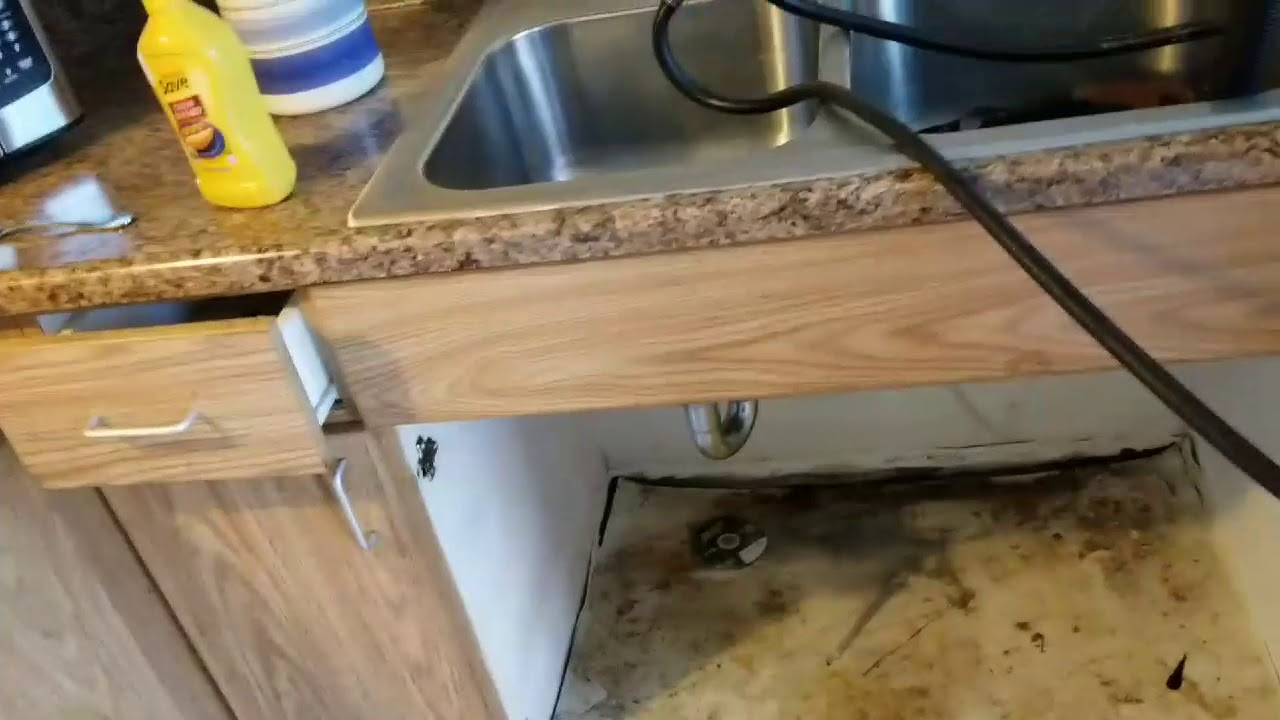
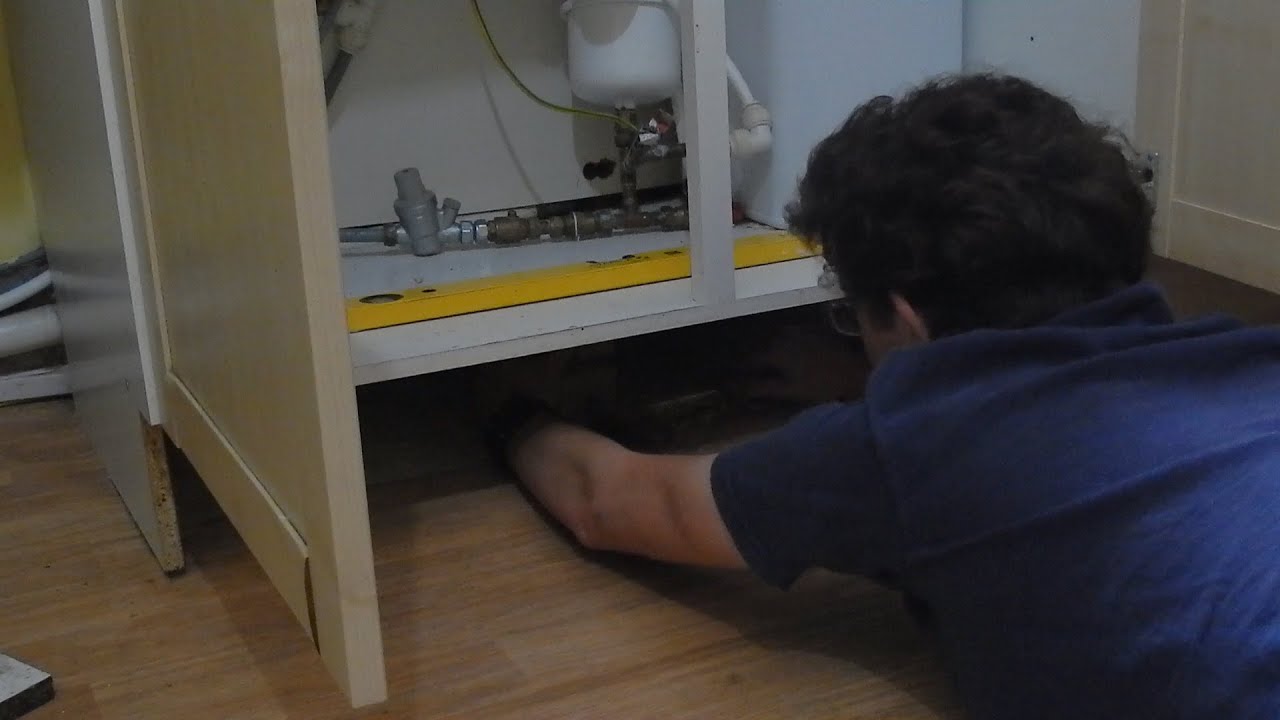
If your cabinet bottom is only partially damaged, you may be able to repair it instead of replacing it entirely. Start by sanding down the damaged area to remove any rough edges or splinters. Then, apply wood filler to any cracks or holes, and smooth it out with a putty knife. Once the filler has dried, sand it down again until it's flush with the rest of the cabinet bottom. This method can save you time and money, but may not be as effective for more severe damage.DIY Kitchen Cabinet Repair: How to Fix a Broken Cabinet Bottom


DIY Kitchen Cabinet Repair: How to Fix a Broken Cabinet Bottom


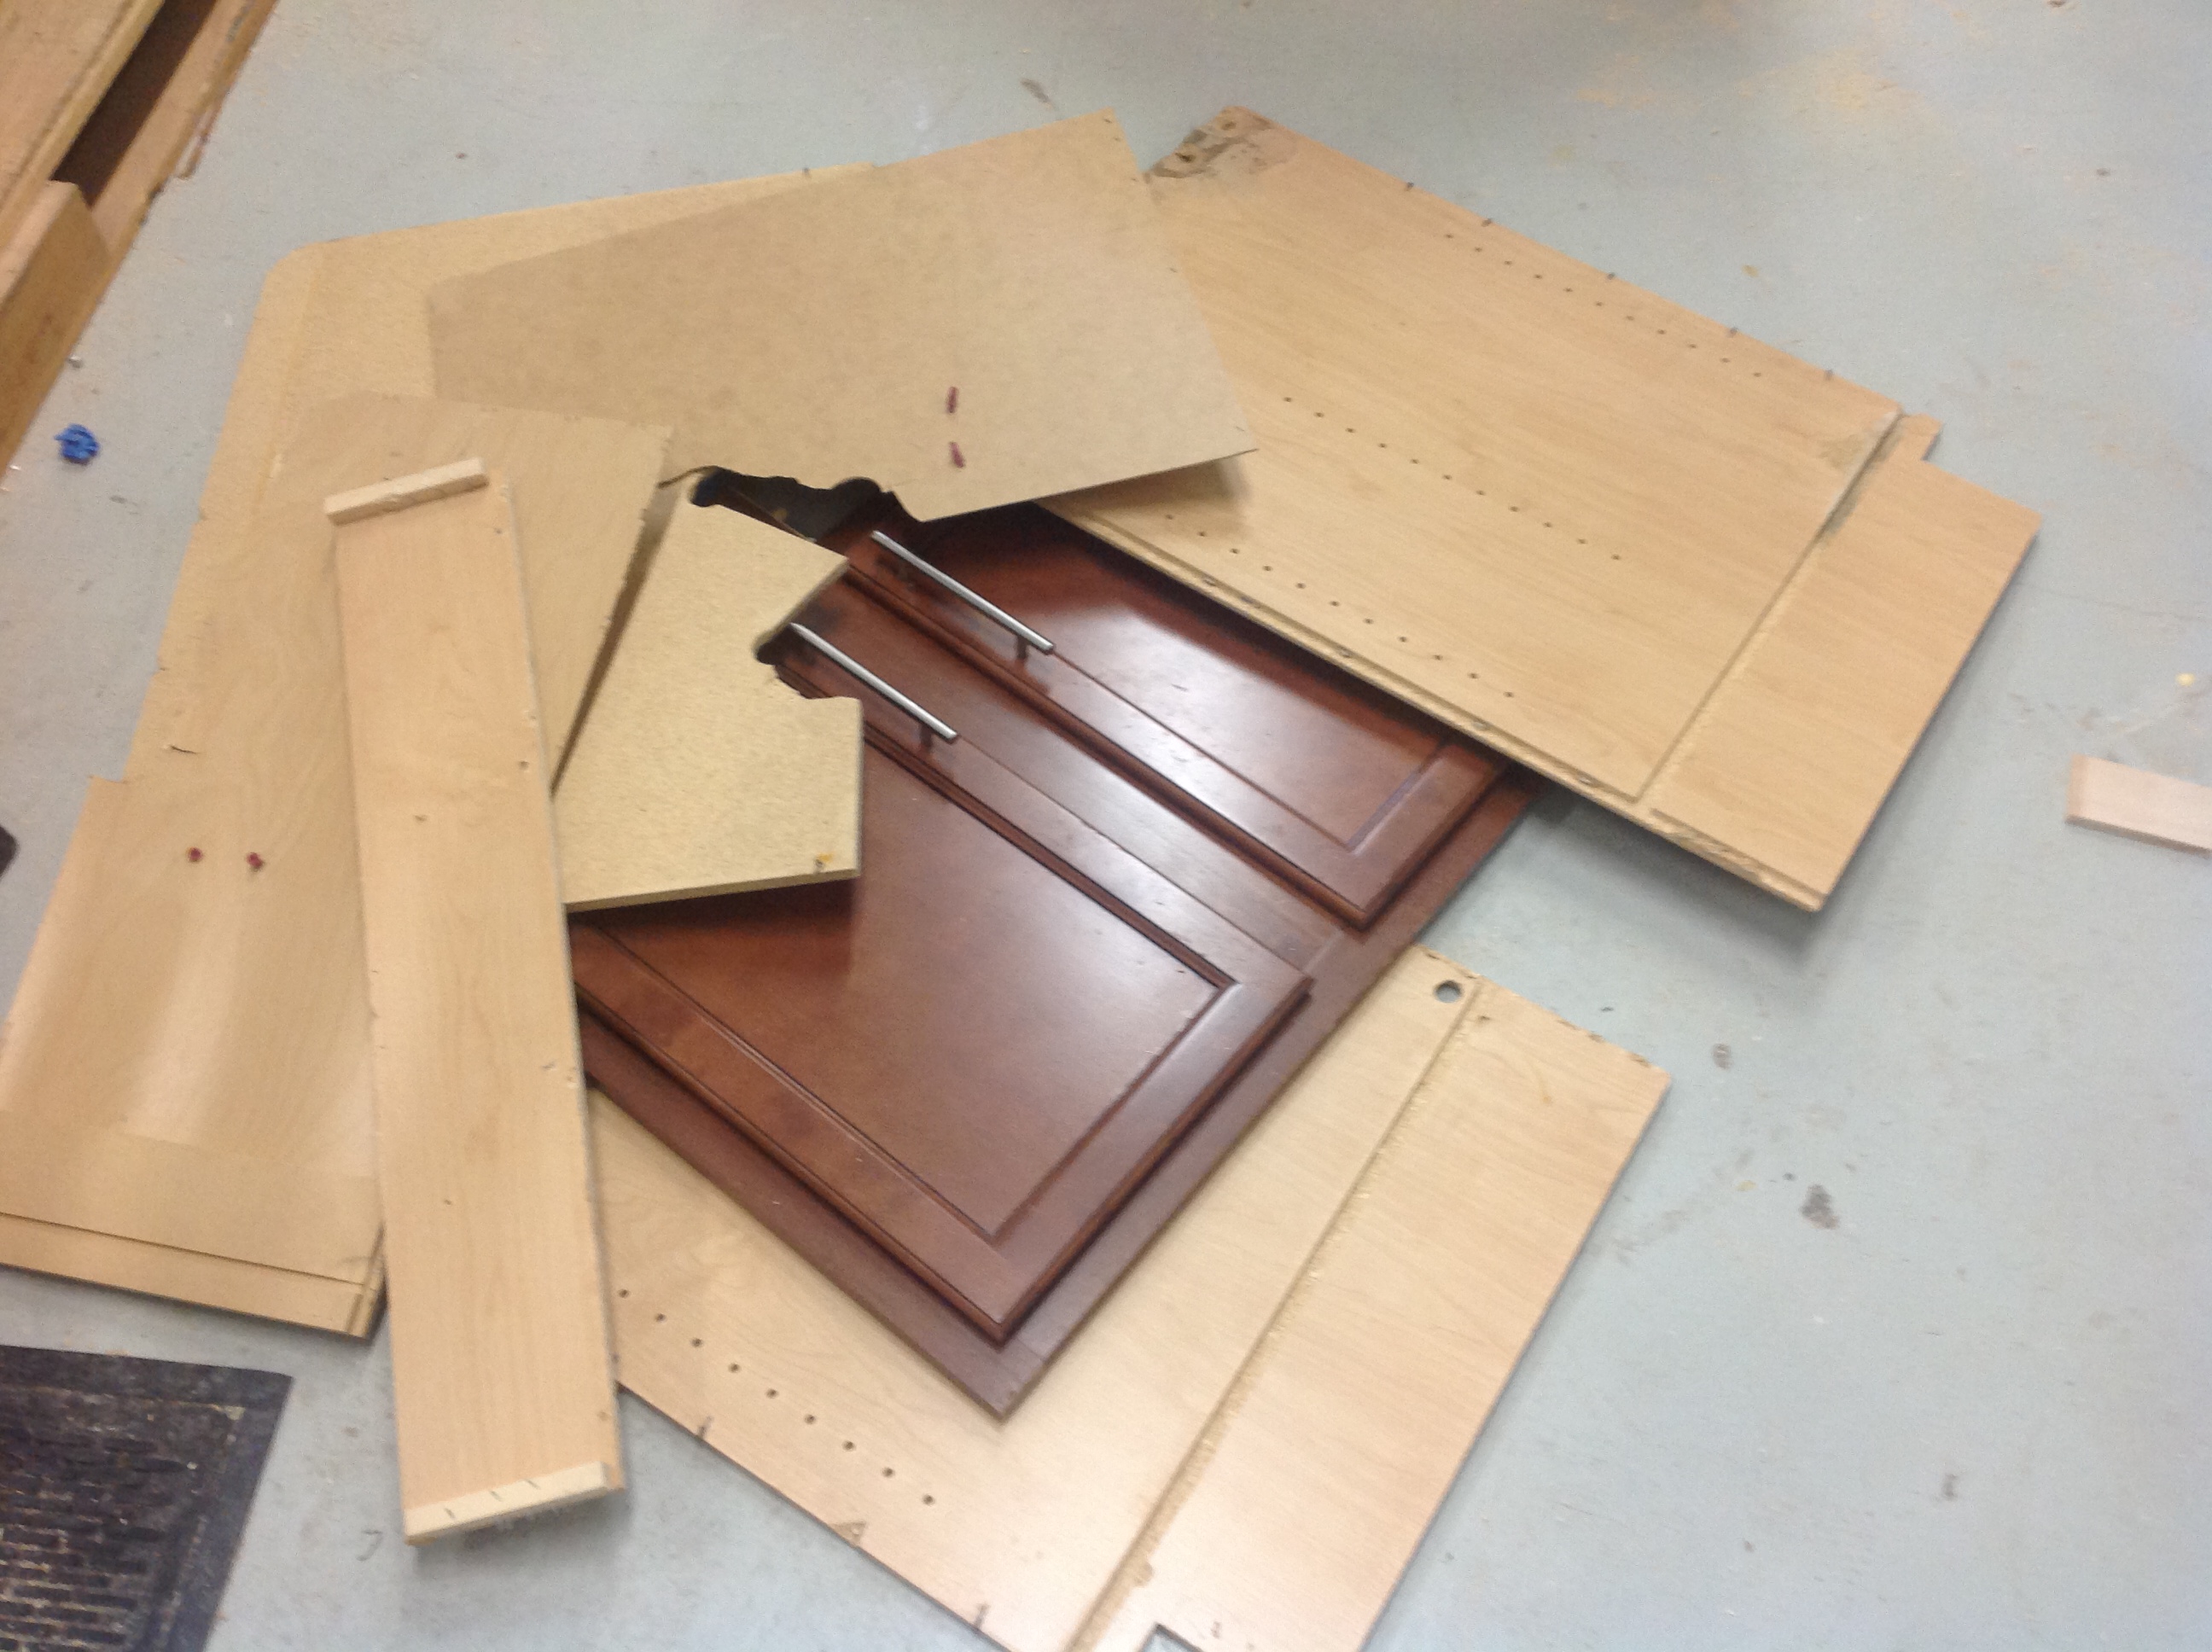
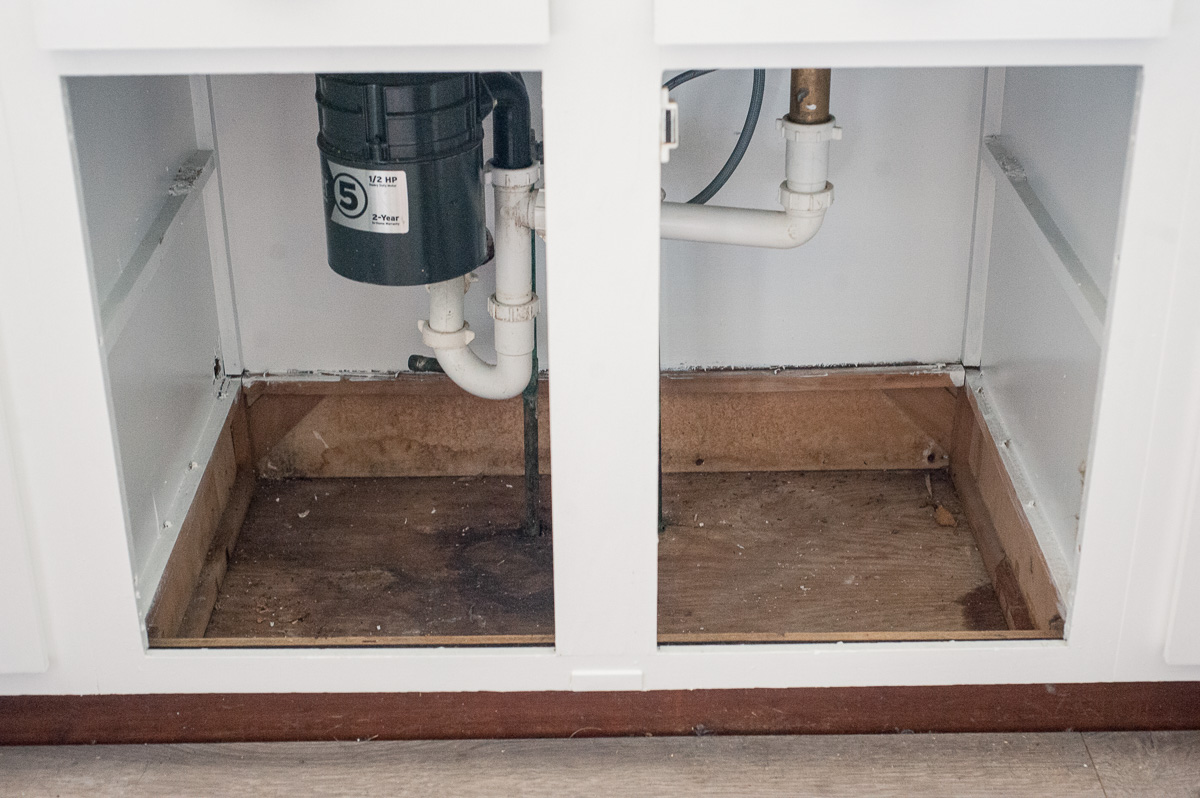
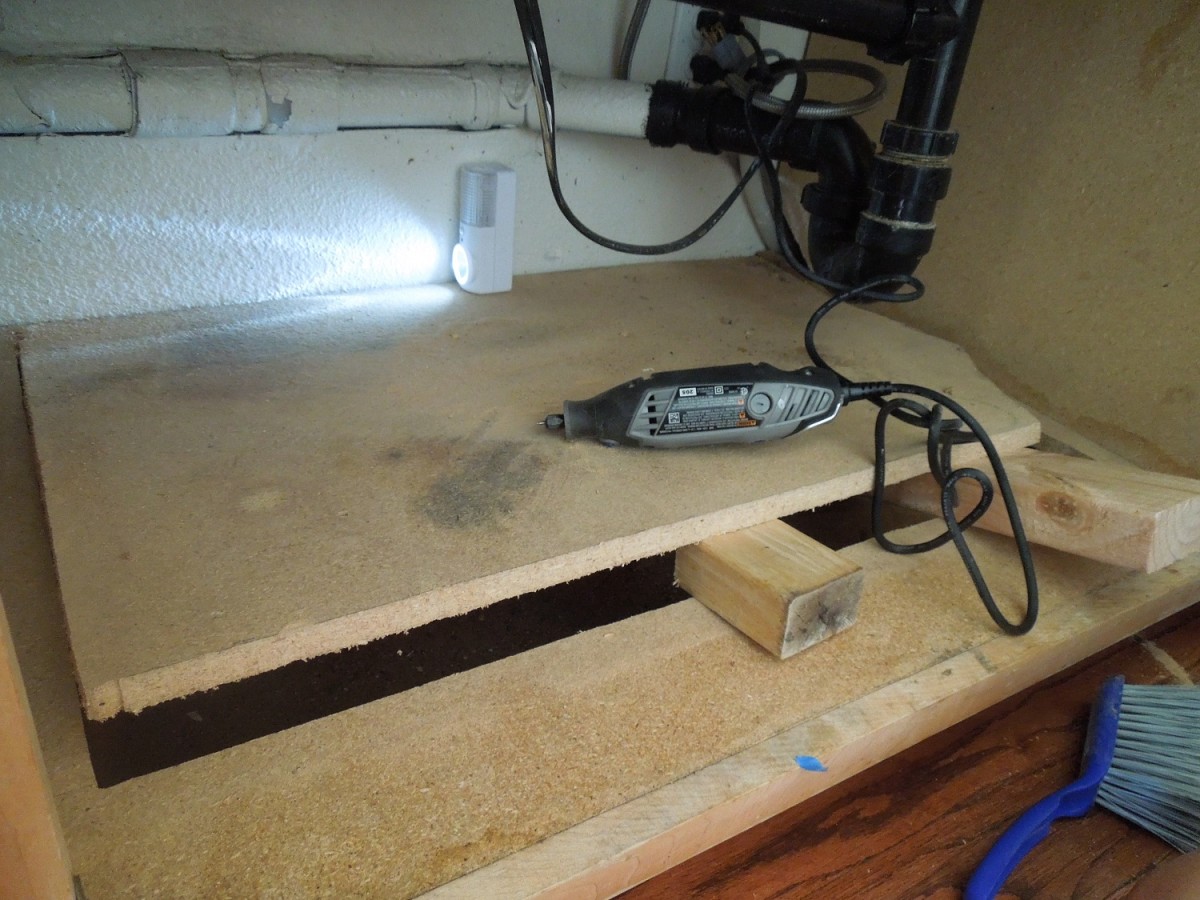
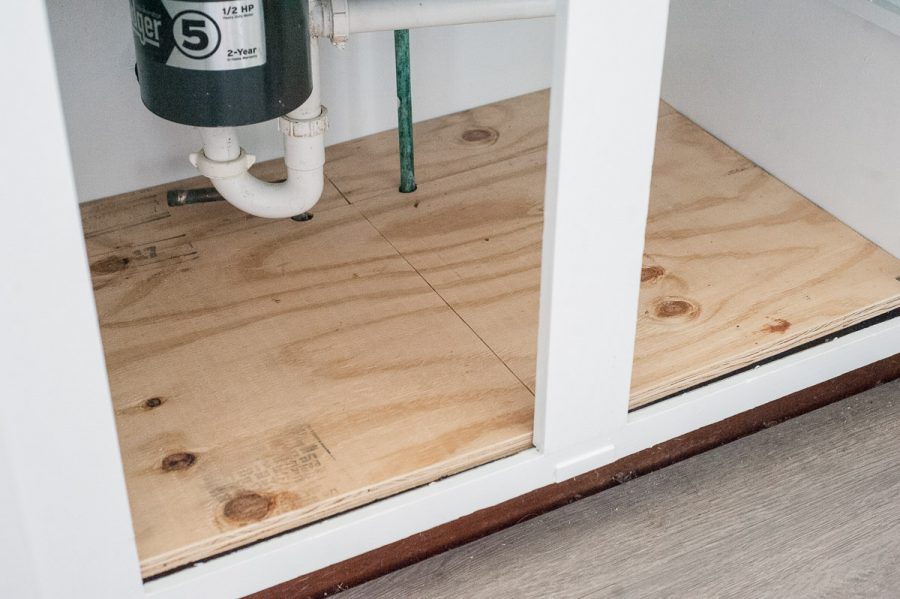
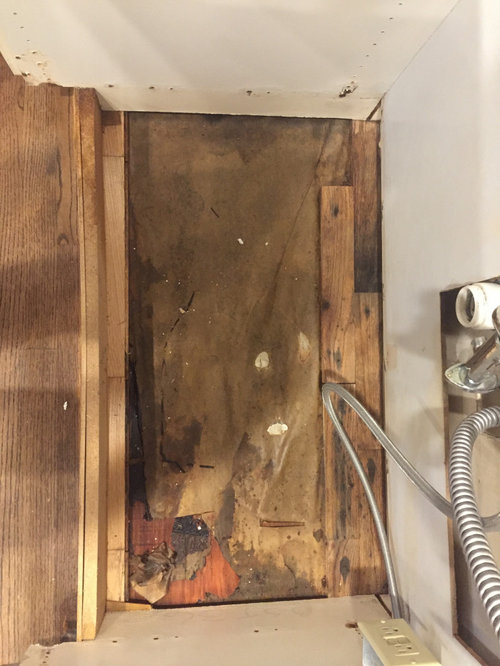
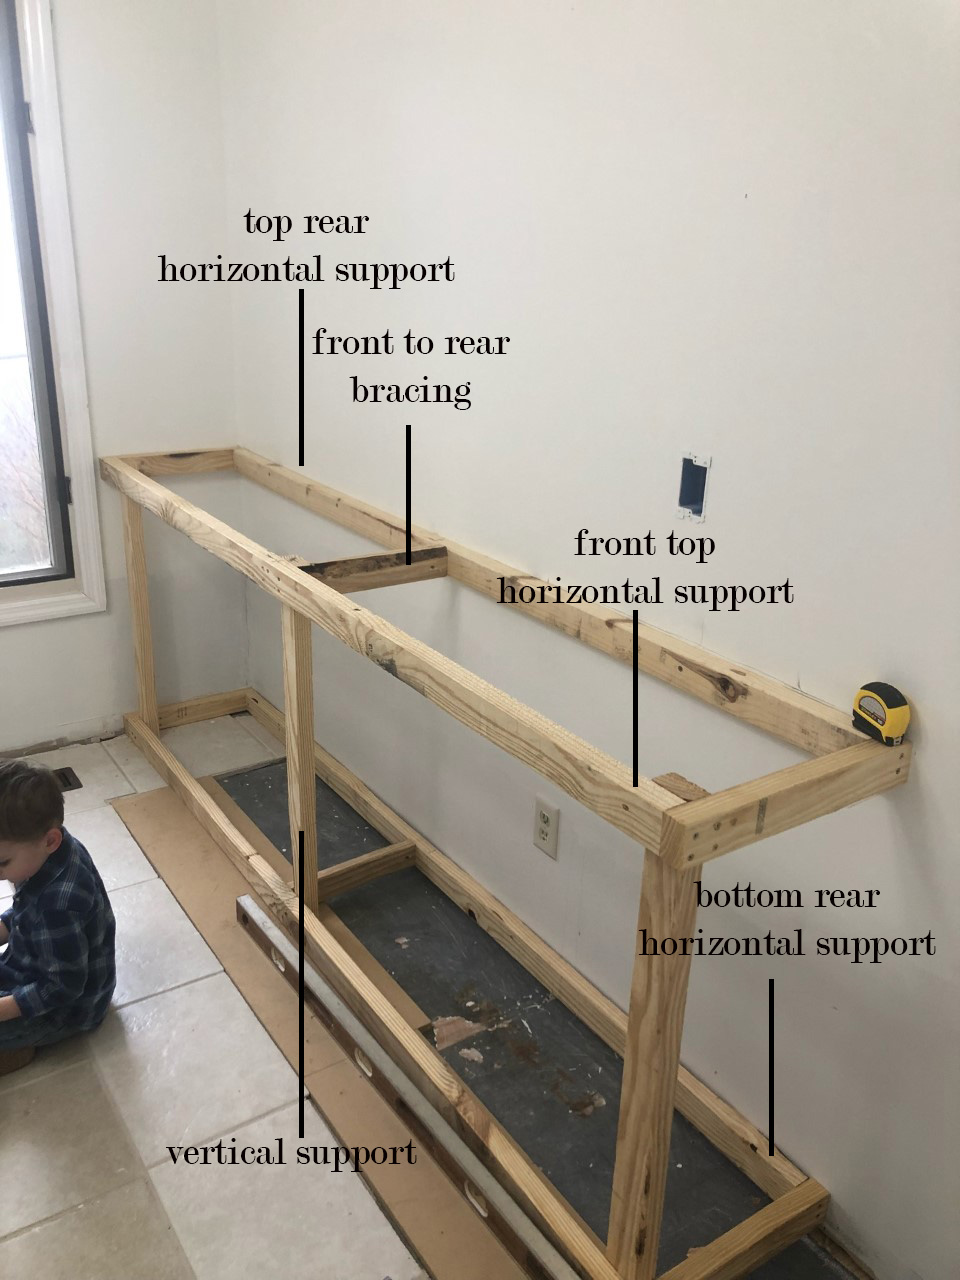
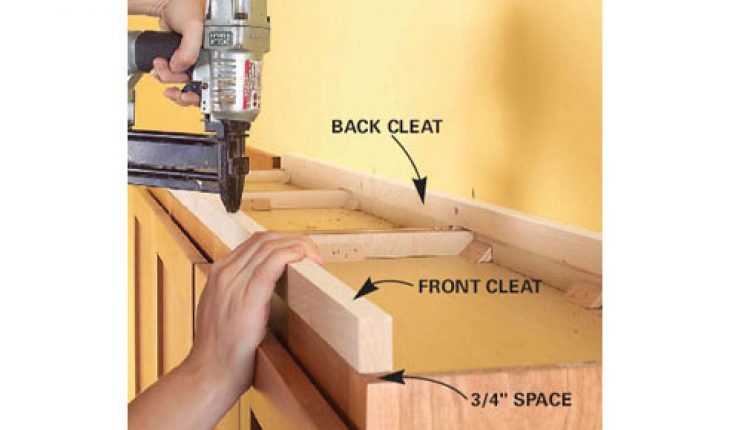
If the damage to your cabinet bottom is extensive, you may need to replace the entire floor of the cabinet. Measure the dimensions of the floor and cut a new piece of wood to fit. Use a jigsaw to cut around any pipes or fixtures if necessary. Then, place the new floor into the cabinet and secure it in place with screws. Be sure to seal any gaps with caulk to prevent water from leaking through.Replacing a Kitchen Sink Cabinet Floor


Replacing a Kitchen Sink Cabinet Floor

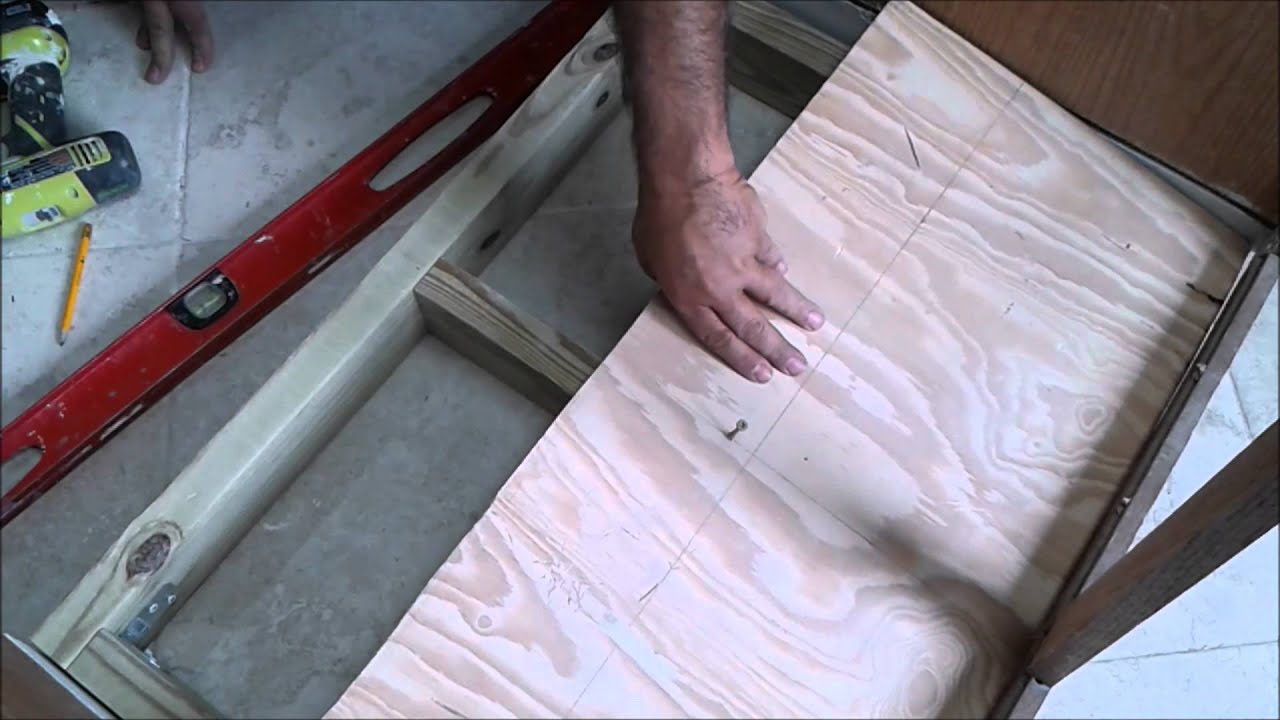
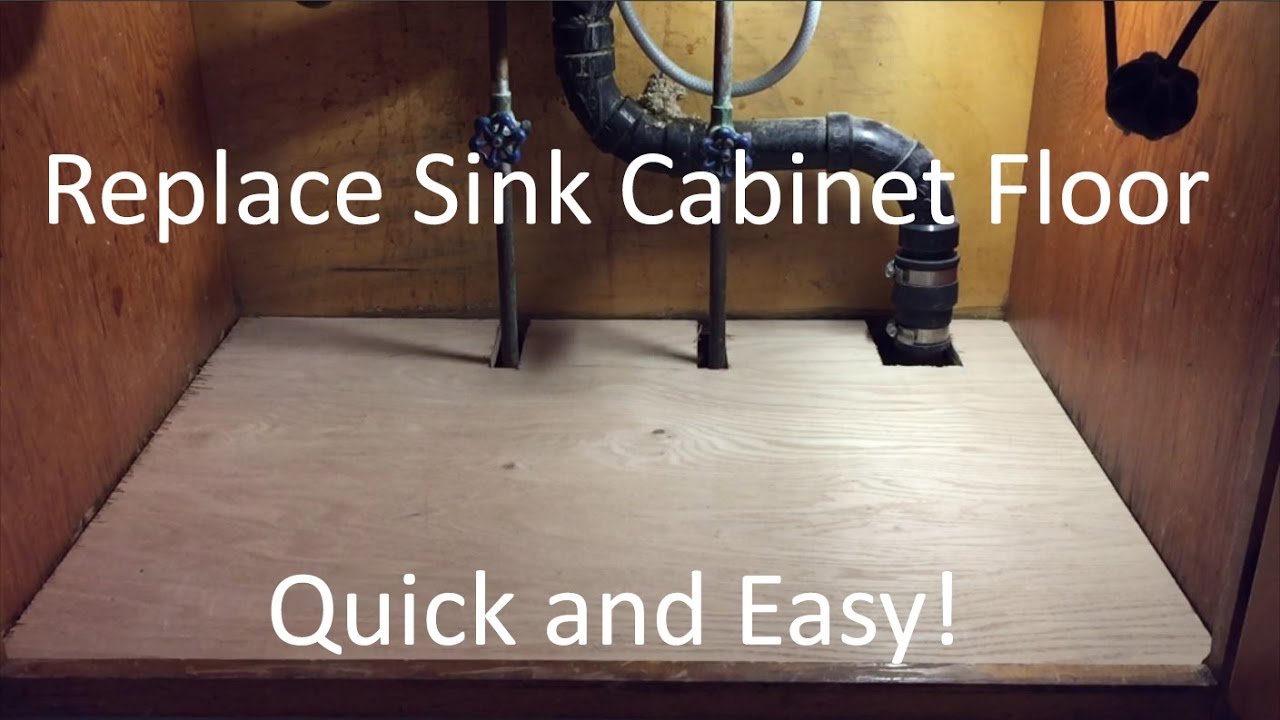
Replacing a kitchen sink cabinet floor may seem like a daunting task, but with the right tools and materials, it can be a straightforward process. In addition to the new piece of wood, you'll need a drill, screws, a jigsaw, a screwdriver, and caulk. Follow the steps outlined above, and you'll have a new cabinet floor in no time.How to Replace a Kitchen Sink Cabinet Floor


How to Replace a Kitchen Sink Cabinet Floor
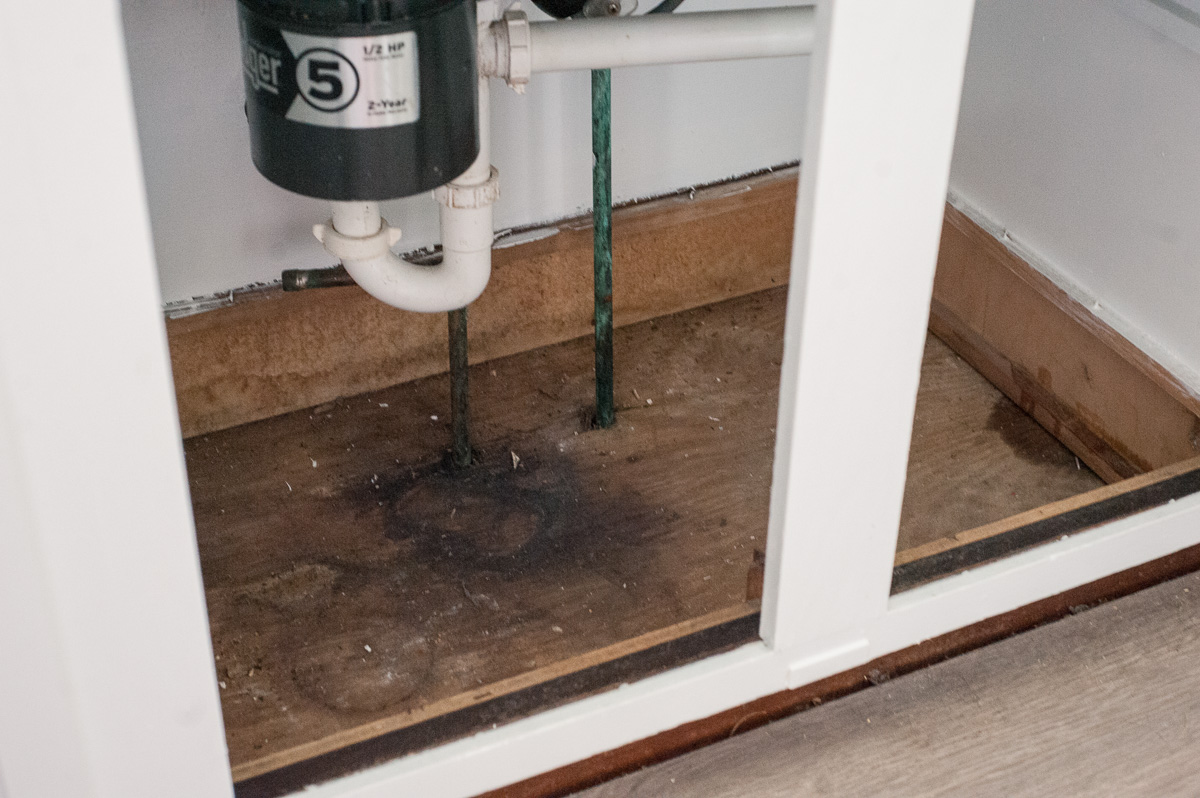

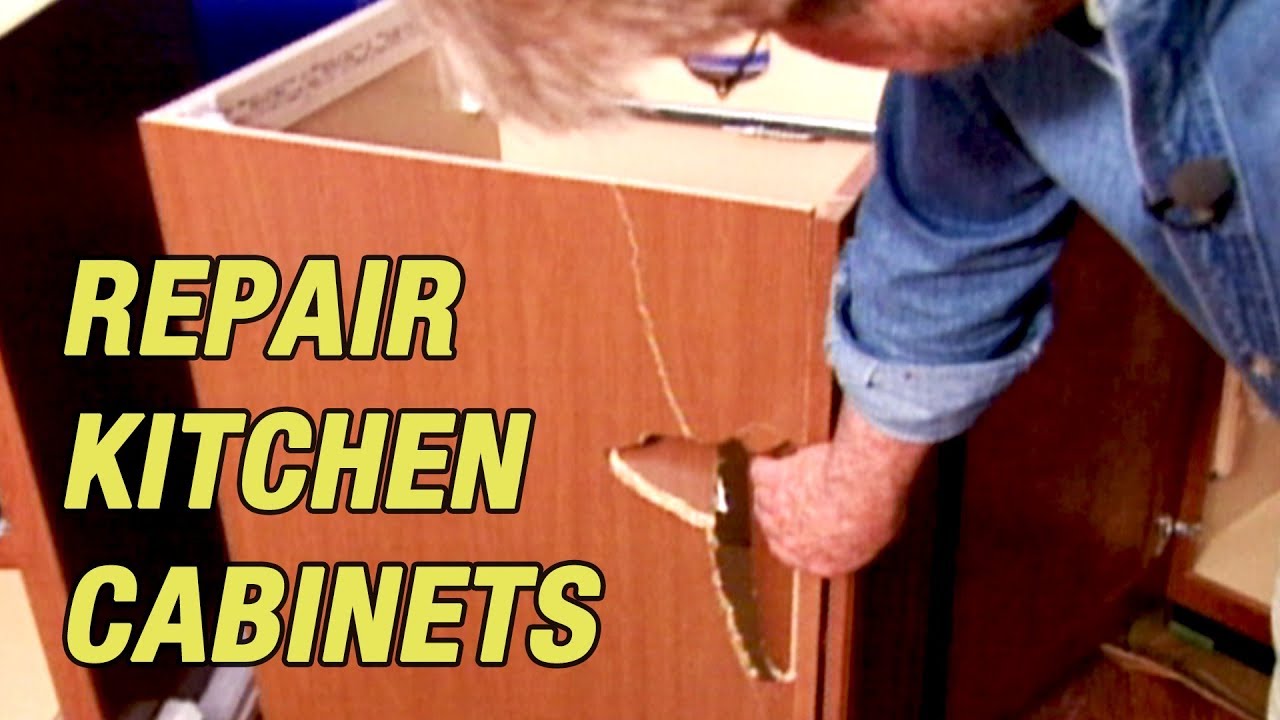
If your cabinet floor is only slightly damaged, you may be able to repair it instead of replacing it entirely. In addition to the materials listed above, you'll also need wood glue and clamps. Start by removing any damaged sections of wood and sanding down the rest. Then, apply wood glue to the damaged area and secure it with clamps while it dries. Once the glue has dried, sand down the repaired area and seal any gaps with caulk.How to Repair a Kitchen Sink Cabinet Floor

How to Repair a Kitchen Sink Cabinet Floor

If the damage to your cabinet is not limited to the bottom, you may need to replace the entire base. This process is similar to replacing the cabinet floor, but you'll also need to remove the cabinet doors and hinges and reinstall them on the new base. Be sure to use a level to ensure the new base is installed correctly and evenly.Replacing a Kitchen Sink Cabinet Base


Replacing a Kitchen Sink Cabinet Base


Replacing a kitchen sink cabinet base may require a bit more time and effort, but it can make a significant difference in the overall appearance and functionality of your cabinets. In addition to the materials listed above, you'll also need a level, hinges, and a screwdriver. Follow the steps outlined above, and your cabinets will look as good as new in no time.How to Replace a Kitchen Sink Cabinet Base


How to Replace a Kitchen Sink Cabinet Base

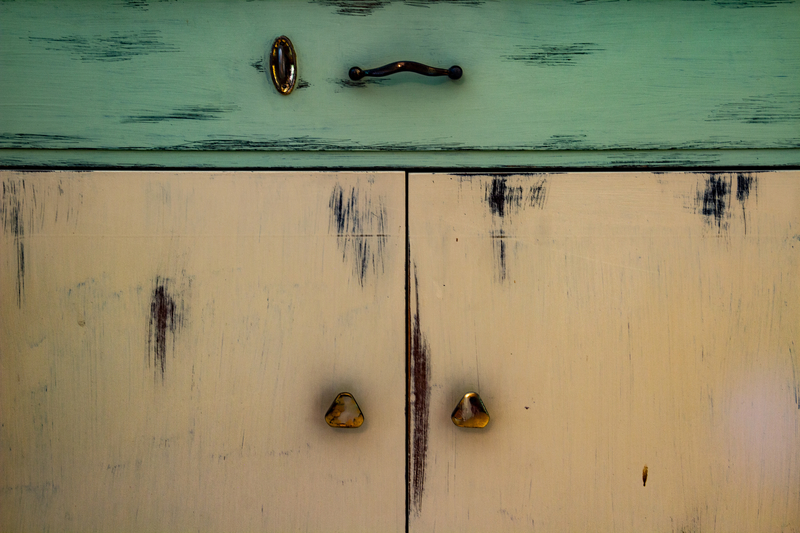
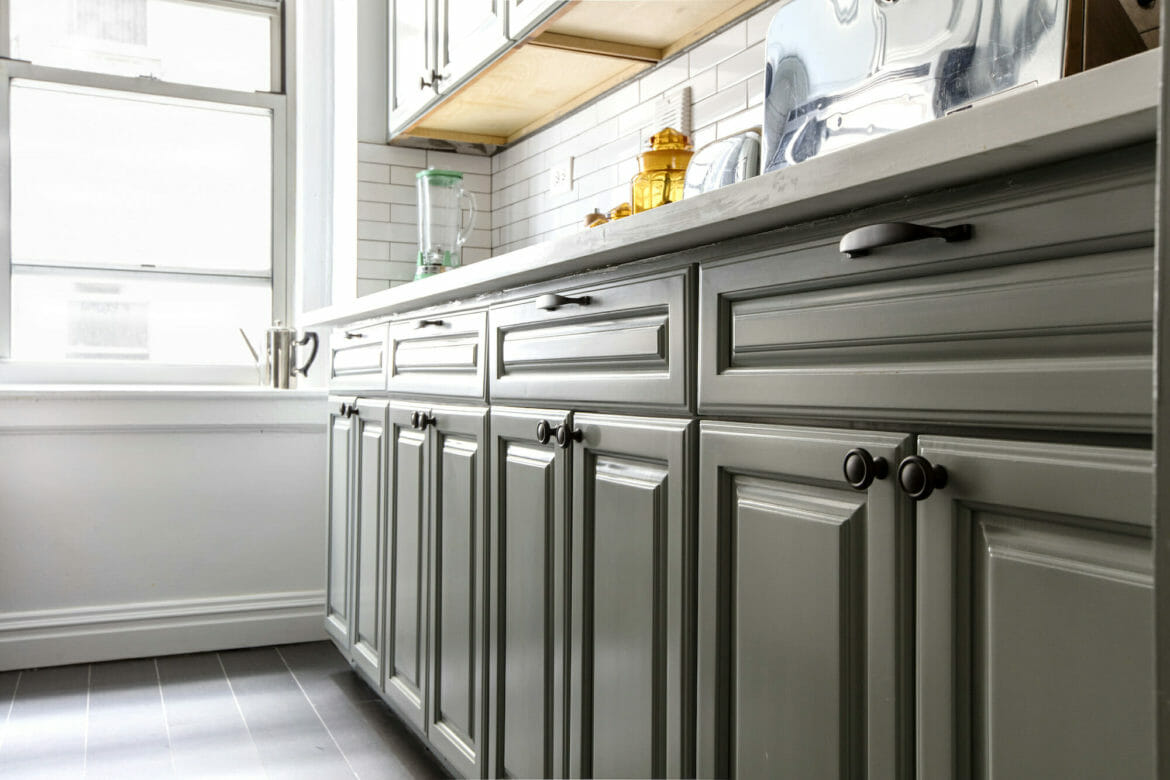
For smaller damage to your cabinet base, you may be able to repair it instead of replacing it entirely. Use wood filler to fill in any cracks or holes, and sand it down until it's smooth. Then, paint or stain the repaired area to match the rest of the cabinet. This method is a quick and affordable solution for minor damage.DIY Kitchen Cabinet Repair: How to Fix a Broken Cabinet Base
DIY Kitchen Cabinet Repair: How to Fix a Broken Cabinet Base


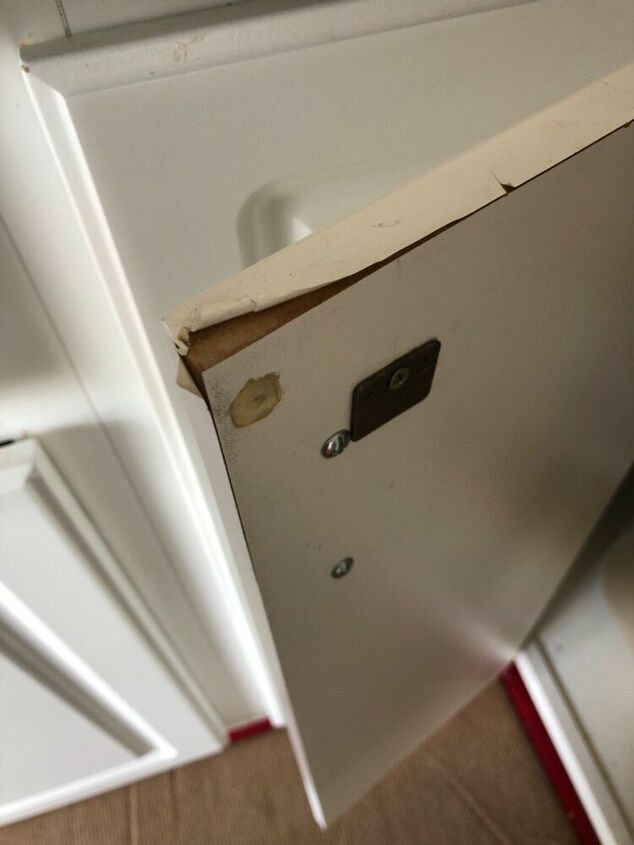
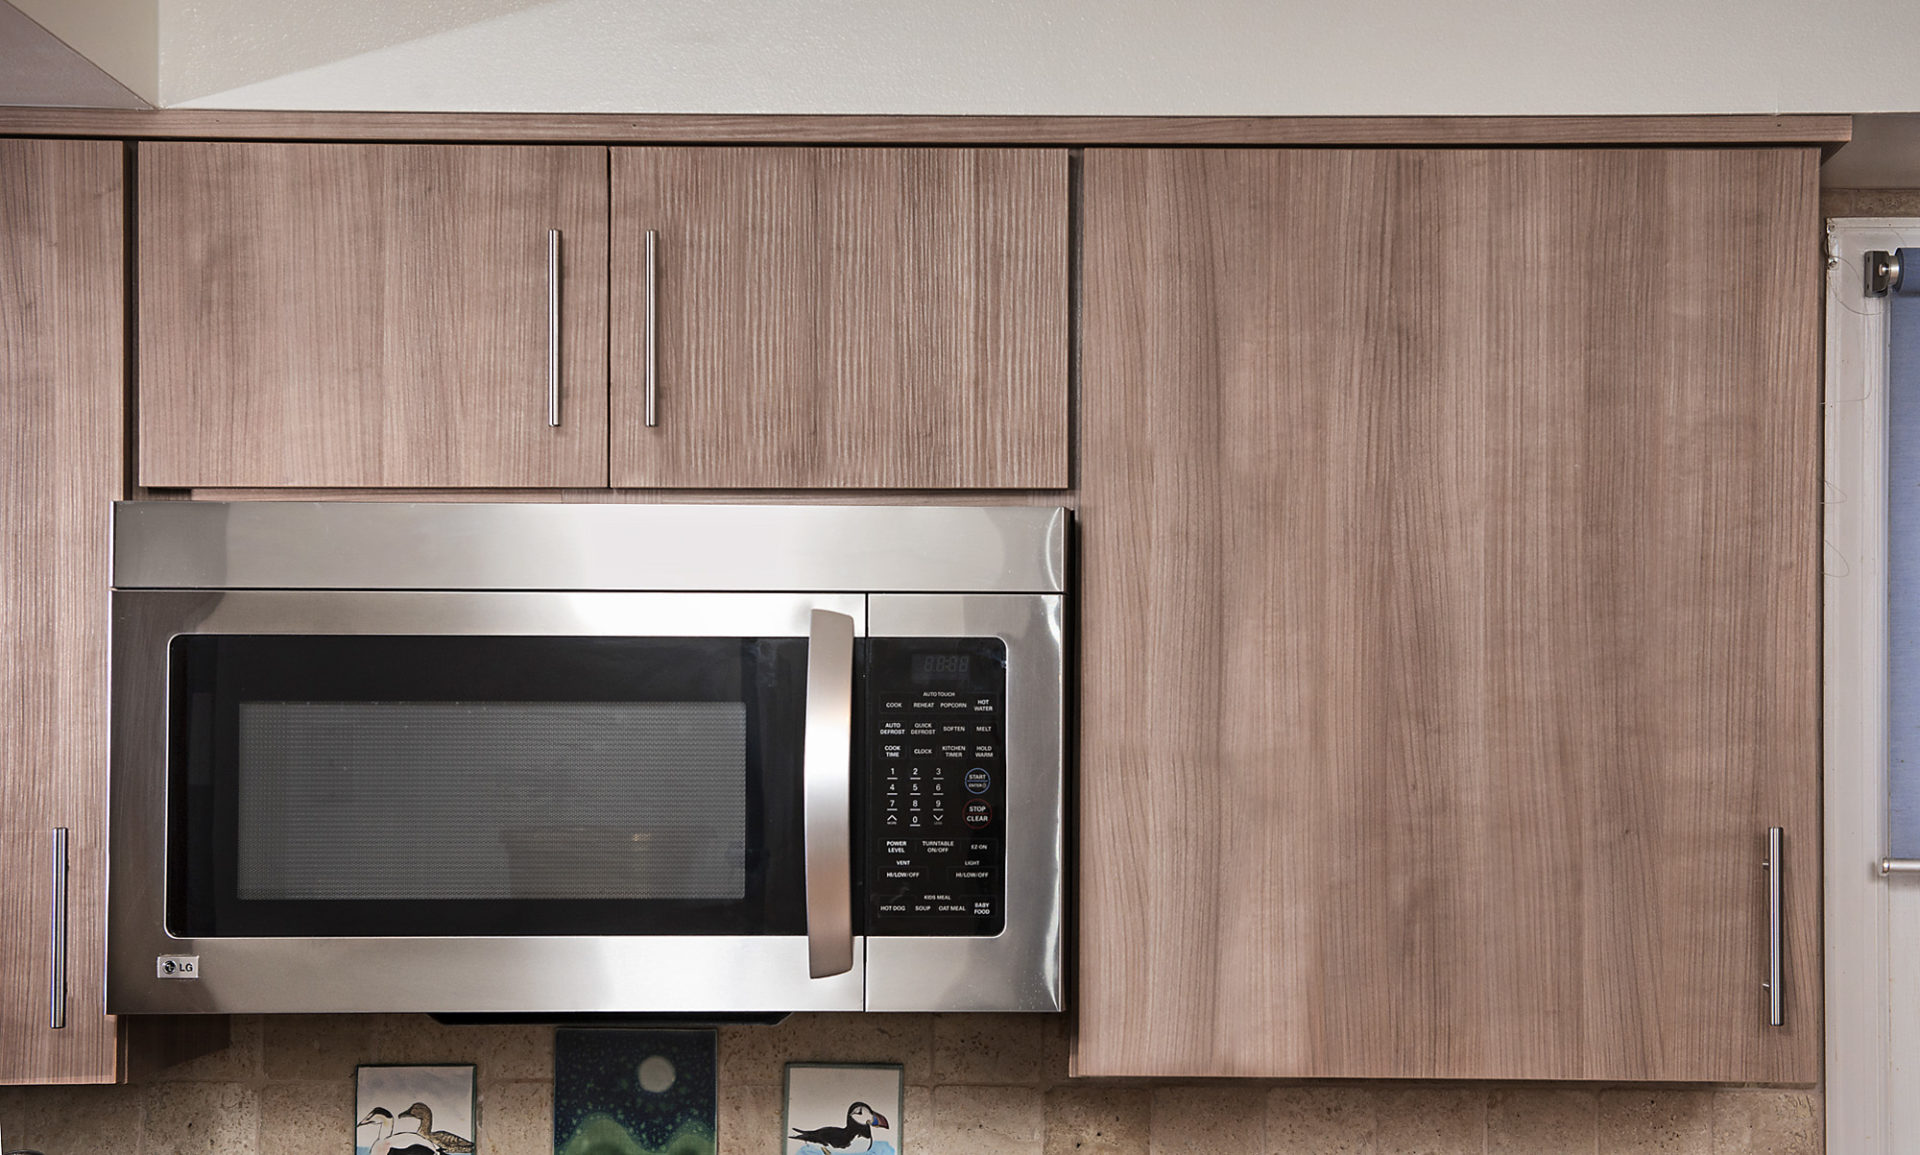
In some cases, the damage to your kitchen sink cabinet may be limited to just the doors. If this is the case, you can easily replace them without having to replace the entire cabinet. Measure the dimensions of the old door and purchase a new one that matches. Then, remove the old door and hinges and install the new one in its place. This is a simple and cost-effective solution for damaged cabinet doors. With these tips, you can easily replace or repair the wood under your kitchen sink and keep your cabinets looking and functioning at their best. Regular maintenance and repairs can help prolong the life of your cabinets, saving you time and money in the long run.Replacing a Kitchen Sink Cabinet Door


Replacing a Kitchen Sink Cabinet Door


Why You Should Consider Replacing the Wood Under Your Kitchen Sink

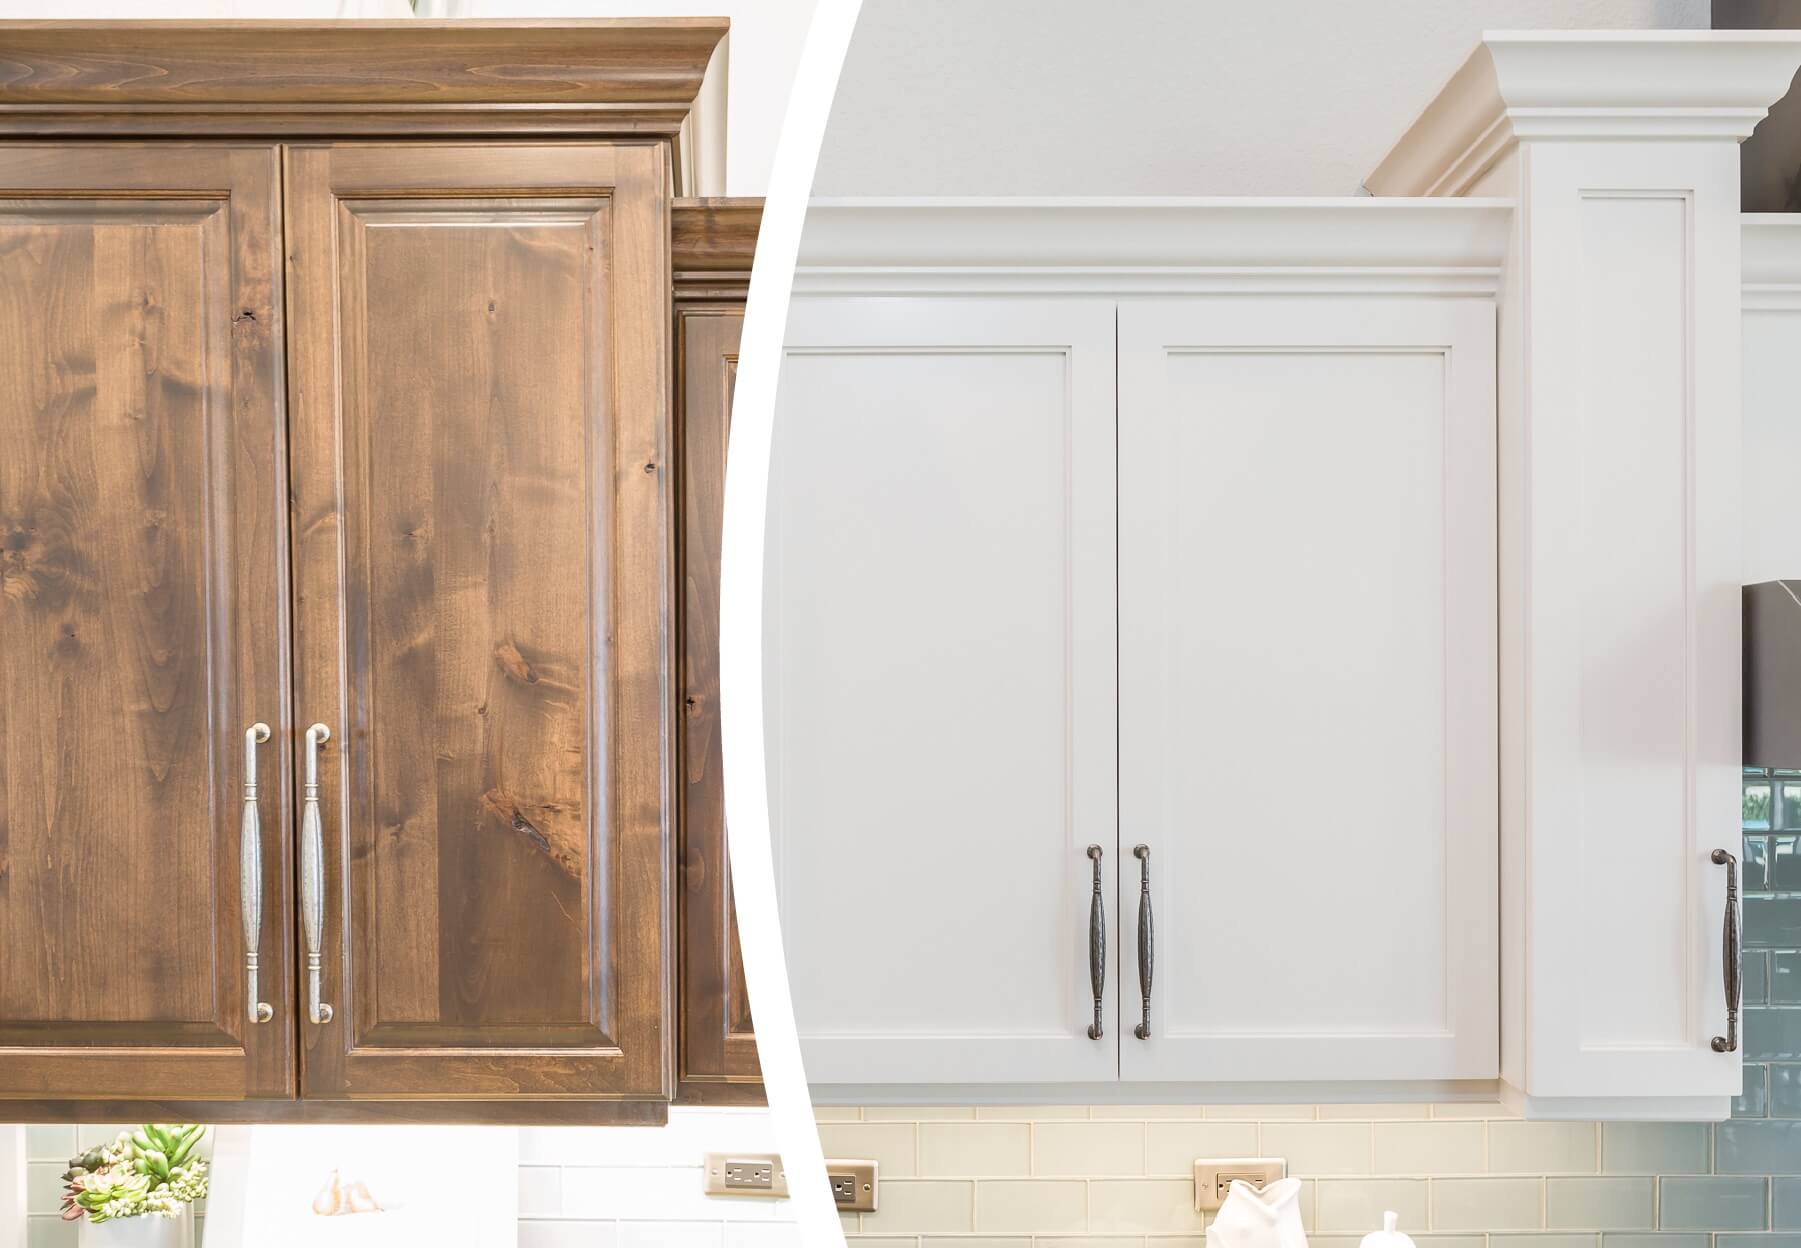
Aesthetics and Functionality
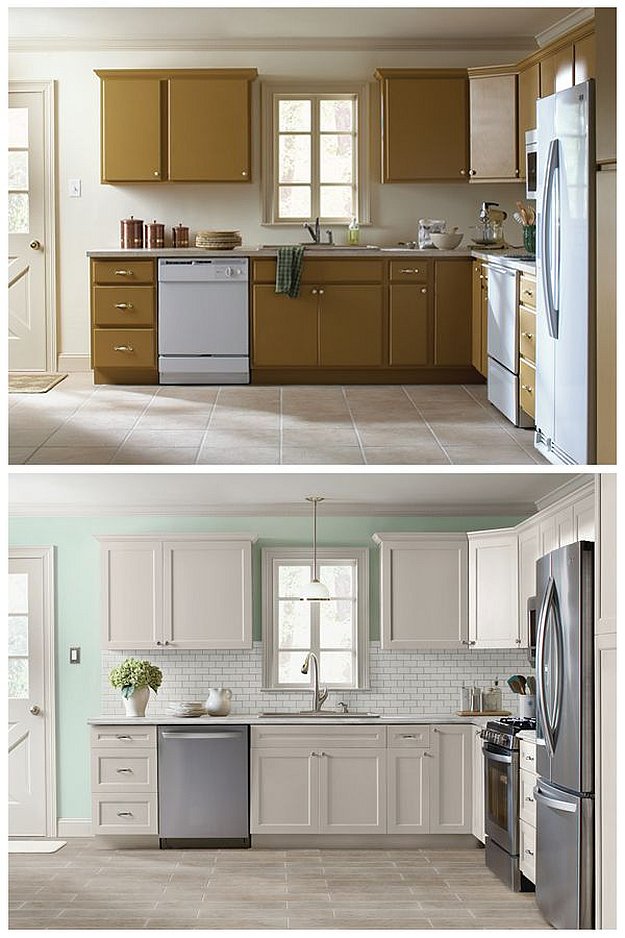
 When it comes to house design, the kitchen is often considered the heart of the home. It is where meals are prepared, memories are made, and conversations are had. As such, it is important to create a space that is both aesthetically pleasing and functional. However, one often overlooked aspect of kitchen design is the cabinet under the sink. This area is prone to damage from water and can quickly become an eyesore. That's why replacing the wood under your kitchen sink is a smart choice for both aesthetics and functionality.
Preventing Water Damage
 The area under the kitchen sink is constantly exposed to water. Whether it's from washing dishes, leaks from pipes, or spills, the wood can quickly become damaged. This not only affects the appearance of your kitchen, but it can also lead to bigger problems such as mold and mildew growth. By replacing the wood under your kitchen sink, you can prevent water damage and ensure the longevity of your cabinets.
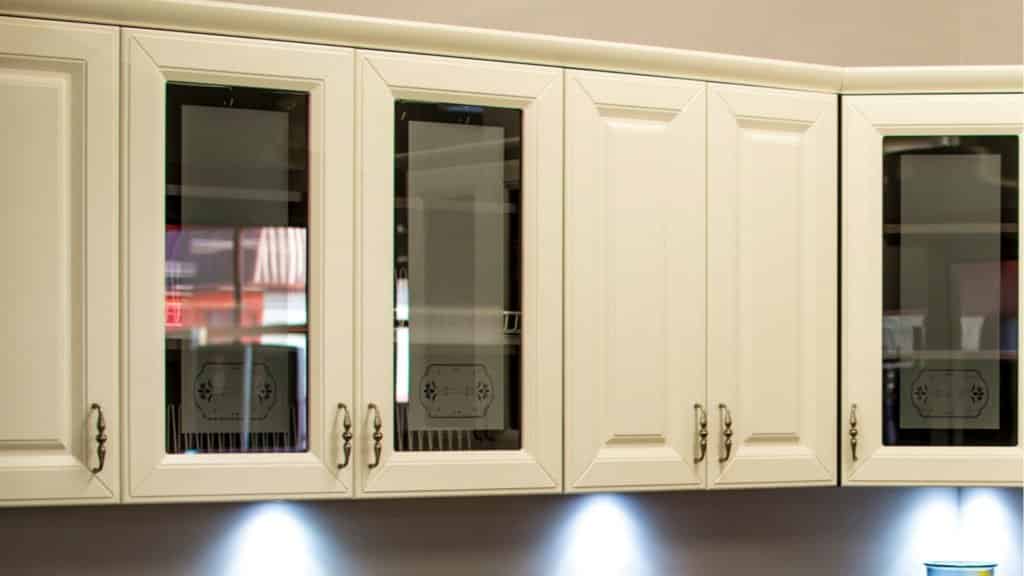
Improved Organization
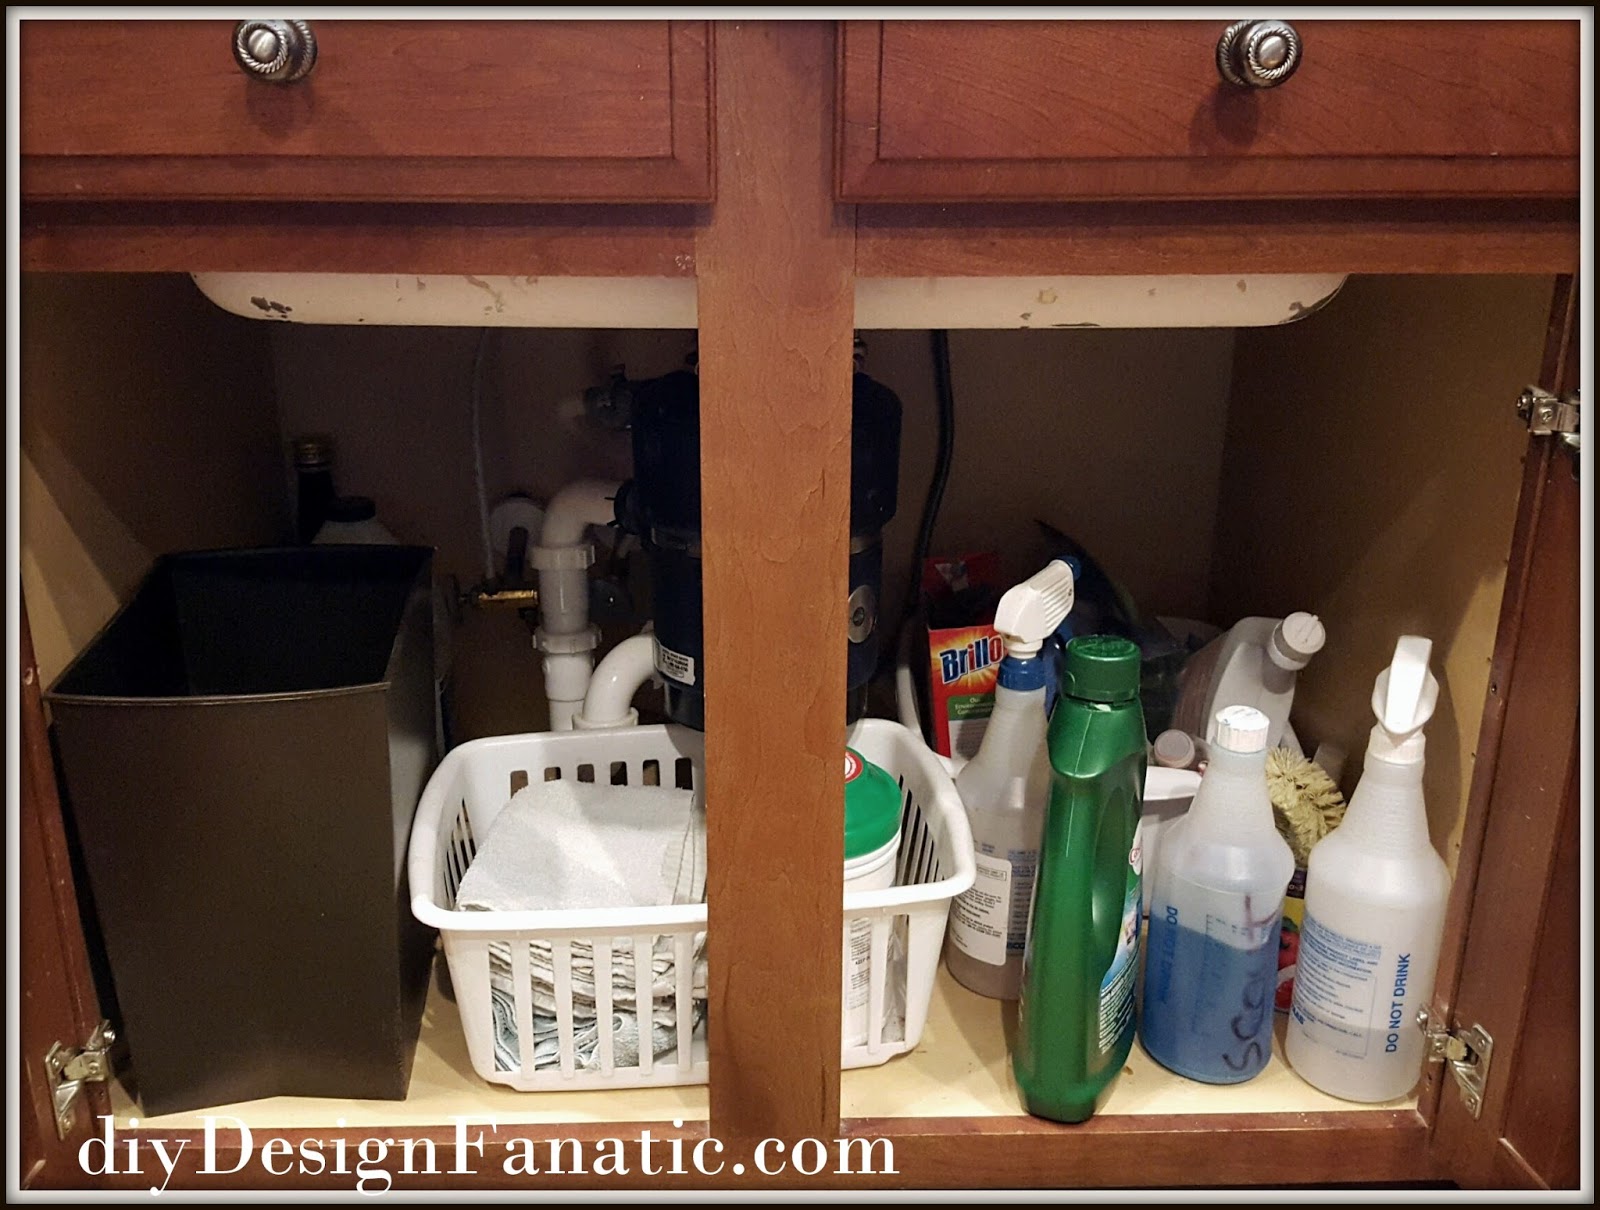
 Another benefit of replacing the wood under your kitchen sink is improved organization. Over time, the wood can become warped or damaged, making it difficult to properly store cleaning supplies and other items. By replacing the wood, you can create a clean, flat surface that is perfect for organizing your kitchen essentials. This will not only make your space more functional, but it will also make it easier to find and access the items you need.
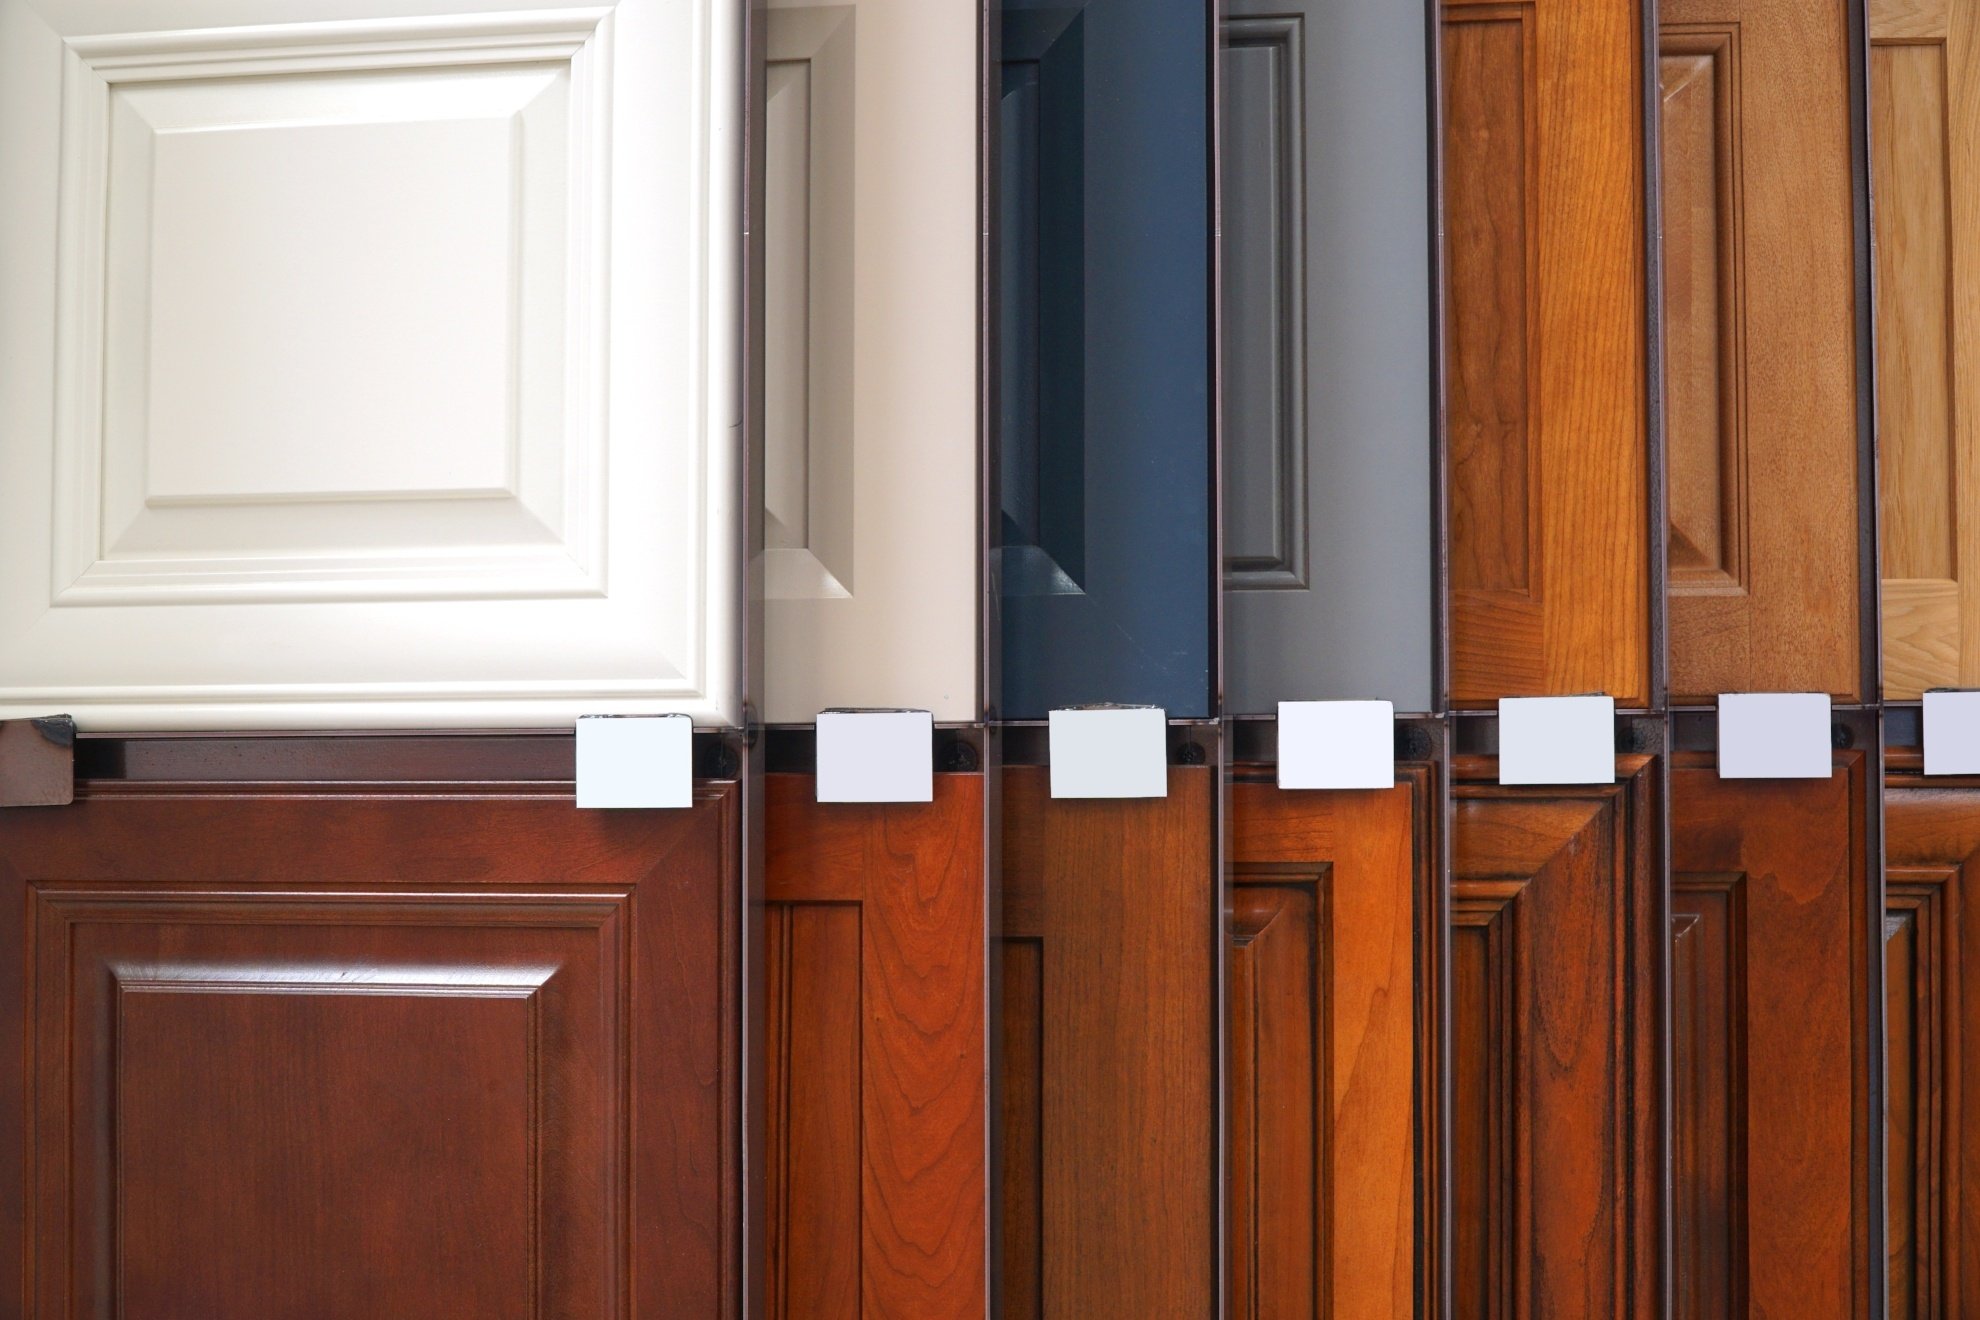
Enhanced Design Options
 Replacing the wood under your kitchen sink also opens up a world of design possibilities. You can choose from a variety of materials such as wood, laminate, or even metal. This allows you to customize the look of your kitchen and create a cohesive design that ties in with the rest of your home. Additionally, by choosing a durable and water-resistant material, you can ensure that your cabinets will withstand the wear and tear of daily use.
In conclusion, replacing the wood under your kitchen sink is a simple yet effective way to improve the overall design and functionality of your kitchen. With the added benefits of preventing water damage, improving organization, and enhancing design options, it's a smart choice for any homeowner looking to upgrade their space. So don't overlook this often neglected area of your kitchen and consider replacing the wood today!
Replacing the wood under your kitchen sink also opens up a world of design possibilities. You can choose from a variety of materials such as wood, laminate, or even metal. This allows you to customize the look of your kitchen and create a cohesive design that ties in with the rest of your home. Additionally, by choosing a durable and water-resistant material, you can ensure that your cabinets will withstand the wear and tear of daily use.
In conclusion, replacing the wood under your kitchen sink is a simple yet effective way to improve the overall design and functionality of your kitchen. With the added benefits of preventing water damage, improving organization, and enhancing design options, it's a smart choice for any homeowner looking to upgrade their space. So don't overlook this often neglected area of your kitchen and consider replacing the wood today!


