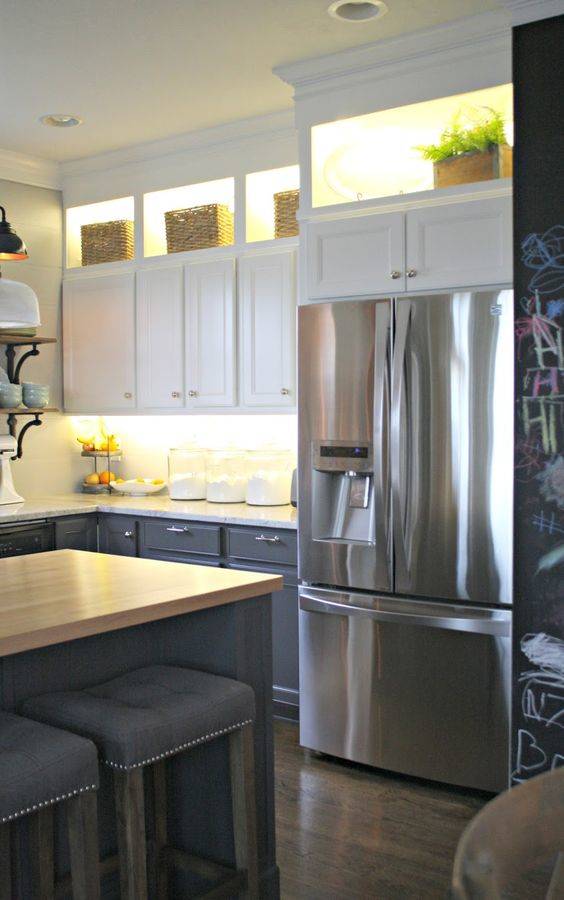
Adding under cabinet lighting is an easy and effective way to enhance the look and functionality of your kitchen. Not only does it provide extra lighting for cooking and food preparation, but it also adds a warm and inviting ambiance to your kitchen space. If you're thinking about installing under cabinet lighting in your new kitchen, here's a step-by-step guide to help you get started.How to Install Under Cabinet Lighting in Your Kitchen
Before you begin the installation process, it's important to understand the different types of under cabinet lighting available. The most common options include LED, fluorescent, and xenon lights. Each type has its own set of benefits, so it's important to choose the one that best suits your needs and preferences. LED lights are energy-efficient and long-lasting, while fluorescent lights are budget-friendly and easy to install. Xenon lights provide a warm and natural glow, but they can be more expensive. Consider your budget and lighting needs before making a decision.Installing Under Cabinet Lighting: A Guide for Homeowners
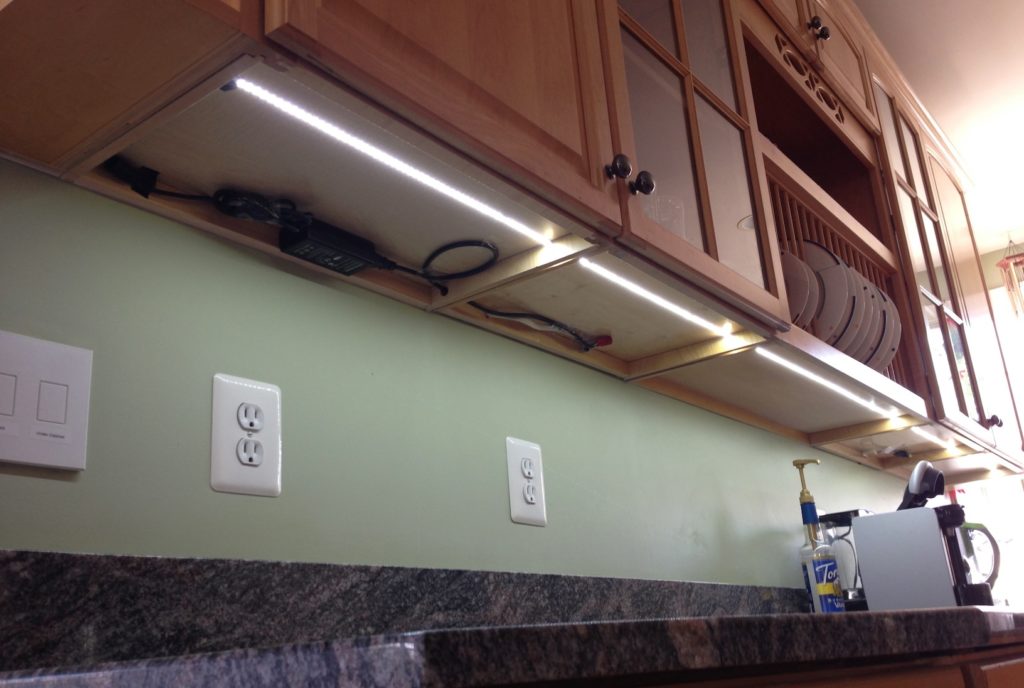
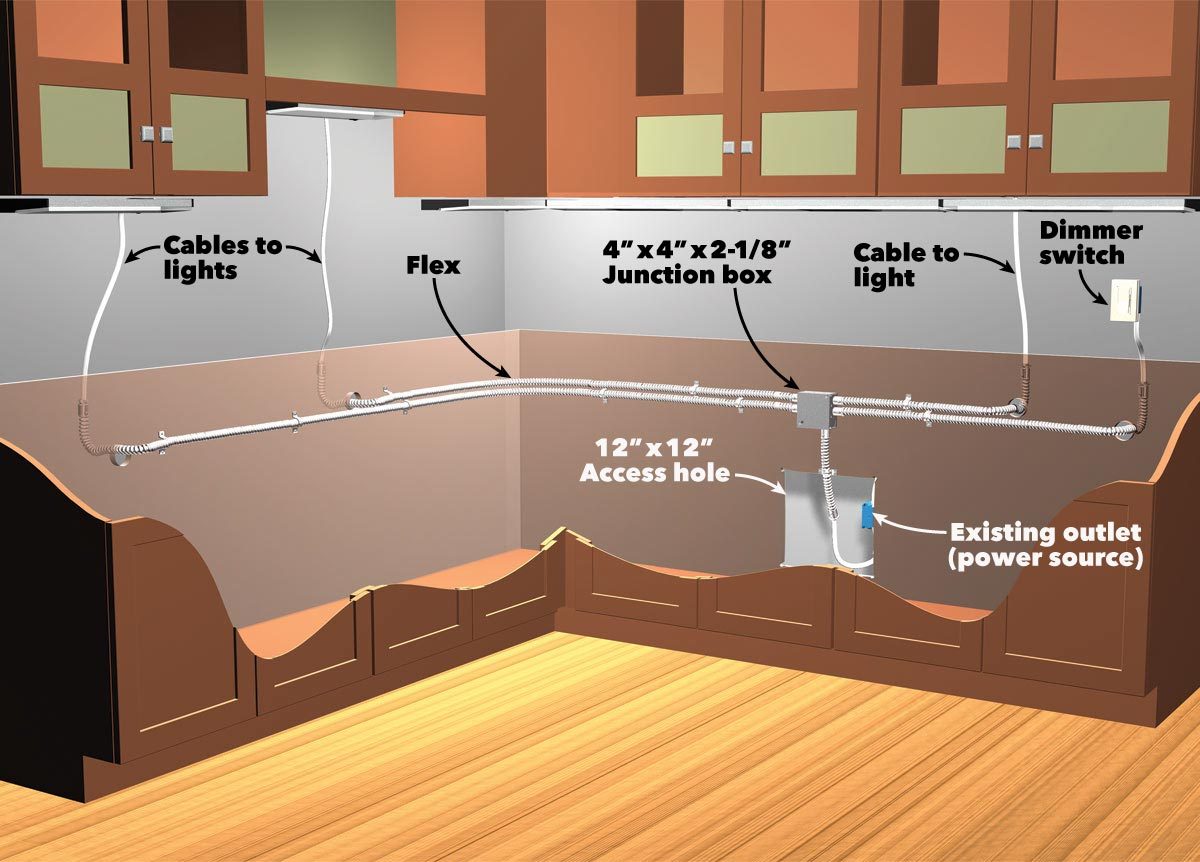
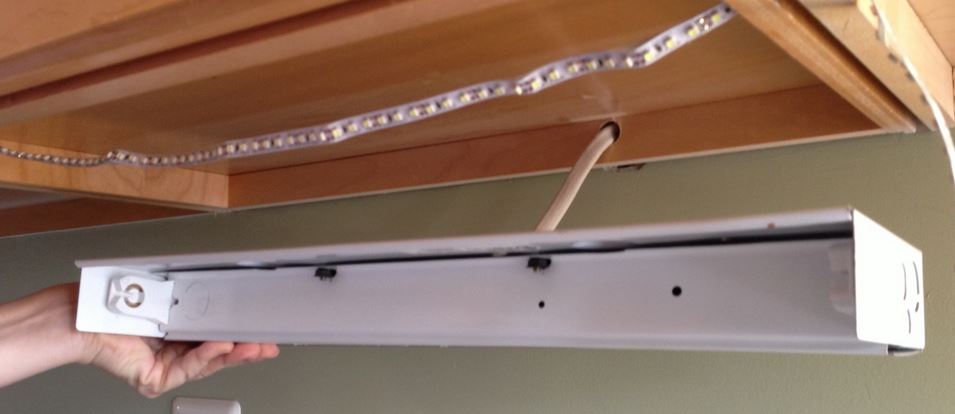
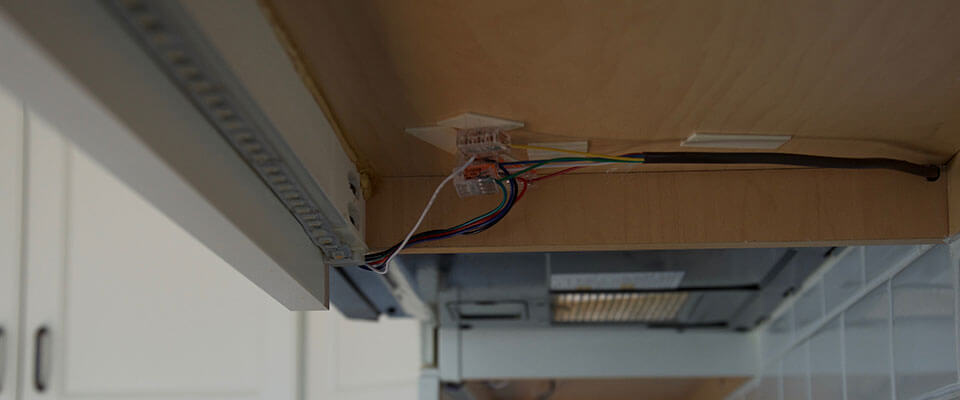
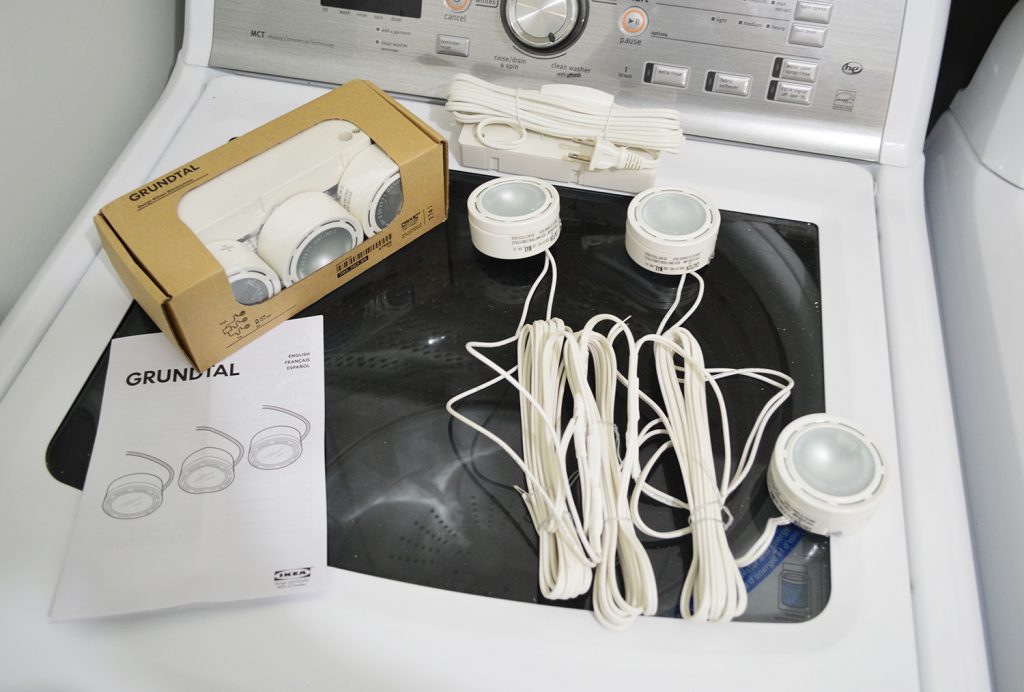
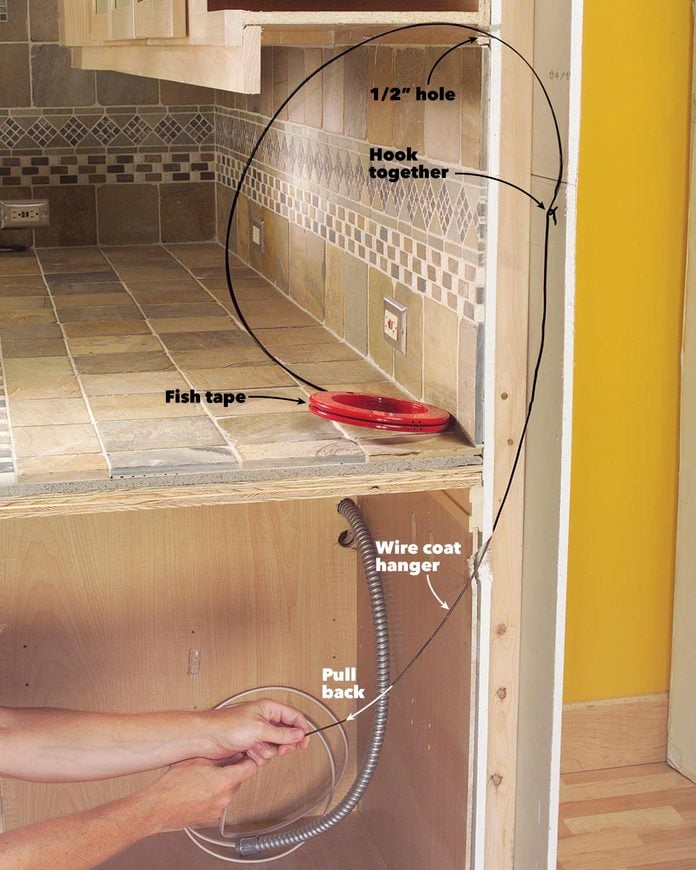
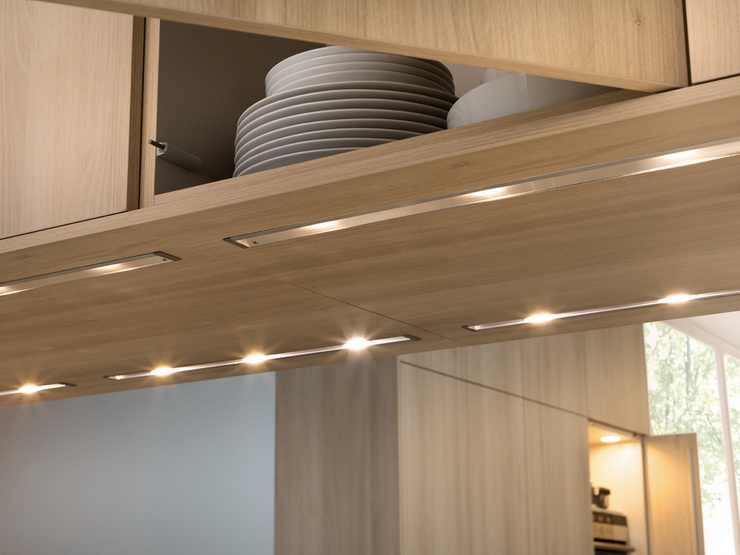
Step 1: Gather your materials. You will need the under cabinet lighting kit, a drill, screws, and a screwdriver. It's also a good idea to have a level handy to ensure your lights are installed straight. Step 2: Plan the placement of your lights. Measure and mark where you want the lights to be installed. It's recommended to have the lights evenly spaced, about 12 inches apart. Make sure to also take into consideration any obstacles, such as outlets or switches. Step 3: Drill holes for the lights. Use a drill to create holes for the lights to be installed. Make sure the holes are the appropriate size for your specific lights. Step 4: Install the lights. Place the lights into the drilled holes and secure them with screws. Use a level to make sure they are straight. Step 5: Connect the lights. Follow the instructions provided with your lighting kit to connect the lights together and to a power source. This may involve wiring and using a transformer, so if you're not comfortable with electrical work, it may be best to hire a professional. Step 6: Test the lights. Once everything is connected, turn on the lights to make sure they are working properly. Step 7: Conceal the wires. Use wire clips or adhesive clips to secure the wires to the underside of the cabinets to keep them hidden and organized. Step 8: Enjoy your new under cabinet lighting! Sit back and admire the warm and inviting glow in your kitchen.Step-by-Step Guide to Installing Under Cabinet Lighting
If you're a DIY enthusiast, installing under cabinet lighting can be a fun and rewarding project. Not only will it add value to your home, but it will also give you a sense of accomplishment. Follow the steps above and make sure to carefully read the instructions provided with your lighting kit. Don't be afraid to ask for help if you're unsure about any steps.DIY: Installing Under Cabinet Lighting in Your New Kitchen
When it comes to choosing the right under cabinet lighting for your new kitchen, it's important to consider both functionality and style. LED lights are a popular choice for their energy efficiency and long lifespan. They also come in a variety of colors to match your kitchen decor. Fluorescent lights are a budget-friendly option, while xenon lights provide a warm and natural glow. Consider the overall look and feel of your kitchen when choosing the right lighting for your cabinets.Choosing the Right Under Cabinet Lighting for Your New Kitchen Cabinets
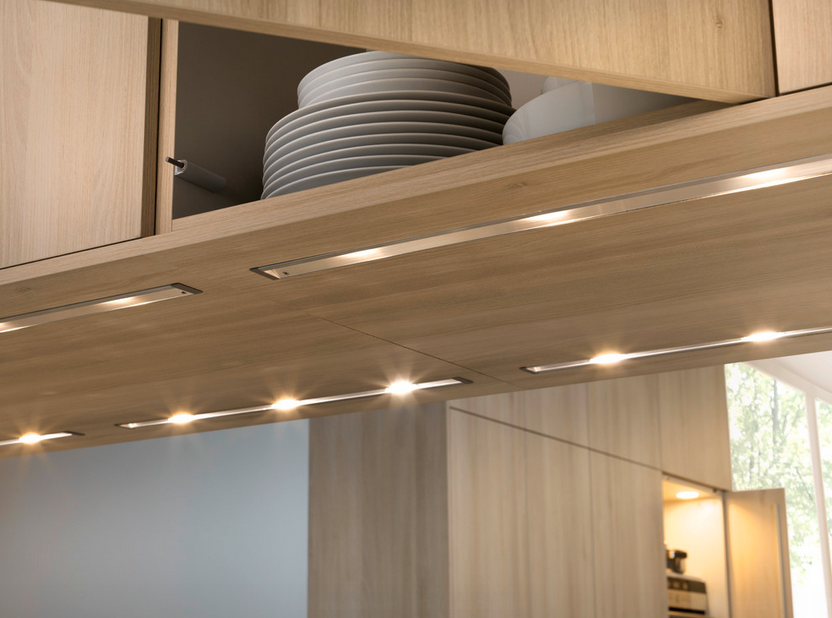
If you decide to go with LED lights for your under cabinet lighting, here are some additional tips to keep in mind. LED lights come in different color temperatures, so make sure to choose the one that best suits your needs. Warm white lights (around 2700K) are best for creating a cozy and inviting atmosphere, while cool white lights (around 5000K) are better for task lighting. You can also choose to install dimmable LED lights for added customization.Installing LED Under Cabinet Lighting in Your New Kitchen
1. Always measure and plan before drilling any holes. 2. Use a level to ensure your lights are straight. 3. Consider hiring a professional if you're not comfortable with electrical work. 4. Choose the right type of lighting for your needs and budget. 5. Keep wires hidden and organized for a clean look.Top Tips for Installing Under Cabinet Lighting in Your New Kitchen
One of the concerns homeowners may have when installing under cabinet lighting is damaging their new kitchen cabinets. However, as long as you carefully plan and measure before drilling any holes, there should be minimal to no damage. If you're unsure, it's always best to consult a professional.How to Install Under Cabinet Lighting Without Damaging Your New Kitchen Cabinets
Before starting the installation process, there are a few key things you should know about under cabinet lighting. First, it's important to choose the right type of lighting for your needs and budget. Second, proper planning and measuring are crucial for a successful installation. Lastly, always make sure to follow the instructions provided with your lighting kit and don't hesitate to ask for help if needed.Installing Under Cabinet Lighting: What You Need to Know
To recap, here is a step-by-step guide to installing under cabinet lighting in your new kitchen: 1. Gather materials. 2. Plan the placement of your lights. 3. Drill holes for the lights. 4. Install the lights. 5. Connect the lights. 6. Test the lights. 7. Conceal the wires. 8. Enjoy your new under cabinet lighting! With the right tools and knowledge, installing under cabinet lighting in your new kitchen can be a simple and rewarding project. Whether you choose LED, fluorescent, or xenon lights, the end result will be a beautifully lit kitchen that is both functional and stylish.Step-by-Step Guide to Installing Under Cabinet Lighting in Your New Kitchen
Why Under Cabinet Lighting is a Must-Have for Your New Kitchen Cabinets
Enhance Your Kitchen Design
 When it comes to designing your dream kitchen, every detail counts. From the type of cabinets to the hardware and appliances, each element plays a crucial role in creating the perfect space. Among these important design choices is the lighting. While overhead lighting is a given,
under cabinet lighting
is often overlooked. However, it can make a huge difference in the overall look and functionality of your kitchen.
Installing under cabinet lighting
not only adds a touch of elegance to your kitchen, but it also serves a practical purpose.
Improved Task Lighting
 One of the greatest benefits of
under cabinet lighting
is its ability to provide focused,
task lighting
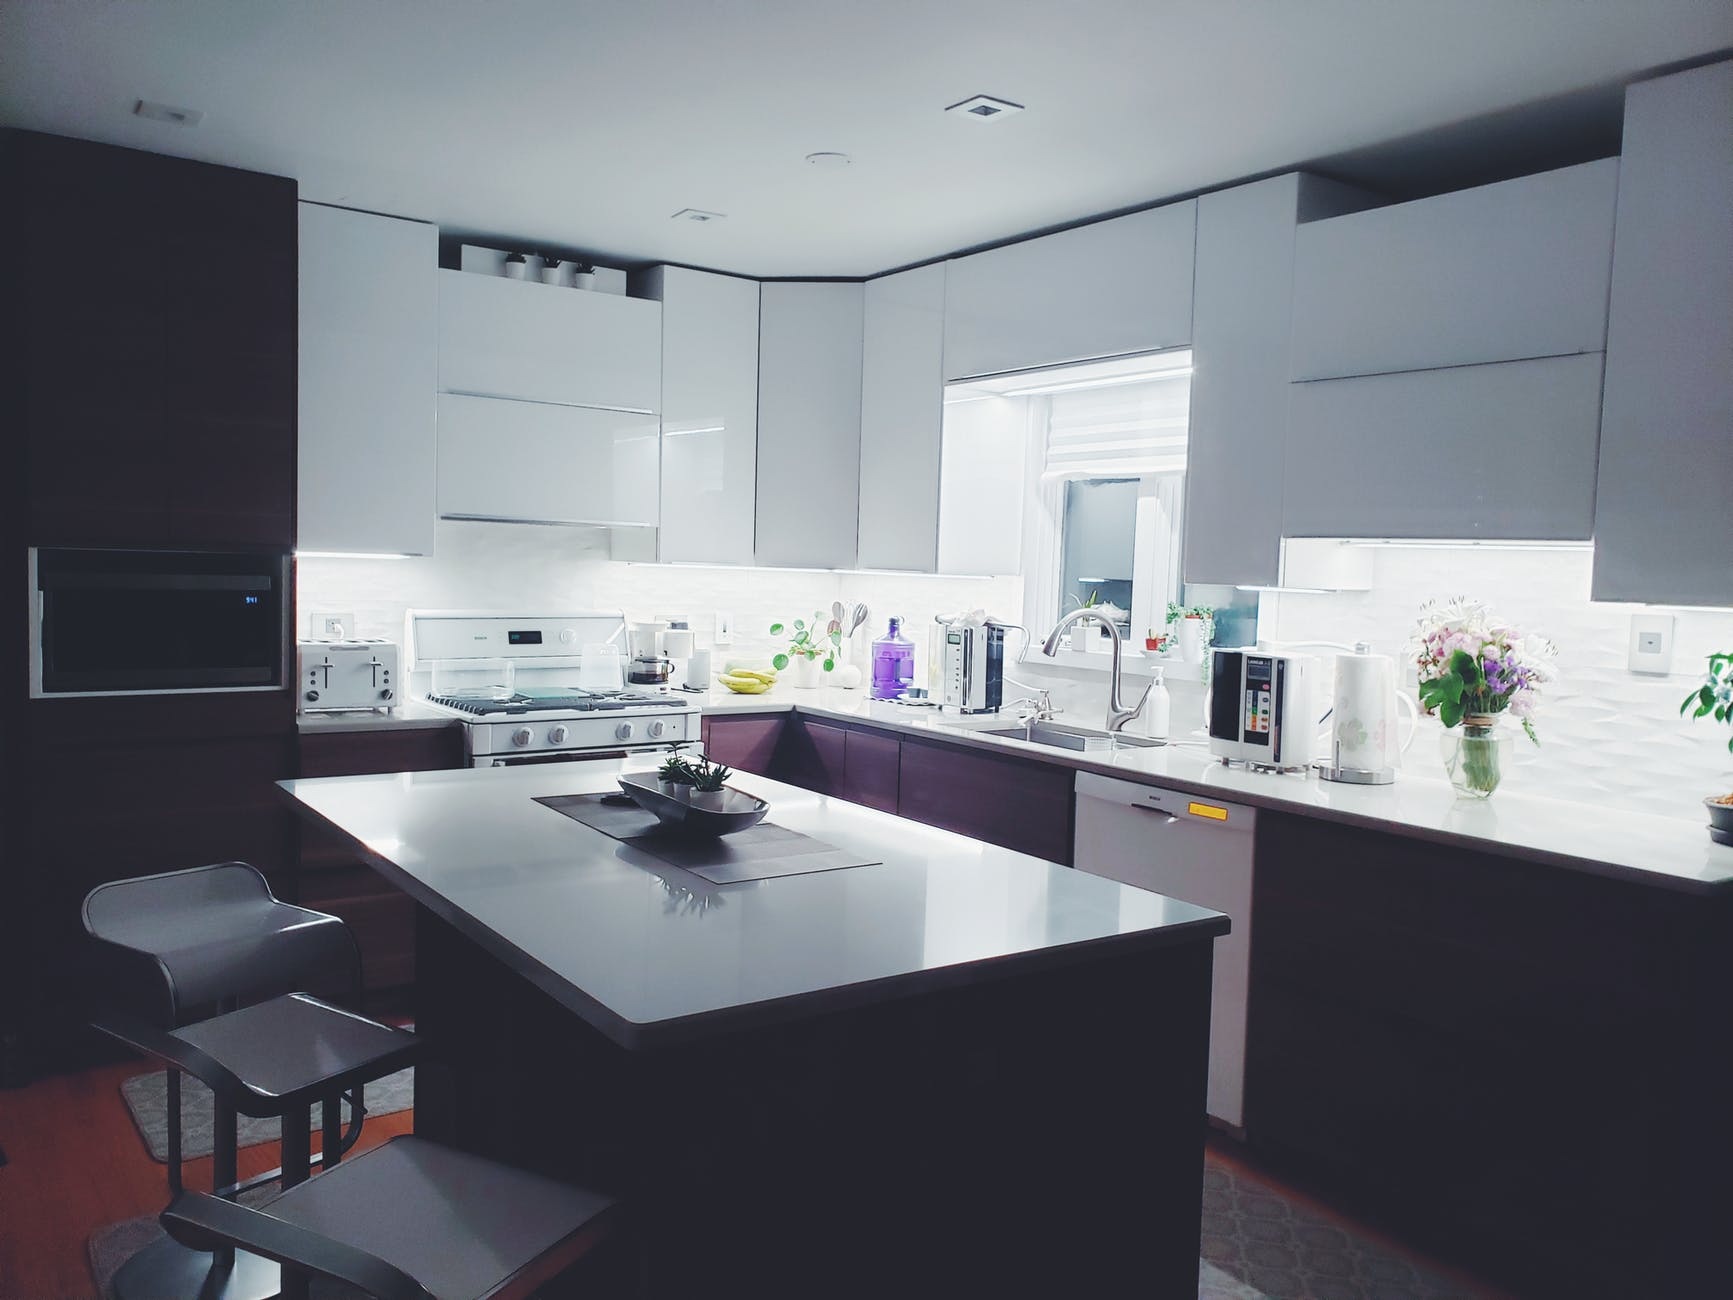
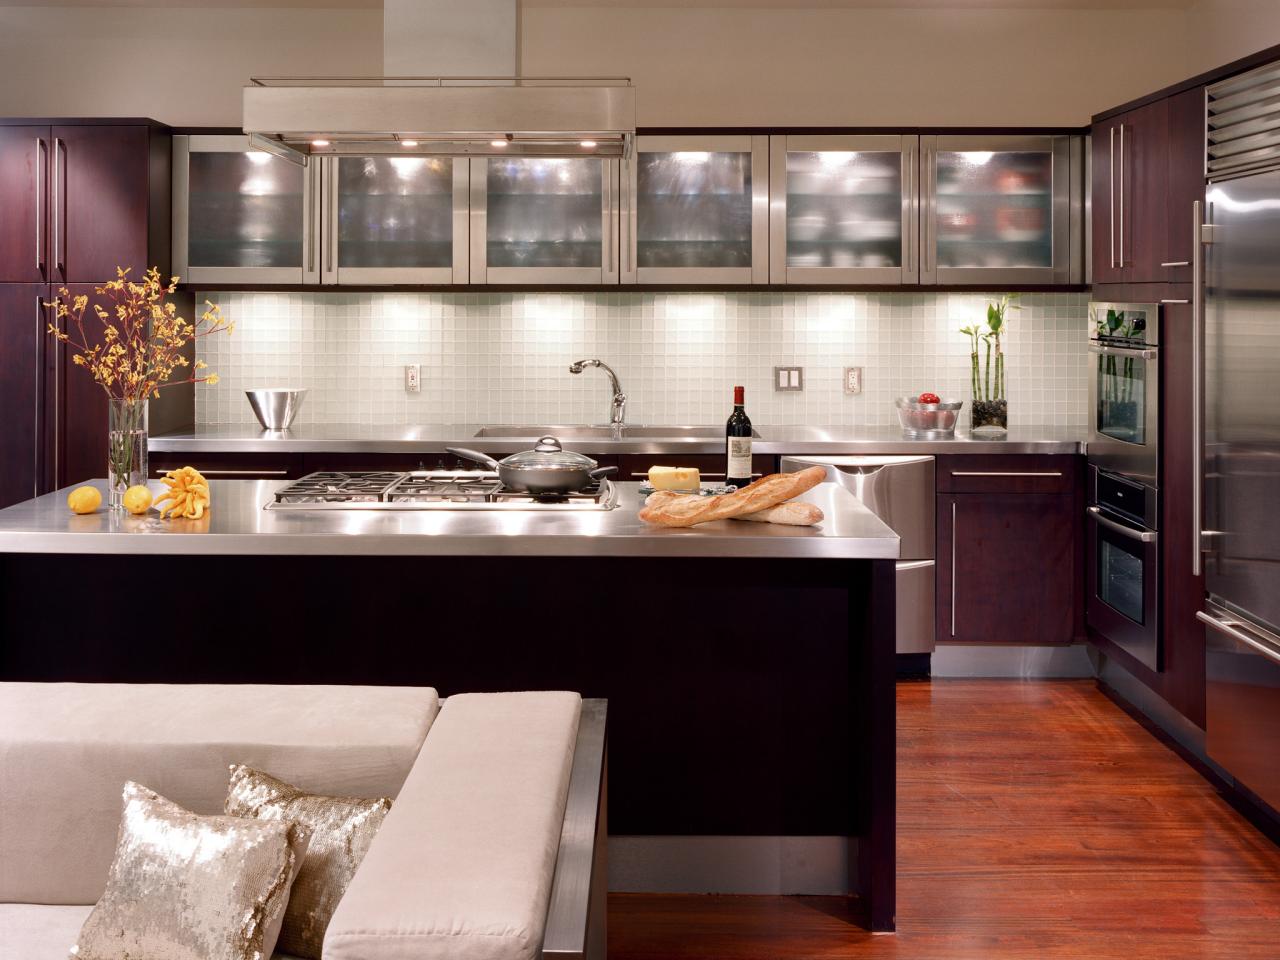
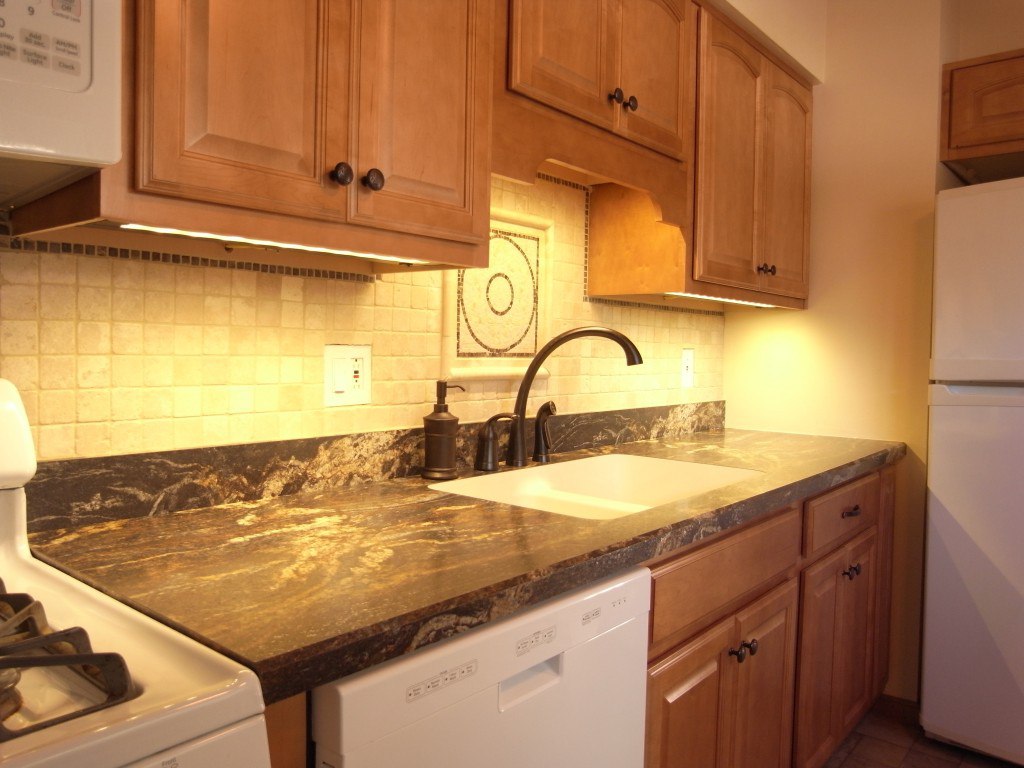
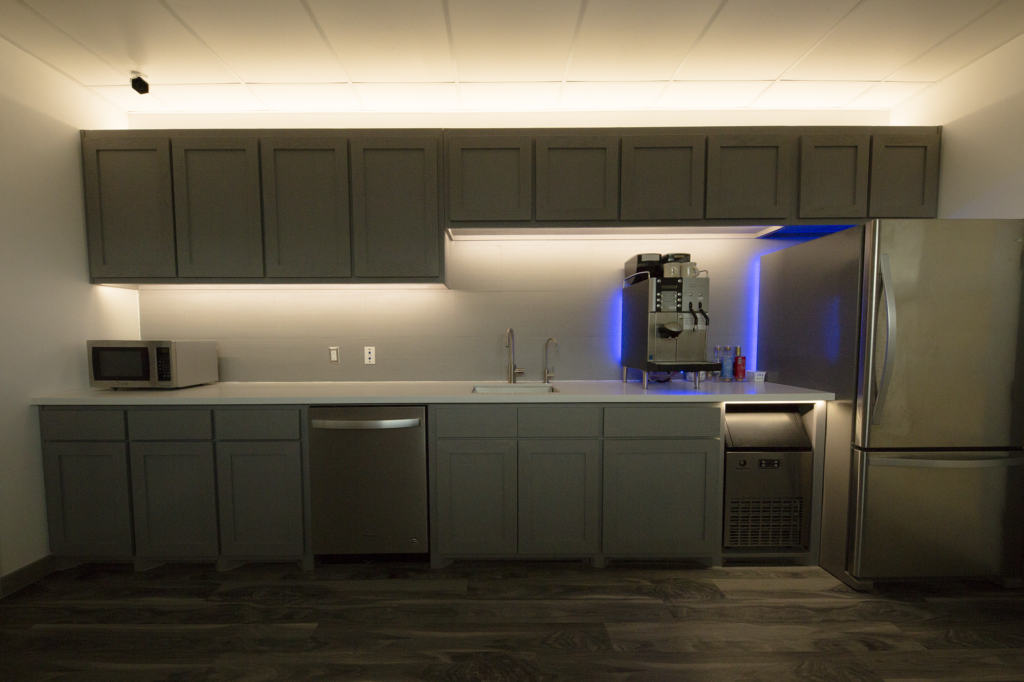
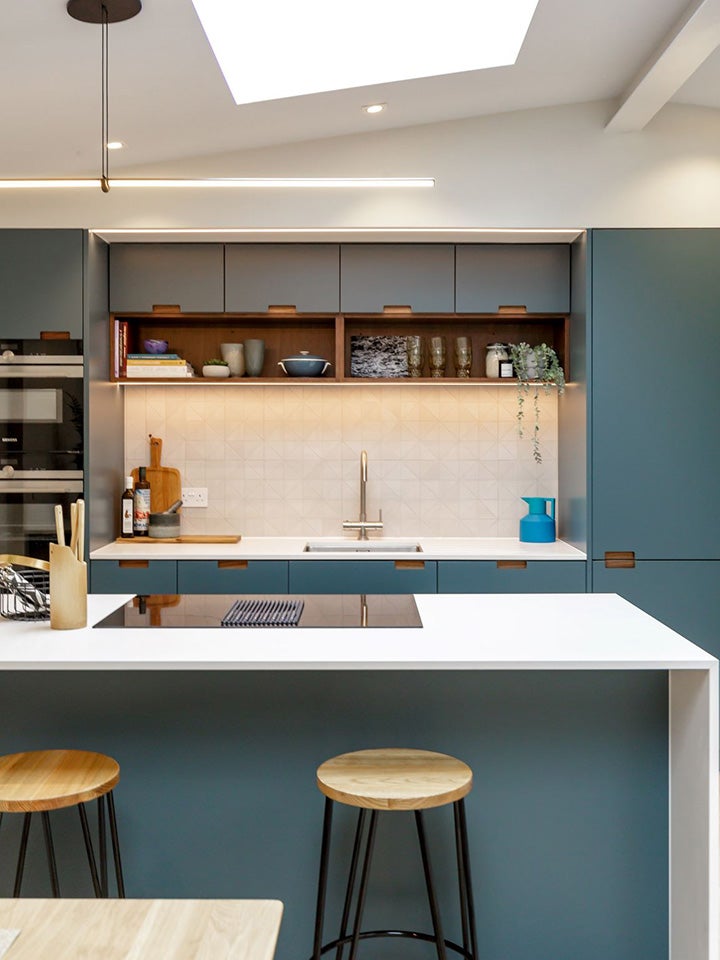
in the areas where you need it most. Whether you're chopping vegetables, reading a recipe, or doing dishes, having a direct light source under your cabinets eliminates shadows and makes these tasks much easier. It also reduces eye strain and fatigue, making your time in the kitchen more enjoyable.
Highlight Your New Kitchen Cabinets
 Another reason to consider
installing under cabinet lighting
is to showcase your new kitchen cabinets. Whether you've chosen a sleek and modern style or a classic and timeless look,
under cabinet lighting
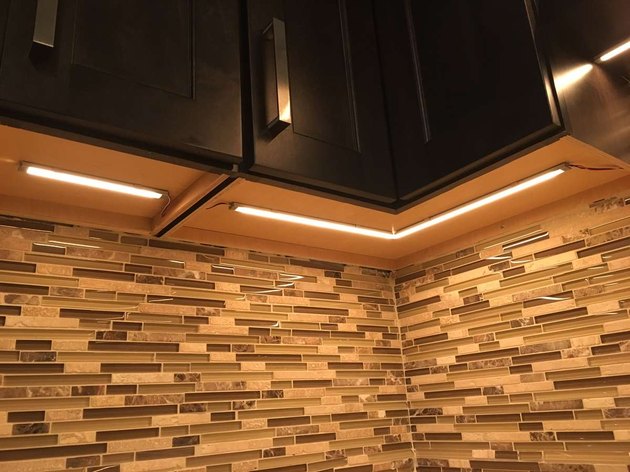
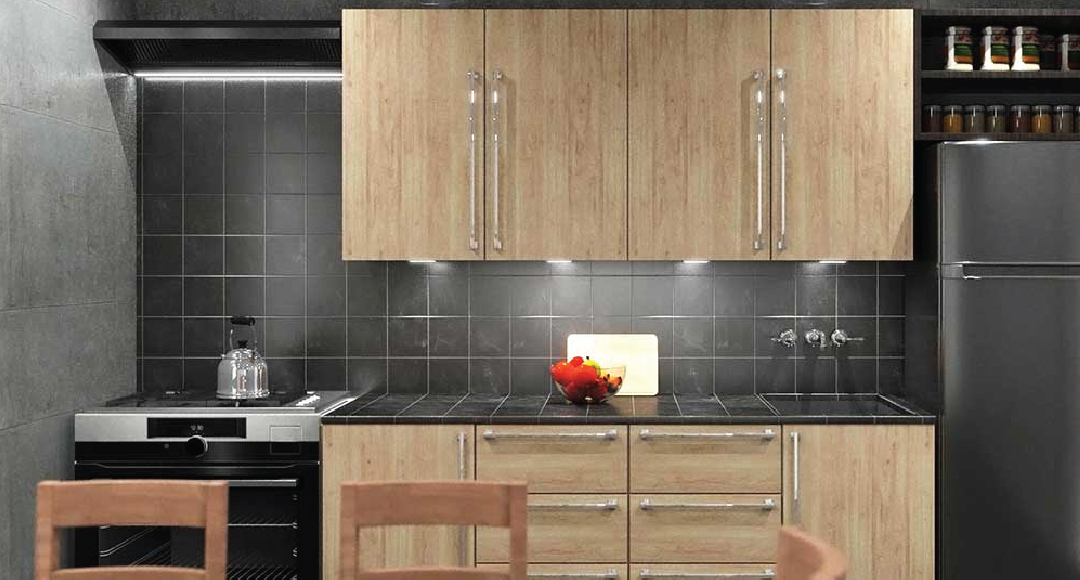
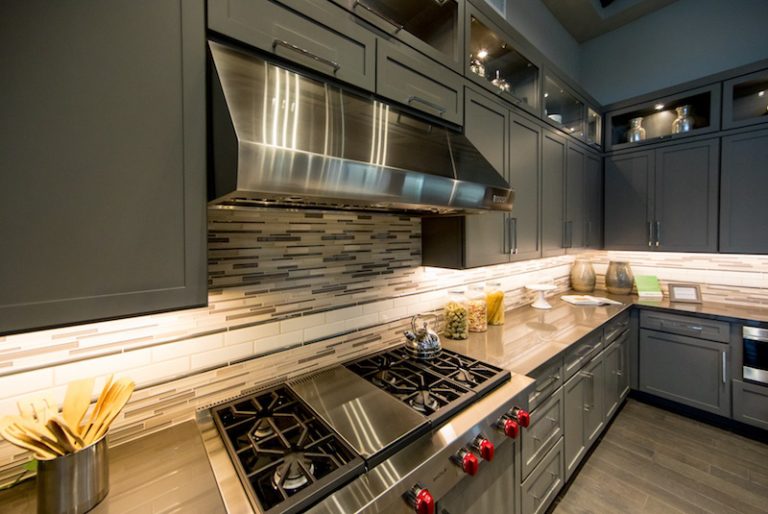
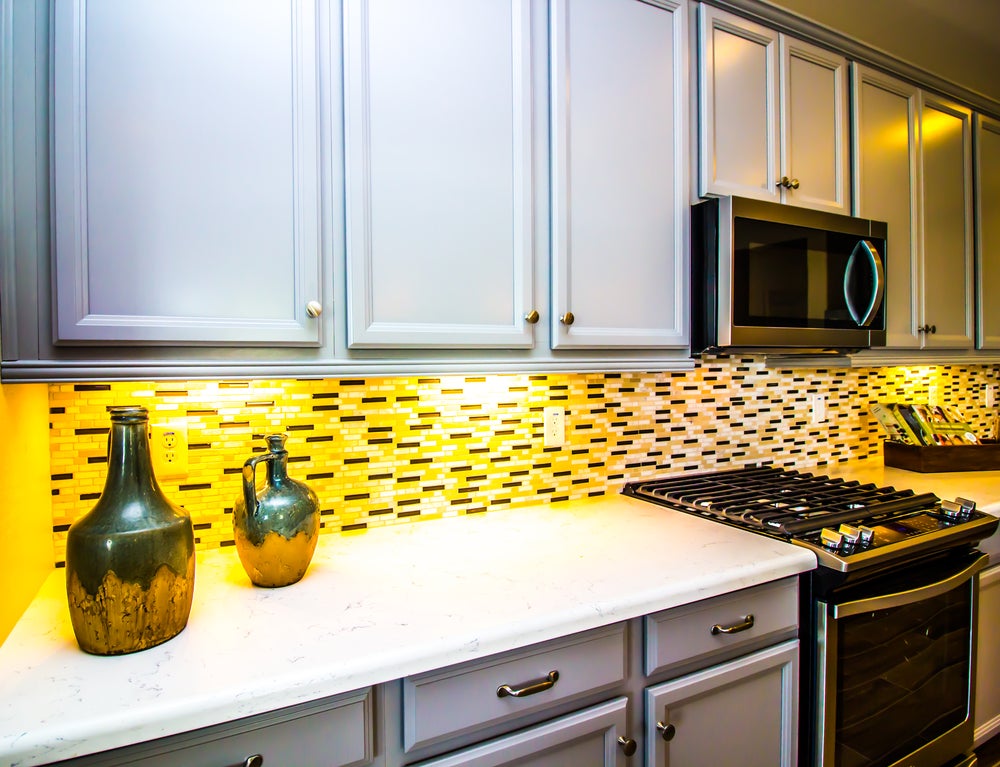
can bring out the best in your cabinets. It adds depth and dimension to your space, making your cabinets stand out and giving them a beautiful glow.
Energy Efficient and Cost-Effective
 With the rising cost of energy, it's important to consider energy efficiency when making any home improvement decisions.
Under cabinet lighting
is a great option for those looking to save on their energy bills. LED lights, which are commonly used for under cabinet lighting, are highly energy efficient and have a longer lifespan than traditional incandescent bulbs. This will not only save you money in the long run, but it's also better for the environment.
Easy Installation
 You may be thinking that
installing under cabinet lighting
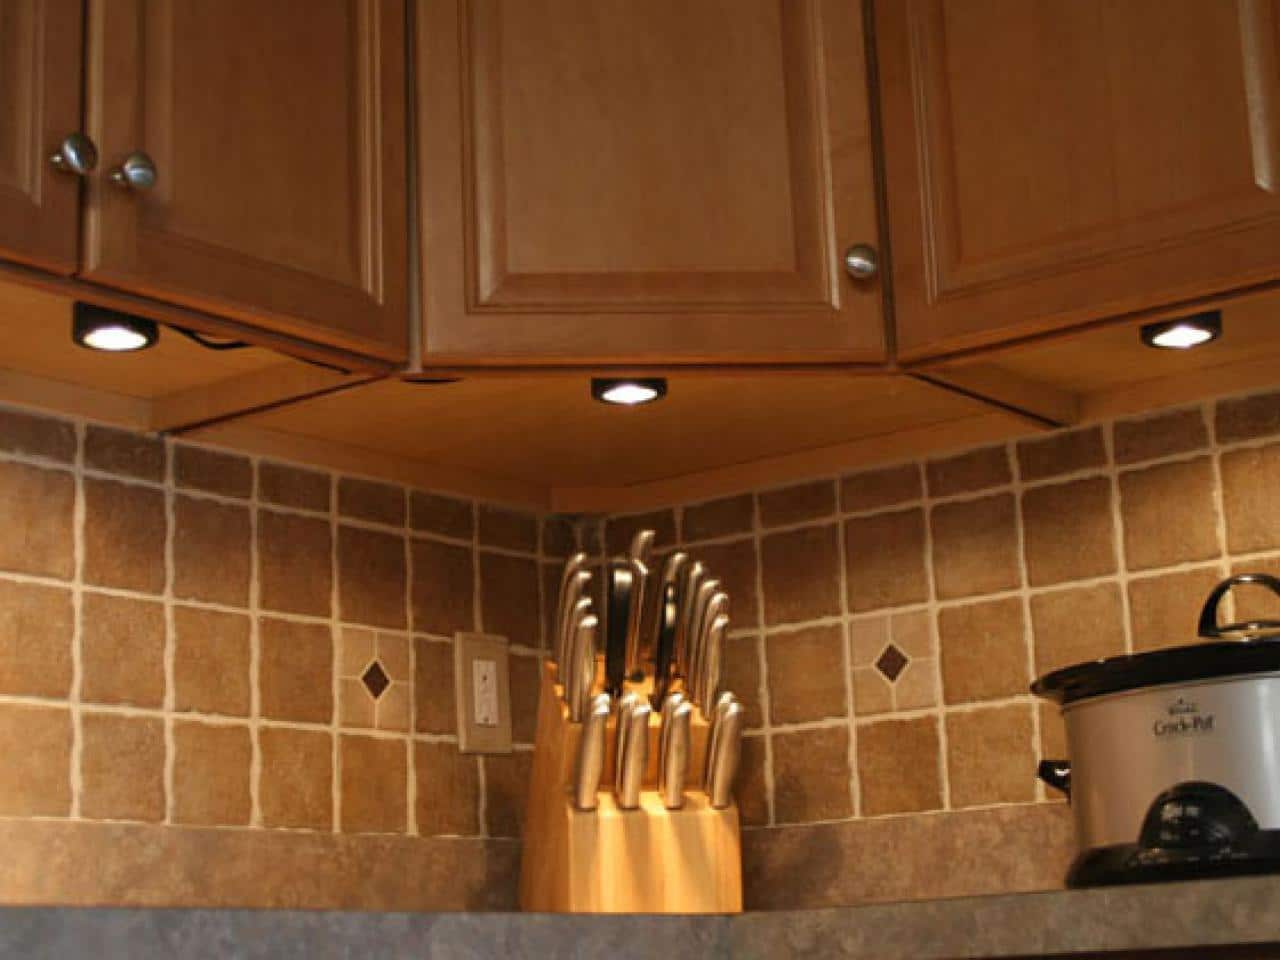
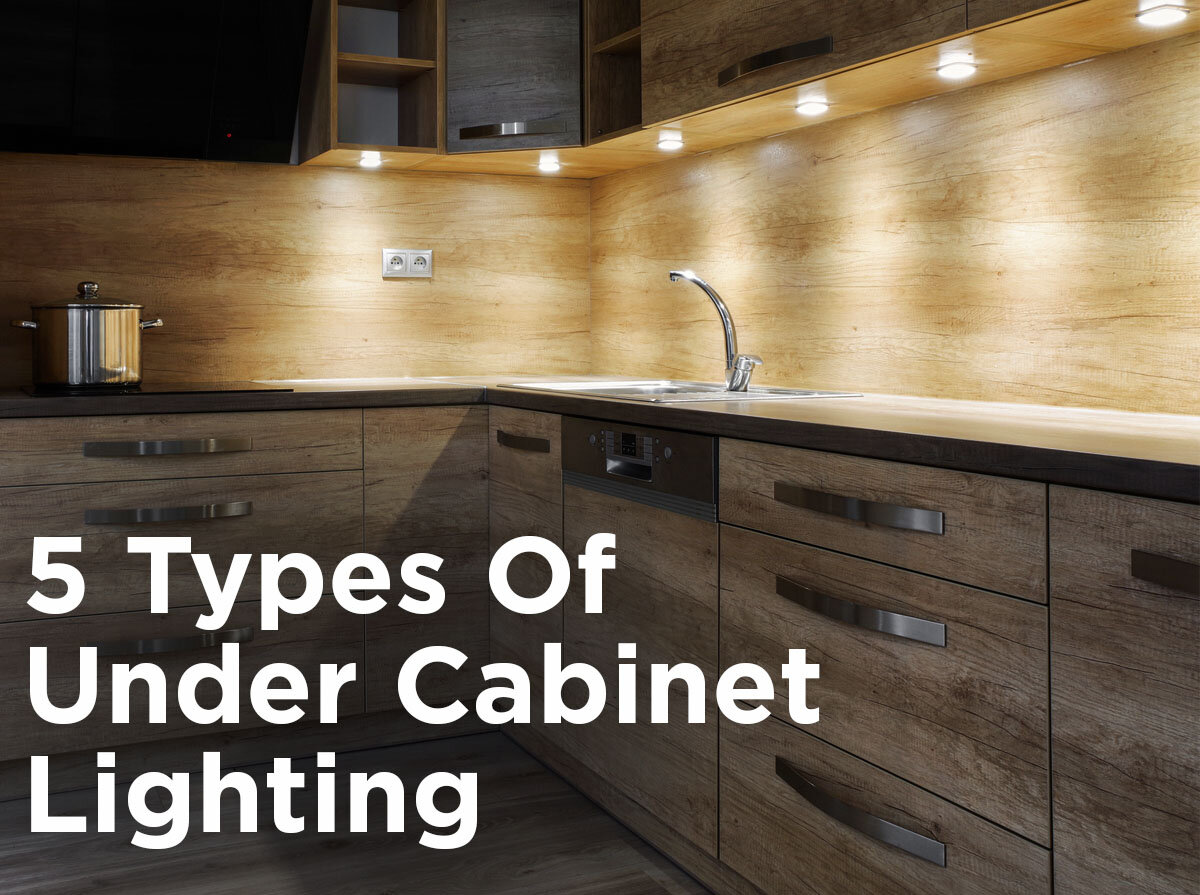
sounds like a complicated and expensive task. However, with the right tools and instructions, it can be a simple and affordable DIY project. There are various options for
under cabinet lighting
, such as battery-operated, plug-in, or hardwired options. Choose the one that best suits your needs and budget, and enjoy the benefits of
under cabinet lighting
in no time.
In conclusion,
under cabinet lighting
is an essential addition to your new kitchen cabinets. It not only enhances the overall design of your kitchen, but it also provides improved task lighting, highlights your cabinets, is energy efficient and cost-effective, and is easy to install. So don't overlook this important detail when designing your dream kitchen.
Install under cabinet lighting
and take your kitchen to the next level.
















.jpg)


