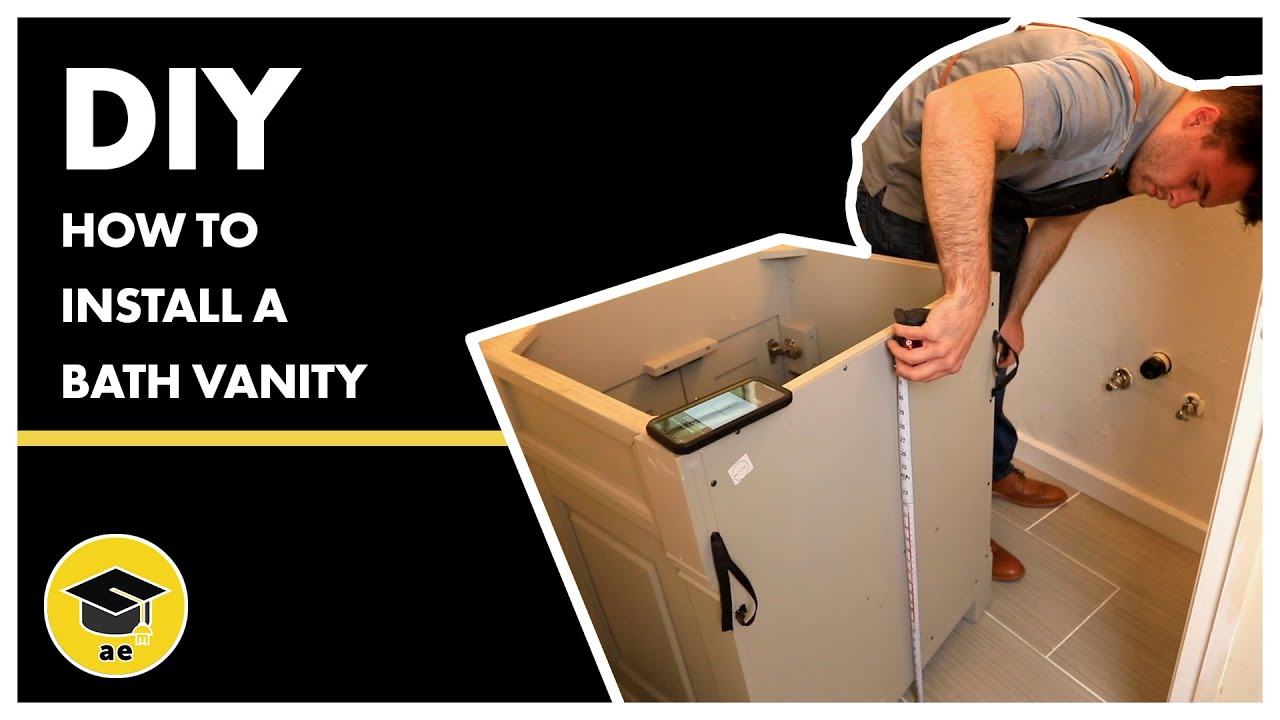
Installing spacers on a bathroom vanity may seem like a daunting task, but with the right tools and knowledge, it can be a simple and rewarding DIY project. Not only do spacers add a stylish touch to your vanity, but they also provide functional benefits such as preventing water damage and creating a more stable surface. In this guide, we will walk you through the step-by-step process of installing spacers on your bathroom vanity.How to Install Spacers on a Bathroom Vanity


How to Install Spacers on a Bathroom Vanity
:max_bytes(150000):strip_icc()/8_IMG_3767-56a4a2753df78cf772835b72.JPG)
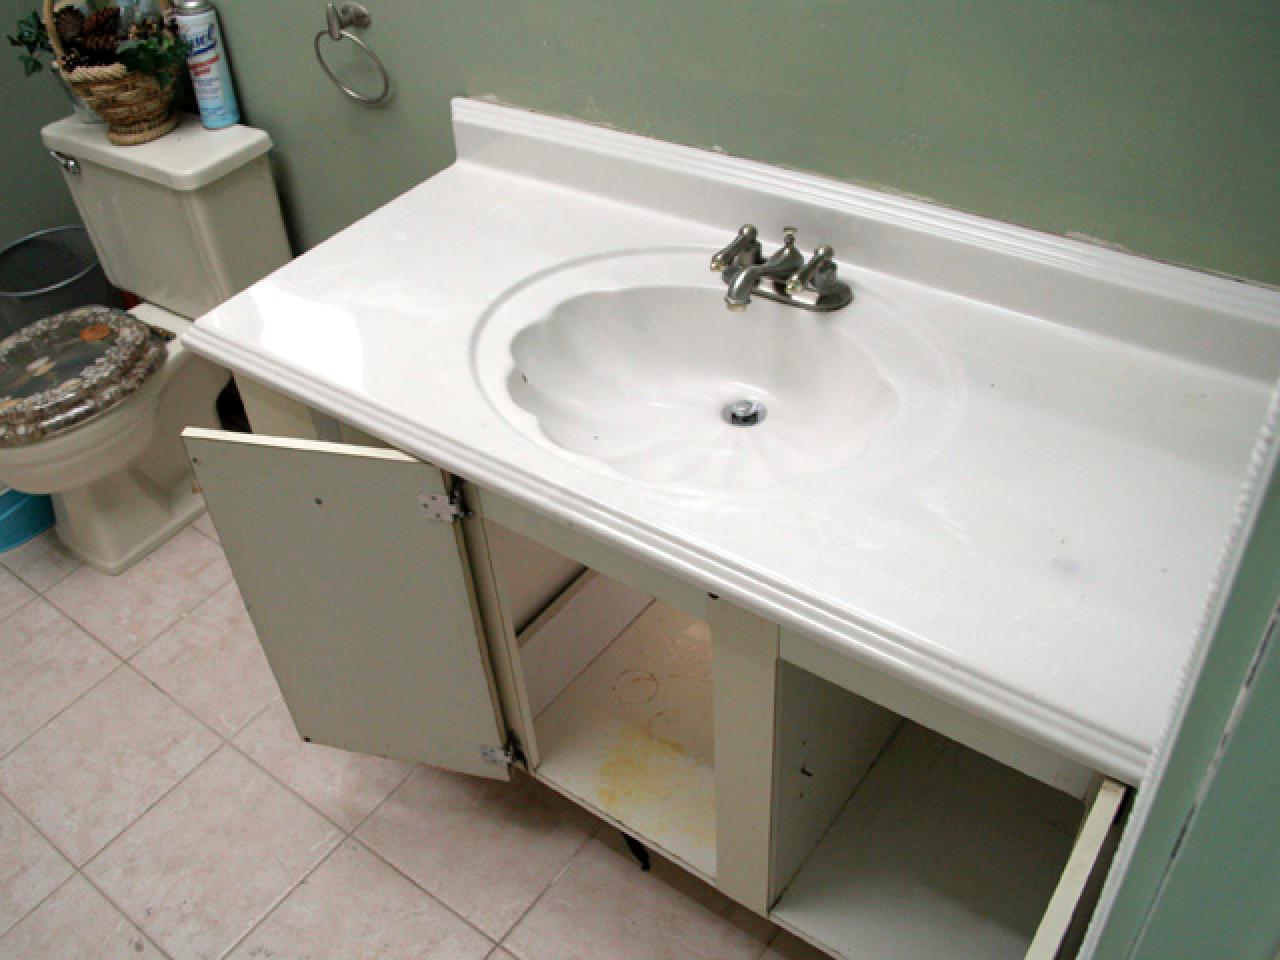


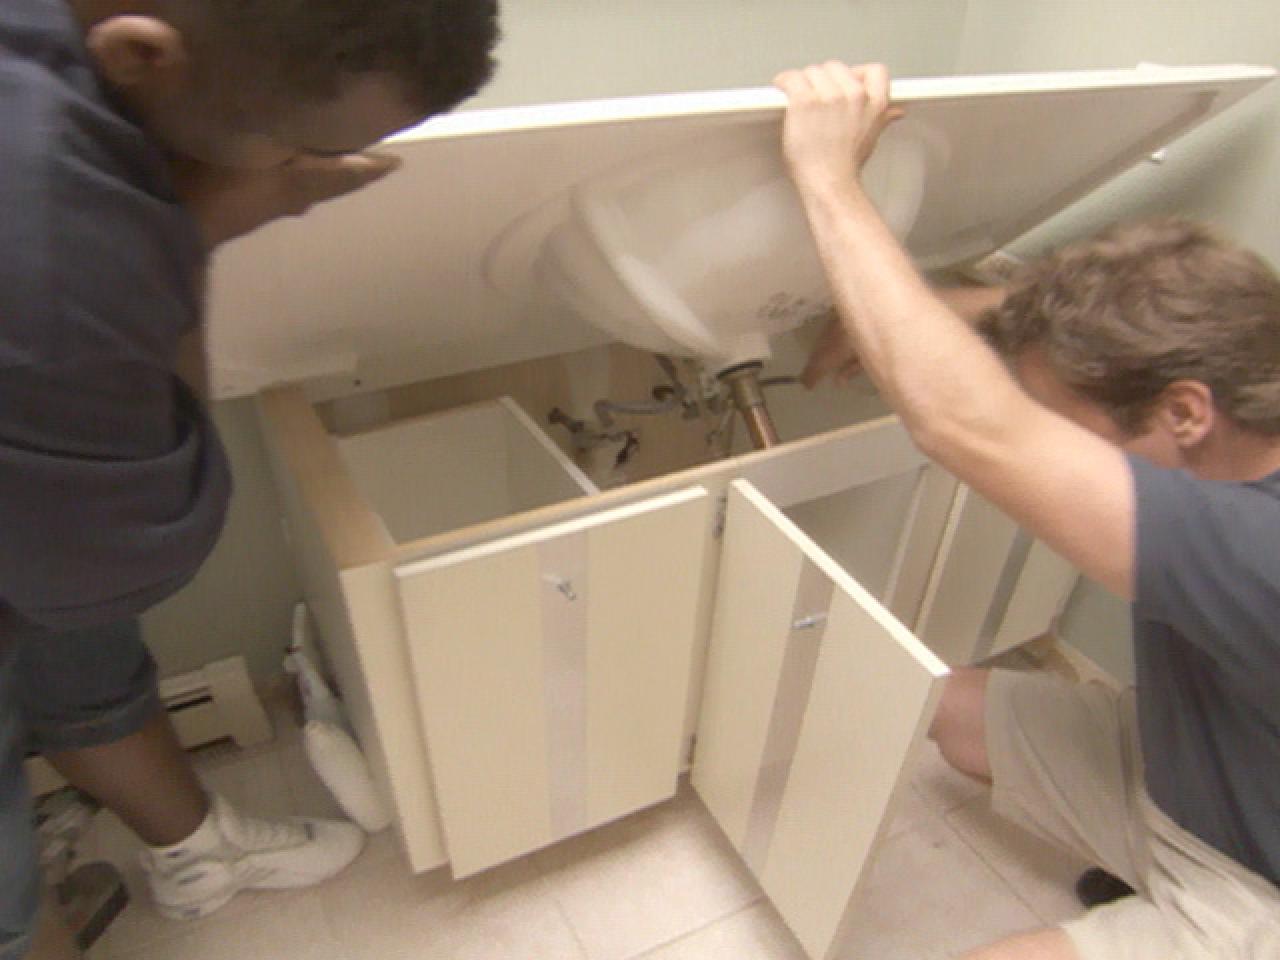
Before beginning the installation process, make sure to gather all the necessary tools and materials. You will need a measuring tape, a saw, spacers, adhesive, a level, and a caulking gun. Once you have all the supplies, follow these steps: Step 1: Measure and Cut Spacers The first step is to measure the gap between your vanity and the wall. Measure the length of each side and cut the spacers accordingly. Make sure to add a little extra length to each side to account for any discrepancies in measurement. Step 2: Apply Adhesive Apply adhesive to the back of the spacers and press them firmly against the wall. Make sure they are evenly spaced and level. Step 3: Secure Spacers Using a level, check that the spacers are straight and adjust if needed. Once they are in place, secure the spacers to the wall using screws. Step 4: Attach Vanity Place the vanity against the spacers and secure it with screws. Make sure it is level and securely attached to the wall. Step 5: Caulk the Gaps Using a caulking gun, fill in any gaps between the vanity and the wall. This will create a seamless and waterproof seal.Step-by-Step Guide for Installing Spacers on a Bathroom Vanity


Step-by-Step Guide for Installing Spacers on a Bathroom Vanity


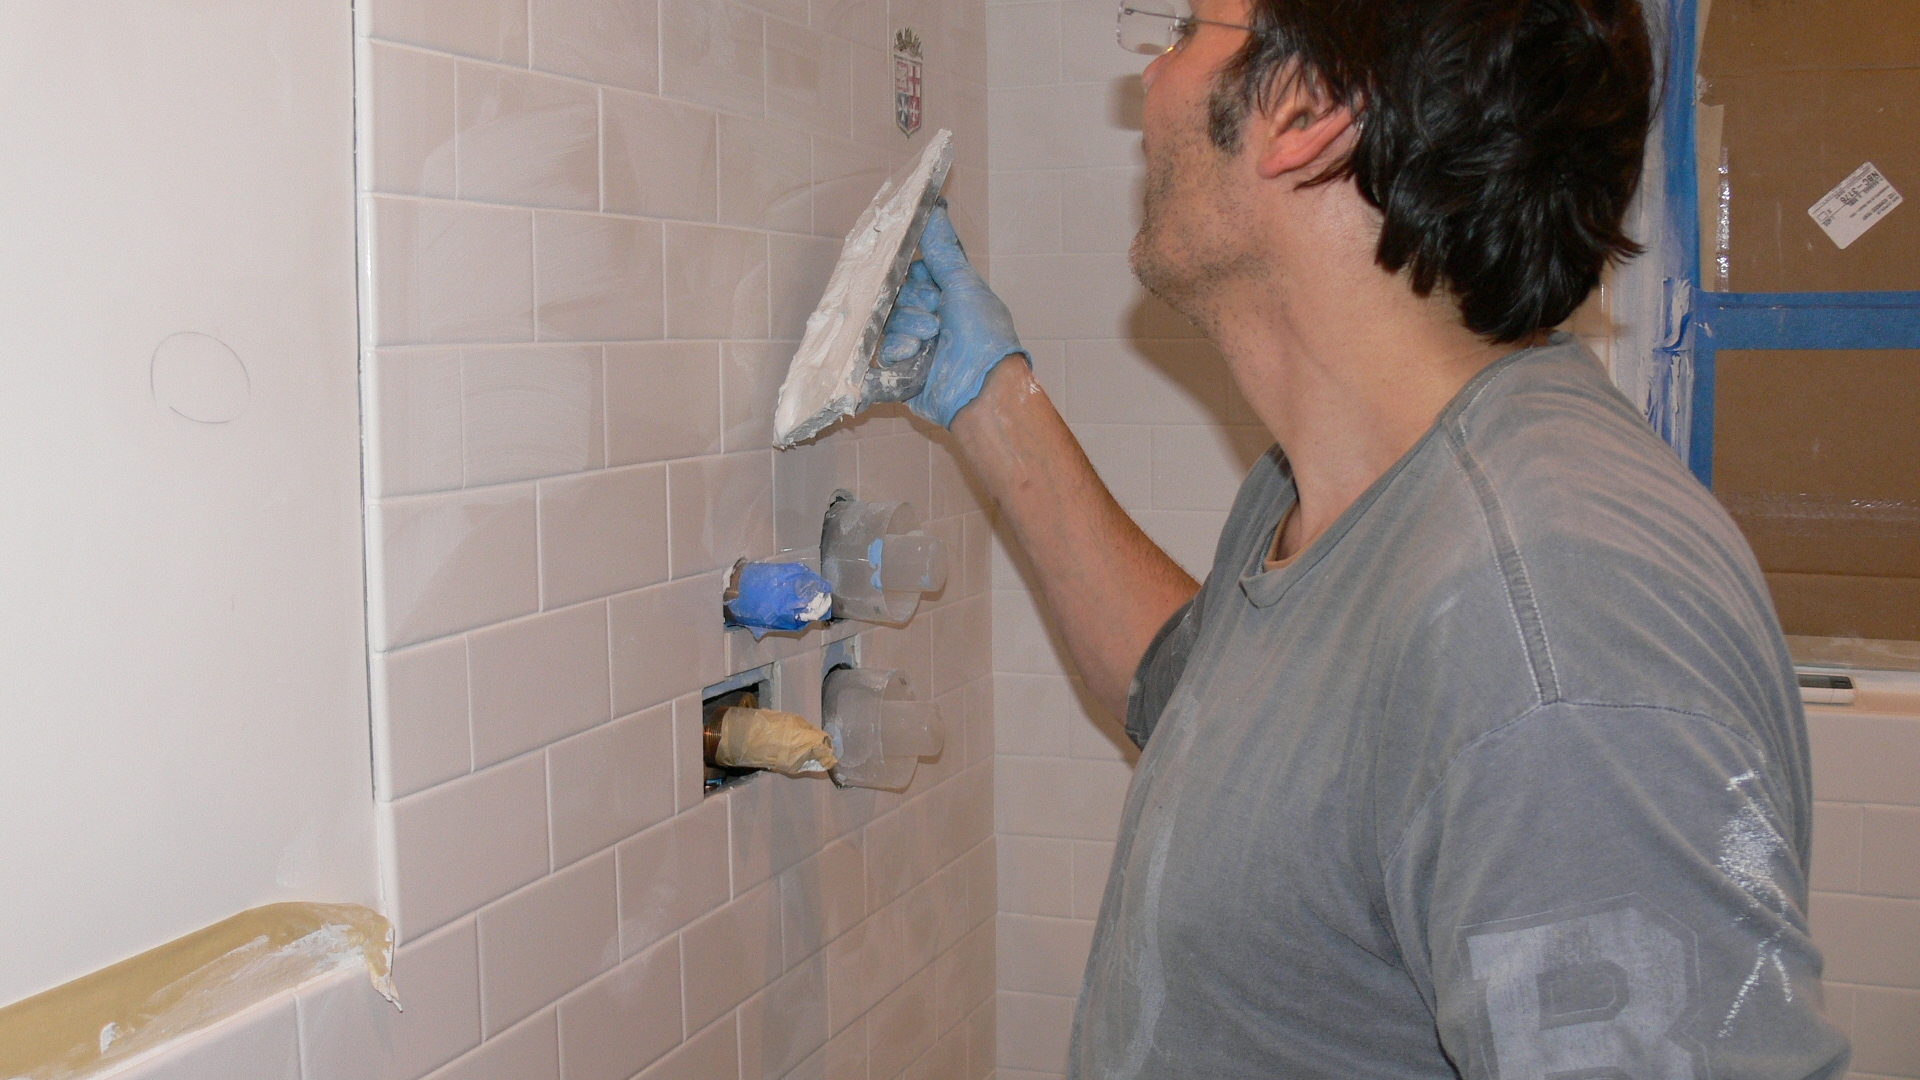


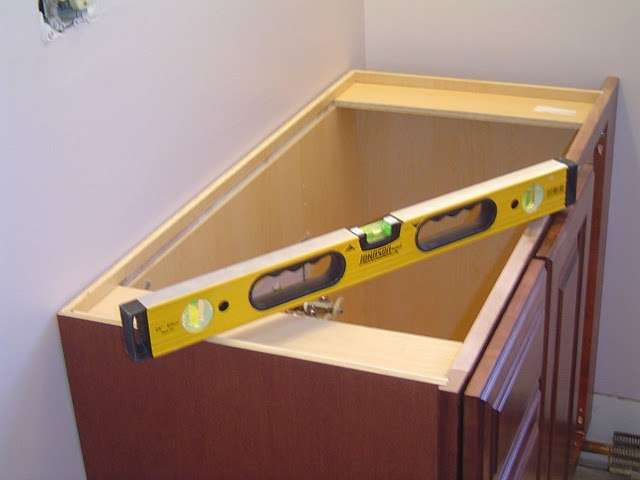
If you're a visual learner, here is a simple tutorial to help guide you through the installation process: Step 1: Measure and Cut Spacers Using a measuring tape, measure the gap between your vanity and the wall. Transfer these measurements onto the spacers and cut them to size using a saw. Step 2: Apply Adhesive Apply adhesive to the back of the spacers and press them firmly against the wall. Make sure they are evenly spaced and level. Step 3: Secure Spacers Using a level, check that the spacers are straight and adjust if needed. Once they are in place, secure the spacers to the wall using screws. Step 4: Attach Vanity Carefully place the vanity against the spacers and secure it with screws. Use a level to ensure it is straight and securely attached to the wall. Step 5: Caulk the Gaps Fill in any gaps between the vanity and the wall using a caulking gun. Smooth out the caulk for a professional finish.Easy DIY Tutorial for Installing Spacers on a Bathroom Vanity


Easy DIY Tutorial for Installing Spacers on a Bathroom Vanity


To successfully install spacers on your bathroom vanity, you will need the following tools and materials: - Measuring tape - Saw - Spacers - Adhesive - Level - Screws - Caulking gunTools and Materials Needed for Installing Spacers on a Bathroom Vanity


Tools and Materials Needed for Installing Spacers on a Bathroom Vanity
:max_bytes(150000):strip_icc()/bathroom-space-design-1821325_final-08ffd0dca30b4e038cf7f1d7ebe0745f.png)


Here are a few helpful tips to keep in mind when installing spacers on your bathroom vanity: - Measure twice, cut once: It's important to double check your measurements before cutting the spacers to ensure a perfect fit. - Use a level: A level will help ensure that your spacers and vanity are straight and level. - Choose the right adhesive: Make sure to use an adhesive that is suitable for the materials you are working with. - Be patient: Installing spacers can be a time-consuming process, so be patient and take your time to ensure a quality result.Tips and Tricks for Installing Spacers on a Bathroom Vanity


Tips and Tricks for Installing Spacers on a Bathroom Vanity


As with any DIY project, there are some common mistakes that can be easily avoided. Here are a few to keep in mind: - Not measuring properly: Accurate measurements are crucial for a successful installation, so make sure to measure multiple times before cutting. - Not using a level: A level is essential for ensuring your spacers and vanity are straight and level. Skipping this step can result in a crooked and unstable vanity. - Using the wrong adhesive: Using the wrong adhesive can result in a weak bond and cause the spacers to detach from the wall. - Rushing the process: Take your time and follow the steps carefully to avoid making mistakes that can compromise the stability and appearance of your vanity.Common Mistakes to Avoid When Installing Spacers on a Bathroom Vanity


Common Mistakes to Avoid When Installing Spacers on a Bathroom Vanity


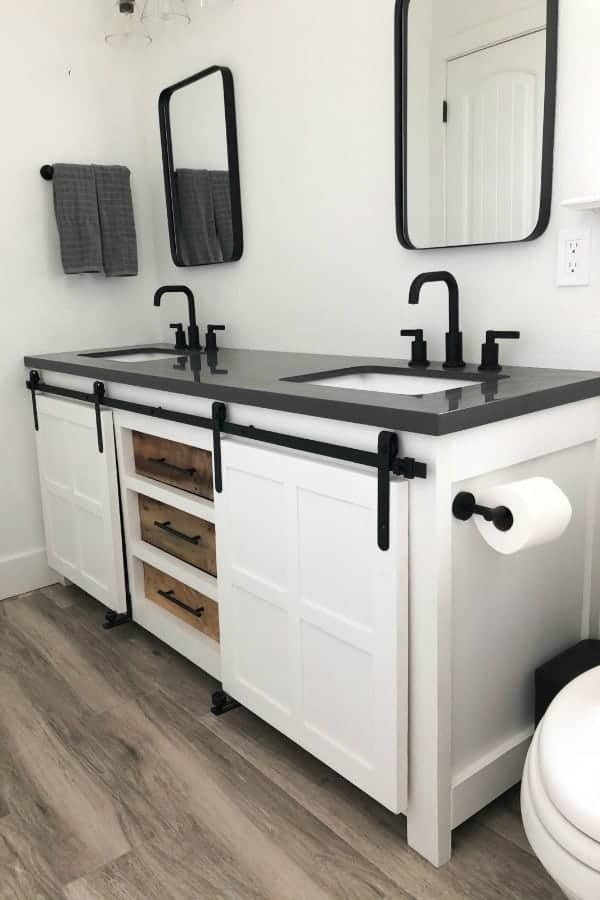
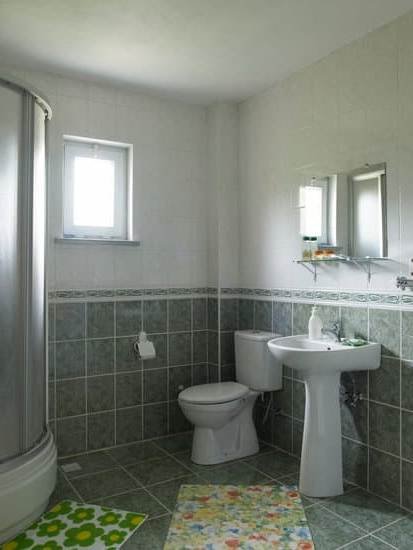
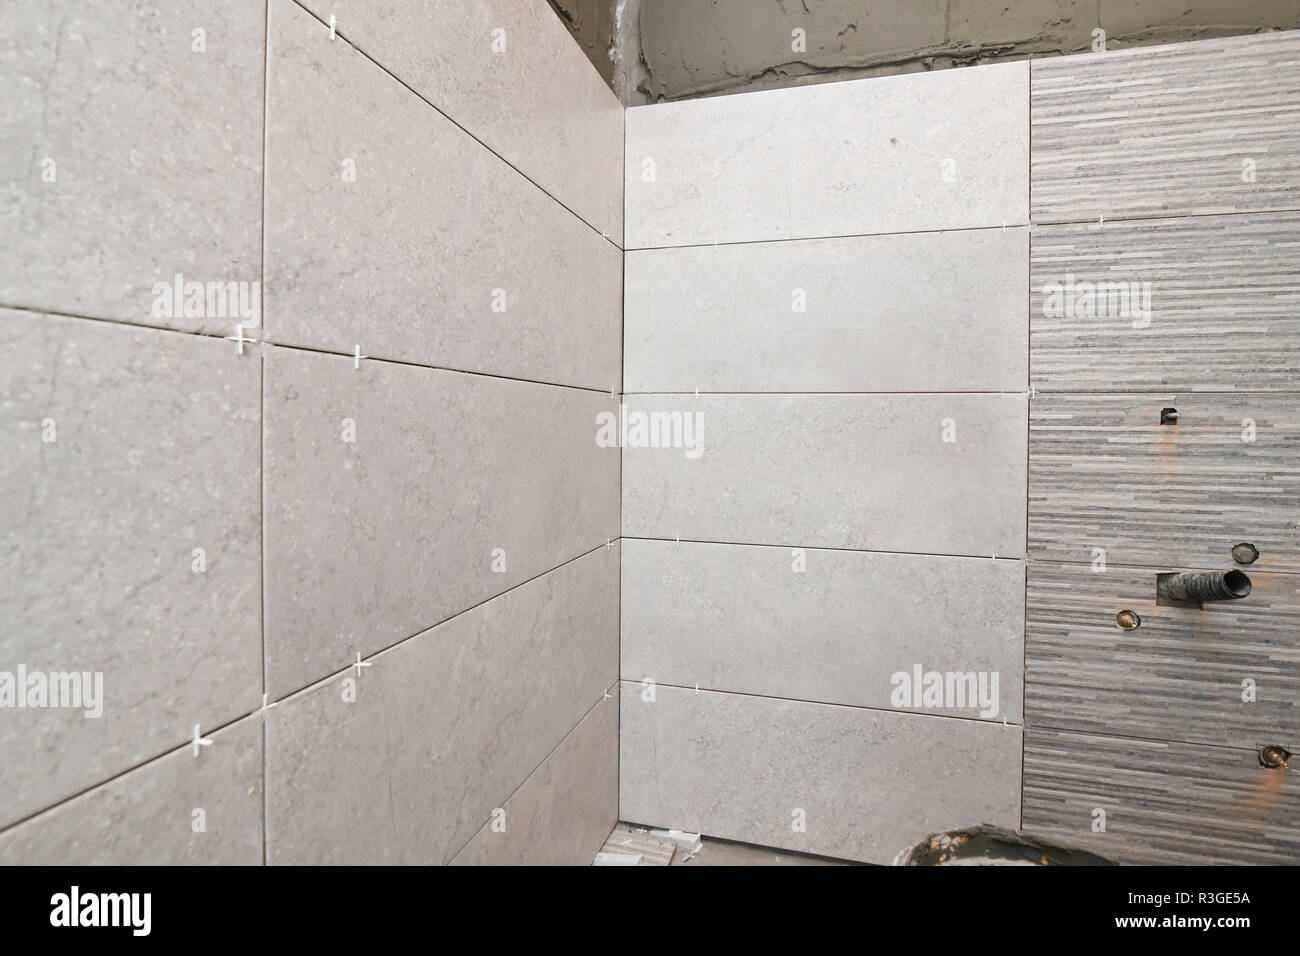
Installing spacers on your bathroom vanity not only adds a decorative touch, but it also offers several functional benefits: - Prevents water damage: Spacers create a gap between the vanity and the wall, preventing water from seeping into the wall and causing damage. - Creates a stable surface: Spacers help distribute the weight of the vanity evenly, creating a more stable surface and reducing the risk of the vanity tipping over. - Adds a stylish touch: Spacers come in various styles and materials, allowing you to customize the look of your vanity and add a unique touch to your bathroom.Benefits of Using Spacers on a Bathroom Vanity


Benefits of Using Spacers on a Bathroom Vanity


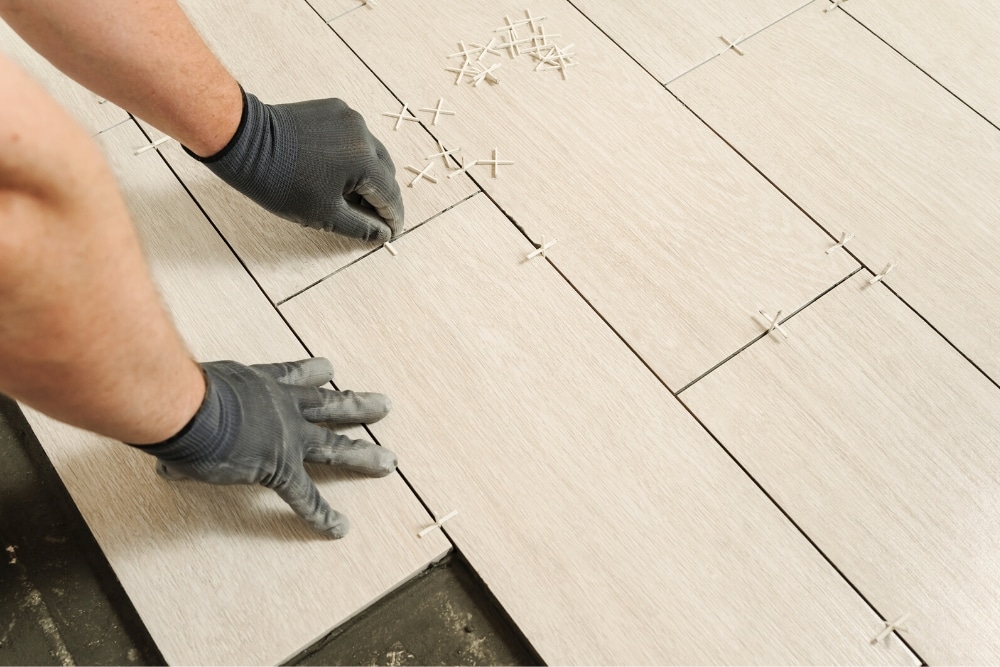
Measuring and cutting spacers may seem like a daunting task, but with the right technique, it can be a simple process. Here are the steps to follow for a perfect fit: Step 1: Measure the gap: Using a measuring tape, measure the gap between your vanity and the wall. Make sure to measure all sides and account for any discrepancies in measurement. Step 2: Transfer measurements: Transfer the measurements onto the spacers and mark them for cutting. Step 3: Cut the spacers: Using a saw, cut the spacers to the appropriate size. It's always better to cut a little extra length to avoid having to start over if the measurements are slightly off. Step 4: Test the fit: Before securing the spacers to the wall, test the fit by placing them against the wall and the vanity. Make any necessary adjustments.How to Measure and Cut Spacers for a Perfect Fit on a Bathroom Vanity


How to Measure and Cut Spacers for a Perfect Fit on a Bathroom Vanity


If you're not comfortable with the traditional method of installing spacers, there are a few alternative methods you can try: - Adhesive strips: Instead of using adhesive and screws, you can use adhesive strips to attach the spacers to the wall. - Self-adhesive spacers: These spacers come with adhesive already applied, making the installation process even easier. - Magnetic spacers: Magnetic spacers can be easily attached to metal vanity frames without the need for screws or adhesive.Alternative Methods for Installing Spacers on a Bathroom Vanity


Alternative Methods for Installing Spacers on a Bathroom Vanity


Here are some commonly asked questions about installing spacers on a bathroom vanity: Q: Can I install spacers on any type of vanity? A: Yes, spacers can be installed on any type of vanity, as long as the materials are suitable for the adhesive and screws. Q: How do I remove spacers? A: To remove spacers, simply use a pry bar or putty knife to gently pry them off the wall. Be careful not to damage the wall or the vanity in the process. Q: Do I need to caulk the gaps? A: Yes, caulking the gaps between the vanity and the wall is essential for creating a waterproof seal and a professional finish. Q: Can I use spacers on a floating vanity? A: Yes, spacers can be used on a floating vanity, but make sure to use the appropriate tools and techniques to ensure a secure installation. Q: Can I paint the spacers? A: Yes, you can paint the spacers to match the color of your vanity or the walls for a seamless look. Now that you know how to install spacers on a bathroom vanity, you can add a functional and stylish touch to your bathroom while also protecting your walls from water damage. Just remember to take your time, measure accurately, and follow these steps for a successful installation. Happy DIY-ing!Frequently Asked Questions About Installing Spacers on a Bathroom Vanity


Frequently Asked Questions About Installing Spacers on a Bathroom Vanity


Benefits of Installing Spacers on Bathroom Vanity

Increased Durability and Stability
 Installing spacers on your bathroom vanity can greatly increase its durability and stability. By placing spacers between the vanity and the wall, you create a more secure and solid base for your vanity. This prevents any shifting or movement of the vanity, which can lead to cracks, scratches, and other damages over time. With spacers, your bathroom vanity will be able to withstand daily use and maintain its structure for longer.
Improved Aesthetic Appeal
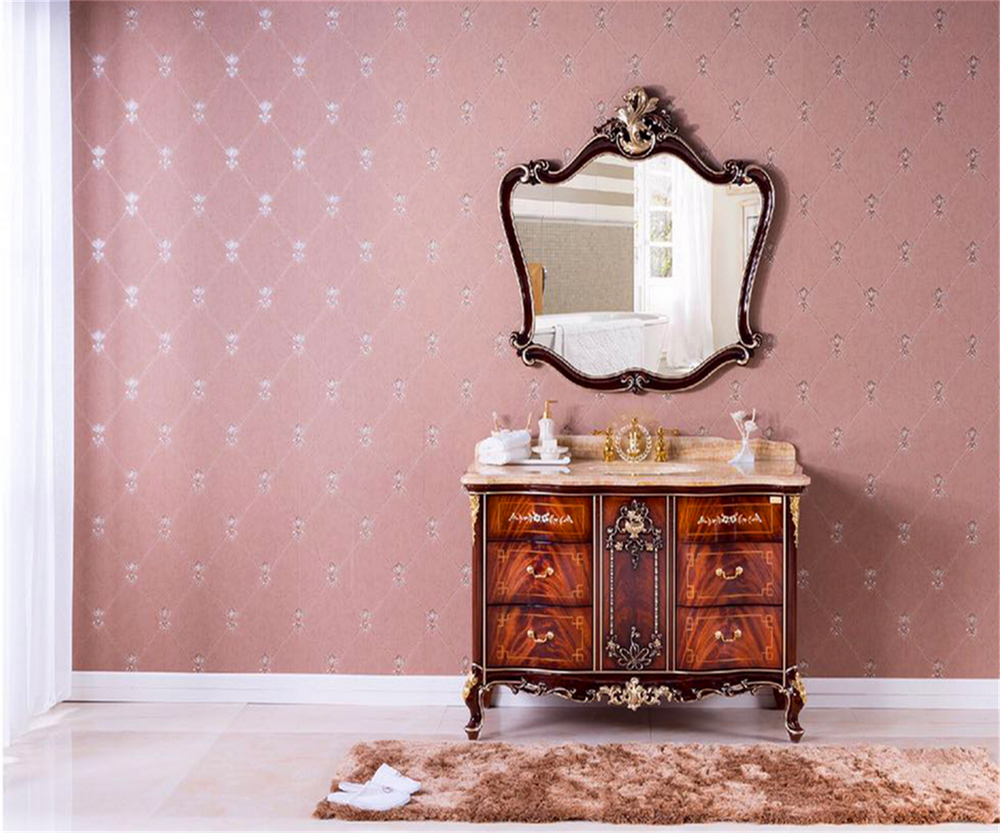
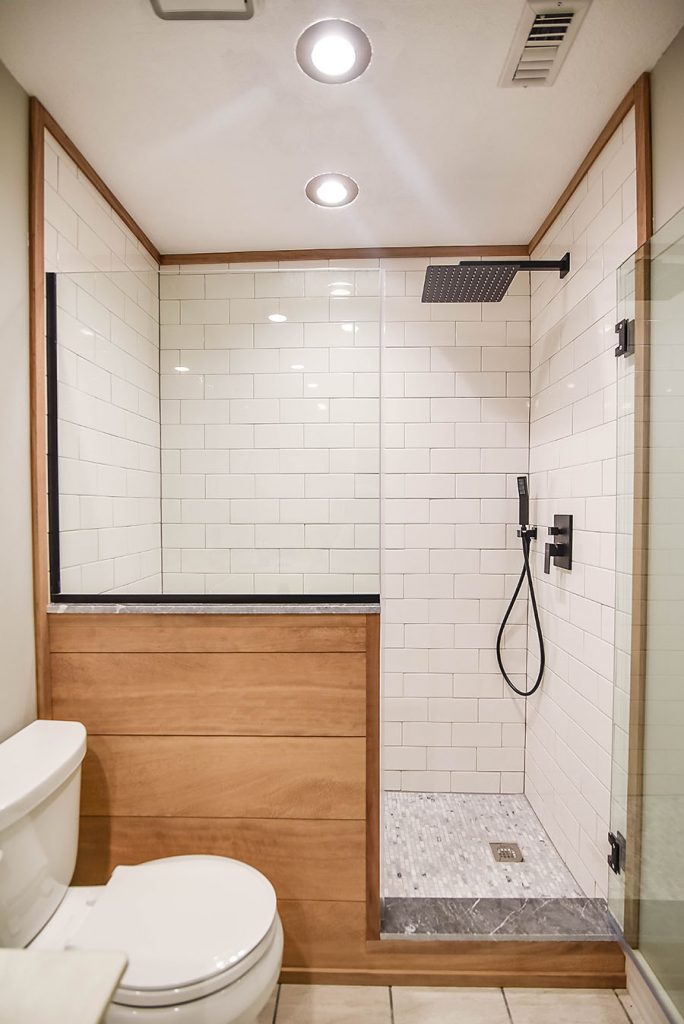
 In addition to the practical benefits, spacers also enhance the aesthetic appeal of your bathroom vanity. By creating a gap between the vanity and the wall, spacers add depth and dimension to the overall look of the vanity. This can make your bathroom appear more visually appealing and give it a modern and stylish touch. Additionally, spacers allow for better ventilation, preventing moisture buildup and potential damage to your vanity.
Easier Installation
 Installing spacers on your bathroom vanity may seem like an added step, but it can actually make the installation process easier. By creating a gap between the vanity and the wall, spacers make it easier to access and secure the vanity to the wall. This can save you time and frustration during the installation process, and also ensure that your vanity is securely and properly attached to the wall.
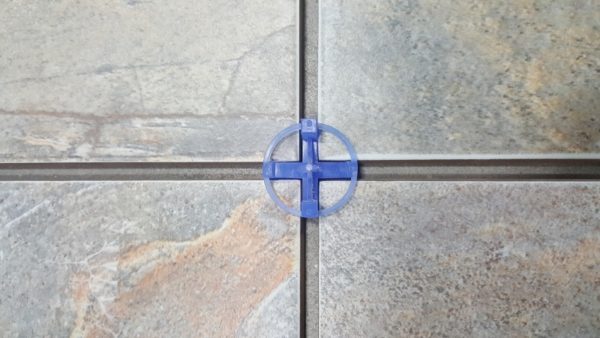
Customizable Design
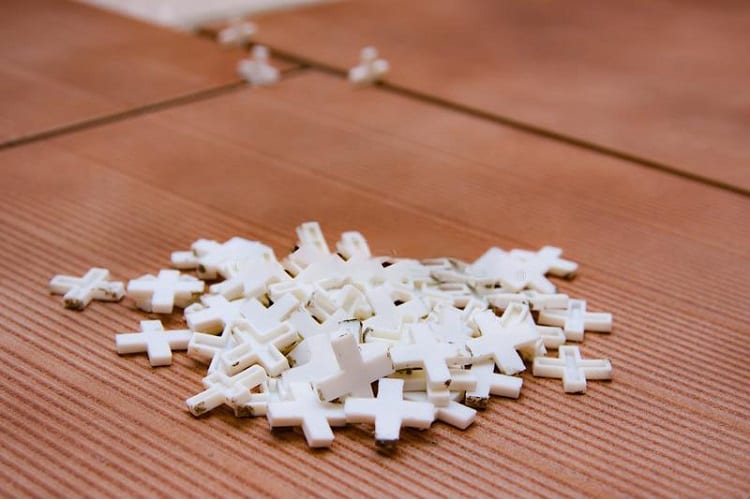
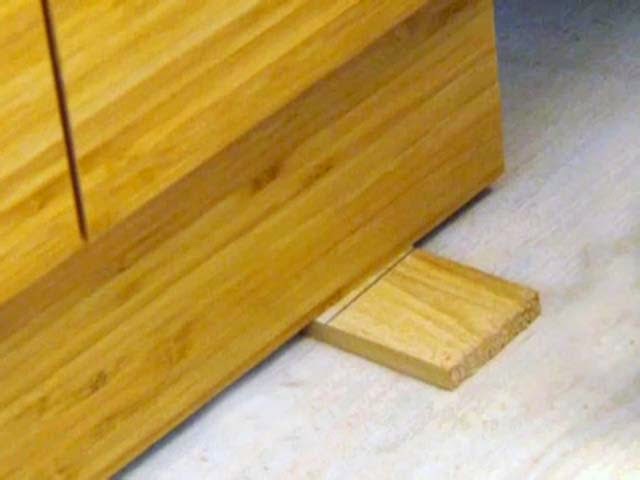
:max_bytes(150000):strip_icc()/8_IMG_3767-56a4a2753df78cf772835b72.JPG) Spacers come in various sizes and materials, allowing you to customize the design of your bathroom vanity. You can choose from different thicknesses and materials, such as plastic or rubber, to achieve the desired gap and aesthetic for your vanity. This allows for more flexibility in design and can help you create a unique and personalized bathroom space.
In conclusion, installing spacers on your bathroom vanity offers a range of benefits, from increased durability and stability to improved aesthetic appeal and easier installation. By incorporating spacers into your bathroom design, you can enhance the overall look and functionality of your vanity, making it a worthwhile addition to any bathroom renovation project.
Spacers come in various sizes and materials, allowing you to customize the design of your bathroom vanity. You can choose from different thicknesses and materials, such as plastic or rubber, to achieve the desired gap and aesthetic for your vanity. This allows for more flexibility in design and can help you create a unique and personalized bathroom space.
In conclusion, installing spacers on your bathroom vanity offers a range of benefits, from increased durability and stability to improved aesthetic appeal and easier installation. By incorporating spacers into your bathroom design, you can enhance the overall look and functionality of your vanity, making it a worthwhile addition to any bathroom renovation project.


:max_bytes(150000):strip_icc()/doll-s-house--lounge---close-up-of-miniature-furniture-122710161-caaeea4a89594a61be477b5a3a79fc43.jpg)


