How to Install Recessed Lighting in a Kitchen
Adding recessed lighting to your kitchen can completely transform the look and feel of the space. Not only does it provide better lighting for tasks and cooking, but it also adds a modern touch to the room. If you're looking to upgrade your kitchen lighting, here's a step-by-step guide on how to install recessed lights in your kitchen.


How to Install Recessed Lighting in a Kitchen


Installing Recessed Lighting in Your Kitchen: A Step-by-Step Guide
Before you start any electrical work, make sure to turn off the power to the area where you'll be installing the recessed lights. It's also a good idea to have a licensed electrician inspect and approve your plan before moving forward.
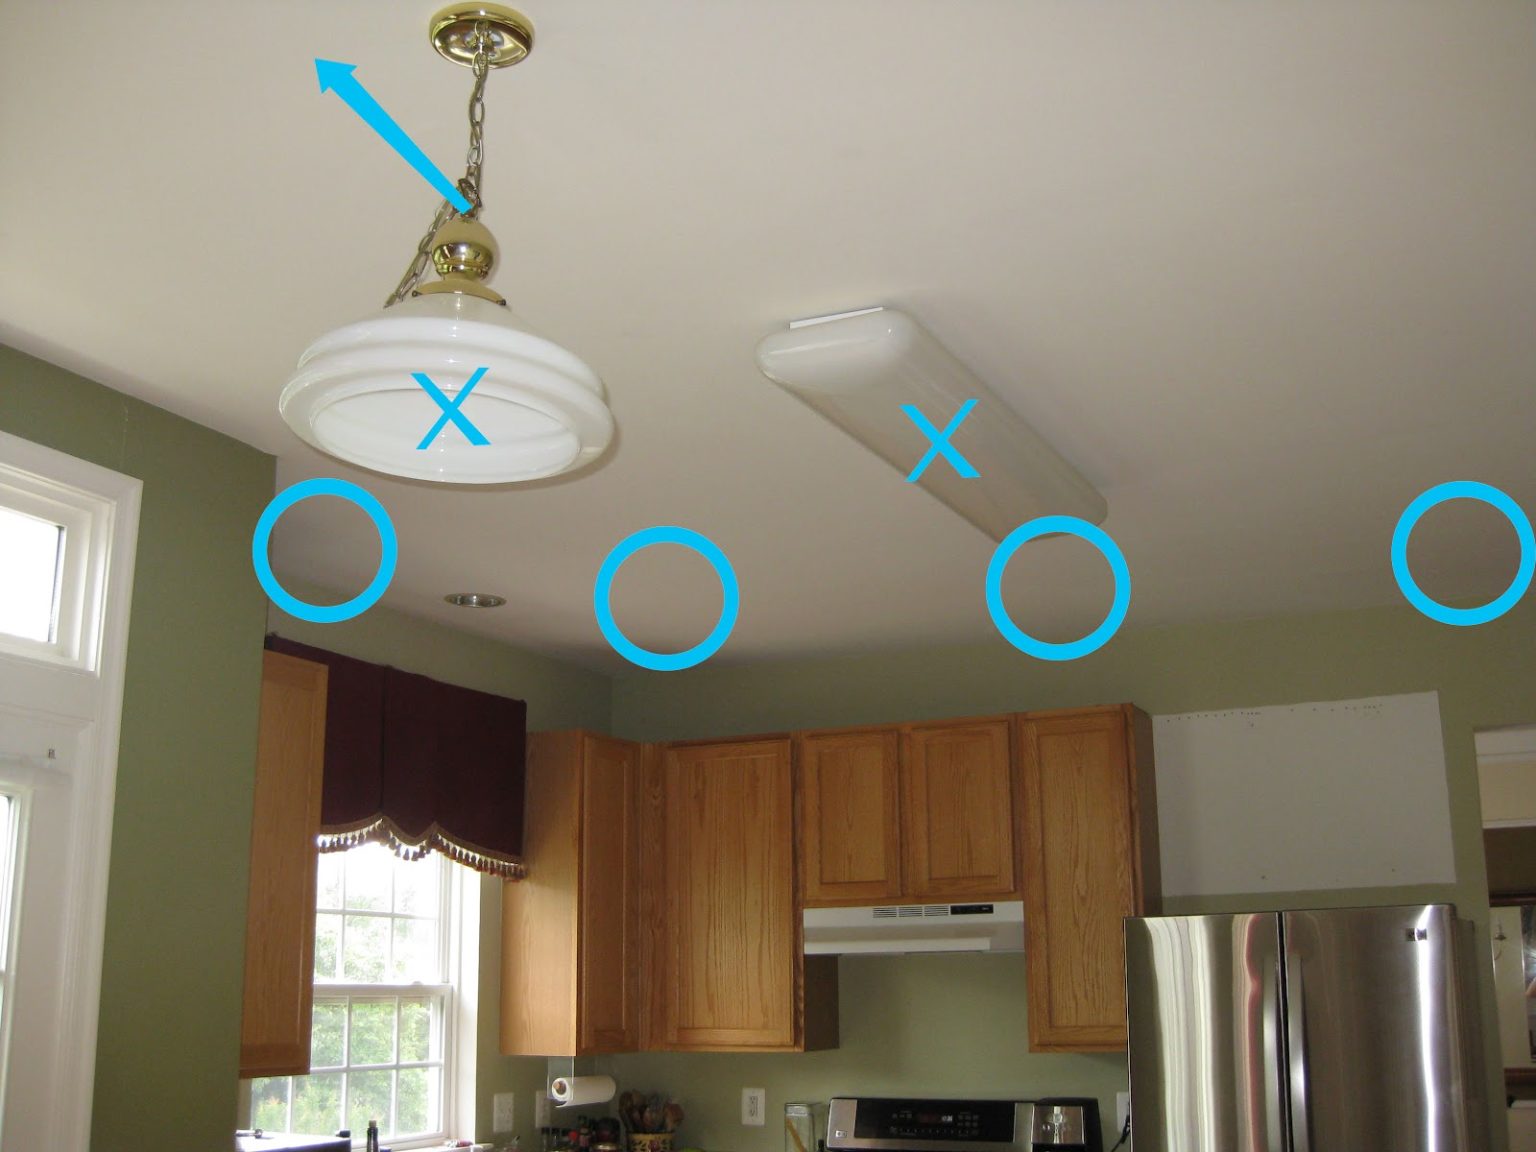
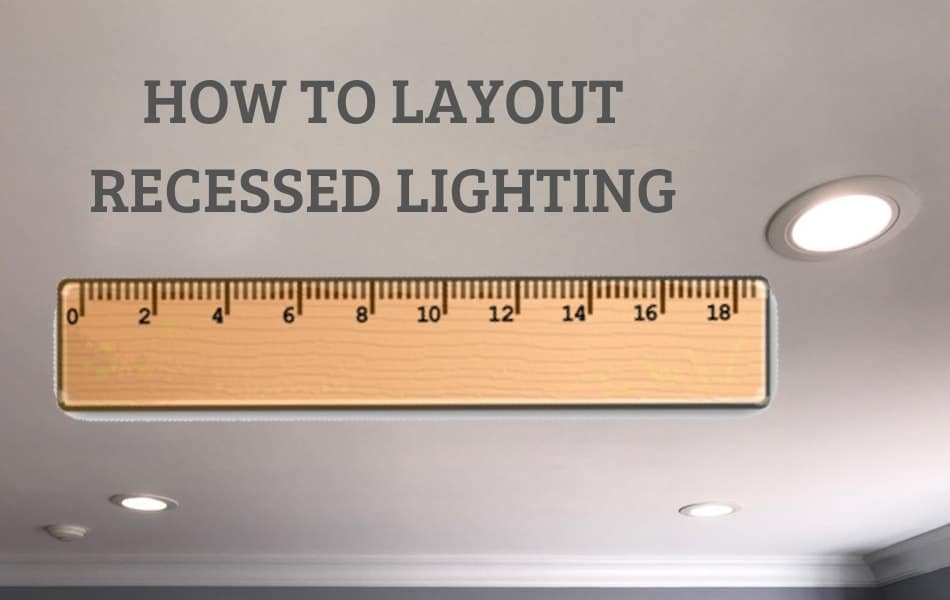
Step 1: Plan Your Lighting Layout
The first step is to decide where you want your recessed lights to be placed. Measure the dimensions of your kitchen and mark the placement of your lights on the ceiling using a pencil and measuring tape. It's recommended to have a distance of 4 feet between each light for optimal lighting coverage.
Step 2: Cut the Holes
Using a hole saw, cut through the ceiling at each marked spot for your recessed lights. Make sure to wear safety goggles and follow the instructions on the hole saw for proper usage.
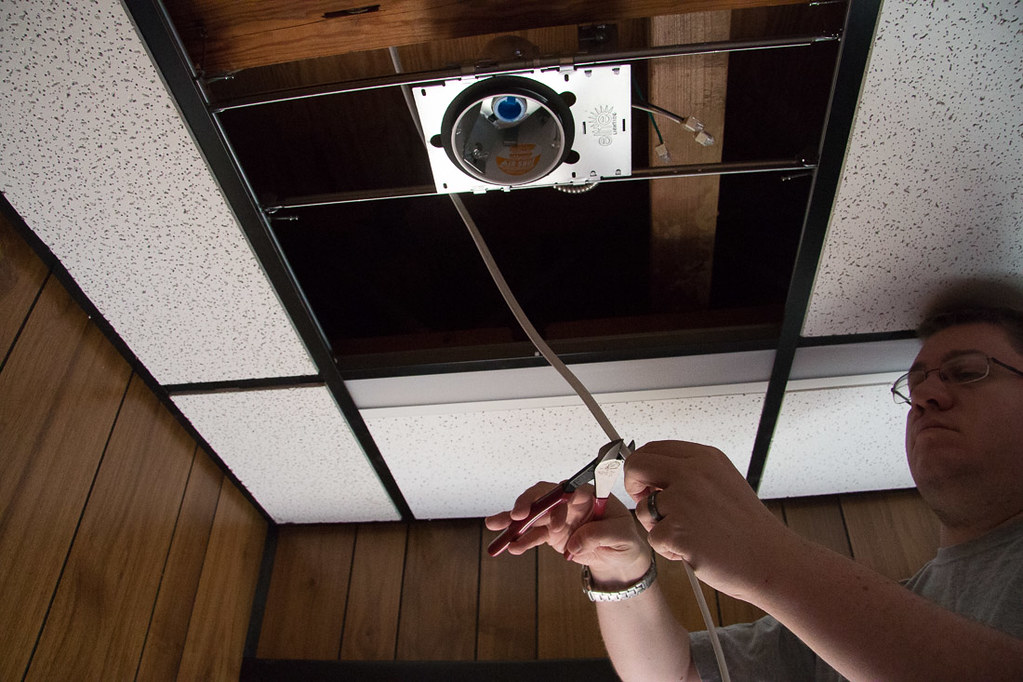
Step 3: Install the Electrical Wiring
Using a fish tape, run the electrical wiring from the existing light fixture to the first cut hole. Then, run the wiring from the first hole to the next and so on until all the holes have wiring running through them.
Step 4: Connect the Wiring
At each hole, strip the wires and connect them to the corresponding wires from the light fixtures. Make sure to follow the manufacturer's instructions for proper wiring connections.
Step 5: Secure the Lights
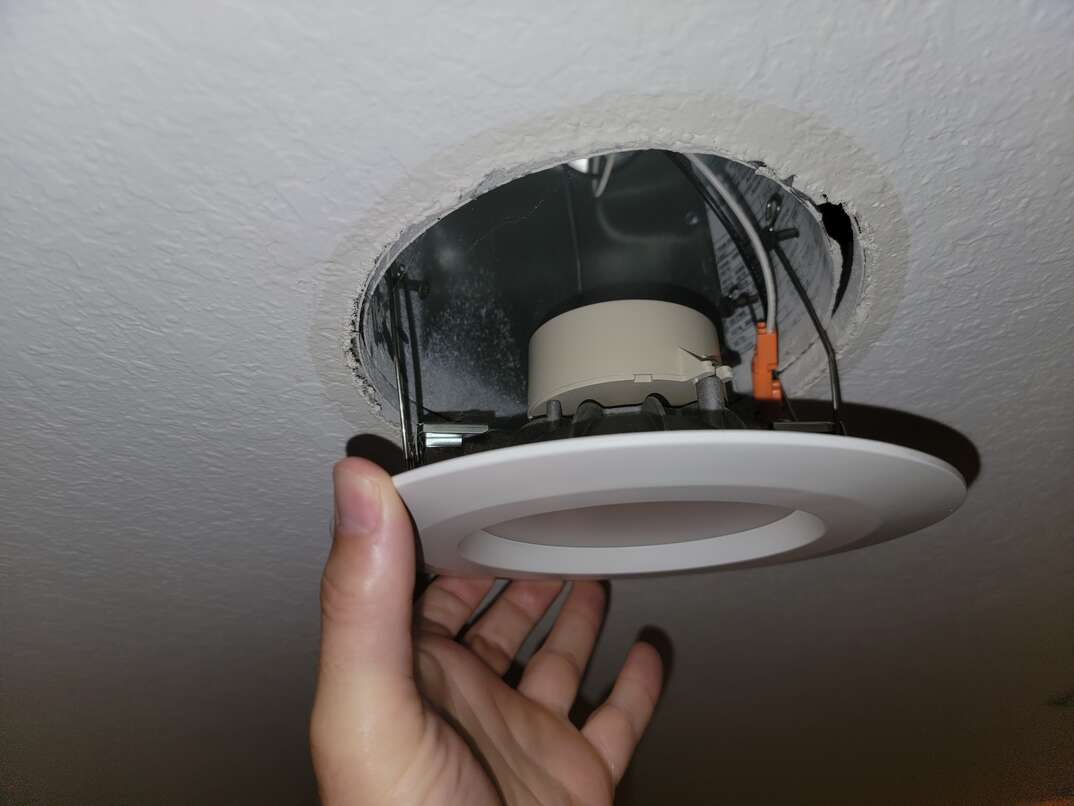
Insert the recessed light fixtures into the cut holes and use the provided clips to secure them in place. These clips will attach to the ceiling and hold the lights in place.
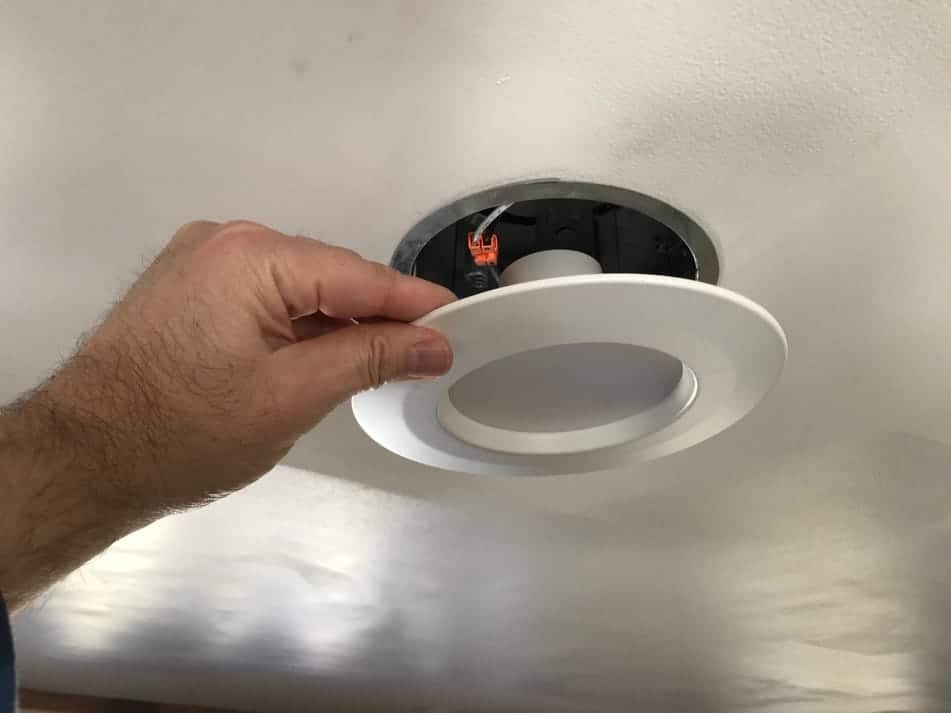
Step 6: Attach the Trim
Once the lights are secured, attach the trim to the fixtures. This will give your recessed lights a finished look and cover any gaps between the fixture and the ceiling.


Installing Recessed Lighting in Your Kitchen: A Step-by-Step Guide
DIY Kitchen Lighting Upgrade: How to Install Recessed Lights
If you're feeling confident in your DIY skills, you can install recessed lights in your kitchen without attic access. This may require some extra steps, but it can still be done with the right tools and materials.
Step 1: Cut Access Holes
Using a drywall saw, cut small access holes in the ceiling where you want your lights to be placed. These holes should be big enough for you to reach through, but small enough to be easily covered with the trim.
Step 2: Run Wiring Through the Holes
Using a fish tape, run the electrical wiring from the existing light fixture to the access holes. Then, run the wiring to each hole where the recessed lights will be placed.
Step 3: Install the Lights
Follow the same steps as above to install the lights and connect the wiring. However, you may need to use a special junction box and extension brackets to reach the light fixture from the access hole.
Step 4: Cover the Access Holes
Once the lights are installed and wired, cover the access holes with drywall and use joint compound to smooth out any seams. Once dry, you can paint over the areas to match your ceiling.


DIY Kitchen Lighting Upgrade: How to Install Recessed Lights


Kitchen Lighting Ideas: How to Install Recessed Lights in a Drop Ceiling
If you have a drop ceiling in your kitchen, you can still install recessed lights by following these steps:
Step 1: Measure and Mark
Measure and mark the placement of your lights on the drop ceiling tiles using a pencil and measuring tape. Make sure to leave enough space between each light for optimal coverage.
Step 2: Cut Holes
Using a hole saw, cut through the drop ceiling at each marked spot. Make sure to follow the manufacturer's instructions for proper usage and safety precautions.
Step 3: Install the Lights
Follow the same steps as above for installing the lights and connecting the wiring. However, you may need to use special clips or brackets to secure the lights to the drop ceiling grid.


Installing Recessed Lighting in a Kitchen with No Attic Access

Step-by-Step Guide to Installing Recessed Lighting in Your Kitchen
For a more detailed guide on installing recessed lighting in your kitchen, here are the steps broken down:
Step 1: Plan and Measure
Decide where you want your lights to be placed and measure the dimensions of your kitchen. Mark the placement of your lights on the ceiling using a pencil and measuring tape.
Step 2: Cut Holes
Using a hole saw, cut through the ceiling at each marked spot for your recessed lights. Make sure to follow the manufacturer's instructions for proper usage and safety precautions.
Step 3: Run Wiring
Using a fish tape, run the electrical wiring from the existing light fixture to the first cut hole. Then, run the wiring from the first hole to the next and so on until all the holes have wiring running through them.
Step 4: Connect the Wiring
At each hole, strip the wires and connect them to the corresponding wires from the light fixtures. Make sure to follow the manufacturer's instructions for proper wiring connections.
Step 5: Secure the Lights
Insert the recessed light fixtures into the cut holes and use the provided clips to secure them in place.
Step 6: Attach the Trim
Once the lights are secured, attach the trim to the fixtures for a finished look.


Kitchen Lighting Ideas: How to Install Recessed Lights in a Drop Ceiling


How to Install Recessed Lighting in a Kitchen with Existing Ceiling Lights
If you already have ceiling lights in your kitchen and want to add recessed lights, here's how:
Step 1: Choose the Right Location
Choose a location for your recessed lights that is at least 4 feet away from your existing ceiling lights. This will ensure proper lighting coverage and avoid any electrical issues.
Step 2: Turn Off Power
Before starting any electrical work, turn off the power to the area where you'll be installing the recessed lights.
Step 3: Cut Holes
Using a hole saw, cut through the ceiling at each marked spot for your recessed lights. Make sure to follow the manufacturer's instructions for proper usage and safety precautions.
Step 4: Run Wiring
Using a fish tape, run the electrical wiring from the existing light fixture to the first cut hole. Then, run the wiring from the first hole to the next and so on until all the holes have wiring running through them.
Step 5: Connect the Wiring
At each hole, strip the wires and connect them to the corresponding wires from the light fixtures. Make sure to follow the manufacturer's instructions for proper wiring connections.
Step 6: Secure the Lights
Insert the recessed light fixtures into the cut holes and use the provided clips to secure them in place.
Step 7: Attach the Trim
Once the lights are secured, attach the trim to the fixtures for a finished look.


Step-by-Step Guide to Installing Recessed Lighting in Your Kitchen


Recessed Lighting Installation Tips for Your Kitchen
Here are some additional tips to keep in mind when installing recessed lighting in your kitchen:
Tip 1: Choose the Right Bulbs
Make sure to choose the right bulbs for your recessed lights. LED bulbs are a popular choice for their energy efficiency and long lifespan.
Tip 2: Use Remodeling Cans
If you're installing recessed lights in a kitchen that already has a finished ceiling, use remodeling cans that can be easily installed without cutting into the ceiling.
Tip 3: Consider Dimmers
Add dimmer switches to your recessed lights for more control over the lighting in your kitchen. This can create a more relaxed and cozy atmosphere when entertaining or dining.


How to Install Recessed Lighting in a Kitchen with Existing Ceiling Lights


How to Choose and Install the Perfect Recessed Lighting for Your Kitchen
Choosing the right recessed lighting for your kitchen can make all the difference. Here's what to consider when selecting and installing your lights:
Step 1: Consider the Placement
Think about where you will be placing your recessed lights and how many you will need for adequate lighting coverage.
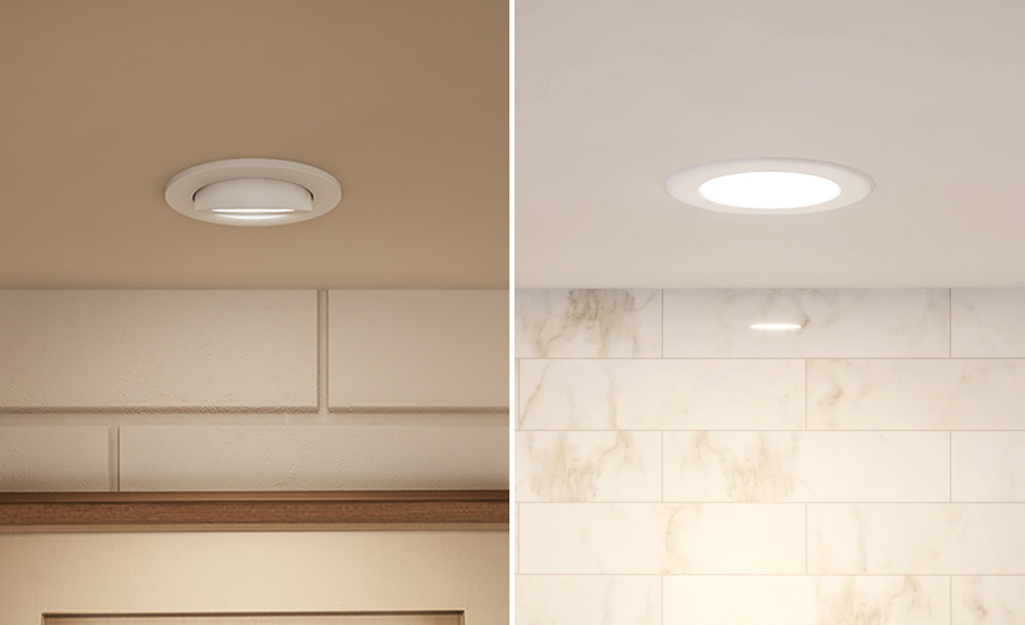
Step 2: Choose the Right Trim
Recessed lights come in a variety of trims, from simple to decorative. Choose a trim that fits with the style and design of your kitchen.
Step 3: Determine the Size
Recessed lights come in different sizes, so make sure to choose a size that fits your space and provides the right amount of lighting.
Step 4: Use a Template
Some recessed light kits come with a template for easy installation. If not, you can create your own using the light fixture as a guide.


Recessed Lighting Installation Tips for Your Kitchen

Installing Recessed Lighting in a Kitchen: Common Mistakes to Avoid
When installing recessed lighting in your kitchen, there are a few common mistakes to avoid:
Mistake 1: Not Turning Off Power
Always make sure to turn off the power to the area where you'll be installing the recessed lights to avoid any electrical accidents.
Mistake 2: Not Following Safety Precautions
Make sure to wear proper safety gear, like safety goggles, when cutting holes in the ceiling. Follow the manufacturer's instructions for safety precautions when using tools.
Mistake 3: Improper Wiring
Make sure to properly connect the wiring for your recessed lights to avoid any electrical issues or accidents.
Mistake 4: Incorrect Placement
Make sure to properly measure and mark the placement of your recessed lights to avoid any uneven or inadequate lighting coverage in your kitchen.
By following these tips and steps, you can successfully install recessed lighting in your kitchen and achieve a modern and well-lit space. Remember to always prioritize safety and consult a licensed electrician if needed. Enjoy your new kitchen lighting upgrade!


How to Choose and Install the Perfect Recessed Lighting for Your Kitchen
:max_bytes(150000):strip_icc()/kitchenrecessedlighting-GettyImages-155383268-dec5caad600541ff81cbdd6d06846c66.jpg)

Why Recessed Lighting is the Perfect Choice for Your Kitchen

Efficiency and Versatility
 Recessed lighting
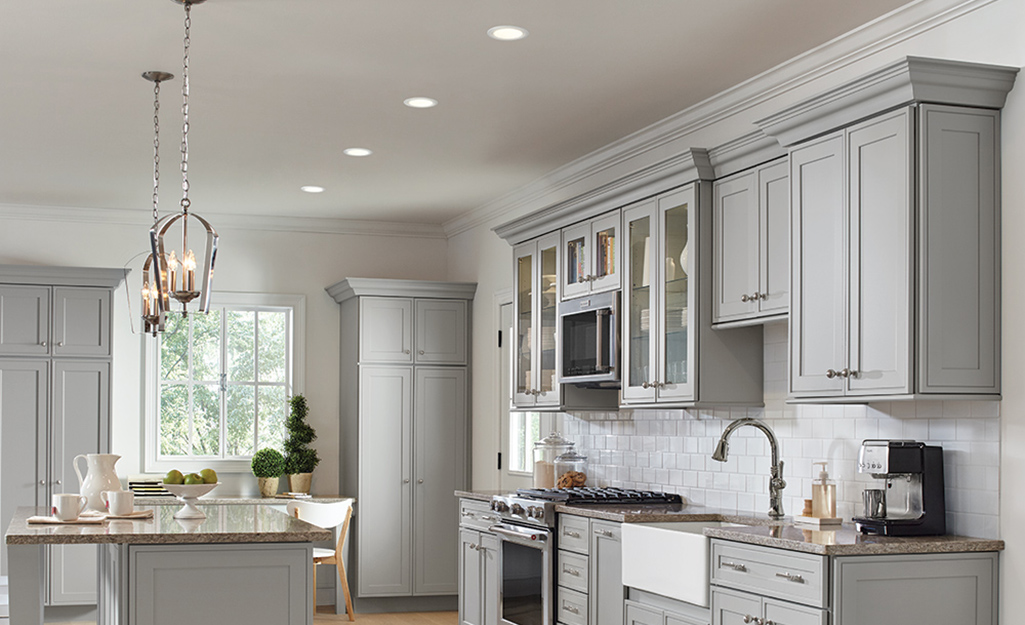
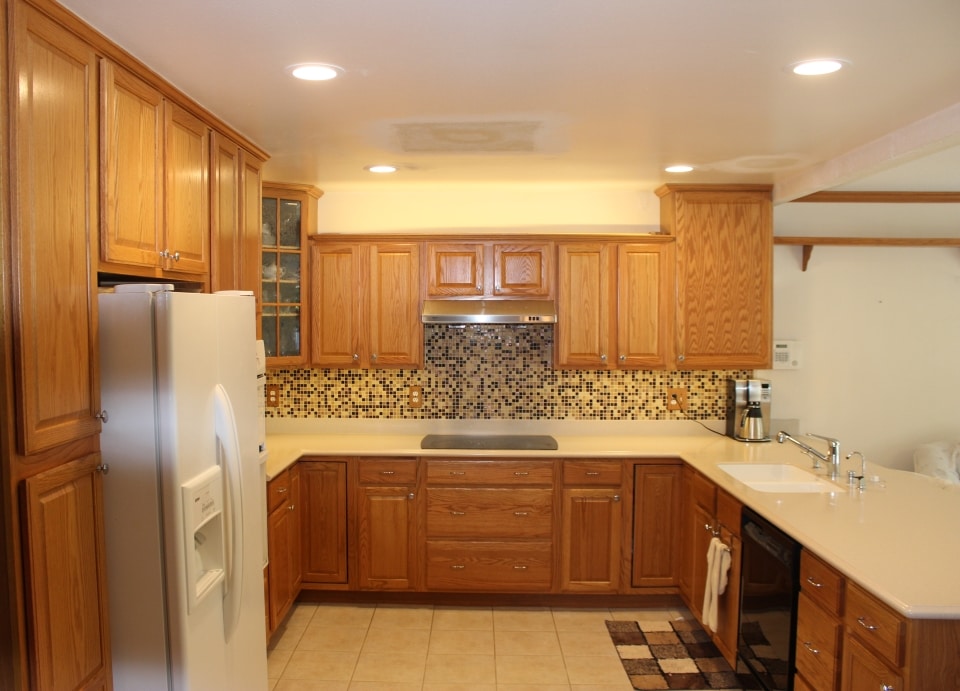
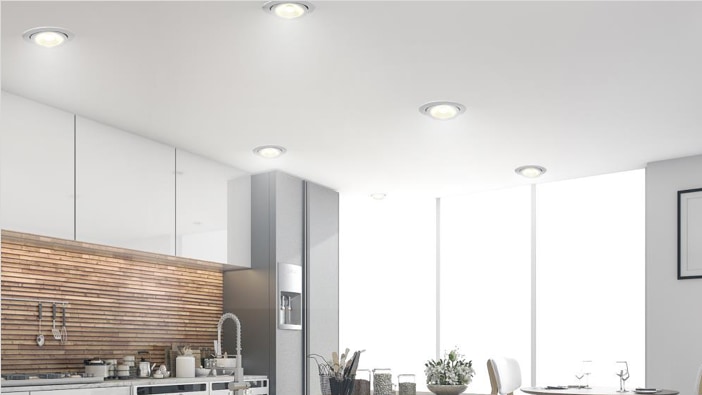
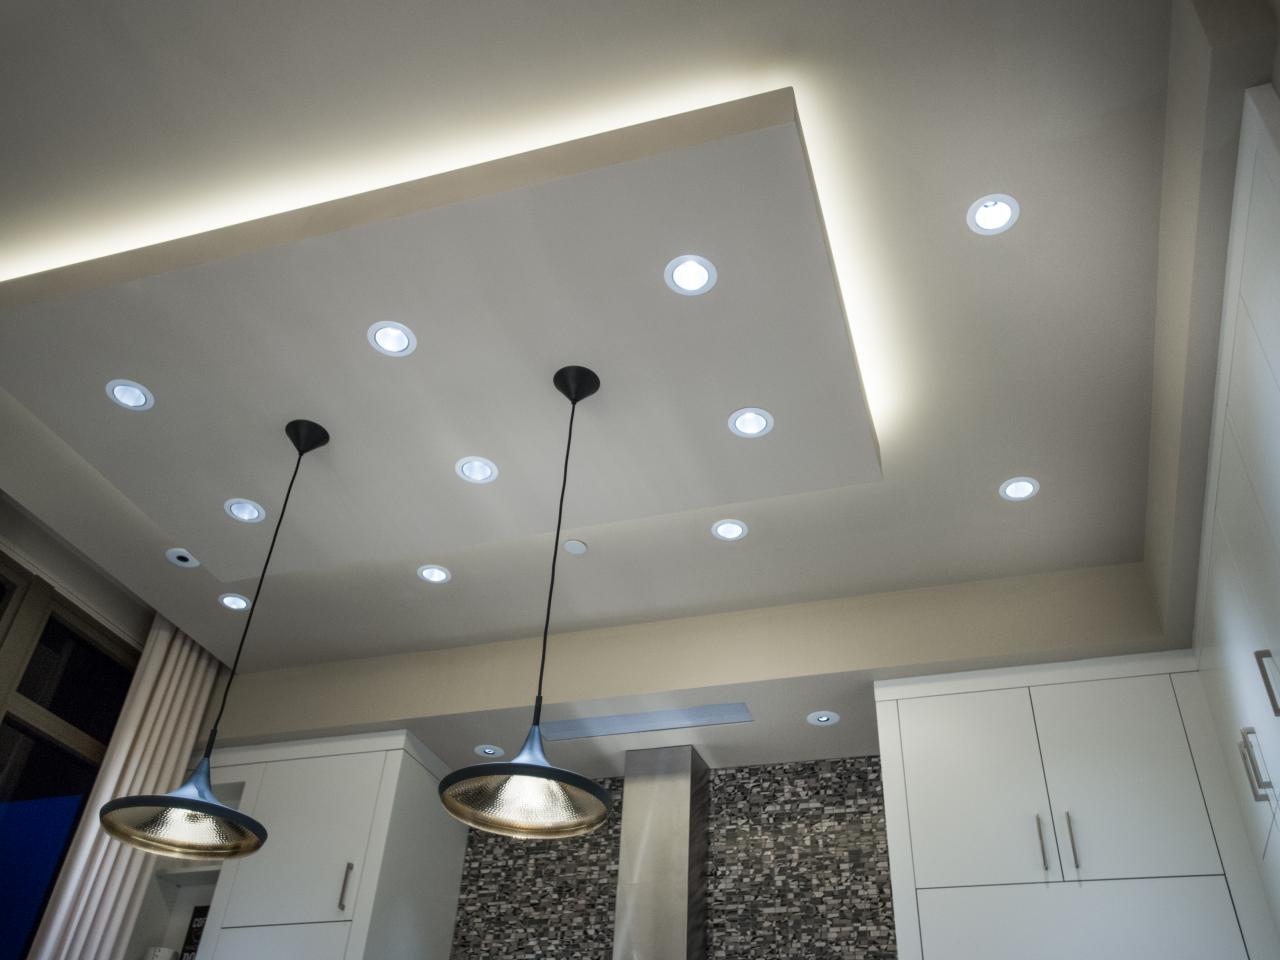
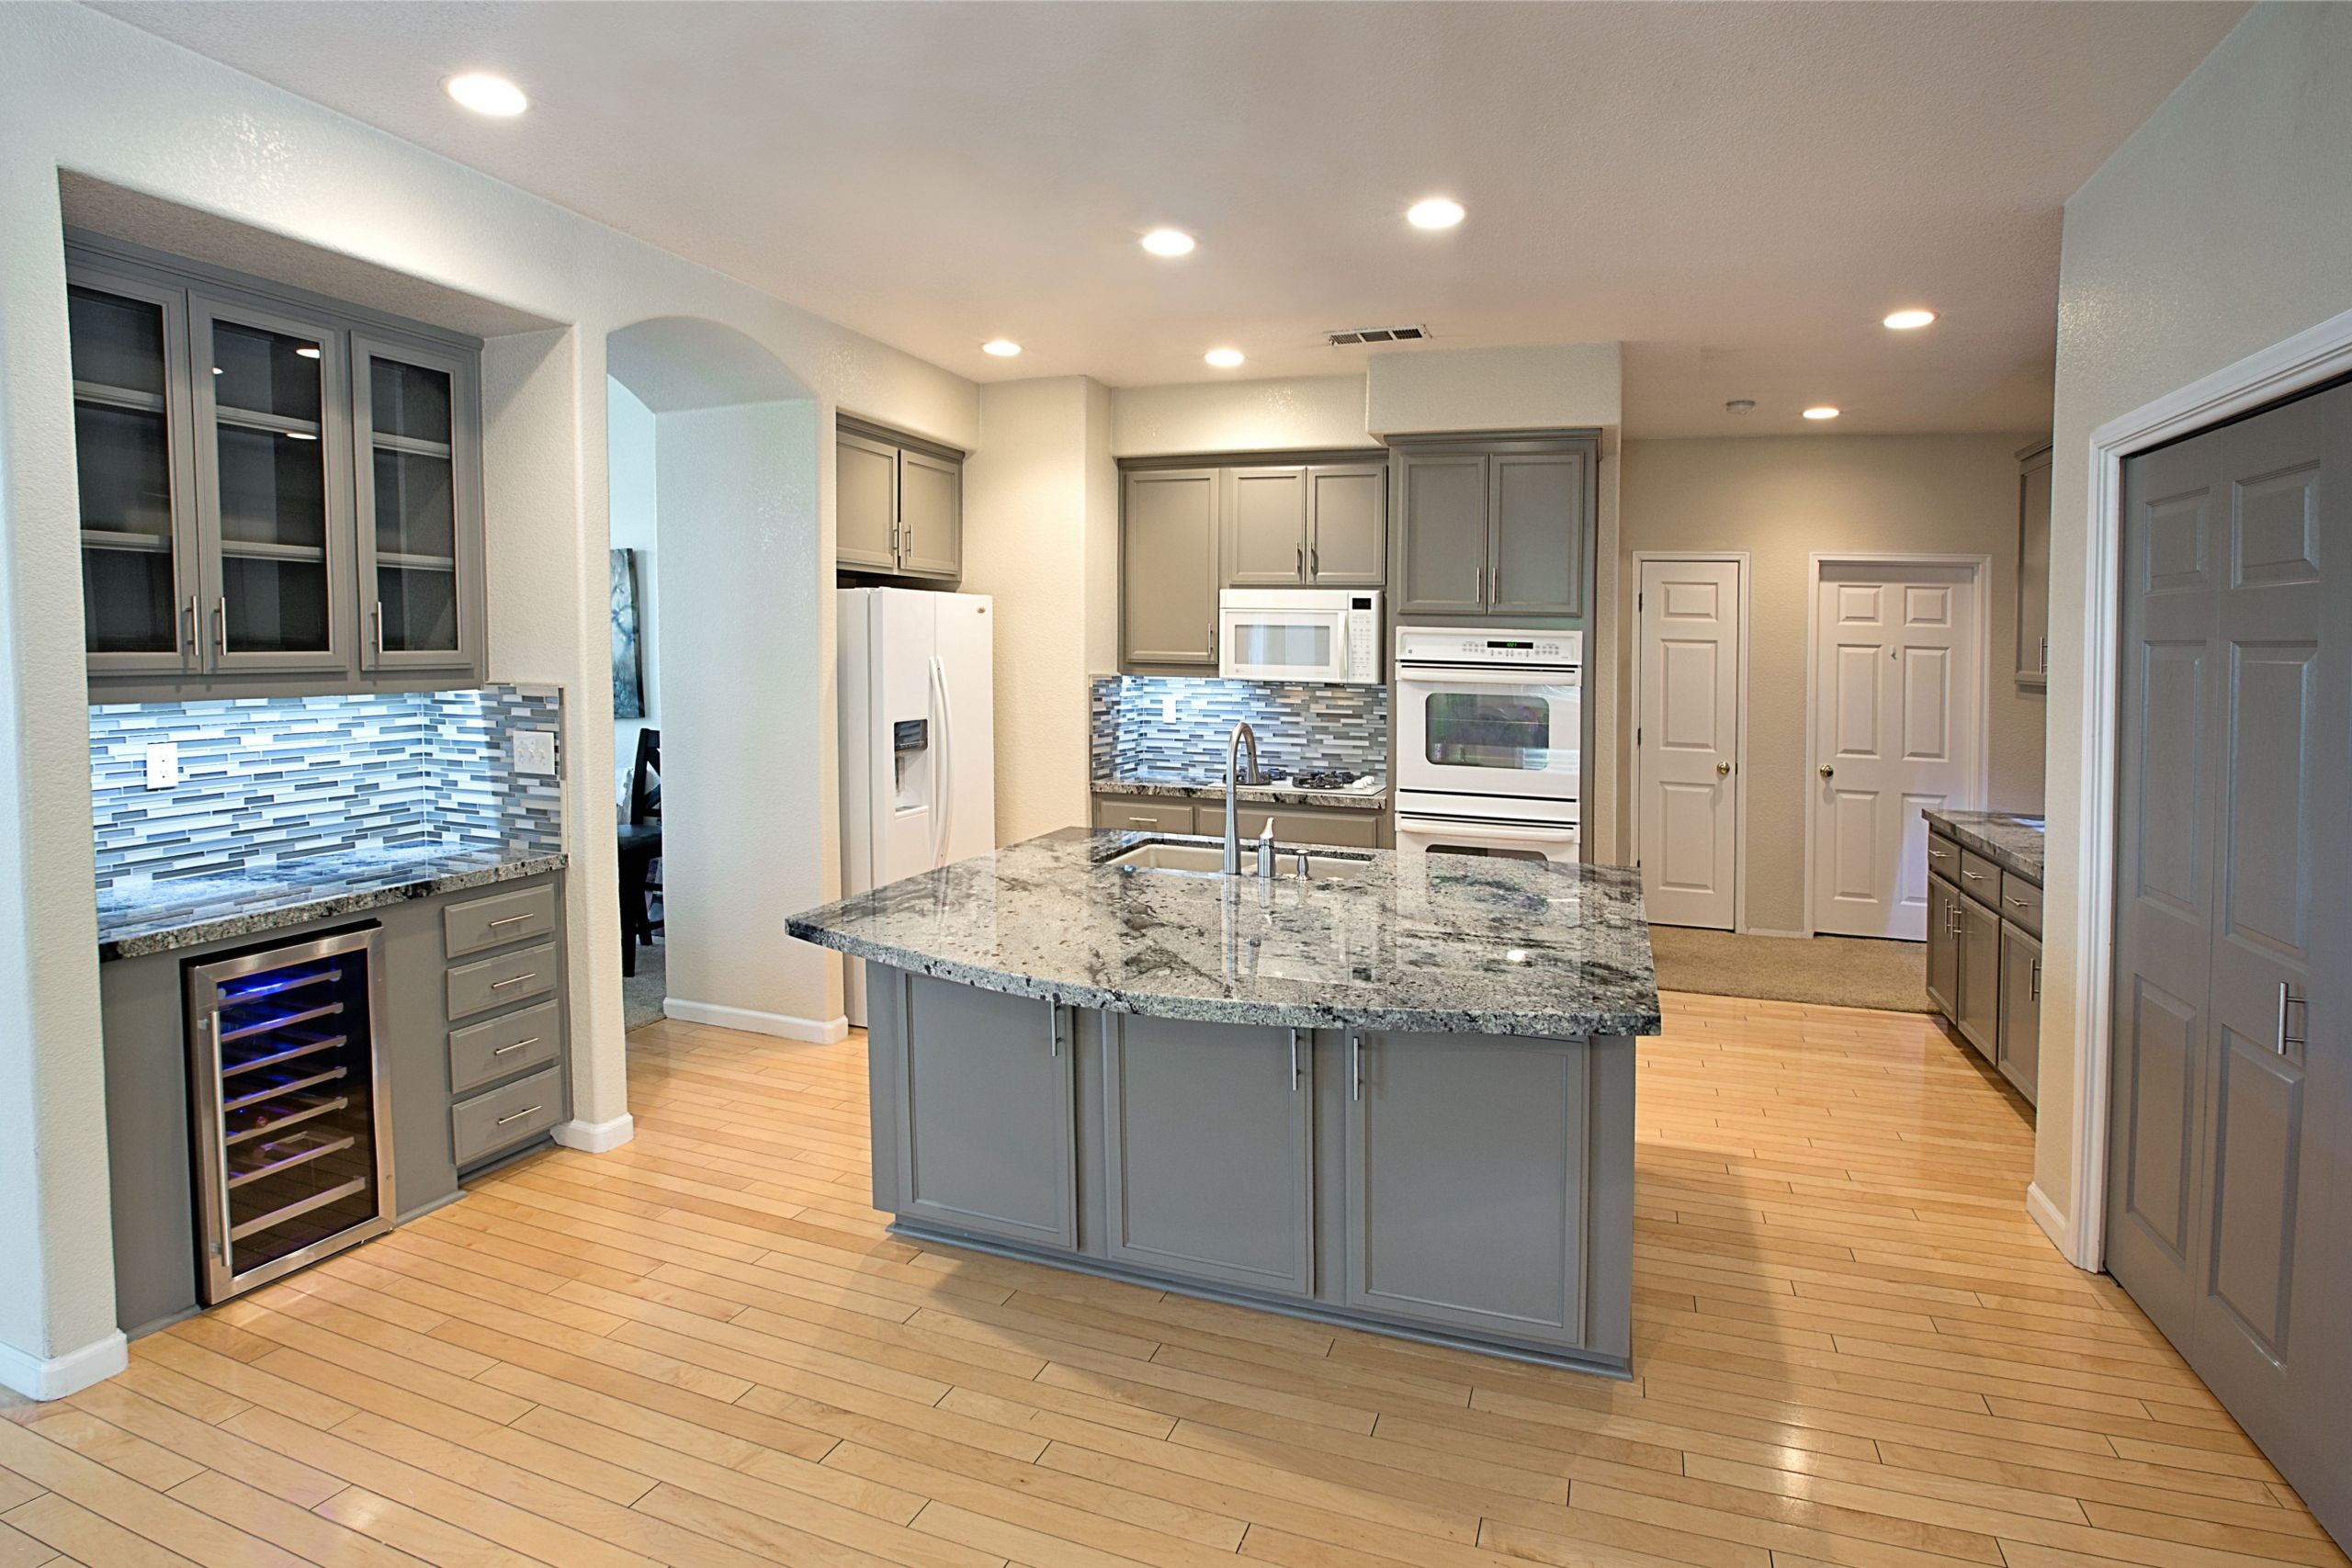
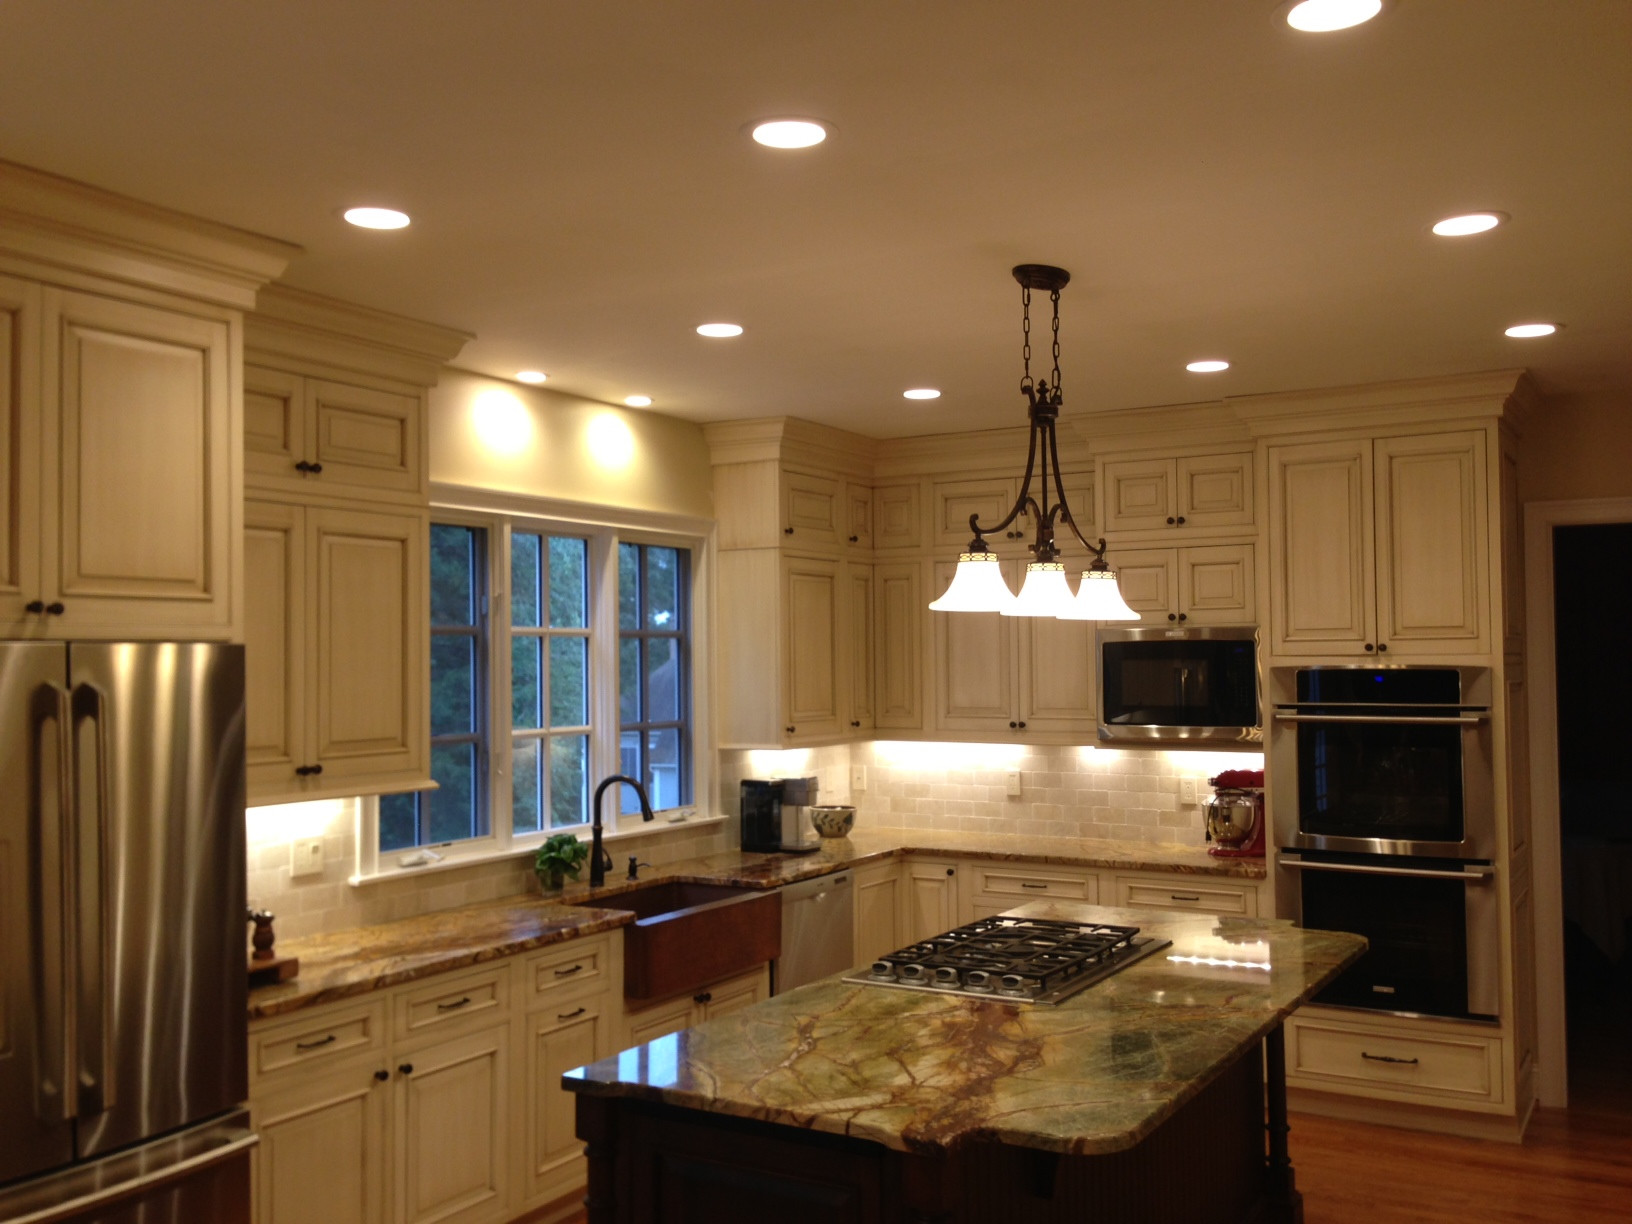
has become increasingly popular in modern home design, especially in the kitchen. This type of lighting provides a sleek and streamlined look, making it an excellent choice for any kitchen design. One of the main benefits of recessed lighting is its efficiency. Unlike traditional lighting fixtures, recessed lights are installed directly into the ceiling, which eliminates the need for bulky fixtures that can take up valuable space. This makes it an ideal choice for smaller kitchens or those with low ceilings. Additionally, recessed lighting is incredibly versatile and can be used in various areas of the kitchen, such as above the sink, over the island, or in the cabinets to provide task lighting.
Recessed lighting
has become increasingly popular in modern home design, especially in the kitchen. This type of lighting provides a sleek and streamlined look, making it an excellent choice for any kitchen design. One of the main benefits of recessed lighting is its efficiency. Unlike traditional lighting fixtures, recessed lights are installed directly into the ceiling, which eliminates the need for bulky fixtures that can take up valuable space. This makes it an ideal choice for smaller kitchens or those with low ceilings. Additionally, recessed lighting is incredibly versatile and can be used in various areas of the kitchen, such as above the sink, over the island, or in the cabinets to provide task lighting.
Enhanced Ambiance
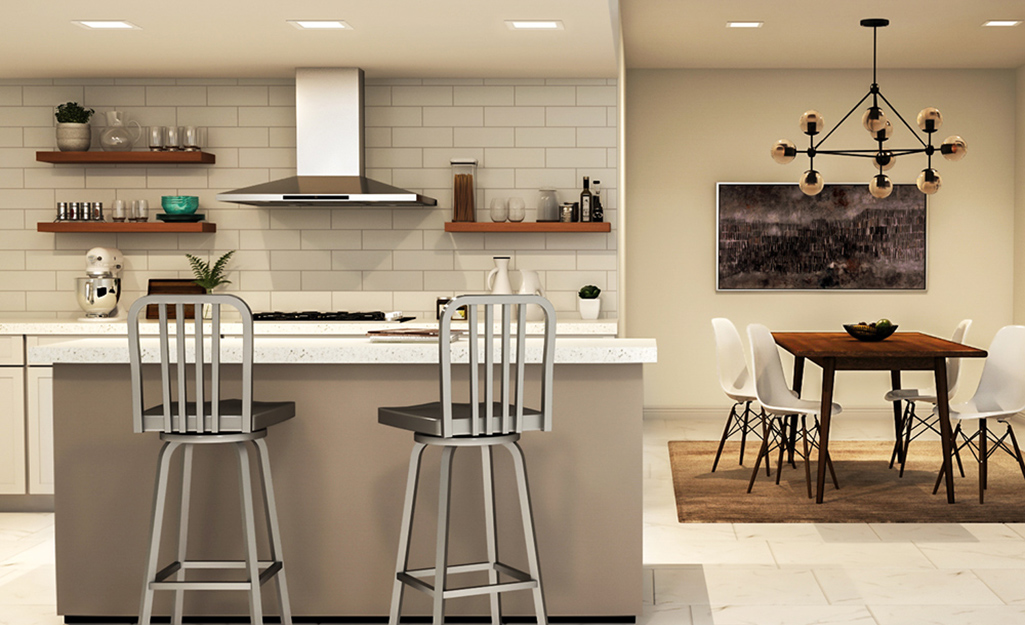
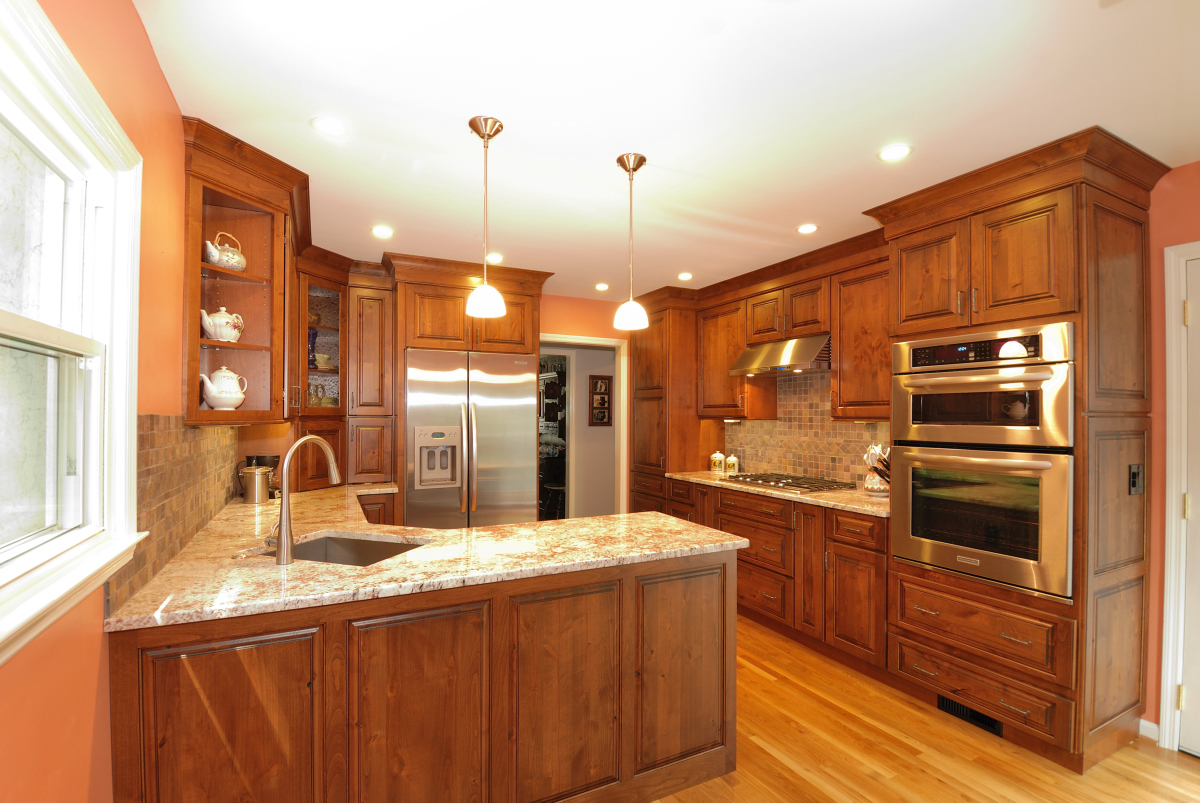
 Not only does recessed lighting provide practical benefits, but it also adds a touch of elegance and sophistication to any kitchen. By strategically placing
recessed lights
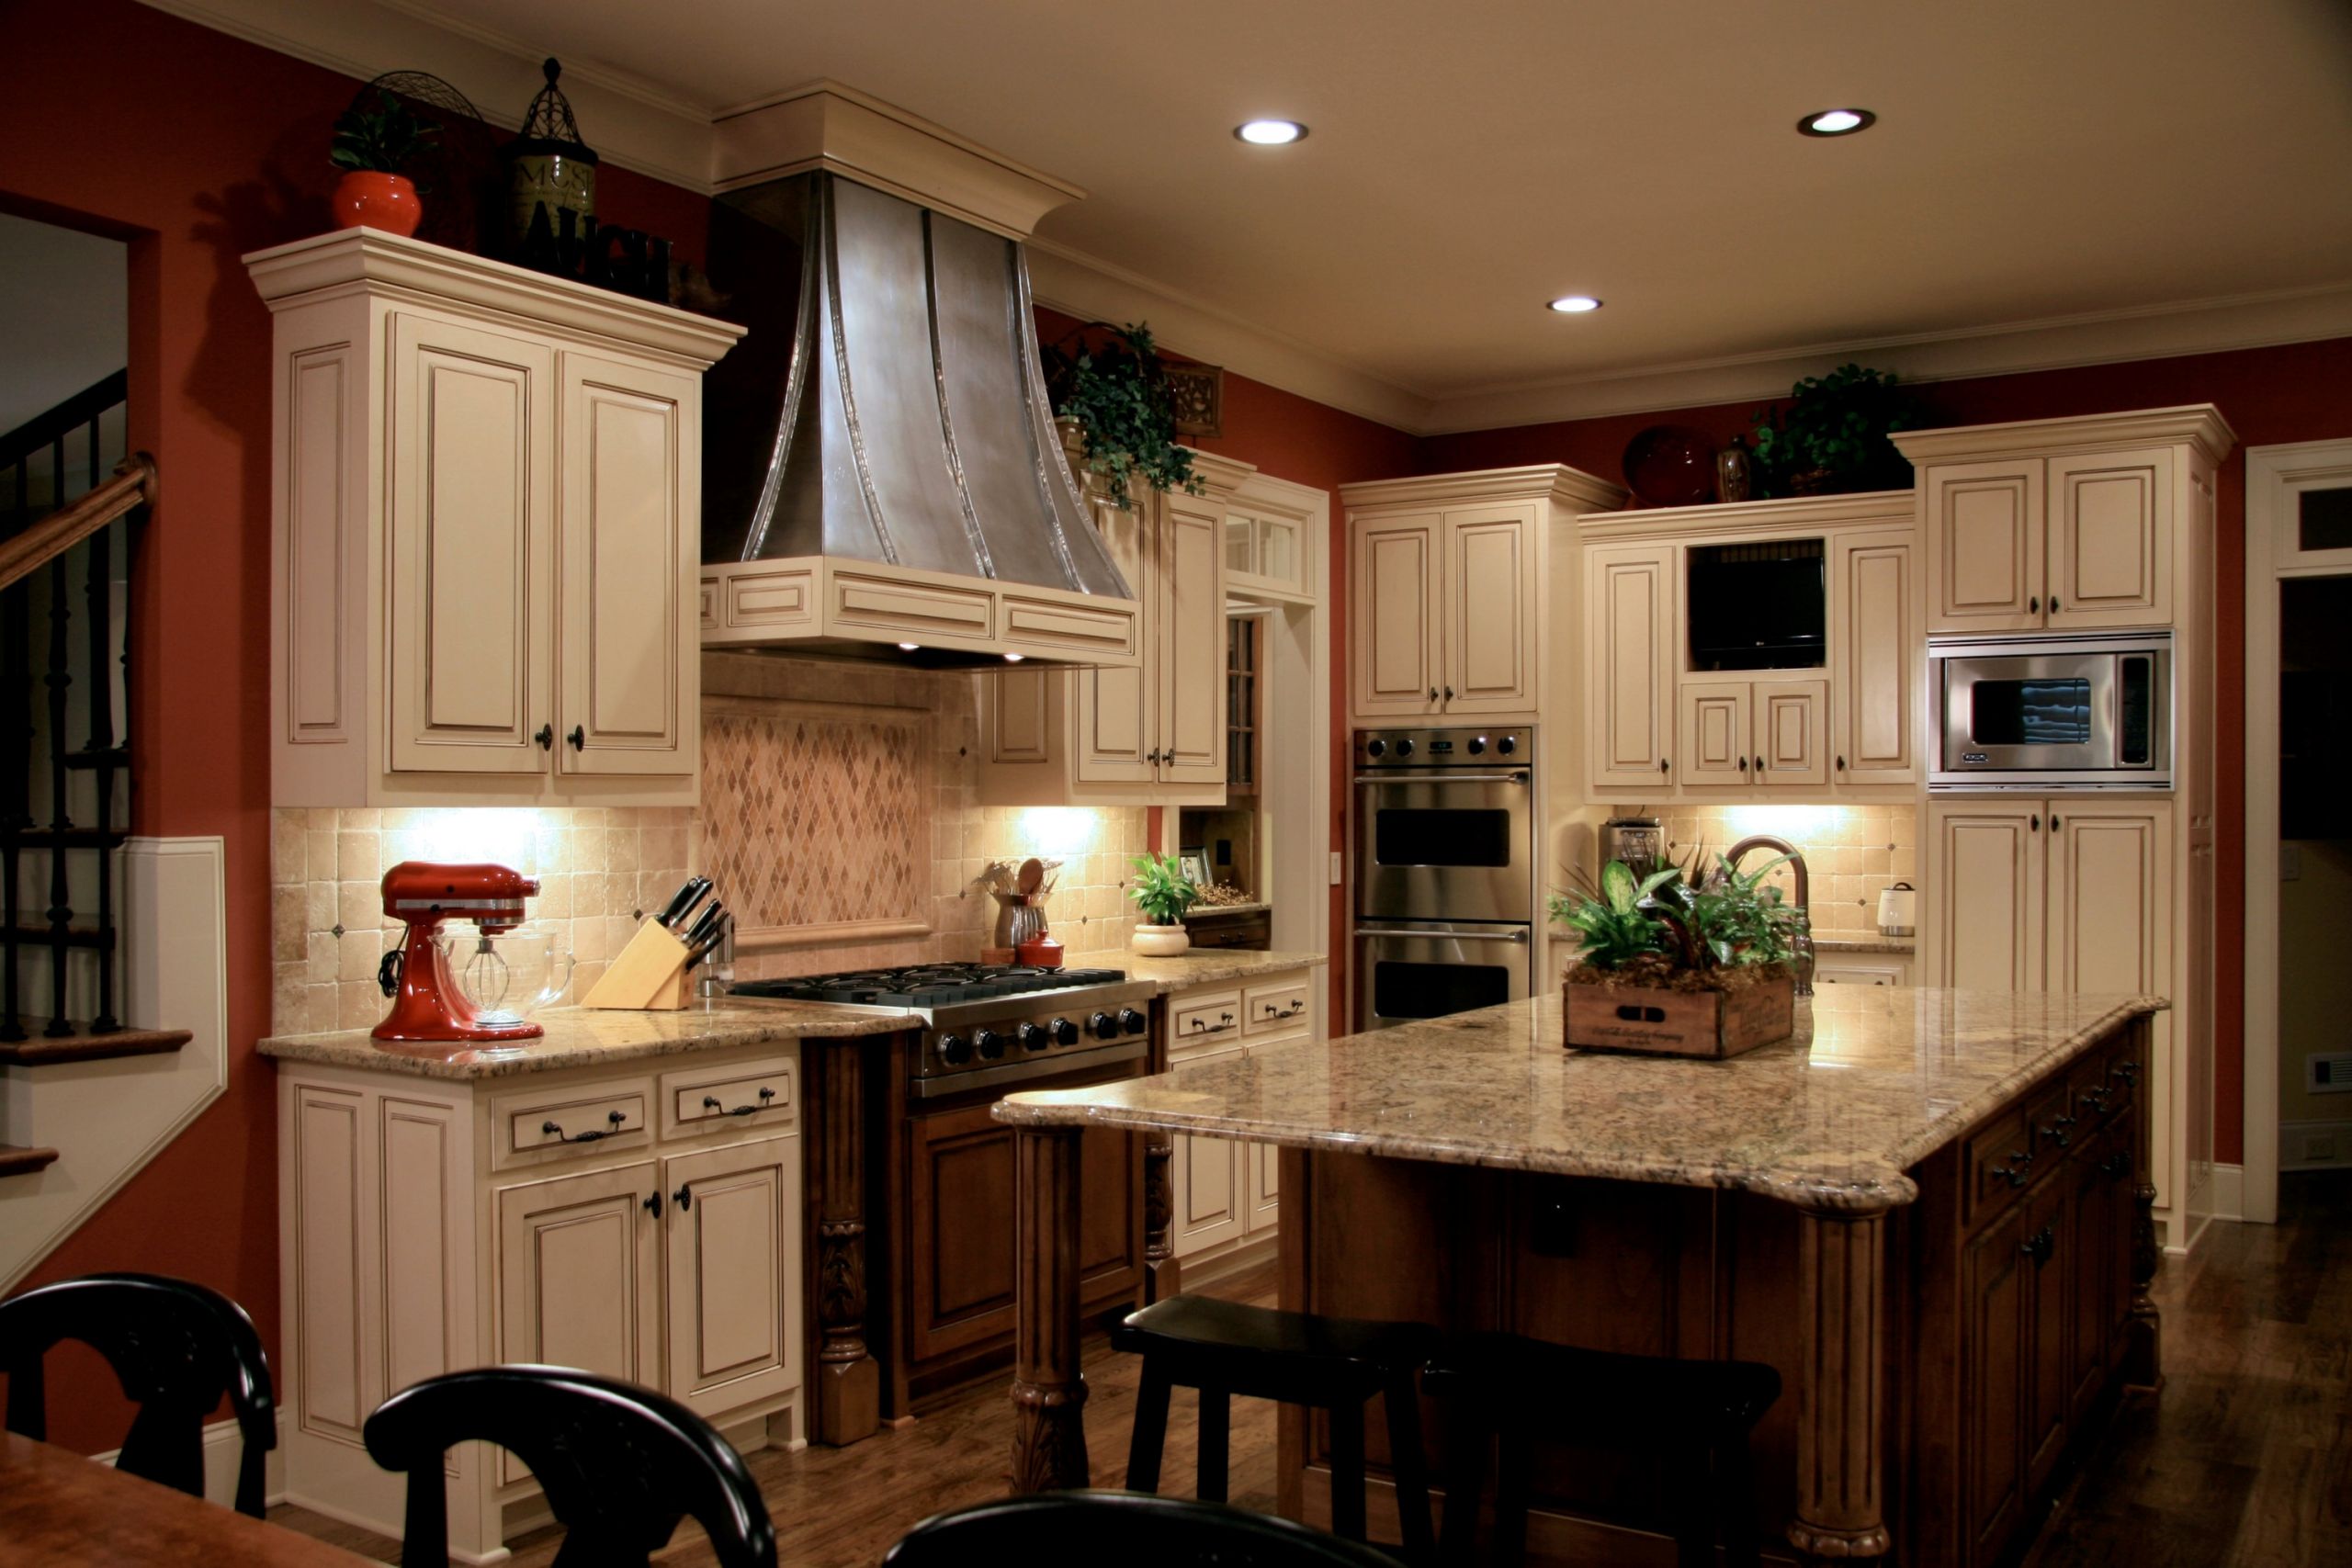
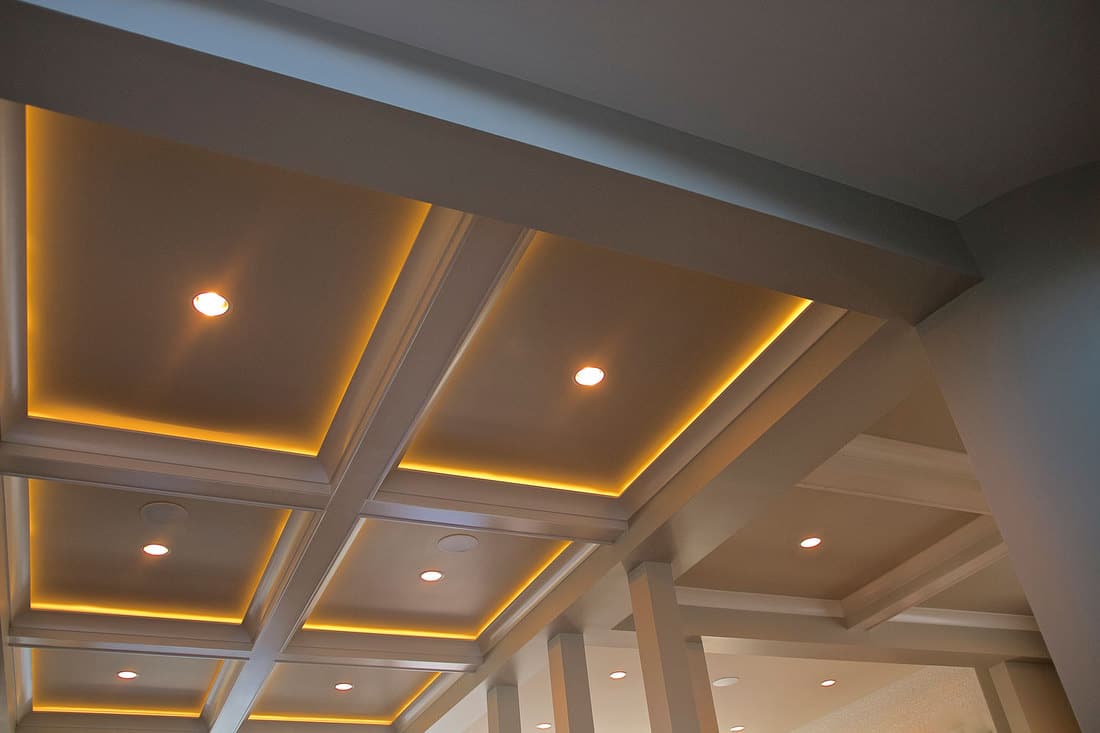
throughout the kitchen, you can create a warm and inviting atmosphere. For example, installing recessed lights above the cabinets can add a soft glow to the room, while lights above the sink can make the space feel brighter and more spacious. Furthermore, recessed lighting can be dimmed, allowing you to adjust the ambiance to suit your needs. This is especially useful during dinner parties or romantic evenings at home.
Not only does recessed lighting provide practical benefits, but it also adds a touch of elegance and sophistication to any kitchen. By strategically placing
recessed lights
throughout the kitchen, you can create a warm and inviting atmosphere. For example, installing recessed lights above the cabinets can add a soft glow to the room, while lights above the sink can make the space feel brighter and more spacious. Furthermore, recessed lighting can be dimmed, allowing you to adjust the ambiance to suit your needs. This is especially useful during dinner parties or romantic evenings at home.
Easy Installation and Maintenance
 Another reason why recessed lighting is a top choice for kitchen design is its easy installation and low maintenance requirements. Unlike other types of lighting, recessed lights do not require any additional wiring or drilling, which makes the installation process quick and hassle-free. Once installed, they also require very little maintenance, with only occasional dusting and bulb replacement needed. This makes it a cost-effective and convenient lighting option for any homeowner.
Conclusion
 In conclusion,
installing recessed lighting
in your kitchen is a practical, versatile, and stylish choice. Its efficiency, enhanced ambiance, and ease of installation and maintenance make it a top choice for modern home design. So if you are looking to upgrade your kitchen lighting, consider incorporating recessed lighting for a sleek and functional look.
In conclusion,
installing recessed lighting
in your kitchen is a practical, versatile, and stylish choice. Its efficiency, enhanced ambiance, and ease of installation and maintenance make it a top choice for modern home design. So if you are looking to upgrade your kitchen lighting, consider incorporating recessed lighting for a sleek and functional look.