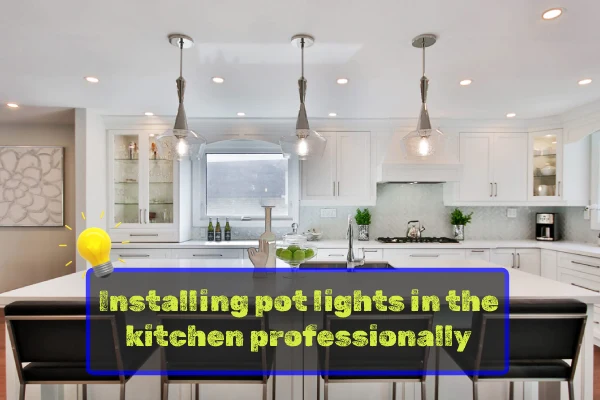
Are you looking to brighten up your kitchen with some new lighting? Pot lights, also known as recessed lights, are a popular choice for kitchens due to their sleek and modern appearance. But how do you install these lights in your own kitchen? In this article, we'll provide a step-by-step guide on how to install pot lights in your kitchen, as well as tips and tricks, common mistakes to avoid, and expert advice. So let's get started!How to Install Pot Lights in Your Kitchen


How to Install Pot Lights in Your Kitchen


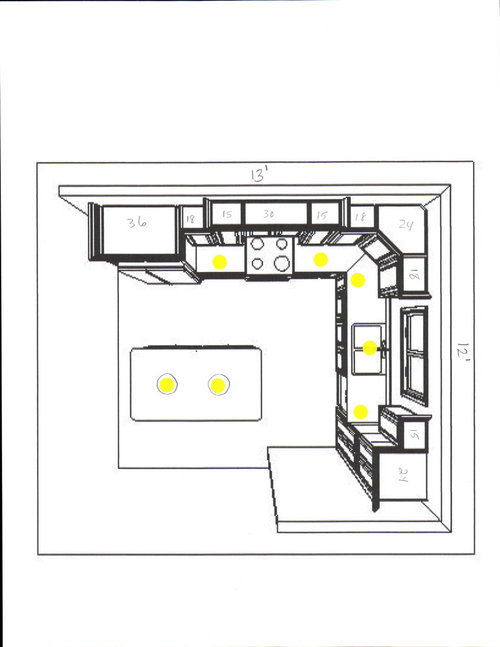
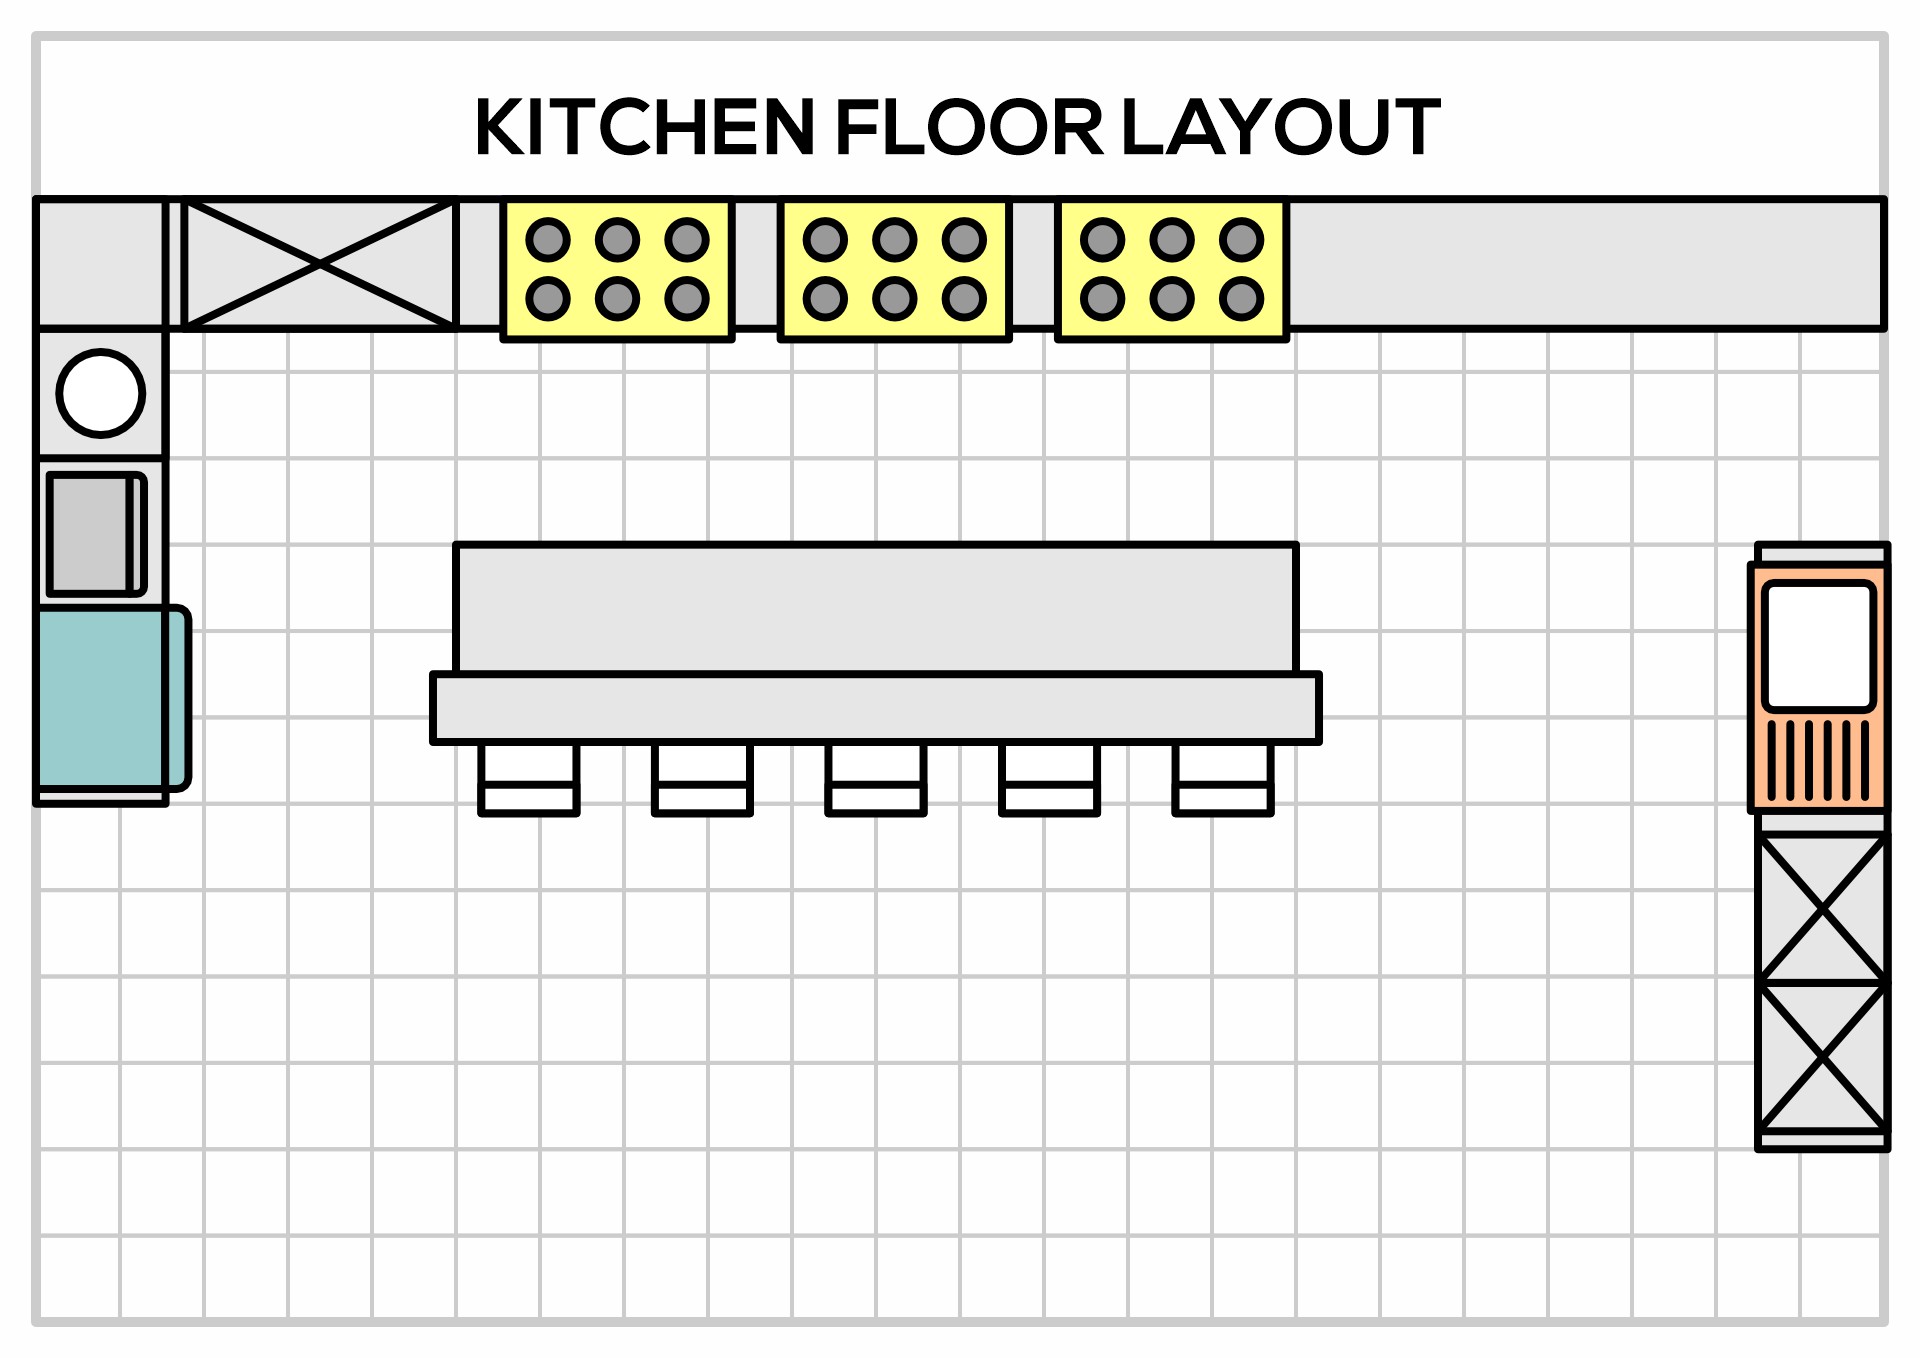
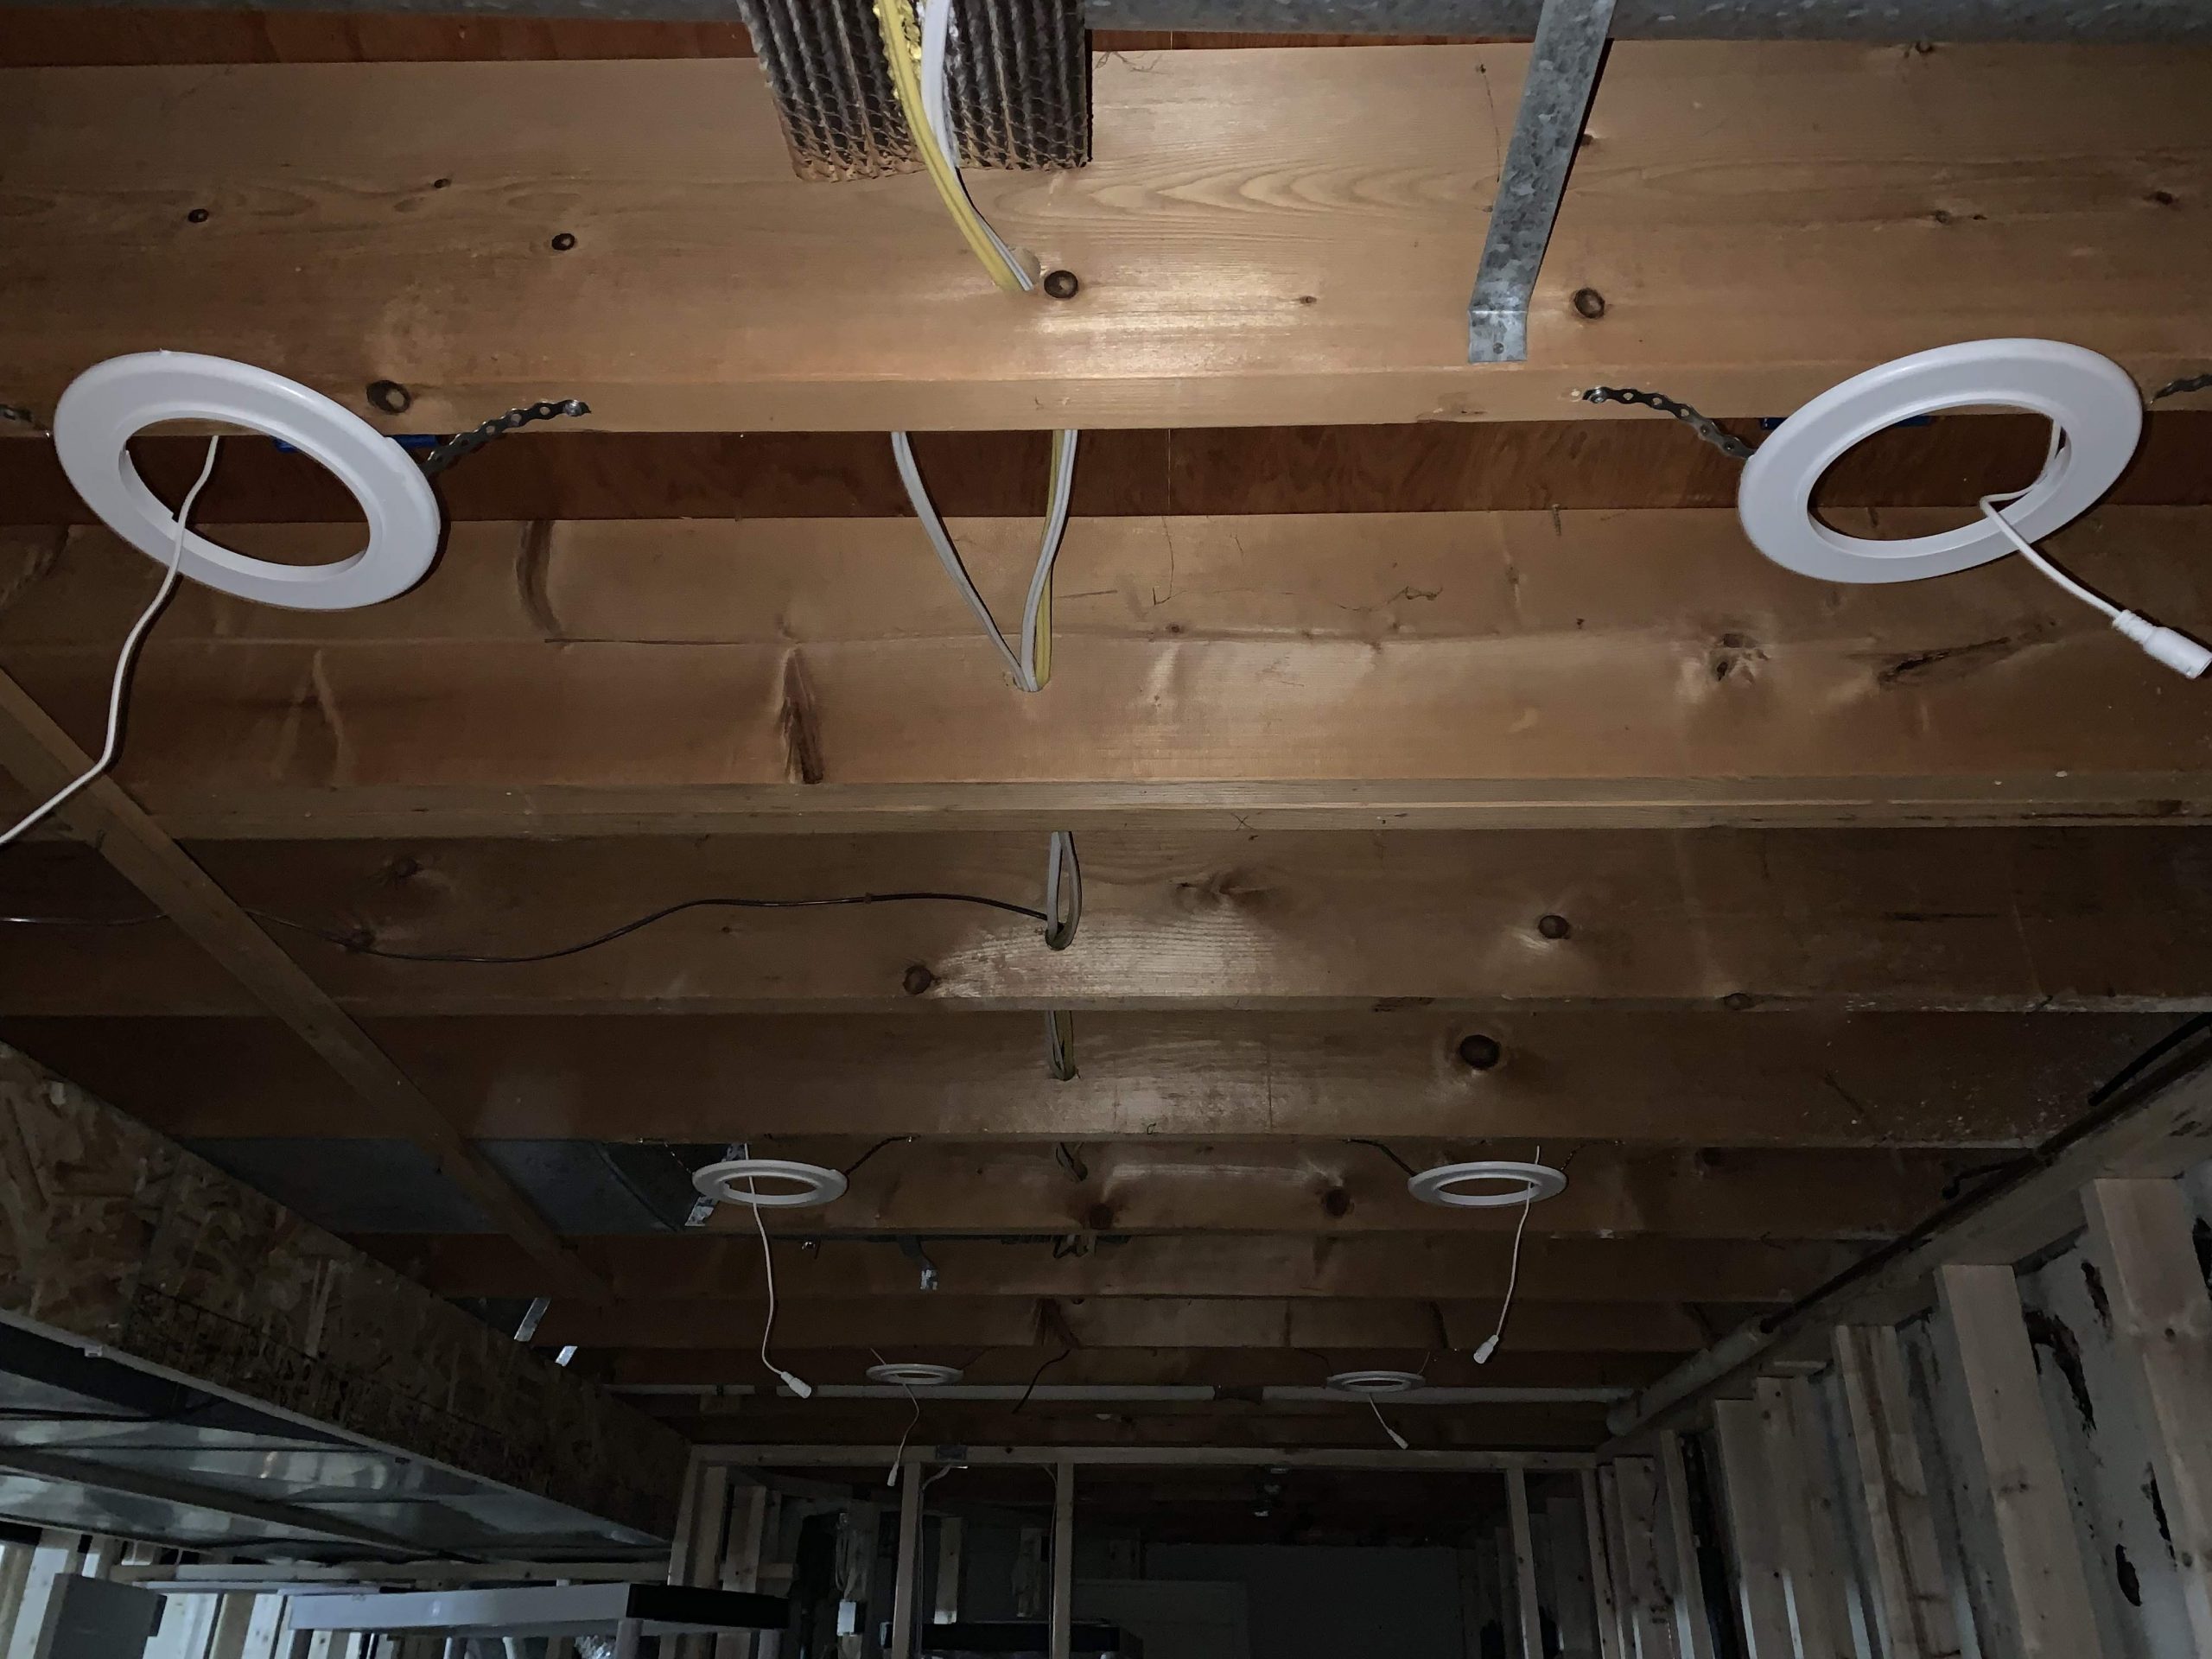
Step 1: Plan and Layout The first step in installing pot lights is to plan and layout where you want them to go. Take into consideration the size and layout of your kitchen, as well as the placement of your cabinets and appliances. It's important to evenly space out the lights to ensure proper lighting throughout the room. Use a pencil to mark the locations of the lights on the ceiling. Step 2: Cut Holes Using a hole saw, cut holes in the ceiling at the marked locations. It's important to use the correct size hole saw according to the size of your pot lights. If you're unsure, it's always better to go with a slightly larger hole as you can always make it smaller if needed. Step 3: Wiring Before wiring, make sure to turn off the power to the room at the breaker box. Then, run the wiring from the existing electrical box to the first pot light. Connect the wires according to the manufacturer's instructions, being sure to match the colors. Repeat this process for each light, connecting them in a daisy chain fashion. Step 4: Mount and Trim Once the wiring is complete, it's time to mount the pot lights in the holes you cut earlier. The mounting process may vary depending on the type of pot light you have, so be sure to follow the manufacturer's instructions carefully. Once the lights are mounted, it's time to add the trim, which is the visible part of the light that sits flush with the ceiling. Step 5: Connect to Power After all the lights are mounted and trimmed, it's time to connect them to power. Turn the power back on at the breaker box and test each light to make sure they are working properly. If not, double check your wiring connections and make any necessary adjustments.Installing Pot Lights: A Step-by-Step Guide


Installing Pot Lights: A Step-by-Step Guide


Featured Keywords: DIY kitchen lighting, installing pot lights Installing pot lights in your kitchen is a great DIY project that can save you money and add a personal touch to your home. However, it's important to have some basic knowledge of electrical work and to follow safety precautions. If you're uncomfortable with any step of the process, it's always best to hire a professional electrician. Main Keywords: DIY, kitchen lighting, installing, pot lights, money, personal touch, home, electrical work, safety, precautions, professional electrician.DIY Kitchen Lighting: Installing Pot Lights


DIY Kitchen Lighting: Installing Pot Lights


Featured Keywords: Installing pot lights, kitchen, tips, tricks Now that you know the basic steps to installing pot lights in your kitchen, here are some tips and tricks to make the process even smoother: Tip 1: Use LED Lights LED pot lights are energy-efficient and last longer than traditional incandescent lights. They may be more expensive upfront, but they will save you money in the long run and provide better lighting for your kitchen. Tip 2: Consider Dimmers Installing dimmers for your pot lights allows you to adjust the brightness to your liking. This is especially useful in the kitchen where you may want brighter lights for cooking and dimmer lights for dining or entertaining. Tip 3: Add a Pop of Color If you want to add a unique touch to your kitchen, consider using colored bulbs for your pot lights. This can add a fun and playful element to the room.Installing Pot Lights in Your Kitchen: Tips and Tricks


Installing Pot Lights in Your Kitchen: Tips and Tricks
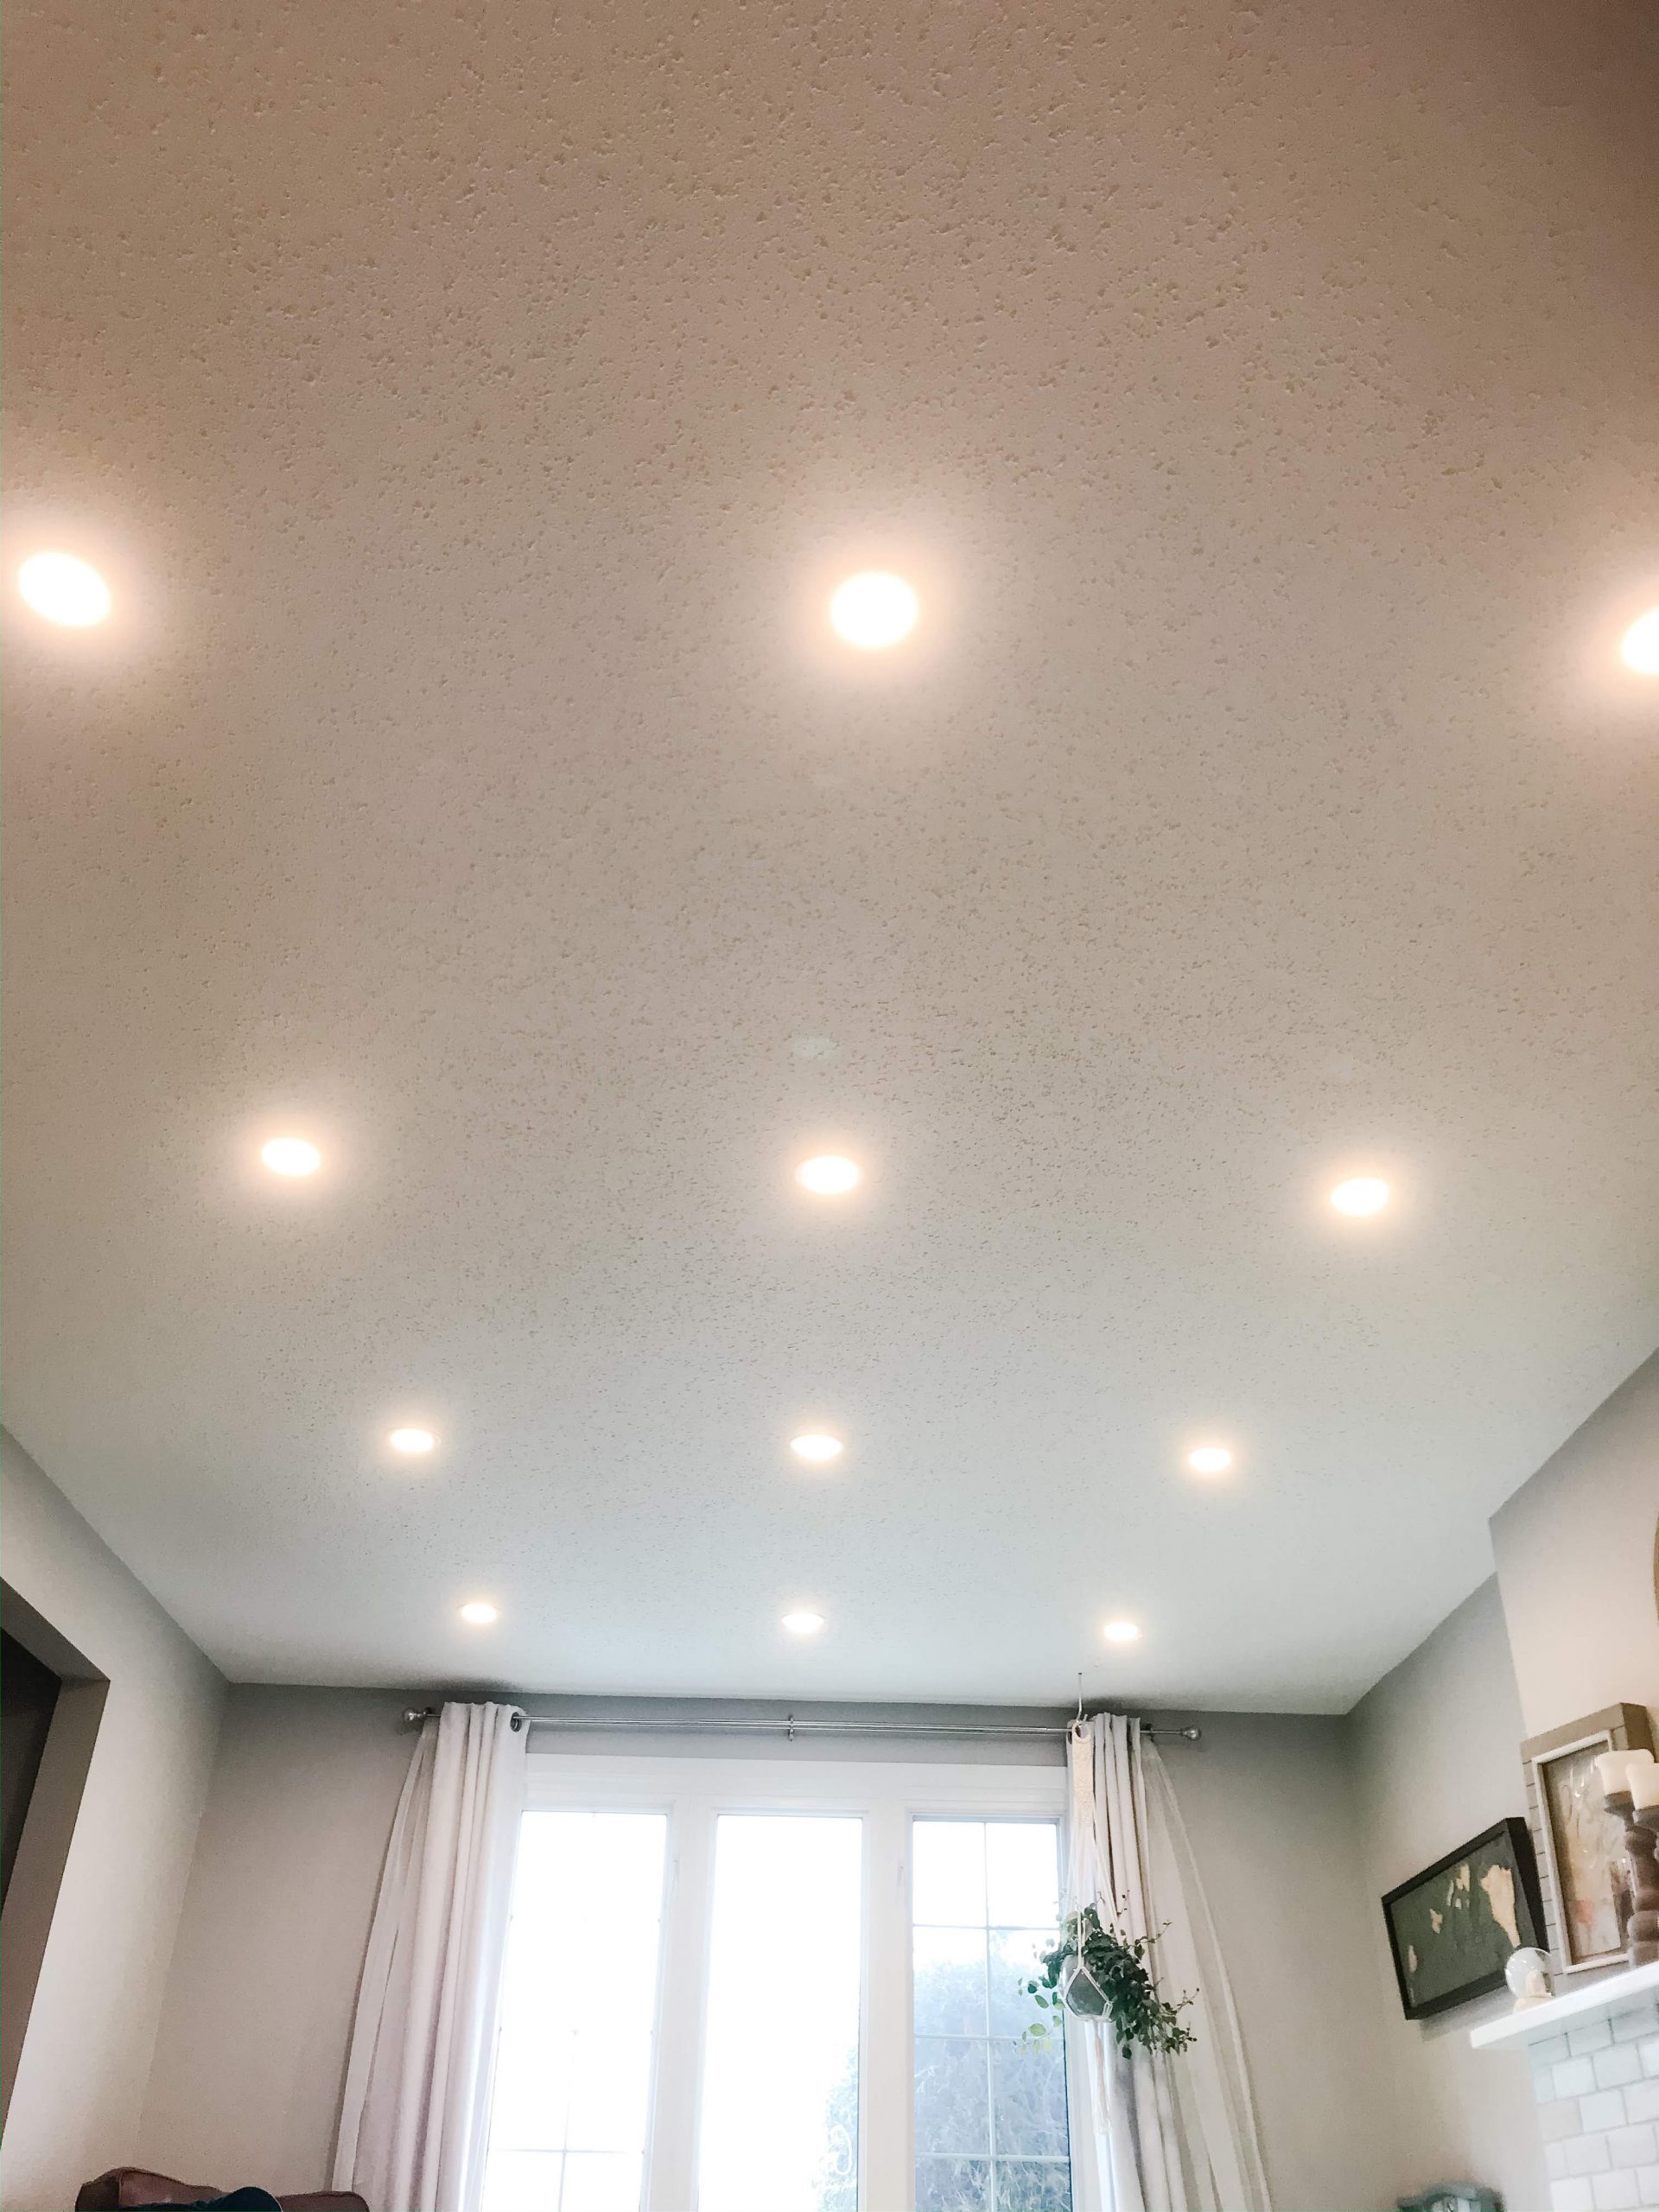
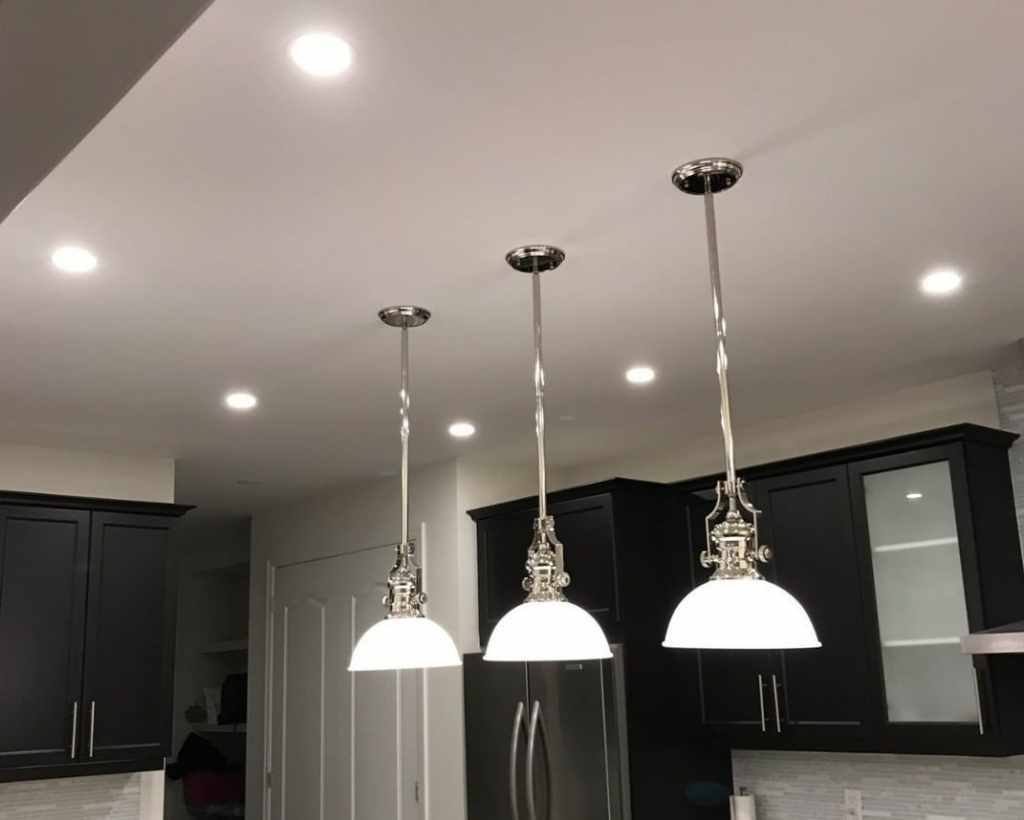
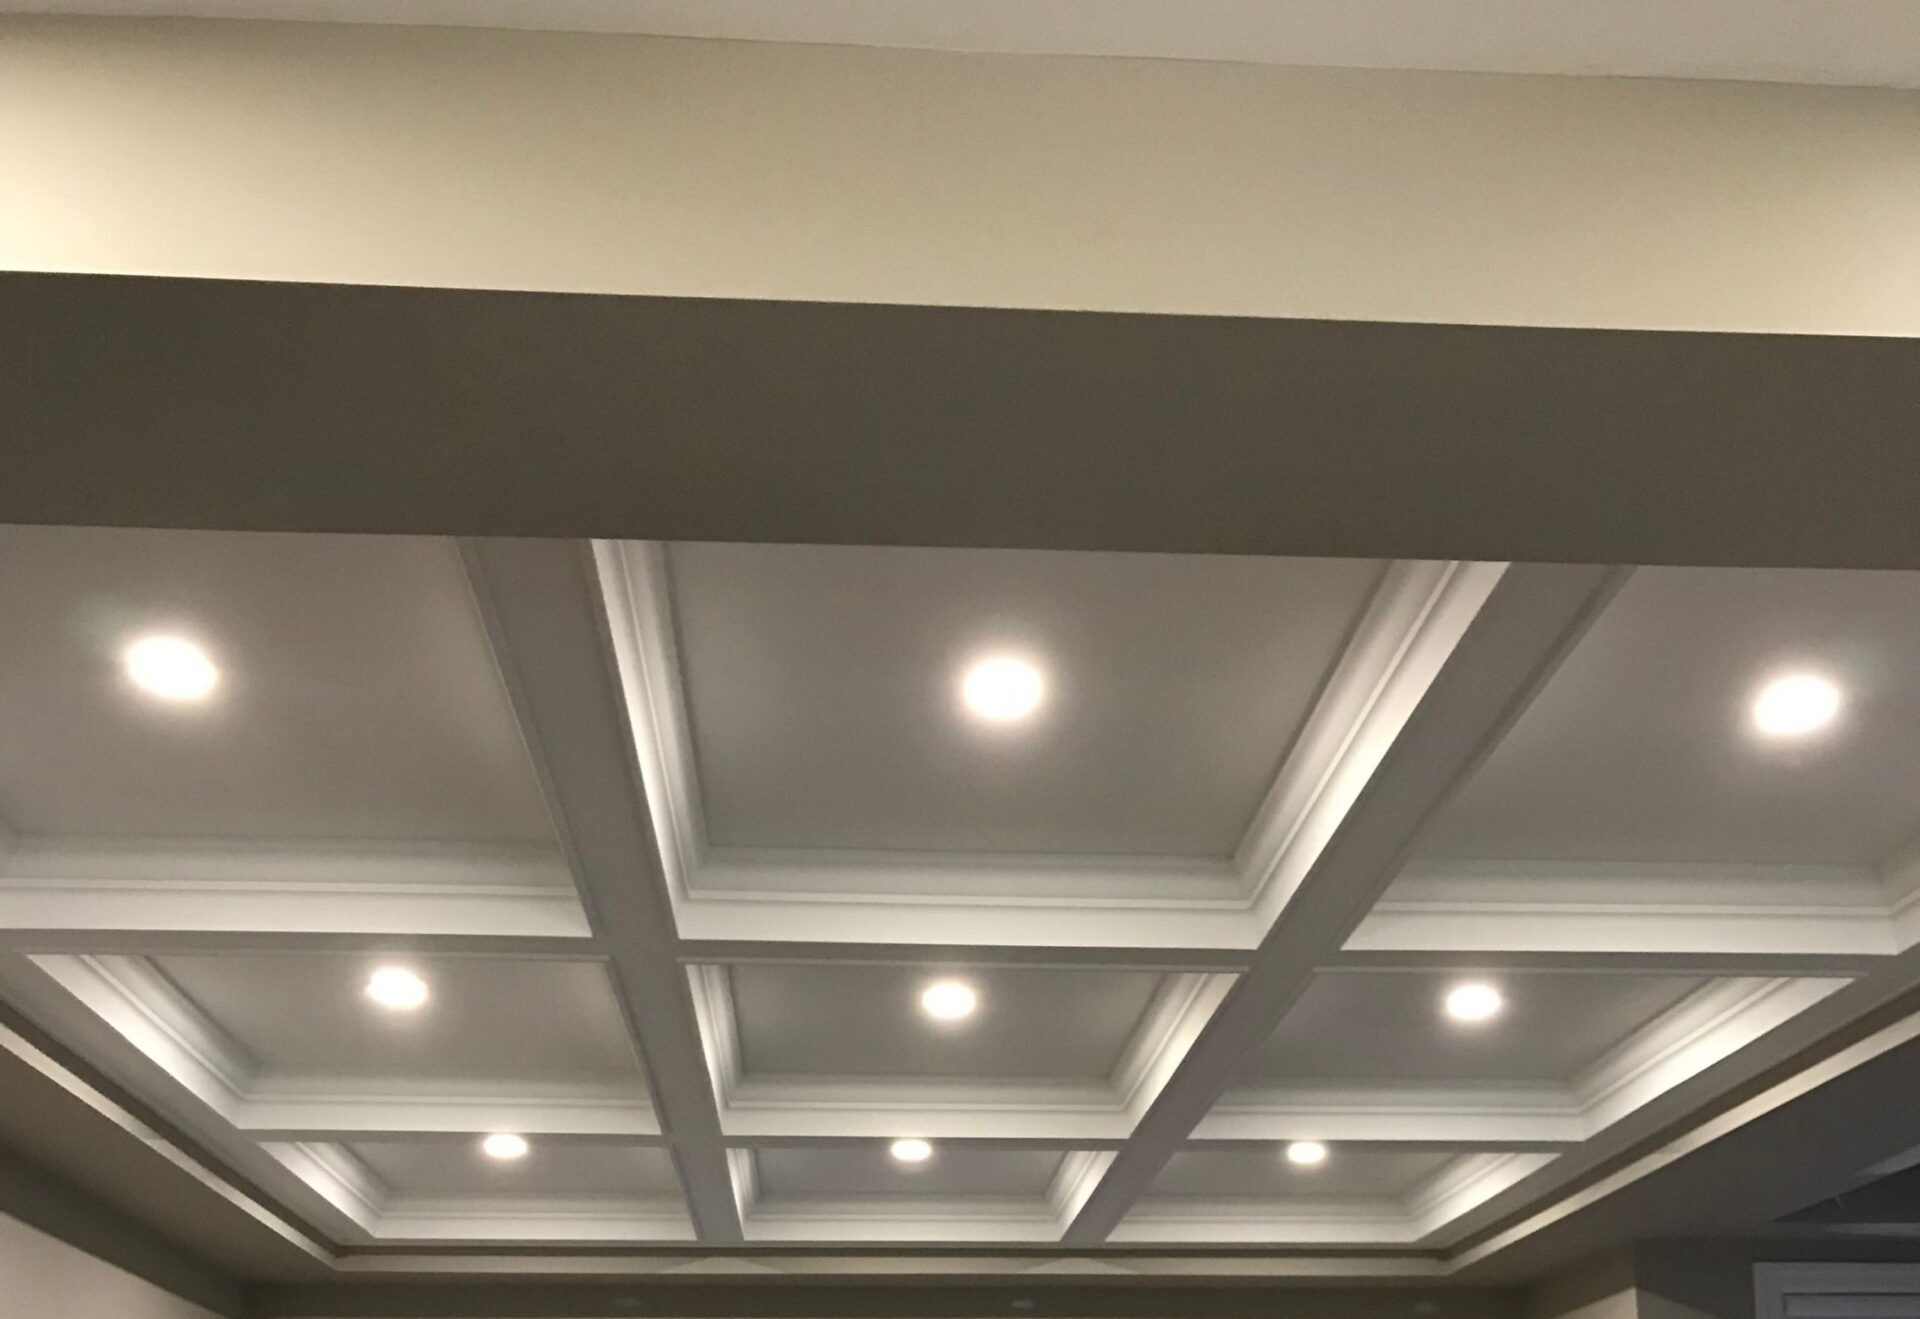
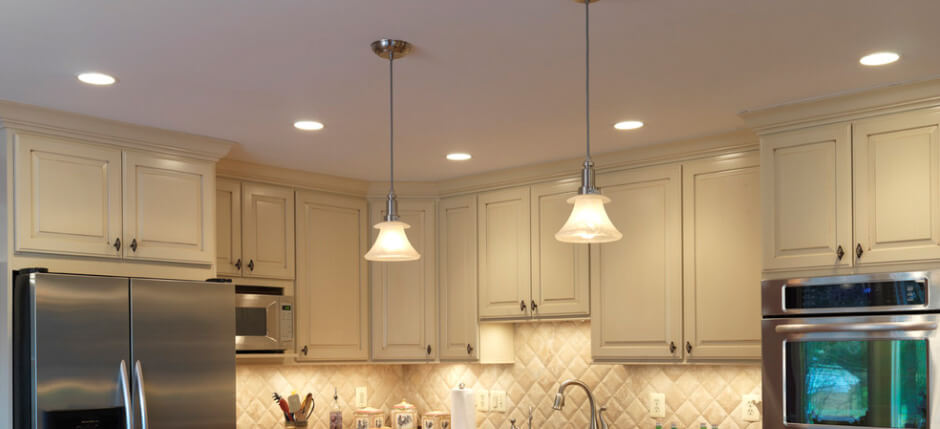
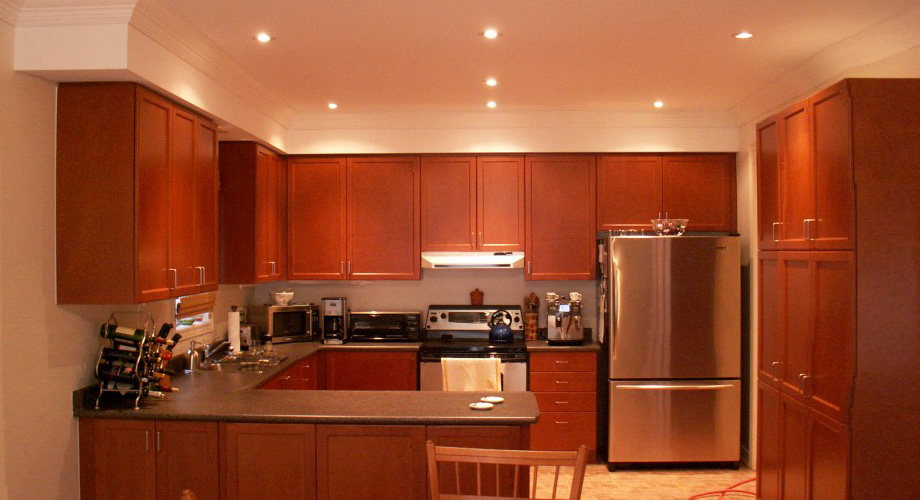
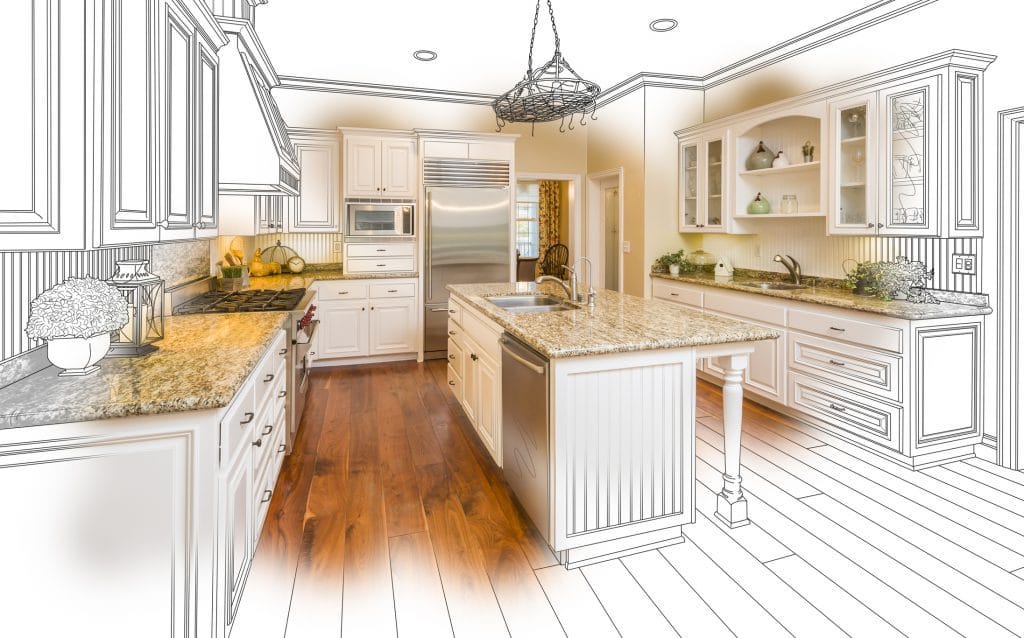
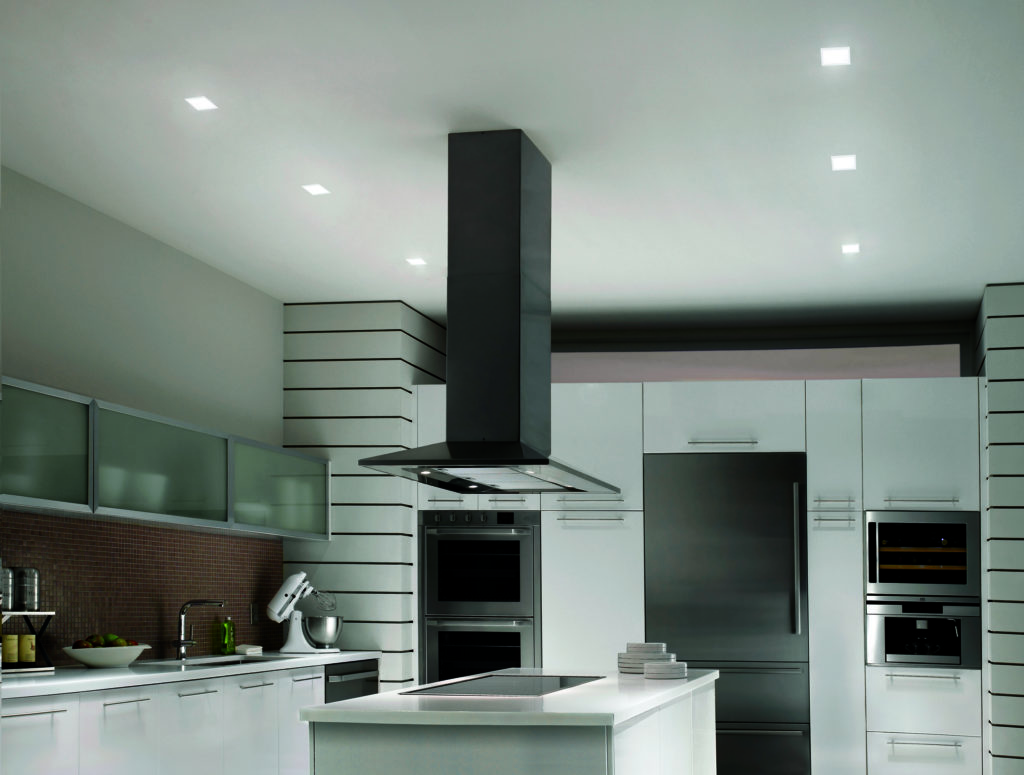
Featured Keywords: Installing pot lights, kitchen, benefits Better Lighting One of the main benefits of installing pot lights in your kitchen is the improved lighting. These lights are recessed into the ceiling, providing a more even and natural light compared to traditional overhead lighting. Sleek and Modern Look Pot lights have a sleek and modern appearance that can add a touch of elegance to any kitchen. They also take up less space compared to pendant or track lighting, making them a great choice for smaller kitchens. Increased Property Value Adding pot lights to your kitchen can increase the value of your home. Potential buyers will be drawn to the modern look and improved lighting, making your kitchen more appealing and valuable.The Benefits of Installing Pot Lights in Your Kitchen


The Benefits of Installing Pot Lights in Your Kitchen


Featured Keywords: Pot lights, kitchen, choosing, right When it comes to choosing the right pot lights for your kitchen, there are a few factors to consider: Size and Spacing Make sure to choose the right size pot lights for your kitchen and space them out evenly. As mentioned before, larger holes can always be made smaller, but it's difficult to make a hole larger. Type of Bulb Pot lights can accommodate different types of bulbs, such as LED, halogen, or incandescent. Consider the brightness and energy efficiency of each type when making your decision. Style and Trim There are a variety of styles and trims available for pot lights, so choose one that fits the aesthetic of your kitchen. You can even mix and match different styles to add visual interest.Choosing the Right Pot Lights for Your Kitchen


Choosing the Right Pot Lights for Your Kitchen


Featured Keywords: Installing pot lights, kitchen, common mistakes, avoid Mistake 1: Not Planning Properly One of the biggest mistakes in installing pot lights is not planning and layout out the placement of the lights. This can result in uneven lighting or too many lights in one area. Mistake 2: Inadequate Wiring Improper wiring can lead to flickering lights or even a fire hazard. Make sure to follow proper wiring techniques and consult a professional if needed. Mistake 3: Incorrect Hole Size As mentioned before, it's better to err on the side of a larger hole than a smaller one. Cutting a hole too small can result in a difficult and messy installation process.Installing Pot Lights: Common Mistakes to Avoid

Installing Pot Lights: Common Mistakes to Avoid


Featured Keywords: Plan and layout, pot lights, kitchen Proper planning and layout is key to a successful installation of pot lights in your kitchen. Here are some tips to help you plan and layout your lights: Use a Template You can create a template using cardboard or paper to help guide you in cutting the holes for your pot lights. This will ensure they are evenly spaced and properly aligned. Consider the Angle When planning the layout, take into consideration the angle of the lights. You want to avoid any glare or shadows, so make sure they are positioned at the right angle for optimal lighting. Measure Twice, Cut Once Double-check your measurements and markings before cutting any holes. It's much easier to make changes on paper than on your ceiling.How to Plan and Layout Pot Lights in Your Kitchen


How to Plan and Layout Pot Lights in Your Kitchen


:max_bytes(150000):strip_icc()/basic-design-layouts-for-your-kitchen-1822186-Final-054796f2d19f4ebcb3af5618271a3c1d.png)


Featured Keywords: Installing pot lights, tools, materials To successfully install pot lights in your kitchen, you will need the following tools and materials: Tools: - Hole saw - Wire cutters/strippers - Screwdriver - Pliers - Drill - Ladder Materials: - Pot lights - Electrical wire - Wire connectors - Electrical tape - Cable staplesInstalling Pot Lights: Tools and Materials You'll Need

Installing Pot Lights: Tools and Materials You'll Need
Featured Keywords: Expert tips, installing pot lights, kitchen Finally, here are some expert tips to keep in mind when installing pot lights in your kitchen: Tip 1: Consider Ceiling Height If you have a higher ceiling, you may need to invest in pot lights with longer housing to properly accommodate the height. Tip 2: Use Remodel or New Construction Lights There are two types of pot lights, remodel and new construction. Remodel lights are easier to install in existing ceilings, while new construction lights are better for new builds or major renovations. Tip 3: Don't Overdo It Be mindful of how many pot lights you install in your kitchen. Too many lights can create a harsh and unflattering lighting effect. With these tips and tricks, you're now ready to tackle the installation of pot lights in your kitchen. Remember to always follow safety precautions and consult a professional if needed. Enjoy your newly lit and modern kitchen!Expert Tips for Installing Pot Lights in Your Kitchen


Expert Tips for Installing Pot Lights in Your Kitchen
How to Install Pot Lights in Your Kitchen: A Step-by-Step Guide
Step 1: Plan and Prepare
 Before you begin installing
pot lights
in your kitchen, it's important to plan and prepare for the project. Start by measuring the dimensions of your kitchen and deciding on the placement of the lights. Consider the size and layout of your kitchen, as well as any areas that may need more lighting, such as above the stove or sink. It's also important to make sure you have all the necessary tools and materials, including
electrical wire, light fixtures, and a drill.
Before you begin installing
pot lights
in your kitchen, it's important to plan and prepare for the project. Start by measuring the dimensions of your kitchen and deciding on the placement of the lights. Consider the size and layout of your kitchen, as well as any areas that may need more lighting, such as above the stove or sink. It's also important to make sure you have all the necessary tools and materials, including
electrical wire, light fixtures, and a drill.
Step 2: Turn Off Power
 Safety should always be a top priority when working with electricity. Before you begin any installation, make sure to turn off the power to the area where you will be installing the pot lights. This can be done at the main circuit breaker. Double check that the power is off by using a voltage tester.
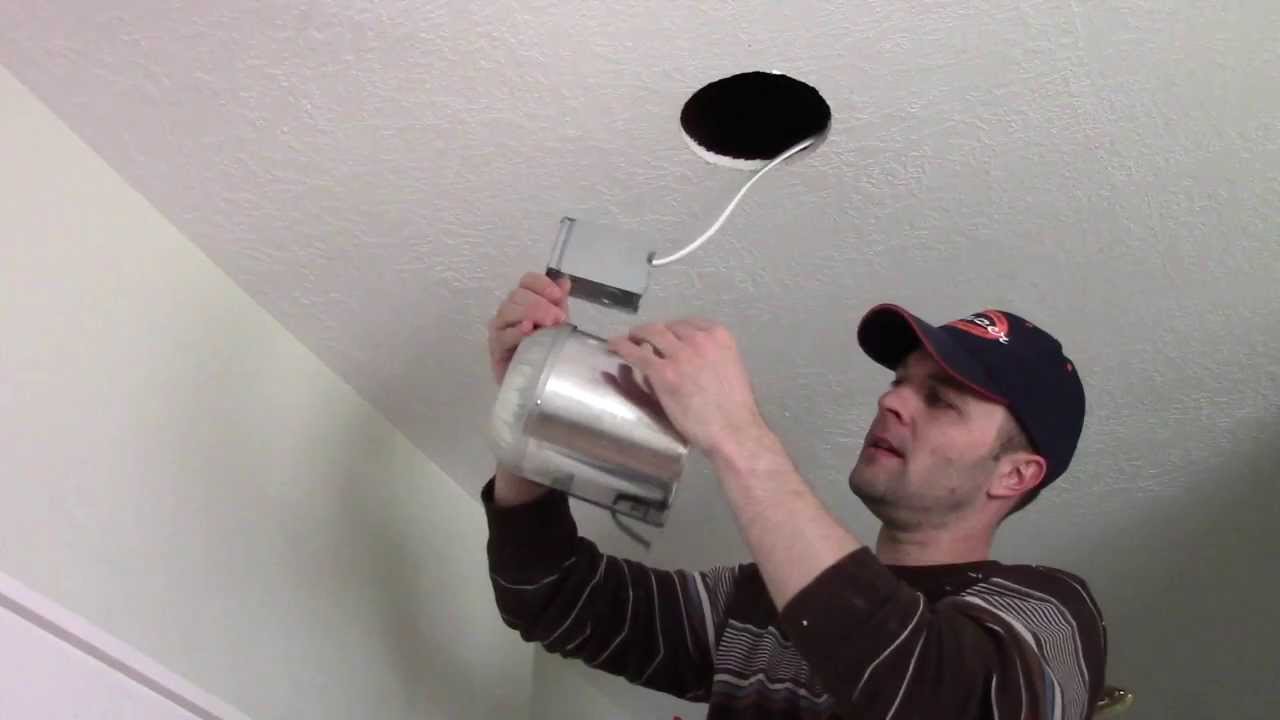
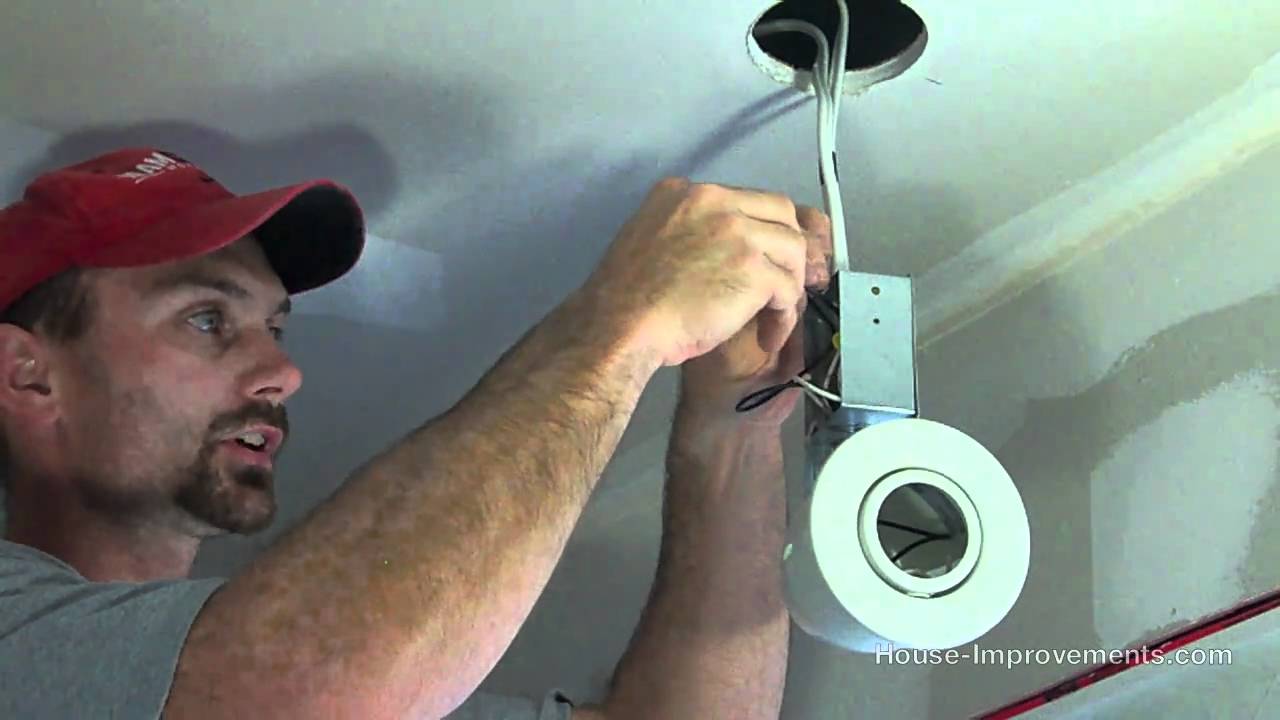
Step 3: Cut Holes for the Lights
 Using a
hole saw attachment
on your drill, carefully cut holes in the ceiling where you want to install the pot lights. Make sure to follow the manufacturer's instructions for the size and placement of the holes.
Using a
hole saw attachment
on your drill, carefully cut holes in the ceiling where you want to install the pot lights. Make sure to follow the manufacturer's instructions for the size and placement of the holes.
Step 4: Wire the Lights
 Next, you will need to wire the lights. Start by running the electrical wire from the switch to the first light fixture. Use wire strippers to remove the outer insulation from the wire and expose the individual wires. Connect the wires to the light fixture according to the manufacturer's instructions.
Step 5: Secure the Lights
 Once the wires are connected, secure the light fixture into the hole using the attached clips or brackets. Make sure the fixture is flush against the ceiling and does not move.
Step 6: Repeat for Additional Lights
 If you are installing multiple pot lights, repeat the process for each light. Make sure to connect the wires properly and secure each light into place.
Step 7: Test and Make Adjustments
 Once all the lights are installed, turn the power back on and test the lights to make sure they are functioning properly. If you notice any issues, make necessary adjustments before proceeding.
Step 8: Install Trim and Finish
 Finally, install the trim rings or covers on the lights to give them a finished look. You can also paint the trim to match your ceiling for a seamless appearance.
Installing
pot lights
in your kitchen is a great way to add modern and functional lighting to the space. By following these steps and taking the necessary precautions, you can easily and safely install your own pot lights and enhance the overall design of your kitchen.
Finally, install the trim rings or covers on the lights to give them a finished look. You can also paint the trim to match your ceiling for a seamless appearance.
Installing
pot lights
in your kitchen is a great way to add modern and functional lighting to the space. By following these steps and taking the necessary precautions, you can easily and safely install your own pot lights and enhance the overall design of your kitchen.