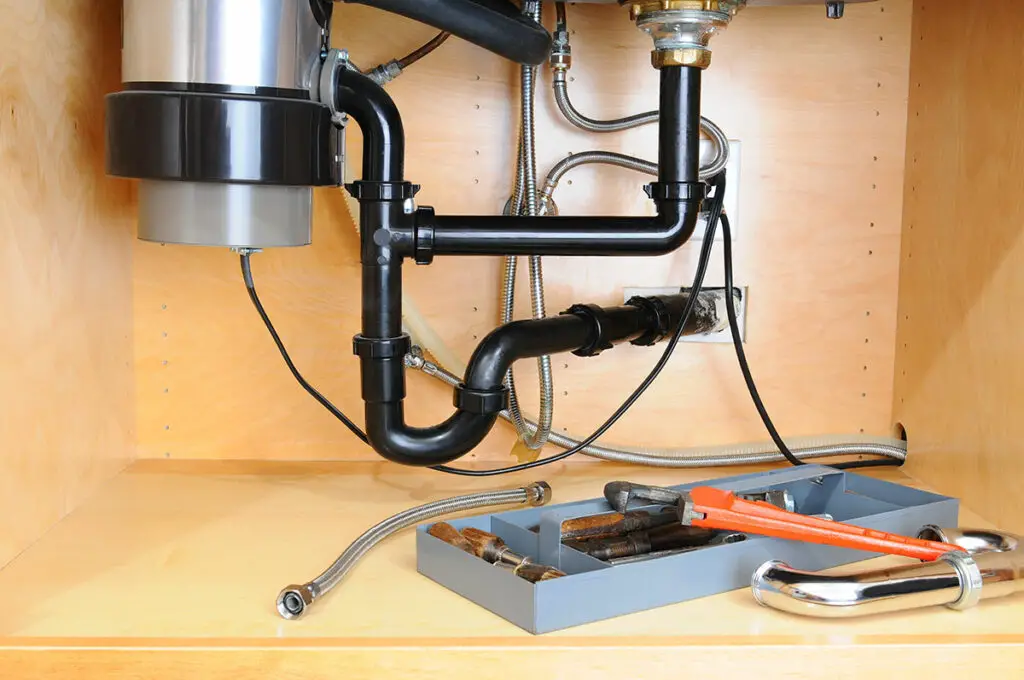
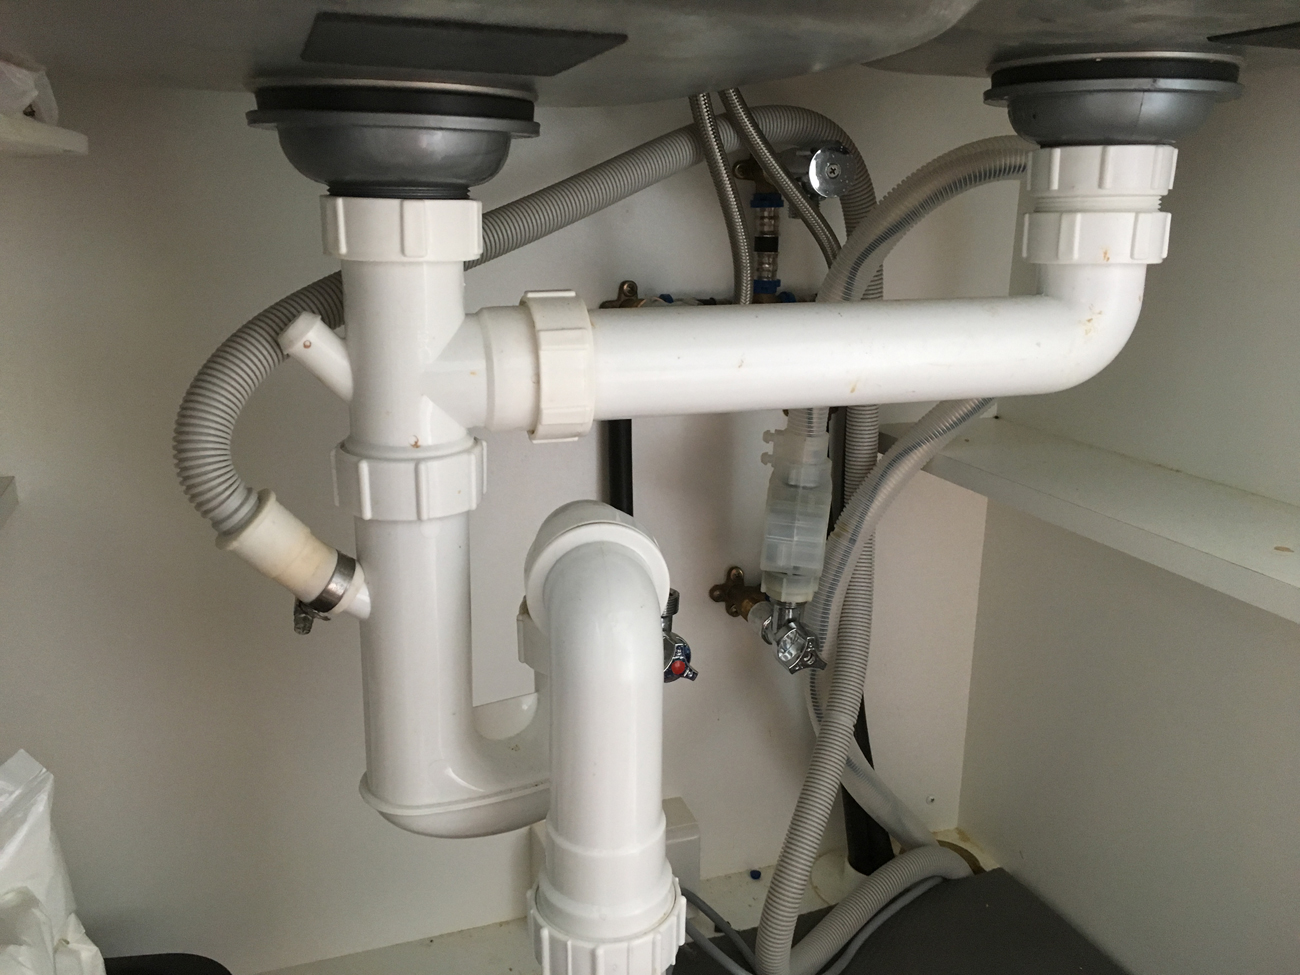
Installing plumbing under a kitchen sink may seem like a daunting task, but with a little knowledge and the right tools, it can be done easily and efficiently. Whether you are upgrading your kitchen or simply need to replace old plumbing, this guide will provide you with all the necessary steps to get the job done.How to Install Plumbing Under a Kitchen Sink
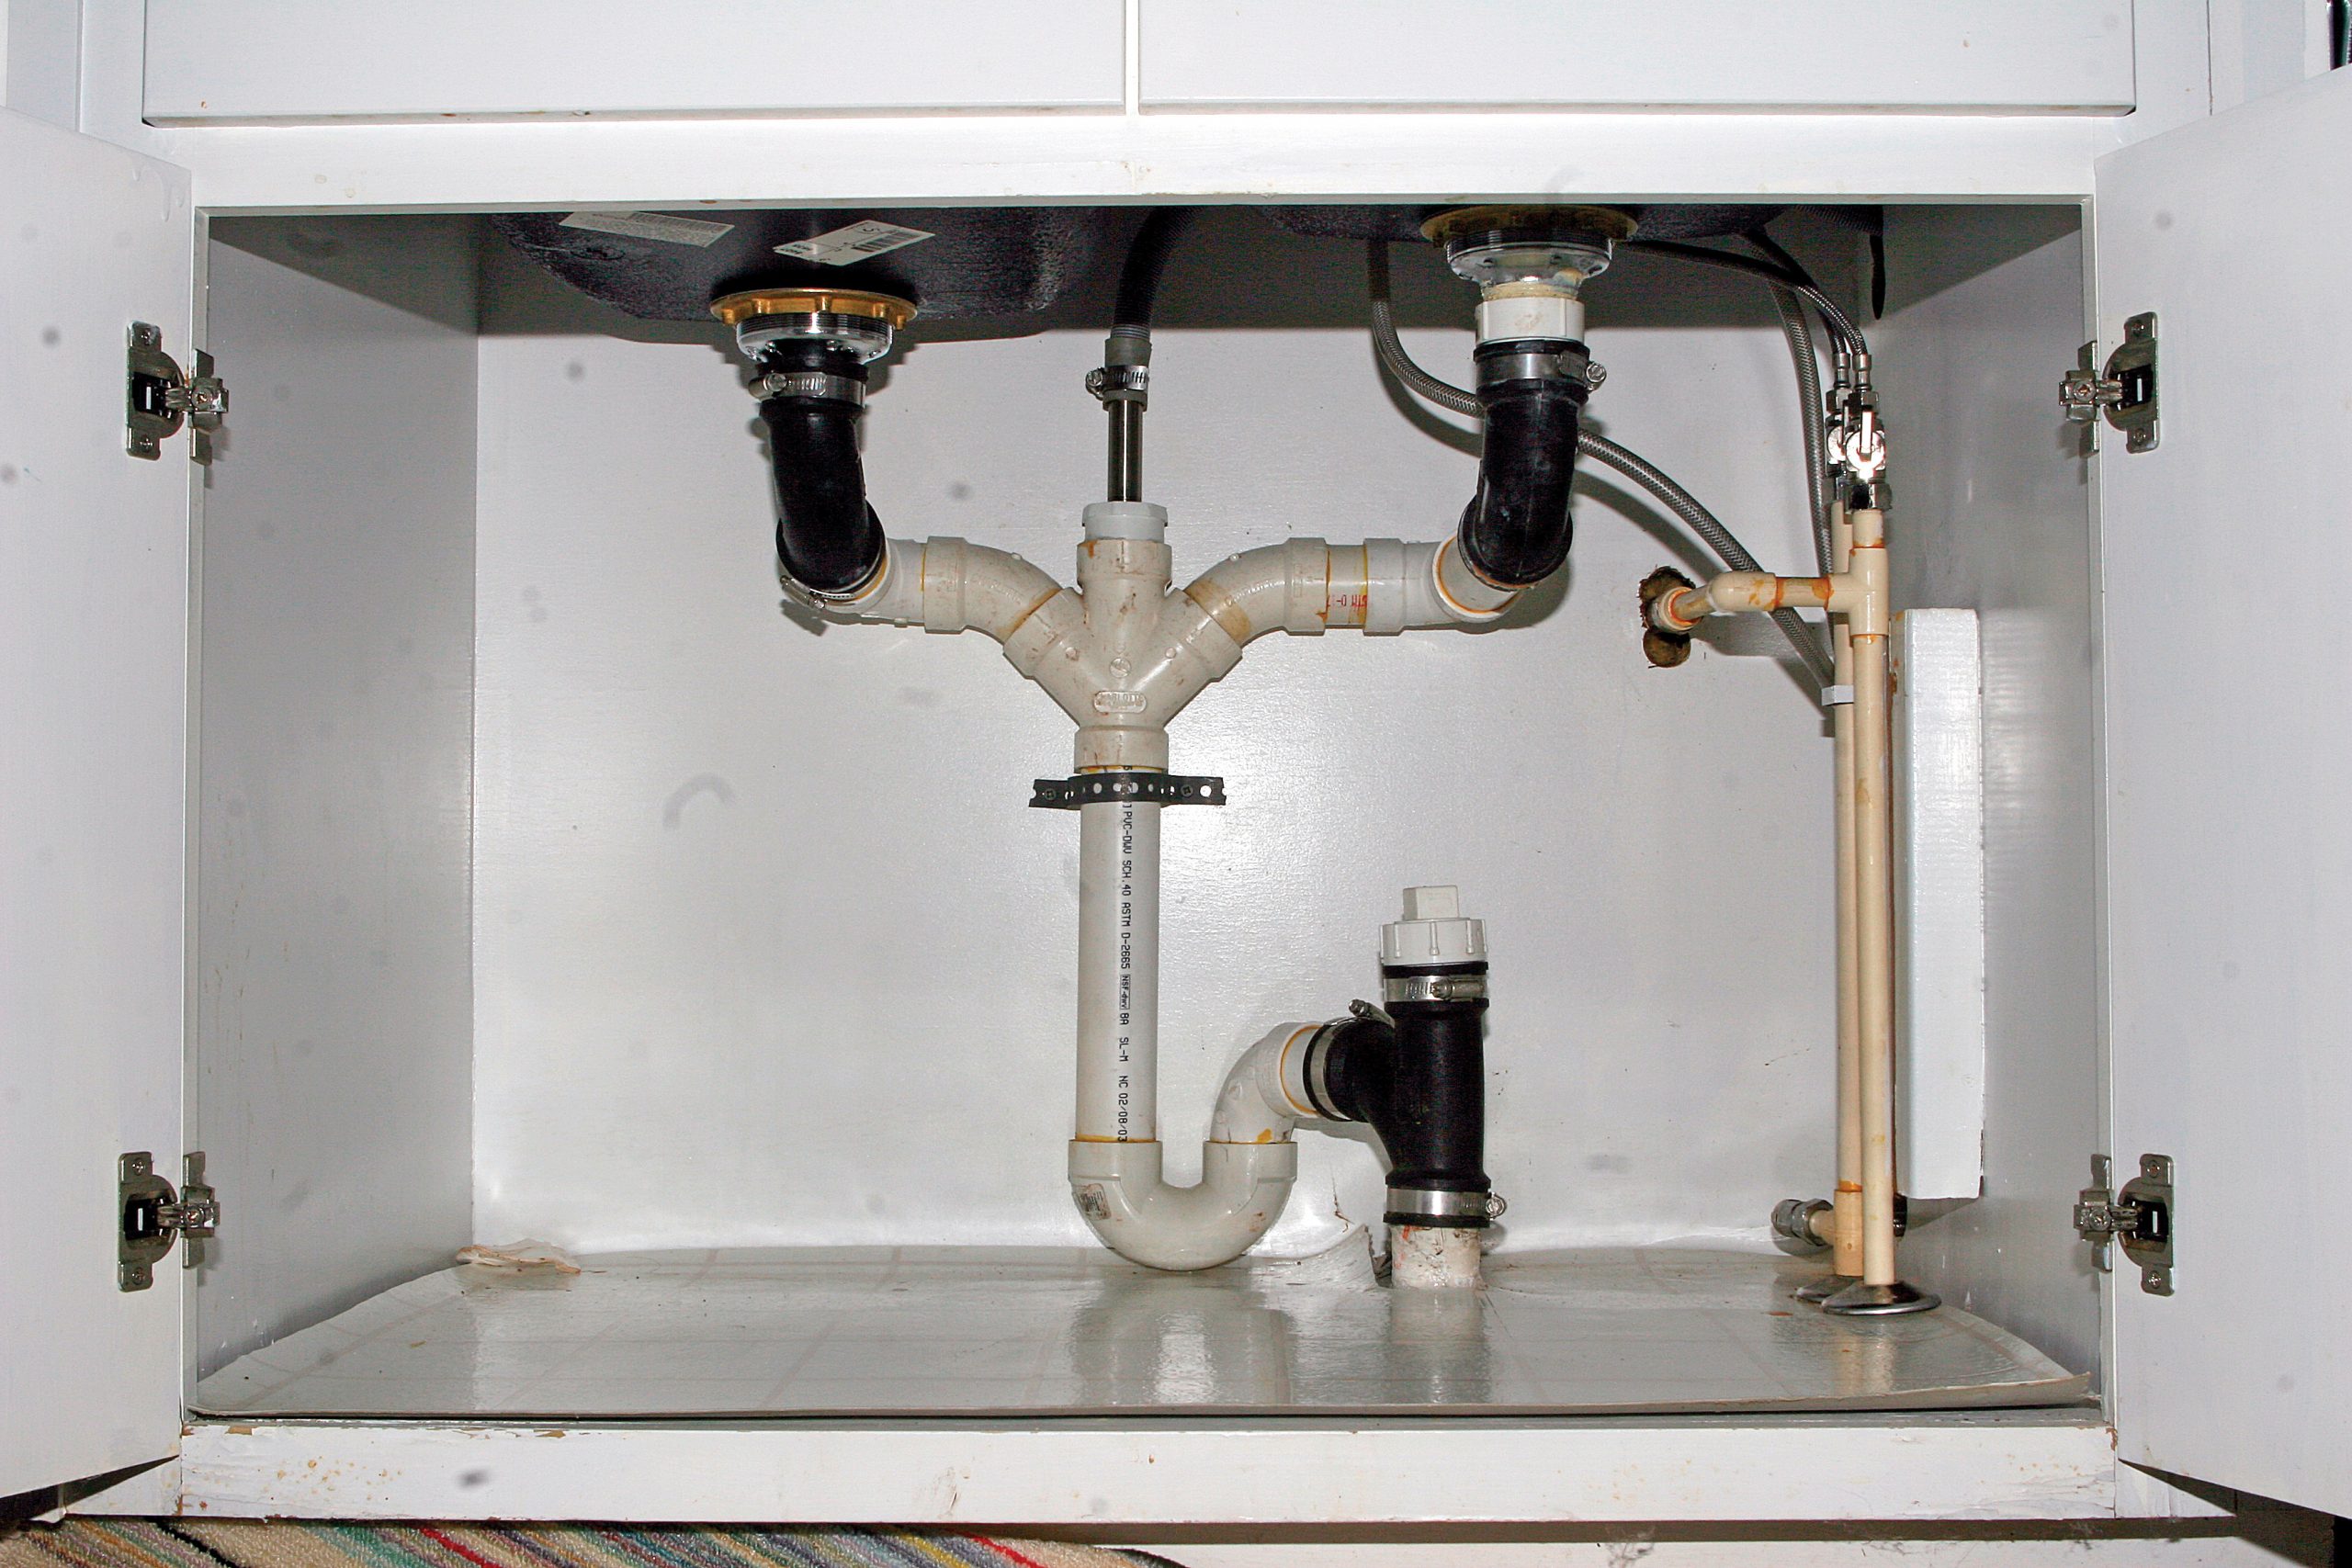
The first step in installing plumbing under a kitchen sink is to install the drain. This involves attaching the sink strainer to the sink and connecting it to the drain pipe. It is important to make sure that the drain is properly sealed to prevent any leaks.How to Install a Kitchen Sink Drain
1. Start by gathering all the necessary tools and materials. This includes a sink strainer, plumber's putty, Teflon tape, adjustable wrench, PVC pipe, and PVC cement. 2. Assemble the sink strainer according to the manufacturer's instructions. Apply plumber's putty around the edge of the strainer and place it into the sink's drain hole. 3. Attach the gasket and mounting nut to the strainer from underneath the sink. Use an adjustable wrench to tighten the nut until the strainer is securely in place. 4. Wrap Teflon tape around the threads of the drain pipe and screw it into the strainer. Use an adjustable wrench to tighten the connection. 5. Next, attach the PVC tailpiece to the drain pipe using PVC cement. Allow the cement to dry according to the manufacturer's instructions. 6. Connect the other end of the PVC tailpiece to the P-trap using PVC cement. Make sure the trap is positioned correctly and secure it in place with a slip nut and washer. 7. Finally, connect the other end of the P-trap to the drain pipe coming out of the wall using PVC cement. Make sure all connections are tight and secure.Step-by-Step Guide to Installing Plumbing Under a Kitchen Sink
If you are comfortable with basic plumbing tasks, installing the plumbing under a kitchen sink can be a DIY project. However, if you are not confident in your abilities, it is always best to hire a professional plumber to ensure the job is done correctly.DIY Kitchen Sink Plumbing Installation
- Sink strainer - Plumber's putty - Teflon tape - Adjustable wrench - PVC pipe - PVC cementTools and Materials Needed for Installing Plumbing Under a Kitchen Sink
- Before beginning the installation, make sure to turn off the water supply to the sink. - It may be helpful to have a second person assist with holding and positioning the pipes during installation. - Double check all connections to ensure they are tight and secure to prevent any leaks. - Use Teflon tape on all threaded connections to create a tight seal.Tips for Installing Plumbing Under a Kitchen Sink
- Not turning off the water supply before beginning the installation. - Forgetting to apply plumber's putty or Teflon tape, resulting in leaks. - Not properly aligning the P-trap, causing it to leak.Common Mistakes to Avoid When Installing Plumbing Under a Kitchen Sink
If you prefer visual instructions, there are many video tutorials available online that can guide you through the process of installing plumbing under a kitchen sink. Make sure to follow the steps carefully and pause the video as needed to ensure you are completing each step correctly.Video Tutorial: Installing Plumbing Under a Kitchen Sink
If you are not comfortable with DIY plumbing tasks, or simply do not have the time to do it yourself, it is always best to hire a professional plumber. They have the knowledge and expertise to ensure the job is done correctly and efficiently.Professional Plumbing Services for Installing Plumbing Under a Kitchen Sink
The cost and timeframe for installing plumbing under a kitchen sink can vary depending on the complexity of the job and the location. On average, it can cost between $200-$500 and take 2-4 hours to complete. However, this can vary greatly, so it is best to get a quote from a professional plumber for an accurate estimate.Costs and Timeframe for Installing Plumbing Under a Kitchen Sink
Additional Tips for Installing Plumbing Under Kitchen Sink

1. Choose the Right Materials
 When it comes to installing plumbing under your kitchen sink, it's important to choose the right materials for the job. This will ensure that your plumbing system functions properly and is durable in the long run.
Copper
,
PVC
, and
PEX
pipes are commonly used for plumbing under kitchen sinks. Each material has its own advantages and disadvantages, so make sure to do your research and choose the one that best fits your needs.
2. Plan Your Layout
:max_bytes(150000):strip_icc()/how-to-install-a-sink-drain-2718789-hero-24e898006ed94c9593a2a268b57989a3.jpg) Before starting the installation process, it's important to have a clear plan of where you want your pipes and fixtures to be placed. This will help you avoid any mistakes and ensure everything is properly connected. It's also a good idea to
measure
the space under your sink to make sure all the pipes and fixtures will fit comfortably.
Before starting the installation process, it's important to have a clear plan of where you want your pipes and fixtures to be placed. This will help you avoid any mistakes and ensure everything is properly connected. It's also a good idea to
measure
the space under your sink to make sure all the pipes and fixtures will fit comfortably.
3. Use the Right Tools
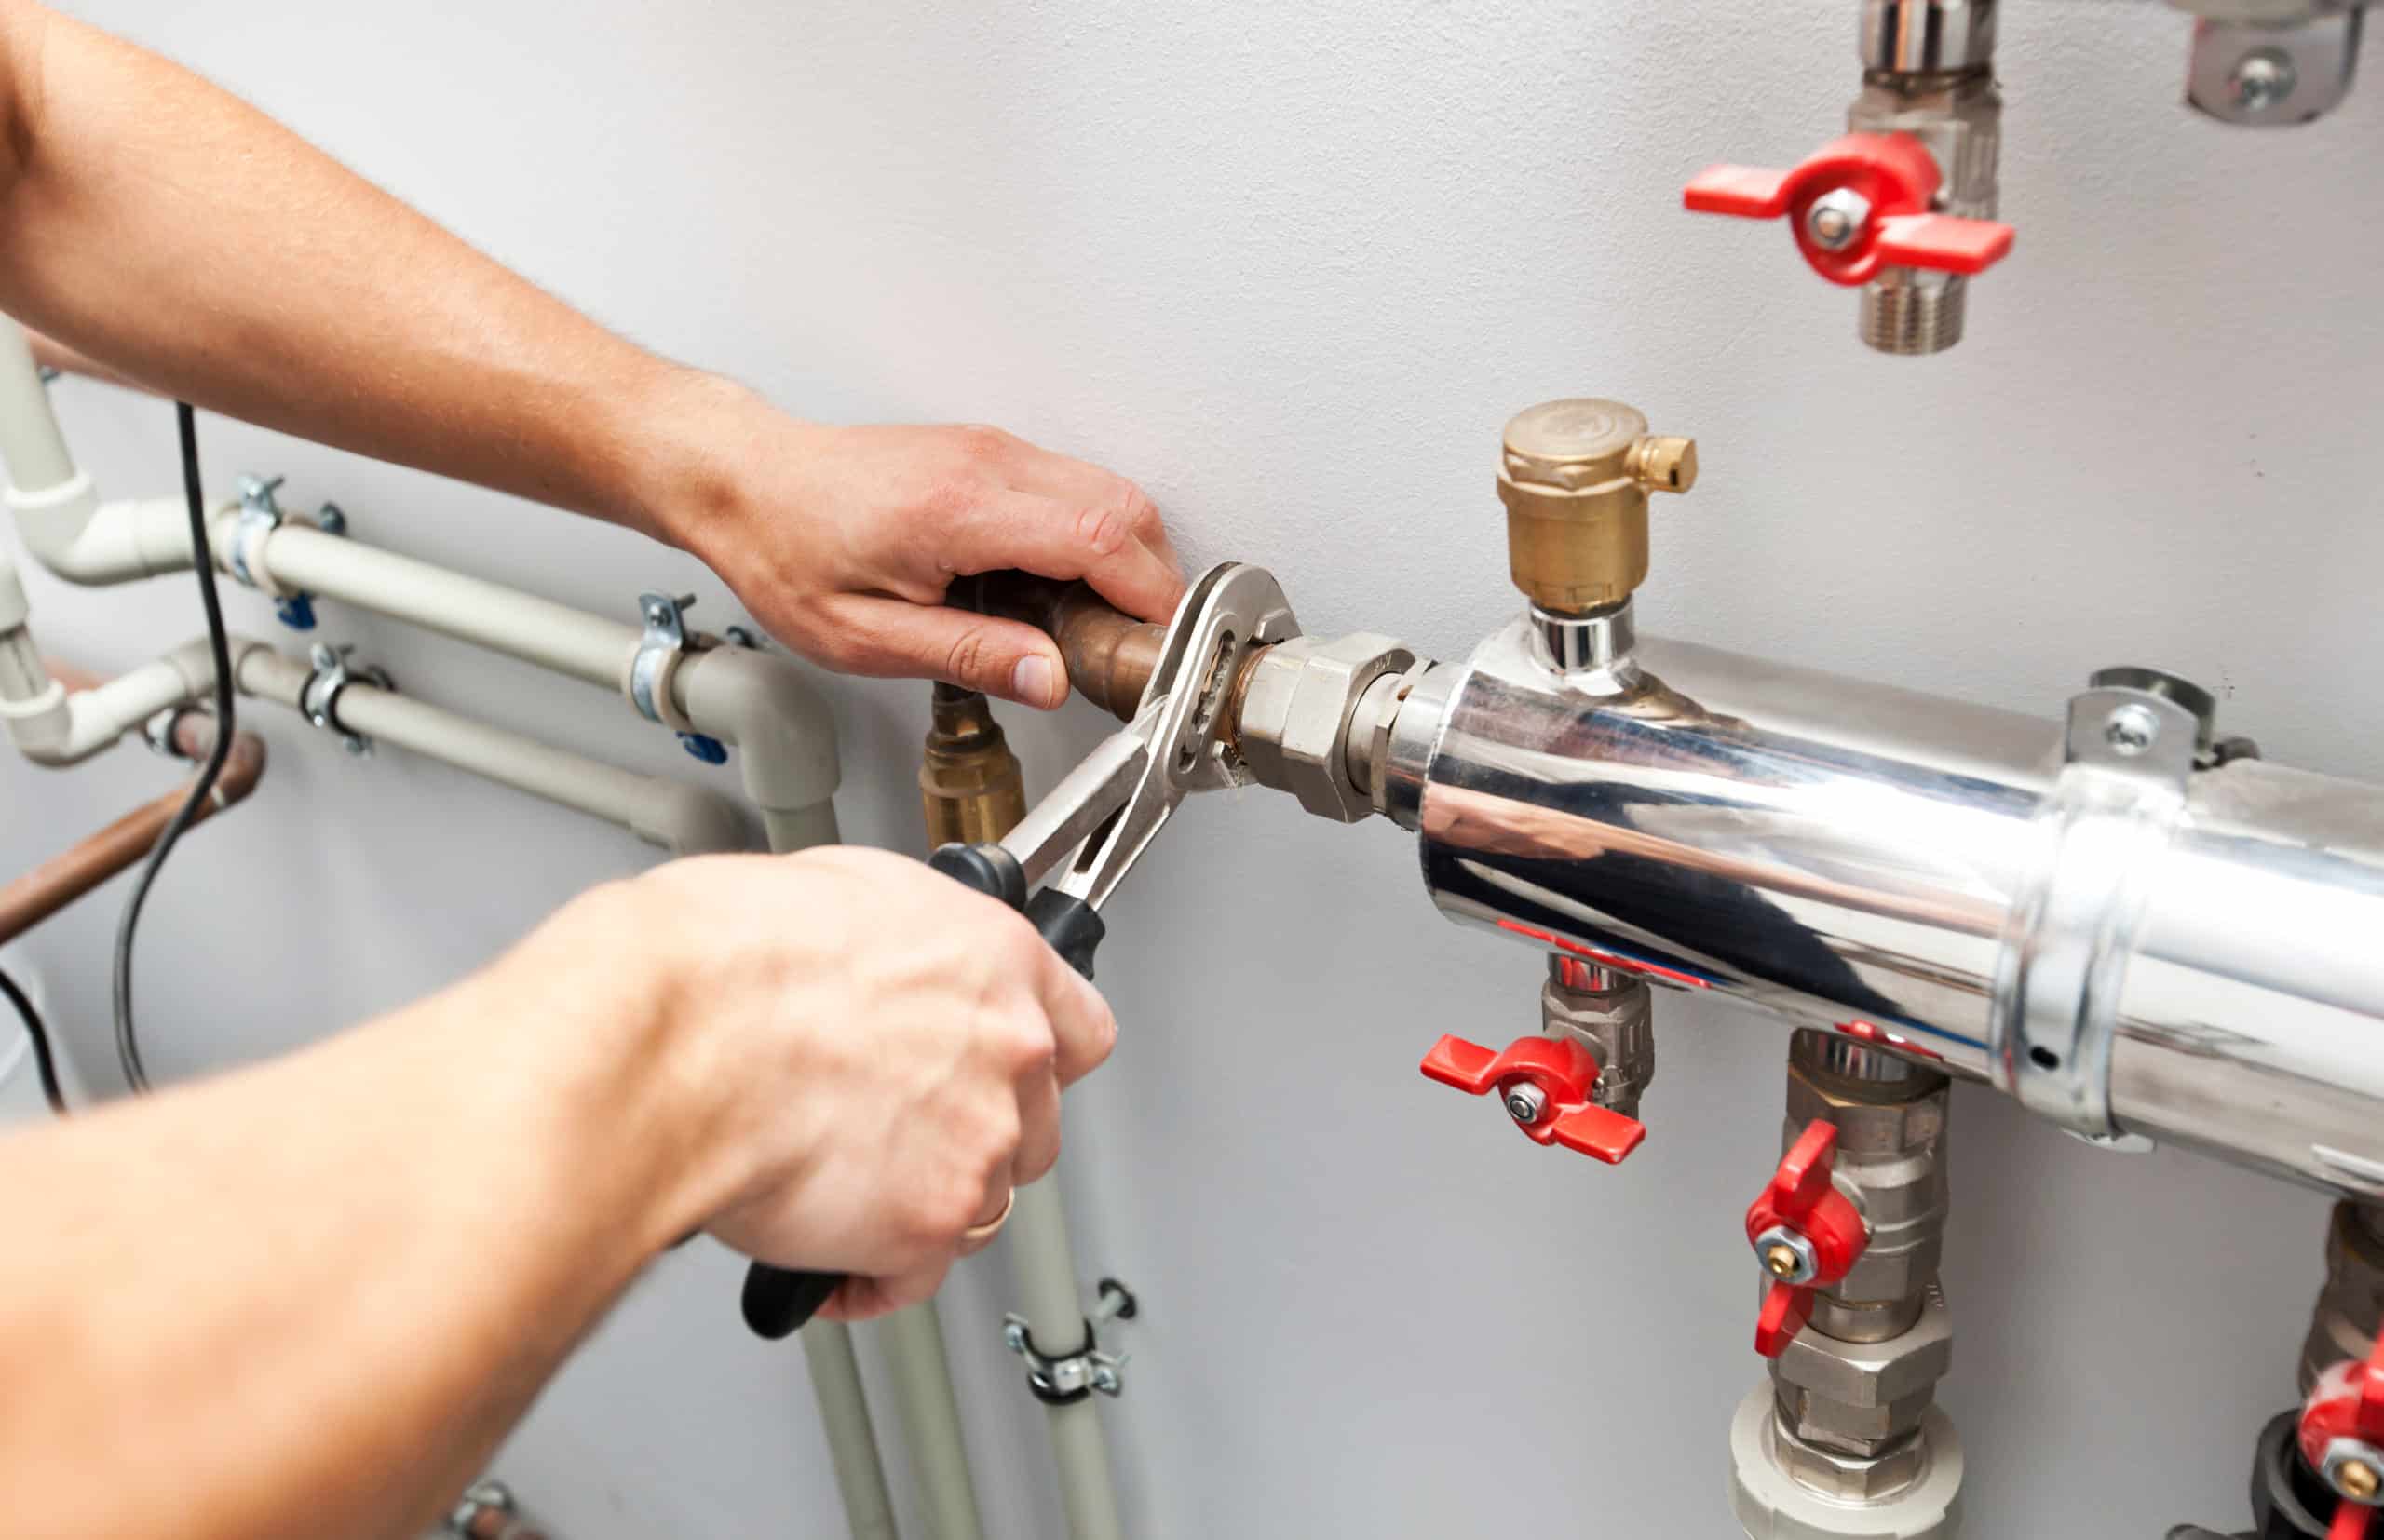
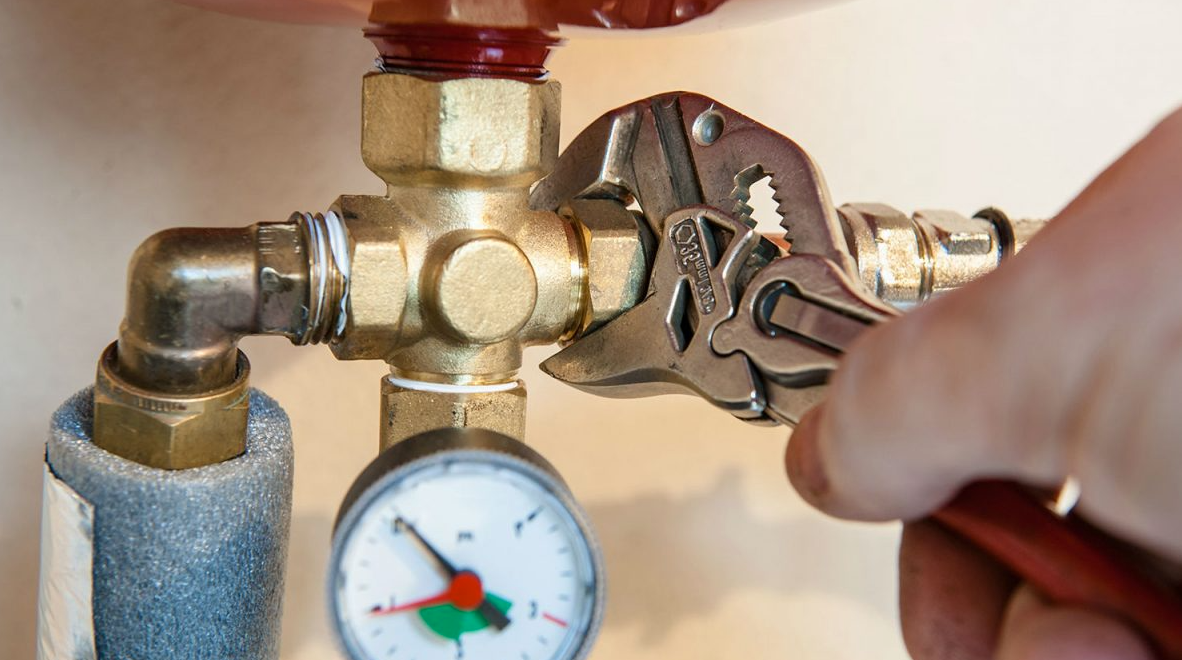
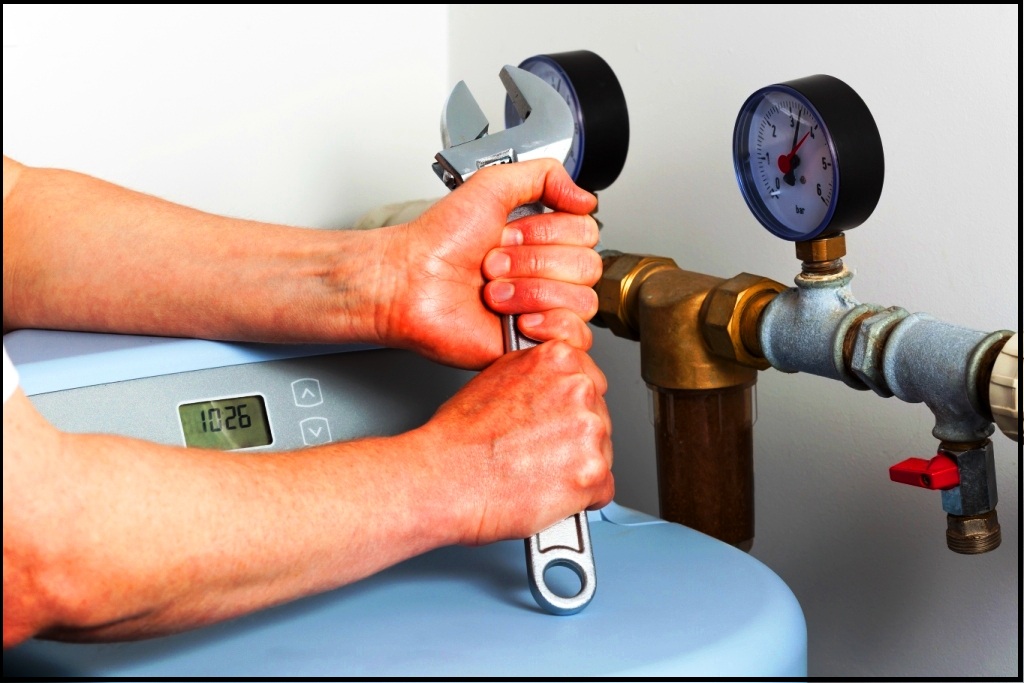
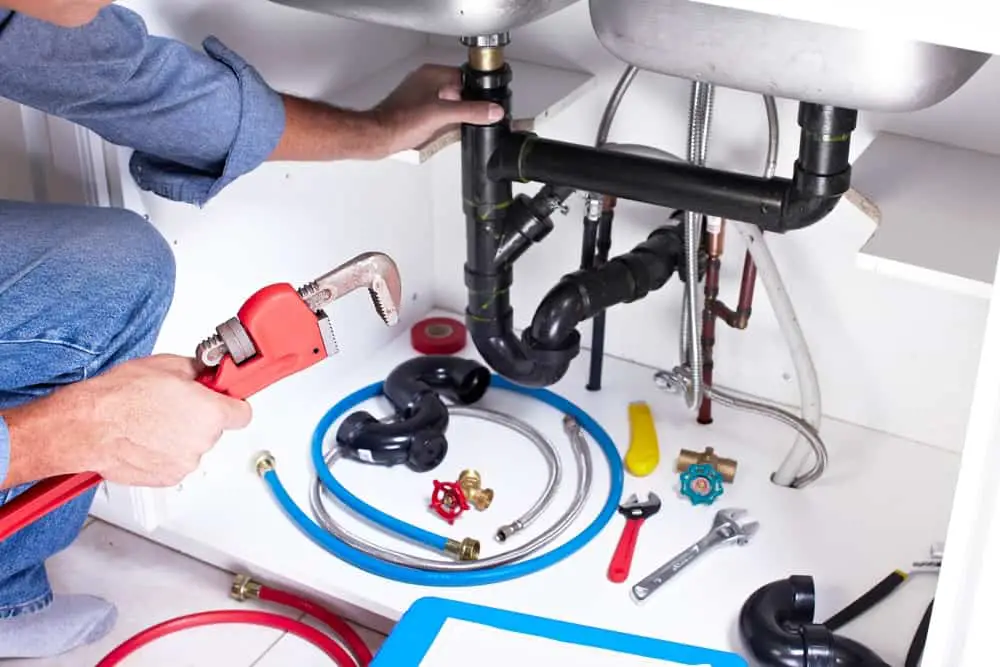 Having the right tools for the job is crucial when installing plumbing under your kitchen sink. Some essential tools you'll need include a
pipe cutter
,
pipe wrench
,
plumber's tape
, and
plumbers' putty
. Using the correct tools will make the installation process much easier and ensure everything is properly connected.
4. Connect the Faucet and Drain
 Once you have your pipes and fixtures in place, it's time to connect the faucet and drain. Make sure to use plumber's tape on all threaded connections to prevent leaks. For the drain, use plumber's putty to create a watertight seal. It's also important to
test
the connections for any leaks before moving on to the next step.
5. Secure the Pipes
 To prevent any movement or shifting of the pipes, it's important to secure them in place. You can use
pipe straps
or
metal clamps
to secure the pipes to the underside of your sink. This will also help prevent any potential leaks in the future.
Installing plumbing under your kitchen sink may seem daunting, but with these additional tips, the process will be much smoother and easier. Remember to always use the right materials, plan your layout, have the necessary tools, and secure your pipes properly. By following these steps, you'll have a functioning and efficient plumbing system in your kitchen in no time.


/how-to-install-a-sink-drain-2718789-hero-b5b99f72b5a24bb2ae8364e60539cece.jpg)


:max_bytes(150000):strip_icc()/how-to-install-a-sink-drain-2718789-04-5715d67f5b7d41429d42bf705bb70e2c.jpg)

