Installing a farmhouse sink with a front apron can be a daunting task for many homeowners. However, with the right tools and a step-by-step guide, it can be a relatively easy DIY project. In this article, we will provide you with a comprehensive guide on how to install a farmhouse sink with a front apron in your kitchen.How to Install a Farmhouse Sink
If you're ready to give your kitchen a new look, installing a farmhouse sink with a front apron can be a great way to do so. Here are the 7 steps you need to follow:How to Install a Farmhouse Sink in 7 Steps
The first step to installing a farmhouse sink with a front apron is to measure your existing sink and cabinet to ensure that the new sink will fit properly. You also need to make sure that your cabinet can support the weight of the new sink.Step 1: Measure and Prepare
Before you can install your new sink, you need to remove the old one. Start by turning off the water supply and disconnecting the plumbing. Then, remove any caulk or adhesive around the edges of the sink and carefully lift it out of the countertop.Step 2: Remove the Old Sink
If your cabinet does not have a cutout for a farmhouse sink, you will need to make modifications. This may include cutting out a larger hole or reinforcing the cabinet to support the weight of the sink.Step 3: Make Necessary Modifications to the Cabinet
Since farmhouse sinks are heavier than traditional sinks, they require additional support. Install support beams in the cabinet to help distribute the weight of the sink evenly. This will prevent any damage to your cabinets in the long run.Step 4: Install Support Beams
Place the farmhouse sink into the cutout in the countertop and make sure it is level. Use caulk or adhesive to secure the sink to the countertop. If your sink has clips, use them to secure the sink to the cabinet as well.Step 5: Install the Sink
Once the sink is in place, reconnect the plumbing. This includes attaching the water supply lines, drain pipes, and garbage disposal (if applicable). Make sure everything is connected properly and there are no leaks.Step 6: Reconnect the Plumbing
Finally, add any finishing touches to your sink installation. This may include adding a backsplash, caulking around the edges of the sink, or installing a new faucet. Once everything is in place, turn on the water supply and test your new farmhouse sink with front apron.Step 7: Finishing Touches
Installing a farmhouse sink with a front apron can be a rewarding DIY project. Not only will it give your kitchen a new look, but it can also add value to your home. However, it is important to follow the proper steps and precautions to ensure a successful installation.Installing a Farmhouse Sink: A DIY Guide
Installing a Kitchen Sink with a Front Apron: A Guide to Enhancing Your Kitchen's Design
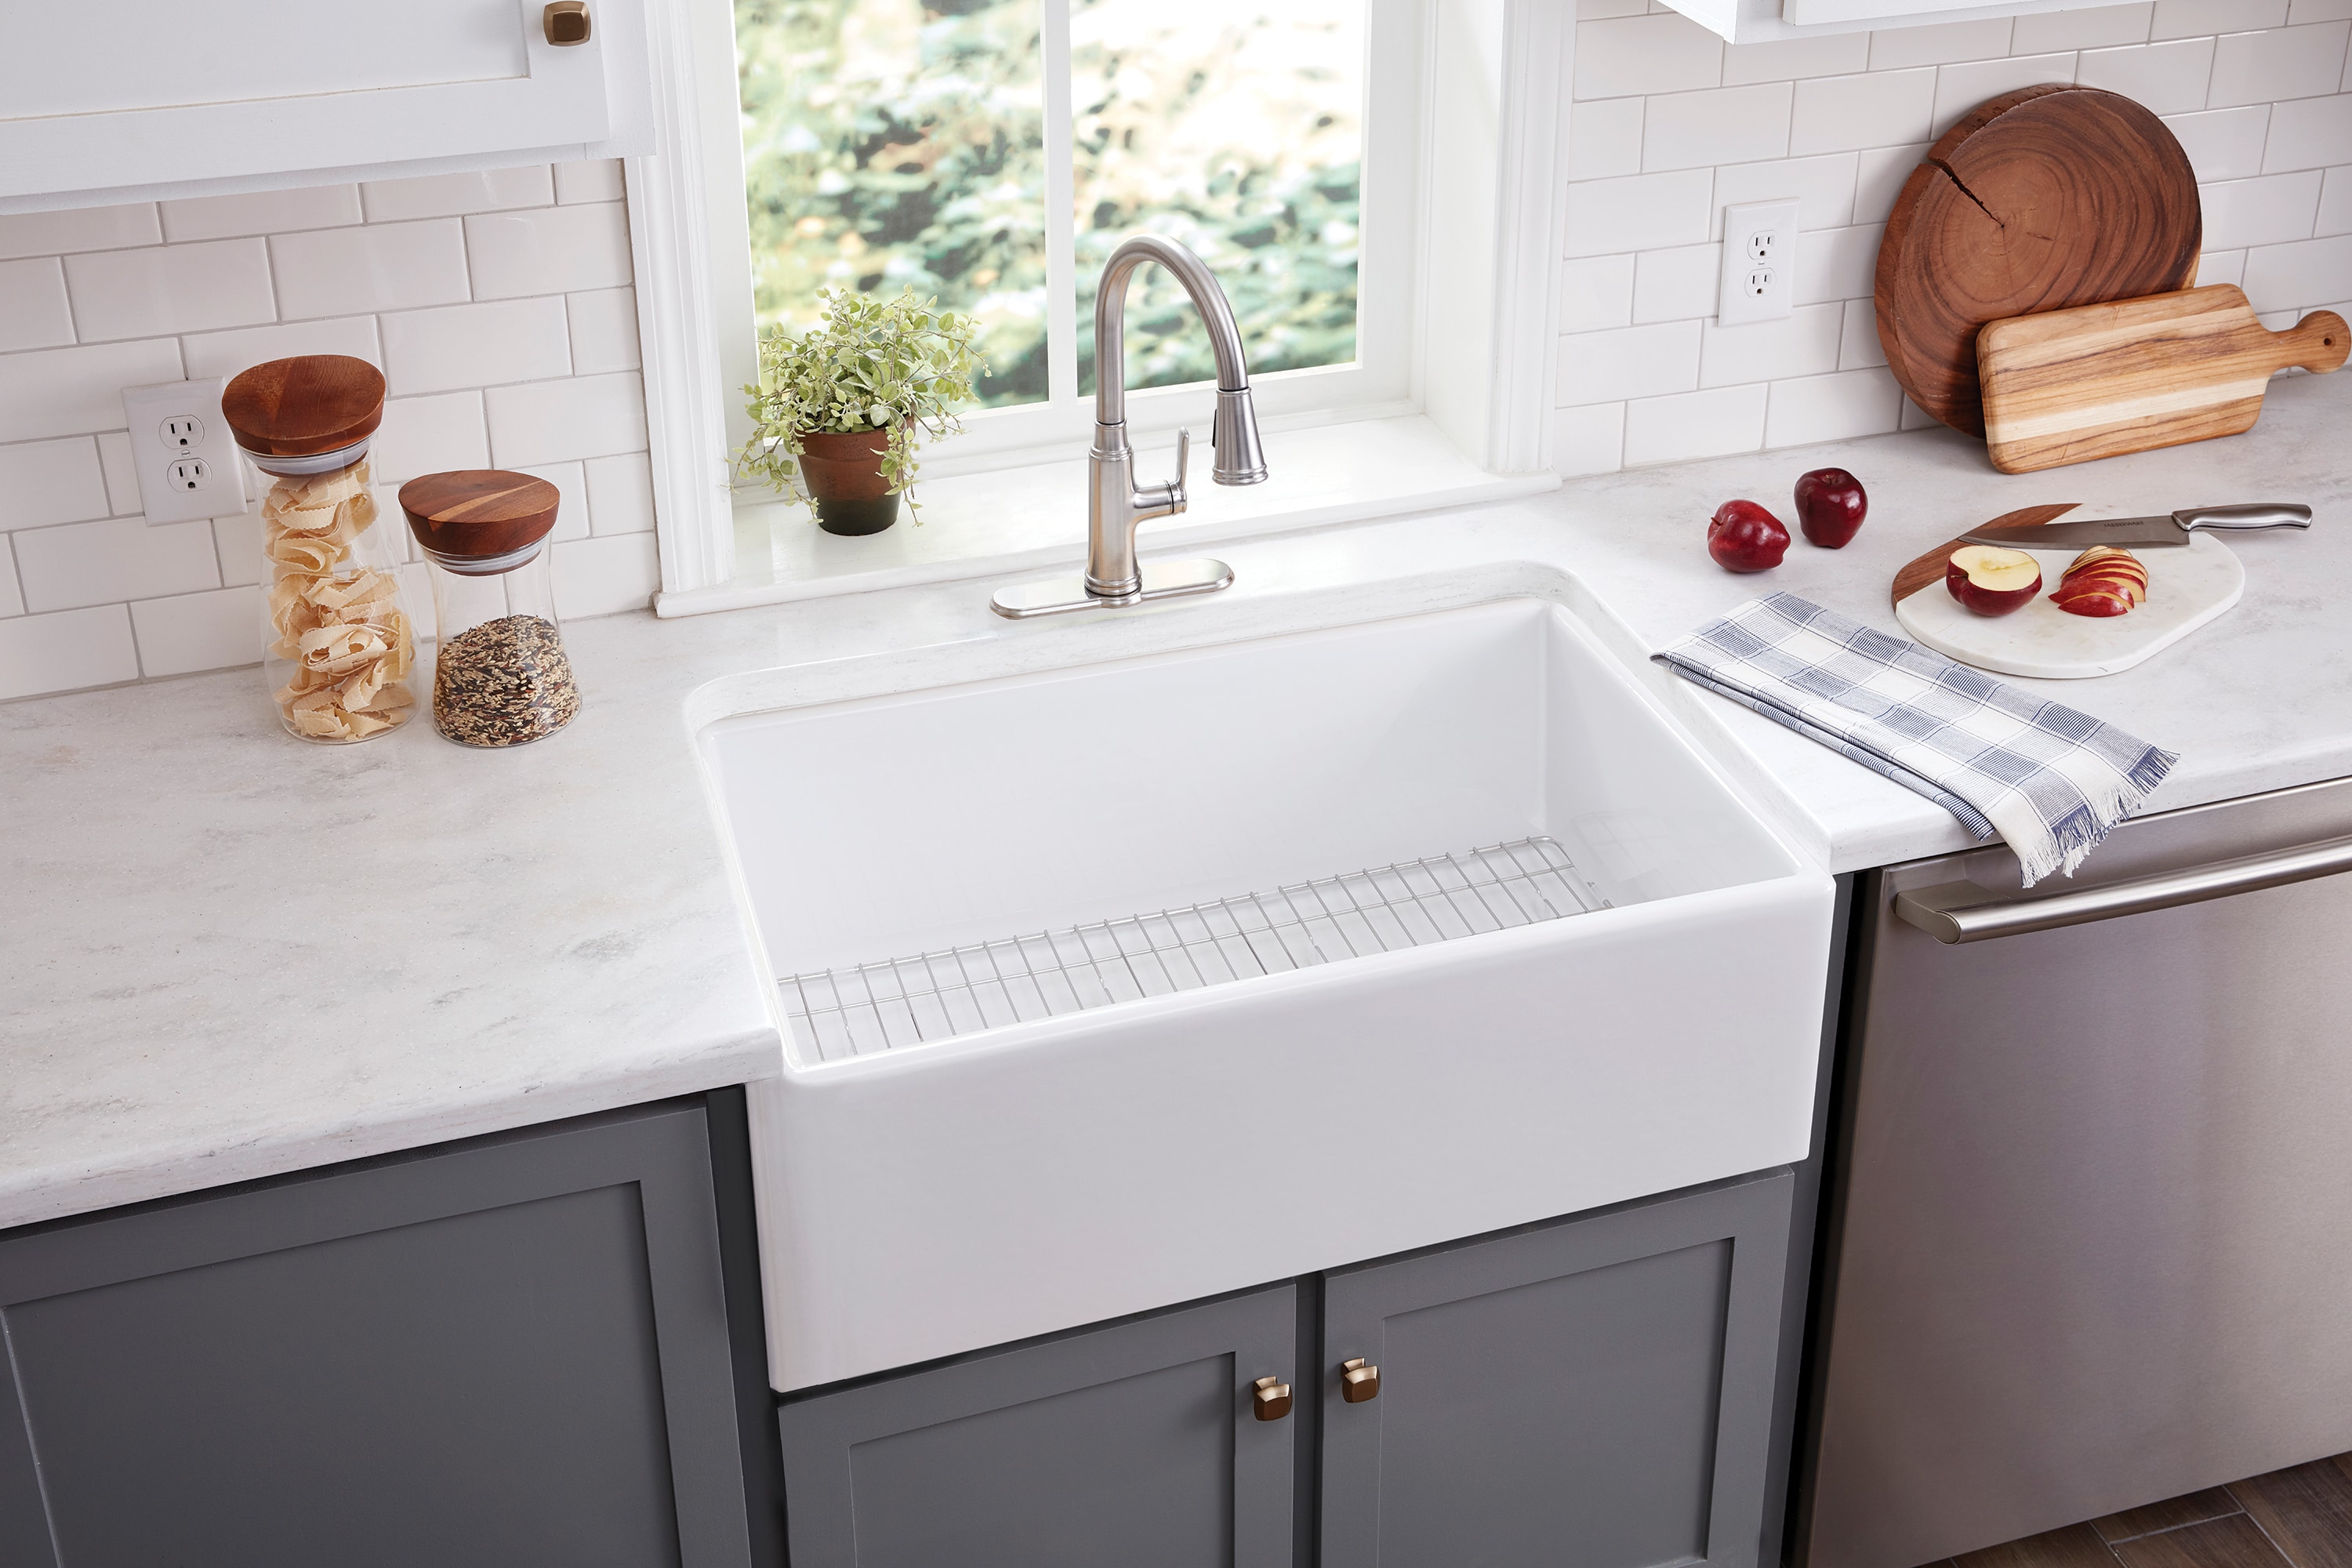
Why Choose a Front Apron Sink?
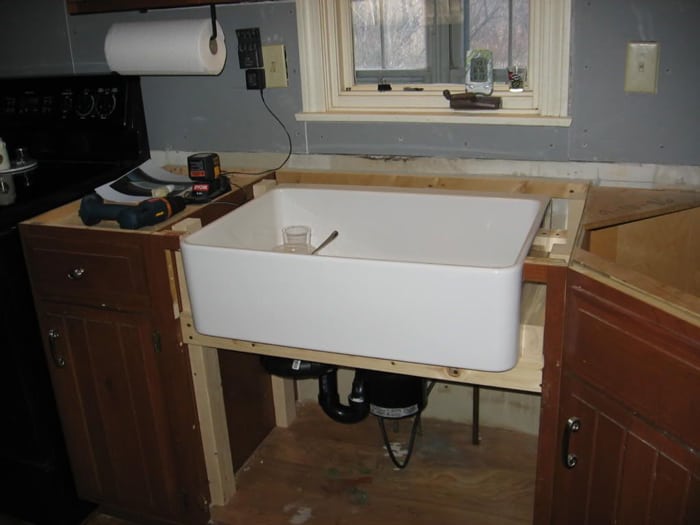
When it comes to kitchen design, the sink is often considered the centerpiece of the space. Not only is it a functional necessity for washing dishes and preparing food, but it also adds to the overall aesthetic of the room. That's why many homeowners are opting for a kitchen sink with a front apron as it adds a touch of elegance and charm to any kitchen.
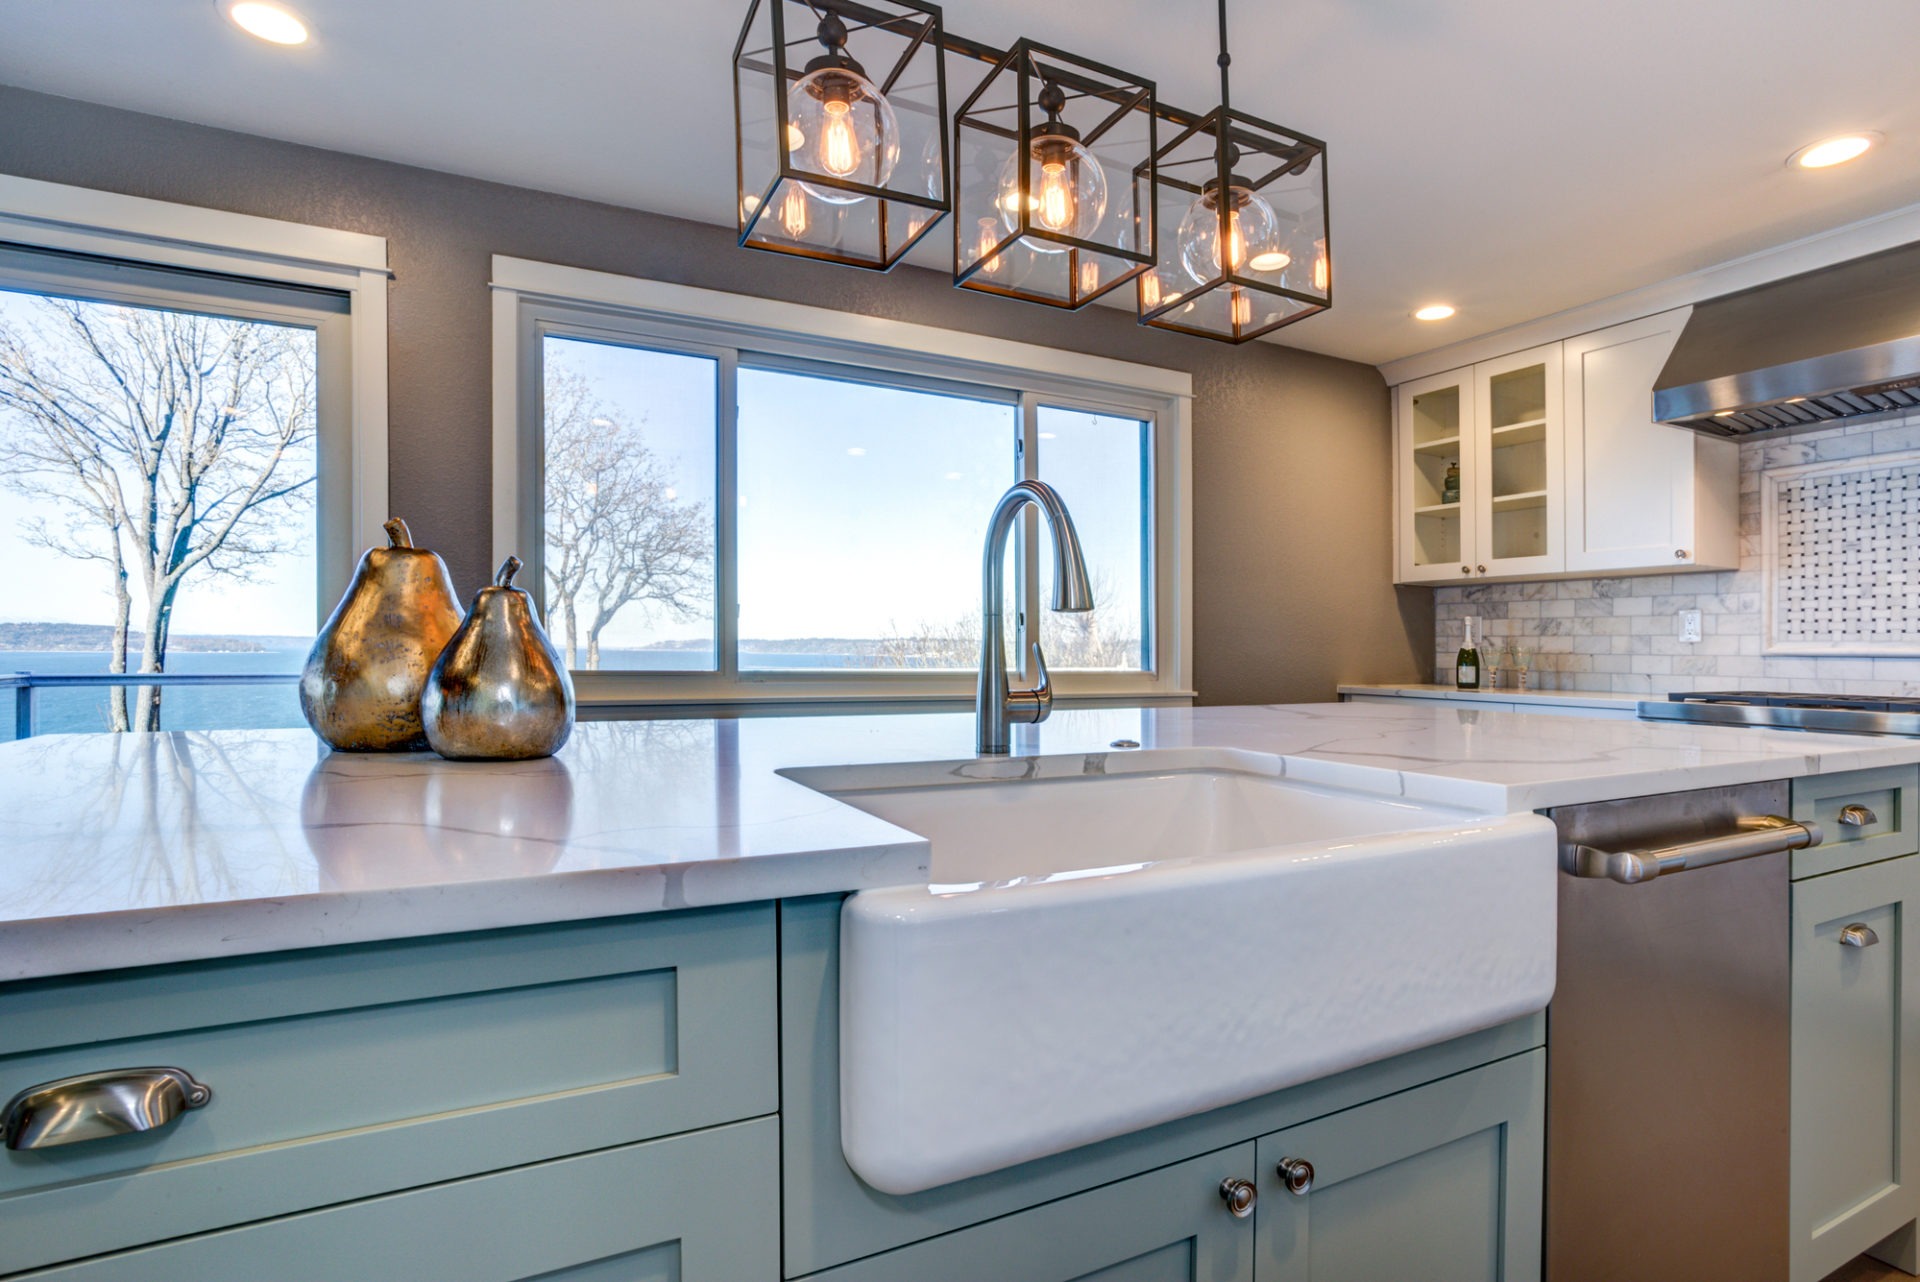
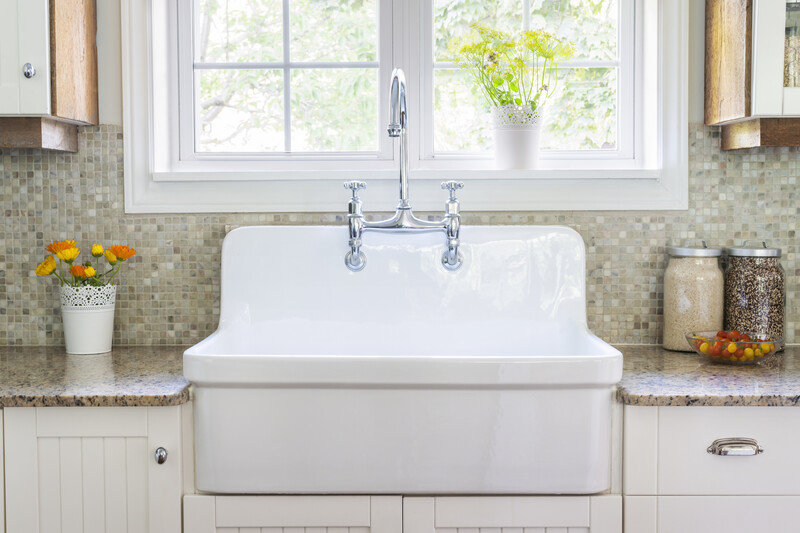
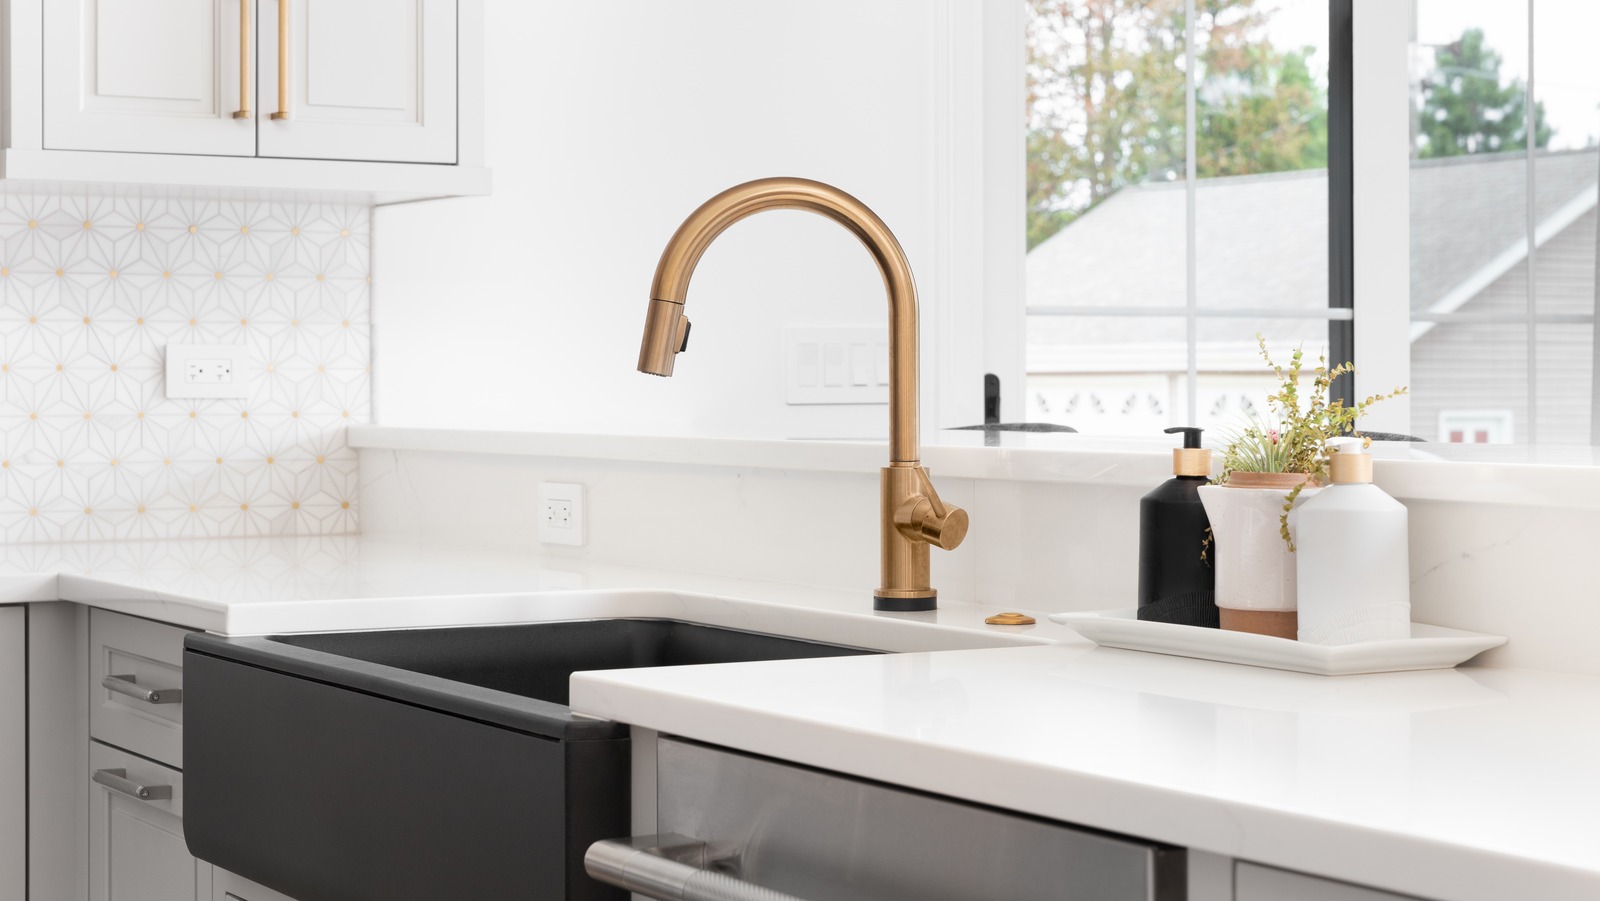
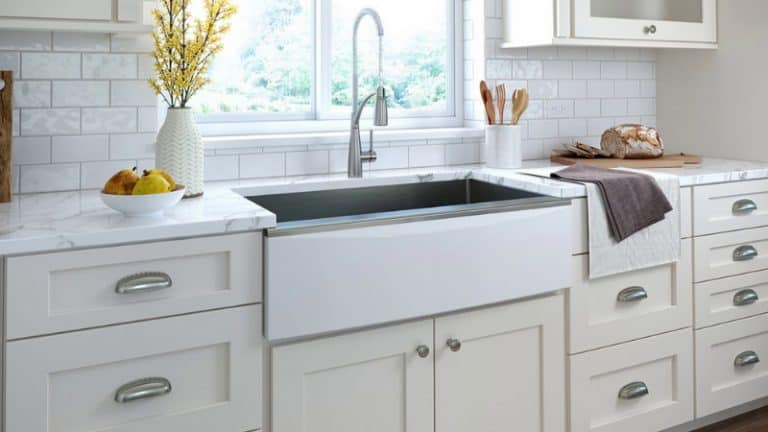
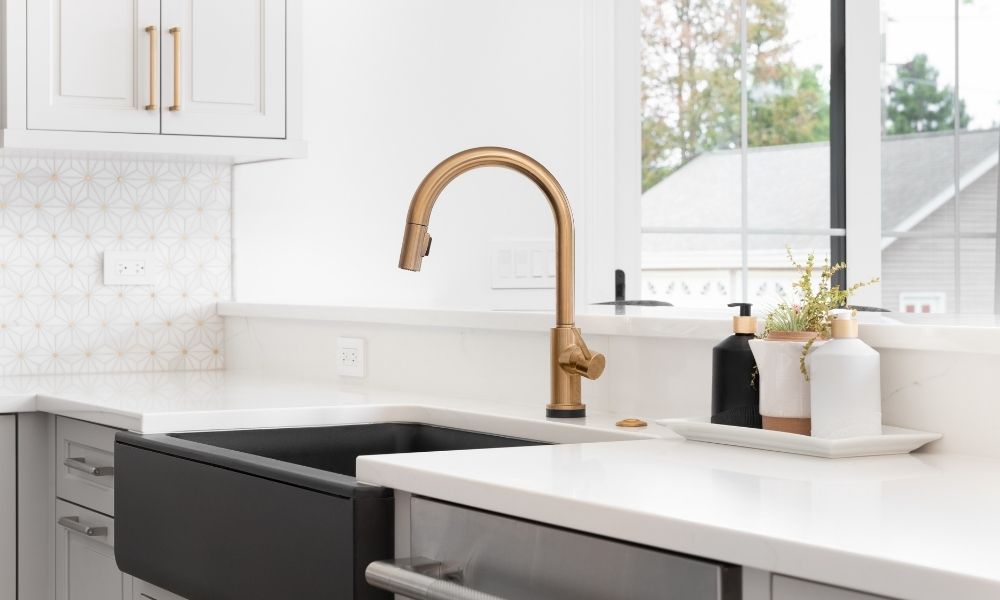
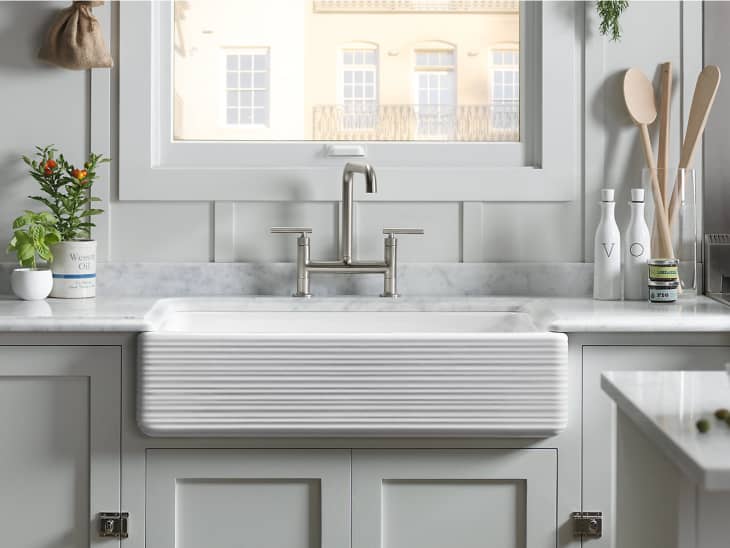
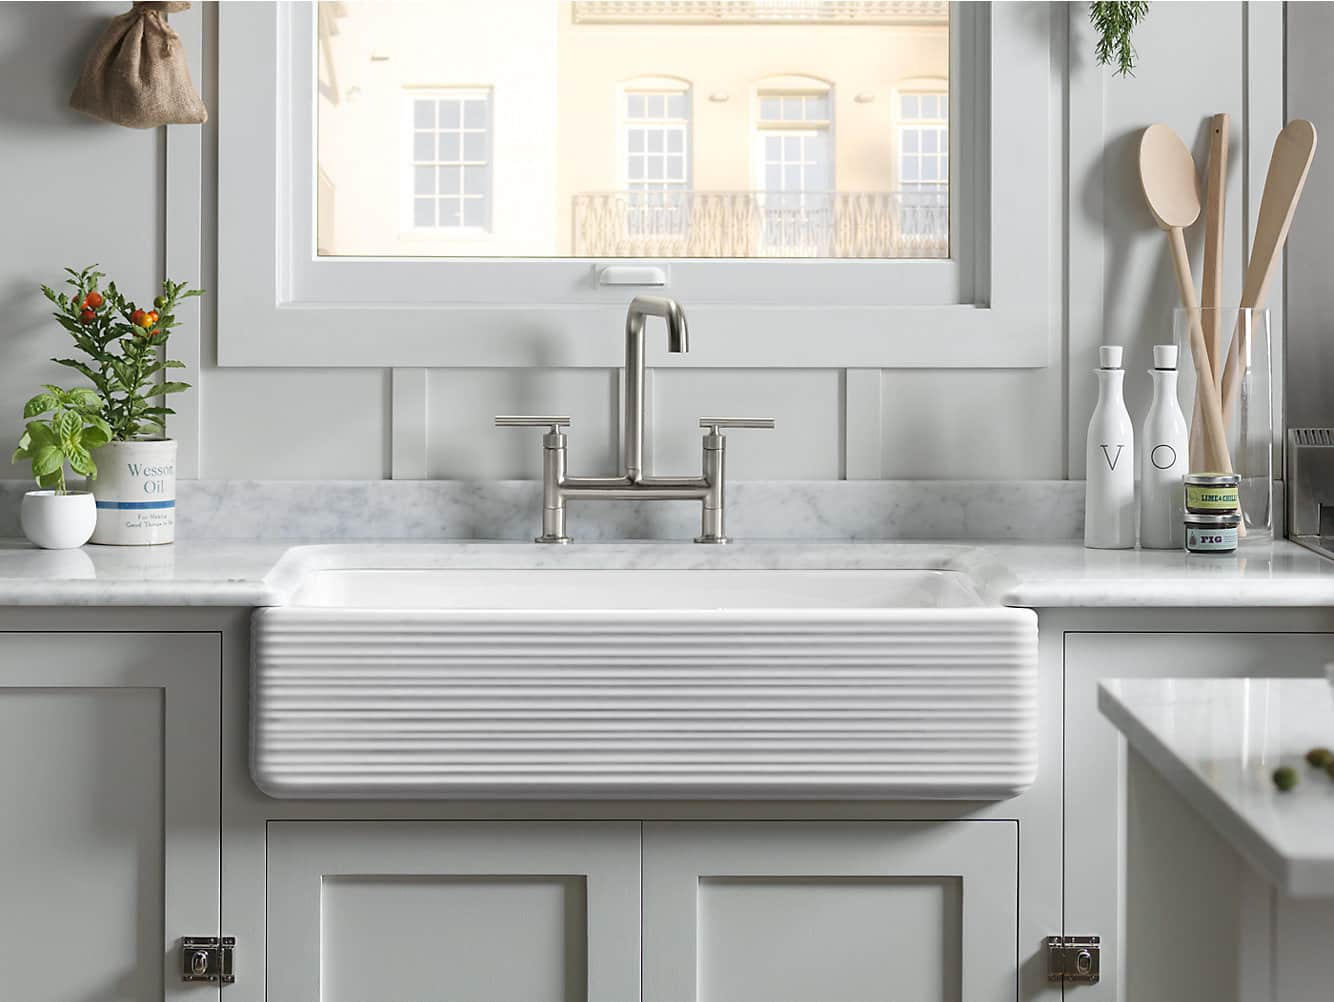
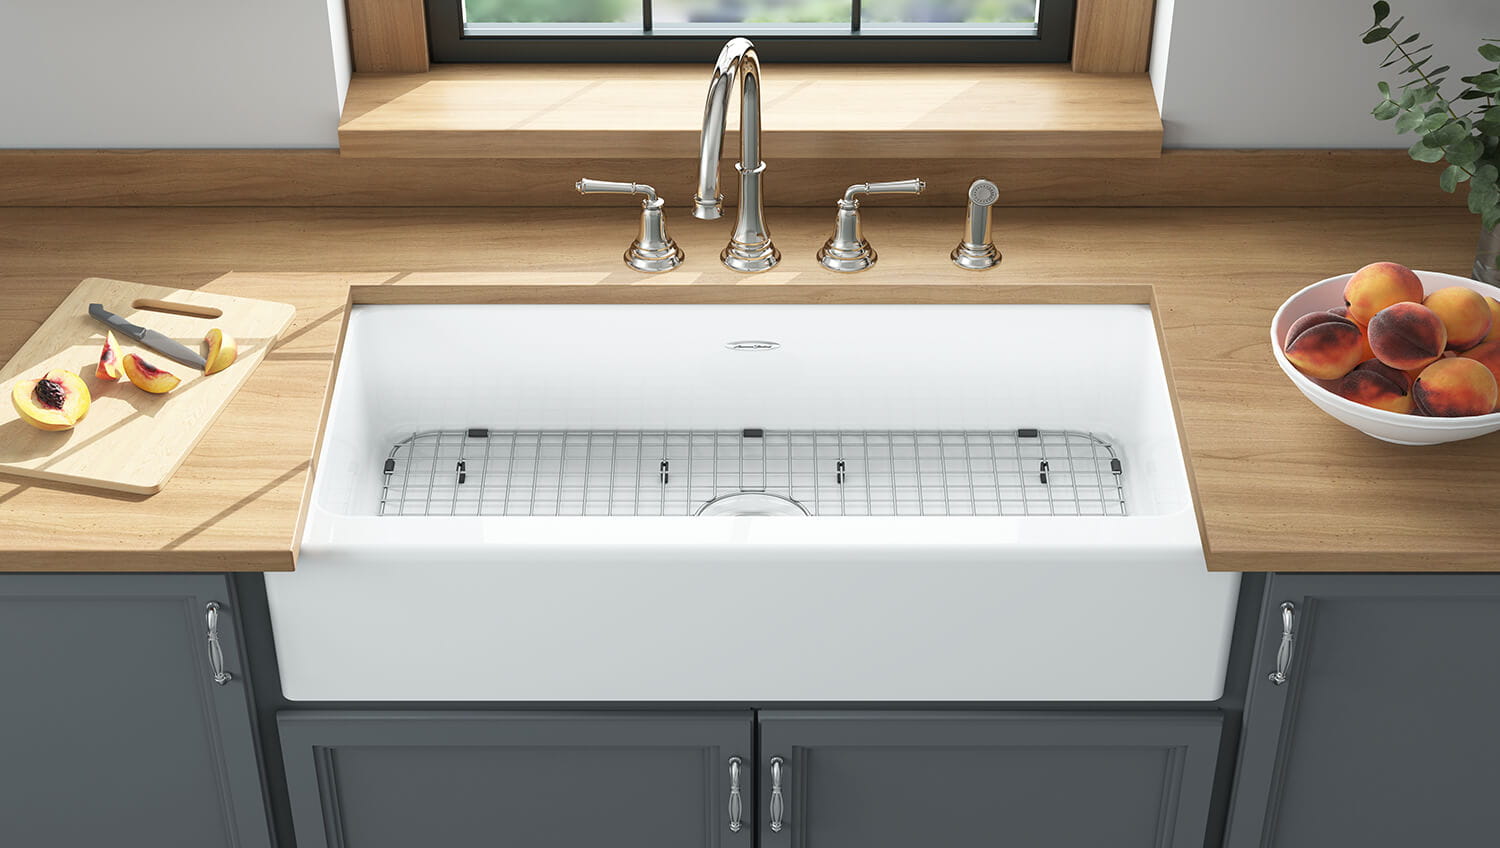
A front apron sink, also known as a farmhouse sink, is characterized by its exposed front panel that extends past the edge of the countertop. This unique feature not only gives the sink a distinct appearance but also provides more space and depth for washing larger pots and pans.
The Installation Process

Installing a kitchen sink with a front apron may seem like a daunting task, but with the right tools and some basic knowledge, it can be done easily and efficiently. The first step is to choose the right size and style of sink to fit your kitchen's design and layout. Make sure to measure the space carefully and take into account any existing plumbing or cabinetry that may need to be adjusted.
Once you have your sink, it's time to prepare the area for installation. This involves cutting and removing the existing countertop to make room for the sink. It's important to follow the manufacturer's instructions and use the appropriate tools to ensure a clean and precise cut.
Next, you will need to install the sink's support brackets and fit the sink into place. Make sure to secure the sink tightly and use a silicone sealant to prevent any water leakage. Once the sink is in place, you can then install the faucet and connect the plumbing.
Enhancing Your Kitchen's Design

A kitchen sink with a front apron not only adds functionality but also enhances the overall design of your kitchen. Its classic and timeless look can complement a variety of styles, from modern and sleek to rustic and traditional. You can also choose from different materials such as stainless steel, fireclay, or cast iron to match your personal preference and design aesthetic.
Furthermore, a front apron sink can serve as a focal point in your kitchen, drawing attention and adding character to the space. You can also incorporate it into a larger design theme, such as a farmhouse or country-style kitchen, by pairing it with other elements such as wooden countertops and open shelving.
In conclusion, installing a kitchen sink with a front apron is not only a functional upgrade but also a design upgrade for your kitchen. With its unique and charming features, this type of sink can elevate the overall look and feel of your kitchen, making it a more inviting and stylish space for cooking and entertaining.


