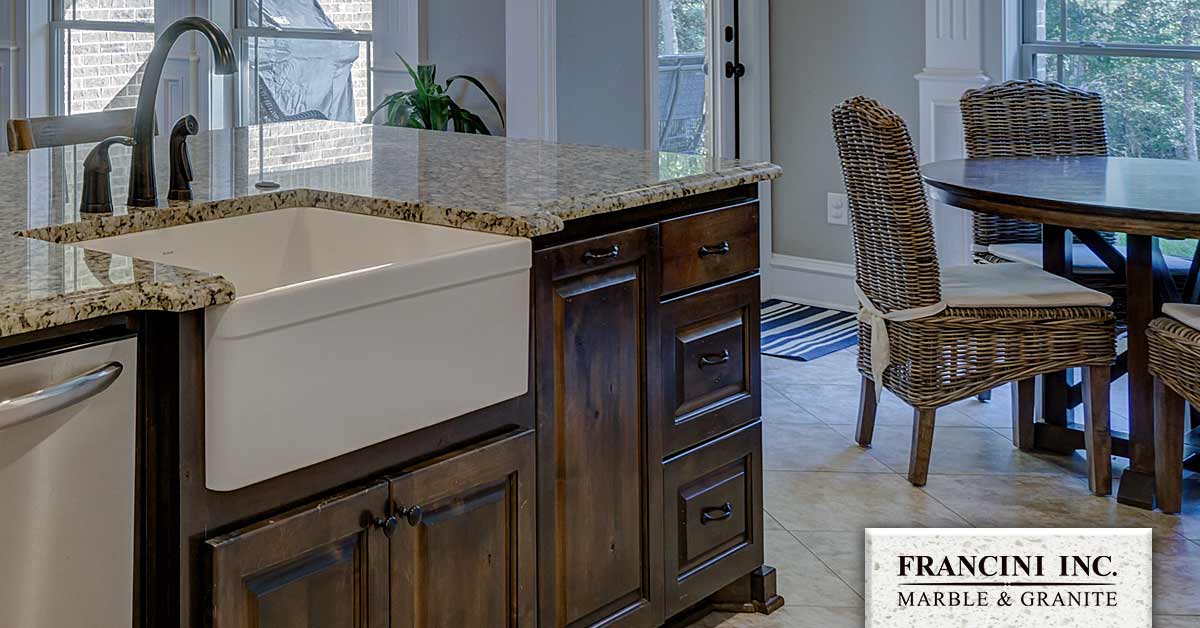
Installing a kitchen sink in a travel trailer may seem like a daunting task, but with the right tools and knowledge, it can be a simple and rewarding DIY project. Whether you're looking to upgrade your current sink or replace a damaged one, here is a step-by-step guide on how to install a kitchen sink in your travel trailer.How to Install a Kitchen Sink in a Travel Trailer


How to Install a Kitchen Sink in a Travel Trailer


:no_upscale()/cdn.vox-cdn.com/uploads/chorus_asset/file/19495086/drain_0.jpg)


If you're looking to replace your old kitchen sink in your travel trailer, the first step is to remove the old one. Start by turning off the water supply and disconnecting the plumbing connections. Then, unscrew and remove the old sink from the countertop. Once the old sink is removed, you can proceed with installing the new one.How to Replace a Kitchen Sink in a Travel Trailer


How to Replace a Kitchen Sink in a Travel Trailer


Installing a kitchen sink in a travel trailer can be a great DIY project for those who want to save money and add a personal touch to their living space. With the right tools and materials, anyone can successfully install a new sink in their travel trailer. Just be sure to follow these steps and take your time to ensure a proper installation.DIY: Installing a Kitchen Sink in a Travel Trailer


DIY: Installing a Kitchen Sink in a Travel Trailer


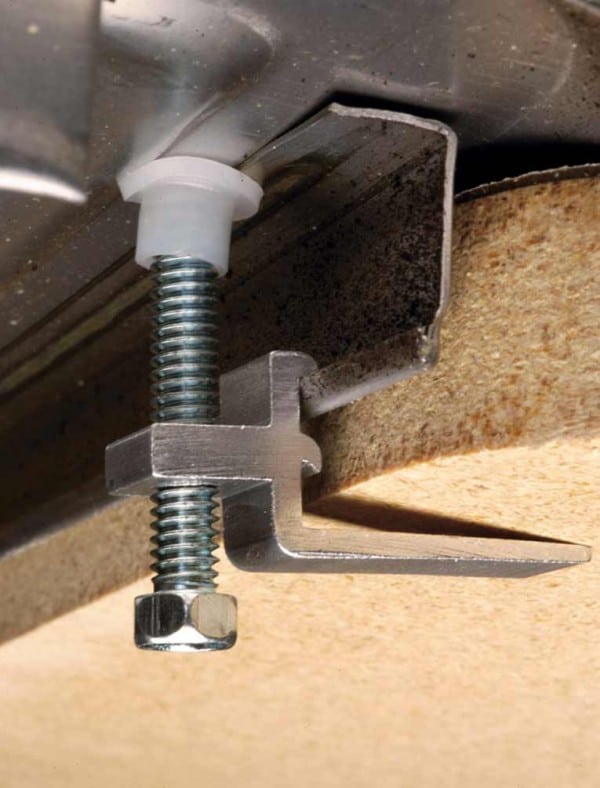
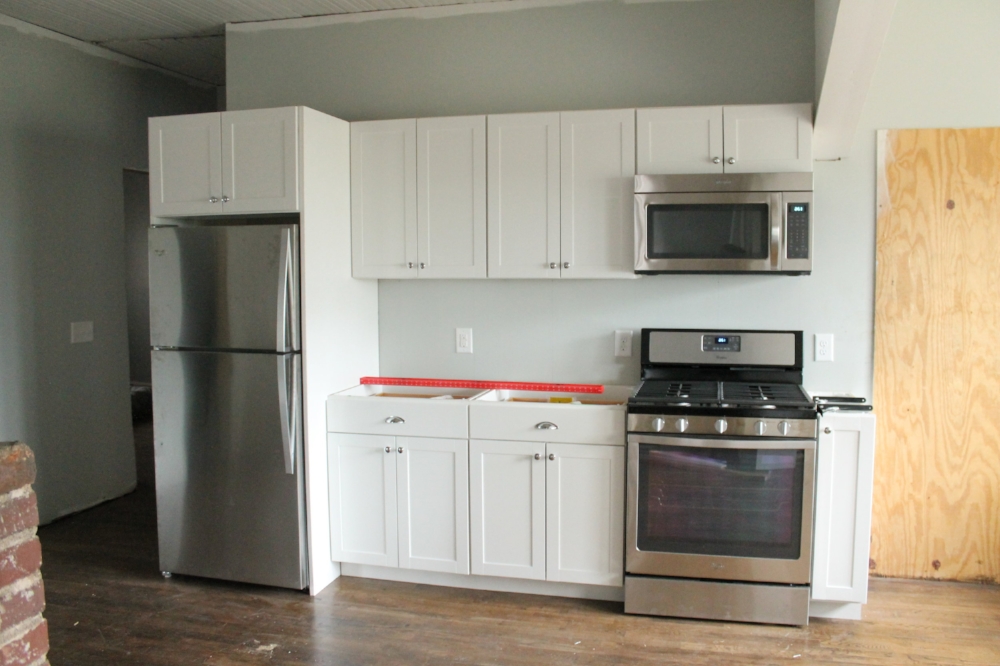
Here is a detailed guide on how to install a kitchen sink in your travel trailer: Step 1: Measure the space Before purchasing a new sink, make sure to measure the space where it will be installed. This will ensure that you choose the right size sink that will fit in your travel trailer. Step 2: Gather necessary tools and materials The tools you will need for this project include a wrench, screwdriver, plumber's putty, plumber's tape, and silicone sealant. The materials you will need are the new sink, faucet, and any additional plumbing connections or parts. Step 3: Prepare the countertop If you are installing a sink in a new countertop, you will need to cut a hole in the appropriate size and shape for the sink. If you are replacing an existing sink, you can skip this step. Step 4: Install the faucet Install the faucet according to the manufacturer's instructions. This may involve connecting the water supply lines and attaching the faucet to the countertop. Step 5: Install the sink Apply plumber's putty or silicone sealant around the edge of the sink and carefully place it in the hole in the countertop. Secure the sink by tightening the clips or brackets underneath the sink. Step 6: Connect the plumbing Connect the water supply lines to the faucet and the drain pipe to the sink. Use plumber's tape to ensure a tight seal. Step 7: Test the sink Turn on the water supply and test the sink for any leaks. If everything is working properly, you can proceed to caulk around the edges of the sink for a clean finish.Step-by-Step Guide for Installing a Kitchen Sink in a Travel Trailer


Step-by-Step Guide for Installing a Kitchen Sink in a Travel Trailer


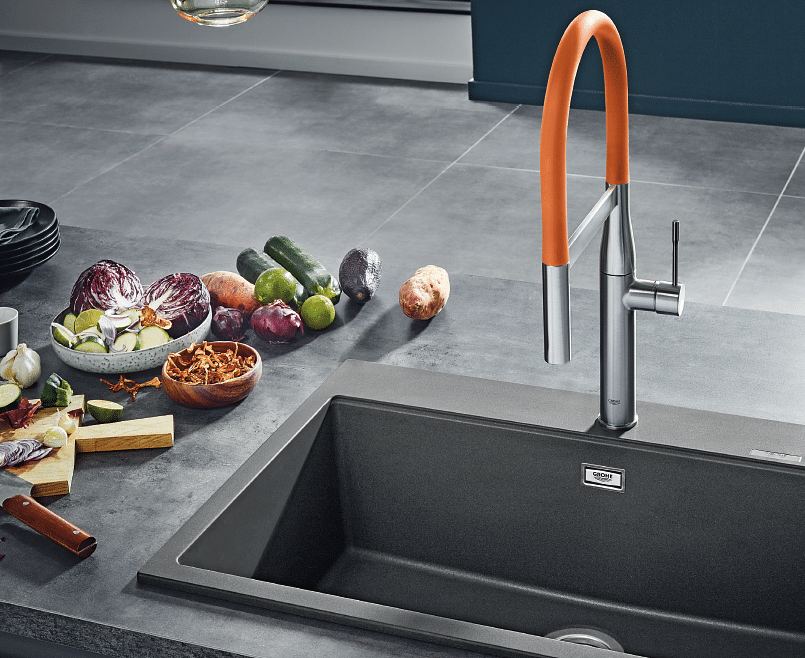
Having the right tools is crucial for a successful installation. Here are some tools you'll need when installing a kitchen sink in your travel trailer: - Wrench: A wrench will be needed to loosen and tighten plumbing connections. - Screwdriver: A screwdriver may be necessary for removing and installing faucet and sink parts. - Plumber's putty: This putty is used to create a watertight seal around the sink. - Plumber's tape: This tape is used to secure plumbing connections and prevent leaks. - Silicone sealant: This sealant is used to secure the sink to the countertop and create a clean finish.Essential Tools for Installing a Kitchen Sink in a Travel Trailer


Essential Tools for Installing a Kitchen Sink in a Travel Trailer


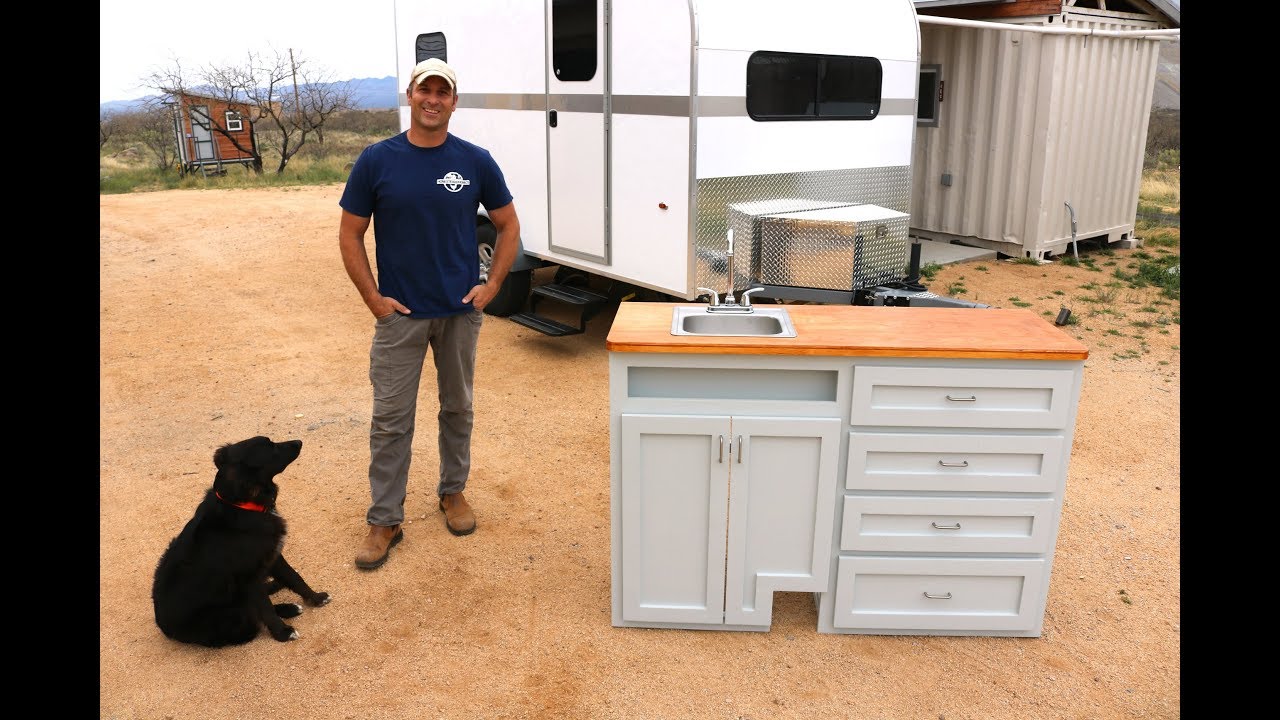
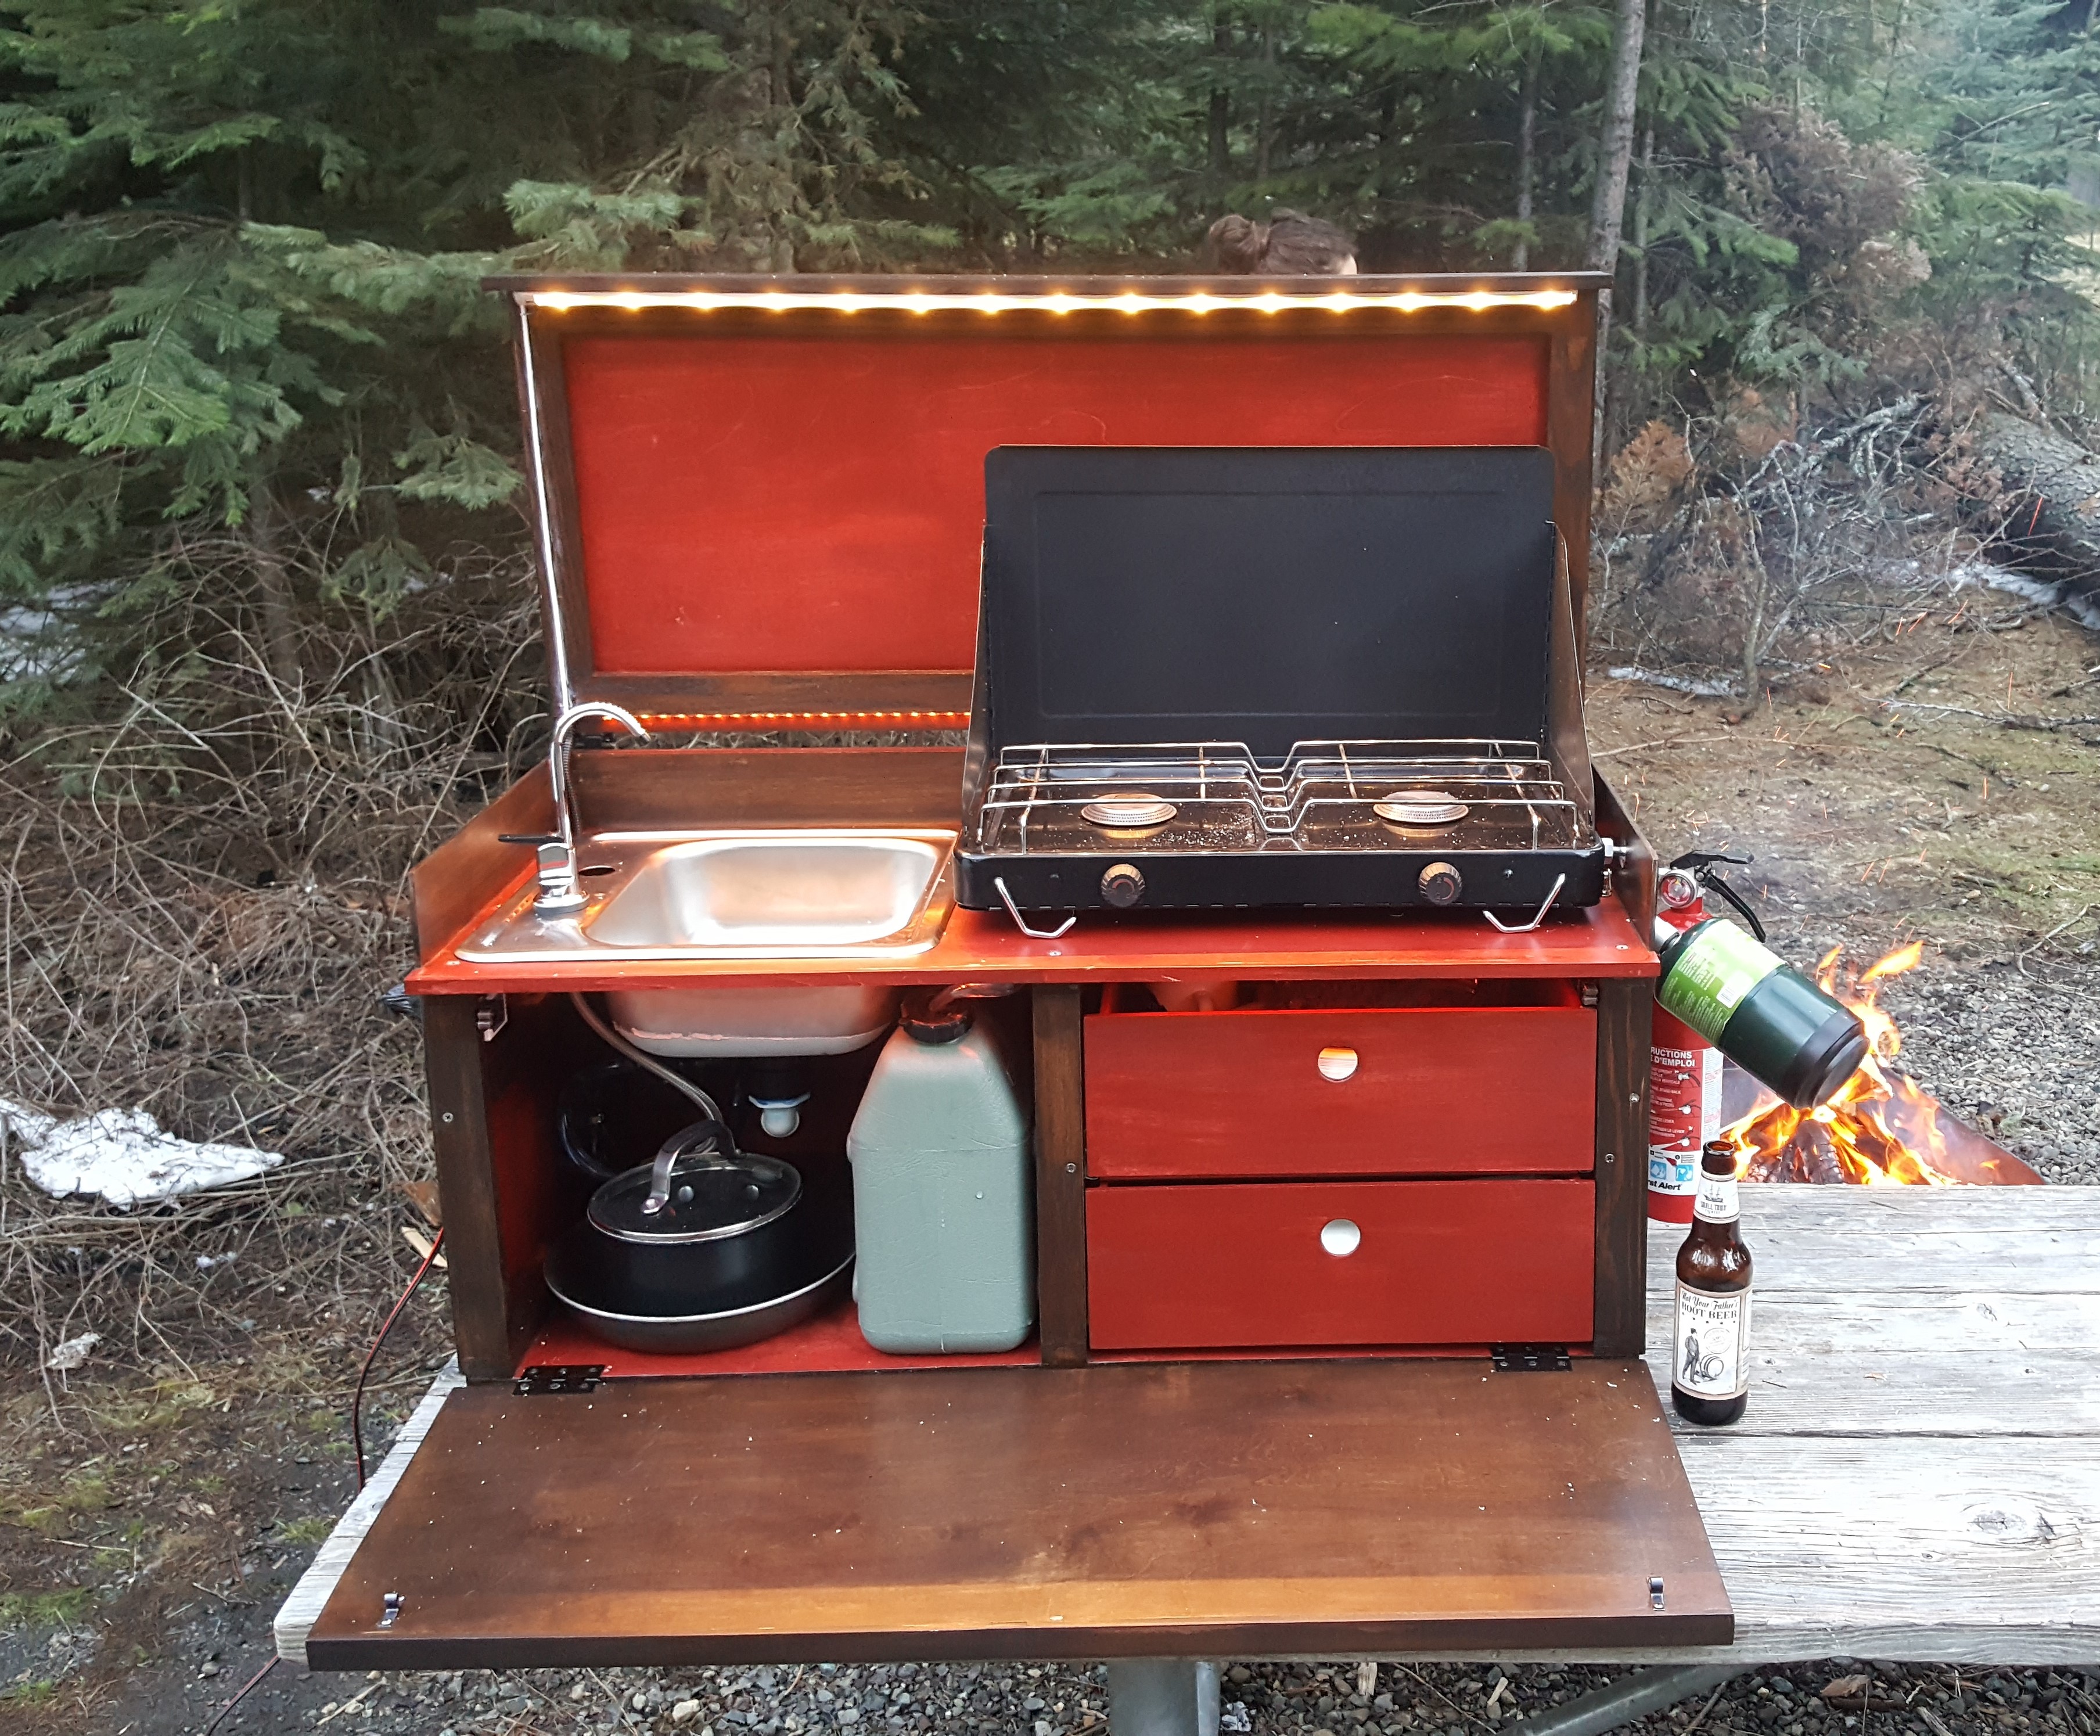
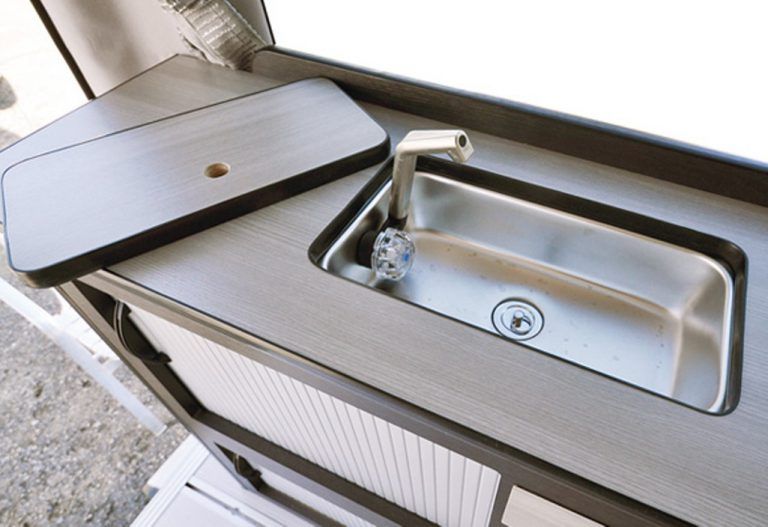
Installing a kitchen sink in a small space, such as a travel trailer, can be challenging. Here are some tips to make the process easier: - Choose a compact sink: Opt for a smaller sink that will fit comfortably in your travel trailer without taking up too much space. - Consider a top-mount sink: Top-mount sinks are easier to install and take up less space than undermount sinks. - Use flexible plumbing connections: Flexible plumbing connections can be easier to maneuver in tight spaces. - Plan ahead: Measure the space and plan out the placement of the sink before beginning the installation process.Tips for Installing a Kitchen Sink in a Small Space, like a Travel Trailer


Tips for Installing a Kitchen Sink in a Small Space, like a Travel Trailer


Installing a kitchen sink can be a tricky task, especially in a small space like a travel trailer. Here are some common mistakes to avoid: - Not measuring properly: Not measuring the space correctly can result in a sink that is too big or too small for the countertop. - Forgetting to turn off the water supply: Before starting the installation, be sure to turn off the water supply to prevent any accidents or water damage. - Over-tightening plumbing connections: Over-tightening can cause damage to the plumbing and result in leaks. - Not securing the sink properly: Be sure to properly secure the sink to the countertop to prevent any movement or damage over time.Common Mistakes to Avoid When Installing a Kitchen Sink in a Travel Trailer


Common Mistakes to Avoid When Installing a Kitchen Sink in a Travel Trailer


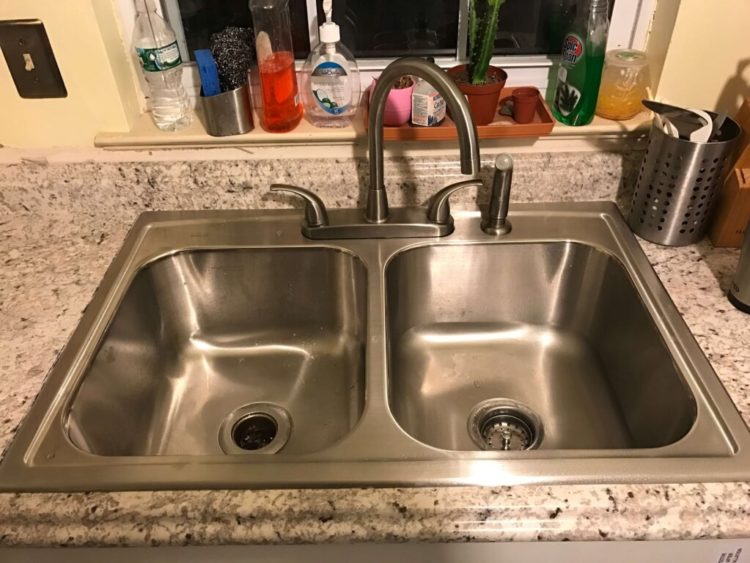
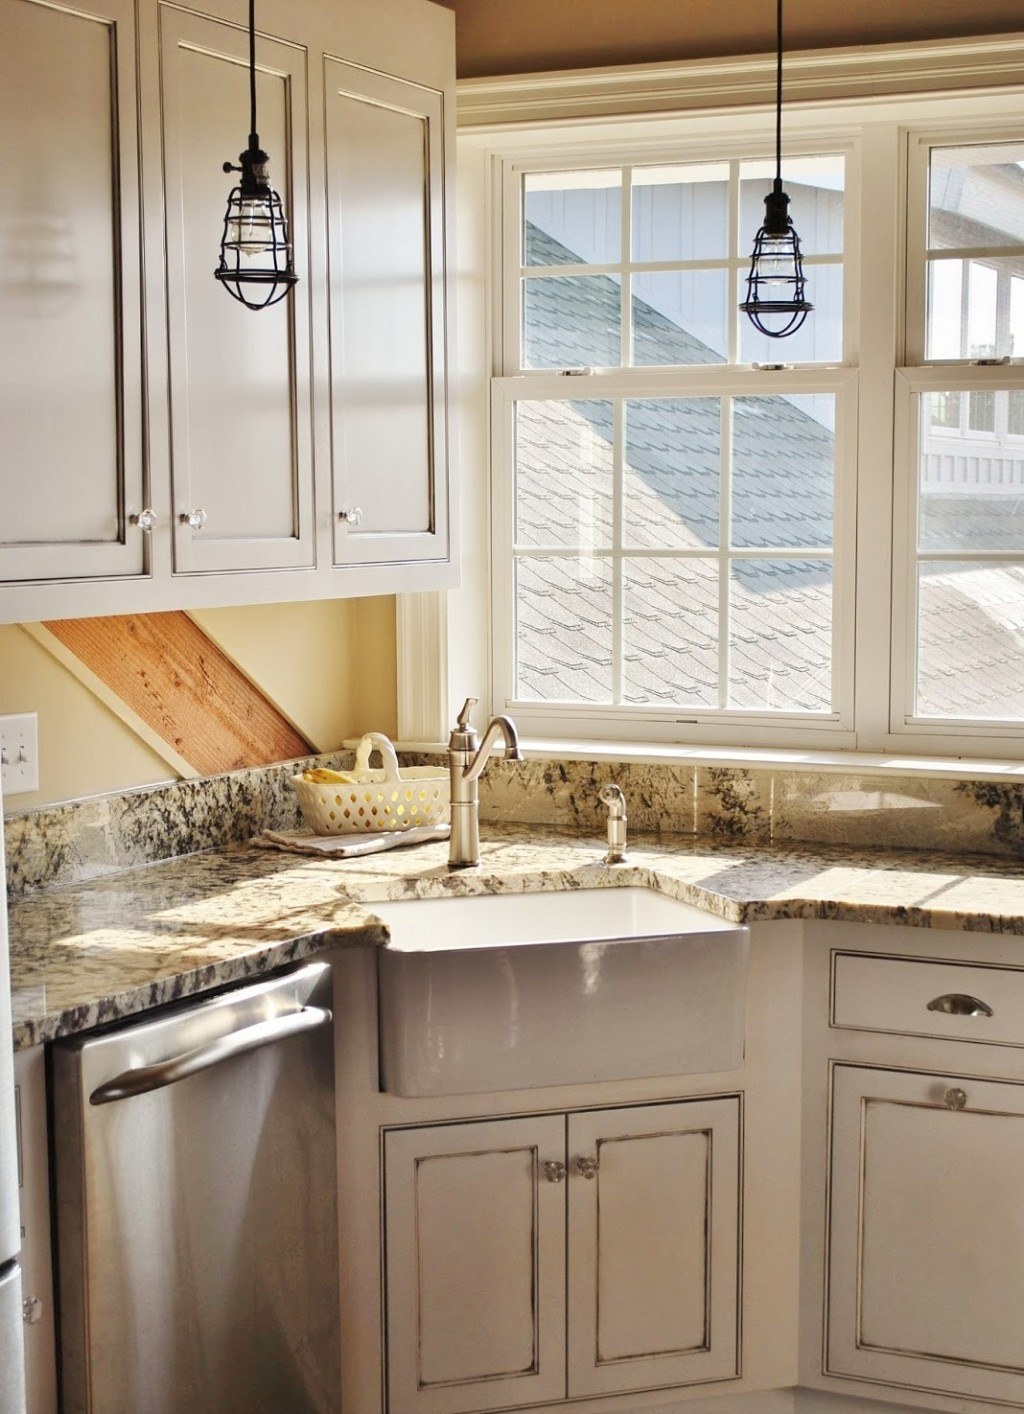
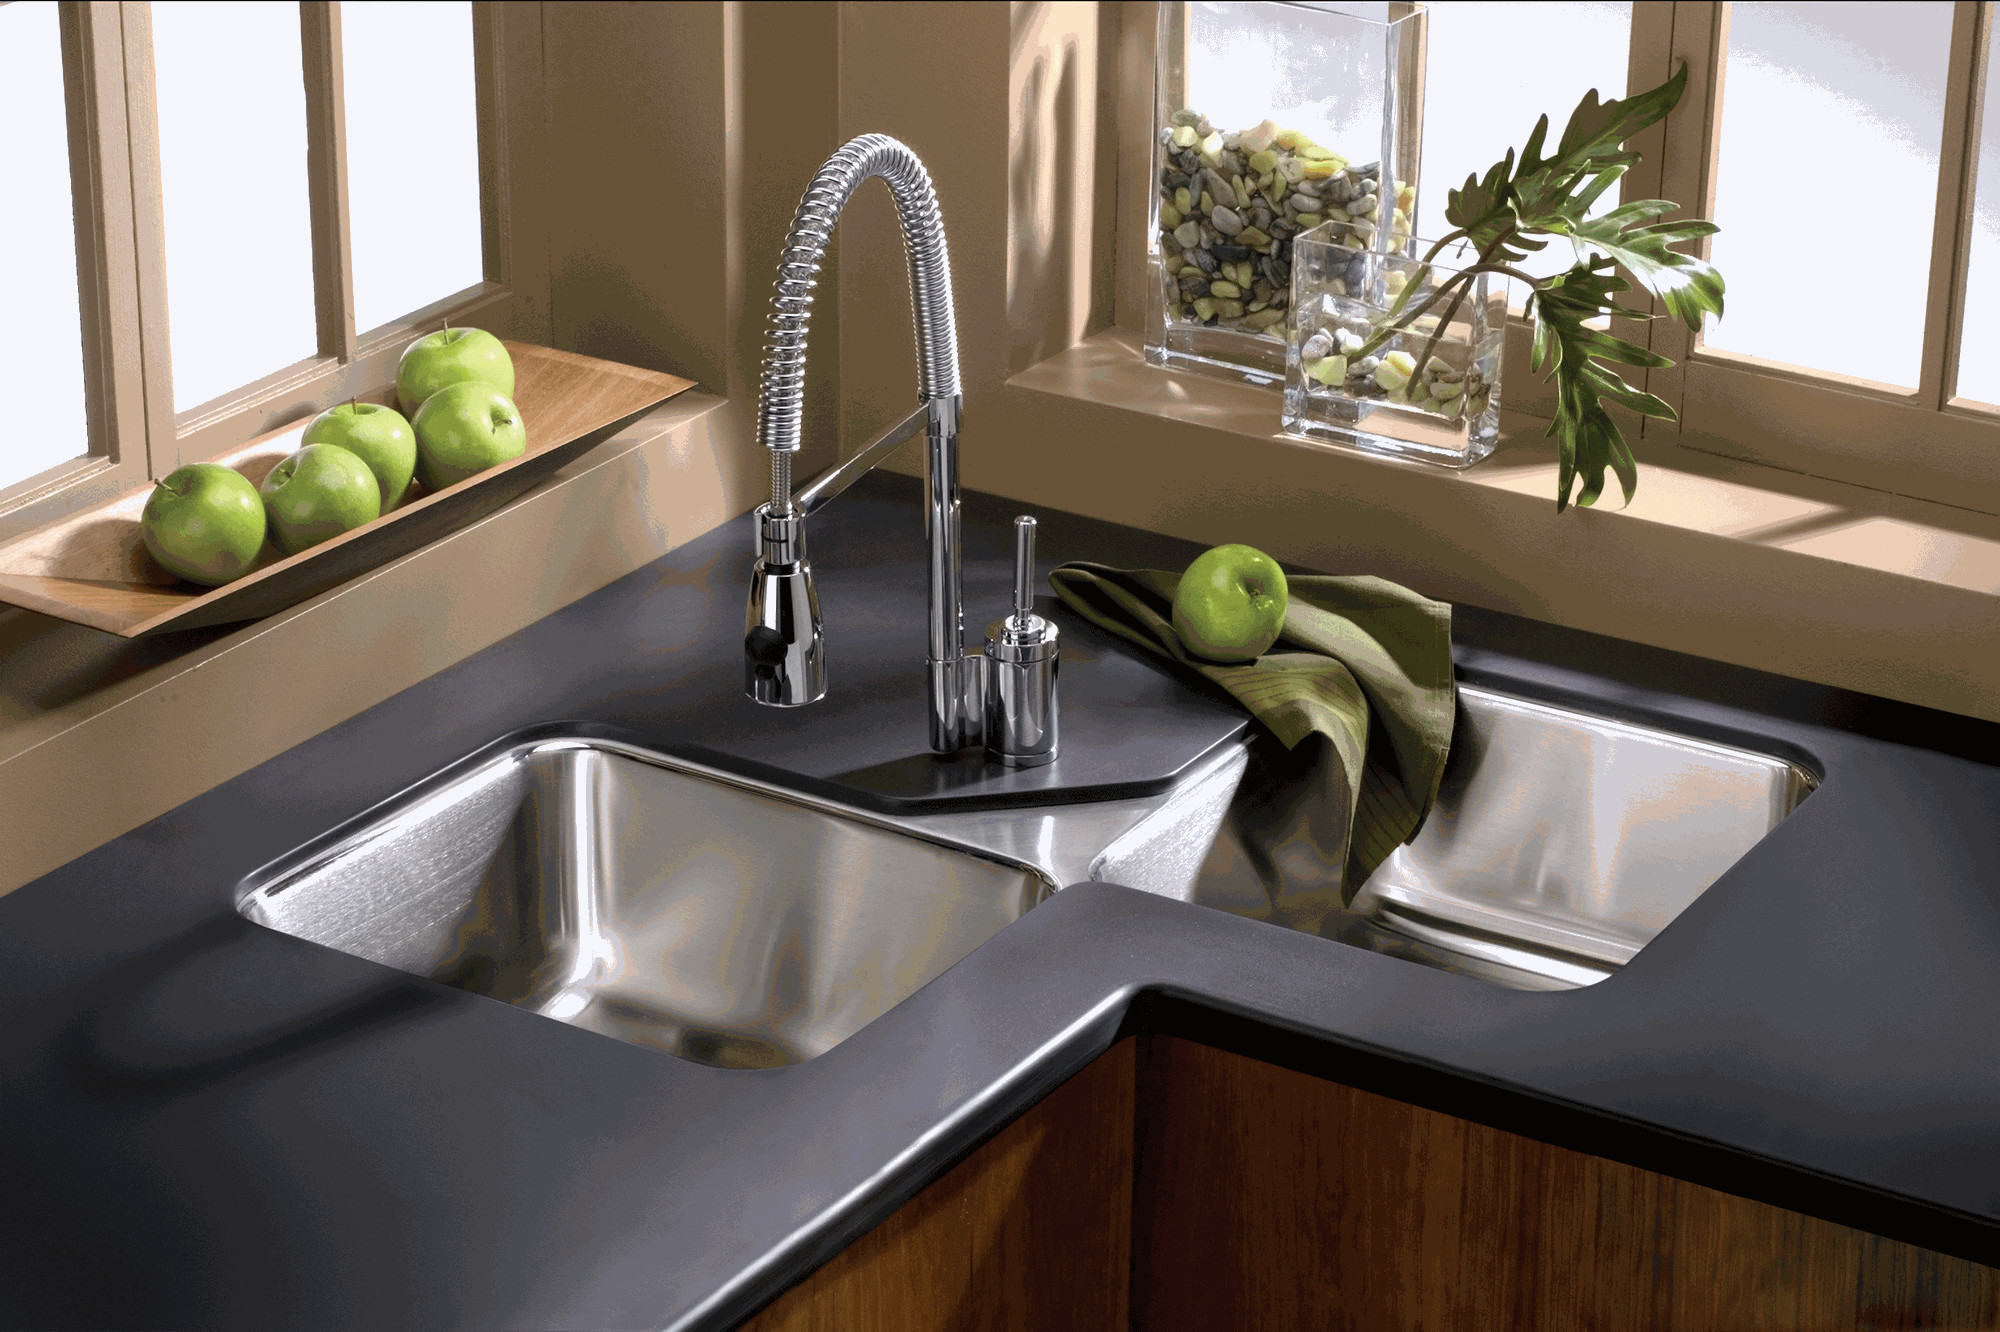
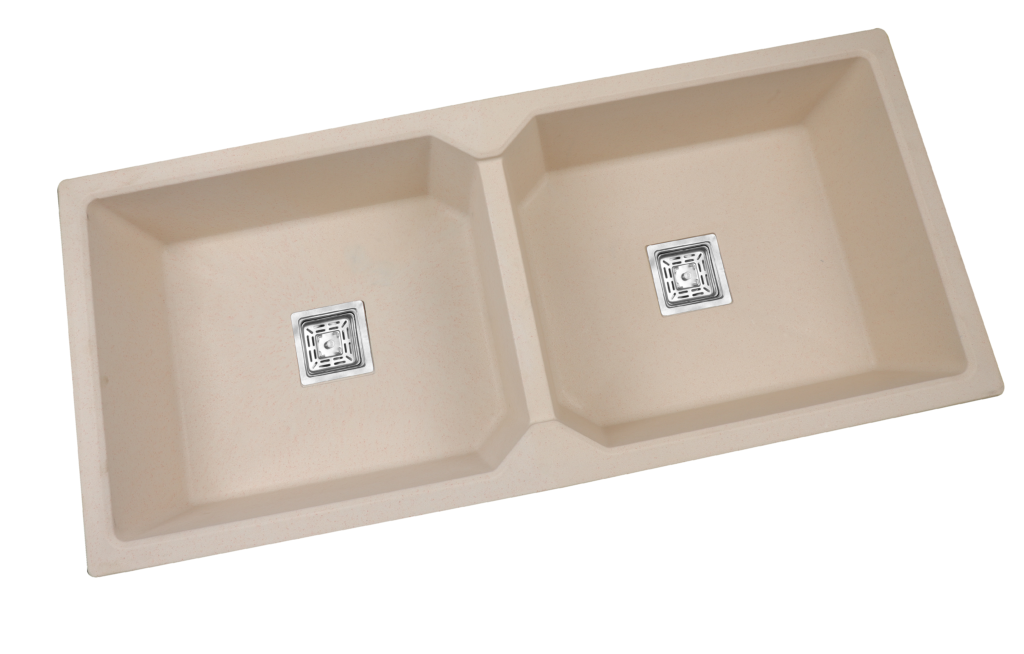
When it comes to choosing a kitchen sink for your travel trailer, there are a few things to consider: - Size and shape: Make sure to choose a sink that will fit comfortably in your travel trailer without taking up too much space. - Material: Stainless steel sinks are a popular choice for their durability and affordability, but there are also options like acrylic and composite sinks. - Number of basins: Consider if you prefer a single or double basin sink based on your needs and the space available. - Faucet compatibility: Make sure to choose a sink that is compatible with the faucet you have or plan to install.How to Choose the Right Kitchen Sink for Your Travel Trailer


How to Choose the Right Kitchen Sink for Your Travel Trailer


If you're on a tight budget, there are still options for installing a kitchen sink in your travel trailer without breaking the bank: - Choose a smaller sink: Smaller sinks are often more affordable and can fit comfortably in a travel trailer. - Consider a top-mount sink: As mentioned before, top-mount sinks are easier to install and tend to be more budget-friendly than undermount sinks. - Shop around: Look for deals and compare prices at different stores to find the best deal on a sink that fits your needs and budget.Budget-Friendly Options for Installing a Kitchen Sink in a Travel Trailer


Budget-Friendly Options for Installing a Kitchen Sink in a Travel Trailer


When it comes to installing a kitchen sink in a travel trailer, it's always best to consult with experts for advice and guidance. They can offer valuable tips and recommendations based on your specific trailer and needs. - Consult with a plumber: A plumber can provide guidance on the right type of sink and plumbing connections for your travel trailer. - Seek advice from experienced RV owners: If you know someone who has experience with RVs and travel trailers, they may have valuable insights on installing a kitchen sink in your specific trailer. Installing a kitchen sink in a travel trailer may seem like a daunting task, but with the right tools, materials, and knowledge, anyone can successfully complete this DIY project. Just be sure to take your time, plan ahead, and follow these tips and steps for a proper and hassle-free installation. Happy camping! Expert Advice on Installing a Kitchen Sink in a Travel Trailer


Expert Advice on Installing a Kitchen Sink in a Travel Trailer


Why Installing a Kitchen Sink in a Travel Trailer is Essential for House Design

Creating a Functional and Efficient Space
 When it comes to designing a travel trailer, every inch of space counts.
Installing a kitchen sink
in your travel trailer not only adds to the aesthetic appeal, but it also plays a crucial role in creating a functional and efficient space.
Kitchen sinks
are an essential element in any home, and the same applies to a travel trailer. They provide a convenient and accessible location for washing dishes, preparing food, and even cleaning up after a meal. With limited space in a travel trailer, having a dedicated sink area helps to keep the rest of the living space clutter-free and organized, making it a must-have for any house design.
When it comes to designing a travel trailer, every inch of space counts.
Installing a kitchen sink
in your travel trailer not only adds to the aesthetic appeal, but it also plays a crucial role in creating a functional and efficient space.
Kitchen sinks
are an essential element in any home, and the same applies to a travel trailer. They provide a convenient and accessible location for washing dishes, preparing food, and even cleaning up after a meal. With limited space in a travel trailer, having a dedicated sink area helps to keep the rest of the living space clutter-free and organized, making it a must-have for any house design.
Making Life on the Road Easier
 One of the main reasons people choose to live in a travel trailer is the freedom and flexibility it offers. With a
kitchen sink
in your travel trailer, life on the road becomes much more manageable. You no longer have to rely on public restrooms or outdoor water sources for basic needs. Whether you're camping in a remote location or traveling through cities, having a
kitchen sink
in your travel trailer allows you to maintain a level of comfort and convenience that is unmatched by any other living arrangement.
One of the main reasons people choose to live in a travel trailer is the freedom and flexibility it offers. With a
kitchen sink
in your travel trailer, life on the road becomes much more manageable. You no longer have to rely on public restrooms or outdoor water sources for basic needs. Whether you're camping in a remote location or traveling through cities, having a
kitchen sink
in your travel trailer allows you to maintain a level of comfort and convenience that is unmatched by any other living arrangement.
Adding Value to Your Travel Trailer
 In addition to the functional benefits,
installing a kitchen sink
in your travel trailer can also add value to your home on wheels. When it comes time to sell or upgrade your travel trailer, having a well-designed and fully functional kitchen can attract potential buyers and increase the value of your property. A
kitchen sink
is a feature that many buyers look for when purchasing a travel trailer, making it a worthwhile investment for any house design.
In addition to the functional benefits,
installing a kitchen sink
in your travel trailer can also add value to your home on wheels. When it comes time to sell or upgrade your travel trailer, having a well-designed and fully functional kitchen can attract potential buyers and increase the value of your property. A
kitchen sink
is a feature that many buyers look for when purchasing a travel trailer, making it a worthwhile investment for any house design.
Final Thoughts
 In conclusion,
installing a kitchen sink
in a travel trailer is an essential part of house design. It not only adds to the overall functionality and convenience of your living space but also adds value to your home. With the right design and placement, a
kitchen sink
can transform your travel trailer into a comfortable and efficient living space that meets all your needs while on the road. So if you're considering designing or renovating your travel trailer, be sure to include a
kitchen sink
in your plans.
In conclusion,
installing a kitchen sink
in a travel trailer is an essential part of house design. It not only adds to the overall functionality and convenience of your living space but also adds value to your home. With the right design and placement, a
kitchen sink
can transform your travel trailer into a comfortable and efficient living space that meets all your needs while on the road. So if you're considering designing or renovating your travel trailer, be sure to include a
kitchen sink
in your plans.