Are you looking to give your kitchen a fresh new look? Consider installing a glass tile backsplash. Not only does it add a touch of elegance and sophistication, but it also serves as a practical solution to protecting your walls from splashes and spills. In this article, we will guide you through the process of installing a glass tile backsplash in your kitchen, step by step. Let's get started!
How to Install a Glass Tile Backsplash in Your Kitchen

How to Install a Glass Tile Backsplash in Your Kitchen


Before you begin, make sure you have all the necessary tools and materials. This includes glass tiles, tile adhesive, grout, tile spacers, a trowel, a tile cutter, a level, and a damp cloth. You may also need a notched trowel and a grout float if you are using larger tiles. Make sure to choose high-quality materials for a long-lasting and durable backsplash.
1. Gather Your Materials


How to Install a Glass Tile Backsplash in Your Kitchen
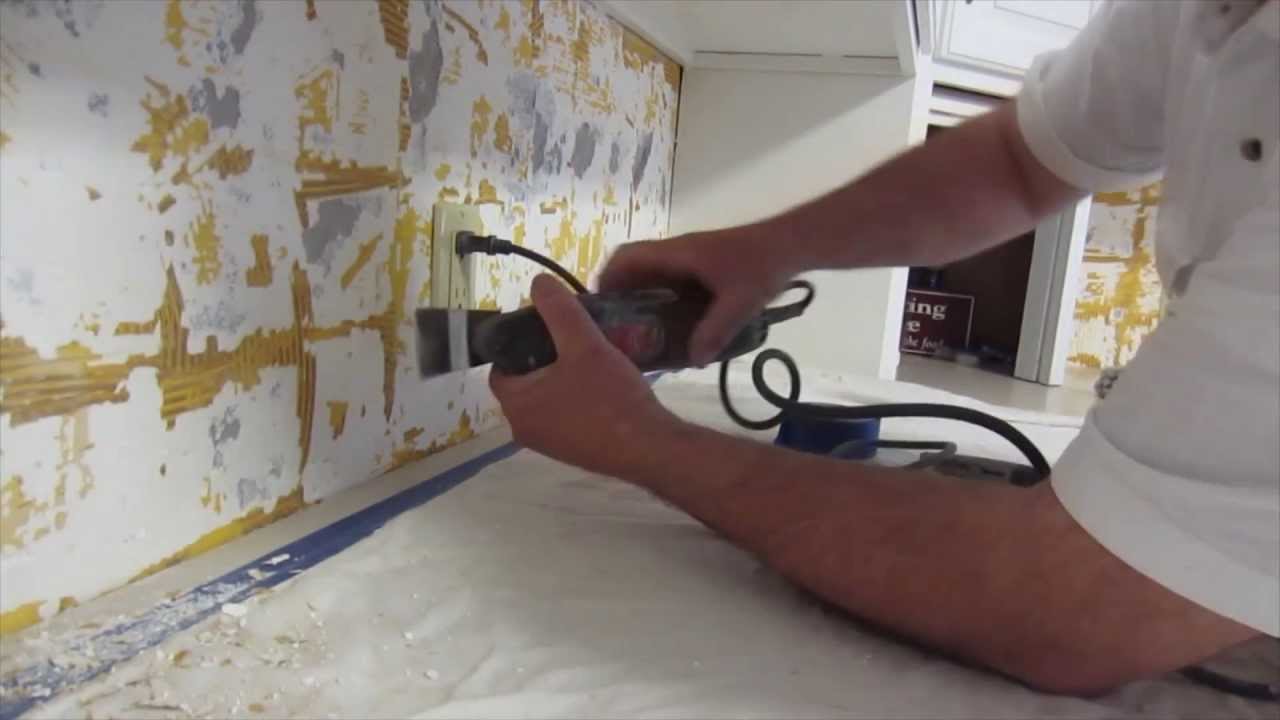
The first step is to prepare your walls for tiling. If you have existing tiles, make sure to remove them and clean the wall thoroughly. If you have a painted wall, sand it down to create a rough surface for better adhesion. Use a level to ensure that the wall is even and use filler to fill in any cracks or holes. Once the wall is clean and smooth, you are ready to begin tiling.
2. Prepare Your Walls
How to Install a Glass Tile Backsplash in Your Kitchen
Before you start tiling, it is essential to measure your kitchen walls and plan your tile layout. This will help you determine how many tiles you will need and where to start tiling. It is also essential to consider the size of your tiles, the spacing between them, and any features like outlets or switches that may require special cuts.
3. Measure and Plan Your Layout

How to Install a Glass Tile Backsplash in Your Kitchen
Using a trowel, spread the tile adhesive on the wall. Make sure to cover the entire area where you will be installing the glass tiles. Create a thin, even layer of adhesive to avoid any bumps or unevenness in your backsplash. You can use a notched trowel for larger tiles to create ridges that will help the tiles adhere better.
4. Apply the Adhesive

How to Install a Glass Tile Backsplash in Your Kitchen
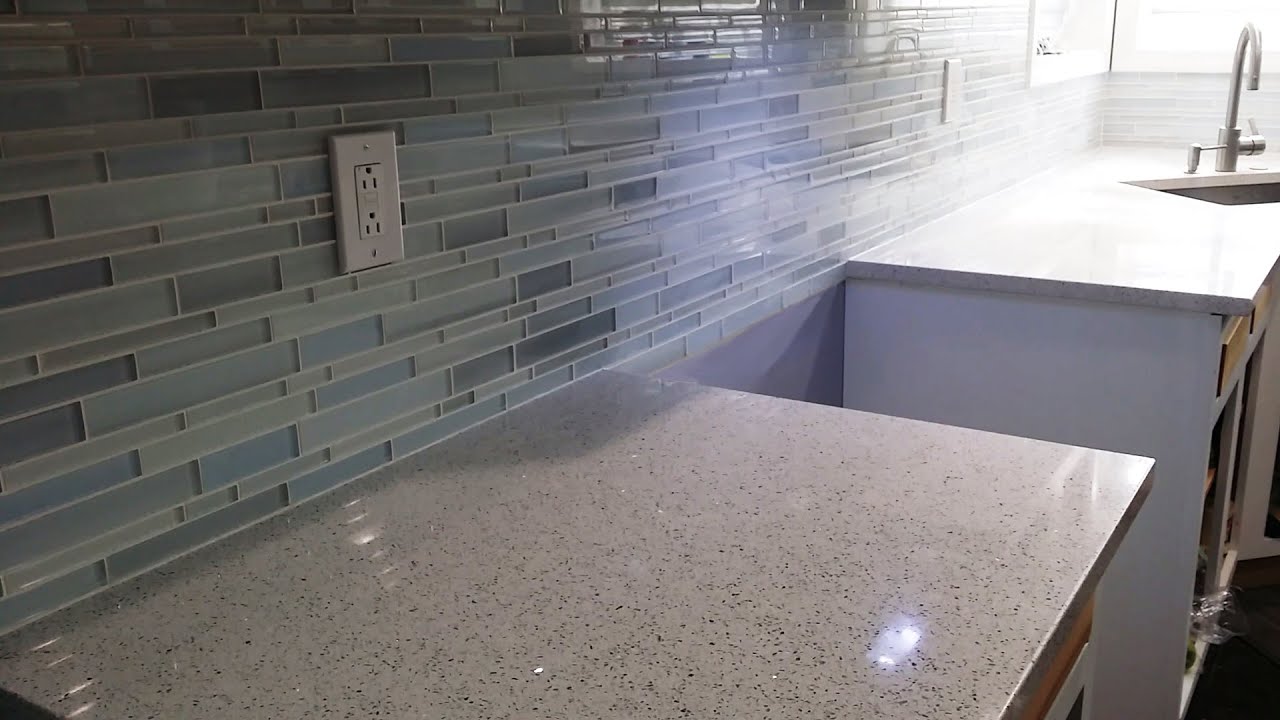
Carefully place the first tile on the wall, making sure to align it with your planned layout. Use tile spacers to ensure even spacing between tiles. Continue adding tiles, working your way up and across the wall. Use a level to make sure the tiles are straight and adjust as needed. If you need to cut any tiles, use a tile cutter to create precise cuts.
5. Install the Tiles
How to Install a Glass Tile Backsplash in Your Kitchen
Once all the tiles are installed, allow the adhesive to dry completely. This can take anywhere from 24 to 48 hours, depending on the type of adhesive you used. It is essential to follow the instructions on the adhesive packaging for the best results.
6. Let the Adhesive Dry
How to Install a Glass Tile Backsplash in Your Kitchen
After the adhesive has dried, it's time to apply the grout. Mix the grout according to the instructions on the packaging. Use a grout float to spread the grout over the tiles, making sure to fill in all the spaces between them. Wipe off any excess grout with a damp cloth, and continue until all the spaces are filled.
7. Apply the Grout
How to Install a Glass Tile Backsplash in Your Kitchen
Once the grout has dried, use a damp cloth to clean the tiles and remove any grout residue. Be careful not to disturb the grout lines, as they are still drying. You may need to go over the tiles a few times to ensure they are clean and free of grout haze.
8. Clean the Tiles
How to Install a Glass Tile Backsplash in Your Kitchen

To protect your grout and keep it looking new, it is essential to seal it. After the grout has cured for at least 48 hours, apply a grout sealer following the instructions on the packaging. This will prevent any stains or discoloration and ensure your backsplash looks beautiful for years to come.
9. Seal the Grout
How to Install a Glass Tile Backsplash in Your Kitchen
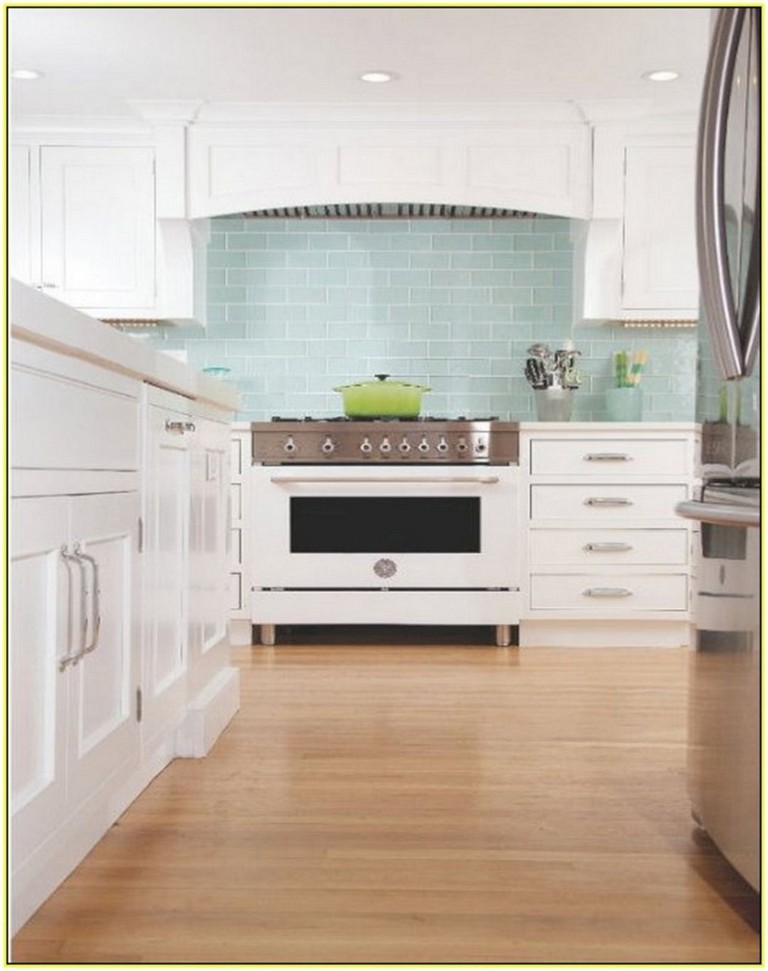
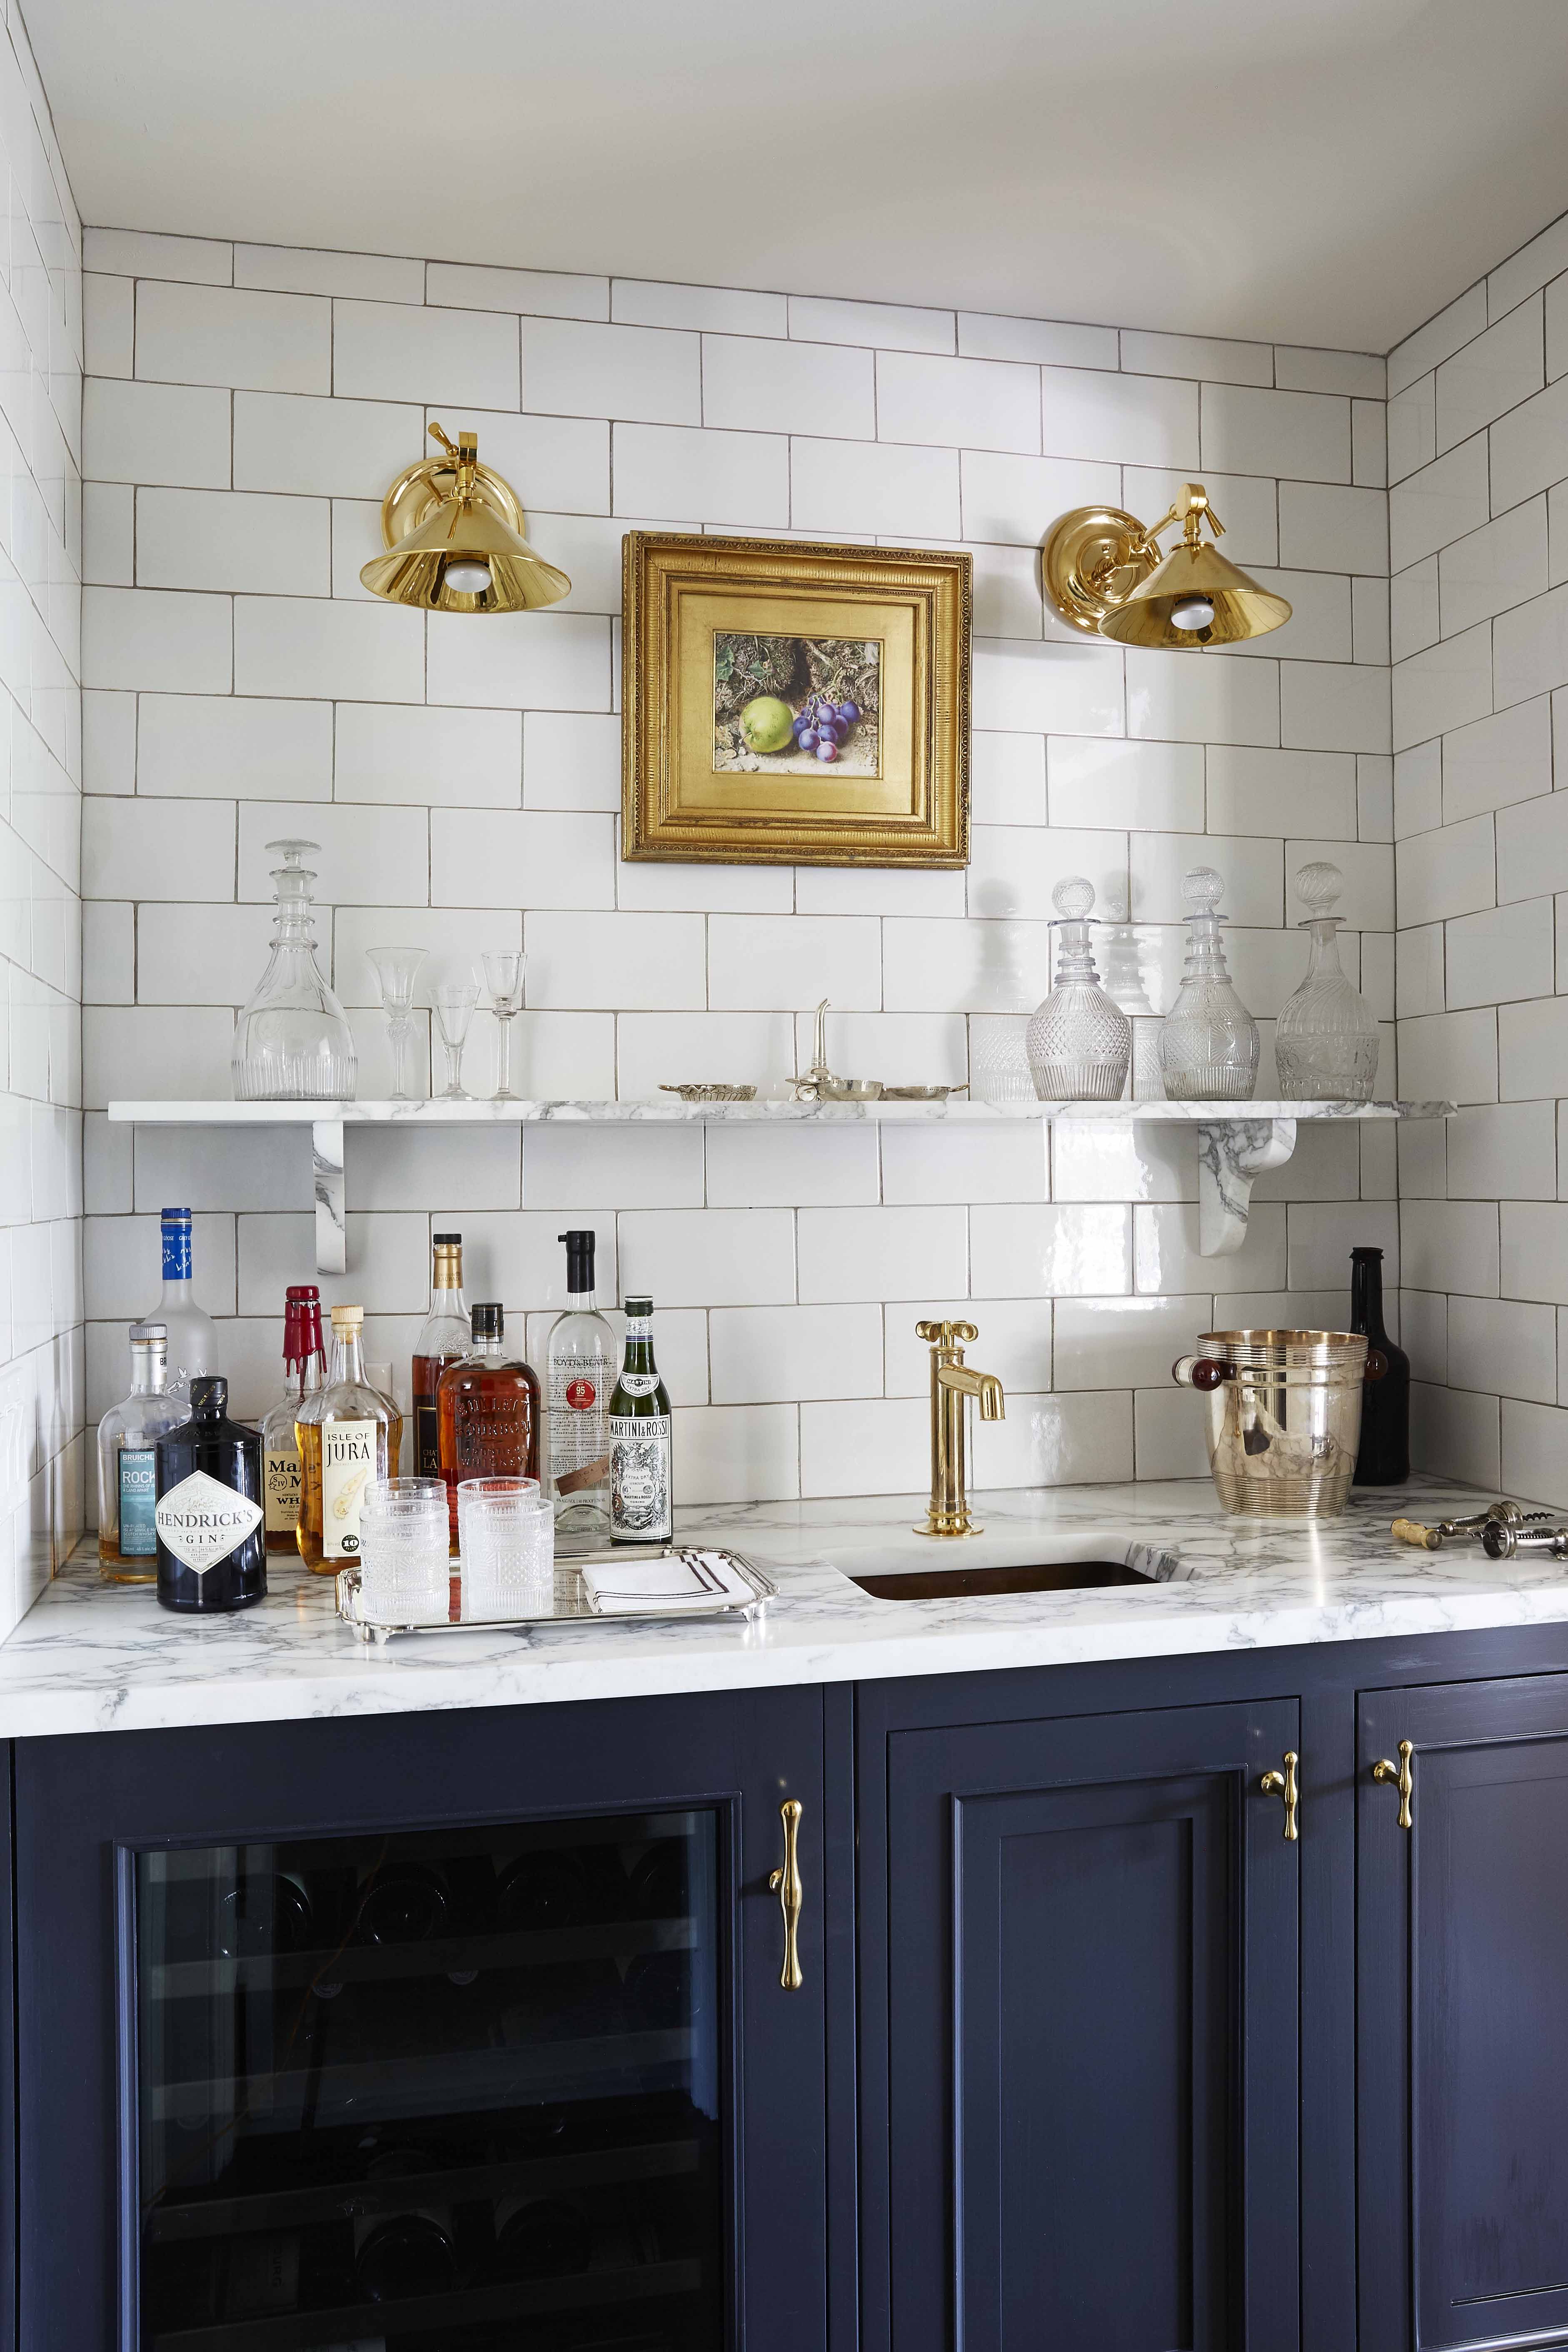
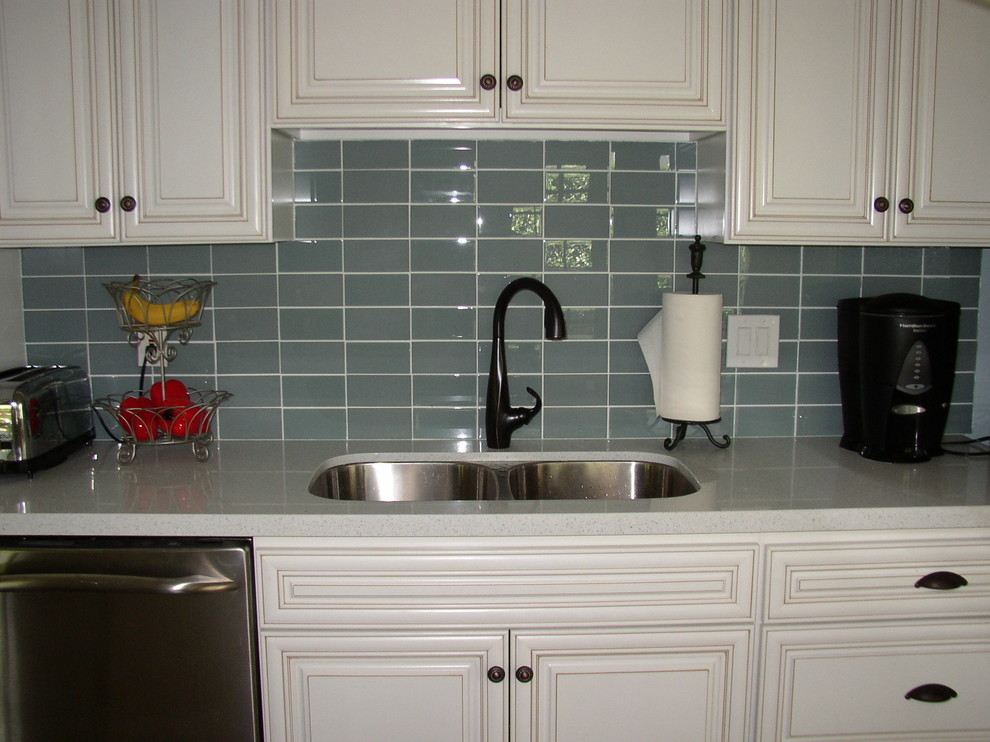
Benefits of Installing Glass Wall Tile Kitchen Backsplash
Enhances the Aesthetic Appeal of Your Kitchen
 One of the main reasons why homeowners choose to install glass wall tile kitchen backsplashes is because of the visual appeal it adds to their kitchen. Glass tiles come in a variety of colors, textures, and patterns, allowing you to choose one that complements your kitchen's overall design and style. The reflective surface of glass also adds a touch of elegance and sophistication to your kitchen, making it a focal point of the room.
Easy to Clean and Maintain
 The kitchen is one of the busiest areas in a home, and keeping it clean can be a challenging task. However, with a glass wall tile kitchen backsplash, cleaning becomes much easier. The non-porous surface of glass makes it resistant to stains, grease, and dirt, making it effortless to wipe clean with a damp cloth or mild cleaning solution. Plus, unlike other materials such as grout, glass tiles do not require sealing, saving you time and effort in maintenance.
Durability and Longevity
 Glass wall tiles are known for their durability and longevity, making them a practical choice for kitchen backsplashes. They are resistant to heat, moisture, and scratches, making them ideal for use in a kitchen. With proper installation and maintenance, glass wall tiles can last for many years, saving you the hassle and cost of frequent replacements.
Increases the Value of Your Home
 A beautiful and functional kitchen is a significant selling point for any home. By installing a glass wall tile kitchen backsplash, you not only enhance the look and feel of your kitchen, but you also increase the value of your home. Potential buyers will be drawn to the modern and stylish design of your kitchen, making it a desirable feature that can increase the overall value of your property.
Endless Design Possibilities
 With glass wall tiles, the design possibilities are endless. You can mix and match different colors, textures, and patterns to create a unique and personalized look for your kitchen. You can also play with different installation techniques such as herringbone or subway patterns to add more depth and dimension to your backsplash. The versatility of glass wall tiles allows you to let your creativity run wild and create a one-of-a-kind kitchen design.
In conclusion, installing a glass wall tile kitchen backsplash not only adds a touch of style and elegance to your kitchen but also offers practical benefits such as easy maintenance, durability, and increased home value. With its endless design possibilities, glass wall tiles are a popular choice for homeowners looking to upgrade their kitchen's look and feel. So, if you're considering a kitchen renovation, don't forget to include a glass wall tile backsplash for a stunning and functional addition to your home.
With glass wall tiles, the design possibilities are endless. You can mix and match different colors, textures, and patterns to create a unique and personalized look for your kitchen. You can also play with different installation techniques such as herringbone or subway patterns to add more depth and dimension to your backsplash. The versatility of glass wall tiles allows you to let your creativity run wild and create a one-of-a-kind kitchen design.
In conclusion, installing a glass wall tile kitchen backsplash not only adds a touch of style and elegance to your kitchen but also offers practical benefits such as easy maintenance, durability, and increased home value. With its endless design possibilities, glass wall tiles are a popular choice for homeowners looking to upgrade their kitchen's look and feel. So, if you're considering a kitchen renovation, don't forget to include a glass wall tile backsplash for a stunning and functional addition to your home.