Are you looking to update your bathroom with a new sink? Installing a drop-in bathroom sink is a great way to give your bathroom a fresh look without breaking the bank. This type of sink is also known as a self-rimming or top-mount sink, and it is one of the easiest types of sinks to install. With the right tools and a little bit of know-how, you can have a new drop-in sink installed in no time. Follow this step-by-step guide to learn how to install a drop-in bathroom sink.How to Install a Drop-In Bathroom Sink


How to Install a Drop-In Bathroom Sink

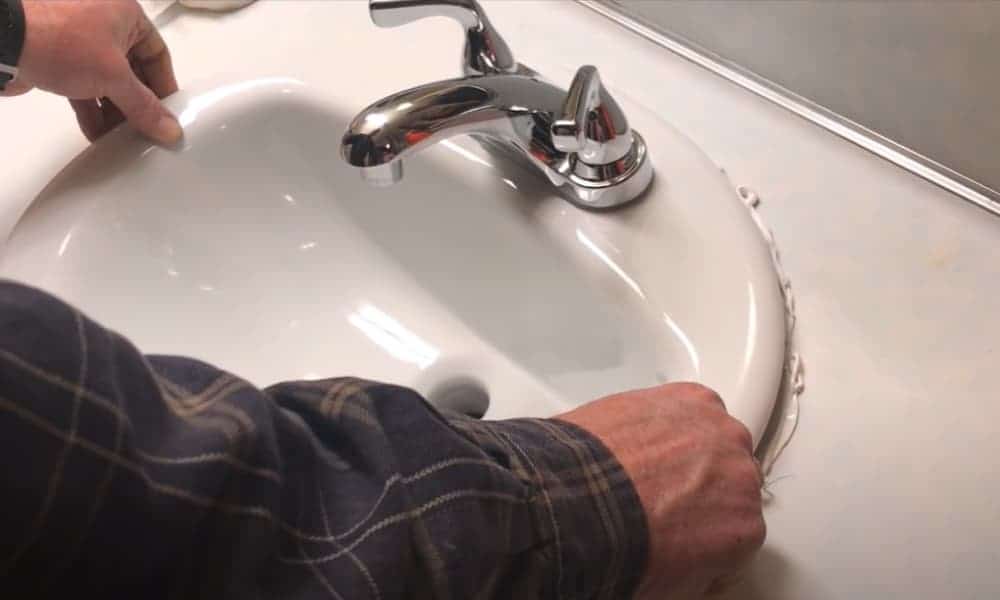


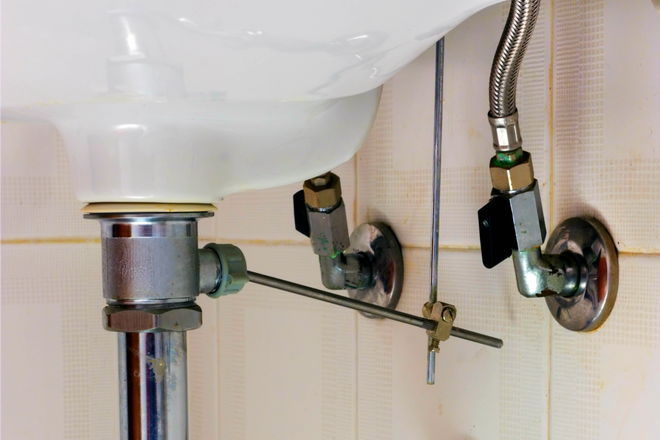
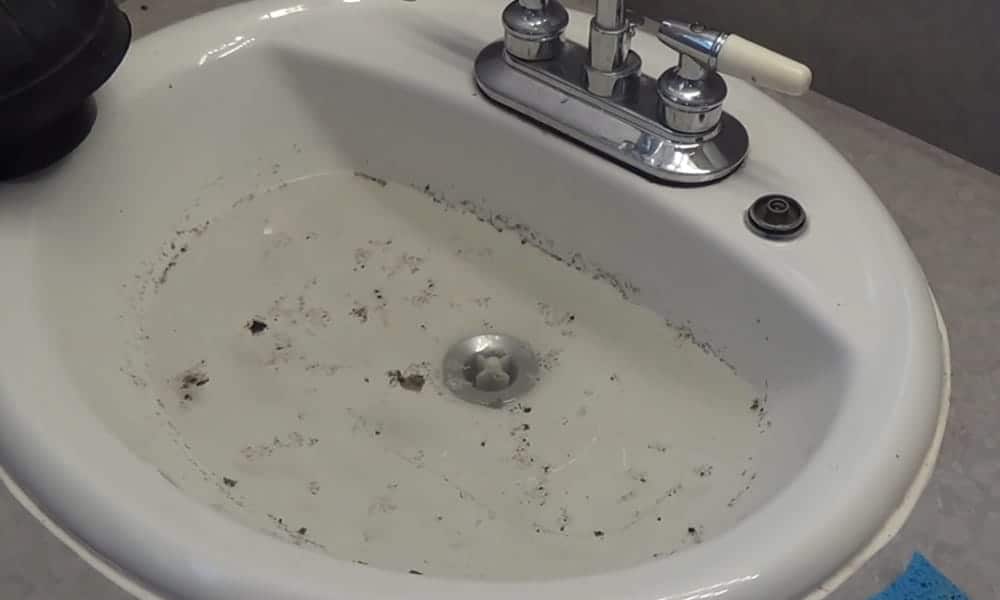
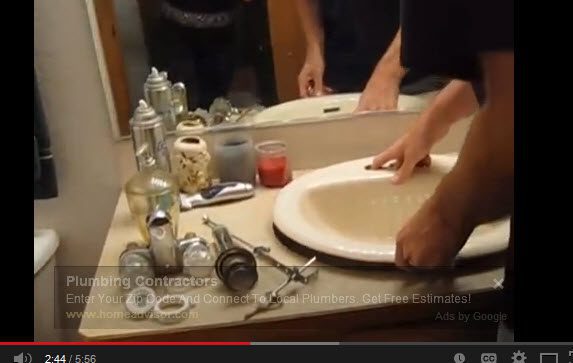
Gather Materials: Before you begin, make sure you have all the necessary tools and materials. This includes a drop-in bathroom sink, faucet, silicone caulk, plumber's putty, a wrench, screwdriver, and a hacksaw (if needed). It's always a good idea to double-check the sink's measurements to ensure it will fit properly in your vanity. Turn Off Water: Locate the shut-off valves for your water supply and turn them off. If you can't find the valves, you may need to turn off the main water supply to your home. Remove Old Sink: If you have an existing sink, you will need to remove it before installing the new one. First, disconnect the water supply lines and remove the old faucet. Then, use a utility knife to cut away any caulk or adhesive around the sink. Finally, use a wrench to loosen and remove the clips or brackets holding the sink in place. Prepare Vanity: Clean the vanity area where the new sink will be installed. Make sure the surface is level and free of any debris. If your new sink does not come with a template, you can create one by tracing the outline of the sink onto a piece of cardboard or paper. Install Faucet: Follow the manufacturer's instructions to install your faucet onto the sink. Make sure all the necessary parts are included and that you have the correct tools for the job. Apply Caulk: Apply a thin line of silicone caulk around the edge of the vanity where the sink will sit. This will create a seal to prevent water from leaking under the sink. Place Sink: Carefully lower the sink into place on top of the caulk. Make sure the sink is centered and aligned with the drain hole in the vanity. Secure Sink: Once the sink is in place, use the mounting clips or brackets provided to secure it to the vanity. If your sink does not come with these, you can purchase them at a hardware store. Connect Water Supply: Reconnect the water supply lines to the faucet and turn the water back on. Check for any leaks and tighten connections as needed. Apply Putty: Roll a small amount of plumber's putty into a rope and place it around the edge of the sink where it meets the vanity. This will create a watertight seal and prevent water from leaking under the sink. Finishing Touches: Use a damp cloth to clean up any excess putty or caulk around the sink. You can also use a caulk finishing tool to smooth out the caulk and create a clean edge.Step-by-Step Guide for Installing a Drop-In Bathroom Sink


Step-by-Step Guide for Installing a Drop-In Bathroom Sink


Installing a drop-in bathroom sink is a simple DIY project that can be completed in just a few hours. Not only is it a budget-friendly way to update your bathroom, but it also allows you to customize the look and style of your sink. Follow these expert tips for a successful DIY installation.DIY: Installing a Drop-In Bathroom Sink


DIY: Installing a Drop-In Bathroom Sink


If you're short on time and looking for a quick and easy way to install a drop-in bathroom sink, follow these steps for a hassle-free installation process. Choose the Right Sink: Make sure to choose a sink that fits your vanity and has the features you want, such as a faucet hole configuration that matches your faucet. Use a Template: If your sink did not come with a template, you can create one by tracing the outline of the sink onto a piece of cardboard or paper. This will ensure a perfect fit. Prep the Vanity: Before installing the sink, make sure the vanity surface is clean and level. This will ensure a stable and secure installation. Install Faucet First: It's easier to install the faucet onto the sink before placing it on the vanity. This will prevent any awkward maneuvering once the sink is in place. Seal with Caulk: Applying a thin line of silicone caulk around the edge of the sink before placing it on the vanity will create a watertight seal. Secure Sink: Use the mounting clips or brackets provided to secure the sink to the vanity. If your sink does not come with these, you can purchase them at a hardware store. Connect Water Supply: Reconnect the water supply lines to the faucet and turn the water back on. Check for any leaks and tighten connections as needed. Finish with Putty: Use plumber's putty to create a seal between the sink and vanity. This will prevent any water from leaking under the sink.Quick and Easy Guide to Installing a Drop-In Bathroom Sink


Quick and Easy Guide to Installing a Drop-In Bathroom Sink


While installing a drop-in bathroom sink is a relatively straightforward process, there are a few tips and tricks that can make the job even easier. Measure Twice: Before making any cuts or drilling any holes, make sure to double-check all measurements to ensure a perfect fit. Use a Wrench: A wrench will come in handy for tightening connections and securing the sink to the vanity. Don't Over-Tighten: When connecting water supply lines, be careful not to over-tighten as this can cause damage to the sink or plumbing. Clean as You Go: Keep a damp cloth nearby to clean up any excess caulk or putty as you work. This will prevent a messy cleanup once the installation is complete. Take Your Time: Rushing through the installation can lead to mistakes and potentially damage your sink or vanity. Take your time and follow the steps carefully for a successful installation.Installing a Drop-In Bathroom Sink: Tips and Tricks


Installing a Drop-In Bathroom Sink: Tips and Tricks

Now that you know the steps to installing a drop-in bathroom sink, you may be wondering what the best way to do it is. Here are some helpful tips for the best way to install a drop-in bathroom sink. Choose Quality Materials: Invest in a high-quality sink and faucet for a long-lasting and durable installation. Properly Seal: Make sure to use silicone caulk and plumber's putty to create a watertight seal and prevent any leaks. Level and Secure: It's important to have a level surface and secure installation to prevent any movement or damage to the sink and vanity. Follow Manufacturer's Instructions: Always follow the manufacturer's instructions for your specific sink and faucet to ensure proper installation. Take Your Time: As mentioned before, rushing through the installation can lead to mistakes. Take your time and follow the steps carefully for the best results.The Best Way to Install a Drop-In Bathroom Sink


The Best Way to Install a Drop-In Bathroom Sink
For those who may be new to DIY projects, installing a drop-in bathroom sink may seem intimidating. But with these expert tips, you'll be able to tackle this project like a pro. Do Your Research: Before starting the installation, read up on the process and watch video tutorials to familiarize yourself with the steps. Ask for Help: If you're unsure about any part of the installation, don't hesitate to ask a friend or family member for help. Be Patient: Installing a sink may seem like a simple task, but it takes patience and attention to detail to ensure a successful installation. Double-Check Connections: Before turning the water back on, double-check all connections to prevent any potential leaks. Enjoy Your New Sink: Once the installation is complete, take a step back and admire your new drop-in bathroom sink!Expert Tips for Installing a Drop-In Bathroom Sink


Expert Tips for Installing a Drop-In Bathroom Sink


Even the most experienced DIYers can make mistakes when installing a drop-in bathroom sink. Here are some common mistakes to avoid for a smooth and successful installation. Not Measuring Properly: Incorrect measurements can lead to a sink that doesn't fit or align properly with the vanity. Forgetting to Turn Off Water: This may seem obvious, but it's important to remember to turn off the water supply before beginning the installation. Ignoring Instructions: Always follow the manufacturer's instructions for your specific sink and faucet to ensure a proper installation. Skipping the Caulk: Applying a thin line of silicone caulk around the edge of the sink is crucial for preventing any water from leaking under the sink. Rushing Through the Installation: As mentioned before, rushing through the installation can lead to mistakes and potentially damage your sink or vanity.Common Mistakes to Avoid When Installing a Drop-In Bathroom Sink


Common Mistakes to Avoid When Installing a Drop-In Bathroom Sink


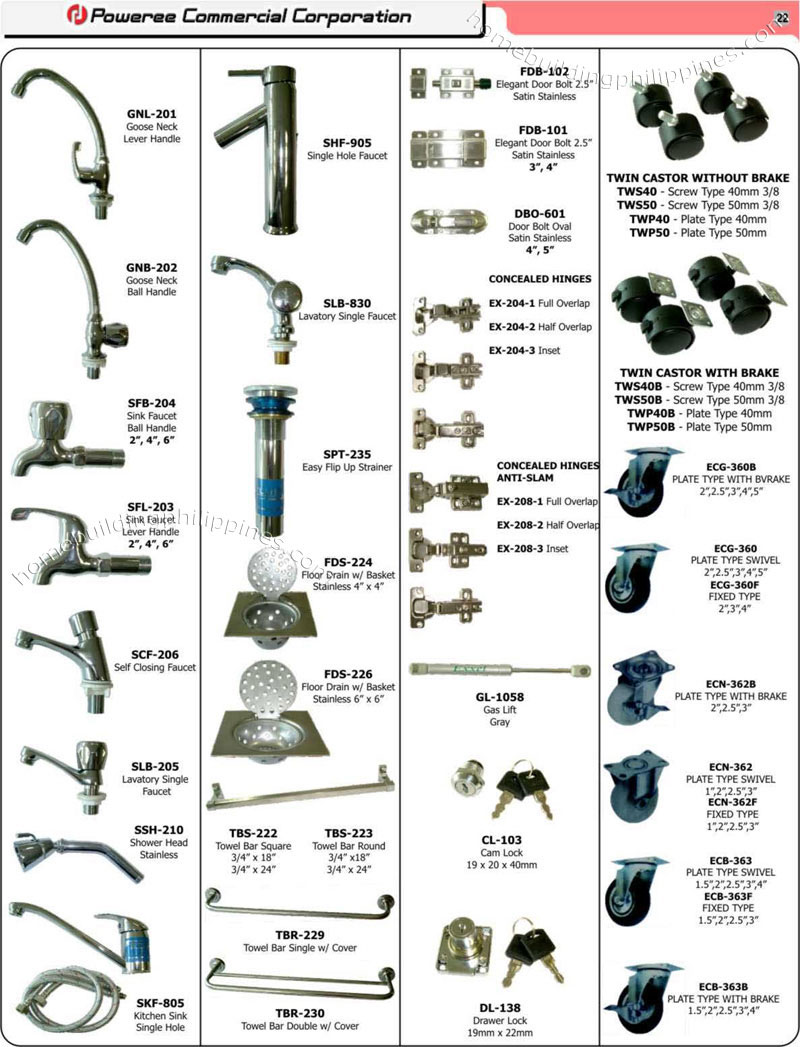
To successfully install a drop-in bathroom sink, you will need the following tools and materials: Drop-In Bathroom Sink Faucet Silicone Caulk Plumber's Putty Wrench Screwdriver Hacksaw (if needed) Mounting Clips or Brackets (if not included with sink) Utility Knife Caulk Finishing Tool (optional)Tools and Materials Needed for Installing a Drop-In Bathroom Sink

Tools and Materials Needed for Installing a Drop-In Bathroom Sink


If you prefer visual instructions, check out this step-by-step video tutorial for installing a drop-in bathroom sink: Insert link to video tutorial hereStep-by-Step Video Tutorial for Installing a Drop-In Bathroom Sink


Step-by-Step Video Tutorial for Installing a Drop-In Bathroom Sink


Choosing the Right Drop-in Bathroom Sink for Your House Design

Why a Drop-in Bathroom Sink?
:max_bytes(150000):strip_icc()/8_IMG_3767-56a4a2753df78cf772835b72.JPG) When it comes to designing your bathroom, the sink is often an overlooked feature. However, choosing the right sink can greatly impact the overall look and functionality of your bathroom. One option to consider is a
drop-in bathroom sink
. This type of sink is installed by placing it into a hole cut into the countertop, with its rim resting on top of the counter. This creates a polished and seamless look, making it a popular choice among homeowners.
When it comes to designing your bathroom, the sink is often an overlooked feature. However, choosing the right sink can greatly impact the overall look and functionality of your bathroom. One option to consider is a
drop-in bathroom sink
. This type of sink is installed by placing it into a hole cut into the countertop, with its rim resting on top of the counter. This creates a polished and seamless look, making it a popular choice among homeowners.
Materials and Styles
 Drop-in bathroom sinks
come in a variety of materials and styles, allowing you to choose one that best suits your house design. For a traditional look, you can opt for a porcelain or ceramic sink with a glossy finish. If you prefer a more modern and sleek design, a stainless steel or glass sink would be a great choice. You can also find drop-in sinks in unique materials like copper or stone, which can add a touch of elegance to your bathroom.
Drop-in bathroom sinks
come in a variety of materials and styles, allowing you to choose one that best suits your house design. For a traditional look, you can opt for a porcelain or ceramic sink with a glossy finish. If you prefer a more modern and sleek design, a stainless steel or glass sink would be a great choice. You can also find drop-in sinks in unique materials like copper or stone, which can add a touch of elegance to your bathroom.
Sink Size and Shape
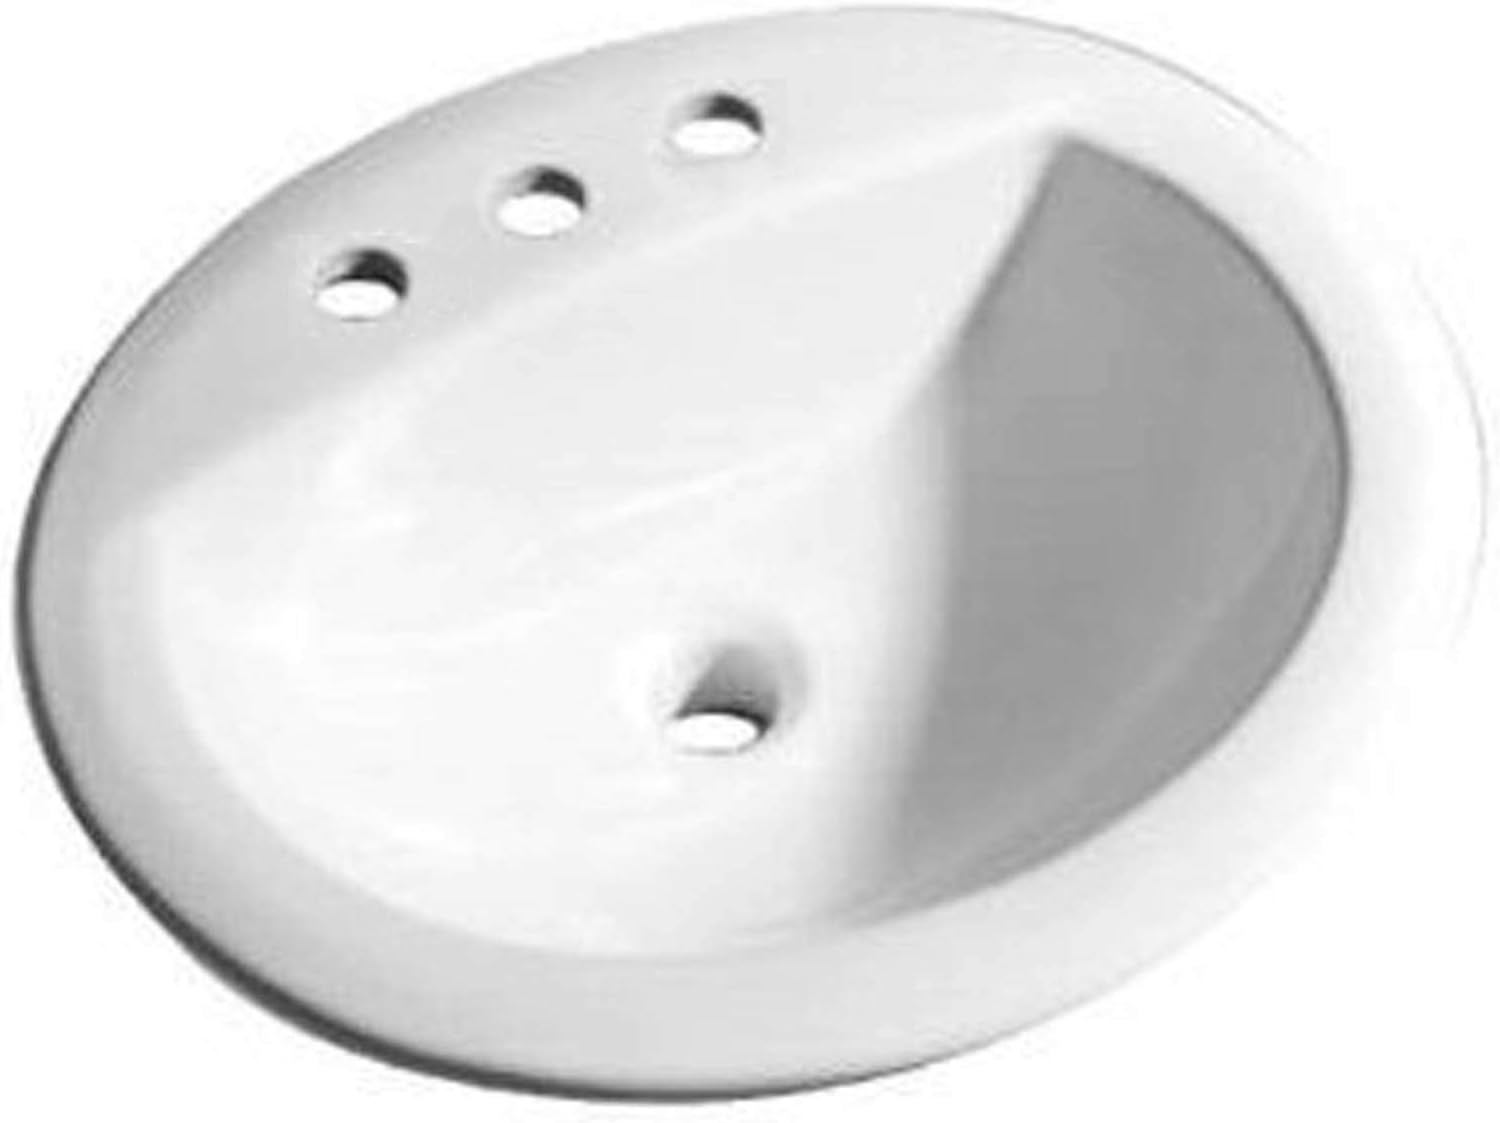
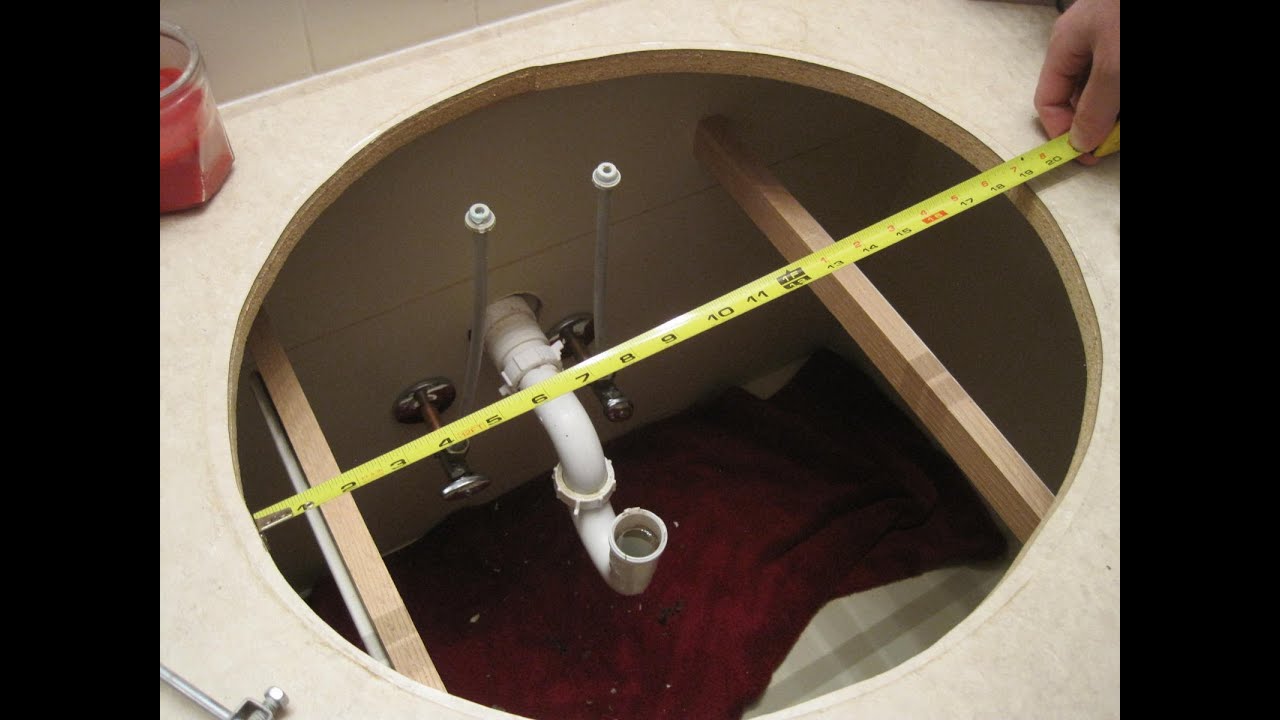 When selecting a drop-in sink, it's important to consider the size and shape of your bathroom space. Measure the countertop and the cabinet below to ensure that the sink will fit properly. You also want to make sure that the sink won't be too large or too small for your bathroom, as this can affect the overall aesthetic. Additionally, consider the shape of the sink. Round or oval sinks can add a softer touch to your bathroom, while square or rectangular sinks can create a more modern and geometric look.
Installation Process
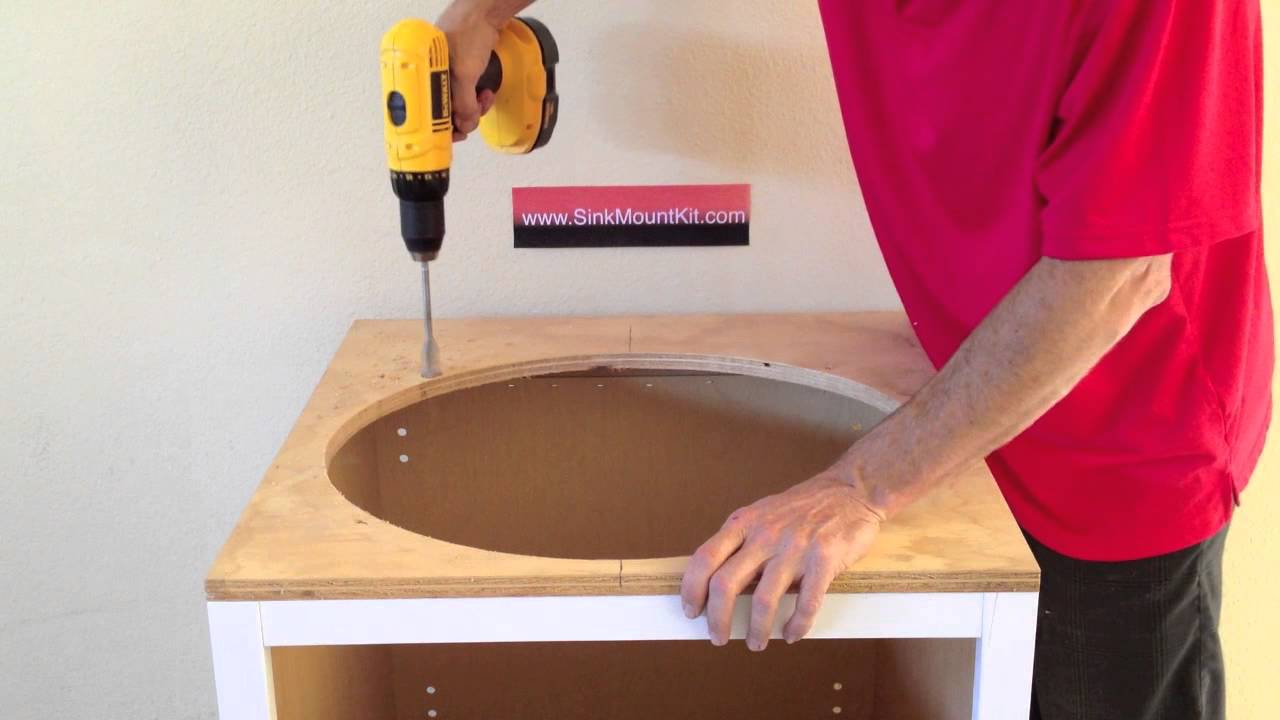
 Installing a drop-in bathroom sink is a relatively simple process. However, it's important to follow the manufacturer's instructions to ensure a proper and secure installation. Start by cutting a hole in the countertop according to the sink's dimensions. Then, place the sink into the hole and secure it with clips provided by the manufacturer. Finally, attach the faucet and drain to complete the installation.
Final Thoughts
 A drop-in bathroom sink can be a beautiful and functional addition to your house design. With a variety of materials, styles, and sizes to choose from, you can easily find one that complements your bathroom and suits your personal taste. Remember to properly measure and follow the installation instructions for a seamless and professional-looking result.