How to Install a Kitchen Island Sink
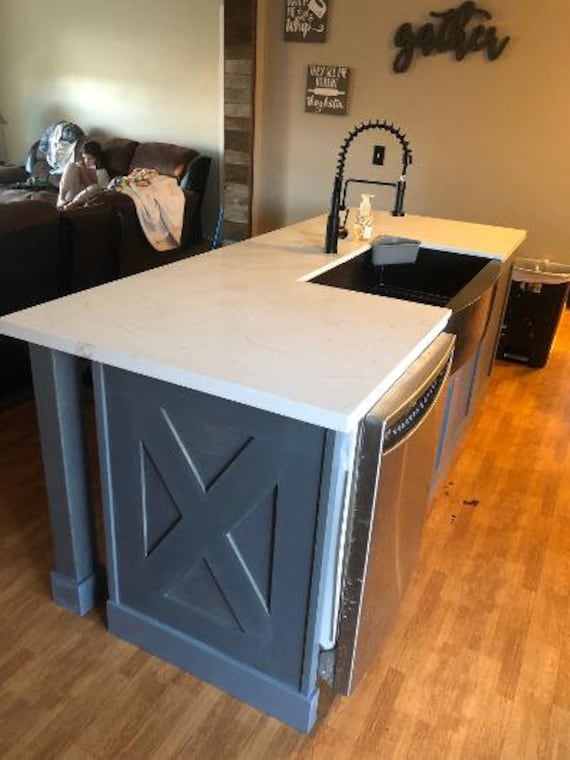
Adding a sink to your kitchen island is a great way to increase functionality and convenience in your kitchen. It allows for a separate work area and can also act as a breakfast bar or serving space. But how do you go about installing a kitchen island sink? Here are the steps you need to follow to get the job done.


How to Install a Kitchen Island Sink


:max_bytes(150000):strip_icc()/incredible-kitchen-islands-with-seating-1822164-hero-ab8cf0c1c21f4c1ca658145cb6b52338.jpg)
/kitchen-island-with-sink-ideas-6-naked-kitchens-heathwood-5857587bd7714e24a0f831ebd373918c.jpeg)


Installing a Kitchen Island Sink: A Step-by-Step Guide
Before you begin the installation process, it's important to have a plan in place. Measure the space where you want to install the sink and make sure it will fit comfortably. Also, consider the plumbing and electrical requirements and make sure they are easily accessible.
Step 1: Choose the Right Sink
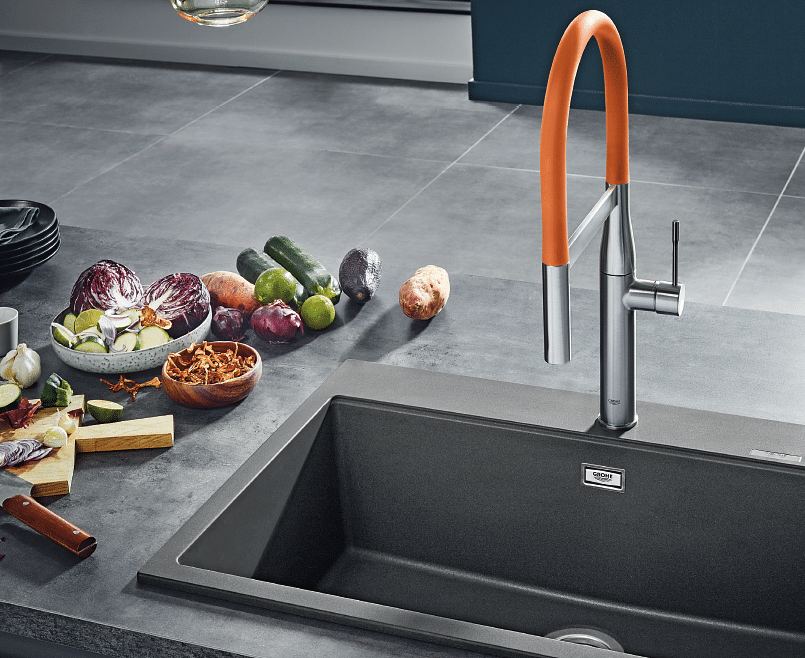
The first step in installing a kitchen island sink is choosing the right sink for your space. Consider the size, shape, and material of the sink, as well as any additional features like a garbage disposal or sprayer. Make sure the sink you choose fits the style and needs of your kitchen.
Step 2: Gather Your Tools and Materials
To install a kitchen island sink, you will need a variety of tools and materials, such as a drill, jigsaw, wrench, and plumber's putty. Make sure you have everything you need on hand before you begin the installation process.
Step 3: Prepare the Island
If your kitchen island does not already have a hole for a sink, you will need to cut one out. Using a jigsaw, carefully cut out a hole for the sink, making sure to follow the manufacturer's instructions for size and placement.
Step 4: Install the Faucet
Next, install the faucet onto the sink according to the manufacturer's instructions. This may involve attaching mounting hardware and sealing the faucet with plumber's putty. Once the faucet is securely in place, you can move on to the next step.
Step 5: Connect the Plumbing
Now it's time to connect the plumbing for your sink. This may involve connecting the drain and water supply lines, as well as installing a garbage disposal if you have one. Make sure to follow the manufacturer's instructions and use plumber's tape to ensure a tight seal.
Step 6: Secure the Sink
With the plumbing connected, it's time to secure the sink in place. Apply a bead of silicone caulk around the edge of the sink and carefully lower it into place. Use clamps to hold the sink in place while the caulk dries, following the manufacturer's instructions for drying time.
Step 7: Test the Sink
Before you call it a day, it's important to test the sink to make sure everything is functioning properly. Turn on the water and check for any leaks. If everything looks good, you're ready to start using your new kitchen island sink!


Installing a Kitchen Island Sink: A Step-by-Step Guide


DIY Kitchen Island Sink Installation
If you're feeling handy, you may want to try installing your kitchen island sink yourself. While it can be a challenging task, it can also be a rewarding one. Just make sure to carefully follow the steps outlined above and take your time to ensure everything is done correctly.

DIY Kitchen Island Sink Installation


Installing a Sink in Your Kitchen Island: Tips and Tricks
Here are a few tips and tricks to keep in mind when installing a sink in your kitchen island:


Installing a Sink in Your Kitchen Island: Tips and Tricks


The Benefits of Installing a Kitchen Island Sink
There are many benefits to adding a sink to your kitchen island. Here are just a few:


The Benefits of Installing a Kitchen Island Sink
:max_bytes(150000):strip_icc()/KitchenIslandwithSeating-494358561-59a3b217af5d3a001125057e.jpg)

What You Need to Know Before Installing a Kitchen Island Sink
Before you begin the installation process, here are a few things you need to know:


What You Need to Know Before Installing a Kitchen Island Sink


Installing a Kitchen Island Sink: Common Mistakes to Avoid
Here are a few common mistakes to avoid when installing a kitchen island sink:
Installing a Kitchen Island Sink: Common Mistakes to Avoid

How to Choose the Right Sink for Your Kitchen Island
When it comes to choosing the right sink for your kitchen island, here are a few things to keep in mind:


How to Choose the Right Sink for Your Kitchen Island


Installing a Kitchen Island Sink: Tools and Materials You'll Need
To install a kitchen island sink, you will need the following tools and materials:


Installing a Kitchen Island Sink: Tools and Materials You'll Need
Step-by-Step Guide to Installing a Kitchen Island Sink with Plumbing
Here is a step-by-step guide to installing a kitchen island sink with plumbing:
Step-by-Step Guide to Installing a Kitchen Island Sink with Plumbing


Why You Should Consider Installing a Kitchen Island Sink in Your Home

Add Functionality and Convenience to Your Kitchen
 Adding a kitchen island sink to your home can greatly enhance the functionality and convenience of your kitchen. With a sink right in the middle of your kitchen, you can easily prep meals and wash dishes without having to constantly move back and forth between the sink and stove. This can save you time and energy, making cooking and cleaning a more efficient process.
Keyword:
kitchen island sink
Adding a kitchen island sink to your home can greatly enhance the functionality and convenience of your kitchen. With a sink right in the middle of your kitchen, you can easily prep meals and wash dishes without having to constantly move back and forth between the sink and stove. This can save you time and energy, making cooking and cleaning a more efficient process.
Keyword:
kitchen island sink
Create More Counter Space
 One of the main benefits of a kitchen island sink is the additional counter space it provides. In smaller kitchens, counter space can be limited, making it difficult to spread out and work comfortably. By adding a sink to your kitchen island, you not only have a designated area for washing and prepping, but you also gain more counter space for cooking and other tasks.
Keyword:
counter space
One of the main benefits of a kitchen island sink is the additional counter space it provides. In smaller kitchens, counter space can be limited, making it difficult to spread out and work comfortably. By adding a sink to your kitchen island, you not only have a designated area for washing and prepping, but you also gain more counter space for cooking and other tasks.
Keyword:
counter space
Increase the Value of Your Home
 Installing a kitchen island sink can also add value to your home. In today's real estate market, buyers are often looking for homes with modern and functional kitchens. By including a kitchen island sink, you can make your home stand out and potentially increase its resale value. Plus, it can be a great selling point for potential buyers who love to cook and entertain.
Keyword:
increase the value
Installing a kitchen island sink can also add value to your home. In today's real estate market, buyers are often looking for homes with modern and functional kitchens. By including a kitchen island sink, you can make your home stand out and potentially increase its resale value. Plus, it can be a great selling point for potential buyers who love to cook and entertain.
Keyword:
increase the value
Customize Your Design and Style
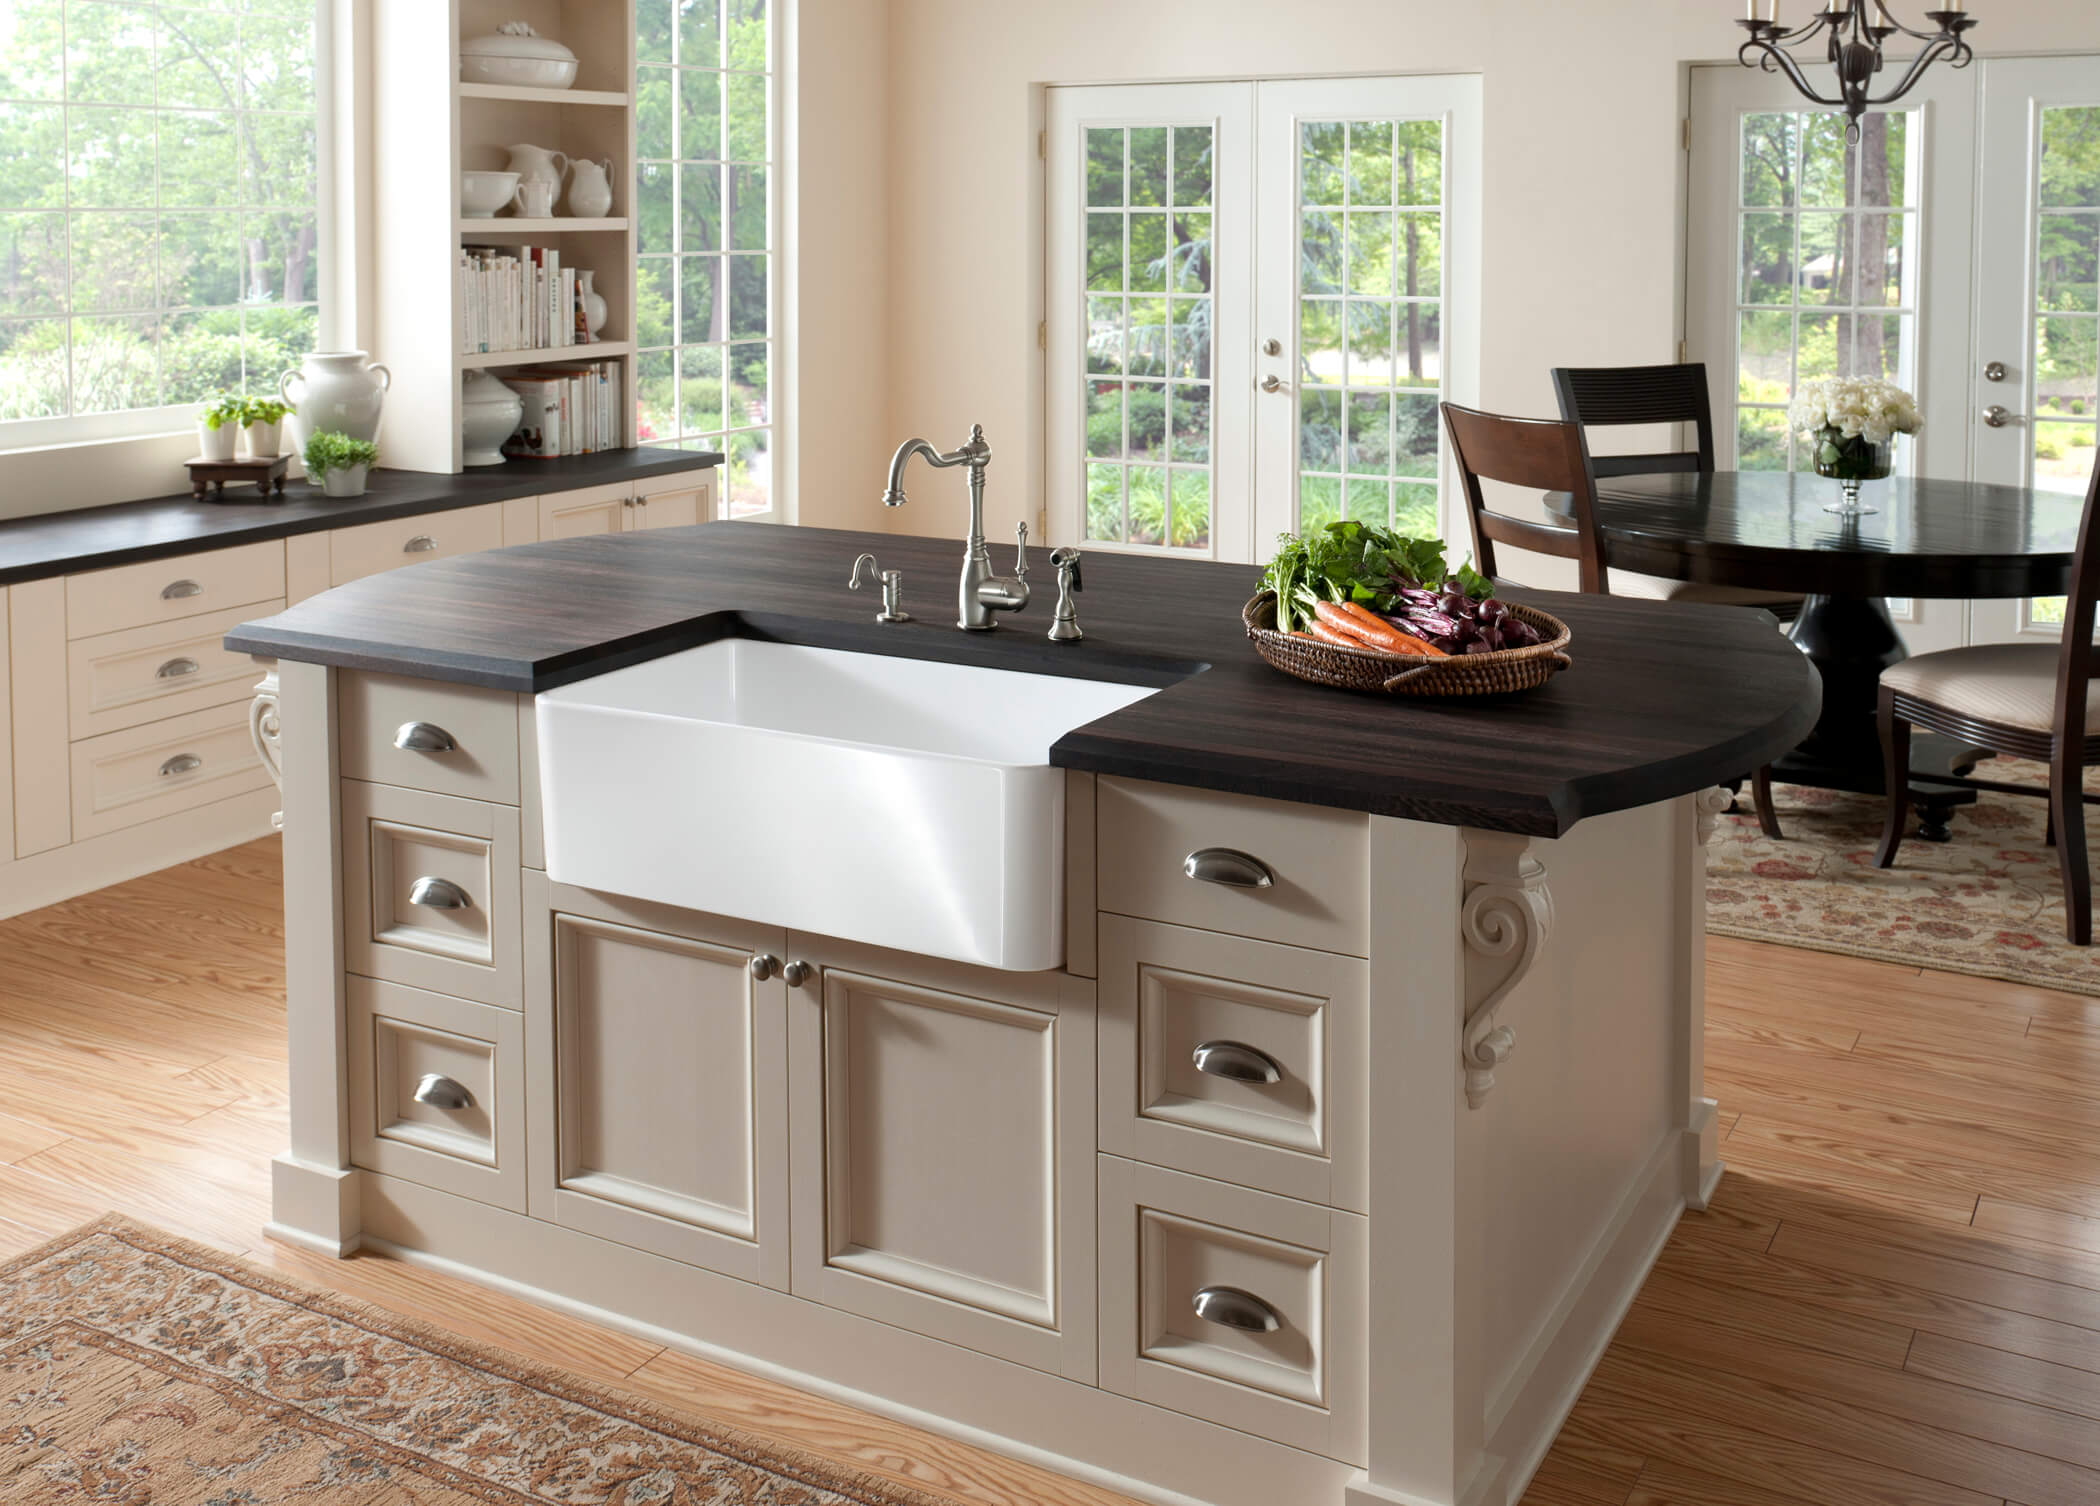
 A kitchen island sink can also be a great way to add your own personal style to your kitchen. With a variety of sink designs and materials to choose from, you can customize your kitchen island to match your unique taste and the overall design of your home. From farmhouse to modern, there are endless options to make your kitchen island sink a focal point in your kitchen.
Keyword:
design and style
A kitchen island sink can also be a great way to add your own personal style to your kitchen. With a variety of sink designs and materials to choose from, you can customize your kitchen island to match your unique taste and the overall design of your home. From farmhouse to modern, there are endless options to make your kitchen island sink a focal point in your kitchen.
Keyword:
design and style
Final Thoughts
 In conclusion, adding a kitchen island sink to your home can bring numerous benefits, including increased functionality, more counter space, added value, and a personalized design. Whether you're renovating your kitchen or building a new home, consider incorporating a kitchen island sink for a stylish and practical addition to your space.
Main keyword:
installing a kitchen island sink
In conclusion, adding a kitchen island sink to your home can bring numerous benefits, including increased functionality, more counter space, added value, and a personalized design. Whether you're renovating your kitchen or building a new home, consider incorporating a kitchen island sink for a stylish and practical addition to your space.
Main keyword:
installing a kitchen island sink


