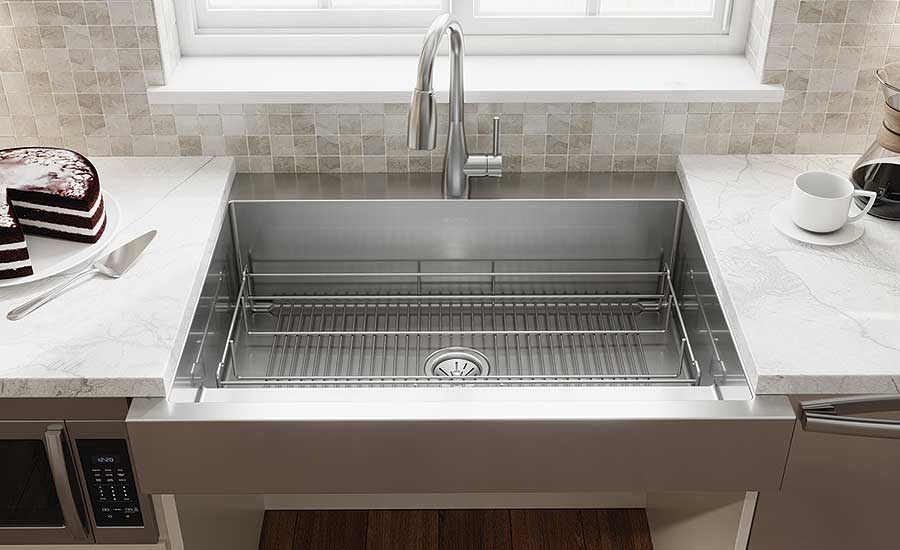
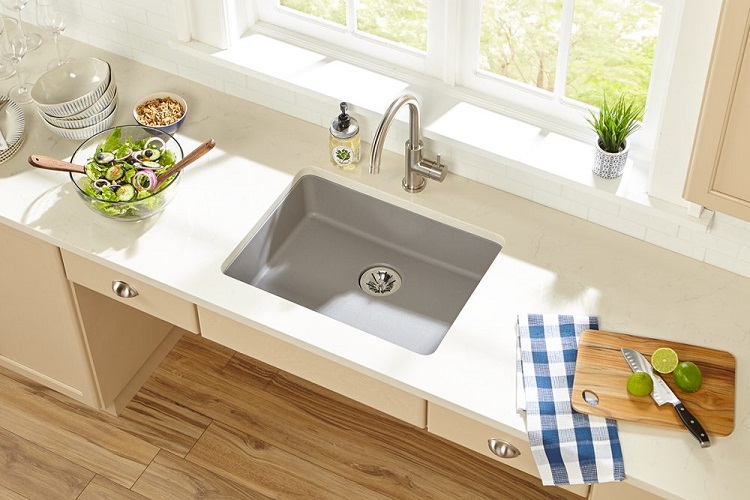
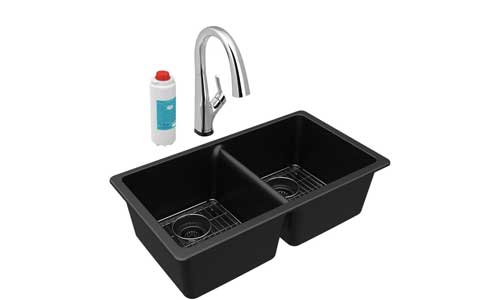
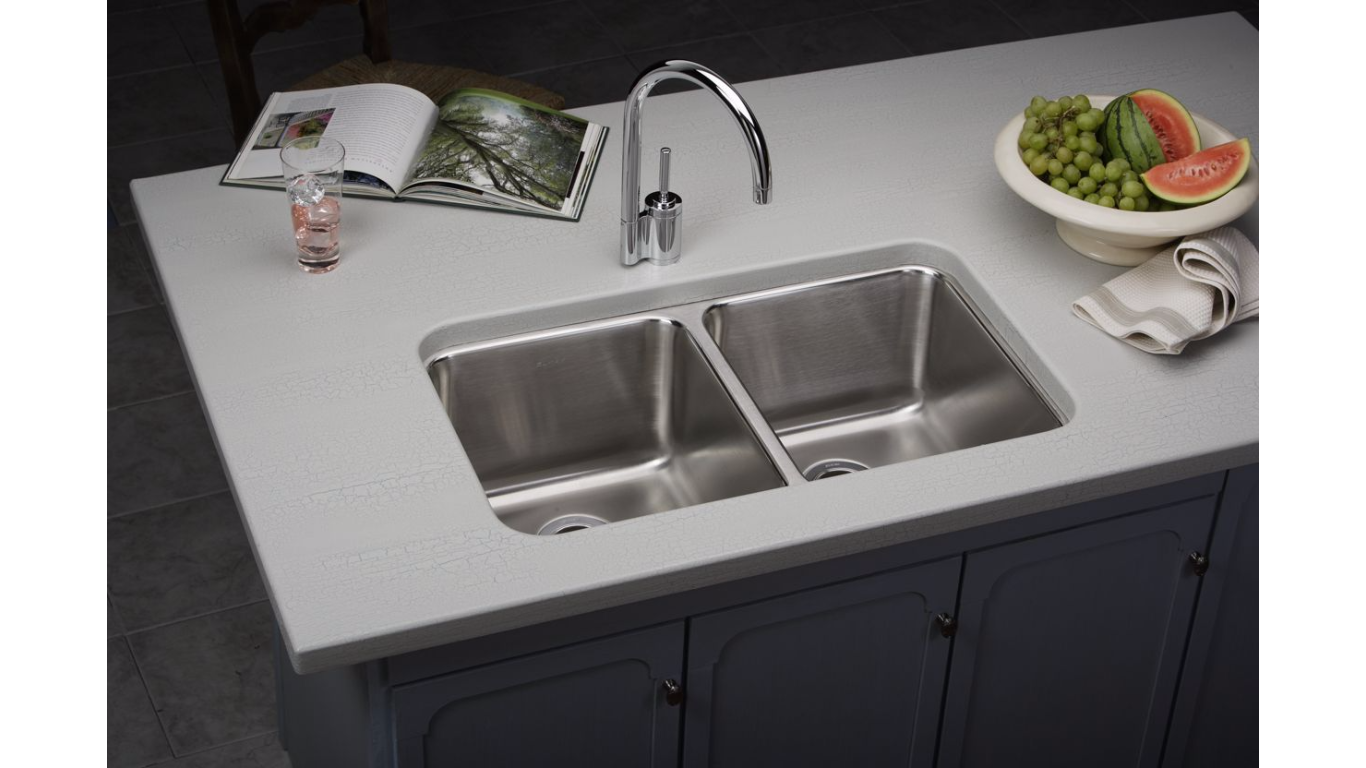
How to Install an Elkay Kitchen Sink
Are you looking to upgrade your kitchen with a new sink? Installing an Elkay kitchen sink can add both style and functionality to your space. While it may seem like a daunting task, with the right tools and knowledge, you can easily install an Elkay sink on your own. In this guide, we will walk you through the steps of installing an Elkay kitchen sink and provide you with some expert tips to ensure a successful installation. Let's get started!
Installing an Elkay Kitchen Sink: A Step-by-Step Guide
Before you begin the installation process, make sure you have all the necessary tools on hand. You will need a screwdriver, adjustable wrench, silicone sealant, and plumber's putty. It is also helpful to have a friend or family member assist you with the installation.
Step 1: Start by turning off the water supply to your kitchen sink. This can usually be done by turning off the valves located under the sink.
Step 2: Remove the old sink and disconnect the plumbing. If your new Elkay sink is a different size than your old one, you may need to make adjustments to the countertop or cabinet to ensure a proper fit.
Step 3: Place the Elkay sink into the countertop opening and make sure it is level. If needed, use shims to adjust the sink's position.
Step 4: Secure the sink in place by tightening the mounting clips provided by Elkay. These clips should be placed around the perimeter of the sink and tightened with a screwdriver.
Step 5: Install the drain assembly by attaching the strainer to the bottom of the sink and securing it with plumber's putty. Then, attach the tailpiece and drain trap to the strainer and tighten with an adjustable wrench.
Step 6: Next, connect the water supply lines to the faucet and turn on the water supply. Check for any leaks and make adjustments as needed.
Step 7: Apply a thin bead of silicone sealant around the edge of the sink and smooth it out with your finger or a putty knife. This will create a watertight seal between the sink and the countertop.
Step 8: Lastly, clean up any excess sealant and install any additional accessories, such as a soap dispenser or garbage disposal, if desired.
DIY: Installing an Elkay Kitchen Sink
Installing an Elkay kitchen sink can be a great DIY project for those with some basic plumbing skills. Not only will it save you money on installation costs, but it can also give you a sense of accomplishment. However, if you are unsure or uncomfortable with any step of the installation process, it is best to seek professional help.
Elkay Kitchen Sink Installation Made Easy
With its simple and straightforward installation process, installing an Elkay kitchen sink can be done in just a few hours. The company also provides easy-to-follow instructions and helpful videos on their website, making the installation process even easier.
Installing an Elkay Kitchen Sink: Tips and Tricks
Here are a few expert tips to keep in mind when installing an Elkay kitchen sink:
Step-by-Step Guide to Installing an Elkay Kitchen Sink
To summarize, here is a step-by-step guide to installing an Elkay kitchen sink:
Elkay Kitchen Sink Installation: What You Need to Know
It is important to note that improper installation can lead to leaks, damage to your sink or countertop, and even mold growth. If you are unsure about any step of the installation process, it is best to seek professional help to ensure a successful and safe installation.
How to Properly Install an Elkay Kitchen Sink
To properly install an Elkay kitchen sink, make sure to carefully follow the instructions provided by the company. Take your time and double-check your measurements to ensure a proper fit. Remember to also use the right tools and materials for the job.
Elkay Kitchen Sink Installation: Common Mistakes to Avoid
Here are some common mistakes to avoid when installing an Elkay kitchen sink:
Expert Tips for Installing an Elkay Kitchen Sink
Here are some additional tips from experts to help you successfully install your Elkay kitchen sink:
Choosing the Right Kitchen Sink for Your House Design

Factors to Consider
 When it comes to kitchen design, the
kitchen sink
may not be the first thing that comes to mind. However, it is an essential element that can greatly impact the overall look and functionality of your kitchen. With so many options available in the market, choosing the right
elkay kitchen sink
can be overwhelming. Here are some factors to consider before making your purchase.
Size and Configuration
 Size
is a crucial factor when it comes to choosing the right
kitchen sink
. Consider the size of your kitchen and the available space for the sink. You don't want to end up with a sink that is too small or too large for your countertop. Additionally, think about the
configuration
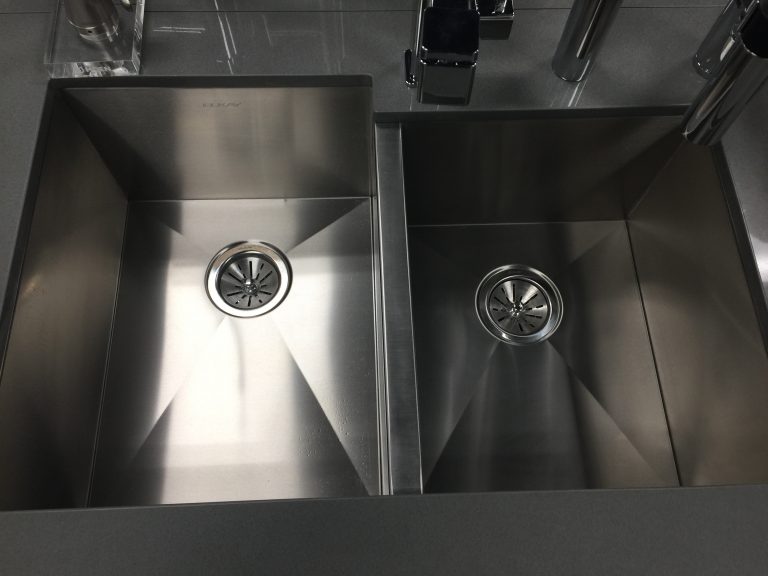
of your sink. Do you want a single or double bowl sink? Do you need a sink with a built-in draining board? These decisions will depend on your personal preferences and the functionality you need in your kitchen.
Material and Style
 The
material
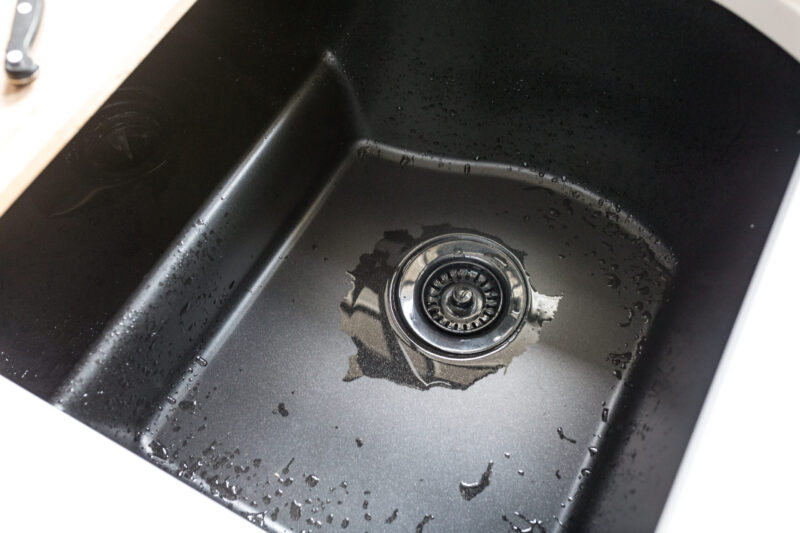
of your kitchen sink not only affects its durability but also its appearance. Stainless steel is a popular choice for its durability and affordability. Granite and composite sinks offer a more modern and sleek look, but they may be more expensive. You should also consider the
style
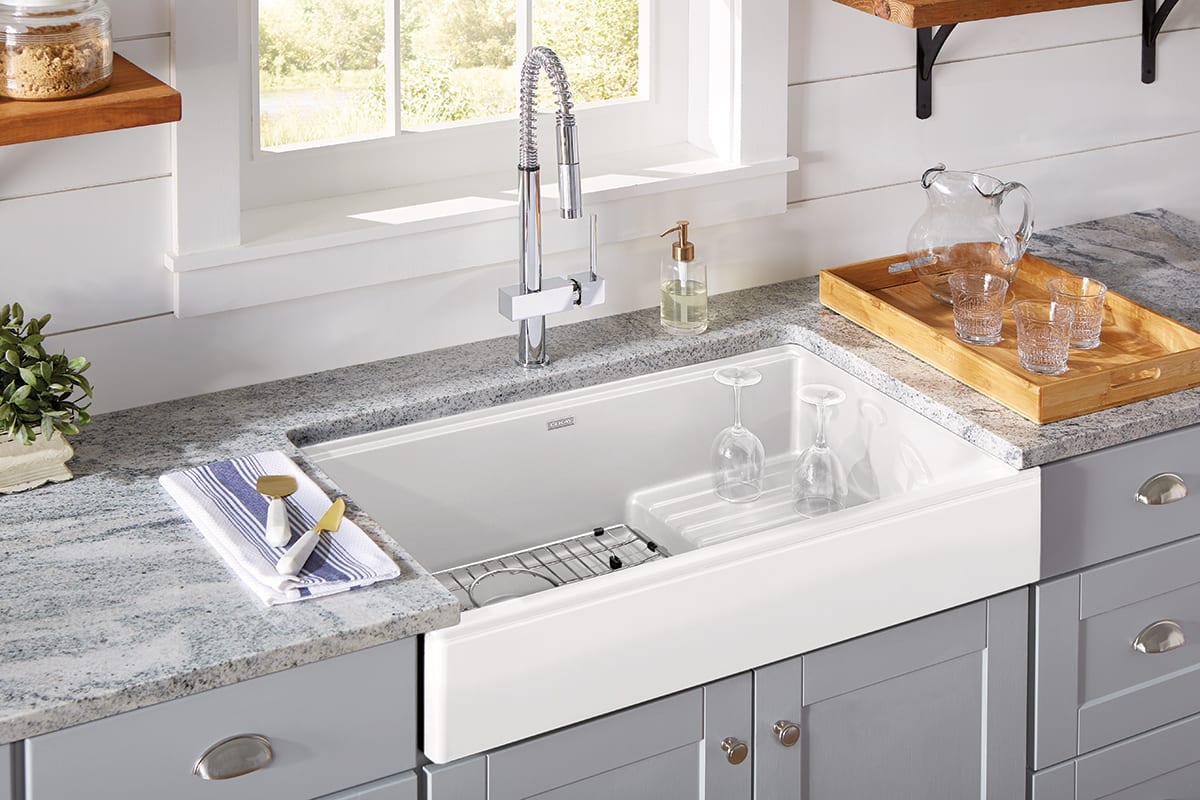
of your sink, whether you want a top-mount, undermount, or farmhouse sink. It's important to choose a material and style that complements your overall kitchen design.
Installation Process
 Installing a
kitchen sink
may seem like a simple task, but it can be quite tricky if you don't have the right tools and knowledge. It's always best to hire a professional to ensure proper installation. When purchasing your
elkay kitchen sink
, make sure to ask about the installation process and any additional costs involved. You want to be prepared and avoid any surprises.
Maintenance and Care
 Just like any other element in your kitchen, your
kitchen sink
requires regular maintenance and care to keep it in top condition. Different materials may require different cleaning methods, so make sure to research and follow the manufacturer's instructions. Additionally, consider the warranty and any potential repairs or replacements that may be needed in the future.
In conclusion, choosing the right
kitchen sink
is an important decision that should not be taken lightly. It's a functional and aesthetic element that can greatly enhance the overall design of your kitchen. By considering factors such as size, material, installation process, and maintenance, you can find the perfect
elkay kitchen sink
that fits your house design and meets your needs. So, go ahead and start browsing for that dream kitchen sink!






:no_upscale()/cdn.vox-cdn.com/uploads/chorus_asset/file/19495086/drain_0.jpg)










:no_upscale()/cdn.vox-cdn.com/uploads/chorus_asset/file/19495086/drain_0.jpg)
