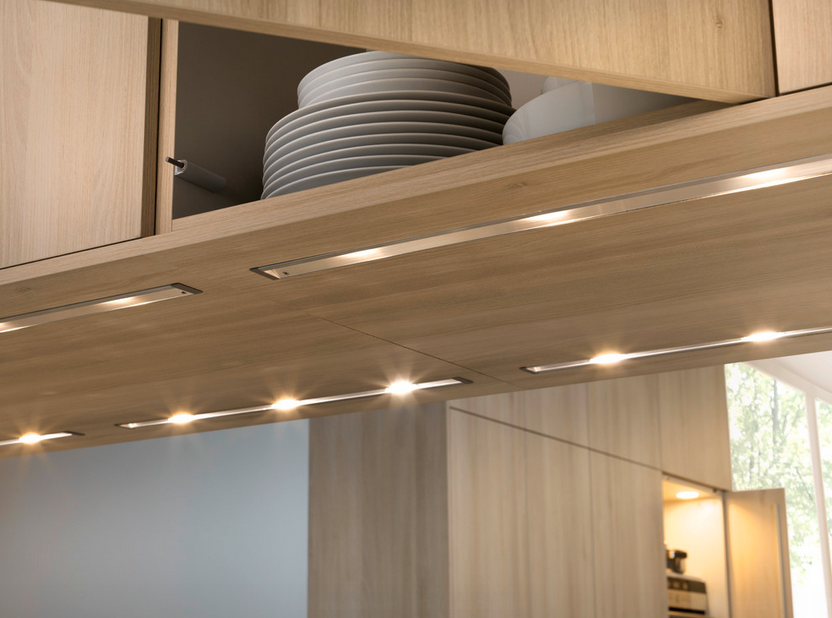
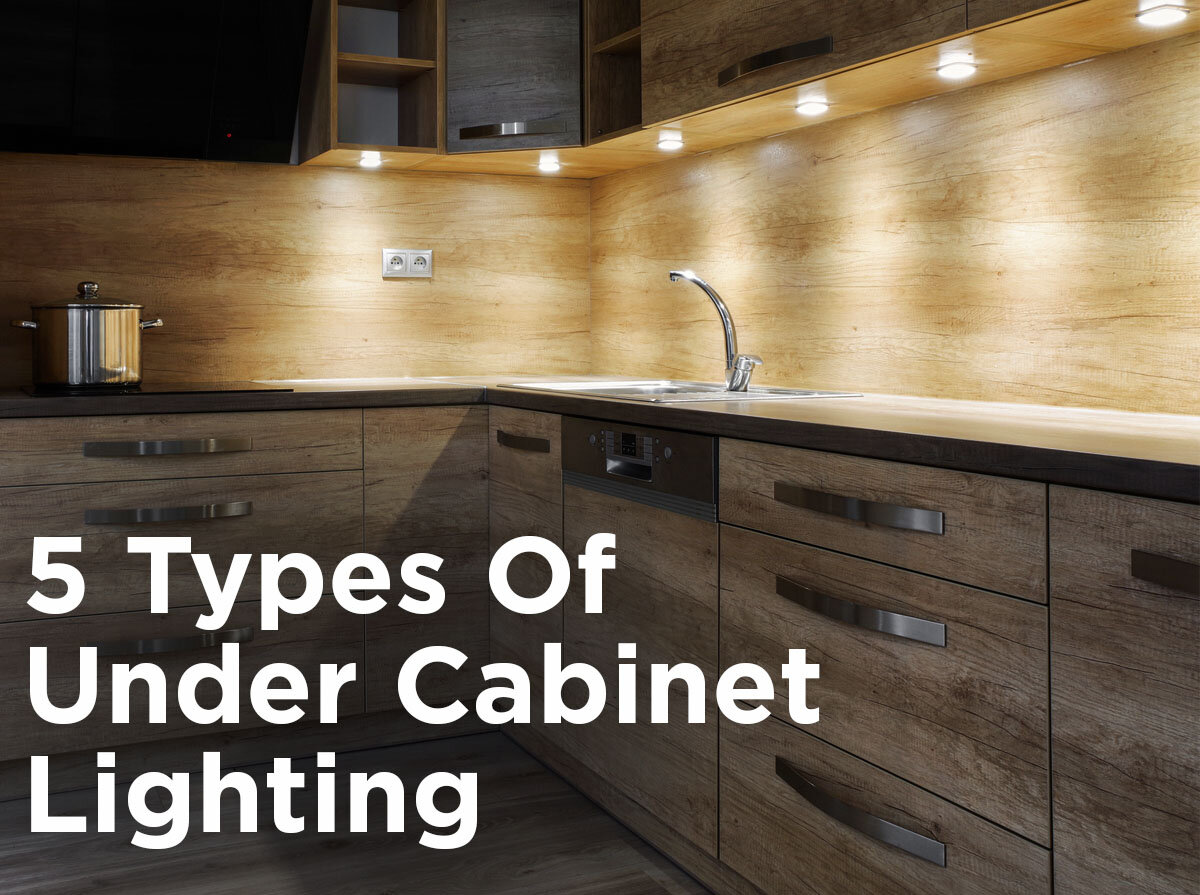
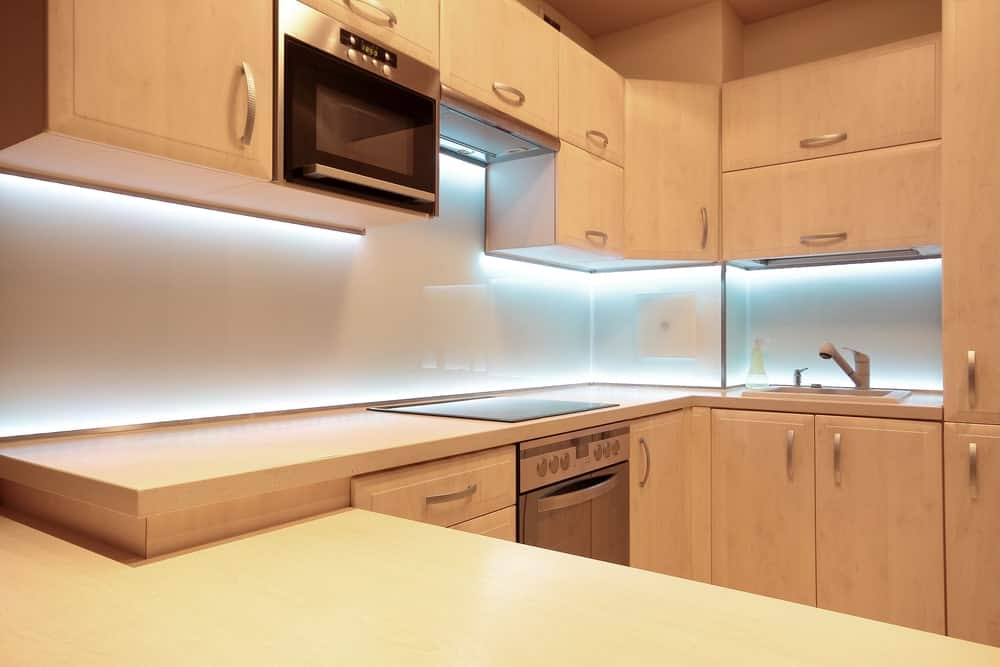
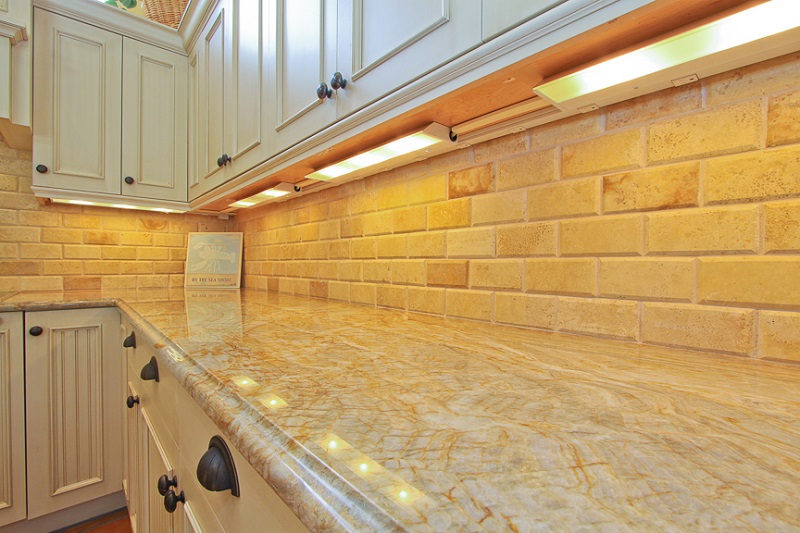
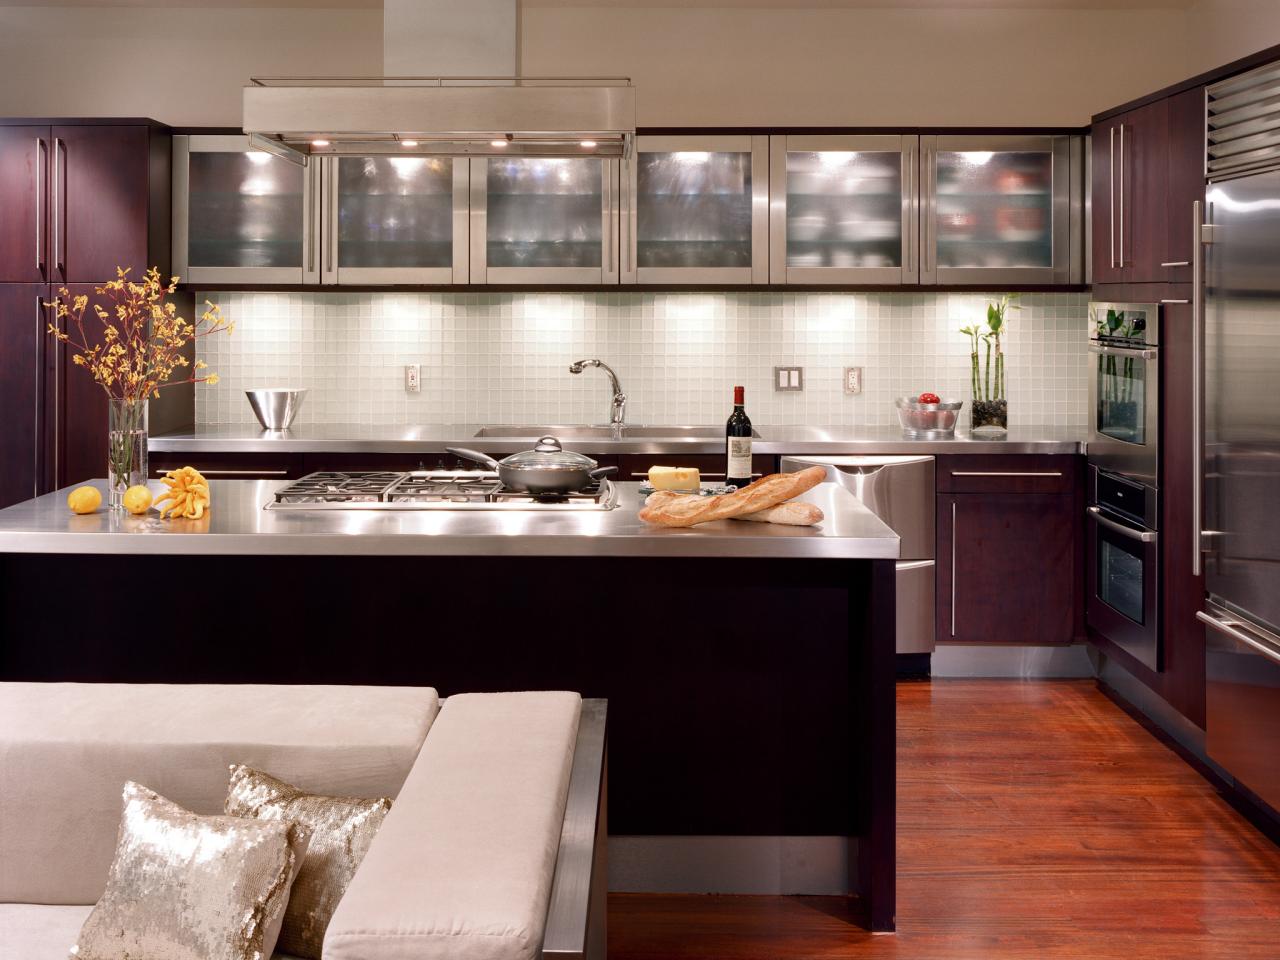
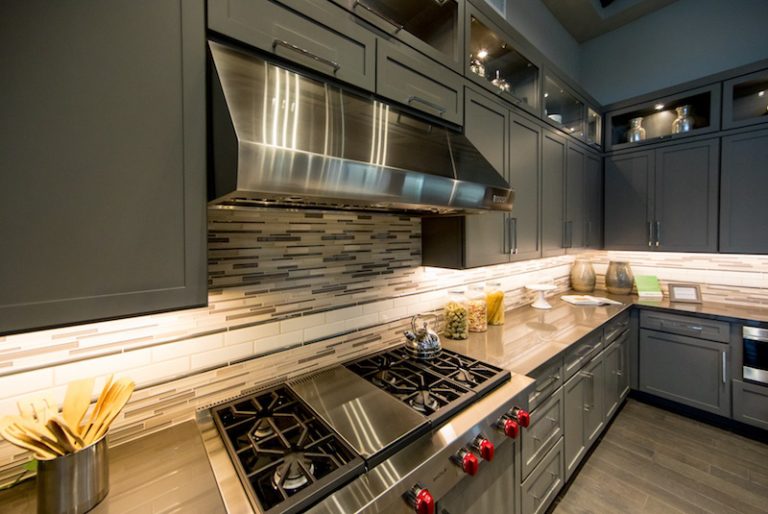
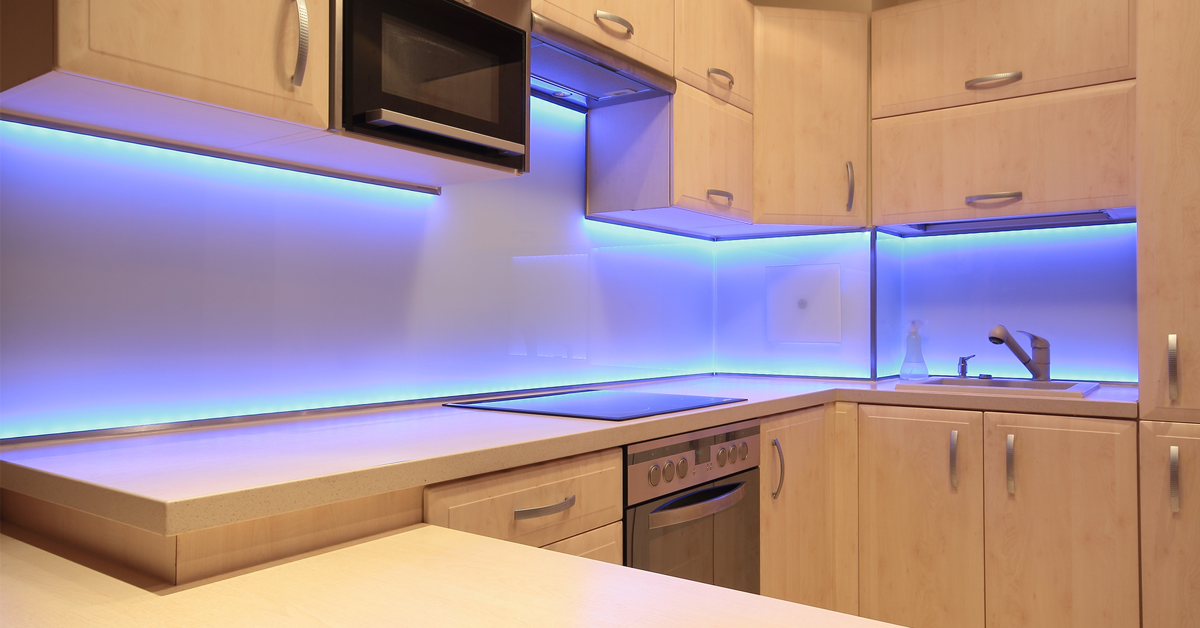
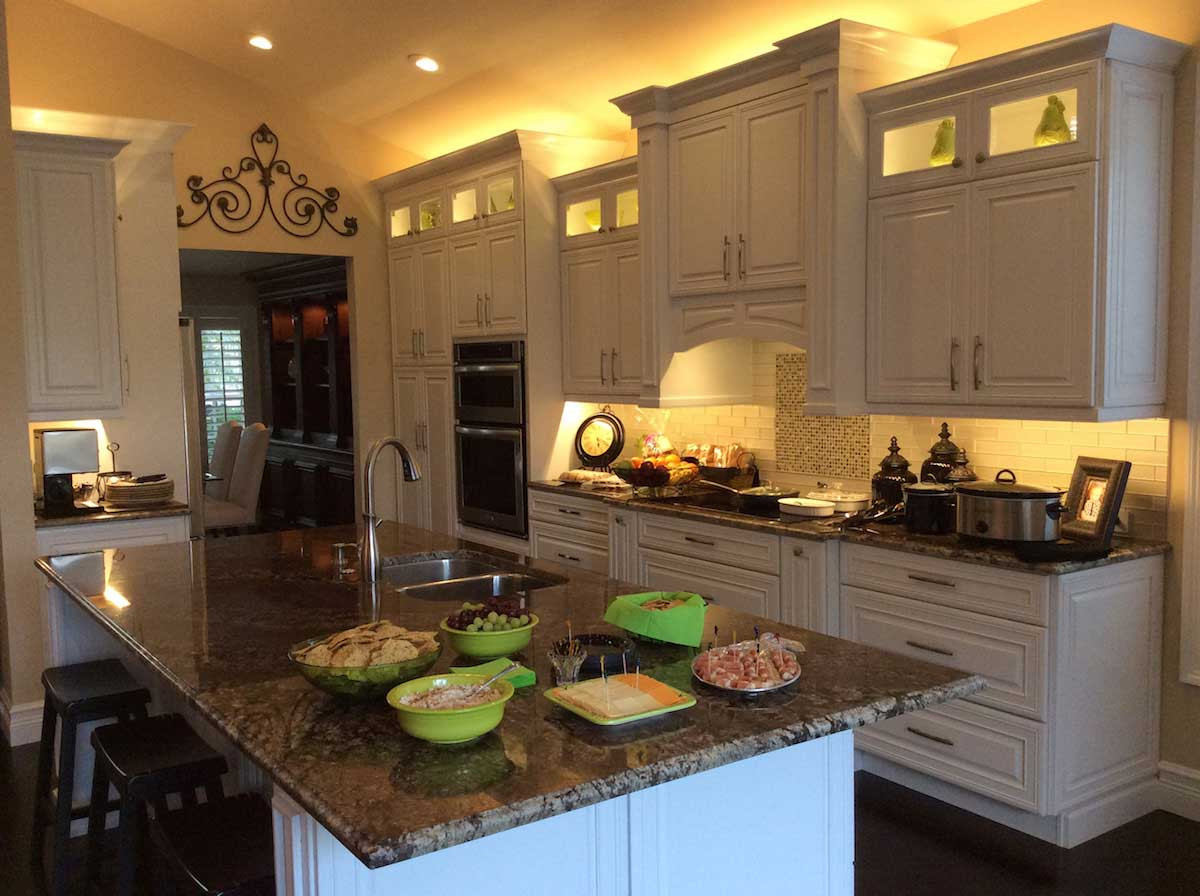
Installing recessed lighting under kitchen cabinets can add both functionality and style to your kitchen. Not only does it provide additional task lighting for food preparation and cooking, but it also creates a sleek and modern look. If you're looking to upgrade your kitchen lighting, here's a step-by-step guide on how to install recessed lighting under kitchen cabinets.How to Install Recessed Lighting Under Kitchen Cabinets
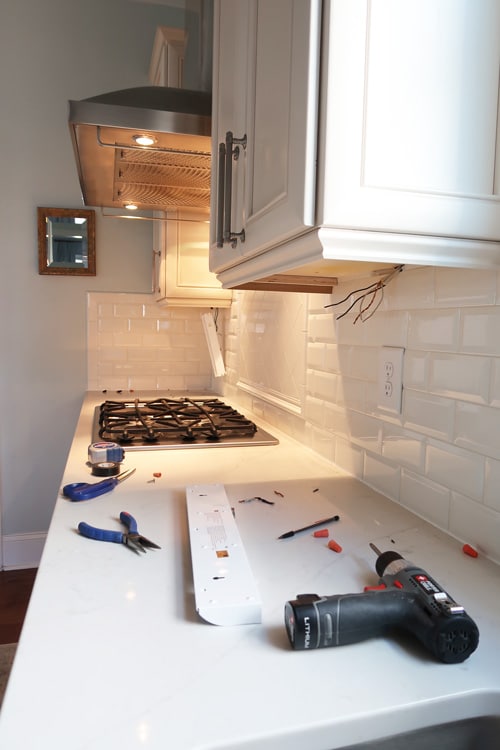
Before beginning the installation process, make sure you have all the necessary materials. This includes recessed lighting fixtures, a drill, measuring tape, wire strippers, wire connectors, and a screwdriver. If you're not familiar with electrical work, it's best to hire a professional to handle the wiring.Step 1: Gather Your Materials
Take measurements of your kitchen cabinets and determine the placement of your recessed lights. Typically, lights should be spaced about 12-18 inches apart for even lighting. Make sure to also consider any obstacles such as electrical wiring or plumbing that may be in the way.Step 2: Plan Your Layout
Using a drill and a hole saw bit, carefully cut out the holes for your recessed lights. Make sure the holes are the correct size for your chosen fixtures. If you're using LED lights, you may need to use a different type of drill bit or a hole saw specifically designed for cutting through metal.Step 3: Cut Out the Holes
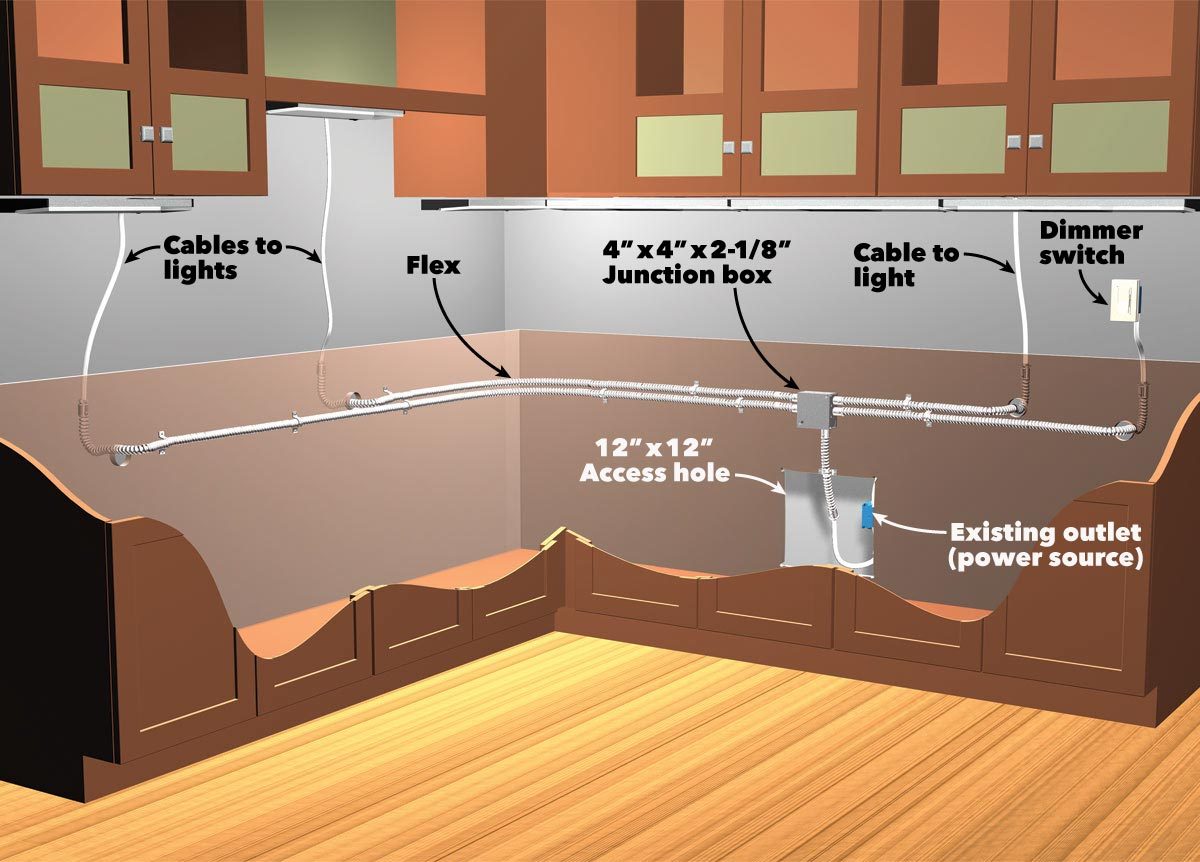
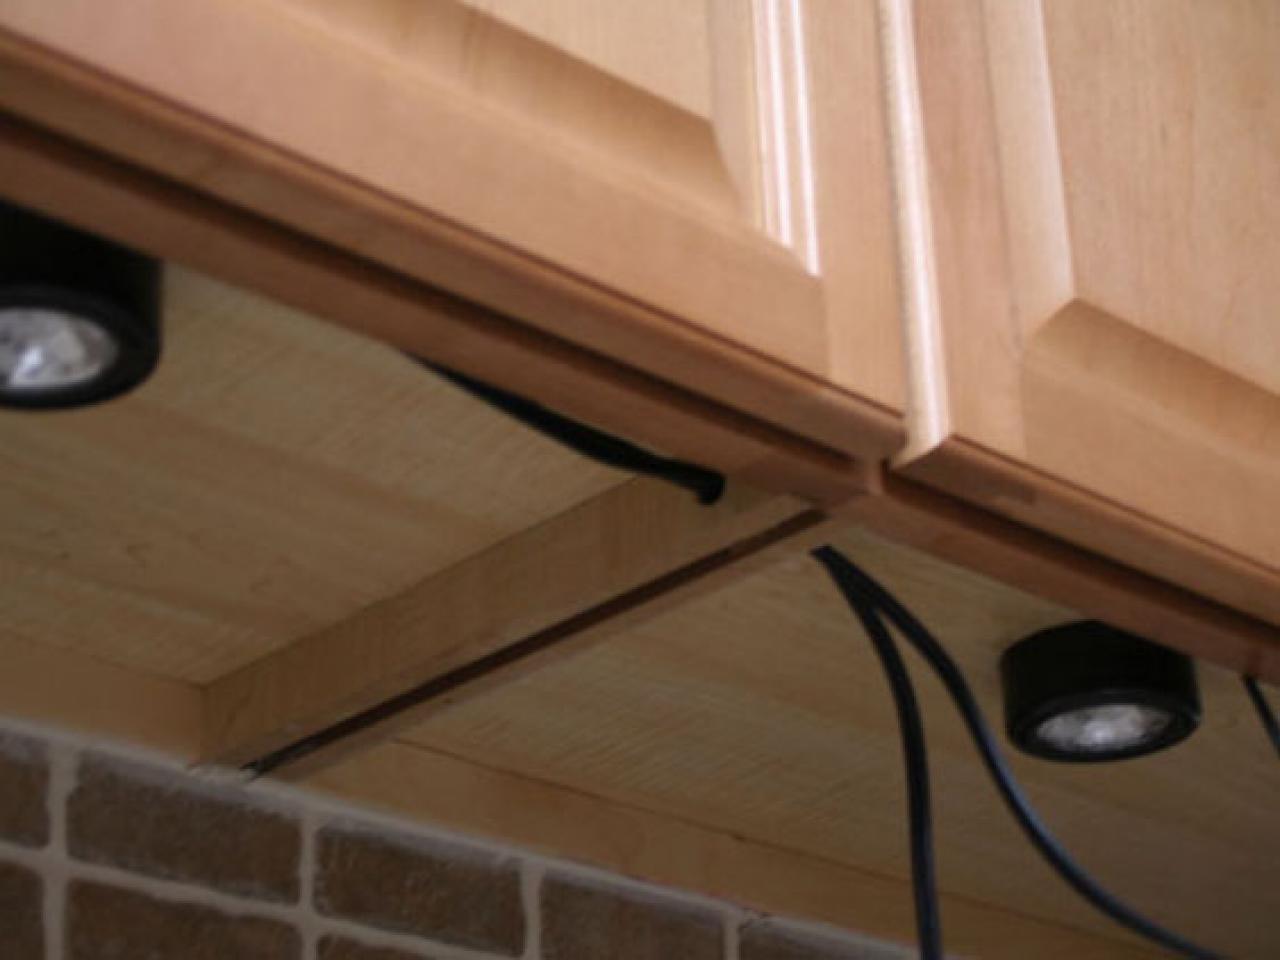
If you're comfortable with electrical work, you can connect the wiring yourself. However, it's always best to consult a professional if you're unsure. Make sure to turn off the power to the room before beginning any electrical work. Connect the wiring according to the manufacturer's instructions and use wire connectors to secure the connections.Step 4: Connect the Wiring
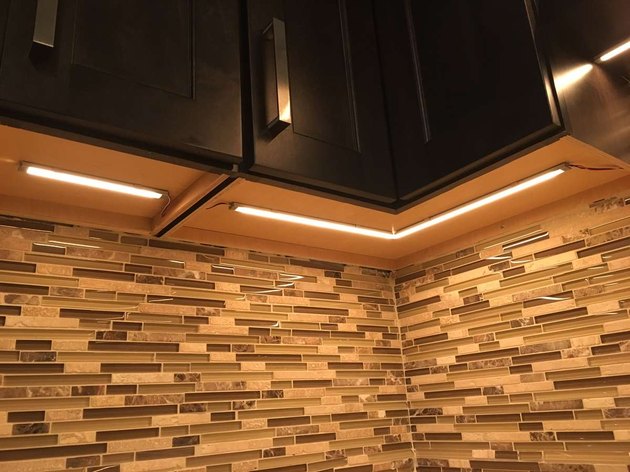
Once the wiring is connected, you can install the recessed lighting fixtures. Follow the instructions provided by the manufacturer and make sure the lights are securely attached to the cabinet. If you're using LED lights, you may need to attach a driver to the back of the fixture for power.Step 5: Install the Lights
After the lights are installed, turn the power back on and test them out. Make sure they are functioning properly and adjust the placement if needed. If you notice any issues, consult a professional to troubleshoot the problem.Step 6: Test the Lights
- Use LED lights for energy efficiency and a longer lifespan. - Consider adding a dimmer switch for customizable lighting options. - Use a stud finder before drilling to avoid hitting any electrical wires or plumbing.Tips and Tricks for Installing Recessed Lighting Under Kitchen Cabinets
If you're a handy DIYer, installing recessed lighting under kitchen cabinets can be a fulfilling and cost-effective project. However, if you're not comfortable with electrical work, it's best to hire a professional to ensure safety and proper installation.DIY: Installing Recessed Lighting Under Kitchen Cabinets
If you're new to home improvement projects, installing recessed lighting under kitchen cabinets may seem intimidating. But with the right materials and a step-by-step guide, you can easily achieve a professional-looking result. Just remember to take your time and consult a professional if you're unsure about any step of the process.How to Install Recessed Lighting Under Kitchen Cabinets: A Beginner's Guide
Maximizing Space and Illumination: How to Install Recessed Lights Under Kitchen Cabinets
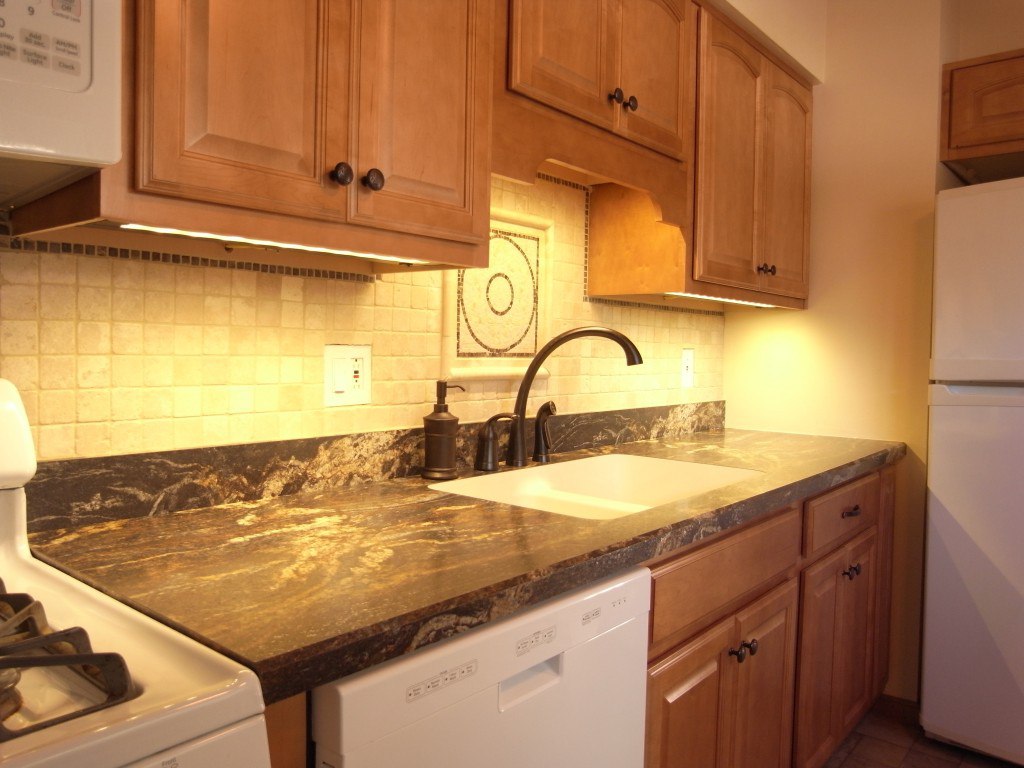
Why Choose Recessed Lights for Your Kitchen Cabinets?
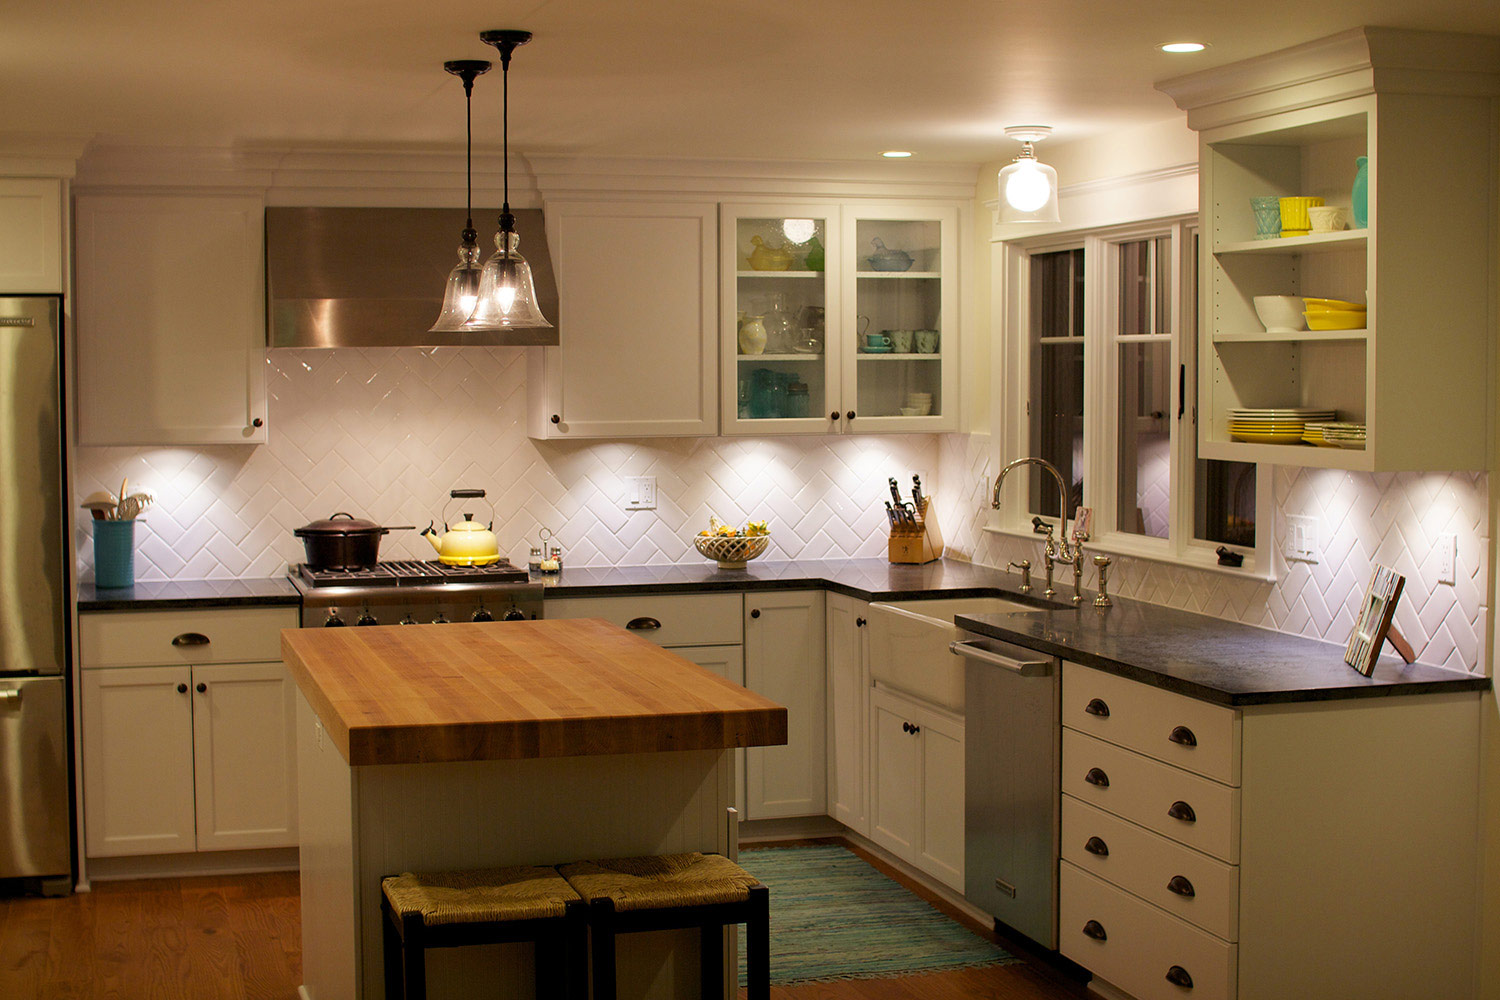
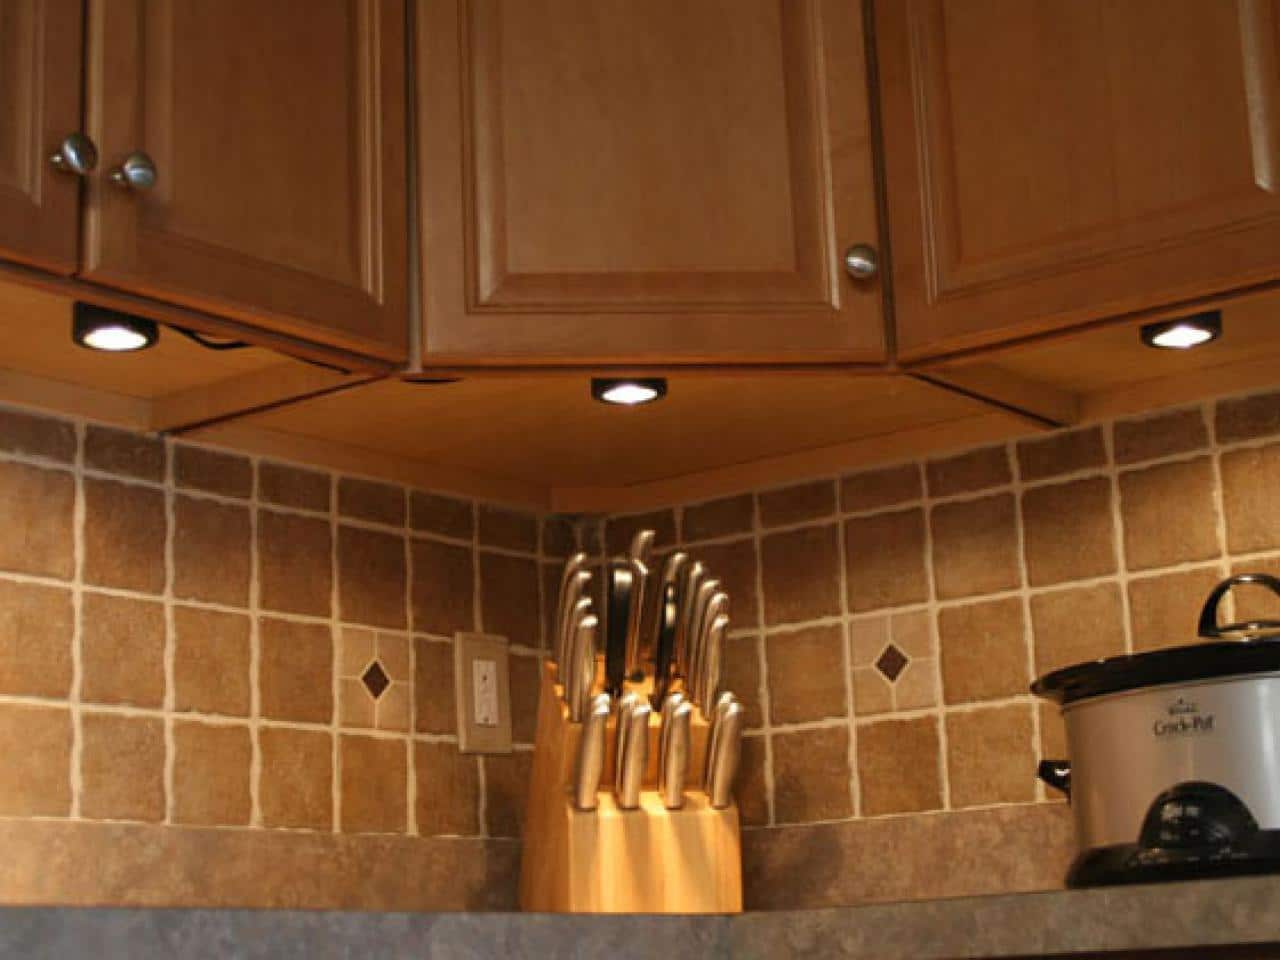 When it comes to kitchen design, every inch counts. This is especially true for smaller kitchens where space is at a premium. One of the best ways to maximize space and add a touch of elegance to your kitchen is by installing recessed lights under your kitchen cabinets. These lights are not only functional, but they also add a modern and sleek look to your kitchen.
Recessed lights
are an excellent choice for kitchen cabinets because they are installed directly into the ceiling or cabinet, eliminating the need for bulky fixtures that can take up valuable space. They also provide
task lighting
that brightens up your workspace, making it easier to prepare meals and work on the countertops.
Step-by-Step Guide to Installing Recessed Lights Under Kitchen Cabinets
 Before you begin, make sure you have all the necessary tools and materials, including a
drill
,
recessed light fixtures
,
wire cutters
, and
wire strippers
. Follow these steps to install recessed lights under your kitchen cabinets:
Step 1: Plan the Layout
Start by determining the placement of your recessed lights by considering the size and layout of your kitchen. Ideally, the lights should be evenly spaced and placed at least 12 inches apart. Mark the locations with a pencil.Step 2: Cut Holes
Using a drill and a hole saw bit , cut holes in your kitchen cabinet where you marked the locations for the lights. Make sure the holes are the same size as the recessed light fixtures.Step 3: Wire the Lights
Next, you will need to wire the lights. This step may require the help of a professional electrician if you are not familiar with electrical work. Use wire strippers to strip the ends of the electrical wires and connect them to the corresponding wires in the light fixtures . Make sure to follow the manufacturer's instructions for proper wiring.Step 4: Install the Lights
Once the wiring is complete, carefully insert the light fixtures into the holes you cut in the cabinets. Secure them in place with the included mounting clips.Step 5: Test the Lights
Before finishing the installation, make sure to test the lights to ensure they are working properly. If everything is functioning correctly, you can now install the light bulbs and cover plates.Final Thoughts
 Installing recessed lights under your kitchen cabinets is a simple and effective way to add both functionality and style to your kitchen. With the right tools and proper installation, you can achieve a well-lit and spacious kitchen that will make meal preparation a breeze. So why wait? Upgrade your kitchen design today by installing recessed lights under your kitchen cabinets.


