Installing a kitchen sink sprayer may seem like a daunting task, but with the right tools and knowledge, it can be a quick and easy DIY project. Not only does a kitchen sink sprayer add convenience to your daily tasks, but it also adds a touch of style to your sink. Follow these step-by-step instructions to successfully install a kitchen sink sprayer in your home.How to Install a Kitchen Sink Sprayer
Before beginning the installation process, make sure you have all the necessary tools and materials. This includes a new kitchen sink sprayer, a wrench, plumber's tape, and a bucket. Once you have everything ready, turn off the water supply and follow these steps:Installing a Kitchen Sink Sprayer: A Step-by-Step Guide
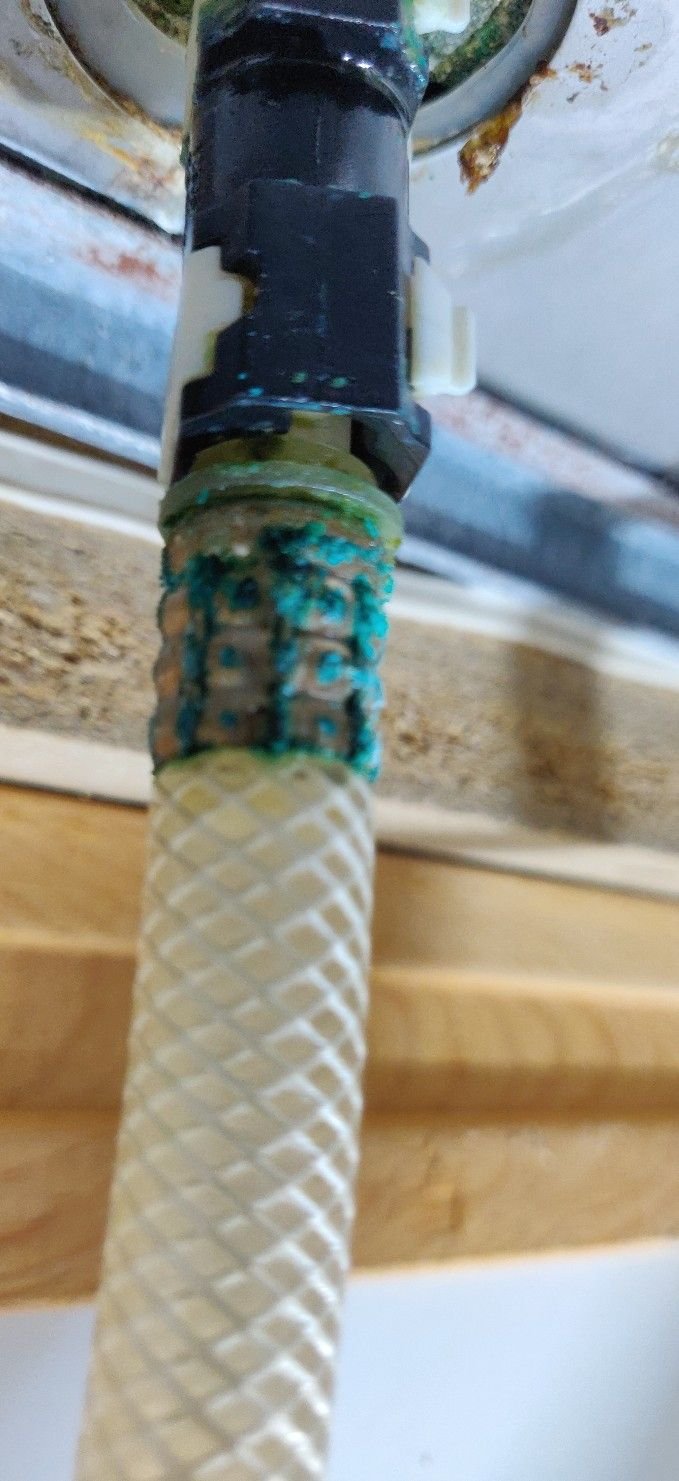
Using a wrench, carefully unscrew the old sprayer from the sink. Place a bucket underneath to catch any water that may come out. Once the old sprayer is removed, clean the area around the sink hole to prepare for the new sprayer.Step 1: Remove the Old Sprayer
Wrap plumber's tape around the threads of the sprayer's connection. This will create a tight seal and prevent any leaks.Step 2: Apply Plumber's Tape
Place the new sprayer into the sink hole and tighten it using a wrench. Make sure it is securely in place and facing the desired direction.Step 3: Insert the New Sprayer
Attach the hose from the sprayer to the designated connection under the sink. Use a wrench to tighten the connection and ensure it is secure.Step 4: Connect the Hose
Once all connections are secure, turn the water supply back on. Test the new sprayer by pulling the trigger and checking for any leaks. If there are no leaks, you're good to go!Step 5: Turn the Water Supply Back On
Installing a kitchen sink sprayer on your own can save you time and money. Plus, it's a great way to add a personal touch to your kitchen. Just make sure to follow these tips and tricks to ensure a successful installation:DIY: Installing a Kitchen Sink Sprayer
Investing in a high-quality kitchen sink sprayer will ensure it lasts for years to come. Look for sprayers with durable materials and a good warranty.Tip 1: Choose a Quality Sprayer
Before drilling any holes or cutting any pipes, double check your measurements. This will prevent any mistakes and save you from having to redo the installation.Tip 2: Measure Twice, Cut Once
How to Install a Kitchen Sink Sprayer: A Step-by-Step Guide
Why Install a Kitchen Sink Sprayer?
A kitchen sink sprayer is a useful addition to any kitchen, providing a convenient way to rinse dishes, clean fruits and vegetables, and fill pots with water. It can also help save water compared to using a traditional faucet. Installing a kitchen sink sprayer is a simple DIY project that can be completed in just a few steps, making it a great option for those looking to upgrade their kitchen without hiring a professional.
Materials Needed
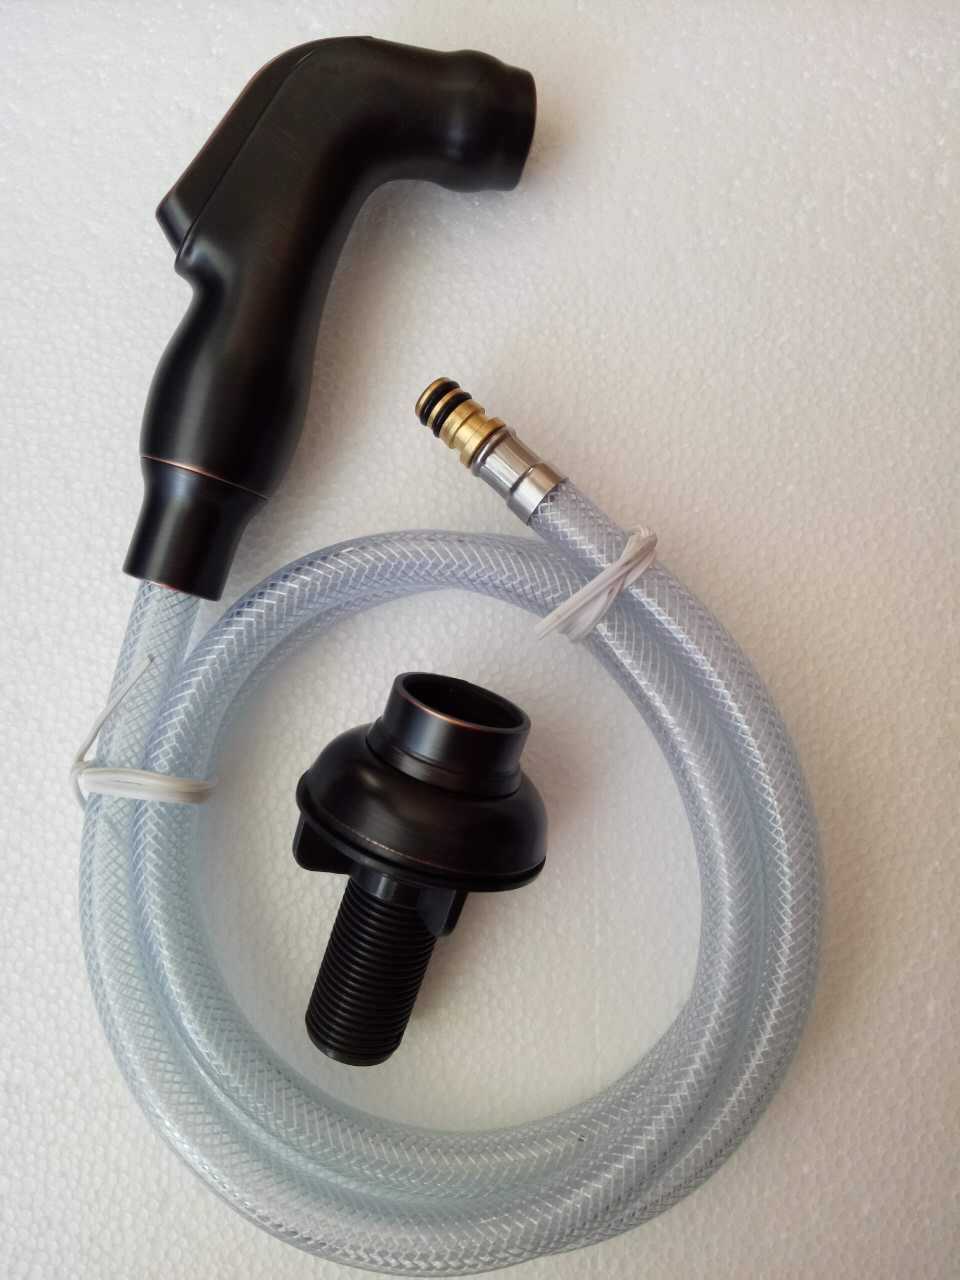
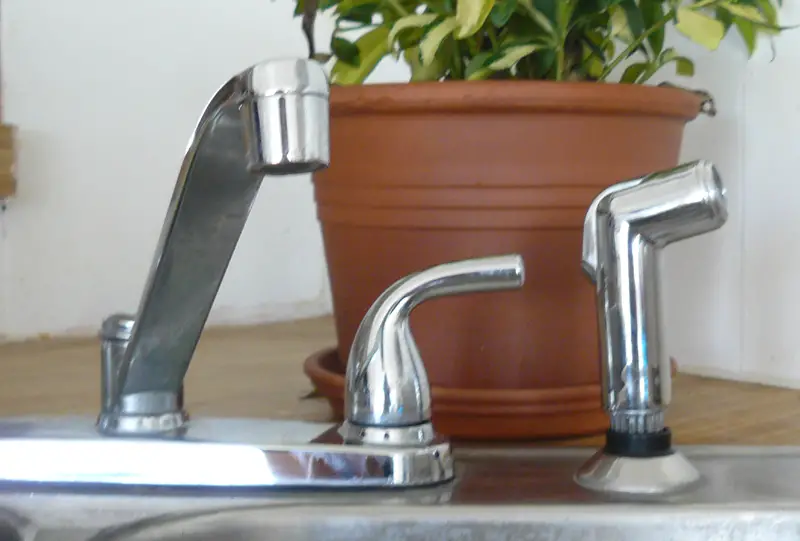
Before beginning the installation process, gather the necessary materials. You will need a sink sprayer kit, which typically includes a sprayer head, hose, and mounting hardware. You will also need an adjustable wrench, plumber's tape, and a bucket or towel to catch any water that may spill during the process.
Step 1: Shut Off the Water
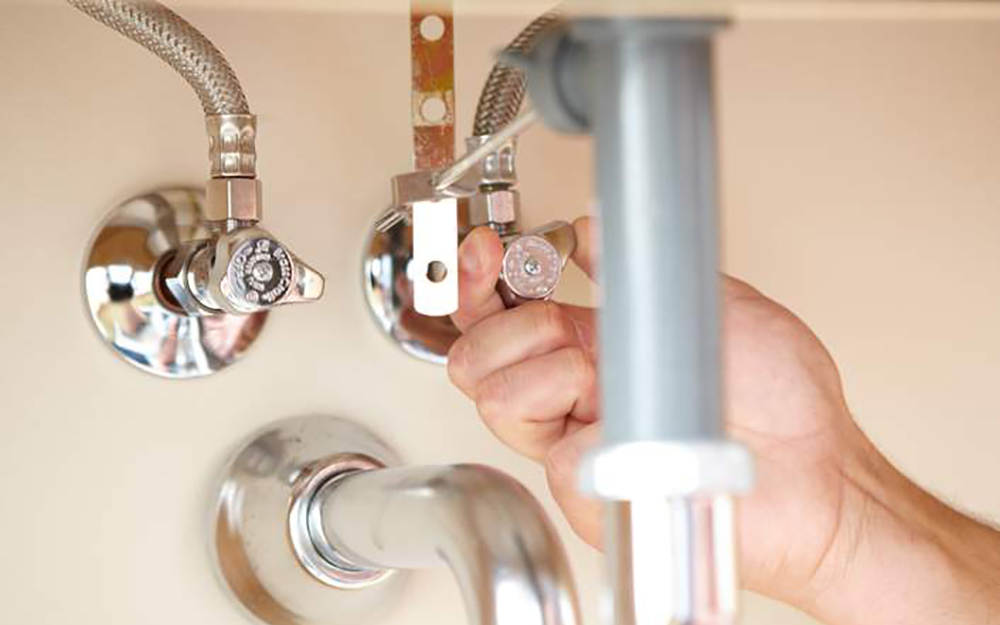
Before starting any plumbing project, it is important to shut off the water supply to the sink. Locate the shut-off valves under the sink and turn them clockwise to shut off the water flow. If your sink does not have shut-off valves, you may need to shut off the main water supply to your home.
Step 2: Remove the Old Faucet
Using an adjustable wrench, loosen and remove the nuts and bolts that hold the old faucet in place. Once the nuts and bolts are removed, you can lift the old faucet out of the sink.
Step 3: Install the Mounting Hardware
Next, install the mounting hardware for the sink sprayer according to the manufacturer's instructions. This may involve attaching a bracket or clip to the underside of the sink.
Step 4: Connect the Hose
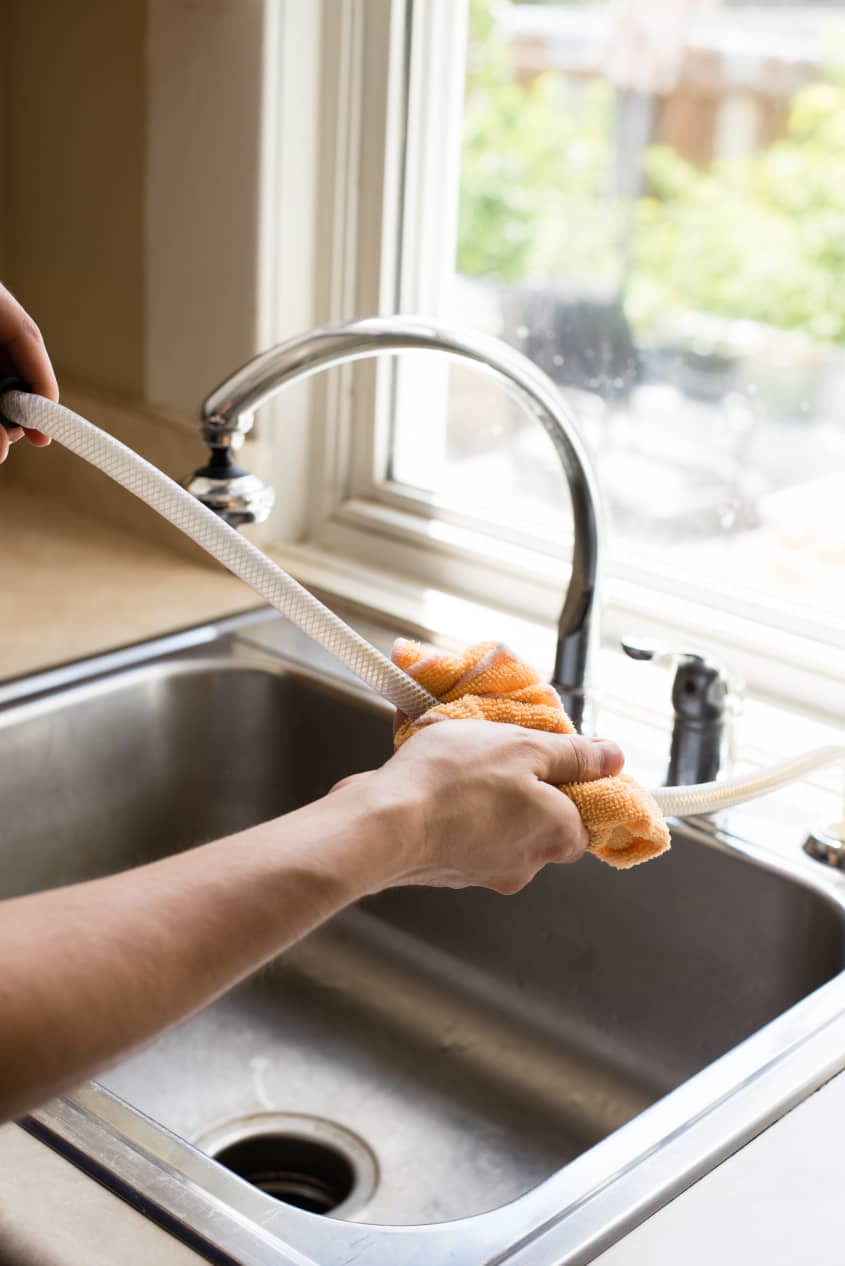
Take the hose included in the sink sprayer kit and connect it to the sprayer head and the mounting hardware under the sink. Use plumber's tape to ensure a tight seal.
Step 5: Connect the Sprayer Head
Attach the sprayer head to the end of the hose. Make sure it is securely attached and facing in the desired direction.
Step 6: Turn the Water Back On
Once all the connections are secure, turn the water back on and test the sprayer. If there are any leaks, tighten the connections or apply more plumber's tape as needed.
Step 7: Enjoy Your New Sink Sprayer
Congratulations, you have successfully installed a kitchen sink sprayer! Now you can enjoy the convenience and efficiency of this useful addition to your kitchen sink.
In Conclusion
Installing a kitchen sink sprayer is a simple and affordable way to upgrade your kitchen. With just a few tools and steps, you can have a functional sprayer that will make everyday tasks in the kitchen easier and more efficient. So why wait? Get ready to spruce up your kitchen with a new sink sprayer today.


/25089301983_c5145fe85d_o-58418ef15f9b5851e5f392b5.jpg)


Why Install a Kitchen Sink Sprayer?
A kitchen sink sprayer is a useful addition to any kitchen, providing a convenient way to rinse dishes, clean fruits and vegetables, and fill pots with water. It can also help save water compared to using a traditional faucet. Installing a kitchen sink sprayer is a simple DIY project that can be completed in just a few steps, making it a great option for those looking to upgrade their kitchen without hiring a professional.
Materials Needed
Before beginning the installation process, gather the necessary materials. You will need a sink sprayer kit, which typically includes a sprayer head, hose, and mounting hardware. You will also need an adjustable wrench, plumber's tape, and a bucket or towel to catch any water that may spill during the process.
Step 1: Shut Off the Water
Before starting any plumbing project, it is important to shut off the water supply to the sink. Locate the shut-off valves under the sink and turn them clockwise to shut off the water flow. If your sink does not have shut-off valves, you may need to shut off the main water supply to your home.
Step 2: Remove the Old Faucet
Using an adjustable wrench, loosen and remove the nuts and bolts that hold the old faucet in place. Once the nuts and bolts are removed, you can lift the old faucet out of the sink.
Step 3: Install the Mounting Hardware
Next, install the mounting hardware for the sink sprayer according to the manufacturer's instructions. This may involve attaching a bracket or clip to the underside of the sink.
Step 4: Connect the Hose
Take the hose included in the sink sprayer kit and connect it to the sprayer head and the mounting hardware under the sink. Use plumber's tape to ensure a tight seal.
Step 5: Connect the Sprayer Head
Attach the sprayer head to the end of the hose. Make sure it is securely attached and facing in the desired direction.
Step 6: Turn the Water Back On
Once all the connections are secure, turn the water back on and test the sprayer. If there are any leaks, tighten the connections or apply more plumber's tape as needed.
Step 7: Enjoy Your New Sink Sprayer
Congratulations, you have successfully installed a kitchen sink sprayer! Now you can enjoy the convenience and efficiency of this useful addition to your kitchen sink.
In Conclusion
Installing a kitchen sink sprayer is a simple and affordable way to upgrade your kitchen. With just a few tools and steps, you can have a functional sprayer that will make everyday tasks in the kitchen easier and more efficient. So why wait? Get ready to spruce up your kitchen with a new sink sprayer today.


/25089301983_c5145fe85d_o-58418ef15f9b5851e5f392b5.jpg)


Materials Needed
Before beginning the installation process, gather the necessary materials. You will need a sink sprayer kit, which typically includes a sprayer head, hose, and mounting hardware. You will also need an adjustable wrench, plumber's tape, and a bucket or towel to catch any water that may spill during the process.
Step 1: Shut Off the Water
Before starting any plumbing project, it is important to shut off the water supply to the sink. Locate the shut-off valves under the sink and turn them clockwise to shut off the water flow. If your sink does not have shut-off valves, you may need to shut off the main water supply to your home.
Step 2: Remove the Old Faucet
Using an adjustable wrench, loosen and remove the nuts and bolts that hold the old faucet in place. Once the nuts and bolts are removed, you can lift the old faucet out of the sink.
Step 3: Install the Mounting Hardware
Next, install the mounting hardware for the sink sprayer according to the manufacturer's instructions. This may involve attaching a bracket or clip to the underside of the sink.
Step 4: Connect the Hose
Take the hose included in the sink sprayer kit and connect it to the sprayer head and the mounting hardware under the sink. Use plumber's tape to ensure a tight seal.
Step 5: Connect the Sprayer Head
Attach the sprayer head to the end of the hose. Make sure it is securely attached and facing in the desired direction.
Step 6: Turn the Water Back On
Once all the connections are secure, turn the water back on and test the sprayer. If there are any leaks, tighten the connections or apply more plumber's tape as needed.
Step 7: Enjoy Your New Sink Sprayer
Congratulations, you have successfully installed a kitchen sink sprayer! Now you can enjoy the convenience and efficiency of this useful addition to your kitchen sink.
In Conclusion
Installing a kitchen sink sprayer is a simple and affordable way to upgrade your kitchen. With just a few tools and steps, you can have a functional sprayer that will make everyday tasks in the kitchen easier and more efficient. So why wait? Get ready to spruce up your kitchen with a new sink sprayer today.


/25089301983_c5145fe85d_o-58418ef15f9b5851e5f392b5.jpg)


Step 1: Shut Off the Water
Before starting any plumbing project, it is important to shut off the water supply to the sink. Locate the shut-off valves under the sink and turn them clockwise to shut off the water flow. If your sink does not have shut-off valves, you may need to shut off the main water supply to your home.
Step 2: Remove the Old Faucet
Using an adjustable wrench, loosen and remove the nuts and bolts that hold the old faucet in place. Once the nuts and bolts are removed, you can lift the old faucet out of the sink.
Step 3: Install the Mounting Hardware
Next, install the mounting hardware for the sink sprayer according to the manufacturer's instructions. This may involve attaching a bracket or clip to the underside of the sink.
Step 4: Connect the Hose
Take the hose included in the sink sprayer kit and connect it to the sprayer head and the mounting hardware under the sink. Use plumber's tape to ensure a tight seal.
Step 5: Connect the Sprayer Head
Attach the sprayer head to the end of the hose. Make sure it is securely attached and facing in the desired direction.
Step 6: Turn the Water Back On
Once all the connections are secure, turn the water back on and test the sprayer. If there are any leaks, tighten the connections or apply more plumber's tape as needed.
Step 7: Enjoy Your New Sink Sprayer
Congratulations, you have successfully installed a kitchen sink sprayer! Now you can enjoy the convenience and efficiency of this useful addition to your kitchen sink.
In Conclusion
Installing a kitchen sink sprayer is a simple and affordable way to upgrade your kitchen. With just a few tools and steps, you can have a functional sprayer that will make everyday tasks in the kitchen easier and more efficient. So why wait? Get ready to spruce up your kitchen with a new sink sprayer today.


/25089301983_c5145fe85d_o-58418ef15f9b5851e5f392b5.jpg)

Step 2: Remove the Old Faucet
Using an adjustable wrench, loosen and remove the nuts and bolts that hold the old faucet in place. Once the nuts and bolts are removed, you can lift the old faucet out of the sink.
Step 3: Install the Mounting Hardware
Next, install the mounting hardware for the sink sprayer according to the manufacturer's instructions. This may involve attaching a bracket or clip to the underside of the sink.
Step 4: Connect the Hose
Take the hose included in the sink sprayer kit and connect it to the sprayer head and the mounting hardware under the sink. Use plumber's tape to ensure a tight seal.
Step 5: Connect the Sprayer Head
Attach the sprayer head to the end of the hose. Make sure it is securely attached and facing in the desired direction.
Step 6: Turn the Water Back On
Once all the connections are secure, turn the water back on and test the sprayer. If there are any leaks, tighten the connections or apply more plumber's tape as needed.
Step 7: Enjoy Your New Sink Sprayer
Congratulations, you have successfully installed a kitchen sink sprayer! Now you can enjoy the convenience and efficiency of this useful addition to your kitchen sink.
In Conclusion
Installing a kitchen sink sprayer is a simple and affordable way to upgrade your kitchen. With just a few tools and steps, you can have a functional sprayer that will make everyday tasks in the kitchen easier and more efficient. So why wait? Get ready to spruce up your kitchen with a new sink sprayer today.


/25089301983_c5145fe85d_o-58418ef15f9b5851e5f392b5.jpg)


:max_bytes(150000):strip_icc()/installing-a-kitchen-sink-sprayer-2718817-02-01cfd18f0299484c910d4e6a50af463e.jpg)





:max_bytes(150000):strip_icc()/installing-a-kitchen-sink-sprayer-2718817-hero-2b7047468d594da6be2494ba0eebb480.jpg)
:max_bytes(150000):strip_icc()/installing-a-kitchen-sink-sprayer-2718817-05-36c4e6f6c5f34c7abed7277ee47c70c2.jpg)
:max_bytes(150000):strip_icc()/installing-a-kitchen-sink-sprayer-2718817-07-362bee47568f48bab7f3bdff600e4092.jpg)


:max_bytes(150000):strip_icc()/installing-a-kitchen-sink-sprayer-2718817-09-eb32dfd25037467c99fc73cadde60281.jpg)




:max_bytes(150000):strip_icc()/installing-a-kitchen-sink-sprayer-2718817-03-514088ddb922466eb3d4cd73f3aa85f4.jpg)



/installing-a-kitchen-sink-sprayer-2718817-hero-2b7047468d594da6be2494ba0eebb480.jpg)
