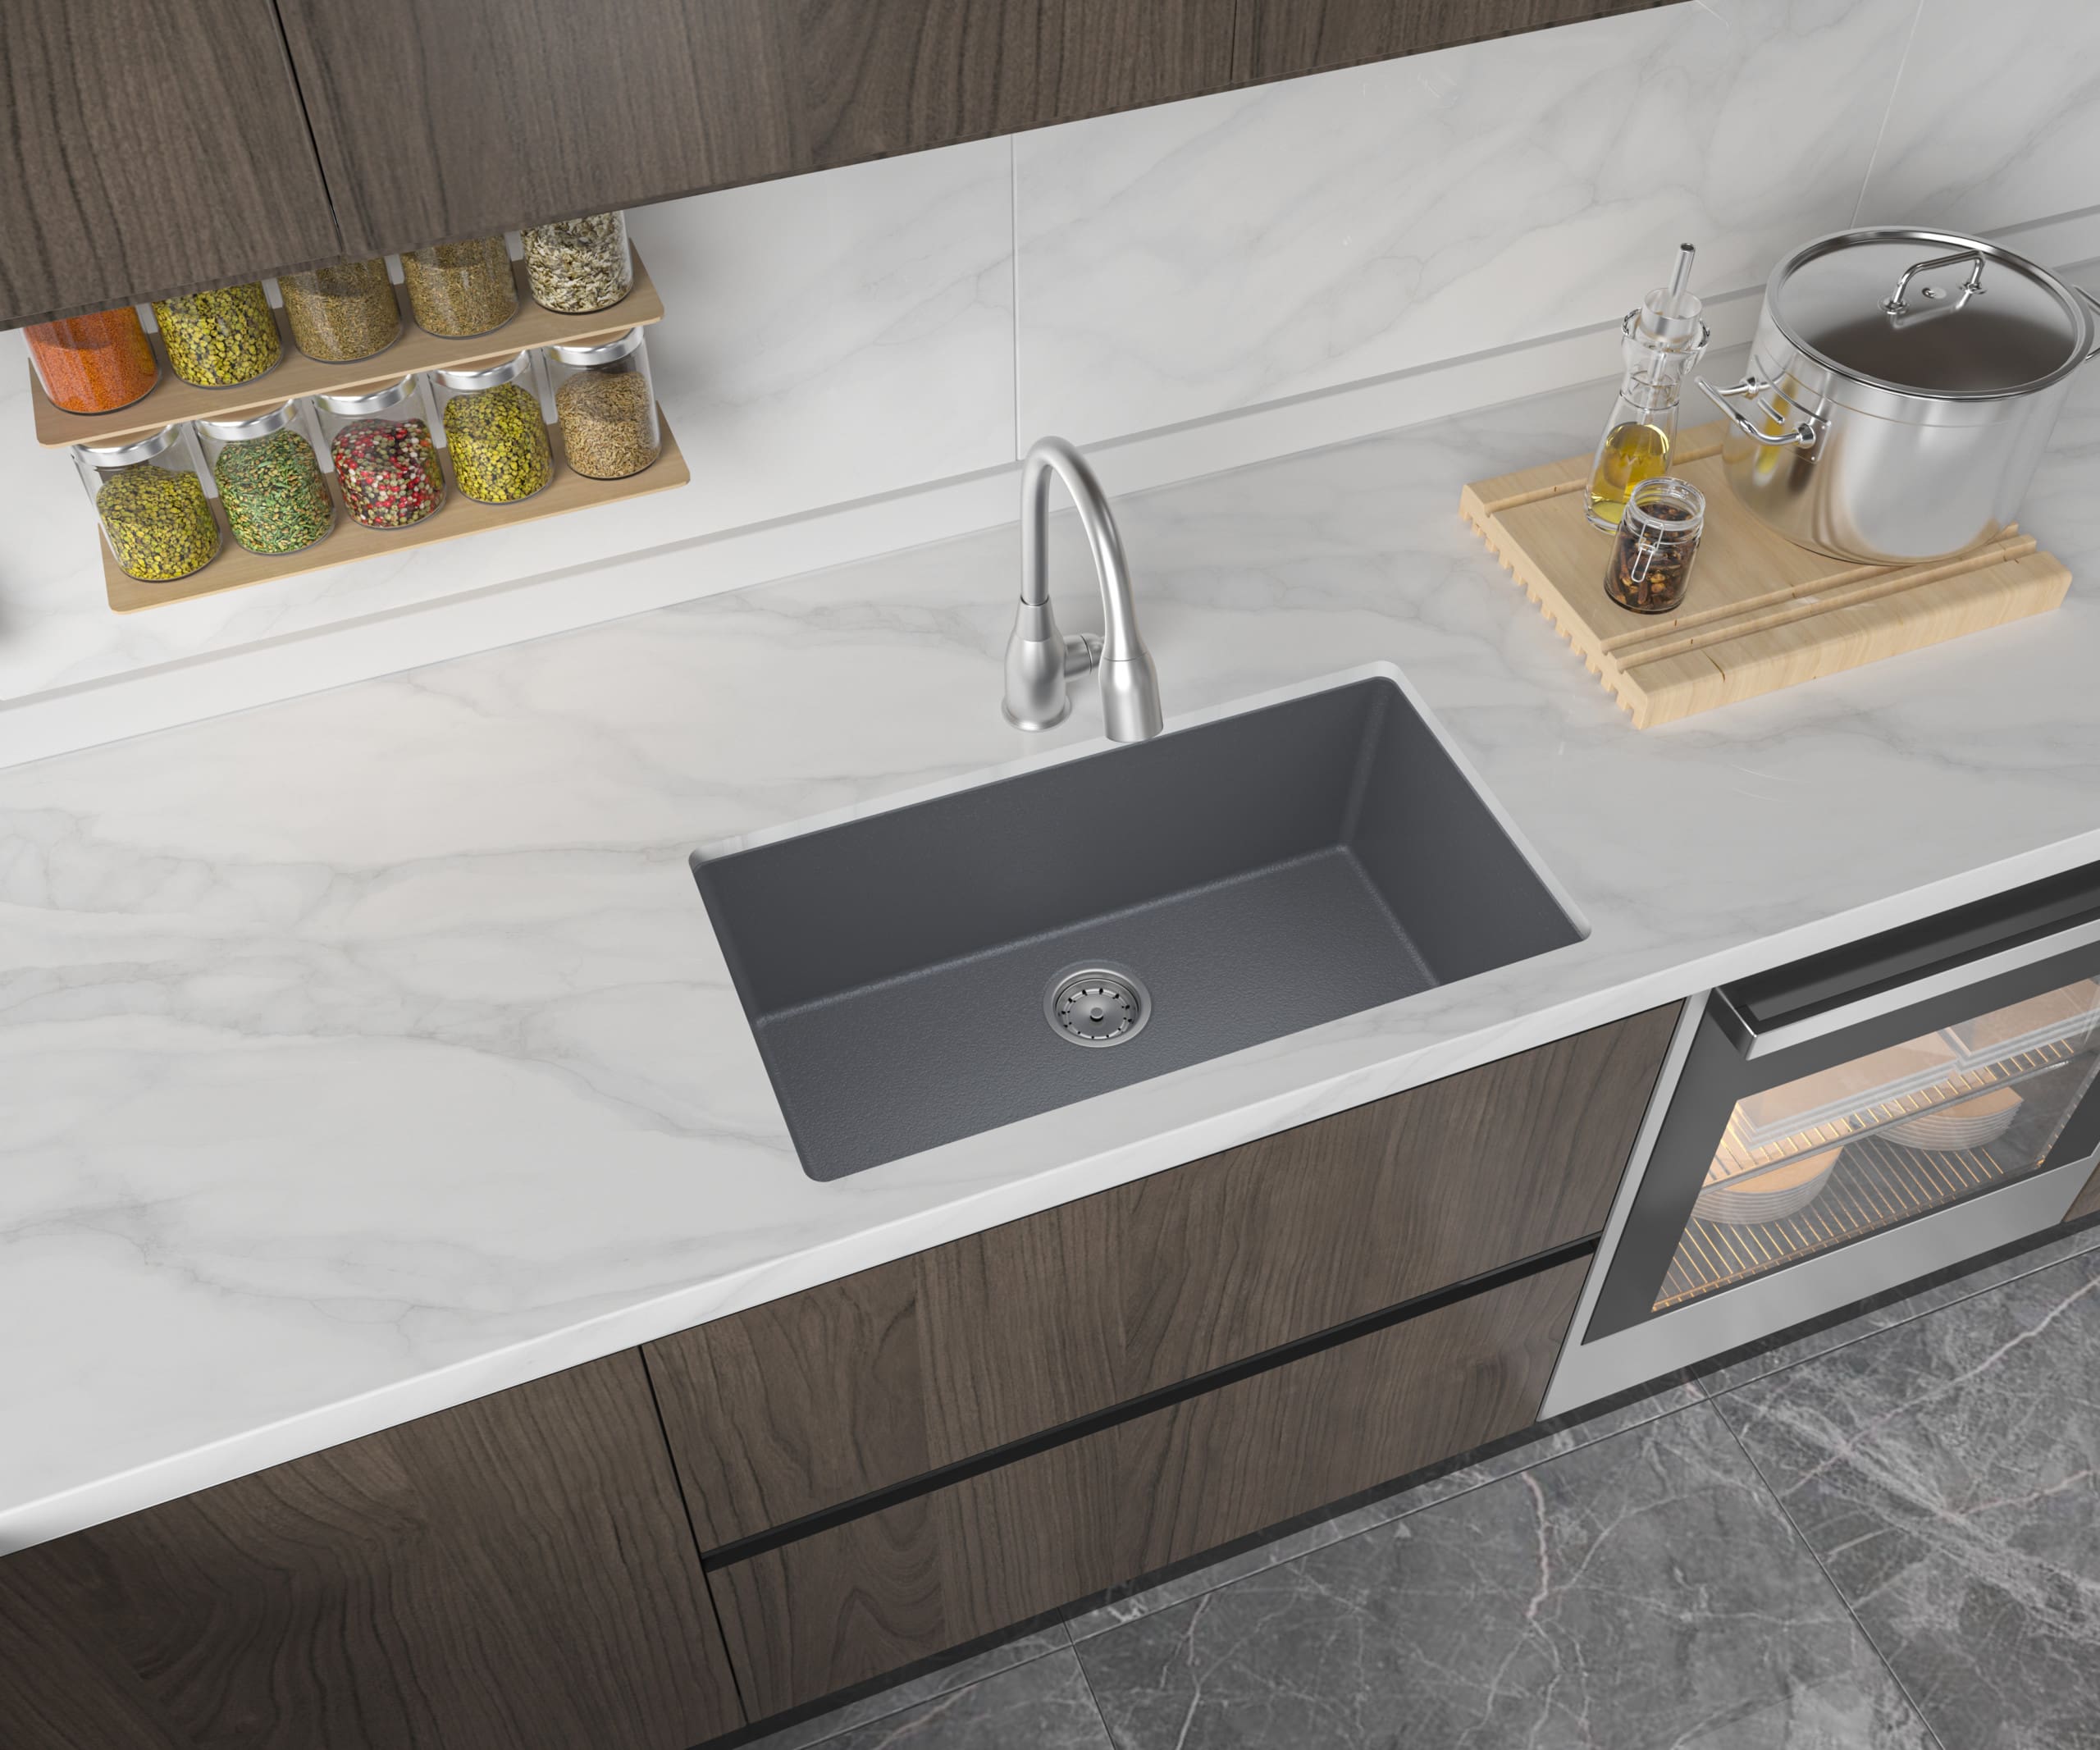
Installing a kitchen sink in a granite countertop may seem like a daunting task, but with the right tools and knowledge, it can be a relatively simple process. Not only will it give your kitchen a modern and sleek look, but it will also add value to your home. In this article, we will discuss the top 10 steps for installing a kitchen sink in a granite countertop.Introduction


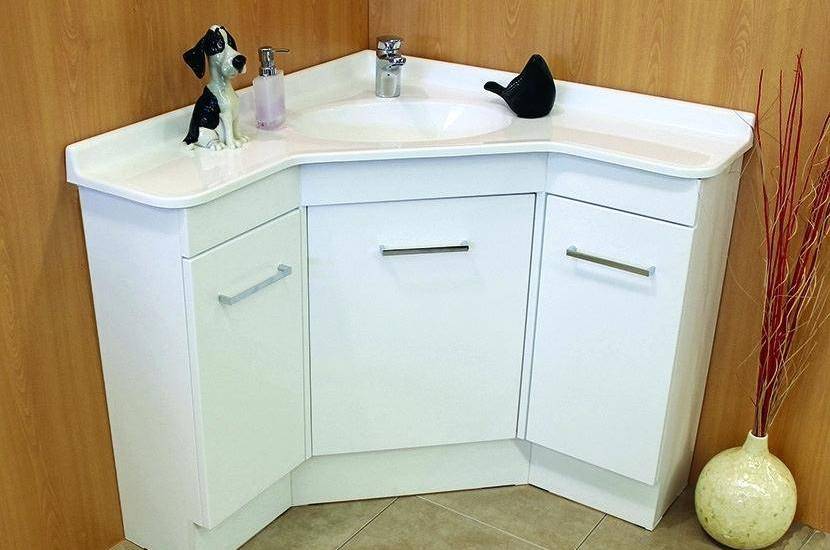
How to Install a Kitchen Sink in a Granite Countertop


The first step in any DIY project is to gather all the necessary tools. For this project, you will need a measuring tape, a level, a drill, a jigsaw, a wrench, and plumber's putty. It is also recommended to have a helper to assist with heavy lifting and to hold the sink in place while you install it.Gather Your Tools


How to Install a Kitchen Sink in a Granite Countertop
Using a measuring tape, measure the size of your sink and mark the outline onto the granite countertop. Make sure to leave enough space for the sink to sit comfortably and for the faucet to be installed. Use a level to ensure that your markings are straight and even.Measure and Mark


How to Install a Kitchen Sink in a Granite Countertop
Next, use a drill to create pilot holes along the outlined markings. These holes will serve as starting points for your jigsaw to cut through the granite. Be sure to use a drill bit specifically designed for granite to avoid any damage to the countertop.Drill Holes
How to Install a Kitchen Sink in a Granite Countertop

Using a jigsaw with a diamond blade, carefully cut along the marked outline. Be sure to follow the pilot holes and take your time to ensure a smooth and clean cut. Use a slow and steady pace to avoid any chipping or cracking of the granite.Cut the Granite
How to Install a Kitchen Sink in a Granite Countertop

After cutting the granite, use a sanding block or sandpaper to smooth out any rough edges. This will not only give your sink a professional finish, but it will also prevent any injuries from sharp edges.Smooth the Edges
How to Install a Kitchen Sink in a Granite Countertop
Before permanently installing the sink, it is important to test fit it in the cutout to ensure a perfect fit. If the sink does not fit, you may need to make adjustments to the cutout using a jigsaw or sandpaper.Test Fit the Sink
How to Install a Kitchen Sink in a Granite Countertop
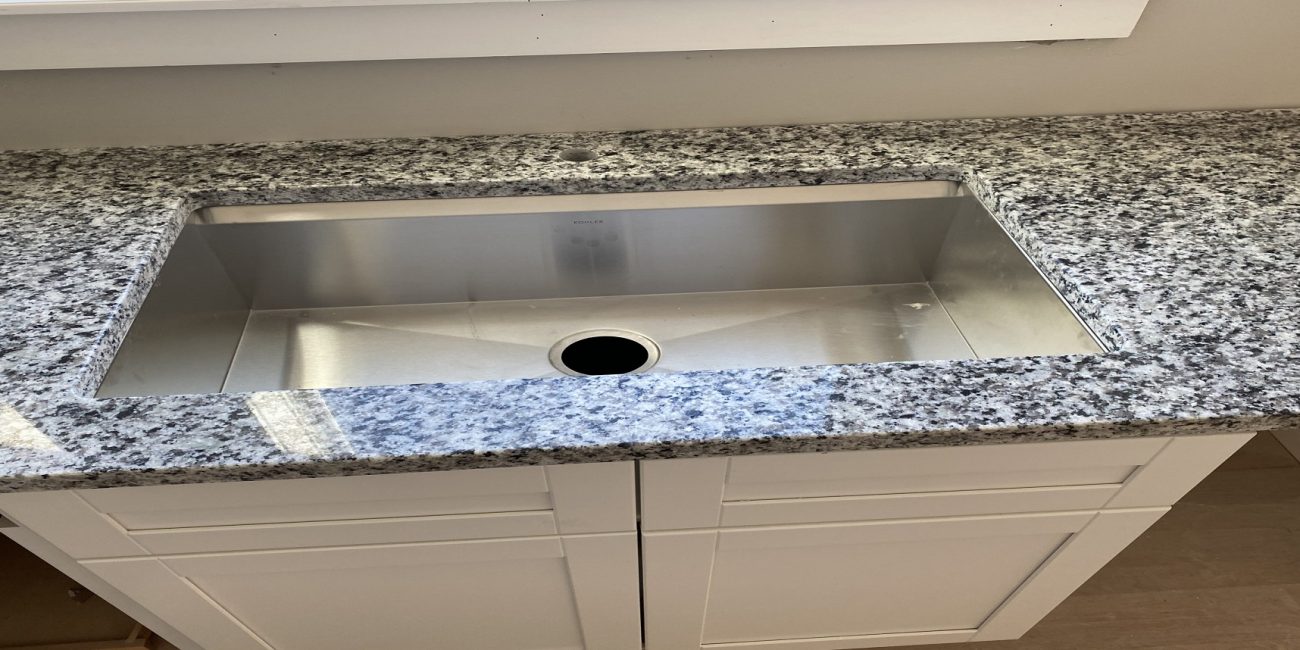
Once the sink is properly fitted, it is time to install it. Apply a generous amount of plumber's putty around the edges of the sink and carefully place it into the cutout. The putty will help create a seal and prevent any leaks.Apply Plumber's Putty

How to Install a Kitchen Sink in a Granite Countertop
Using a wrench, tighten the mounting clips or brackets that came with your sink. This will secure the sink in place and prevent it from shifting or moving. Be sure to check that the sink is level before fully tightening the brackets.Secure the Sink
How to Install a Kitchen Sink in a Granite Countertop
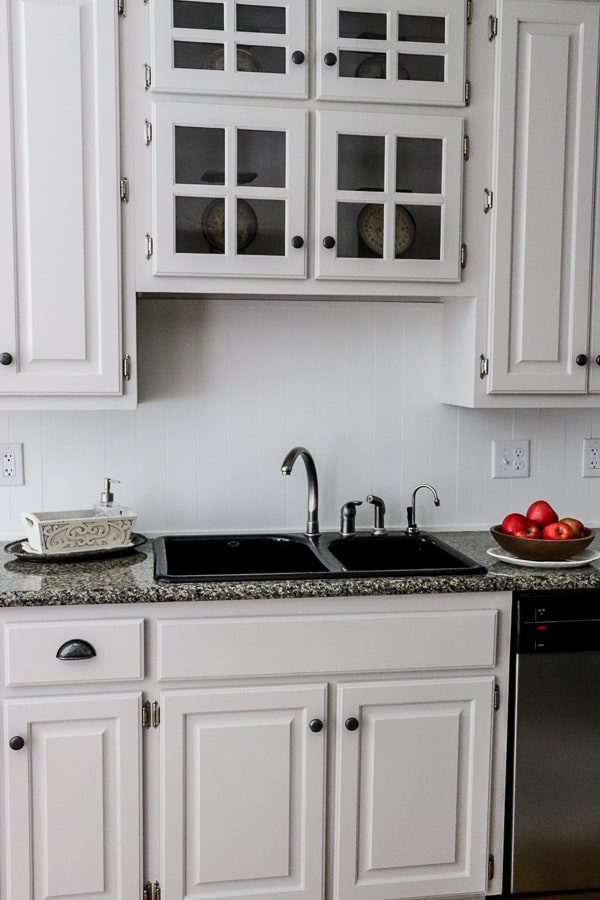
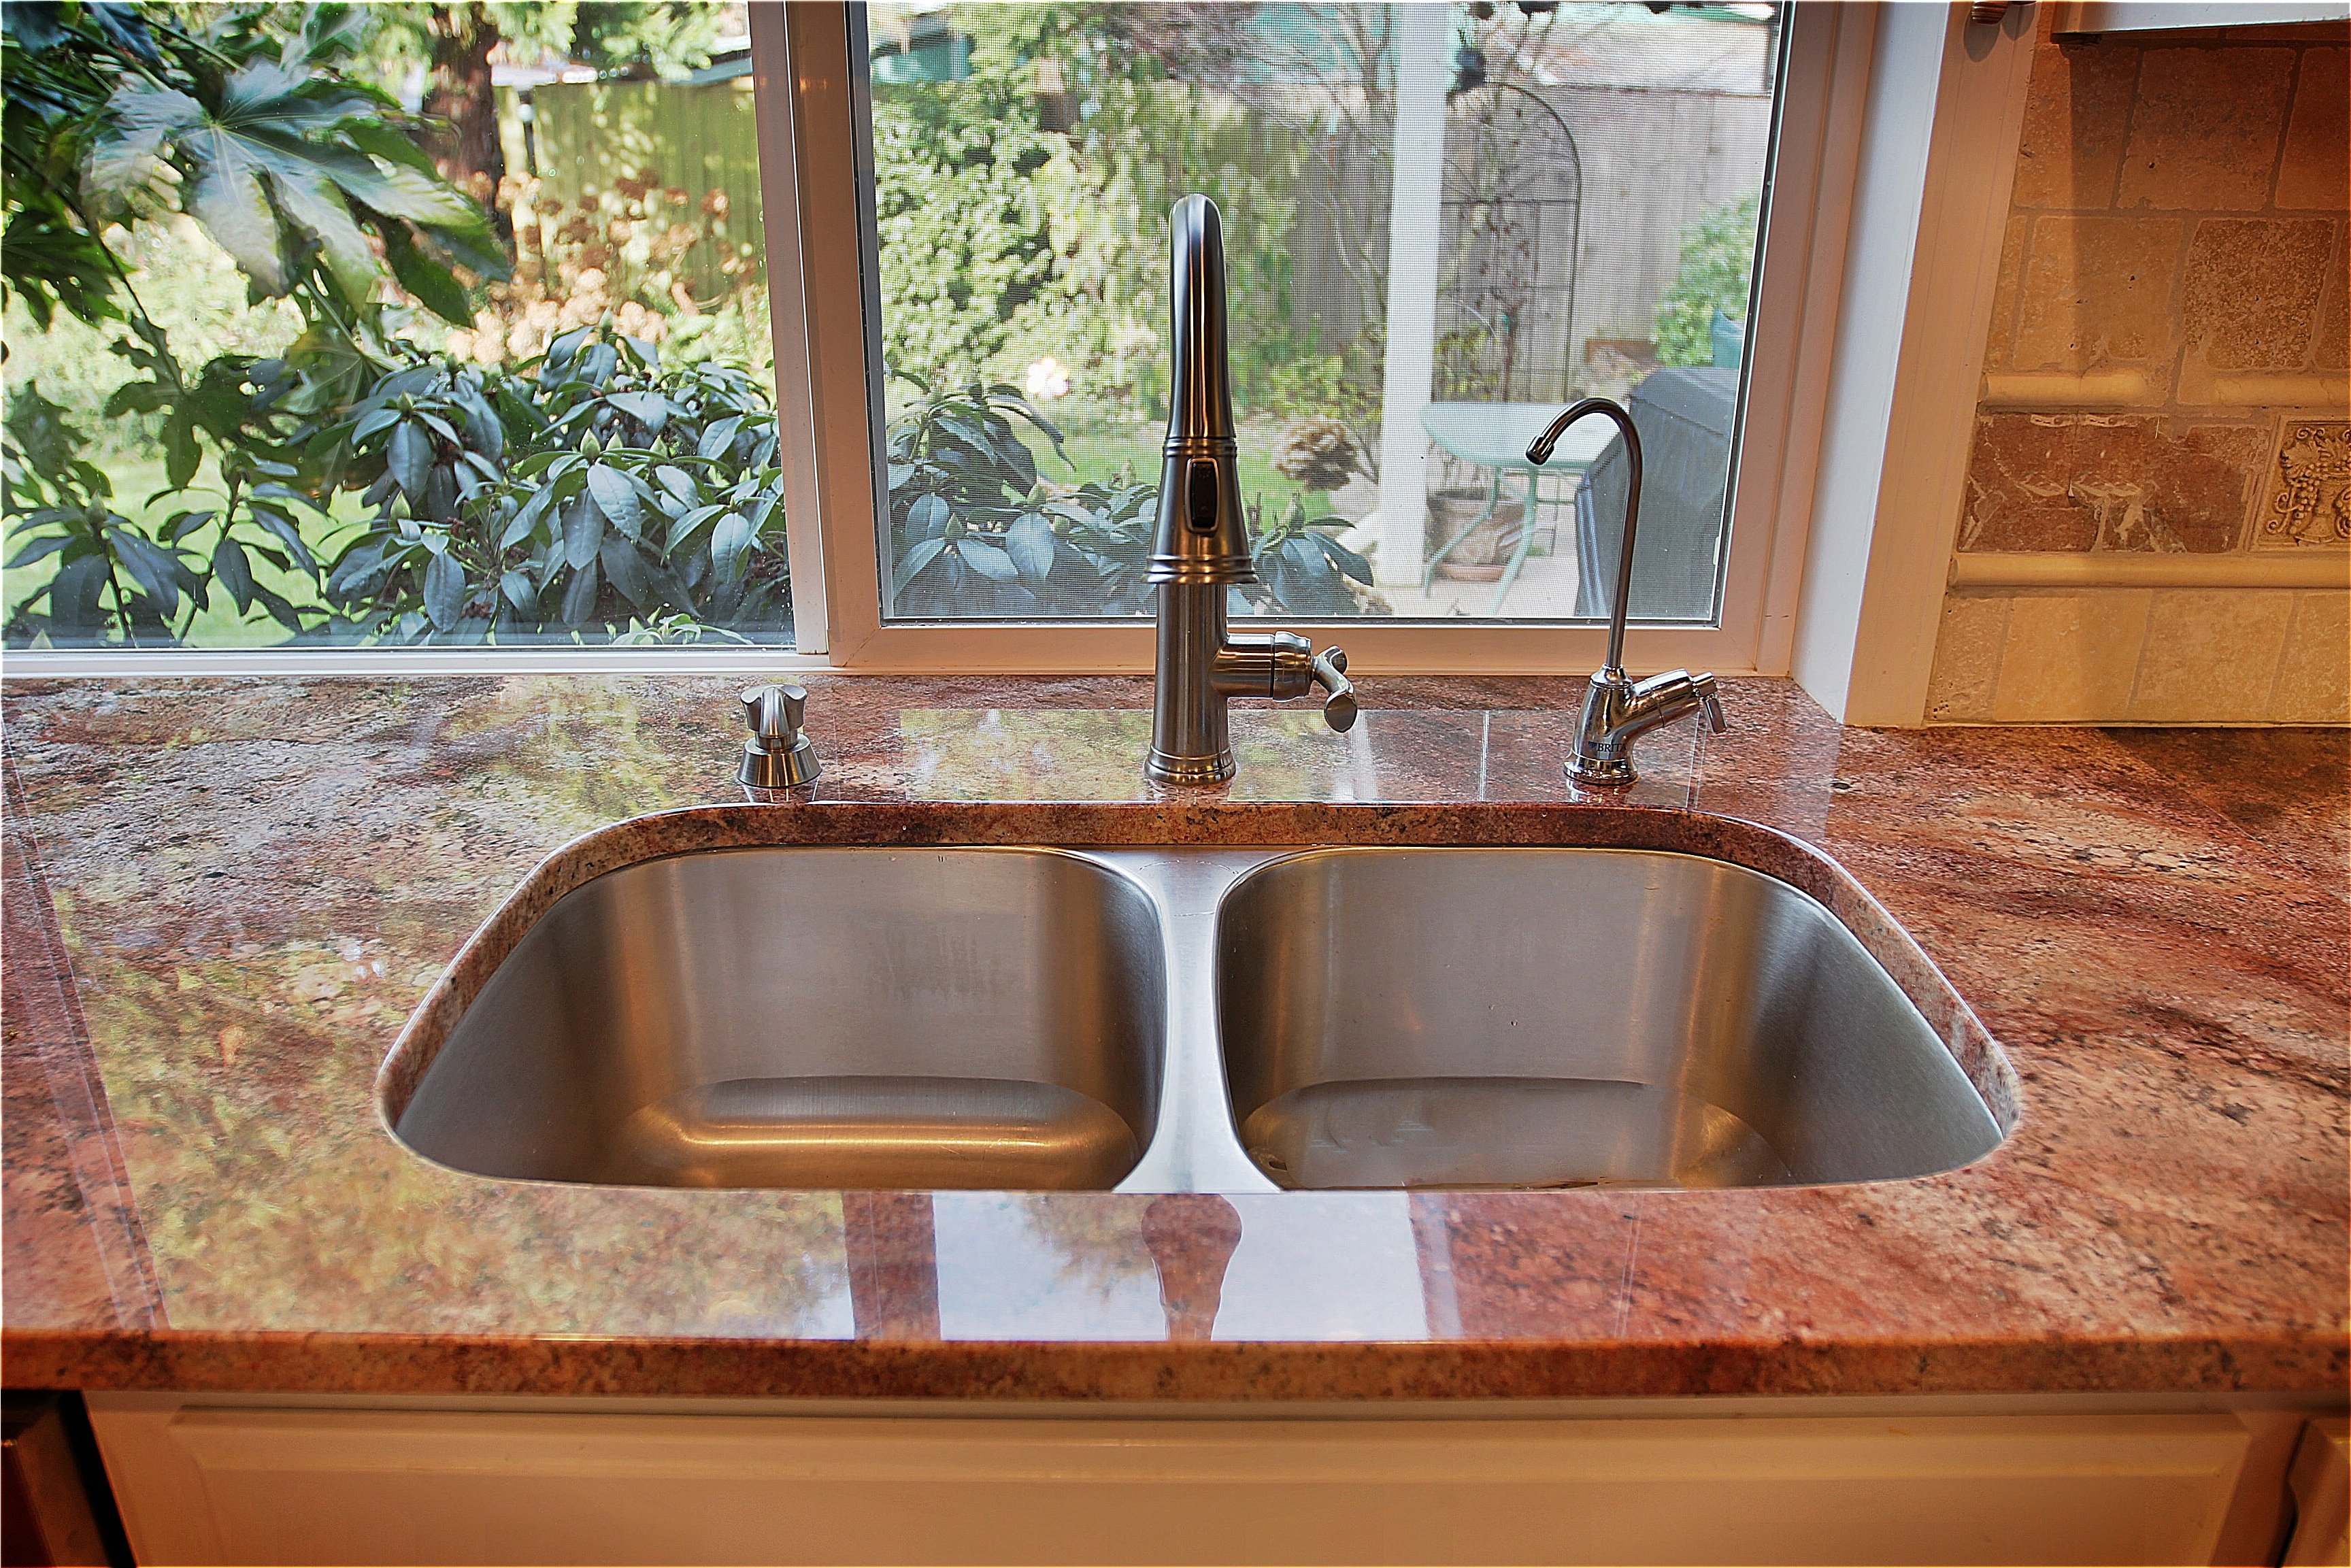
Now that the sink is in place, it is time to install the faucet. Follow the manufacturer's instructions for proper installation and use a wrench to secure it to the sink. Be sure to also connect the water supply lines to the faucet.Install the Faucet
How to Install a Kitchen Sink in a Granite Countertop
Why Choose a Granite Counter for Your Kitchen Sink?
Enhances Aesthetics and Adds Value to Your Home
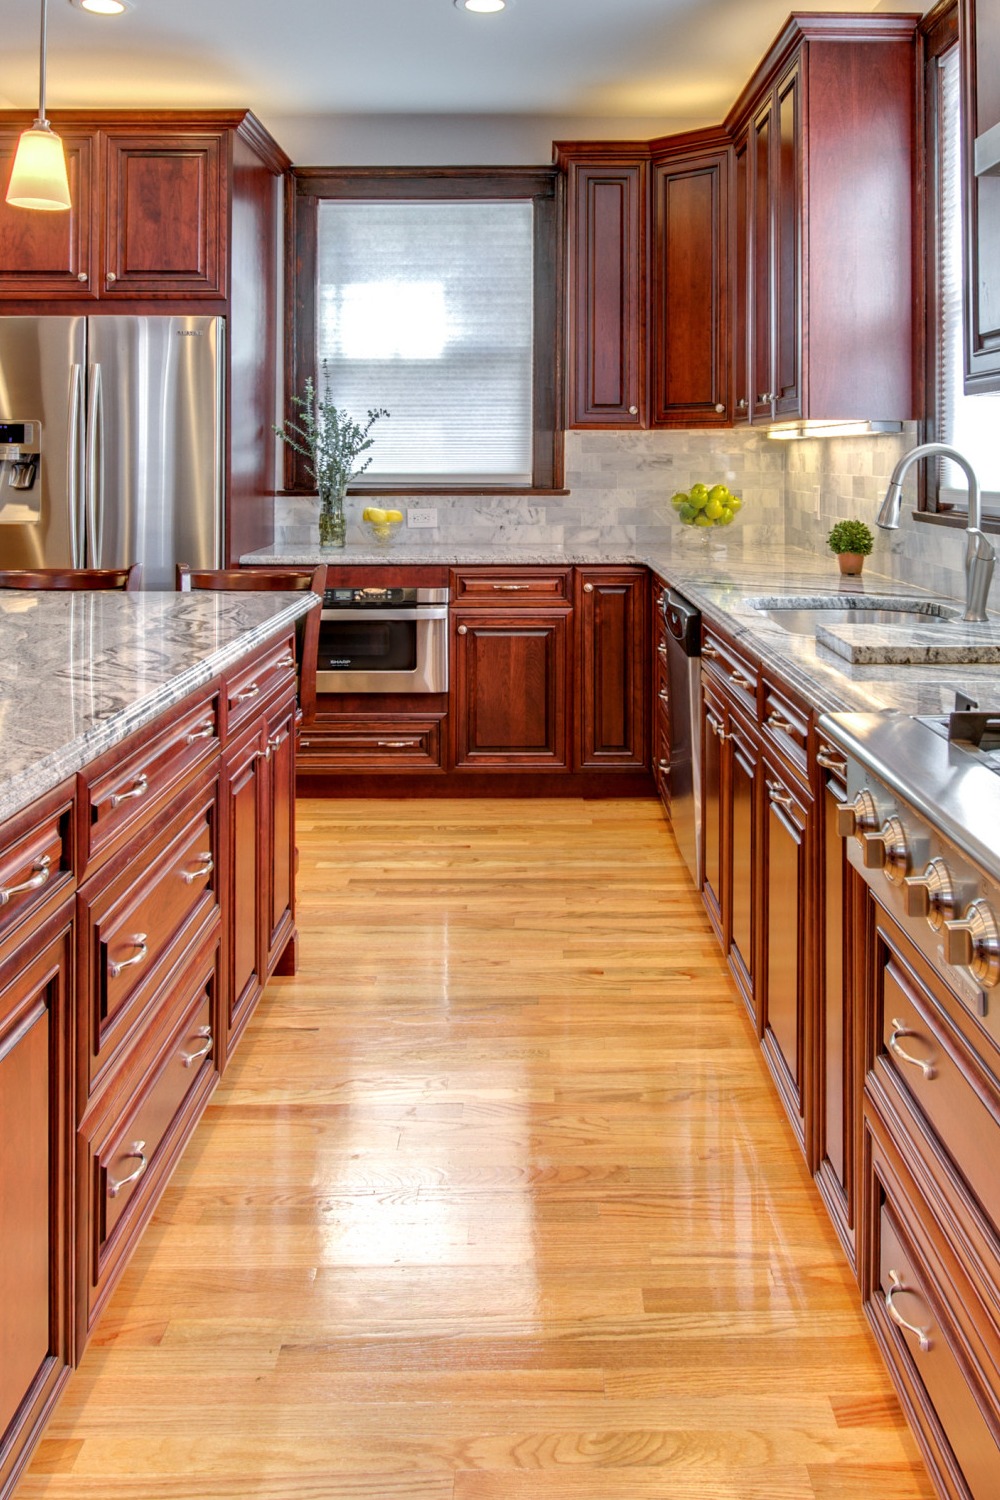
 When it comes to kitchen design, the countertop plays a crucial role in creating a beautiful and functional space. And one of the most popular choices among homeowners is a granite counter for their kitchen sink. Not only does it enhance the overall aesthetics of your kitchen, but it also adds value to your home.
Granite
is a natural stone that comes in a variety of colors and patterns, making it easy to match with any kitchen design. Its unique veining and speckled appearance add a touch of elegance and sophistication to your kitchen. Plus, it is a durable and long-lasting material, making it a worthwhile investment for your home.
When it comes to kitchen design, the countertop plays a crucial role in creating a beautiful and functional space. And one of the most popular choices among homeowners is a granite counter for their kitchen sink. Not only does it enhance the overall aesthetics of your kitchen, but it also adds value to your home.
Granite
is a natural stone that comes in a variety of colors and patterns, making it easy to match with any kitchen design. Its unique veining and speckled appearance add a touch of elegance and sophistication to your kitchen. Plus, it is a durable and long-lasting material, making it a worthwhile investment for your home.
Durable and Resistant to Heat, Scratches, and Stains
 The kitchen can be a high-traffic area, and your countertop needs to withstand daily wear and tear. This is where a granite counter shines. It is one of the hardest natural stones, making it highly resistant to scratches, heat, and stains. This means you can place hot pots and pans directly on the surface without worrying about damaging it. And with proper sealing and maintenance, it can last for many years to come.
Low Maintenance and Easy to Clean
 Another great advantage of a granite counter for your kitchen sink is its low maintenance and easy cleaning. Unlike other materials, granite does not require regular sealing or special cleaning products. A simple wipe with a mild soap and water solution is enough to keep it looking beautiful and hygienic. This makes it a practical choice for busy homeowners who want a stunning kitchen without the hassle of high maintenance.
Wide Range of Price Points
 Contrary to popular belief, a granite counter for your kitchen sink does not have to break the bank. While high-end granite can be quite expensive, there are also more affordable options available in the market. You can choose from a variety of colors and finishes that suit your budget without compromising on quality and aesthetics.
Conclusion
 In conclusion, a granite counter for your kitchen sink is an excellent investment for your home. It not only enhances the visual appeal of your kitchen but also adds value and durability to your space. With its heat, scratch, and stain-resistant properties, low maintenance, and wide range of price points, it is no wonder why many homeowners choose a granite counter for their kitchen sink. Consider this option for your next kitchen renovation project and enjoy a beautiful and functional kitchen for years to come.