Installing a new kitchen sink waste trap can seem like a daunting task, but with the right tools and instructions, it can be a simple and straightforward process. In this guide, we will walk you through the steps of installing an IKEA kitchen sink waste trap, so you can have a fully functional and efficient sink in no time.How to Install an IKEA Kitchen Sink Waste Trap


How to Install an IKEA Kitchen Sink Waste Trap


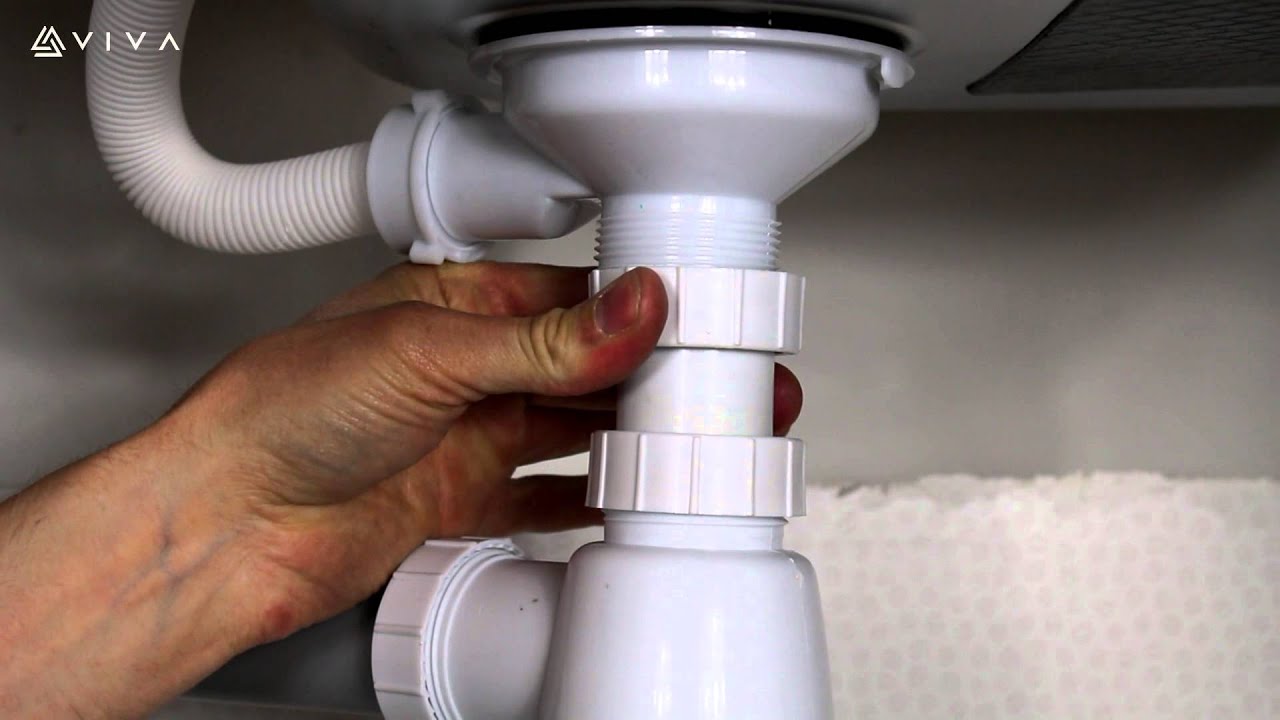


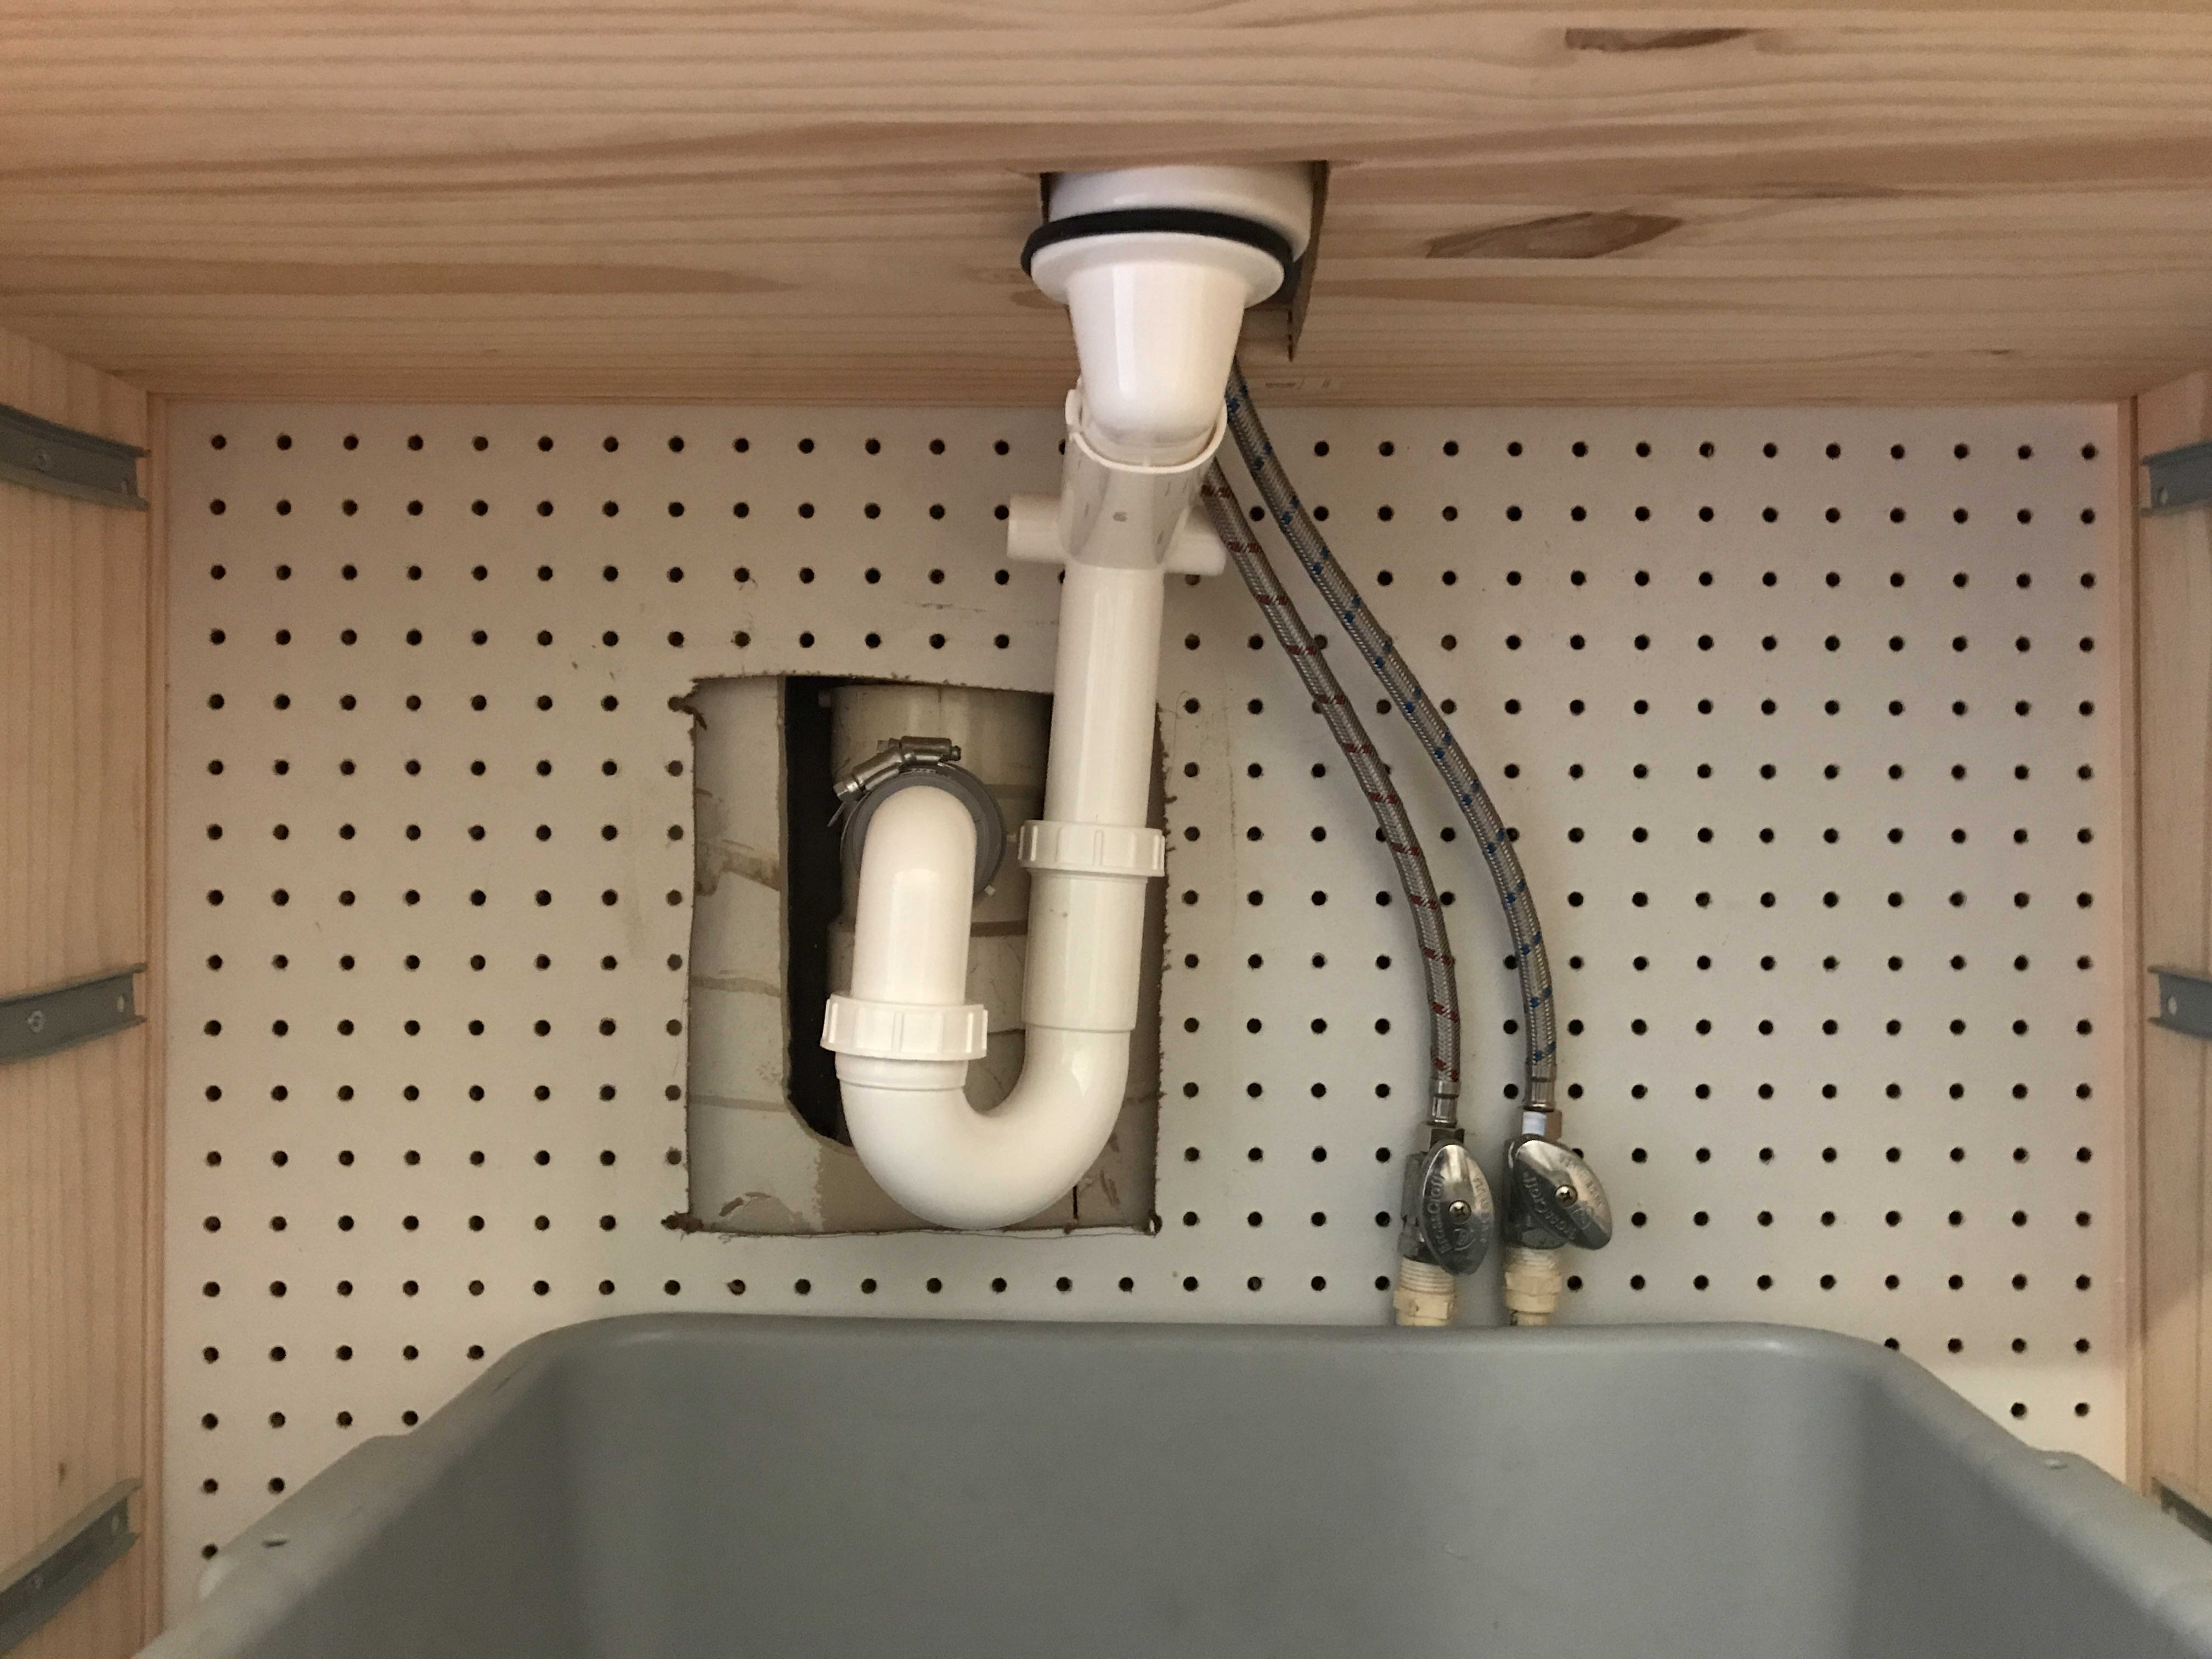

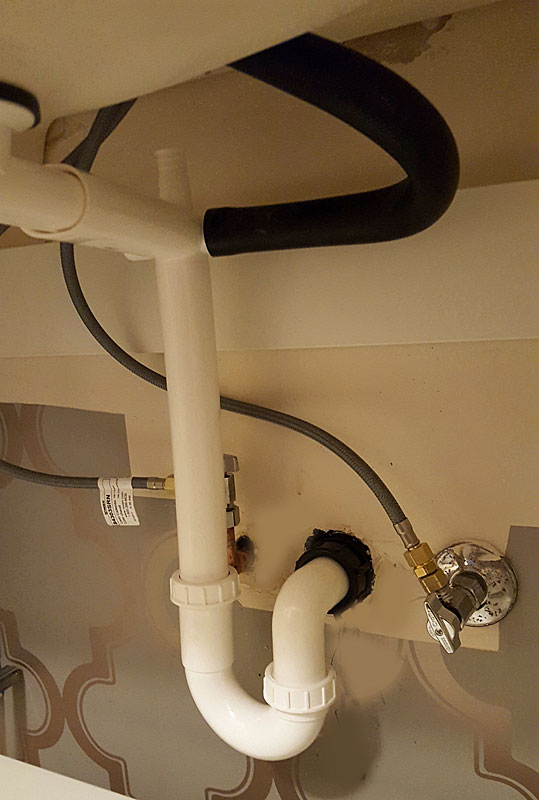
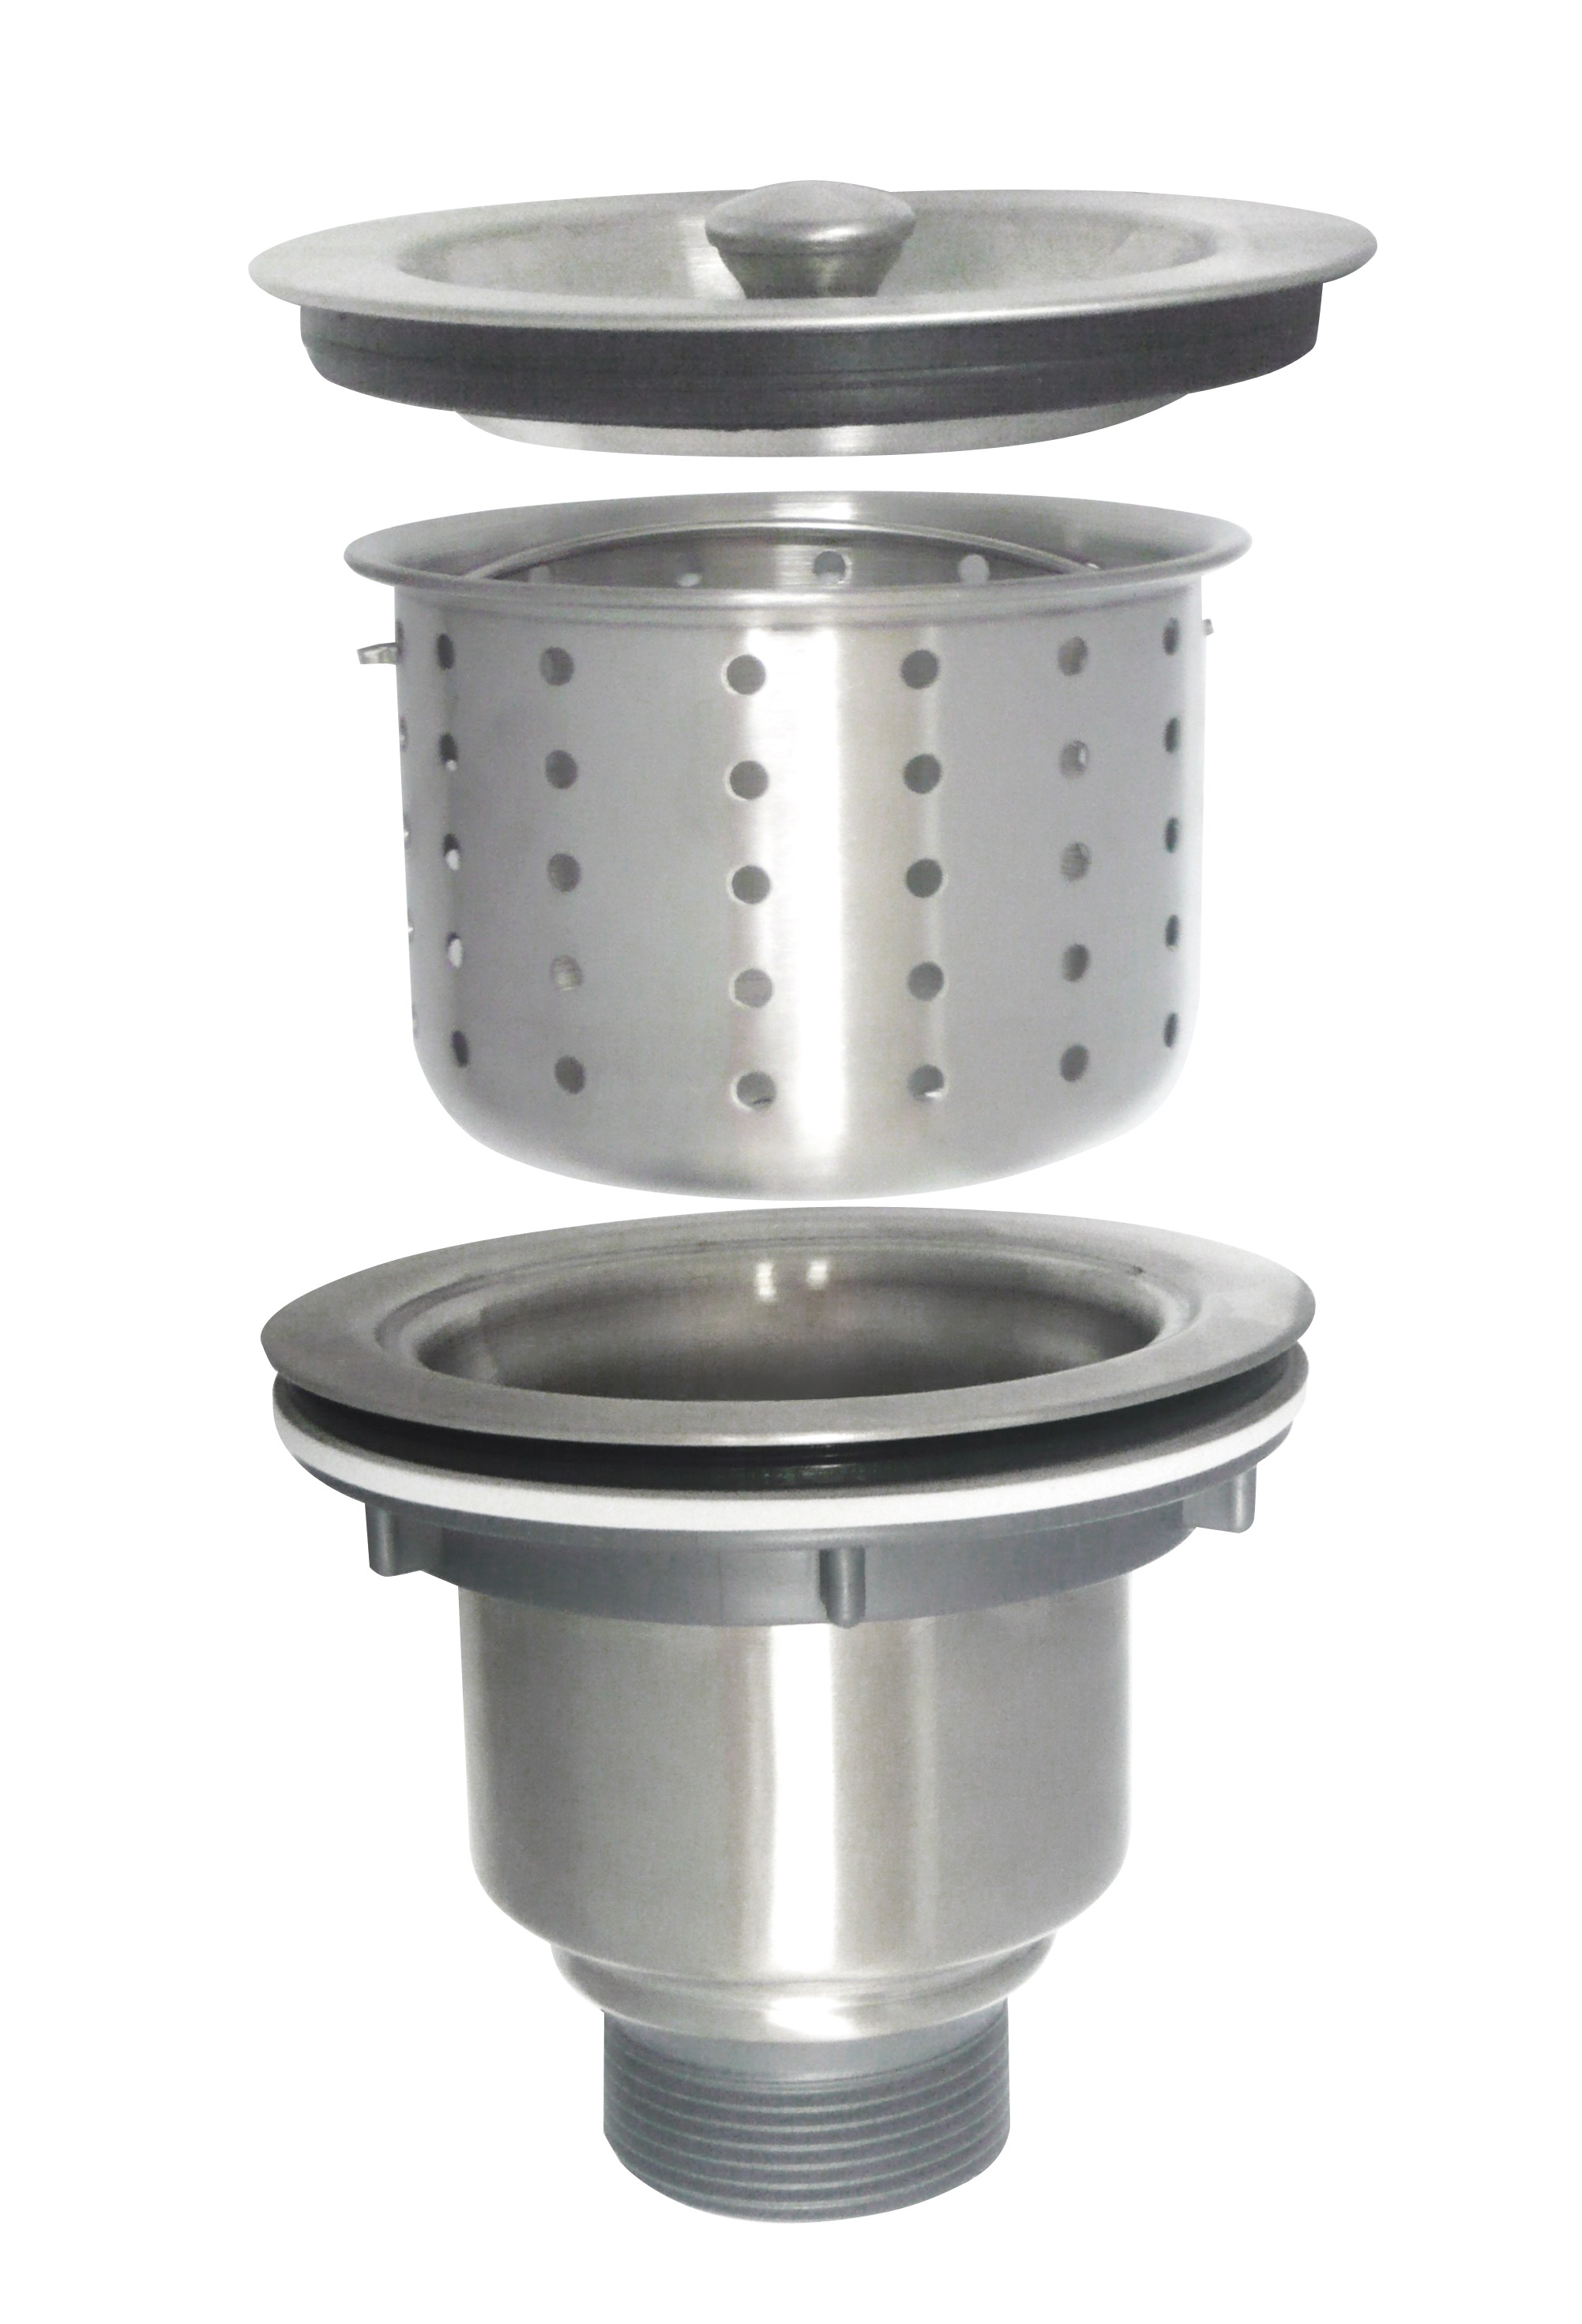
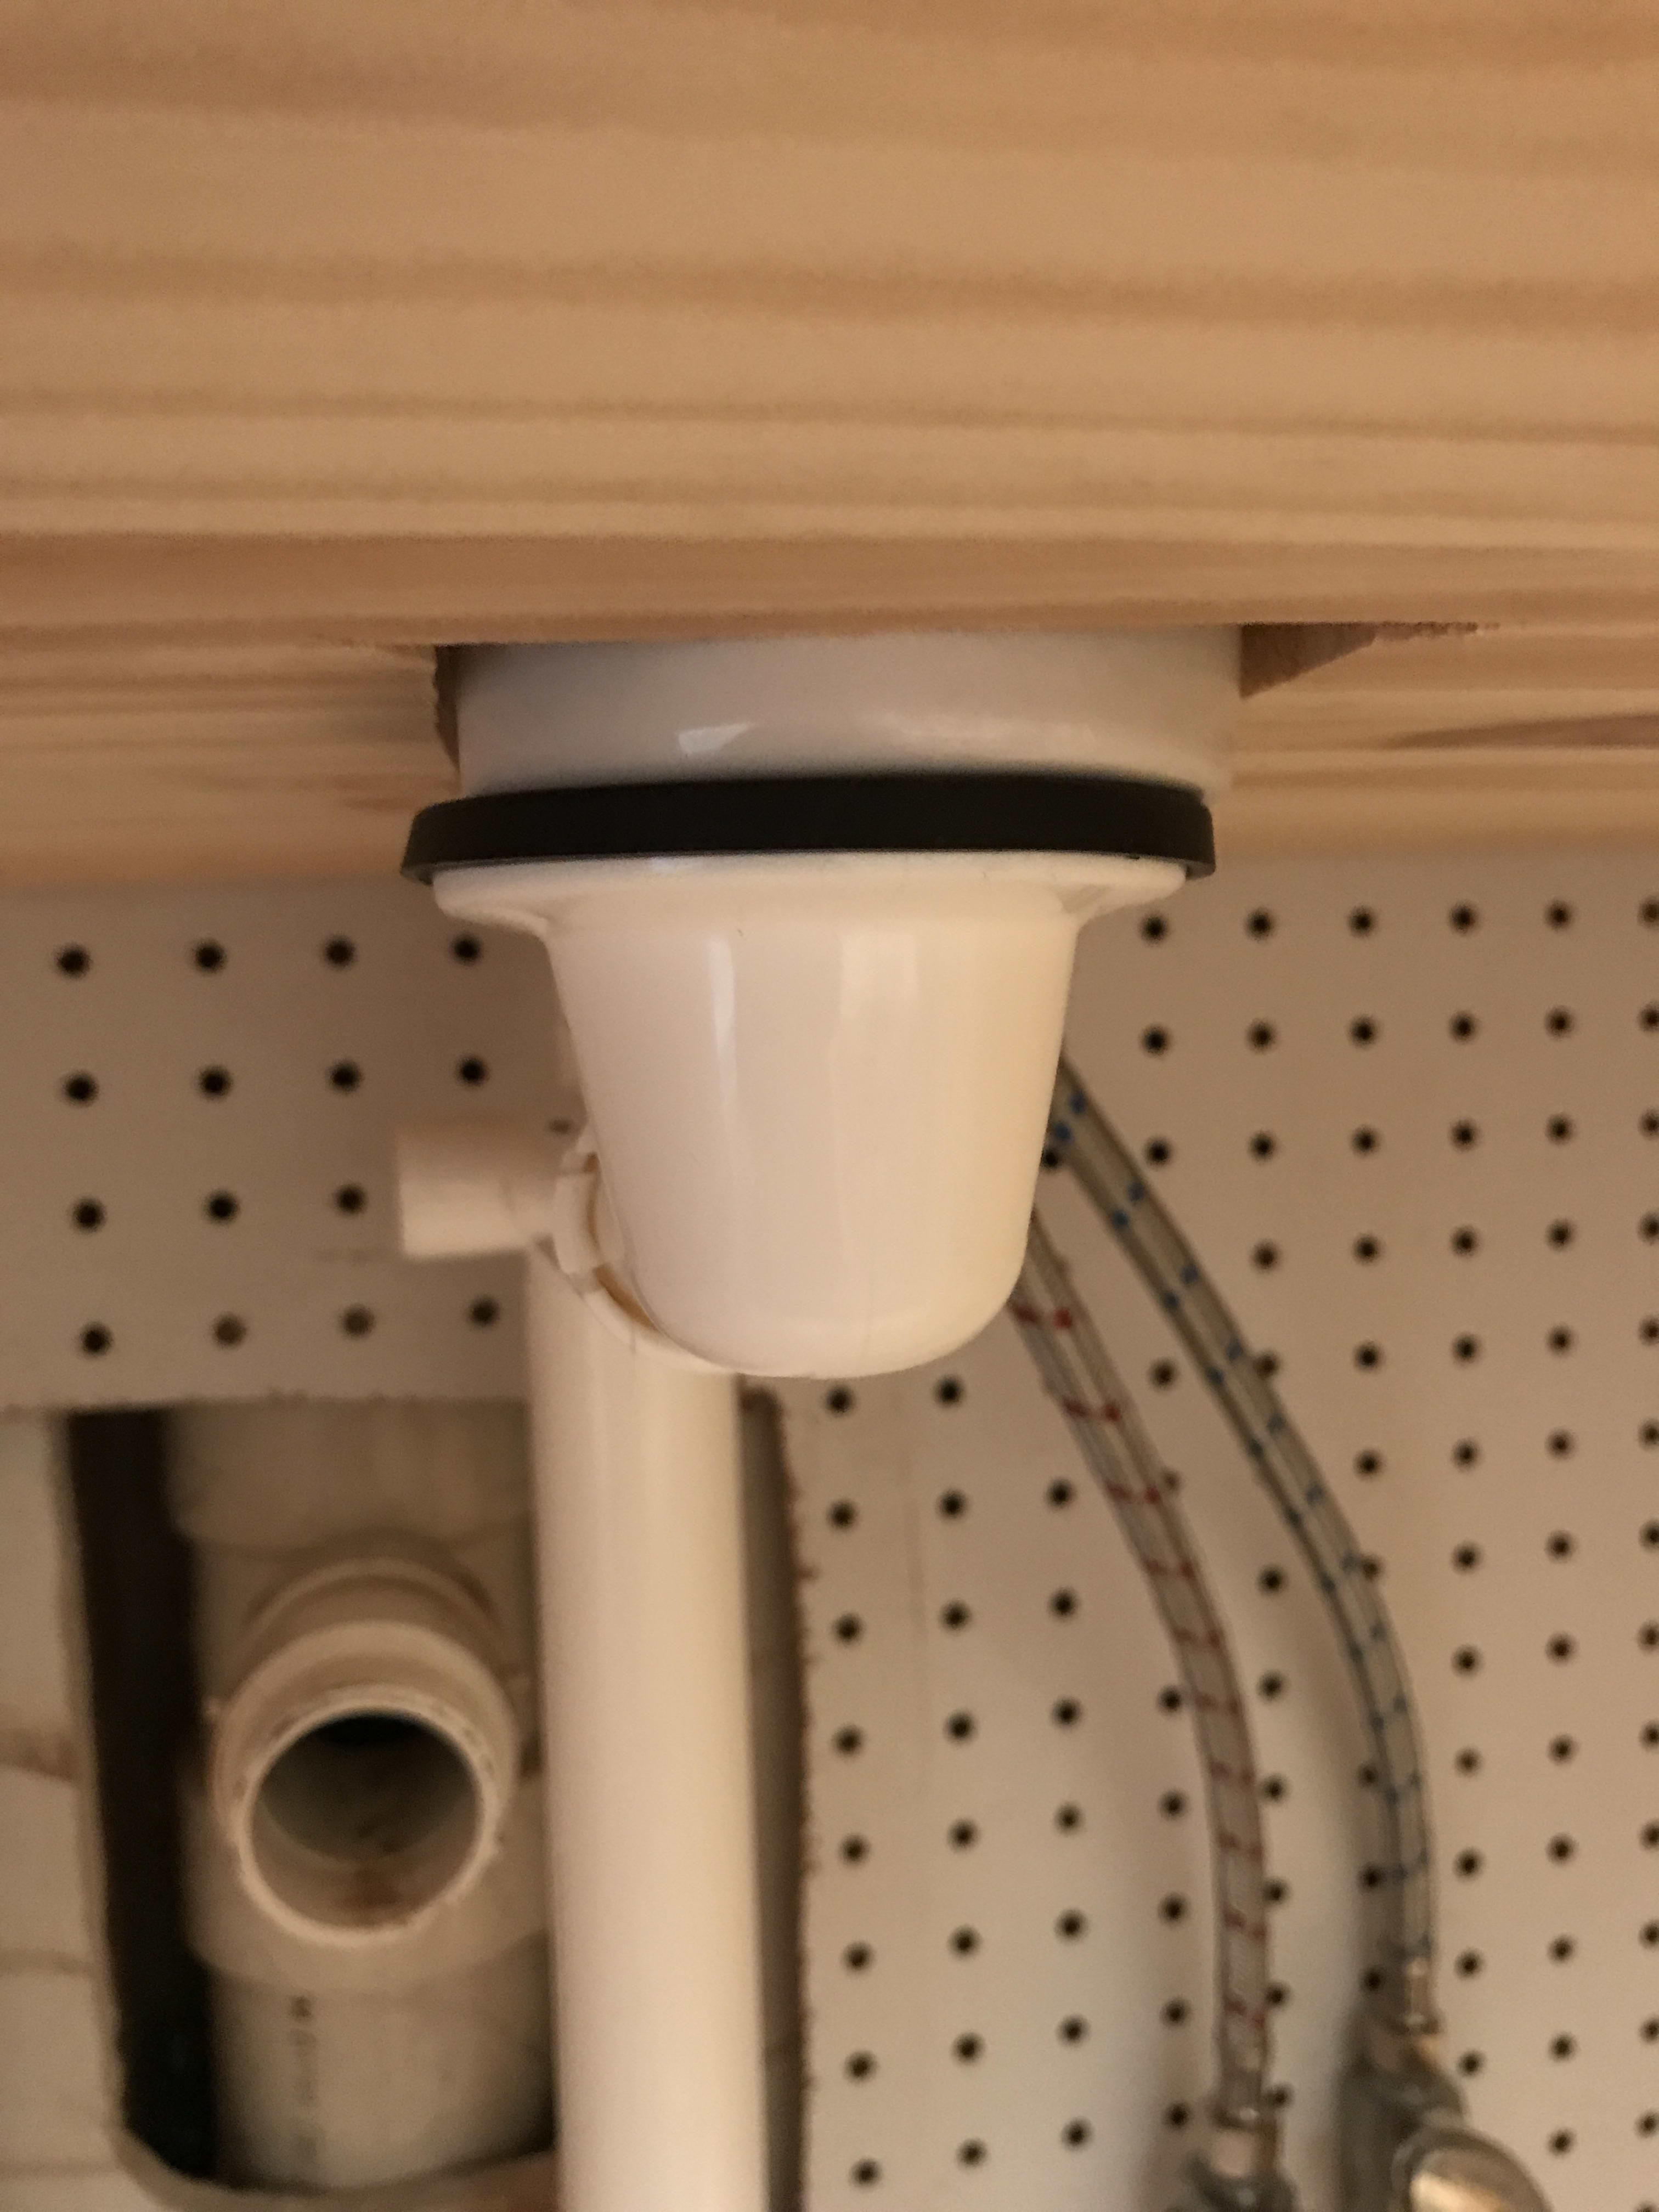
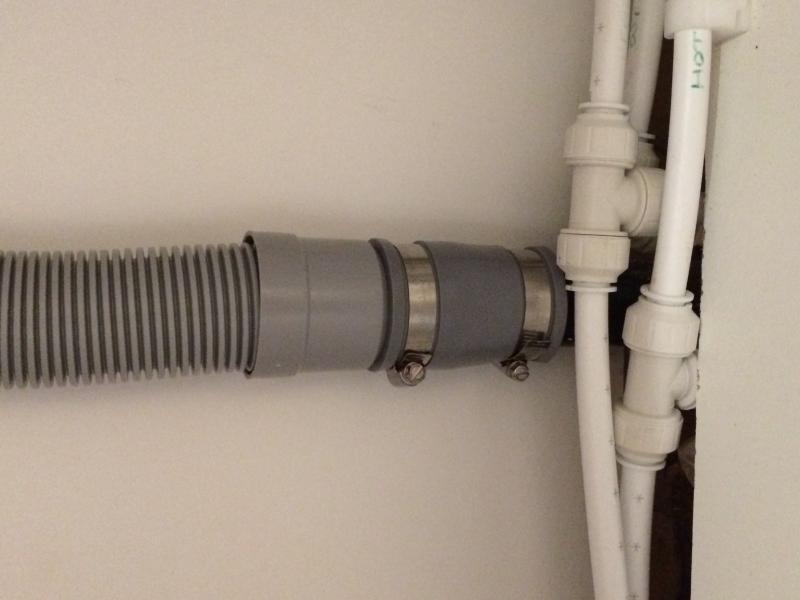
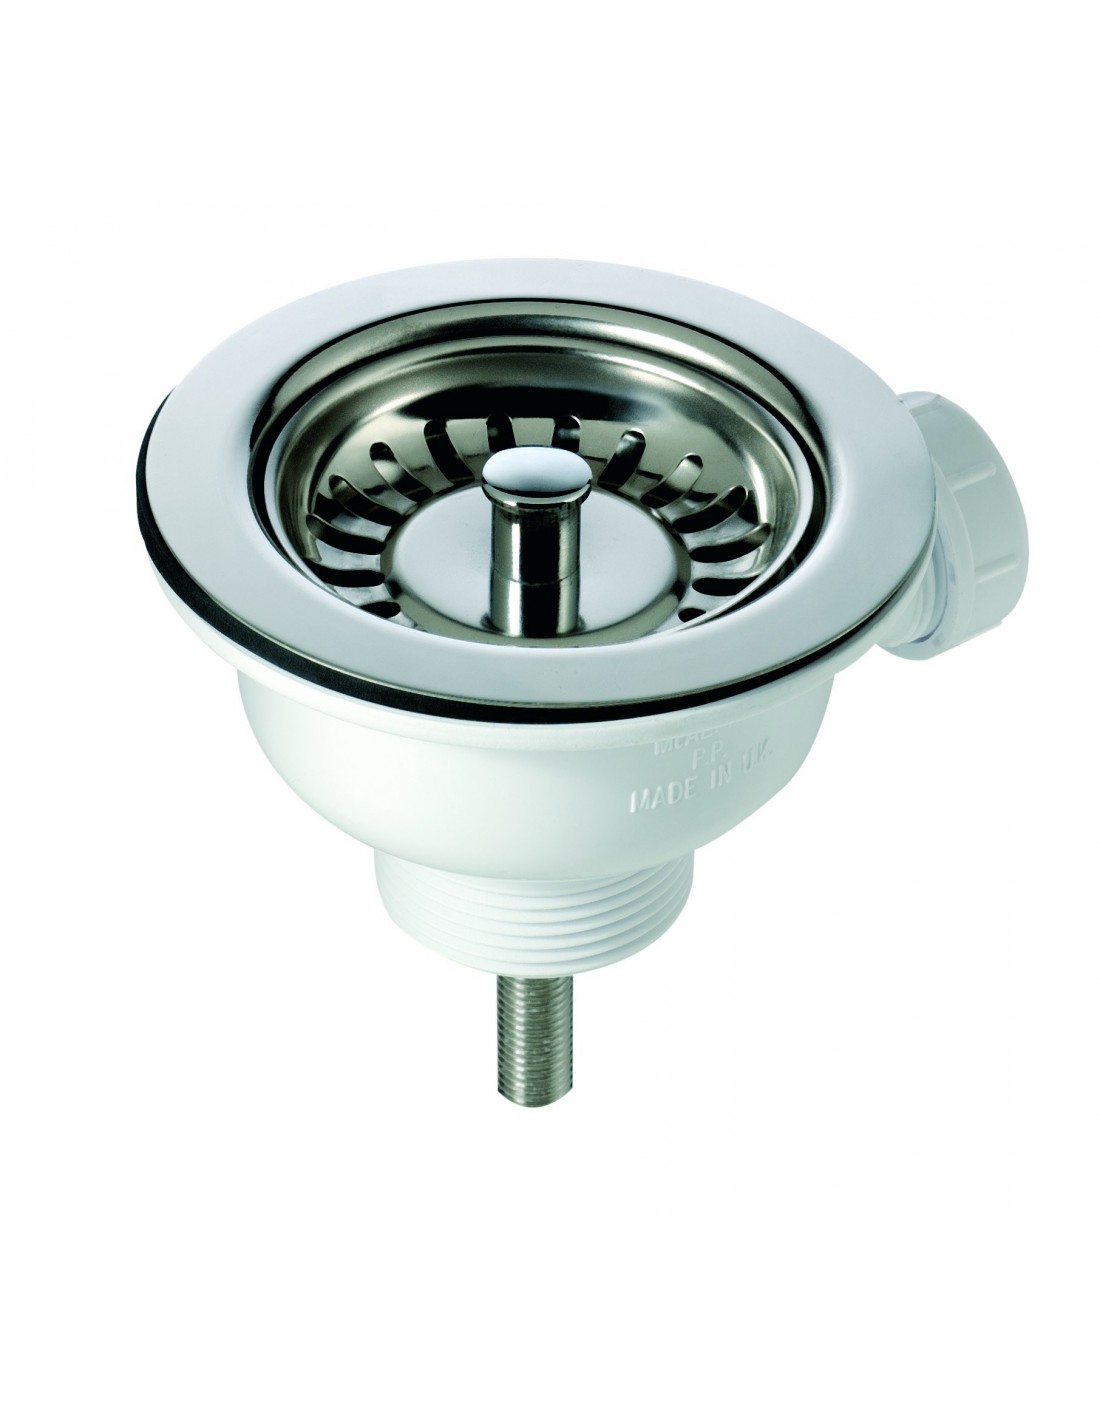
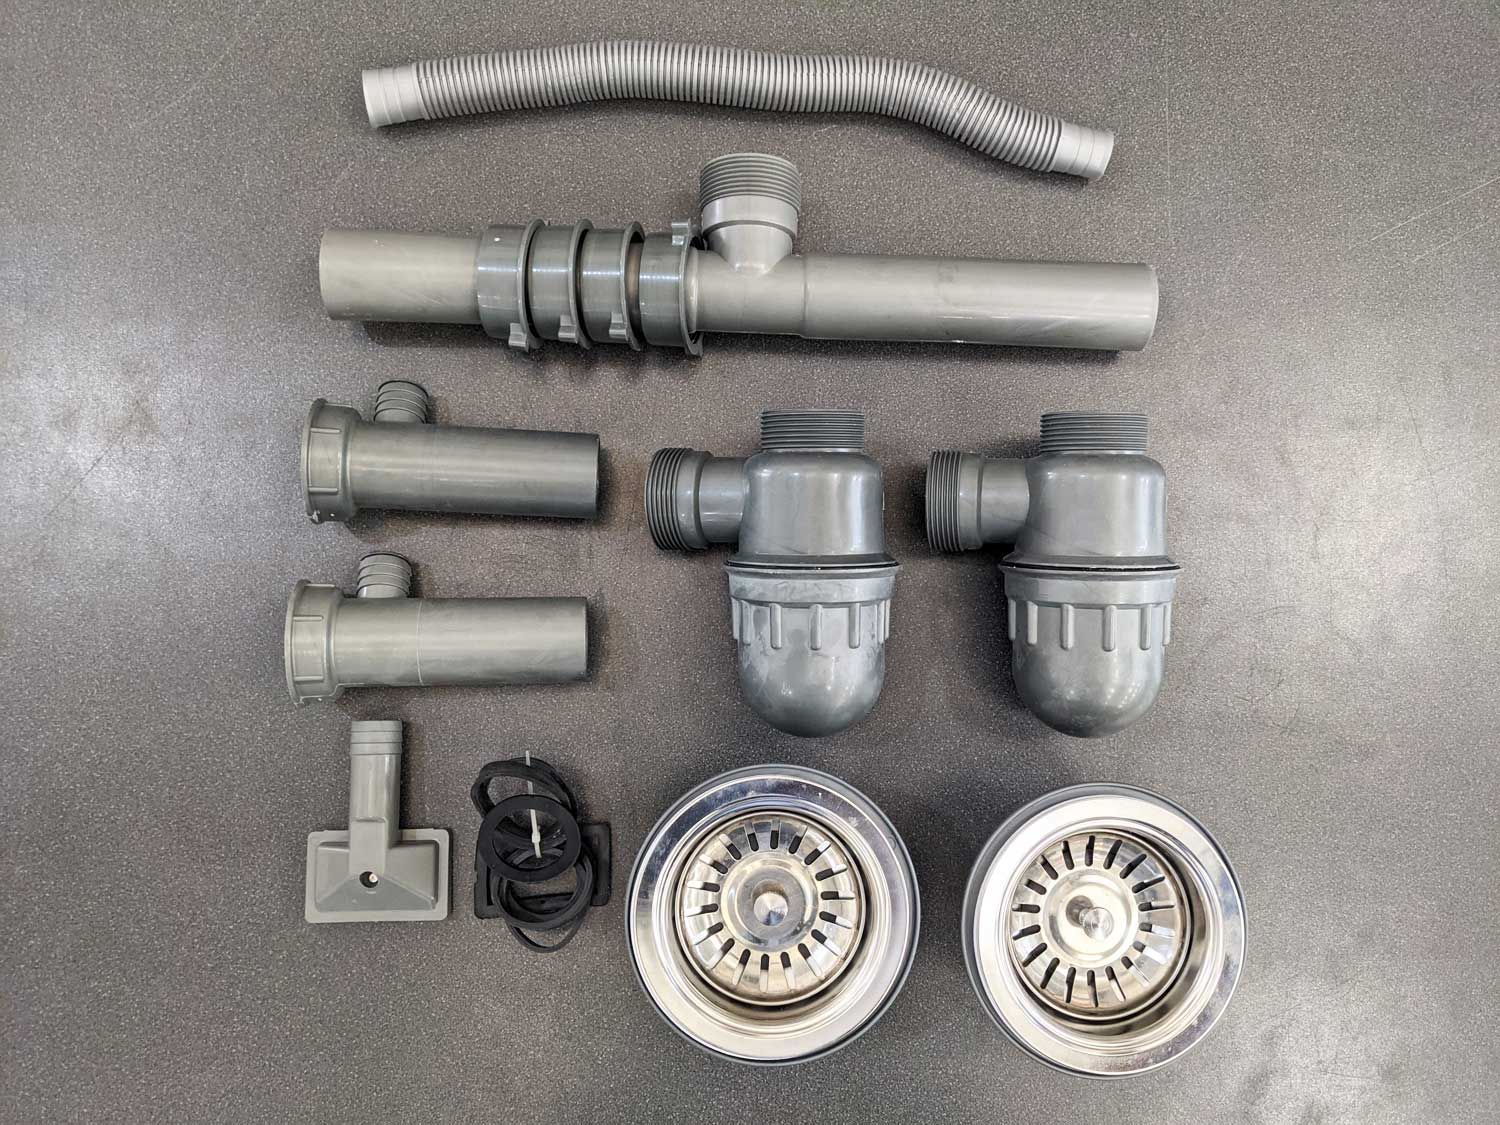
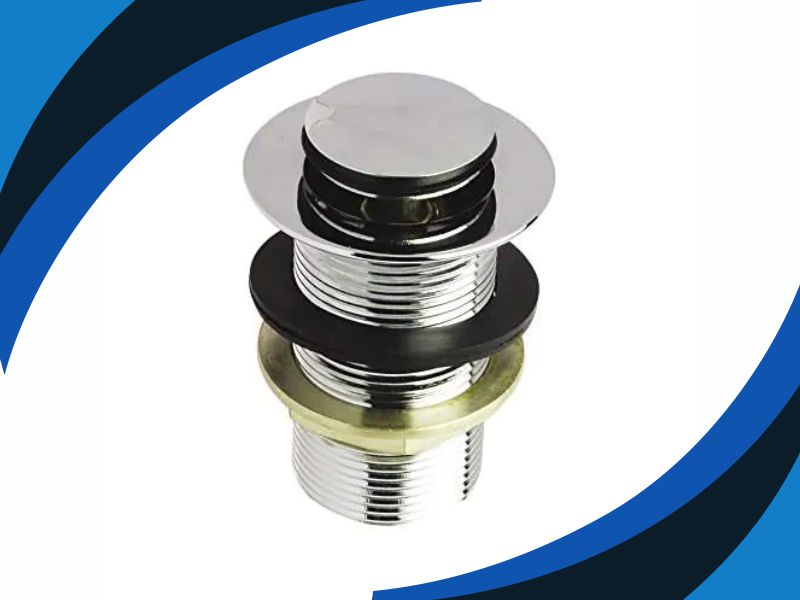
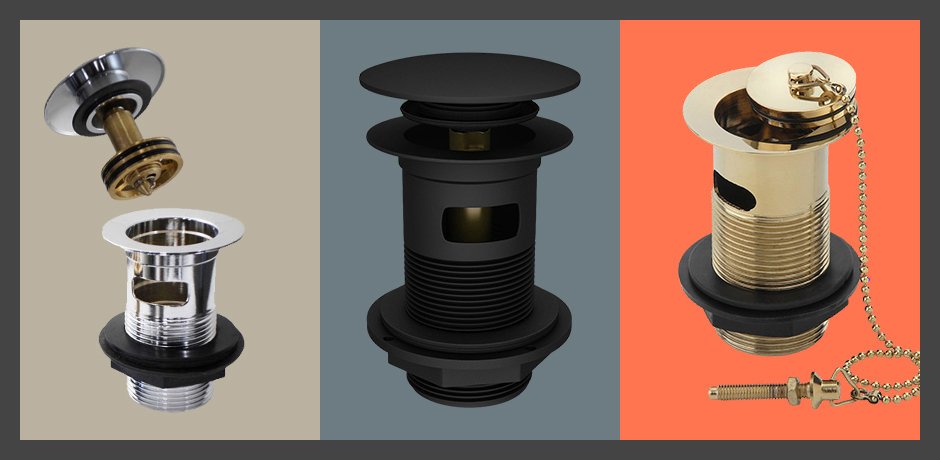
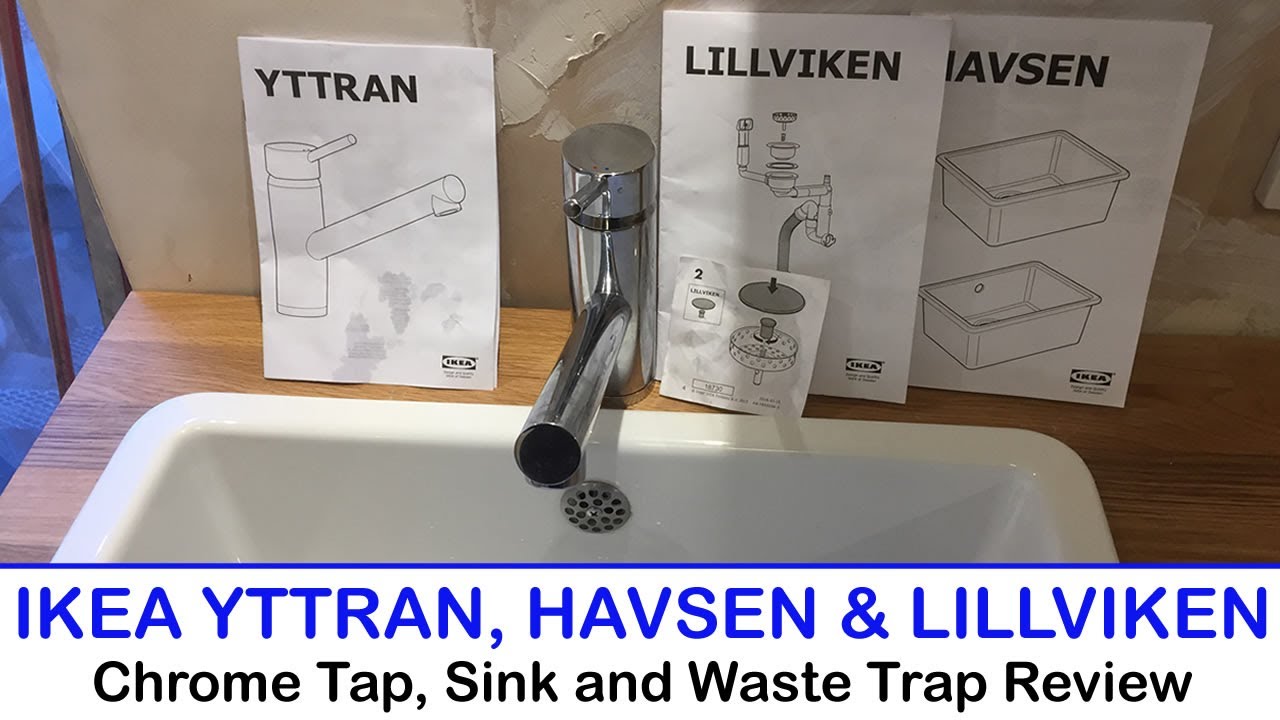
Before beginning the installation process, it is important to familiarize yourself with the different parts of the waste trap. An IKEA kitchen sink waste trap typically consists of a P-trap, a tailpiece, and a strainer. The P-trap is the curved pipe that connects to the sink drain, while the tailpiece is the straight pipe that connects to the P-trap and the strainer is the removable filter that prevents debris from clogging the pipes.IKEA Kitchen Sink Waste Trap Installation Guide
IKEA Kitchen Sink Waste Trap Installation Guide
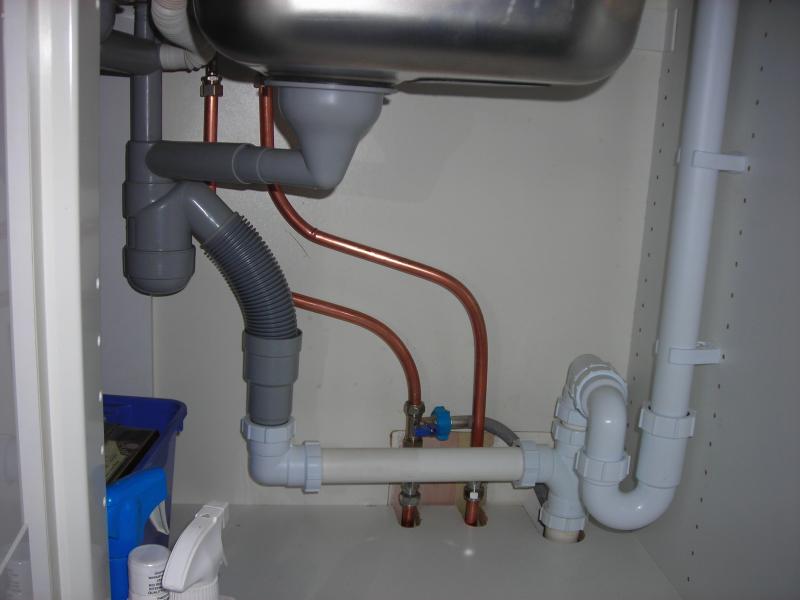
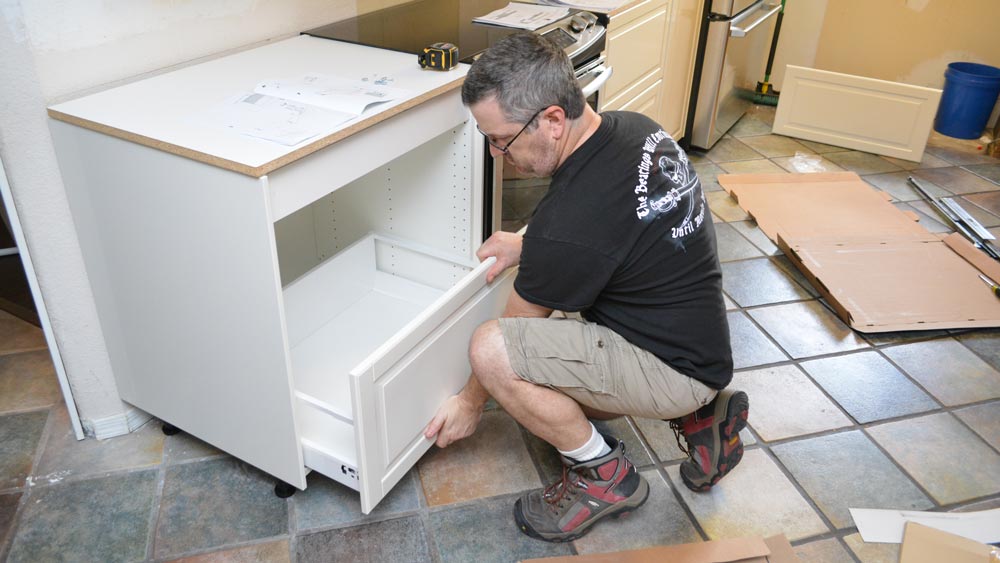
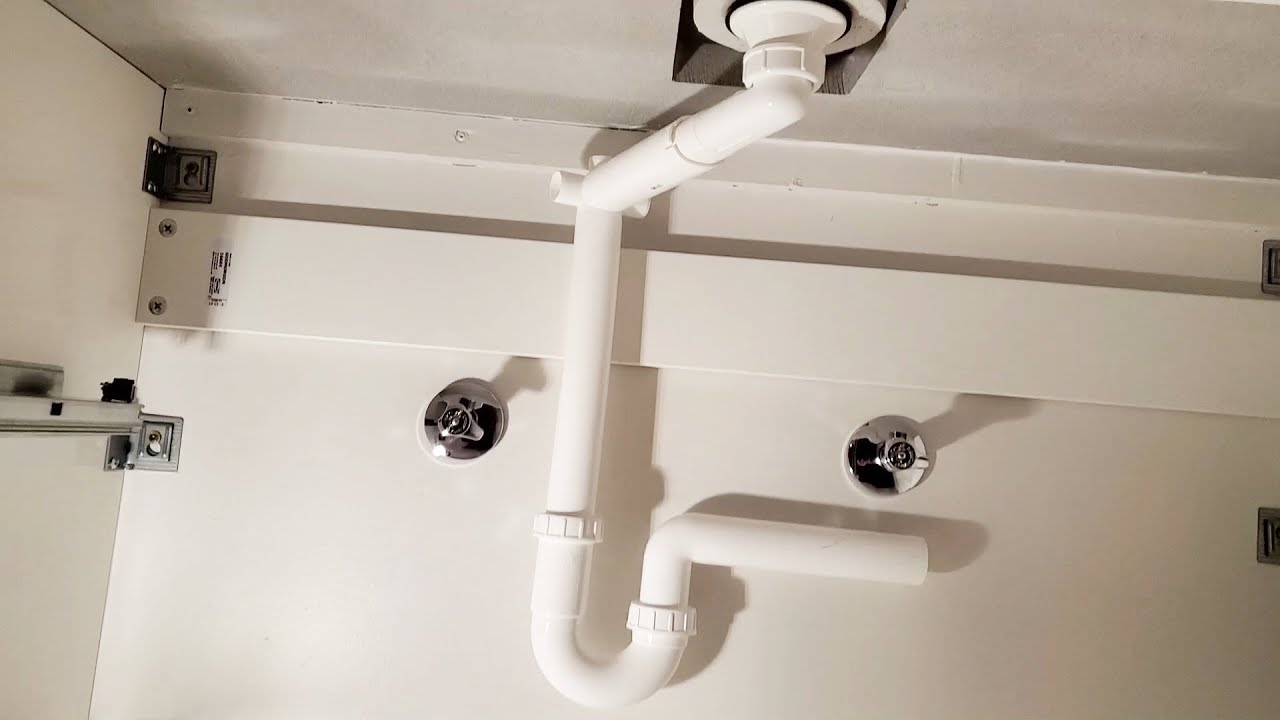
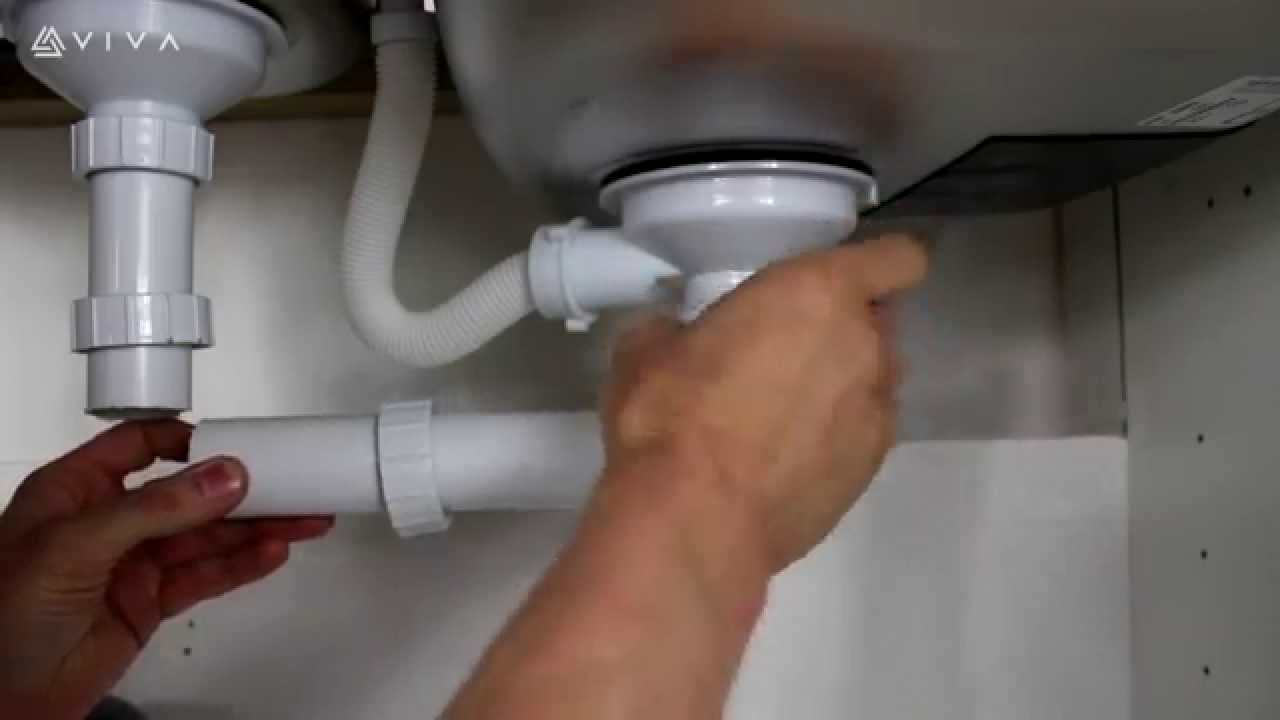
Step 1: Start by turning off the water supply to your sink. This can usually be done by turning off the shut-off valve under the sink or by shutting off the main water supply to your house. Step 2: Place a bucket or towel beneath the sink to catch any water that may leak out during the installation process. Step 3: Disconnect the old waste trap by loosening the nuts that hold it in place using a pair of pliers or a wrench. Remove the old trap and clean the area around the sink drain. Step 4: Take the new P-trap and attach it to the sink drain, making sure it is securely tightened. Next, attach the tailpiece to the P-trap and tighten the nuts. Step 5: Place the strainer into the sink drain and secure it in place by tightening the nut underneath the sink. Step 6: Turn the water supply back on and check for any leaks. If there are no leaks, you have successfully installed your new IKEA kitchen sink waste trap!Step-by-Step Instructions for Installing an IKEA Kitchen Sink Waste Trap
Step-by-Step Instructions for Installing an IKEA Kitchen Sink Waste Trap


To ensure a smooth installation process, here are a few tips and tricks to keep in mind: • Before installing the new waste trap, make sure to clean the area around the sink drain thoroughly to prevent any leaks. • Use Teflon tape on the threads of the nuts and connections to create a watertight seal. • If you are unsure about any step of the installation process, consult the installation manual or seek professional help.IKEA Kitchen Sink Waste Trap Installation Tips and Tricks

IKEA Kitchen Sink Waste Trap Installation Tips and Tricks

Installing a waste trap can be tricky, especially for those who are not familiar with plumbing. Here are some common mistakes to avoid during the installation process: • Forgetting to turn off the water supply can result in a messy and potentially damaging leak. • Not properly tightening the nuts can also lead to leaks and a loose waste trap. • Installing the waste trap in the wrong direction can cause it to not fit properly and result in leaks.Common Mistakes to Avoid When Installing an IKEA Kitchen Sink Waste Trap


Common Mistakes to Avoid When Installing an IKEA Kitchen Sink Waste Trap


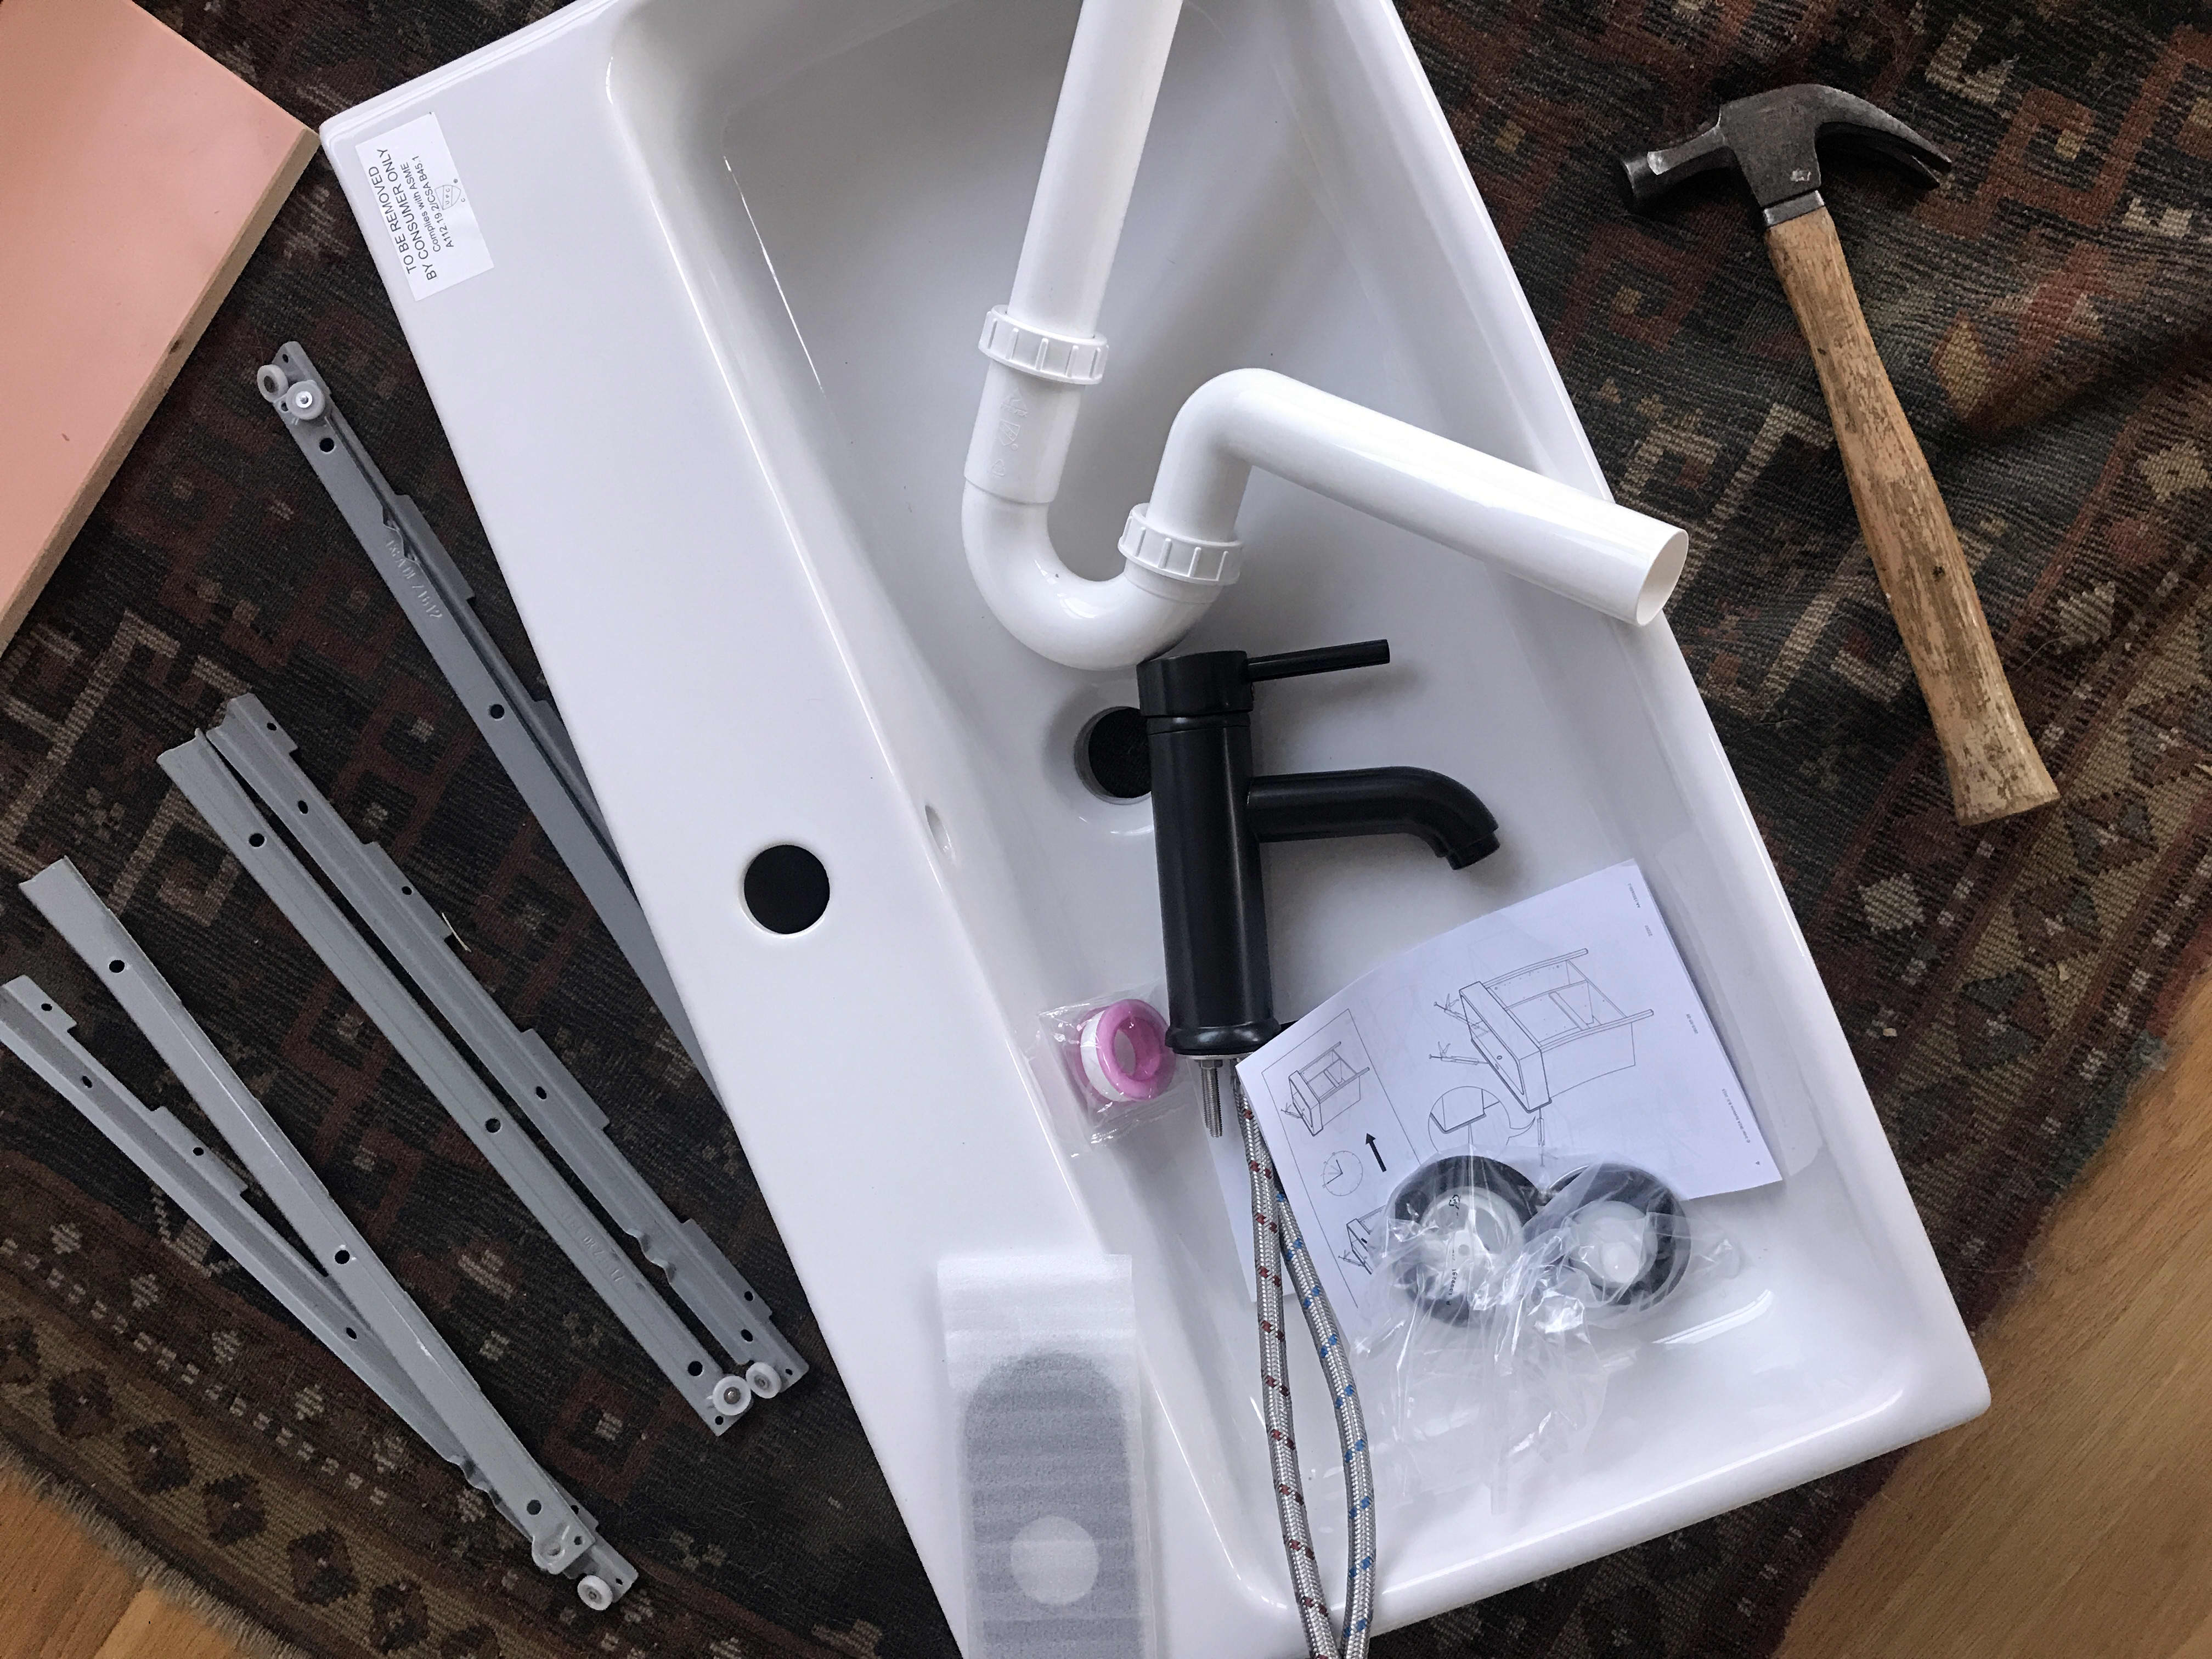
To successfully install an IKEA kitchen sink waste trap, you will need the following tools and materials: • Pliers or wrench • Bucket or towel • Teflon tape • New waste trap • Installation manual (if available)Tools and Materials Needed for Installing an IKEA Kitchen Sink Waste Trap


Tools and Materials Needed for Installing an IKEA Kitchen Sink Waste Trap


If you prefer visual instructions, there are many helpful video tutorials available online that can guide you through the installation process step by step. Make sure to follow the video closely and pause when needed to ensure you are following the instructions correctly.Video Tutorial: Installing an IKEA Kitchen Sink Waste Trap


Video Tutorial: Installing an IKEA Kitchen Sink Waste Trap

If you are still unsure about installing the waste trap yourself, it is always best to seek professional help. Plumbers have the experience and expertise to tackle any plumbing task, including installing an IKEA kitchen sink waste trap.Expert Advice on Installing an IKEA Kitchen Sink Waste Trap
Expert Advice on Installing an IKEA Kitchen Sink Waste Trap

If you encounter any issues during the installation process, here are some troubleshooting tips: • If there are leaks, make sure all nuts and connections are properly tightened. • If the waste trap does not fit properly, double-check that all parts are facing the correct direction. • If the sink is draining slowly, check the strainer for any debris and clean it out if necessary.Troubleshooting Common Issues with IKEA Kitchen Sink Waste Trap Installation

Troubleshooting Common Issues with IKEA Kitchen Sink Waste Trap Installation


Once you have successfully installed the waste trap, turn the water supply back on and check for any leaks. If there are no leaks, congratulations, you have completed the installation process! Make sure to clean up any mess and dispose of the old waste trap properly. Now that you have a new IKEA kitchen sink waste trap installed, you can enjoy a fully functional and efficient sink. Just remember to regularly check and clean the waste trap to prevent any clogs and maintain its longevity.Final Steps for Completing an IKEA Kitchen Sink Waste Trap Installation


Final Steps for Completing an IKEA Kitchen Sink Waste Trap Installation

Why Choose IKEA Kitchen Sink Waste Trap Installation for Your Home Design?

Efficiency and Functionality
 When it comes to designing your dream kitchen, every detail matters.
IKEA kitchen sink waste trap installation
offers a functional and efficient solution for managing waste in your kitchen. This waste trap is designed to fit perfectly with IKEA sinks, ensuring that no space is wasted and all parts work seamlessly together. With its clever design, it effectively traps food scraps and prevents them from clogging your pipes, saving you from the hassle and cost of plumbing repairs.
When it comes to designing your dream kitchen, every detail matters.
IKEA kitchen sink waste trap installation
offers a functional and efficient solution for managing waste in your kitchen. This waste trap is designed to fit perfectly with IKEA sinks, ensuring that no space is wasted and all parts work seamlessly together. With its clever design, it effectively traps food scraps and prevents them from clogging your pipes, saving you from the hassle and cost of plumbing repairs.
Cost-Effective Solution
 In addition to its practical benefits,
IKEA kitchen sink waste trap installation
is also a cost-effective solution for your home design. Compared to traditional waste traps, which can be expensive and require professional installation, IKEA's waste trap is affordable and easy to install yourself. This means you can save money and still have a functional and stylish kitchen.
In addition to its practical benefits,
IKEA kitchen sink waste trap installation
is also a cost-effective solution for your home design. Compared to traditional waste traps, which can be expensive and require professional installation, IKEA's waste trap is affordable and easy to install yourself. This means you can save money and still have a functional and stylish kitchen.
Sustainable Choice
 In today's world, sustainability is becoming increasingly important. By choosing
IKEA kitchen sink waste trap installation
, you are making an eco-friendly choice for your home design. The waste trap is made from durable materials and is designed to last, reducing the need for frequent replacements. It also helps to reduce waste and promote proper waste management, contributing to a more sustainable environment.
In today's world, sustainability is becoming increasingly important. By choosing
IKEA kitchen sink waste trap installation
, you are making an eco-friendly choice for your home design. The waste trap is made from durable materials and is designed to last, reducing the need for frequent replacements. It also helps to reduce waste and promote proper waste management, contributing to a more sustainable environment.
Design and Style
 Apart from its functionality and efficiency,
IKEA kitchen sink waste trap installation
also adds a touch of design and style to your kitchen. With its sleek and modern look, it seamlessly blends in with any kitchen design, adding a polished and sophisticated touch to the space. The waste trap is also available in different finishes, allowing you to choose one that complements your kitchen's aesthetic.
In conclusion,
IKEA kitchen sink waste trap installation
offers a practical, cost-effective, sustainable, and stylish solution for managing waste in your kitchen. With its efficient design, it makes your daily tasks in the kitchen easier and more convenient. So why settle for a traditional waste trap when you can elevate your home design with IKEA's innovative option?
Apart from its functionality and efficiency,
IKEA kitchen sink waste trap installation
also adds a touch of design and style to your kitchen. With its sleek and modern look, it seamlessly blends in with any kitchen design, adding a polished and sophisticated touch to the space. The waste trap is also available in different finishes, allowing you to choose one that complements your kitchen's aesthetic.
In conclusion,
IKEA kitchen sink waste trap installation
offers a practical, cost-effective, sustainable, and stylish solution for managing waste in your kitchen. With its efficient design, it makes your daily tasks in the kitchen easier and more convenient. So why settle for a traditional waste trap when you can elevate your home design with IKEA's innovative option?