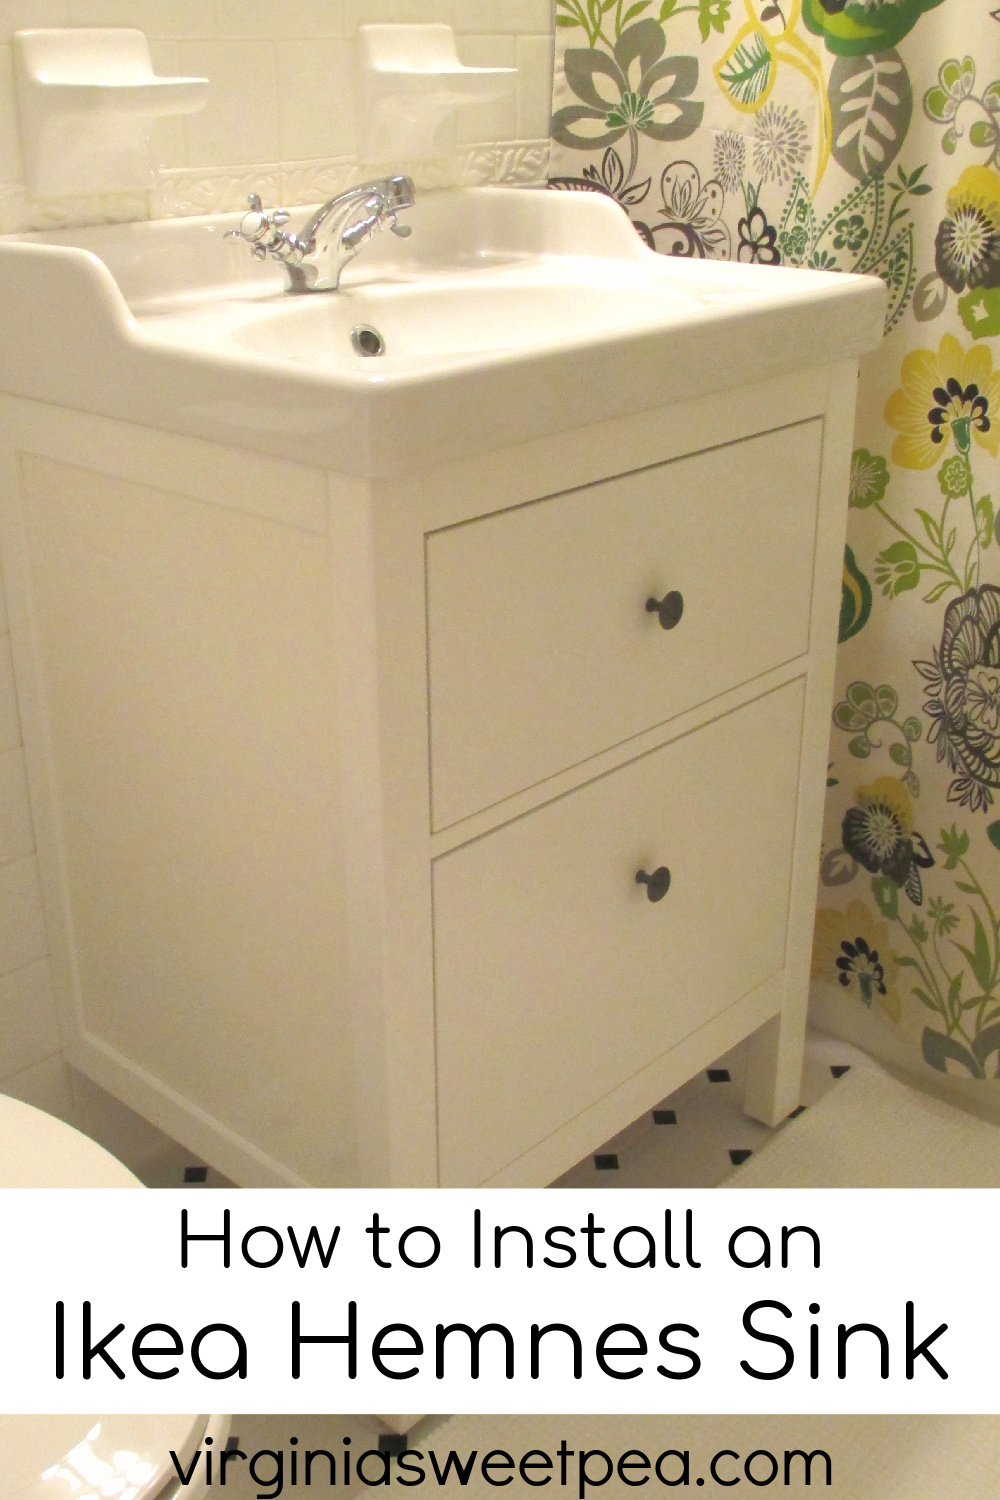
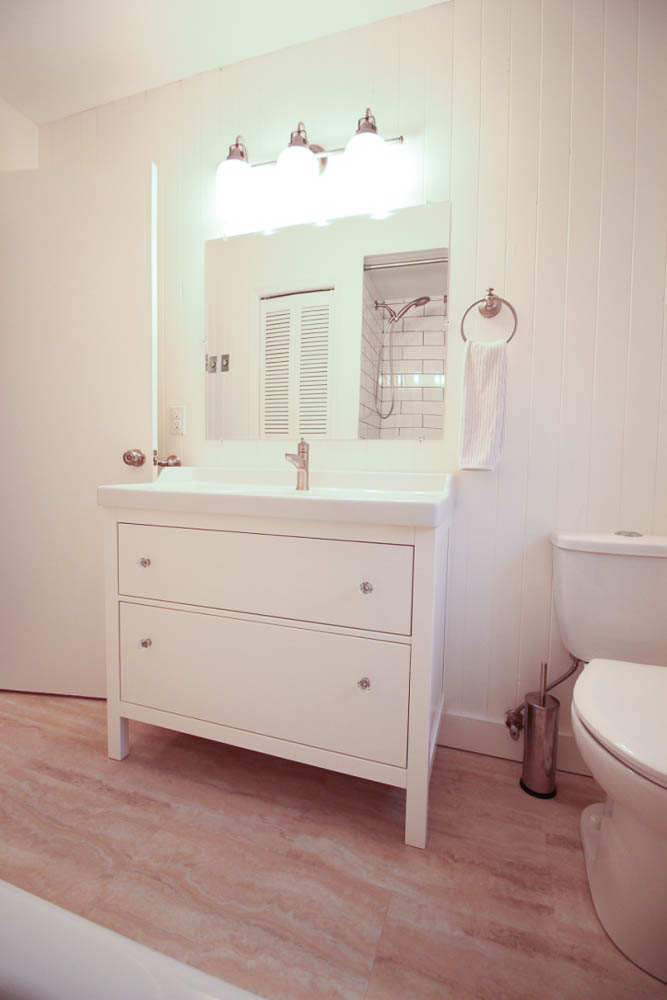
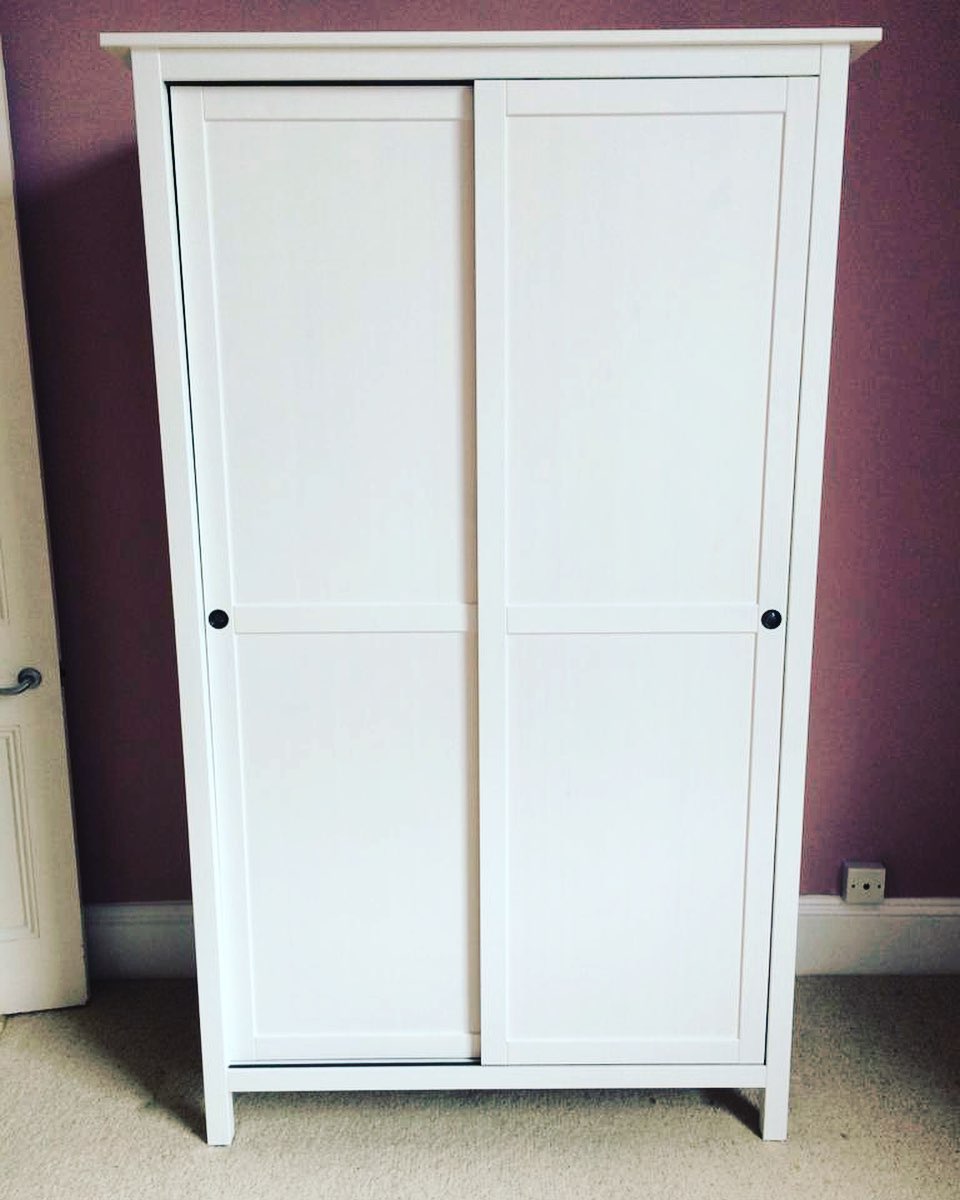
Ikea Hemnes bathroom vanity is a popular choice for many homeowners looking to upgrade their bathroom. With its sleek design and ample storage space, it's no wonder why this vanity is a top pick. However, installing it may seem like a daunting task for some. But fear not, with the right tools and a little know-how, you can have your Ikea Hemnes bathroom vanity up and running in no time. In this article, we will provide you with a step-by-step guide on how to install your Ikea Hemnes bathroom vanity, as well as some tips, tricks, and common mistakes to avoid. Let's get started! Ikea Hemnes Bathroom Vanity Installation
Before you begin the installation process, it's important to make sure you have all the necessary tools and materials. You will need a drill, level, screwdriver, measuring tape, and a hammer. It's also a good idea to have a helper to assist you with lifting and holding the vanity in place. Once you have everything you need, follow these steps: How to Install an Ikea Hemnes Bathroom Vanity
The first step is to prepare the area where you will be installing your Ikea Hemnes bathroom vanity. Remove your old vanity and make sure the plumbing is in good condition. Measure the space to ensure that the vanity will fit properly. If needed, you can also make any necessary adjustments to the plumbing before proceeding with the installation. Step 1: Prepare the Area
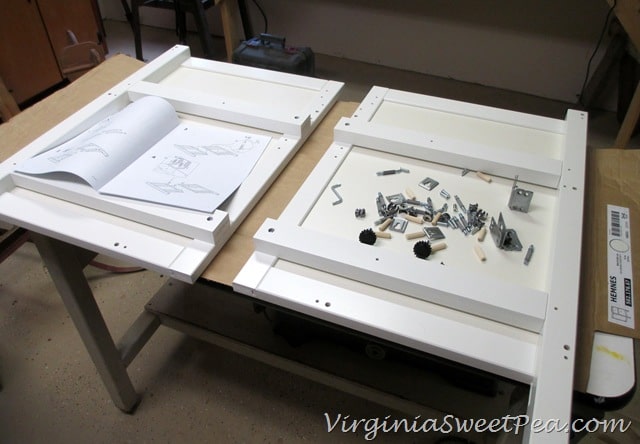
Most Ikea Hemnes bathroom vanities come with detailed instructions on how to assemble them. Follow the instructions carefully to ensure that all the pieces are put together correctly. It's also a good idea to lay out all the parts and hardware to make sure you have everything you need before starting the assembly process. Step 2: Assemble the Vanity
Once your vanity is assembled, it's time to mount it to the wall. Use a level to make sure the vanity is straight and mark the spots where you will be drilling holes. Then, use a drill to make the holes and secure the vanity to the wall with screws. Make sure to use wall anchors if needed for added support. Step 3: Mount the Vanity to the Wall
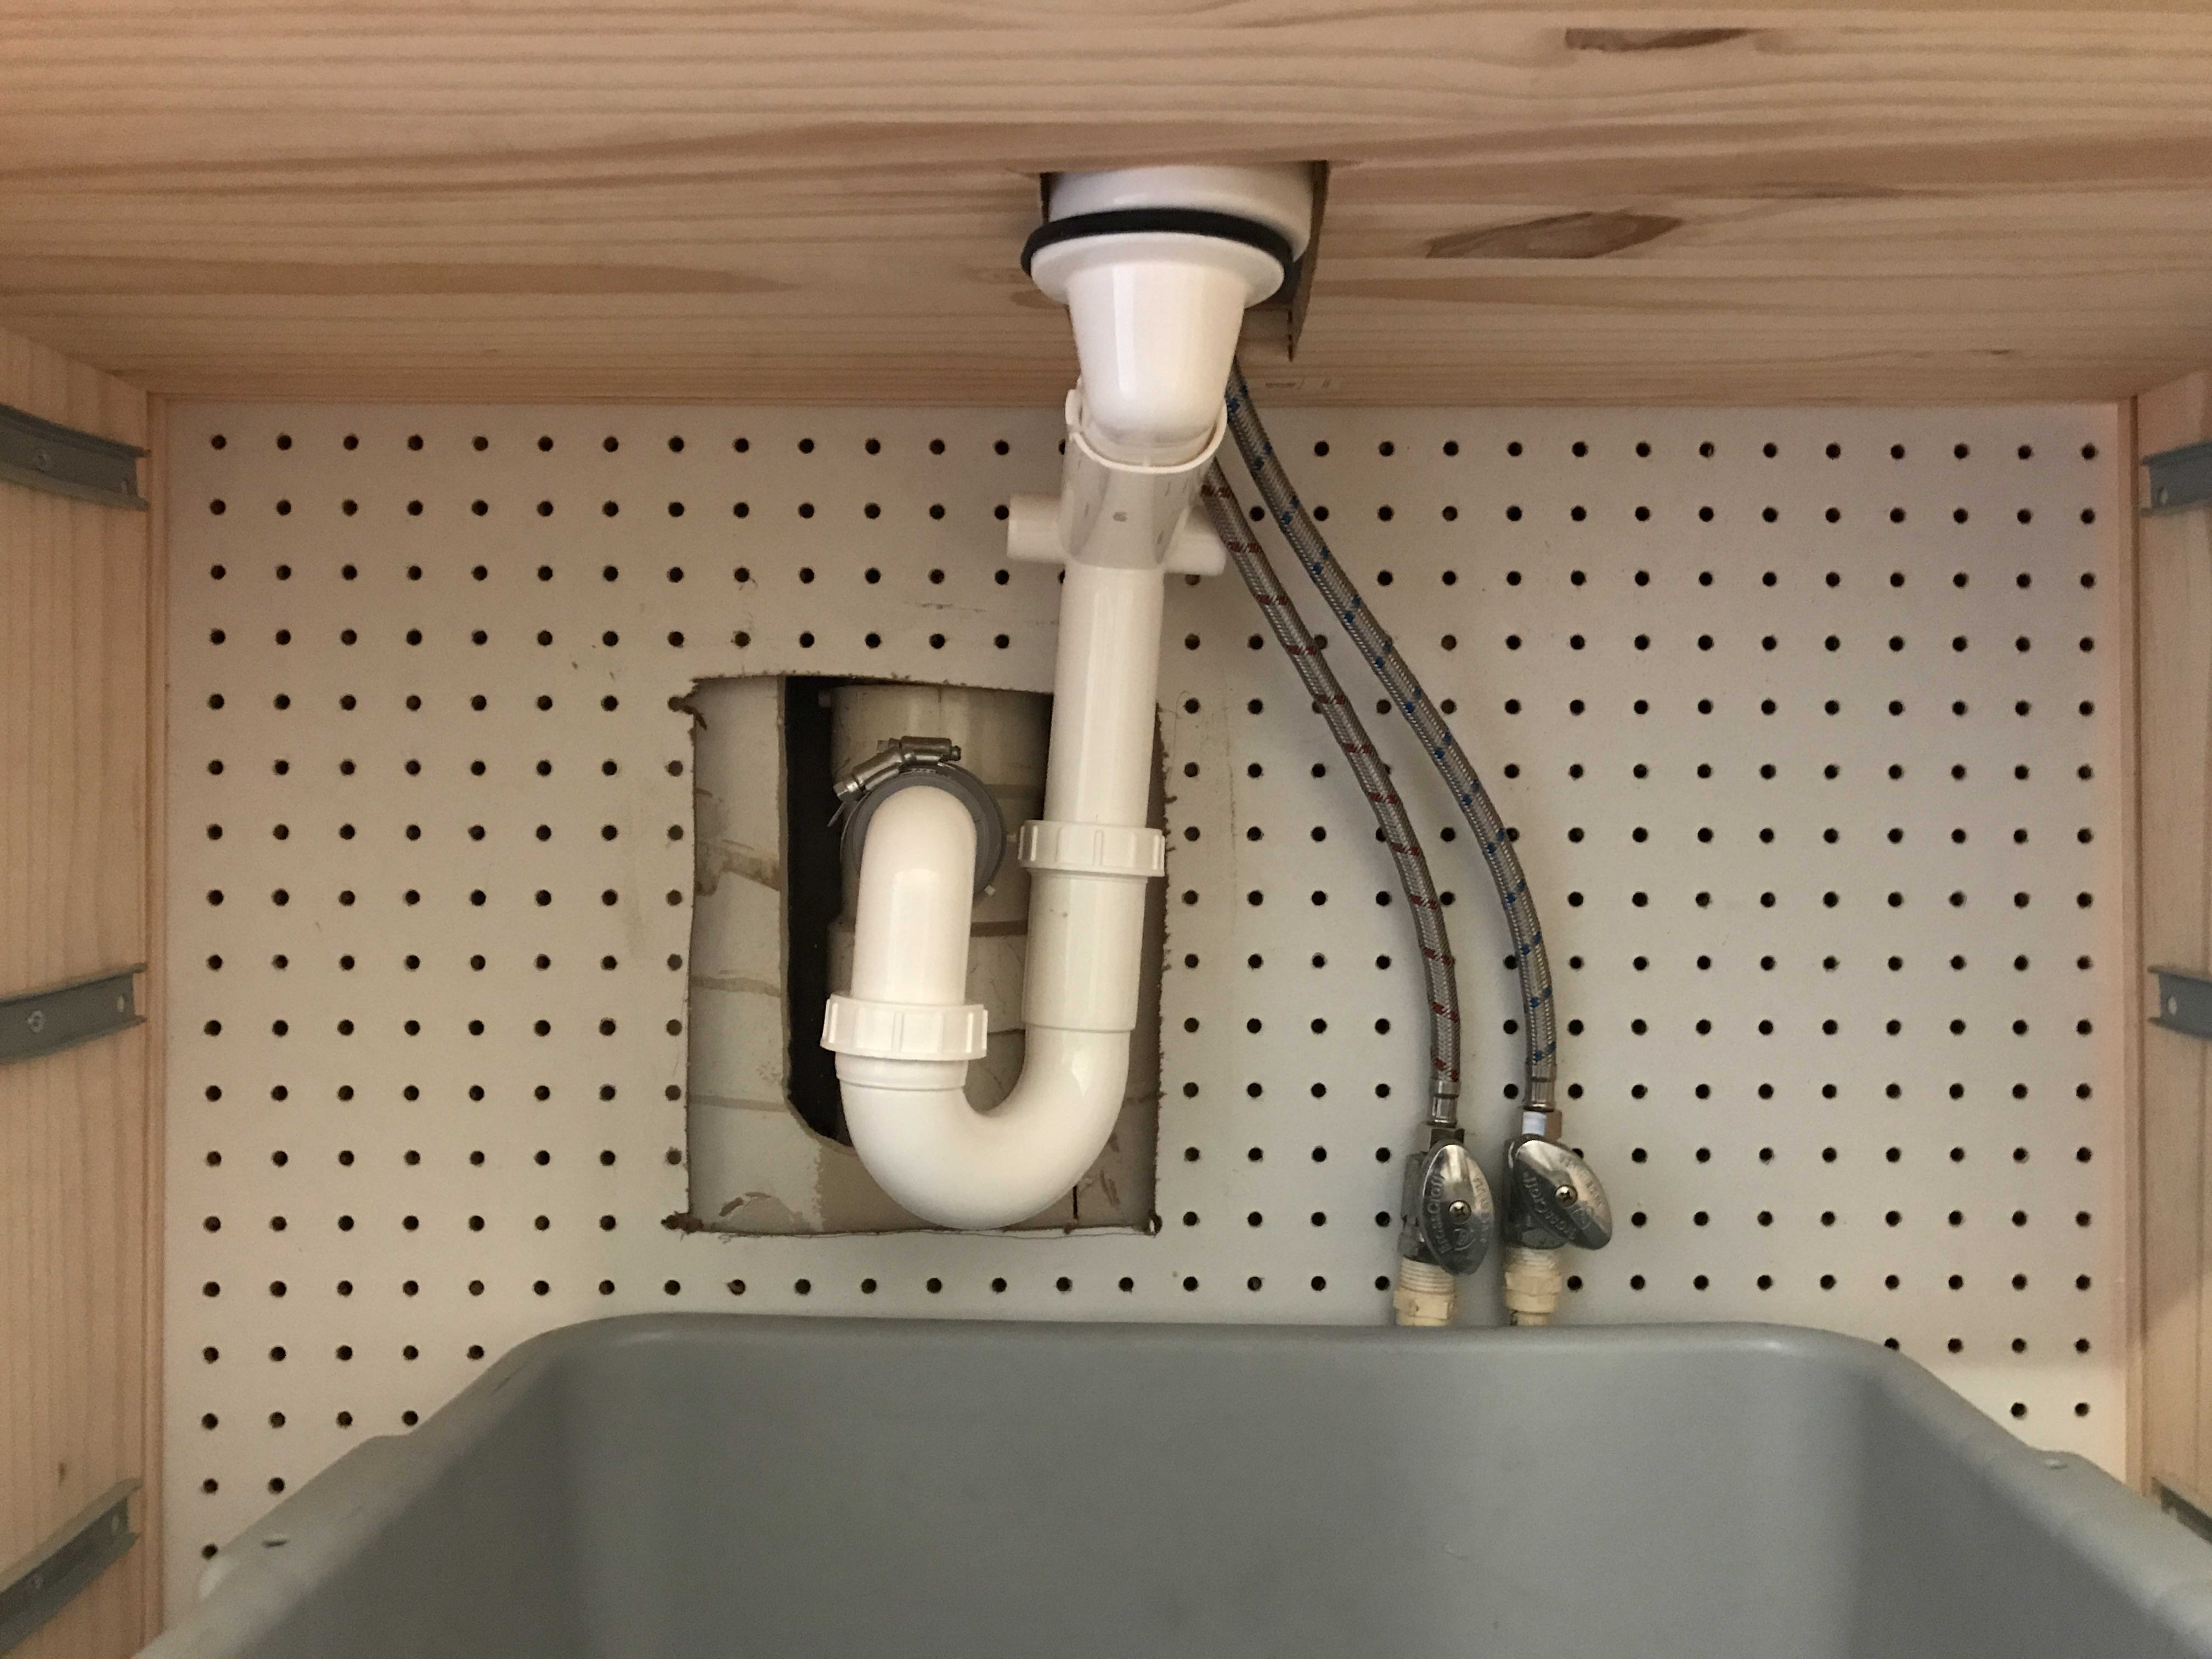
Once the vanity is securely mounted to the wall, it's time to connect the plumbing. Carefully follow the instructions provided by Ikea to ensure that the plumbing is connected correctly. It's always a good idea to have a professional plumber check your work if you're unsure about anything. Step 4: Connect the Plumbing
The final step is to install the sink and faucet. Place the sink on top of the vanity and use the provided hardware to secure it in place. Then, follow the instructions for installing the faucet. Make sure to check for any leaks before using the sink. Step 5: Install the Sink and Faucet
Installing an Ikea Hemnes bathroom vanity may seem like a challenging task, but with these tips, you can make sure it's a success: Tips for a Successful Ikea Hemnes Bathroom Vanity Installation
While installing an Ikea Hemnes bathroom vanity is a relatively straightforward process, there are some common mistakes that you should avoid: Common Mistakes to Avoid When Installing an Ikea Hemnes Bathroom Vanity
Here is a list of the tools and materials you will need for a successful Ikea Hemnes bathroom vanity installation: Tools and Materials Needed for Installing an Ikea Hemnes Bathroom Vanity
Why Choose Ikea Hemnes Bathroom Vanity?
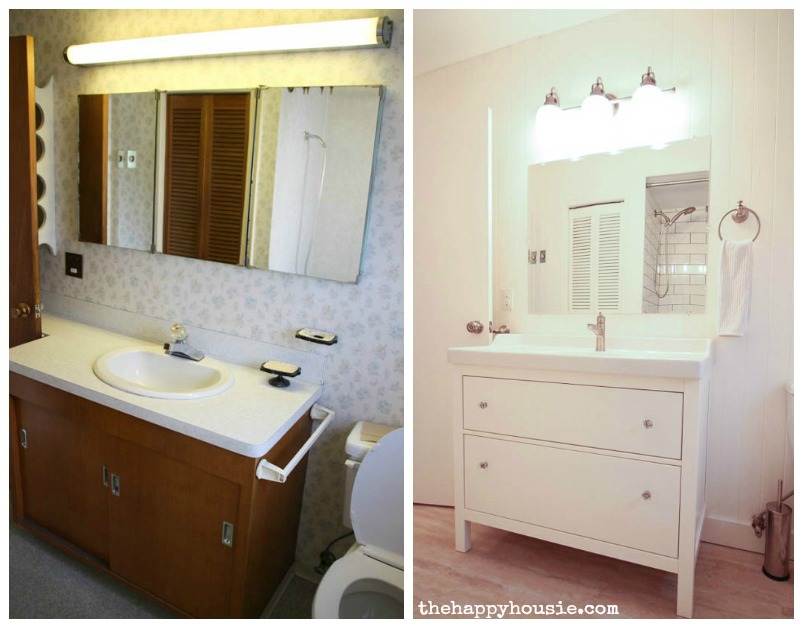
Aesthetics and Functionality
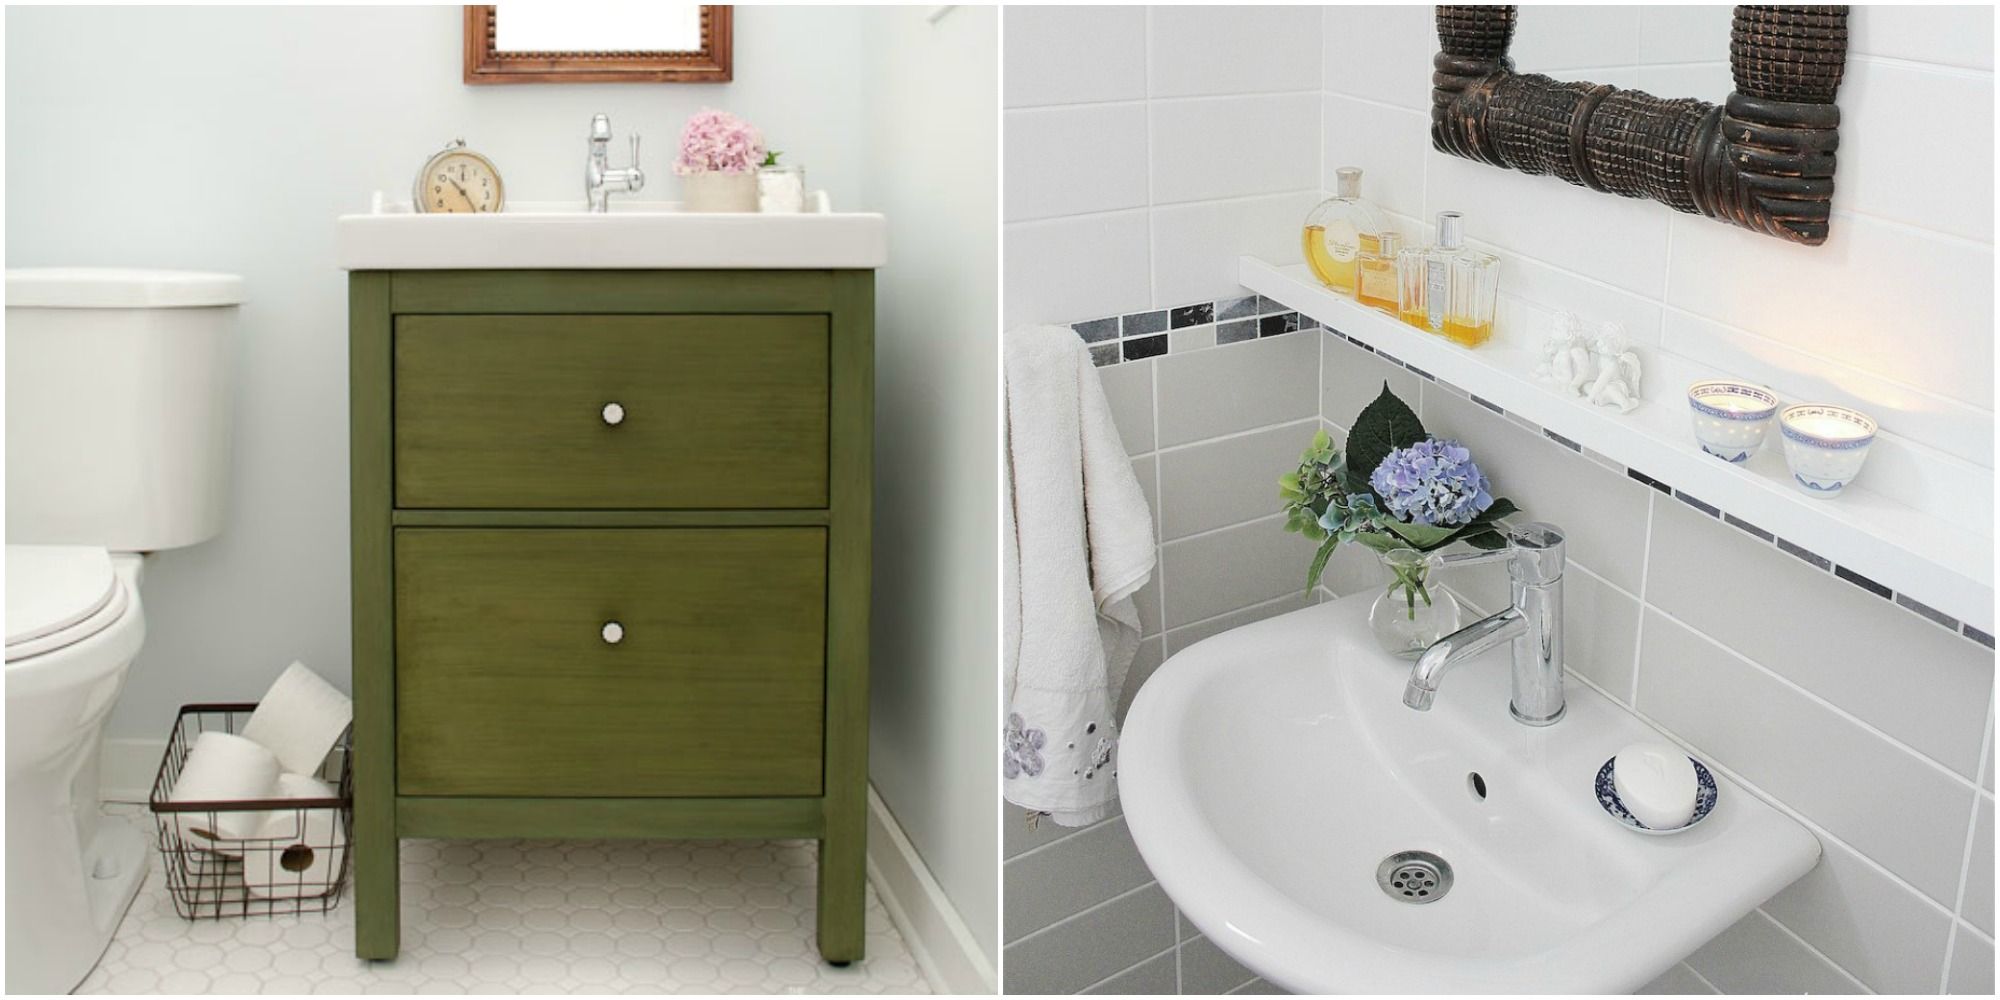
 When it comes to designing and renovating a house, the bathroom is often overlooked. However, it is important to create a space that is not only aesthetically pleasing but also functional. This is where the Ikea Hemnes bathroom vanity comes in. With its sleek and modern design, it adds a touch of elegance to any bathroom while providing ample storage space for all your essentials. The clean lines and simple design also make it easy to incorporate into any bathroom style, whether it's traditional or contemporary.
Quality and Durability
 One of the main factors to consider when choosing a bathroom vanity is its durability. The Ikea Hemnes bathroom vanity is made with high-quality materials, ensuring that it can withstand daily use and last for years to come. The solid pine wood construction and the use of moisture-resistant materials make it ideal for a bathroom environment, where humidity levels can be high. You can trust that your investment in this vanity will not only add value to your home but also withstand the test of time.
Customizable Options
 Every bathroom has its own unique layout and design, and the Ikea Hemnes bathroom vanity offers customizable options to fit your specific needs. It comes in different widths, allowing you to choose the perfect size for your bathroom space. You can also choose from a variety of finishes, including white, black-brown, and gray, to match your existing bathroom decor. The vanity also offers a range of add-ons, such as storage units and sink cabinets, to further customize and enhance your bathroom's functionality.
Easy Installation
 Installing a new bathroom vanity can be a daunting task, but the Ikea Hemnes bathroom vanity makes it easy and stress-free. With clear and detailed instructions, you can easily assemble and install the vanity on your own without the need for professional help. The pieces are also designed to fit together seamlessly, ensuring a smooth and secure installation process. This not only saves you time and money but also gives you the satisfaction of completing a DIY project.
In conclusion, the Ikea Hemnes bathroom vanity is a perfect choice for those looking for a stylish, durable, and customizable addition to their bathroom. With its combination of aesthetics and functionality, quality and durability, as well as customizable options and easy installation, it is a top contender when it comes to bathroom vanities. So why settle for a basic and boring bathroom vanity when you can elevate the look and functionality of your bathroom with the Ikea Hemnes?


